• Modelers Alliance has updated the forum software on our website. We have migrated all post, content and user accounts but we could not migrate the passwords.
    This requires that you manually reset your password.
    Please click here, http://modelersalliance.org/forums/login to go to logon page and use the "Forgot your Password" option.

Accurate Miniatures 1/48 Sturmovik

ausf

Master at Arms
With your help, let's see if I can torture this thing into something that resembles an IL-2.

Since the days I cut my teeth on the old Monogram kits (mostly WWII Pacific AC bought with mowing money via Schwinn Stingray and Woolworths) I haven't built any aircraft, save a semi-recent stab at a Jug which ended with a canopy crunch.

I appreciate any help or advice you guys have, no matter how obvious it may seem, that this simple treadhead could use (Except "Don't step on the canopy", I already learned that).

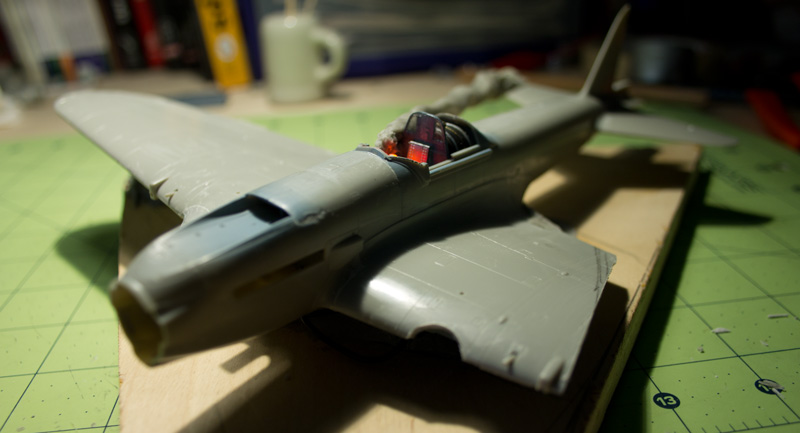
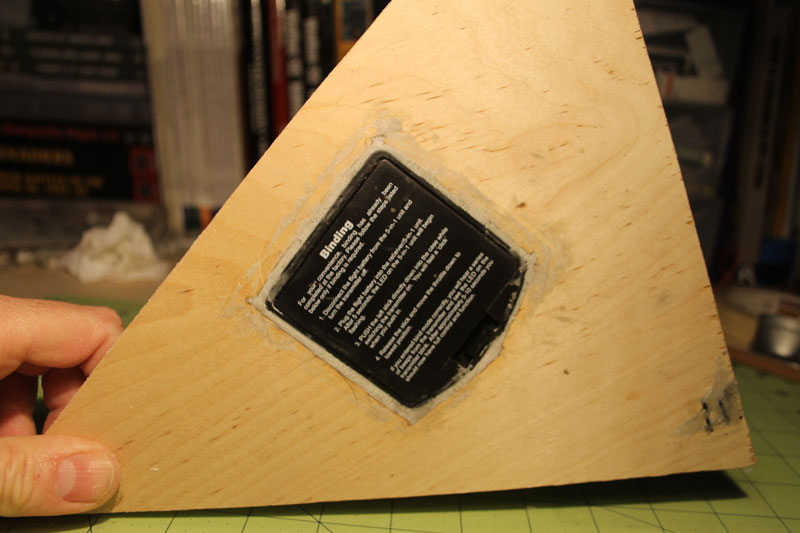
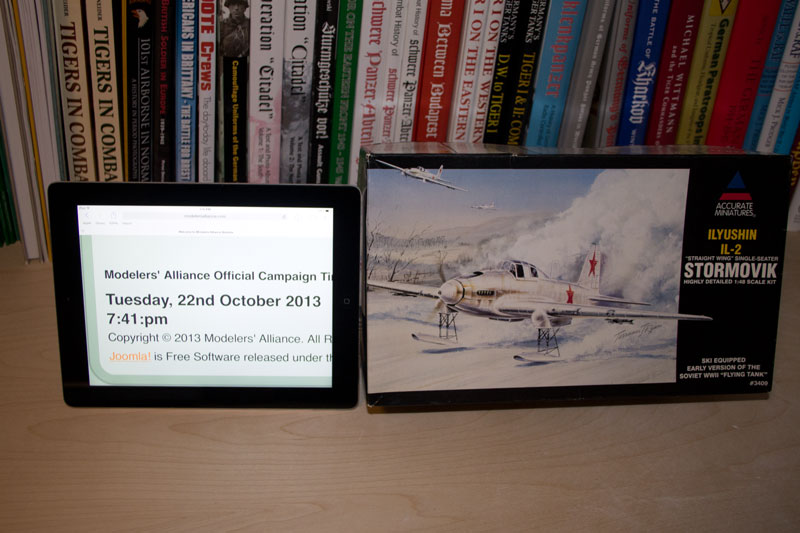
Here's the opening shots:

h4017b24.jpg


hd0ad876.jpg


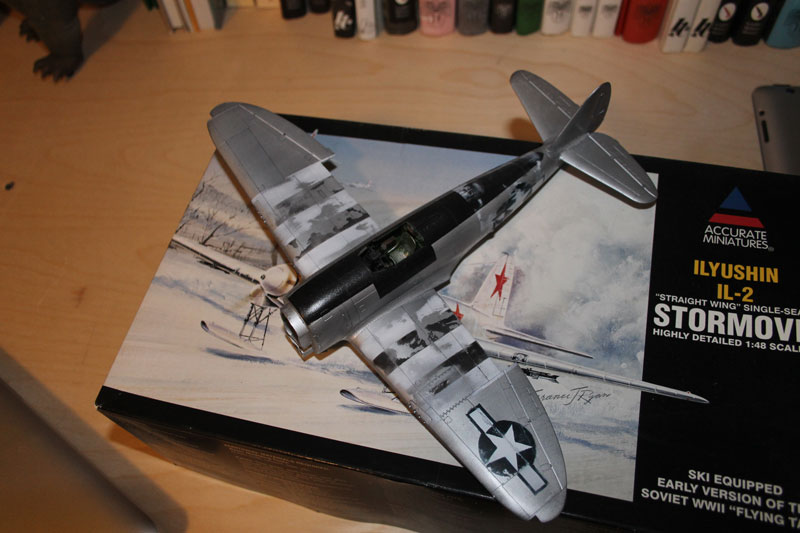
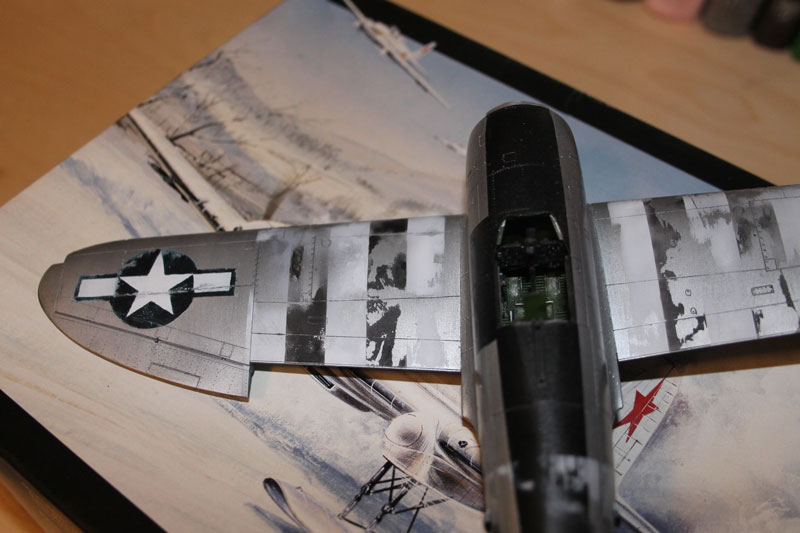
Here's the aforementioned Jug attempt (Even my planes end up like tanks). :unsure:

hdc68d30.jpg


h8dabcdc.jpg


I'm in the middle of rebuilding the workspace. I'll spare you guys photos, if I panned the camera 180 from the above, you'd toss your cookies at the state of the space (I feeling queezy just sitting here). It may be a week or so before I can get started, but I wanted to commit myself to the campaign.
 
AM kits are some of the best-- easily my favorites...just read over the directions a few times to get a grasp of things...they can be tricky-- but these guys for the most part know their stuff....
 
I built the IL-2m for the From Russia With Love campaign, Eduard box with Accurate Miniatures kit inside, this may help you with some things with the kit as I suspect the instructions may be very similar, I chose to do some things different to what they state to do which worked out a lot better after testing methods by dry fitting.

This is the key to these kits, as Jeeves said they can be tricky but it will build into a very nice result.

Dry fit everything first, check and repeat if not sure, you can check my build here,

https://www.modelersalliance.com/forum/from-russia-with-love/147155-eduard-1-48-il-2m-shturmovik-completed?start=36

HTH

:popcorn :drinks
 
Just read through your thread Phil, excellent work, it'll definitely help. You saved me a lot of hours of surfing for color info and I had no idea the plane was partly constructed of wood. Thanks again.
 
Update time.

I really went 180 on this. I was planning on putting it on a base with heavy snow drifts over the skis, etc, but as a typical foray into the AC world for me, things get ugly quick, so I'm going for a crashed/landed snow scene with cockpit fire. :blink

Here's the overall idea:

h07feae3.jpg


The smoke trail is just the 'skeleton' for it, I want a sharp windswept look, I plan on messing around with gel mediums and inks to get the right look. The LEDs in the cockpit for the fire will be combined with water effects, transparent gels and smoke to get the roiling fire appearance.

I put a switch in the border, it'll be under the snow:

h5979290.jpg


And a battery pack accessible from the bottom:

h4d8b8cf.jpg


And here's the illumination LEDs from the top, one red, one orange:

h28e6016.jpg


Next to build up some foam for the snow base and finish the model with control surfaces and bent prop.
 
And we're suppose to help you???

Yes. I have no idea what I'm doing at any given moment, except trying to fix what I did a moment earlier.

I blame this entirely on you guys anyway for posting photos of a burning Wildcat dio (I think) a while back. You can't put ideas in my head, there's no room. :S
 
Nice! The kit looks familiar too...

Now for constructive criticism:

1. Tell me the brand of the P-47 (scale too) and I may have a spare canopy for you. We can meet to pick up at Starbuck's when you have the time.

2. Don't place the fire in the cockpit but outside near the engine (unless you are having BBQed Ivan at the controls or jumping out). Imagine massive backfiring (LEDs in the exhaust pipes and engine compartment) with a few panels loosening up, black oil over the windscreen, pilot scrambling to get loose, and a plywood panel peeling off the wing (be careful with perforating the wing too much as the Il-2 also had an internal bomb bay under each wing between the lading gear fairing and fuselage).

Regards,

It's the Tamiya bubble top in 1/48. I appreciate the offer and certainly will meet you for some coffee, but I'm sure MMD has AM versions I can grab if I remember next time I place an order.

That's a great idea regarding the engine compartment, definitely more realistic than what I'm doing here. My original plan was to build it as a hard used plane with some wood patches and bare aluminum under a worn whitewash, but I really blew it with mixing the interior color. I was happy with the IP, Futuring the decal sheet behind the clear part and masking, but the rest of the cockpit wasn't that great. I was toying with the idea of a tarp covering it, but then I remembered how cool that fire dio was.

I'm planning on having footprints or a trail in the snow from the cockpit and there's going to be little damage besides the bent prop with the idea that it was a semi controlled crash landing. The elevator and rudder will be positioned to reflect it, I have to see if I can drop flaps at this point since I epoxied it all in place to set the wiring (ran out of solder before I finished).

Last year I read Hell Hawks, which inspired my hand at the Jug, and remember a few accounts of cockpit fires and visibility, so I took that as my out since I could flat black and pigment the whole thing. I briefly thought about sculpting a charred pilot, but I think it would be too gruesome and though probably more realistic, it would detract from the effect. Maybe snow splashed over the wings from the crash obviously disturbed by an evacuating pilot or similar evidence.

If this works, I'll definitely look to do the engine fire. I have all these tiny SMD LEDs that would look fantastic in an array of a dozen or so sparking up. As it is, I really see the possibility here, but since everythings stuck in place I'll shoot for a smaller flame here.

Thanks for the input, don't stop... B)
 
It's the Tamiya bubble top in 1/48. I appreciate the offer and certainly will meet you for some coffee, but I'm sure MMD has AM versions I can grab if I remember next time I place an order.

Keep the offer in mind, just in case. The Squadron vacuum formed replacements are for older kits.

I'm planning on having footprints or a trail in the snow from the cockpit and there's going to be little damage besides the bent prop with the idea that it was a semi controlled crash landing.

Well, if the pilot escaped, then light up the cockpit too! Imagine if you could have that eerie glow of some cockpit instruments lit up...

Regards,
 
I didn't know that Saul (regarding the canopies), I may take you up on it then.

Here's where I am with the flames. I played around with HVAC foil tape, Vallejo's Water effects gel, Future and some cotton dipped in india ink. Everything is just twisted together in a real mess.

h3c990bc.jpg


h6739d22.jpg


It's getting there, I need to figure out the smoke trail. I'm thinking of adding a layer or two of clear styrene on top and bottom with pigment and junk stuck to it under a layer of clear. I want the borders to somehow look semi-transparent. We'll see. :blink

I was debating whether to paint the model before or after this, but I'm glad I waited, it'll need some serious cleaning after all the effects work is done.
 
That's amazing...I've said in the past I have not see anyone scale down a fire but DANG! :notworthy

Jeff you need to do a SBS for us one day.
 
It's really simple, I'll gladly do a SBS on it. It's just glueing a bunch of stuff together with gel medium. The LEDs are doing all the work.

If this comes out well, I think I know what I'll be doing with a bunch of half finished DML armor kits.

Thanks for the kind words, I appreciate your guys input.
 
Back
Top