• Modelers Alliance has updated the forum software on our website. We have migrated all post, content and user accounts but we could not migrate the passwords.
    This requires that you manually reset your password.
    Please click here, http://modelersalliance.org/forums/login to go to logon page and use the "Forgot your Password" option.

A Great Pair of Jugs :)

Skinny_Mike

Well-known member
Hi folks!

Sorry about the title. After Les had his Double D’s, I just couldn’t resist, and it seemed so appropriate for this campaign! :rotf

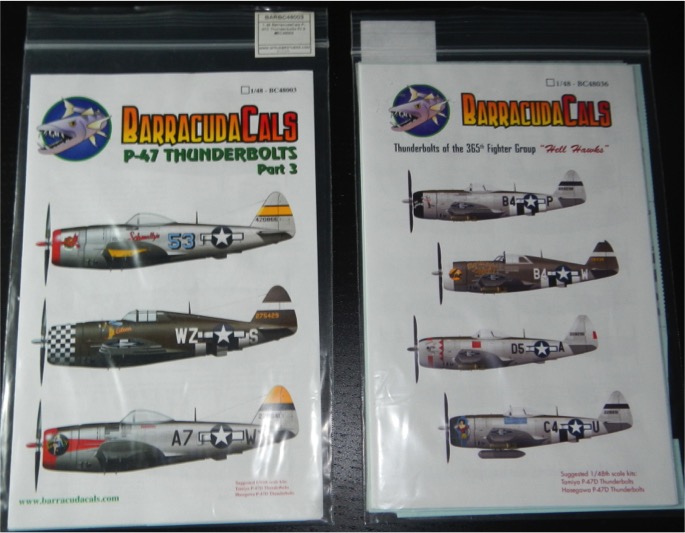
I’m going to go ahead and jump in on this one. I’ve had a Tamiya P-47 Bubbletop in the stash for a long long time, waiting for the right nose art decals. The P-47 is one of my favorite airplanes from WW2 so it really didn’t take too much arm-twisting once I found the decals. But then there was a dilemma, the decals I have also have some cool nose art for the P-47 razorbacks as well! Well I solved it, ordered a Tamiya P-47 Razorback kit – that’ll show those decals who’s boss! :gogo I figure these are Tamiya kits and shouldn’t be too traumatic. I will warn you though, other then a few subassemblies, these are going to mostly sit until I move and get my paint station set up. Just a couple of months away. Progress will start slow, but will pick up with a sudden flurry! OK - here are the start up photos:
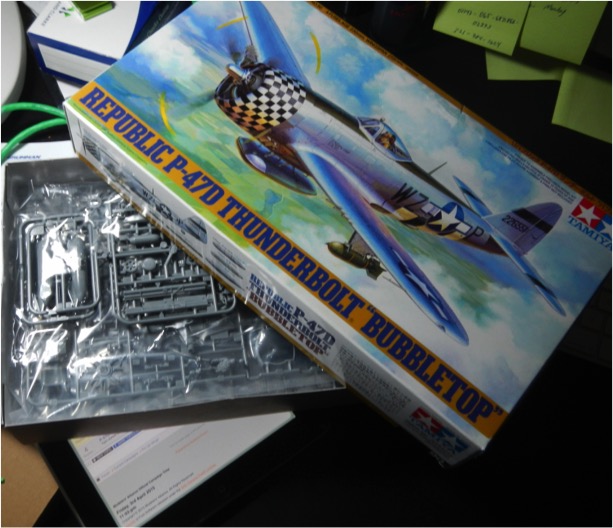
Pic1_1.jpg


Pic1_2.jpg


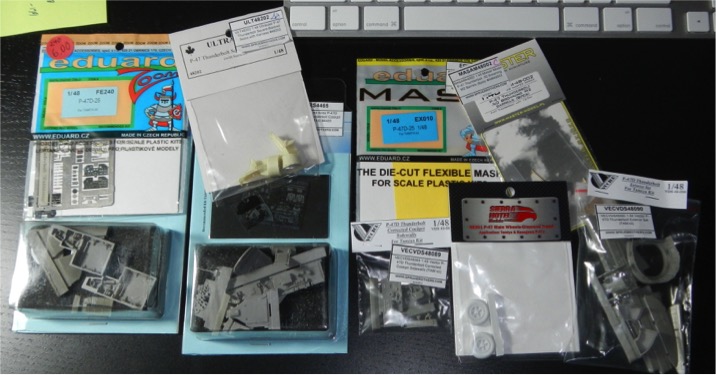
Lots of aftermarket, not going to use it all
Pic1_3.jpg


And the decal sets

Pic1_4.jpg


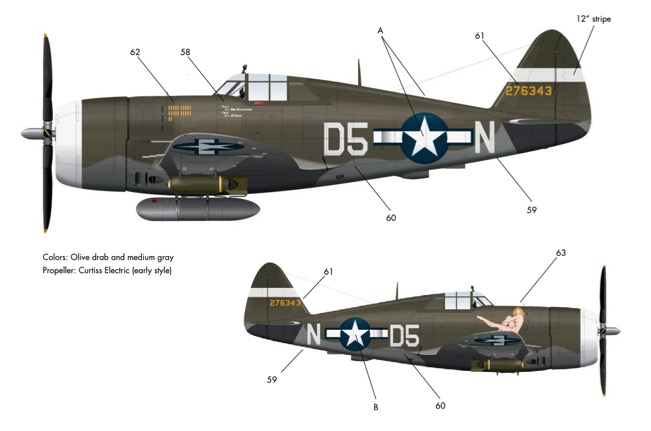
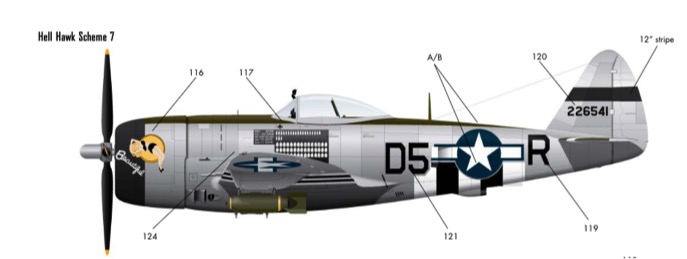
I haven’t totally decided which of the aircraft I am going to do yet, but the front-runners for the bubble top are:
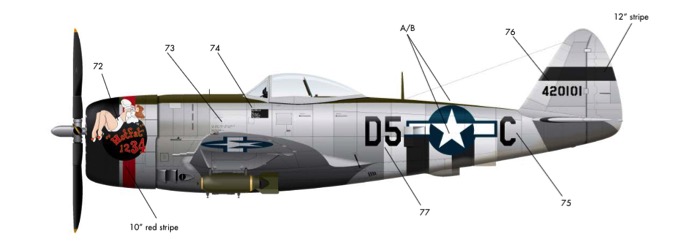
Pic1_5.jpg


Pic1_6.jpg


Here is the dated photo for the Razorback; it just arrived a couple of days ago. I plan to use the Aires cockpit and the wheel bays for the razorback. And I still need to pick up a few other things for this kit.
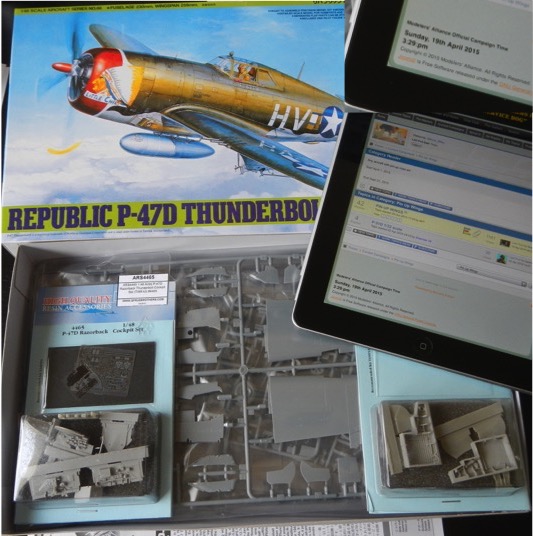
Pic1_7.jpg


Still on the fence for this aircraft too, but I’m sure its between these two:
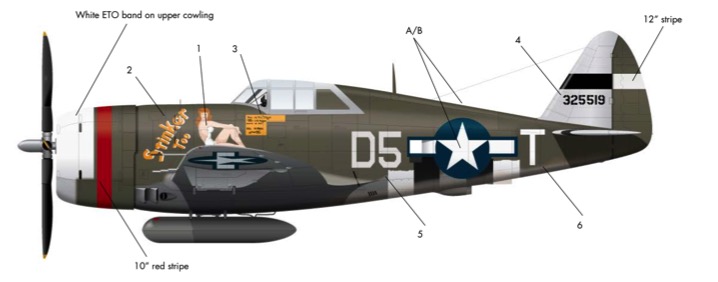
Pic1_8.jpg


Pic1_9.jpg


I’m a little nervous about the bubbletop. It will be a NMF, and it will be my first try, so I am going to need to be patient with the seams and really go at cleaning up and polishing the sanding marks. I’m sure I’ll be asking a lot of advice when we get there.

Thanks for looking in, be back shortly with some progress.

Mike
 
Not sure whether to be disappointed or impressed, haha :yipee

Looks like a very nice build shaping up! Will definitely keep watching.
 
Once again...not the thread I hoped it would be...

But....I'm itching to build a plane, never built one before, so I'll be following.

Cuz...well...I like jugs!

Tom
 
Thanks all! Hope i do the thread name some justice! :tomato

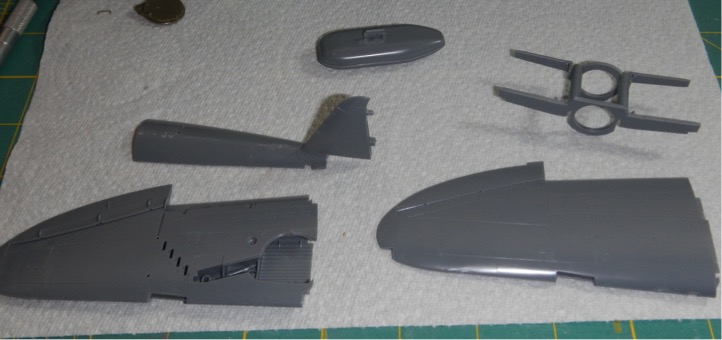
Back with a little progress. I’ve done some assembly of the Bubbletop kit. Just trying to hit some of the sub assemblies that don’t require any painting and hopefully get some of the low hanging fruit. So I assembled the wings, the wing box/wing struts and the centerline fuel tank. This one will be loaded with the 150 Gallon flat fuel tank on the centerline and a 500lbs bomb under each wing. In addition to the 8 Browning M2 .50 cal machine guns.

Pic2_1.jpg


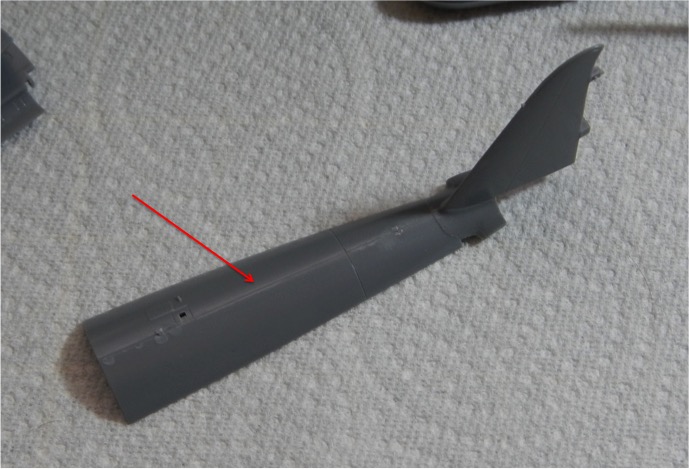
The spine is made of 2 parts and leaves a seam down the center. Based on a couple of sets of line drawings that I found, this is not a natural panel line, so I will need to deal with this. I am going to use CA glue to fill the seam and then sand and polish until it is, fingers crossed, worthy of a NMF.

Pic2_2.jpg


Here is the, almost final product. Just need to polish it up a little bit. ZAP-a-Gap CA glue, then a shot of accelerator, sanded down with a flex-i-file followed by 4 other progressively finer sanding sticks.

Pic2_3.jpg


Next up I'll hit it with some Tamiya gloss black from the rattle can, to see how I did.

Well that’s the progress for now. I’ll keep working these subassemblies until I can get to the pits.

Thanks for looking! And as always, comments are appreciated.
Mike
 
Hi folks! I’ve made a little bit of progress on my bubbletop. Nothing major, just some work on the wings. I have them all assembled now and the flaps also. I’ll add the flaps after paint. I decided for the bubbletop, that I’m going to have the flaps up, while I will drop them on the Razorback. On to the progress!

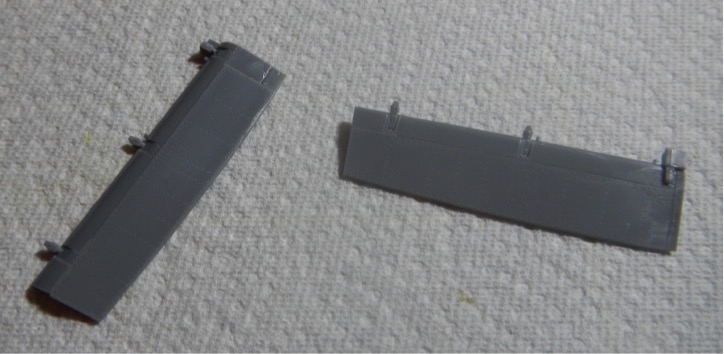
Here are the flaps, assembled in the up position. I gummed up one of them and I am going to need to clean that up before we get to paint!

Pic3_1.jpg


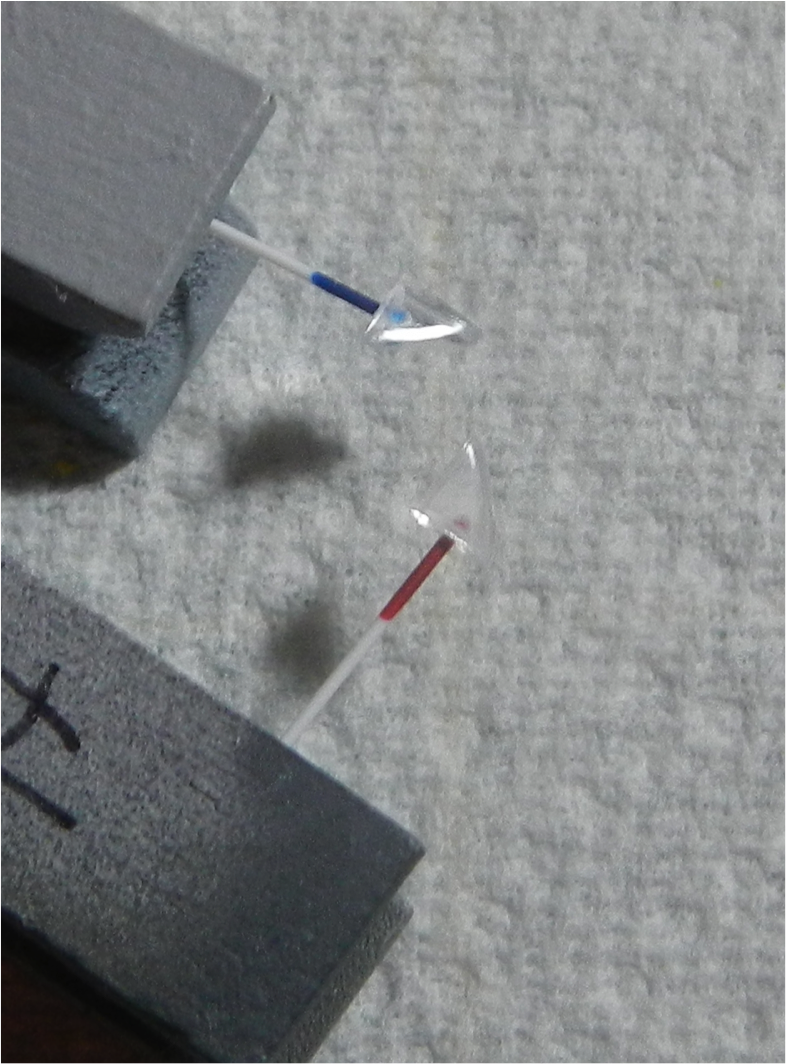
Next I did a little modification to the navigation lights. I drilled out a spot for the bulb, then I painted a piece of plastic rod red and blue to simulate the bulbs. Once the paint was dry, I inserted the plastic into the hole. In the end I don’t think it turned out to well, :S what do you guys think?

Pic3_2.png


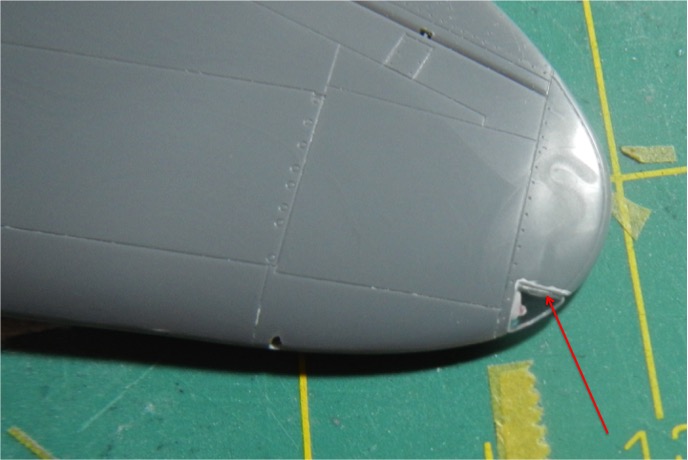
Then I assembled the lights onto the wings. I ended up with this small gap on one of them :facepalm (see the arrow). I am not sure what the best way to fill that is going to be, anyone have any suggestions?

Pic3_3.jpg


And here the wings with the flaps dry fitted. Not to shabby I suppose.

Pic3_4.png


That’s all for the progress so far, without being able to paint the cockpit, I really can’t get very far on this build. I can’t wait to get the airbrush station out again!

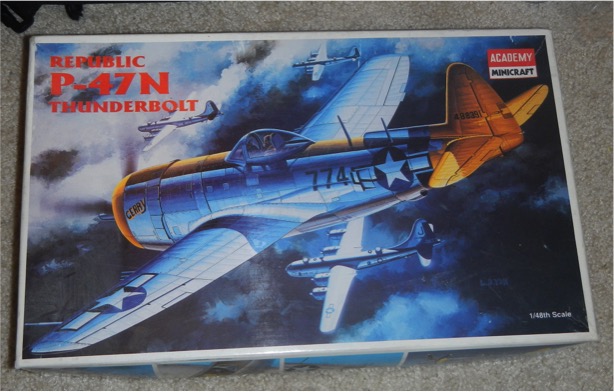
In other news, I realized today that I may have a problem. I think I am addicted to Jugs! Yes – P-47s – what did you think I meant? :D ok – probably those kind too! Any way as I have been collecting decals for these builds I have come across a number of cool schemes that I really want to build. So I ended up picking this up on ebay….

Pic3_5.jpg


I’ve been told that its not a terrible kit and with the help of some vector resin to correct the glaring inaccuracies it’ll turn out pretty nice. Vector resin is on the way. There are also 2 Tamiya P-47Ms on the way. I can use those to build a D with the fillet tail, an M, or I have heard that using the academy wings on the Tamiya kit makes a much nicer N. We'll see what I do in the end.

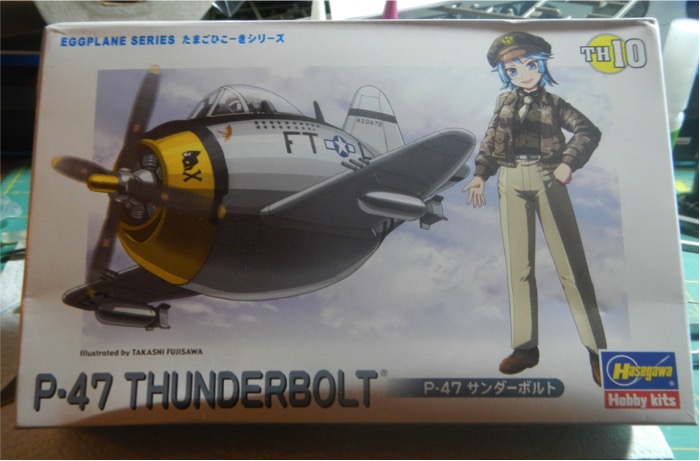
I also pulled this out of the stash and started working on it.

Pic3_6.jpg


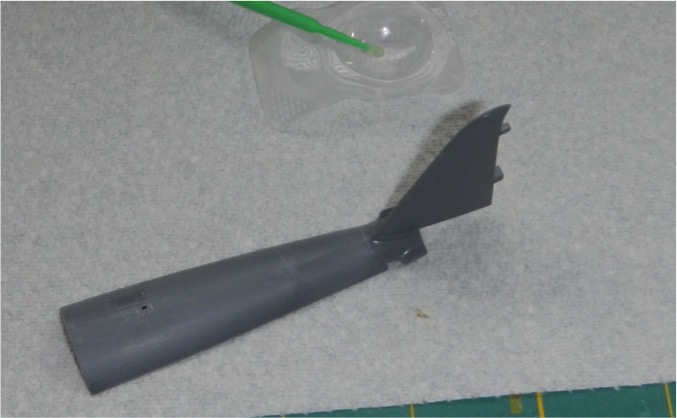
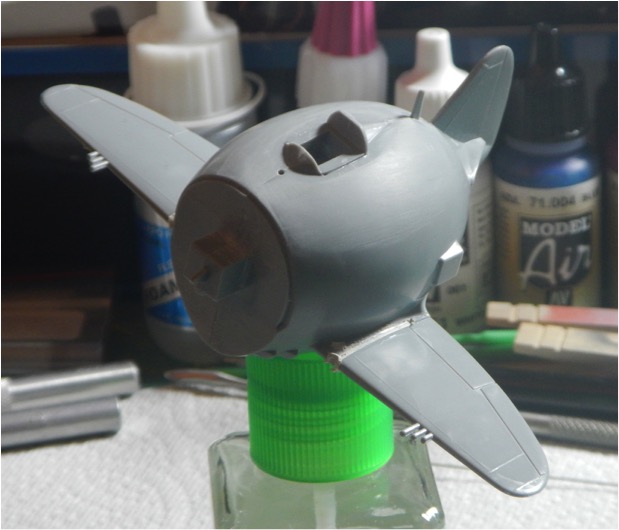
My wife really likes these little egg planes so I build them for her, and I figure you can’t have an odd number of jugs, unless you’re in the Mars colony, :geek so I’ll add this to the pile. And I can test out my NMF on it as well. These little eggs go together pretty fast, after an hour I am here…

Pic3_7.jpg


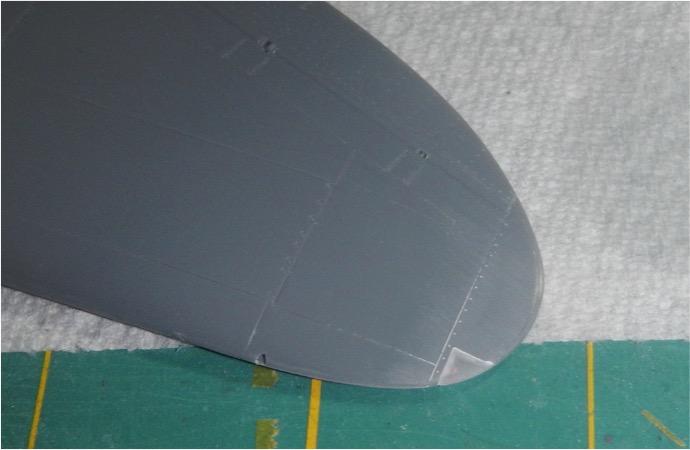
And I cleaned up the major seam line down the fuselage halves!

Thanks for looking folks!
Mike
 
Jugs everywhere.

That gap, fill it in with CA, a little dab'l do ya. :popcorn


I was thinking that, but I am afraid of messing up all the surrounding area for the NMF. And then to think about the damage to the clear plastic! But looking at the photo again, I think I might be better off then I thought. I'll give it a try, heck - I've gotten pretty good at polishing out canopies!

Thanks MP - hope you rehab is going well!

Mike

You sand it out smooth you should be ok. Lord knows I got enough spots on the Jug where I did some sanding.
 
Taking Bob’s advice, I used some Zap-a-Gap CA glue, brushed onto the gap for the landing light. Honestly, I was terrified, but after I sanded it out, it really didn’t turn out so badly. Here is the before…

Pic3_3.jpg


I took the picture after running through the progressively finer grades of sandpaper that I have in the travel box. I just wanted to use the photo to check the gap. I’ll polish it up after I unpack all my supplies and have my polishing set and some future to brush on. Over all – I think it turned out well. Here is the result of today’s efforts…

Pic4_1.jpg


What do you all think?

Thanks for looking!
Mike
 
Back
Top