• Modelers Alliance has updated the forum software on our website. We have migrated all post, content and user accounts but we could not migrate the passwords.
    This requires that you manually reset your password.
    Please click here, http://modelersalliance.org/forums/login to go to logon page and use the "Forgot your Password" option.

AMT 1970-1/2 Z/28 Finished-12/30

That happened to me also, I was looking at getting a 73 Cuda with 340/4 speed when dad said he would not cosign the loan for the car.
Ended up getting a 73 chevy half ton, four wheel drive.
When I got in the service I bought a 71 vette, 350/automatic. Chick Magnet!!!!
LOL!!!

I did pretty much the same thing. After I got that final Mustang going it was like every girl in the world wanted me to take 'em for a ride. lol
 
When I got home, I bought an F-150 extra cab, 5.0 5-speed 2wd pickup. Red over white. My 33rd birthday present to me. Then the flood came.
 
Ok gang!! It's update time!! After a LONG while without any progress reports, I finally have something worth taking photos of. Here she is with the stance that I wanted and the wheel/ tire combo.

All I can say is that this is one of the HARDEST car models to get the body over teh chassis that I've EVER dealt with. When I finally did manage to get it installed all the way into the body, the leading edge of the dash contacted the bottom of the windshield mounting tabs causing the whole front of the chassis to not seat properly. My fix was to trim the leading edge of the dash back until the body slid into the correct position. Total PIA but I got it.

Here are the results of the labor over the last few weeks. Almost to the finish line with this one. Aside from the dash/ windshield fit issue this has been a great kit to work with.

1672159996709.png
 
Thanks fellas.

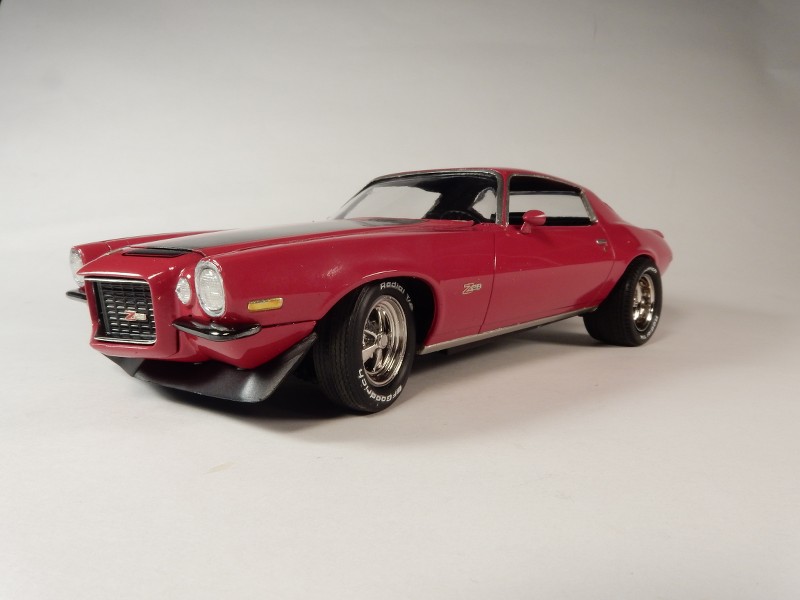
After a LONG while, I've finished this puppy up. Thank you guys for being patient with me during the last few months as I've been very busy at work and here at home.
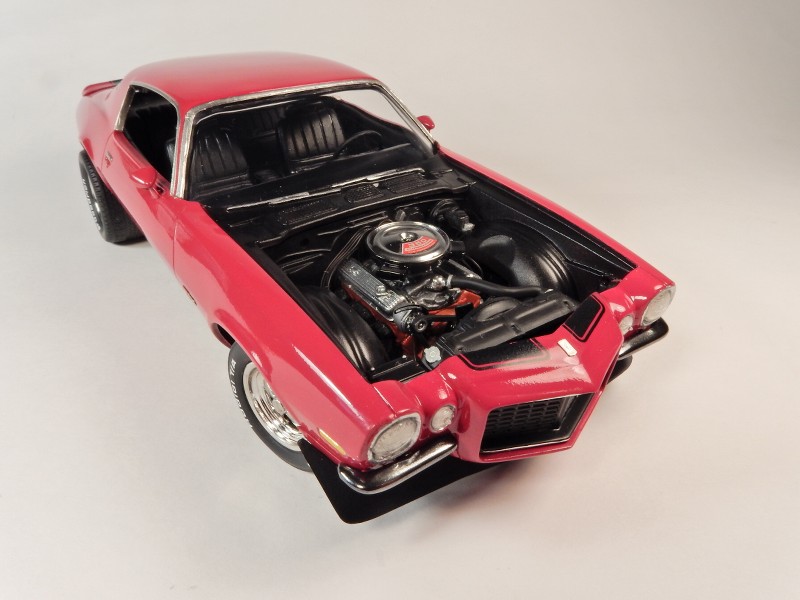
I'm going to put together a small re-cap of the trouble points with this kit in my build thread for anyone that wants to build one of these. I will say that in the kit reviews that I watched along with what I read before starting on this build it says to build up the subframe up front separately and install it after the base chassis has been installed into the body (which was no small feat on this model-At several points I thought I was going to break something big trying to get the body and chassis together.

I've had this model in the stash for around 8 years and have always wanted to build one because I like them so much. I was gonna have one of these for my first car to drive before dad saw the well-built 350 in it with a 4-speed and put a stop to that. He used to tell me, "If you're gonna kill yourself....you aint gonna do it under my roof.":confused:

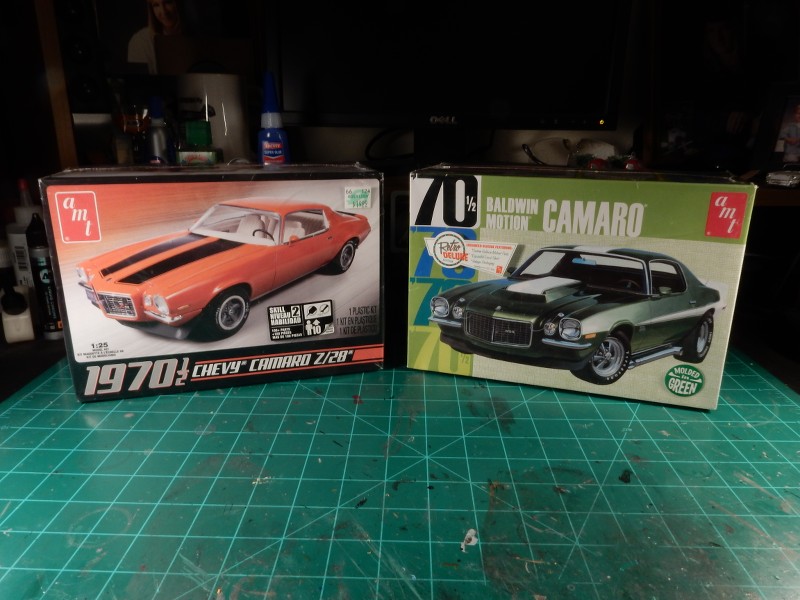
The kit is one that's all too familiar to us and if you've ever been to Hobby Lobby, you'll know the one that I'm talking about.

It's the one on the left:

ILg1kg.jpg


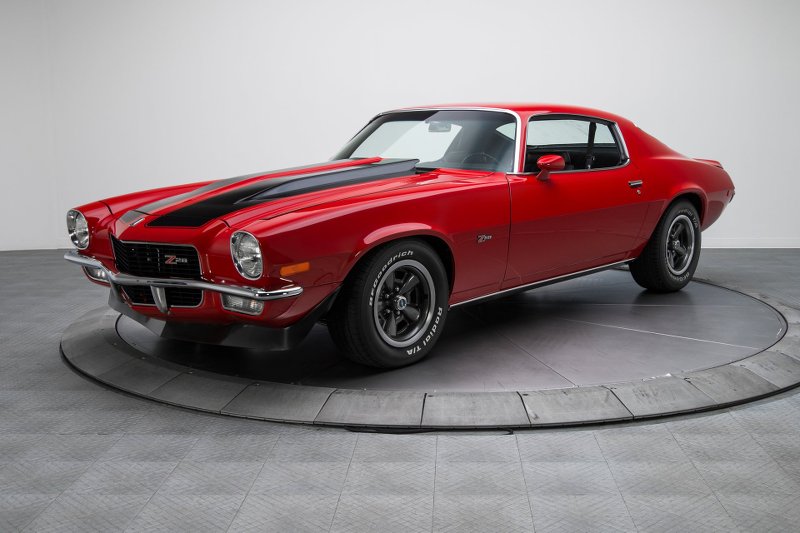
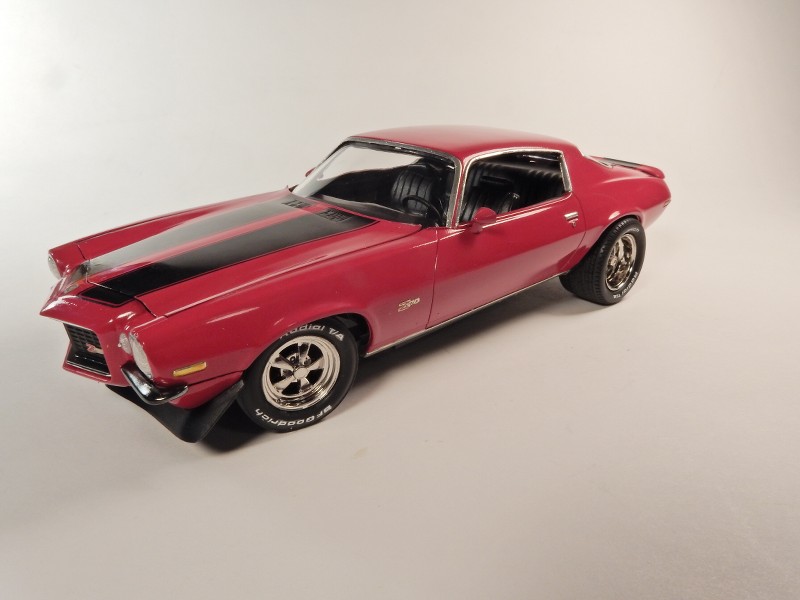
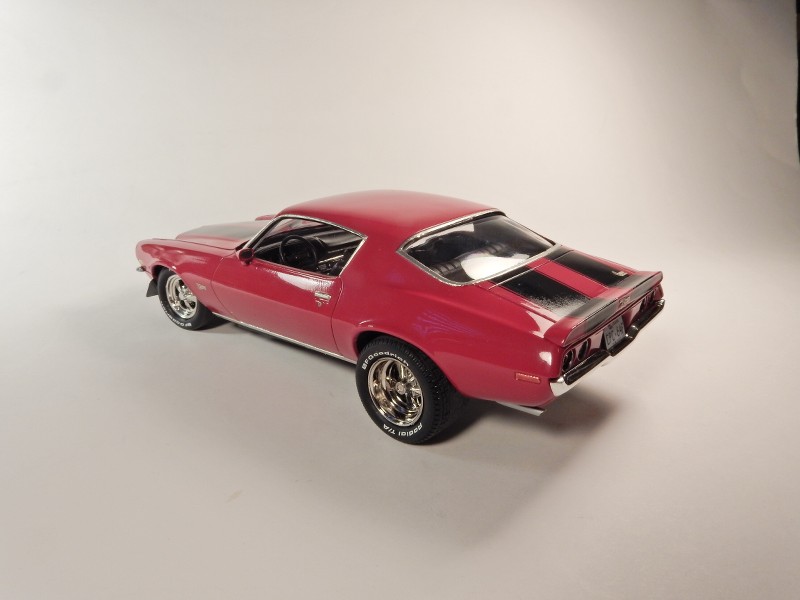
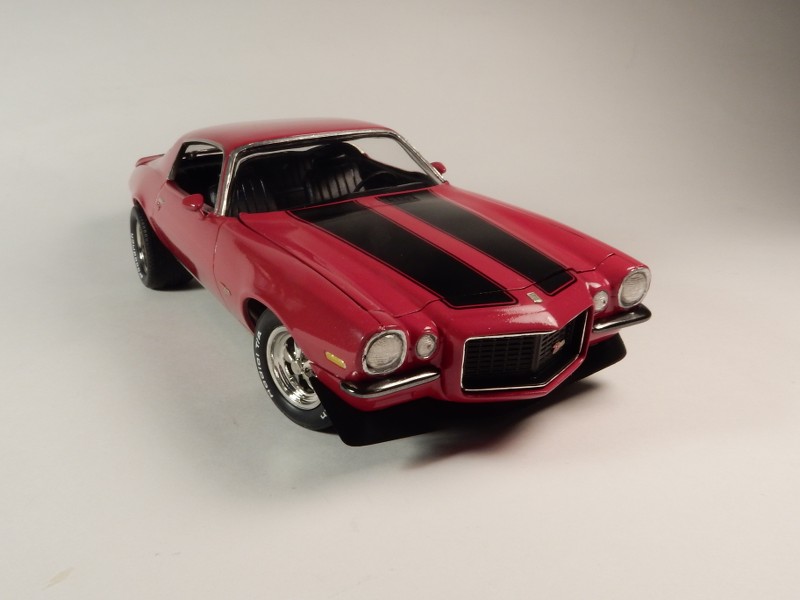
Most of the cars that I saw were yellow, green, brown and black but I wanted something different. I wanted red .....but not just any red....something that is out of the ordinary and magnetic to the eyes. My choice ended up being Cranberry Red. I fell in love with this car the second I saw it................


DIfNSa.jpg


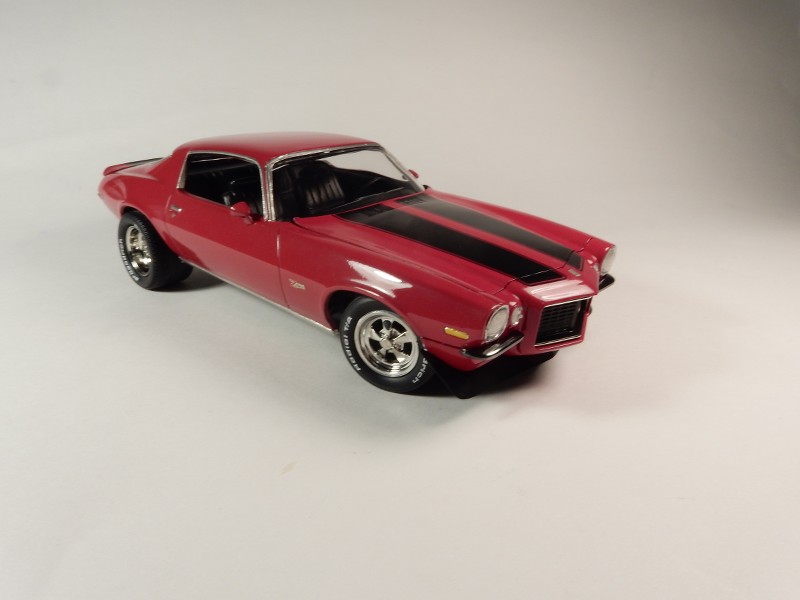
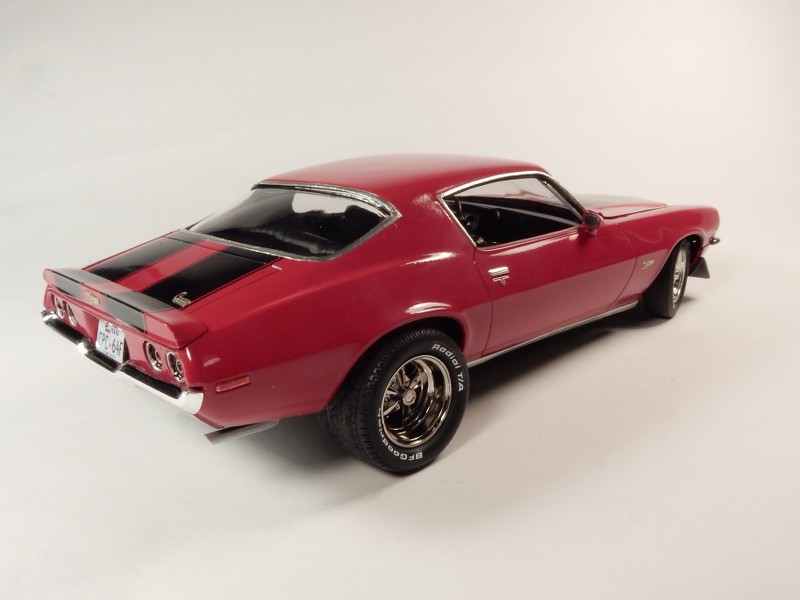
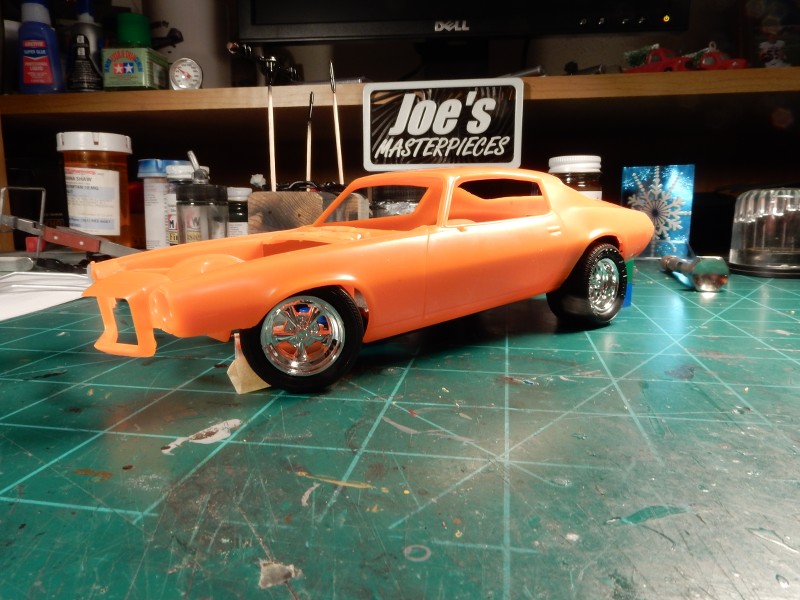
Now for the look I was after. The stock wheels and tires look alright, but I wanted something a bit more aggressive and with these wheels I wanted to drop the front stance in the front and raise the rear just enough to get the "meats" I had in mind to look how I wanted. I had the parts from three different kits to make the wheel & tire choices. In the following pic I would end up not using the front Cragar's in sourcing a more traditional looking set for the front.


3GswYS.jpg


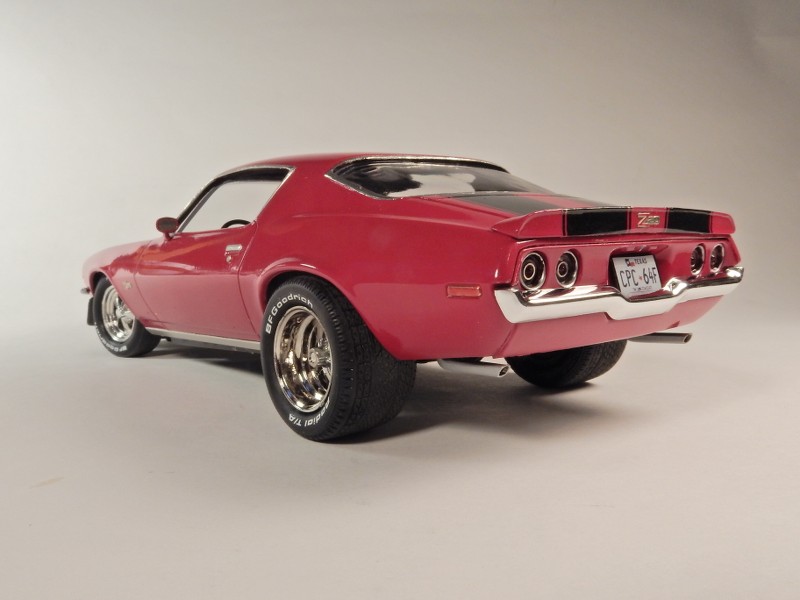
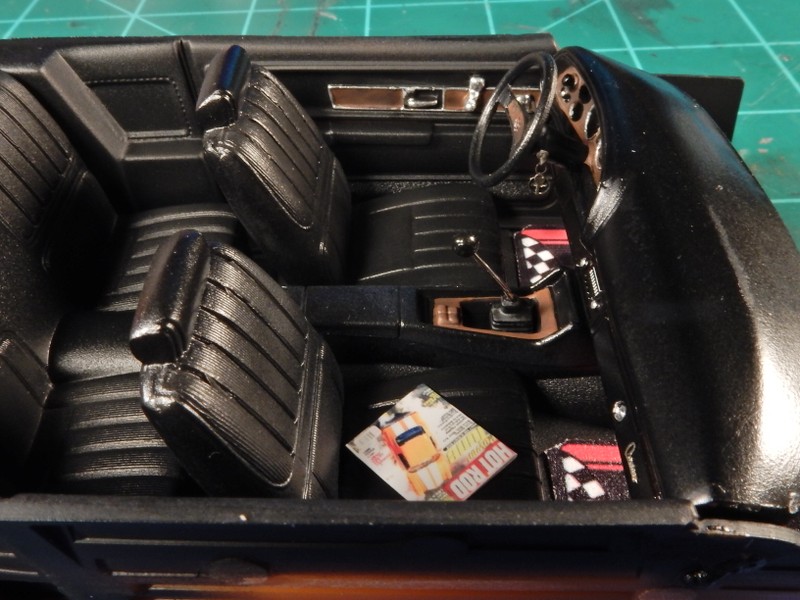
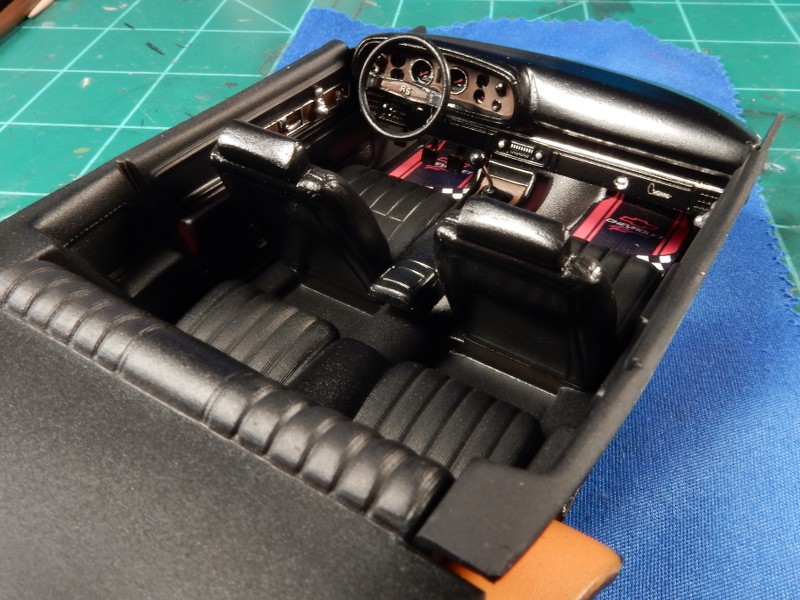
Other parts used throughout the build were the PE fret from Model Car Garage for the engine, interior and exterior details. Magazine in the seat from a supplier on Ebay years ago and decals from Speedway for the license plate. MCW supplied the Cranberry Red and Testors Wet Look was used for the clear coat. A light coat of Tamiya Smoke goes on the wheels to give them a more realistic look and bring out the details. The kit fought me some but wasn't too bad to build after reading reviews and looking over build threads from other folks who have built this same car.

twh8r3.jpg


8K1Nz6.jpg


QUaKba.jpg


Gjvjz0.jpg


V6pxqM.jpg


TAXBnO.jpg


0zayT2.jpg


f6cL1T.jpg


FBG7eG.jpg


rzfQ3k.jpg
 
Love it, you should be proud of this.
I remember seeing a camaro around town that was close to this. Stance was more level instead of lowered up front.
Just love this!
 
your comment about your dad seeing the engine and stopping the purchase reminds me of2 things…. my dad and my first purchase of a Plymouth road runner, he said he’d have ”put the kybash to it if he’d known what I was doing”
and George Thorogoods??; my dad said son you’re gonna drive me to drinkin if you don’t stop driving that hot rod Lincoln
all that aside…you’ve done a masterful job on the Camaro, it’s a thing of beauty!
 
Last edited:
I remember cruisin' The Loop many moons ago. There were SO many Camaros, we would comment that most of these HAD to be kit cars, since actual, factory Camaros were rare, indeed. Nice job, Sir!
 
Thanks, you guys. Yeah, I've always had a soft spot for these cars. One day, I hope to own one of these in real life.
 
Back
Top