Skinny_Mike
Well-known member
Well my P-47 build is just about wrapped up making it time to start a new project. I’ve been doing a lot of soul searching after Terry’s interesting “why don’t we build what we want” thread and in the end decided on my next few projects. All of which are things I have wanted to do for some time and for one reason or another haven’t. Some will fit in campaigns, others will not, but no matter, this is all about the ride! I’m going to go back to the time when I was staying motivated and actually finishing what I started, 2 projects at a time. So please follow along on this, my first aircraft project of 2016.
First a little bit of history. Way back in 2012 I decided to try my hand at posting a WIP thread. I thought that may keep me motivated to actually get through a project. Turns out that it did not, for a variety of reasons. The victim was a Kinetic F-16 MLU built as an Italian F-16 ADF. Here is a picture of the plane I was planning to build.

And you can follow this link to see the WIP thread. BTW – the gentleman commenting and offering all the tips was the same guy that painted the tail for the Italian Air Force. He knows this plane inside and out.
The Kinetic kit, in truth isn’t great but with some basic modelling skills it can be built into an ok representation of an F-16. Sure there are some issues that the rivet counters love to bash it over but it sure looks like an F-16 to me. The kit is relatively inexpensive however and comes with a ton of weapons that will feed the spares bin. You need to weigh the good and the bad.
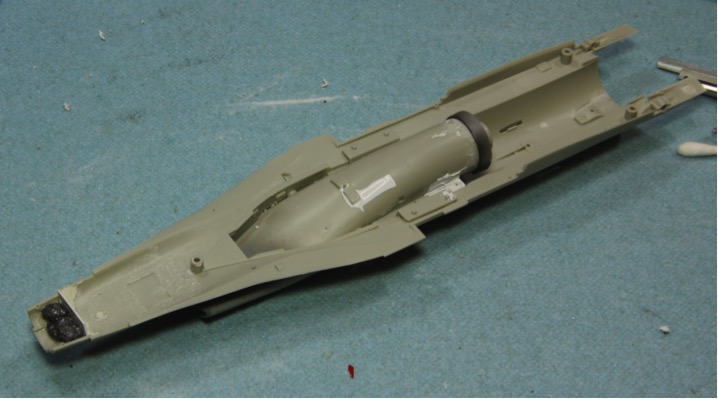
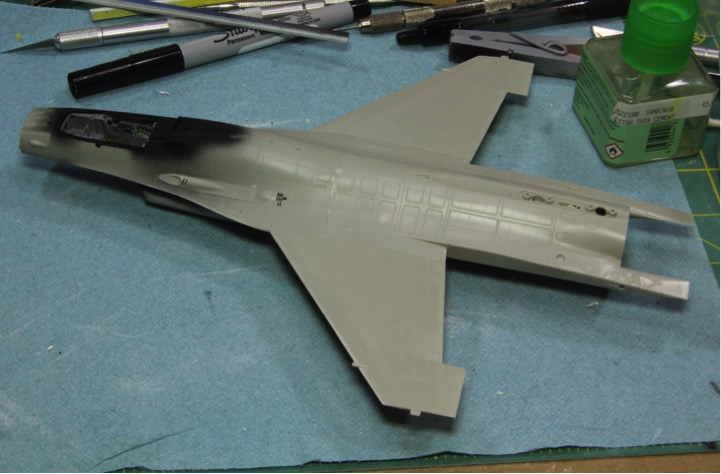
My build stalled out for a few reasons and finally hit the trash bin when I decided that I just could not live with the very obvious mistakes I made. But I have spent the last 3+ years pulling out the kit and looking at it because I really want this bird on my display shelf. So fast forward to today, when I start over.
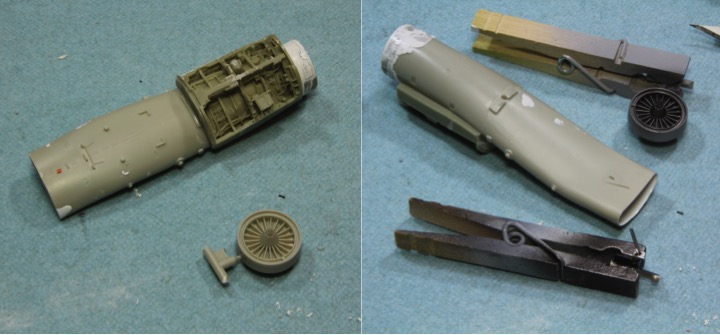
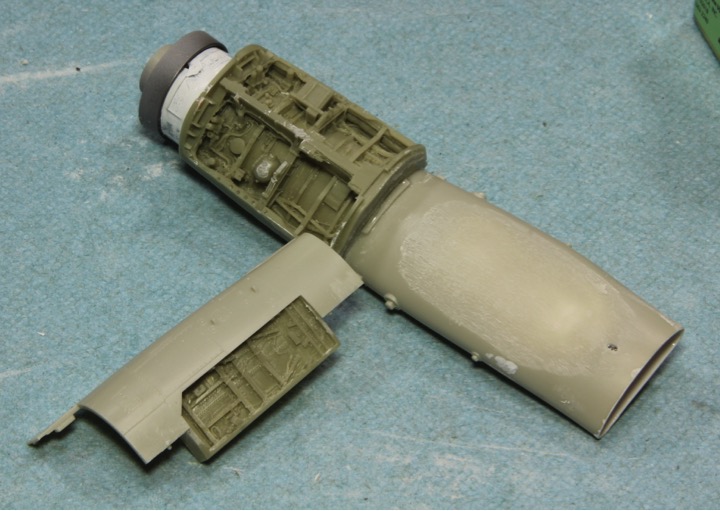
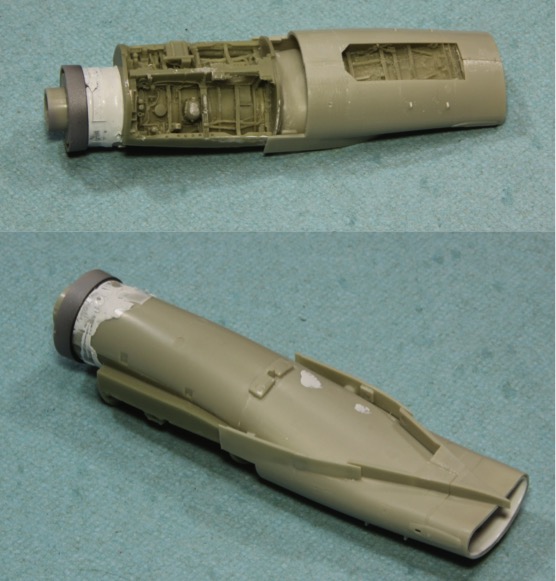
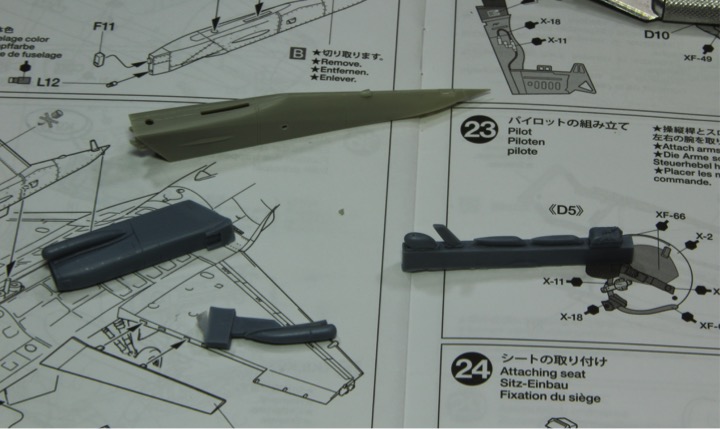
This time I am getting more ambitious. My plan is to convert a Tamiya F-16C backwards to an F-16ADF. The ADF version is basically an F-16A Block 15 modified for the Air National Guard specifically for Air to Air Missions. There are some differences between the F-16A and the F-16C so I will need to do some conversion work but that is part of the draw of this project for me, and the Tamiya kit is a joy to build straight out of the box so this will be fun. Ok – so here’s the kit and the aftermarket.

And here are the details:
Tamiya F-16C Block 25/32
Two Bobs Decals for L’ultima Diana
Astra Decals Reinforcement Panels
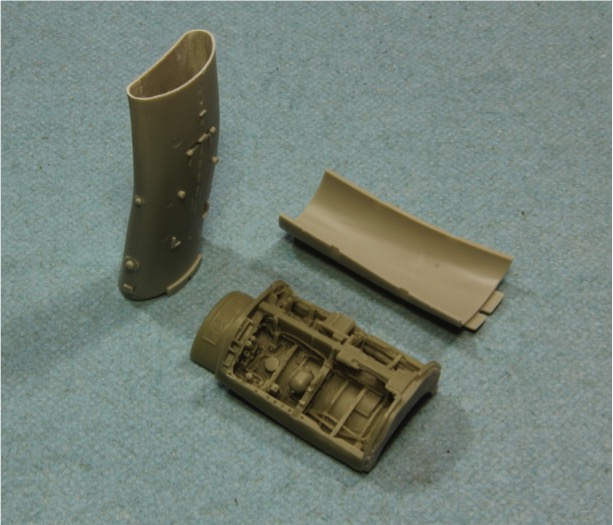
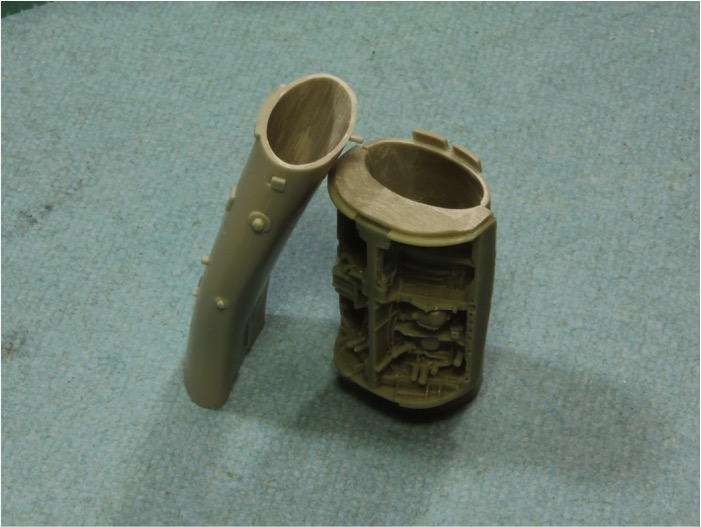
CMK F-16A Cockpit
PWMP F-16 ADF Tail
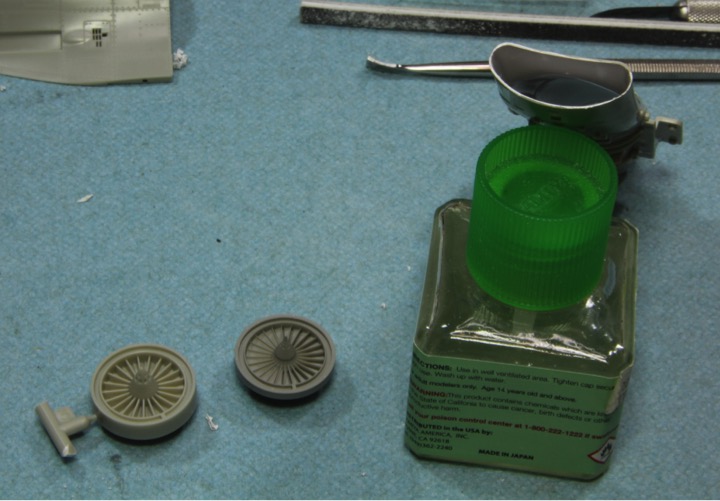
Royale Resin Block 1-32 wheels, Late
Royale Resin Radome (Not pictured)
Sierra Hotel F-16C Cockpit set (for the seat)
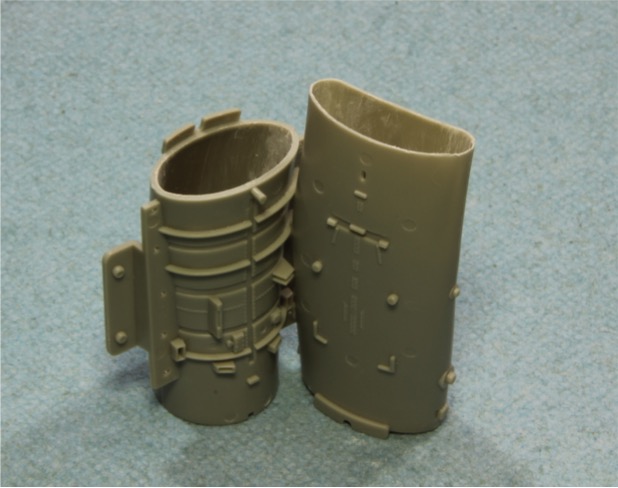
I do need to figure something out for the engine exhaust. I do have the Block 15 exhaust nozzle for the Kinetic kit still, but I’m not sure if it will fit. We’ll just need to see when we get there.
At the same time, I am going to work on a second non-US F-16. This one will be a Greek AF F-16C Block 52+, kind of an old verses new type thing going on here. This will also be completed from a Tamiya F-16 kit. This time I am going to use the F-16C/N Aggressor kit. This particular kit has all the parts to build every version of the F-16C making it a great starting point. The Hellenic AF planes have the unique ghost camo scheme and the Block 52s can be configured with conformal fuel tanks.

And of course there is plenty of aftermarket that I plan to use. Here's the list:
Two Bobs Decals
Wolfpack Design F-16C Falcon Dragchute Housing
Wolfpack Design F-16CJ Block 50/52 Falcon Update
Aires Landing Gear Bays
Wheelliant F-16C Wheels
Eduard Brassin F-16CJ Block 52 Exhaust nozzle
Eduard Brassin AIM 2000 IRIS-T Missiles
I am also planning to cast a copy of the Kinetic conformal fuel tanks from my F-16I kit and mate them to this build. This will be my first attempt at casting parts, so we will see how it goes. But I am using the opportunity to expand my skills and expand the old modelling toolkit!

When you put all of this together for the entire project, its quite the pile!

I also have some great reference material for this project.

For anyone planning to build an F-16, I highly recommend these books. They are fantastic.
This is going to be a fun build that I am really looking forward to and this build coupled with my JadgPanther for the Tanker’s Tangle is really going to be a fun start to the new hobby year and Skinny Mike’s new model building philosophy! Time to get a move on!
Thanks for looking, and see you all soon
Mike
First a little bit of history. Way back in 2012 I decided to try my hand at posting a WIP thread. I thought that may keep me motivated to actually get through a project. Turns out that it did not, for a variety of reasons. The victim was a Kinetic F-16 MLU built as an Italian F-16 ADF. Here is a picture of the plane I was planning to build.
And you can follow this link to see the WIP thread. BTW – the gentleman commenting and offering all the tips was the same guy that painted the tail for the Italian Air Force. He knows this plane inside and out.
The Kinetic kit, in truth isn’t great but with some basic modelling skills it can be built into an ok representation of an F-16. Sure there are some issues that the rivet counters love to bash it over but it sure looks like an F-16 to me. The kit is relatively inexpensive however and comes with a ton of weapons that will feed the spares bin. You need to weigh the good and the bad.
My build stalled out for a few reasons and finally hit the trash bin when I decided that I just could not live with the very obvious mistakes I made. But I have spent the last 3+ years pulling out the kit and looking at it because I really want this bird on my display shelf. So fast forward to today, when I start over.
This time I am getting more ambitious. My plan is to convert a Tamiya F-16C backwards to an F-16ADF. The ADF version is basically an F-16A Block 15 modified for the Air National Guard specifically for Air to Air Missions. There are some differences between the F-16A and the F-16C so I will need to do some conversion work but that is part of the draw of this project for me, and the Tamiya kit is a joy to build straight out of the box so this will be fun. Ok – so here’s the kit and the aftermarket.
And here are the details:
Tamiya F-16C Block 25/32
Two Bobs Decals for L’ultima Diana
Astra Decals Reinforcement Panels
CMK F-16A Cockpit
PWMP F-16 ADF Tail
Royale Resin Block 1-32 wheels, Late
Royale Resin Radome (Not pictured)
Sierra Hotel F-16C Cockpit set (for the seat)
I do need to figure something out for the engine exhaust. I do have the Block 15 exhaust nozzle for the Kinetic kit still, but I’m not sure if it will fit. We’ll just need to see when we get there.
At the same time, I am going to work on a second non-US F-16. This one will be a Greek AF F-16C Block 52+, kind of an old verses new type thing going on here. This will also be completed from a Tamiya F-16 kit. This time I am going to use the F-16C/N Aggressor kit. This particular kit has all the parts to build every version of the F-16C making it a great starting point. The Hellenic AF planes have the unique ghost camo scheme and the Block 52s can be configured with conformal fuel tanks.
And of course there is plenty of aftermarket that I plan to use. Here's the list:
Two Bobs Decals
Wolfpack Design F-16C Falcon Dragchute Housing
Wolfpack Design F-16CJ Block 50/52 Falcon Update
Aires Landing Gear Bays
Wheelliant F-16C Wheels
Eduard Brassin F-16CJ Block 52 Exhaust nozzle
Eduard Brassin AIM 2000 IRIS-T Missiles
I am also planning to cast a copy of the Kinetic conformal fuel tanks from my F-16I kit and mate them to this build. This will be my first attempt at casting parts, so we will see how it goes. But I am using the opportunity to expand my skills and expand the old modelling toolkit!
When you put all of this together for the entire project, its quite the pile!
I also have some great reference material for this project.
For anyone planning to build an F-16, I highly recommend these books. They are fantastic.
This is going to be a fun build that I am really looking forward to and this build coupled with my JadgPanther for the Tanker’s Tangle is really going to be a fun start to the new hobby year and Skinny Mike’s new model building philosophy! Time to get a move on!
Thanks for looking, and see you all soon
Mike
")