Tankbuilder
Active member
My second entry for this group build.
This is actually the first part of a three part diorama series I've planned. The series will depict Canadians during the Normandy Campaign.
This dioram will be the 25 pounder gun firing at a Mike Target. A Mike Target was intense and prolonged firing of the gun. Therefore there will be hundreds of spent cartridges near this gun.
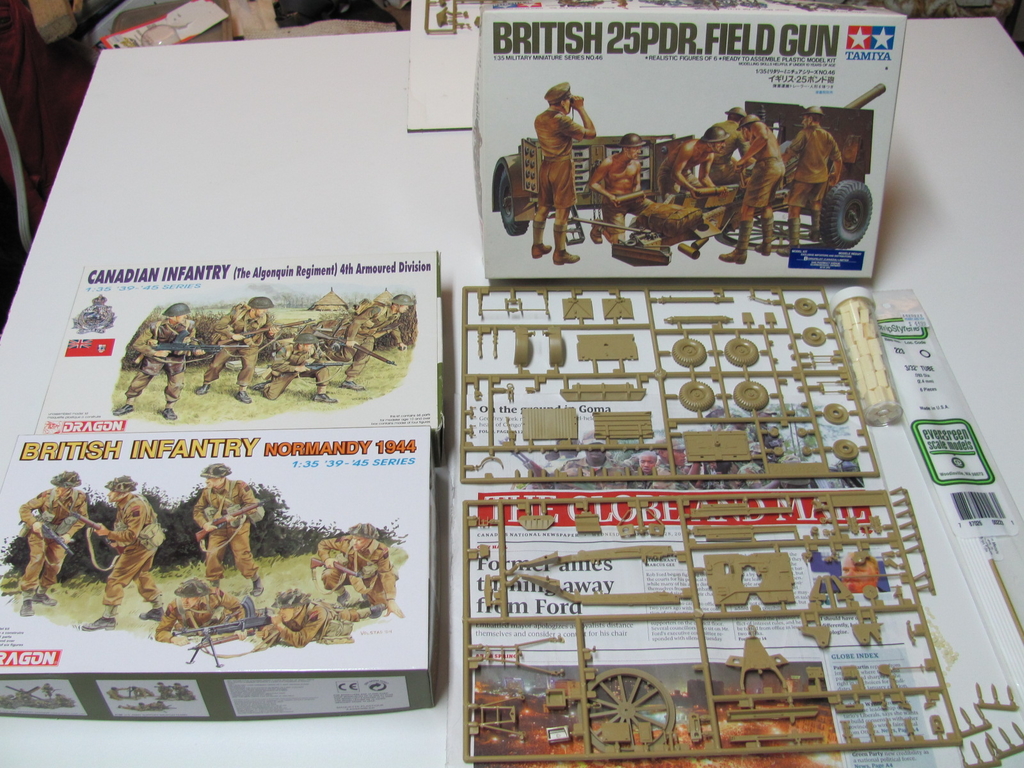
The lower torsos from some of these Dragon figure will be coupled with the upper torsos of the kit figures to create suitable figures for Normandy.
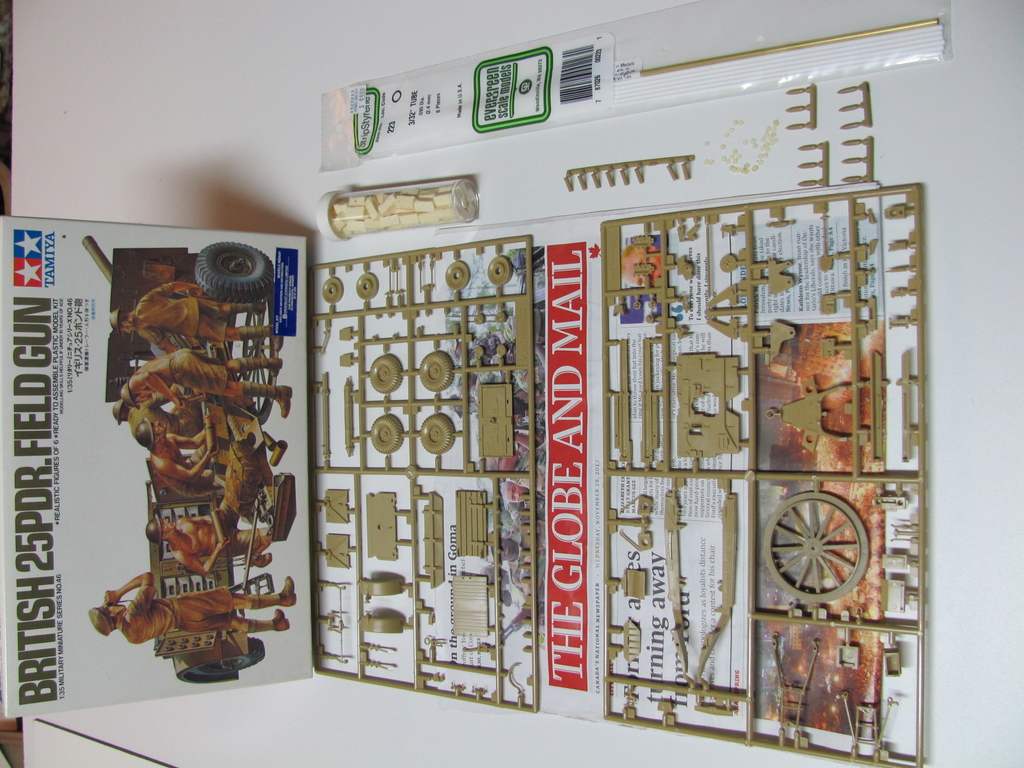
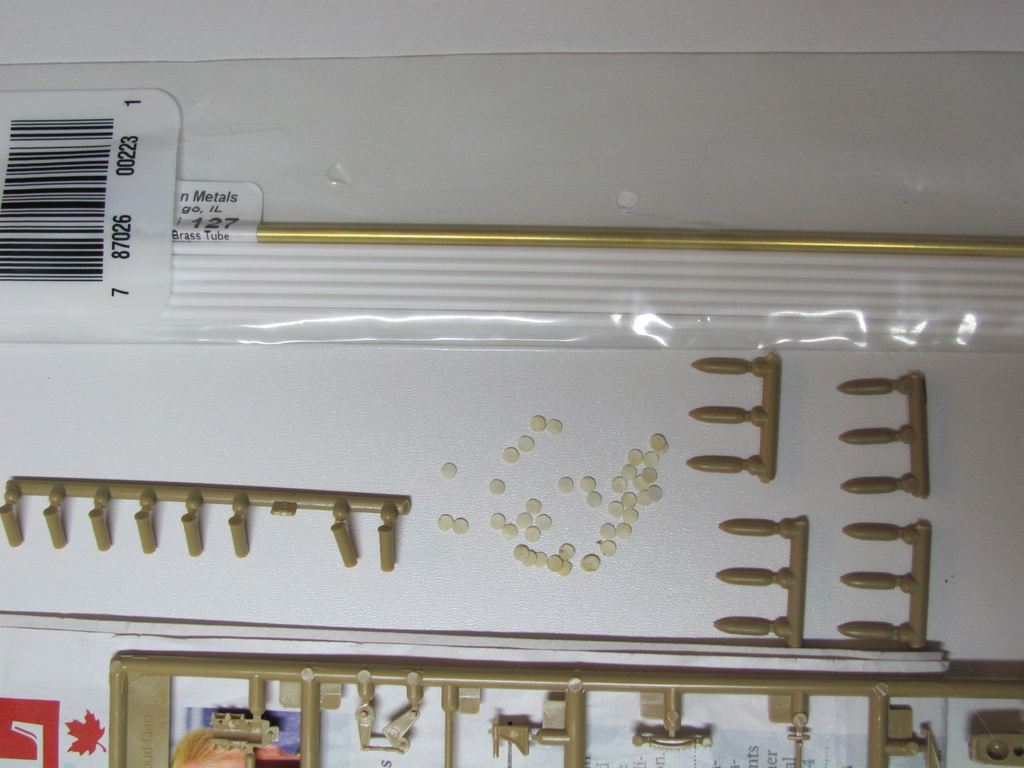
The 3/32" white tubing will be cut into short pieces to make the empty cartridge casings with. Each one will have a tiny white plastic disc attached to one end. The Brass tubing will have asection cut off and it will be used to allign each disc onto the plastic cartridge piece.
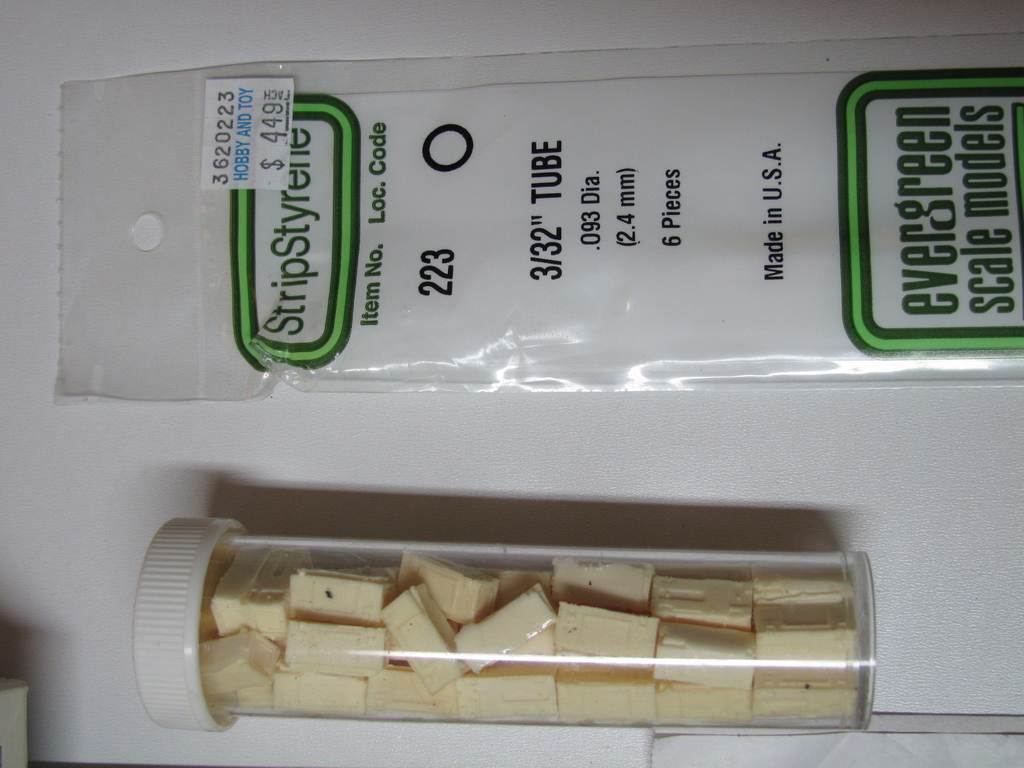
The plastic container has 50 resin 25 pounder amo boxes in it. Some will be used in this diorama but the vast majority of them will be used in the truck resupply diorama.
Here's the 25 pounder gun kit and newspaper.
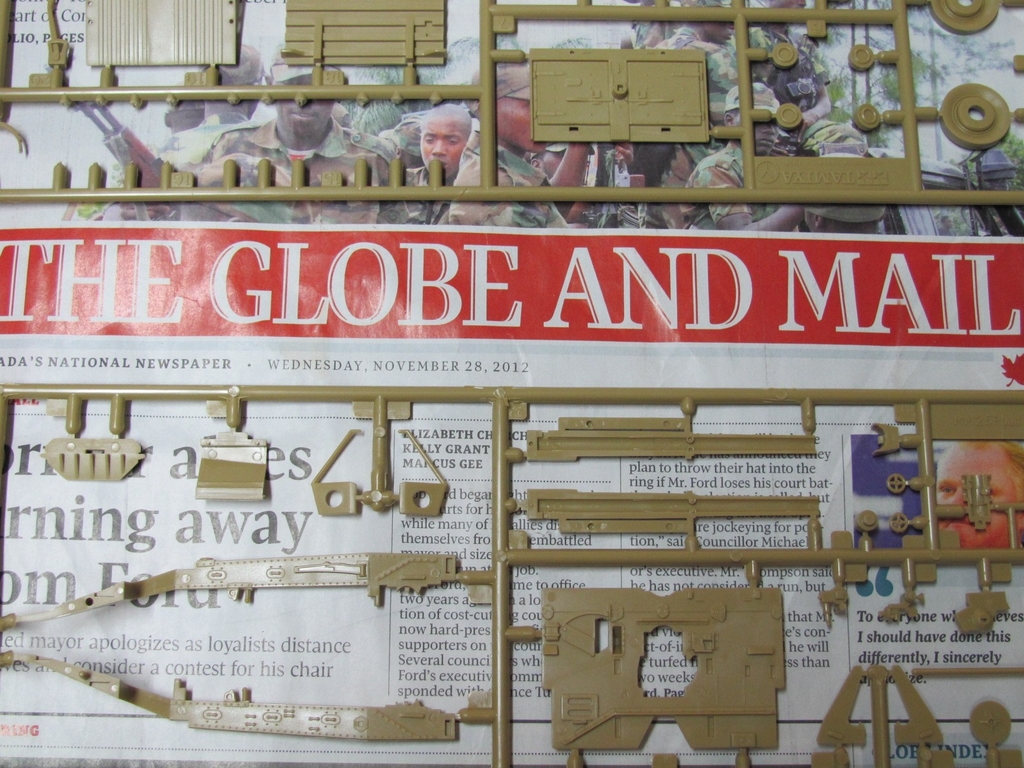
Here's the date.
Kit shells and cartridges plus the makings for the spent casings.
I will use about 10 of these 50 ammo boxes.
The gun kit and the figures for the modified gun crew.
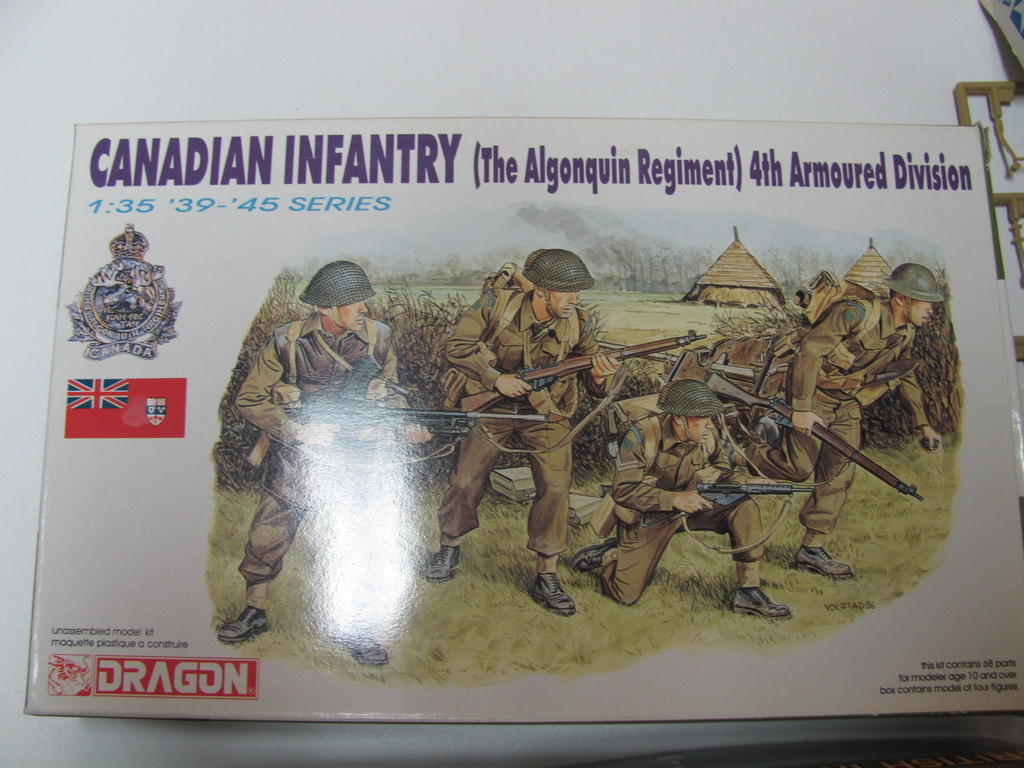
The Canadian Infantry figures from Dragon. The Canadian uniforms were darker than the British ones and that's about the only difference between the two countries.
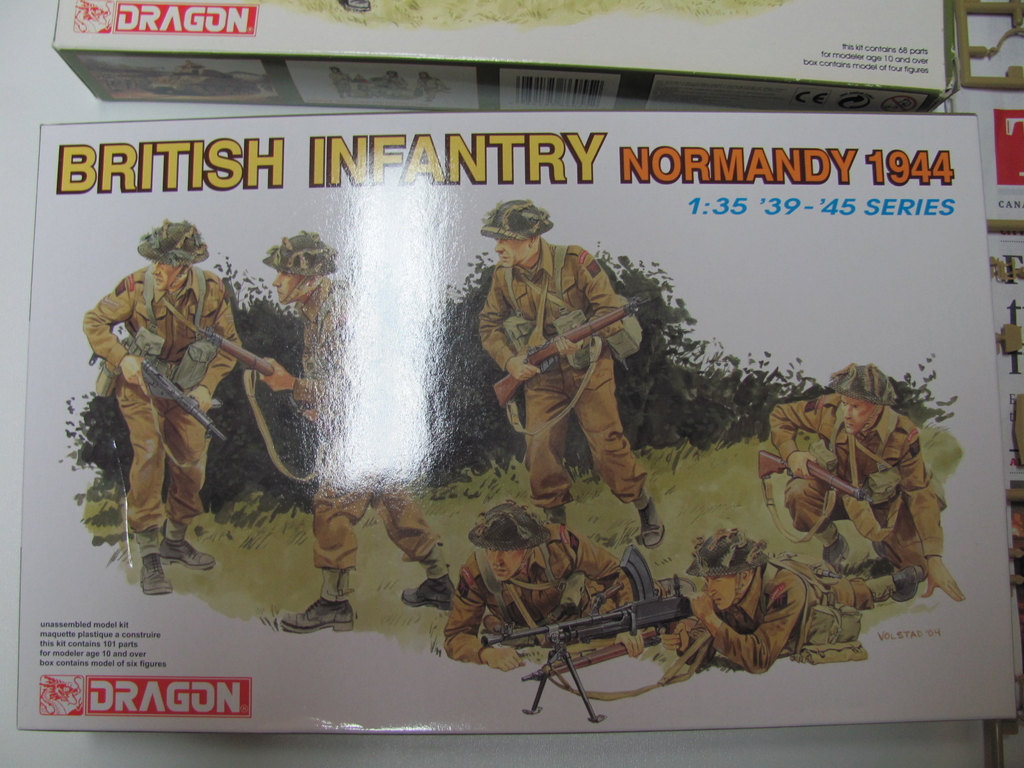
The British Infantry figures from Dragon.
I'll be working on this gun along with the IDF gun.
Thanks for looking. Comments are welcome. Cheers
This is actually the first part of a three part diorama series I've planned. The series will depict Canadians during the Normandy Campaign.
This dioram will be the 25 pounder gun firing at a Mike Target. A Mike Target was intense and prolonged firing of the gun. Therefore there will be hundreds of spent cartridges near this gun.
The lower torsos from some of these Dragon figure will be coupled with the upper torsos of the kit figures to create suitable figures for Normandy.
The 3/32" white tubing will be cut into short pieces to make the empty cartridge casings with. Each one will have a tiny white plastic disc attached to one end. The Brass tubing will have asection cut off and it will be used to allign each disc onto the plastic cartridge piece.
The plastic container has 50 resin 25 pounder amo boxes in it. Some will be used in this diorama but the vast majority of them will be used in the truck resupply diorama.
Here's the 25 pounder gun kit and newspaper.
Here's the date.
Kit shells and cartridges plus the makings for the spent casings.
I will use about 10 of these 50 ammo boxes.
The gun kit and the figures for the modified gun crew.
The Canadian Infantry figures from Dragon. The Canadian uniforms were darker than the British ones and that's about the only difference between the two countries.
The British Infantry figures from Dragon.
I'll be working on this gun along with the IDF gun.
Thanks for looking. Comments are welcome. Cheers


