Hi guys! Back with another update. This one is a little long...
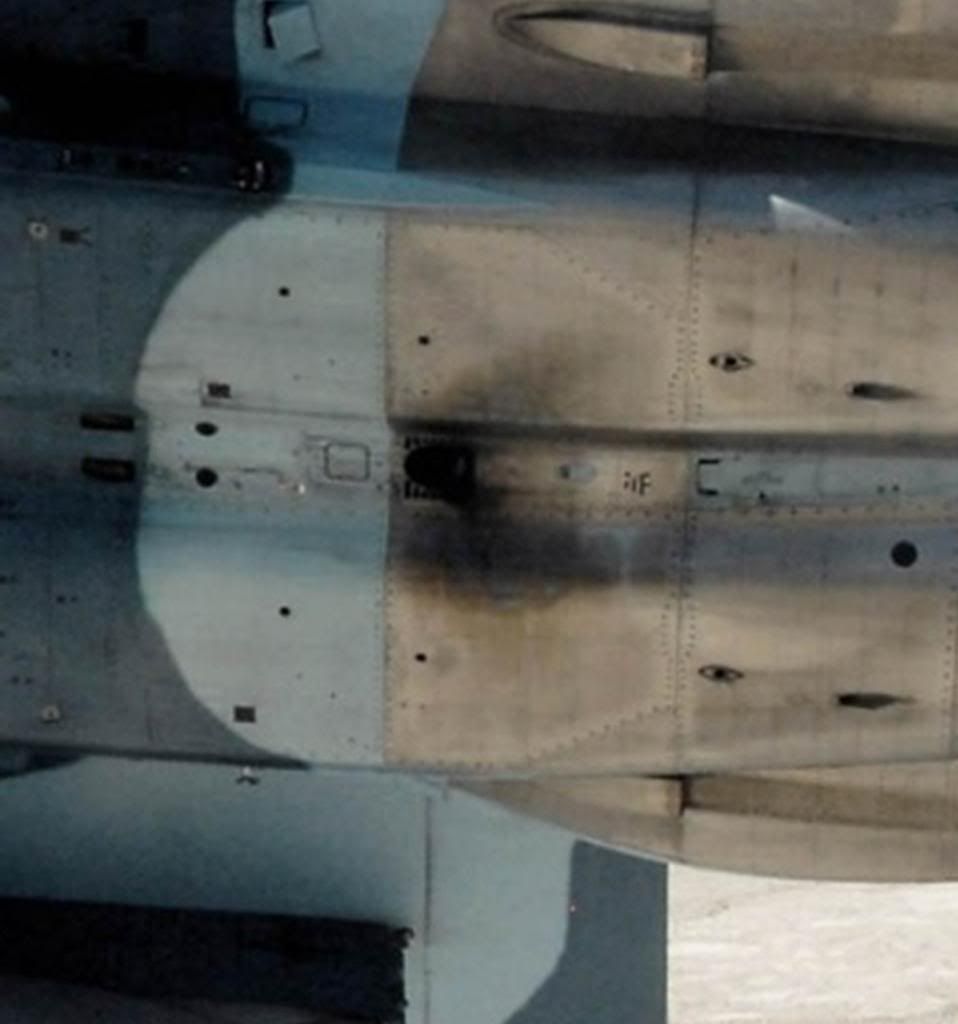
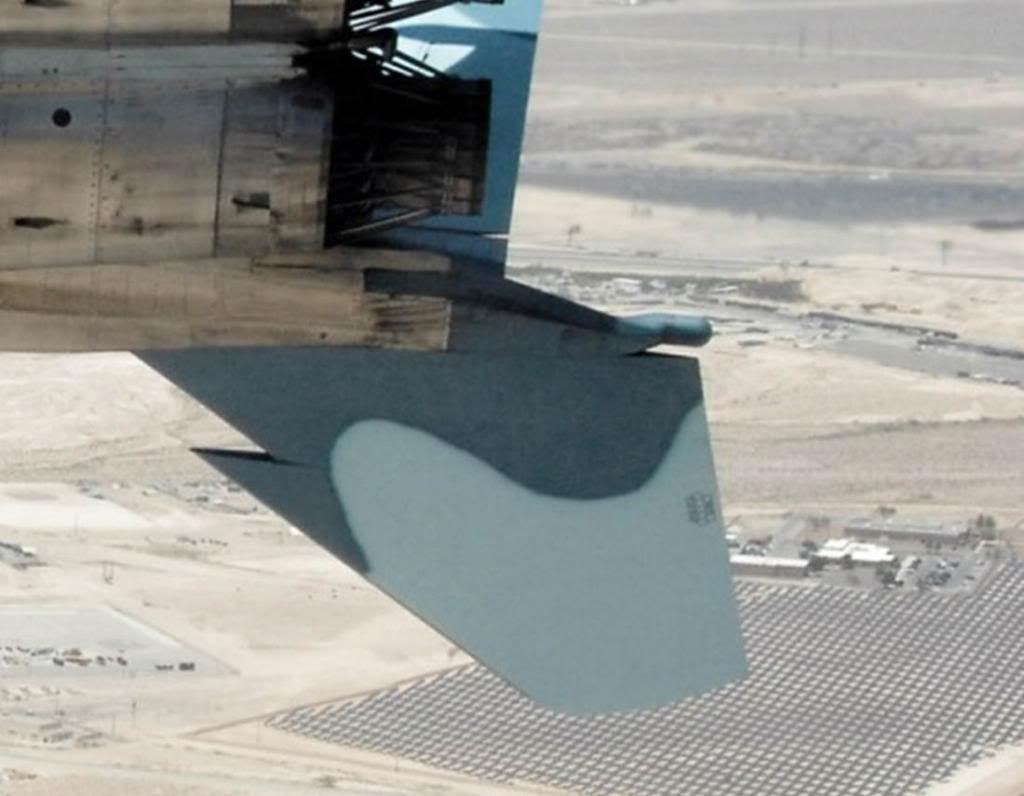
Next step after the intakes was to update the Jet Fuel Started Exhaust. F-15s were updated with a new exhaust and the Hasegawa kit sit has the old screened over hole. The exhaust sits between the engines and is located on the bottom of the aircraft, just aft of where the natural titanium starts. Here is what the exhaust looks like today.
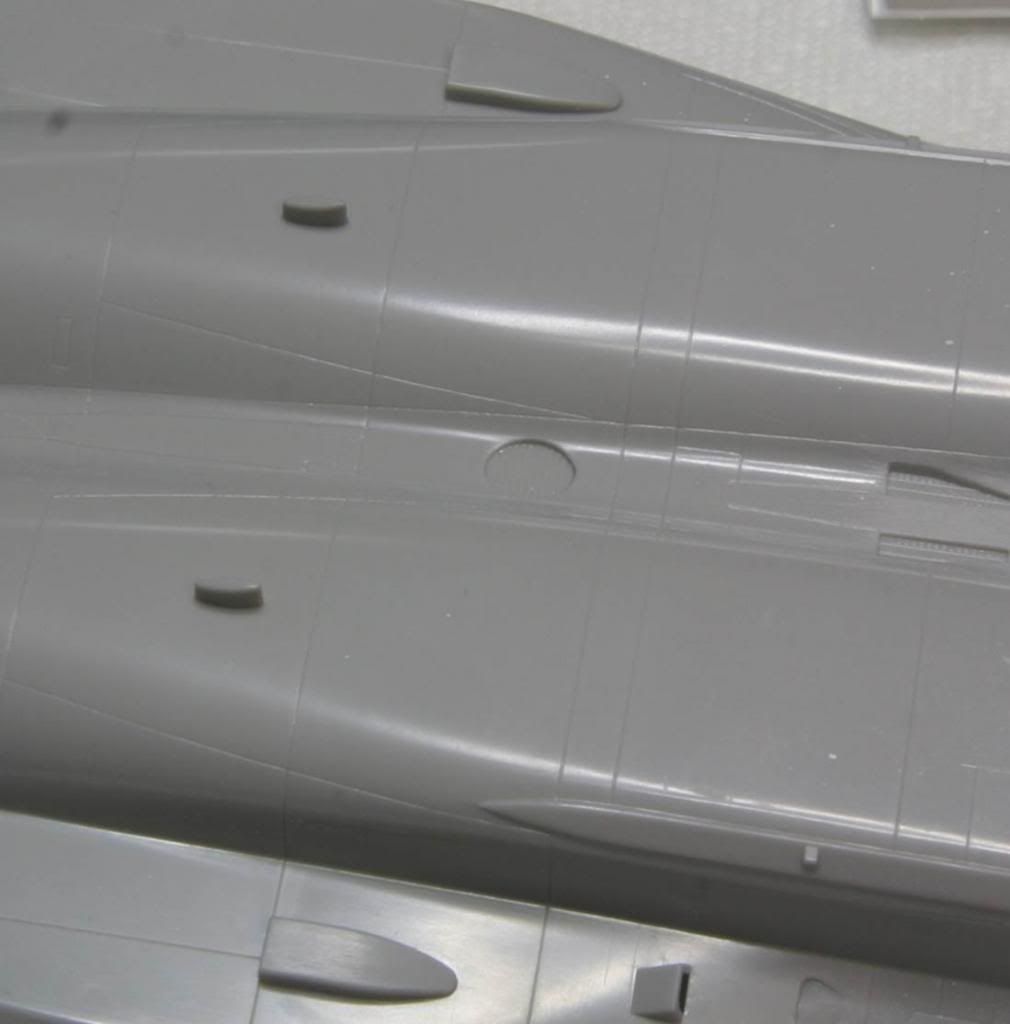
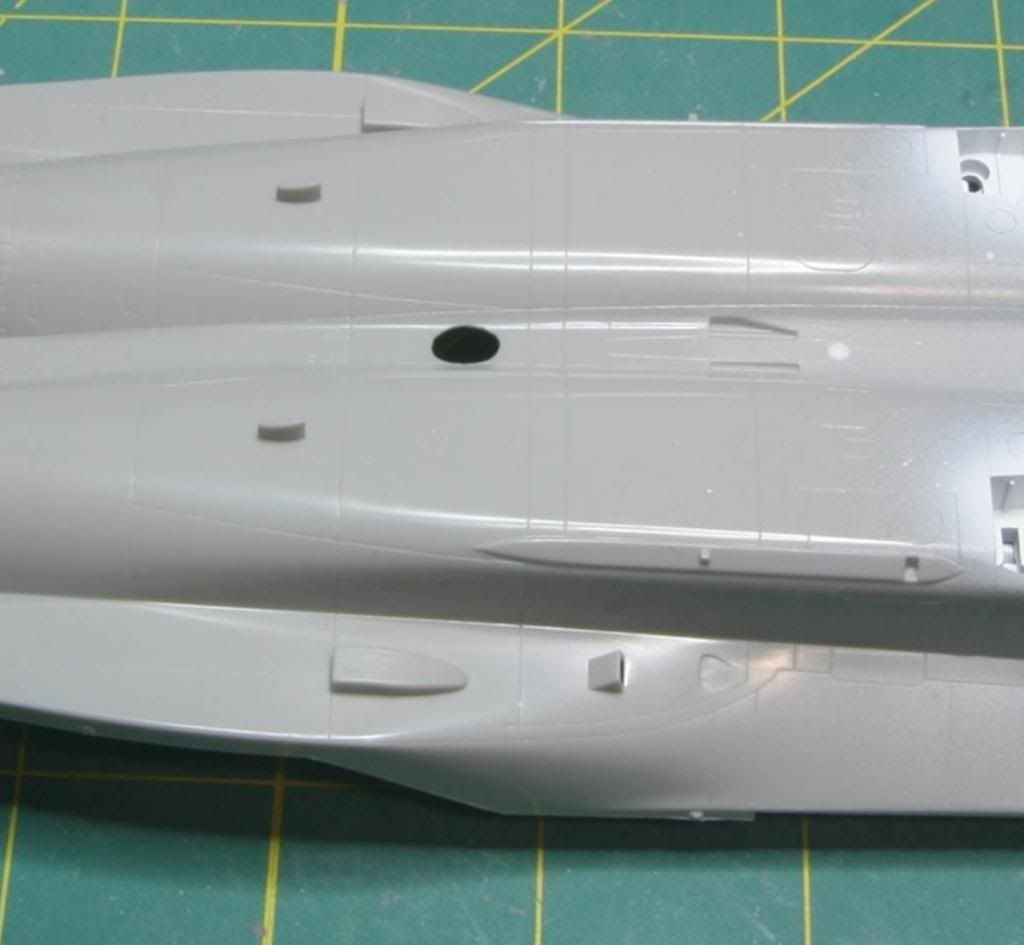
And here is what it looks like on the kit
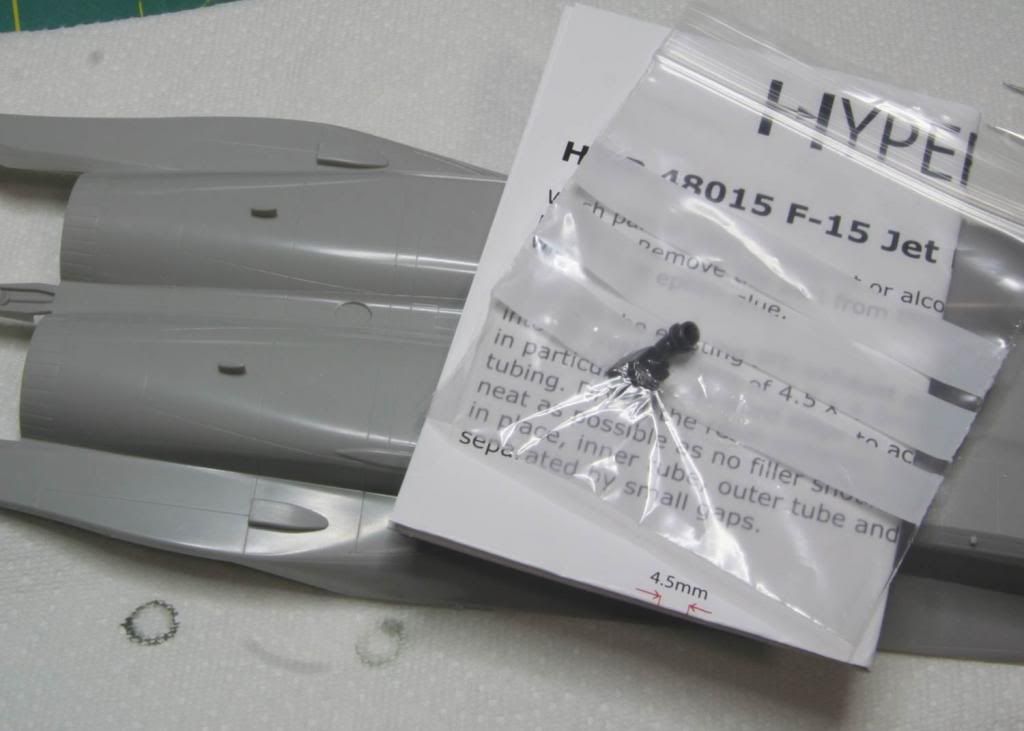
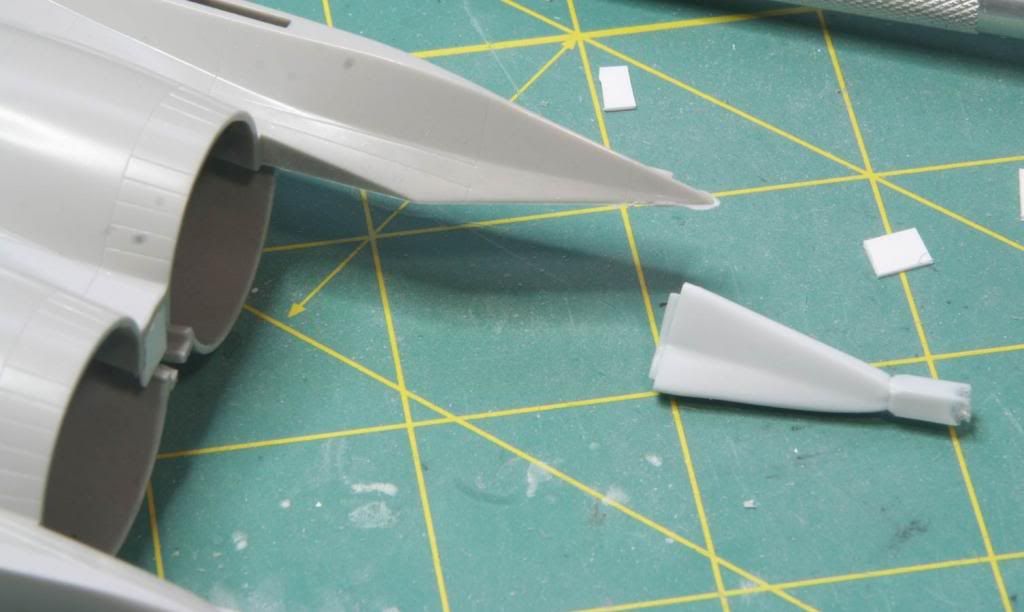
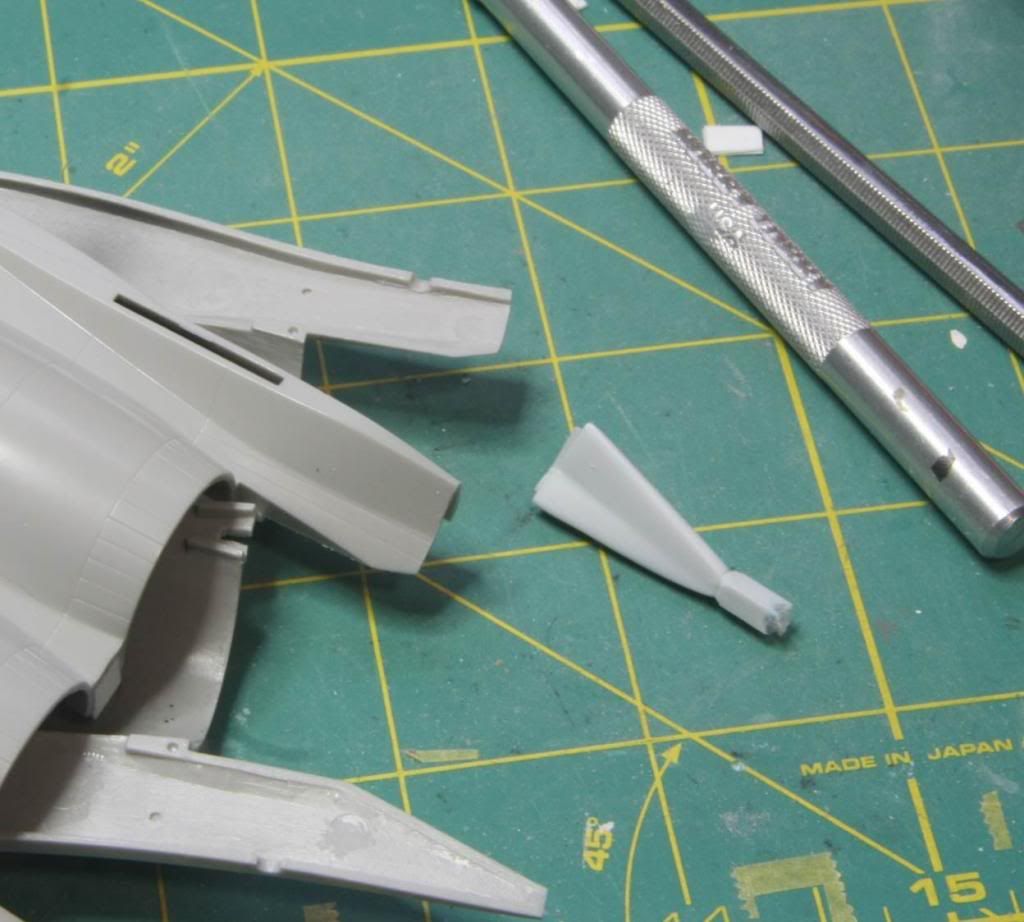
I used the Hypersonic Models resin part for the upgrade.
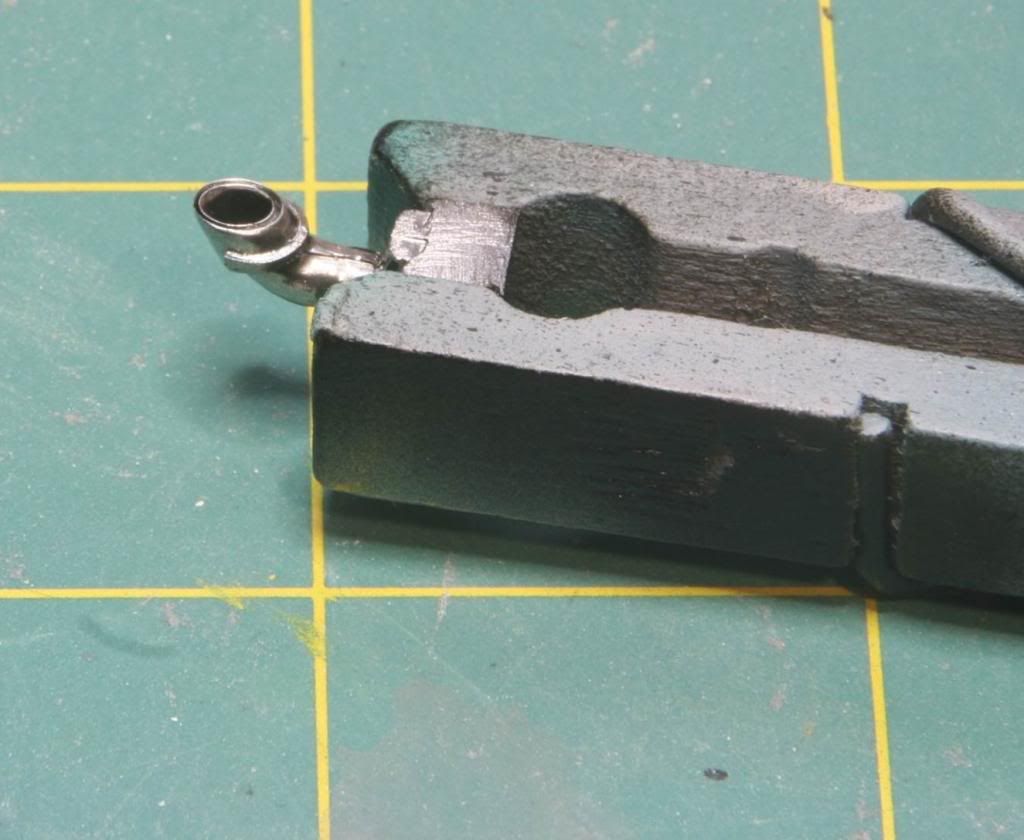
I painted the part in Alclad Stainless Steel. I wanted that dark metallic look.
I sanded out the kit exhaust from the inside and then thinned out the plastic on the inside.
Then a dry fit revealed a bit of a problem
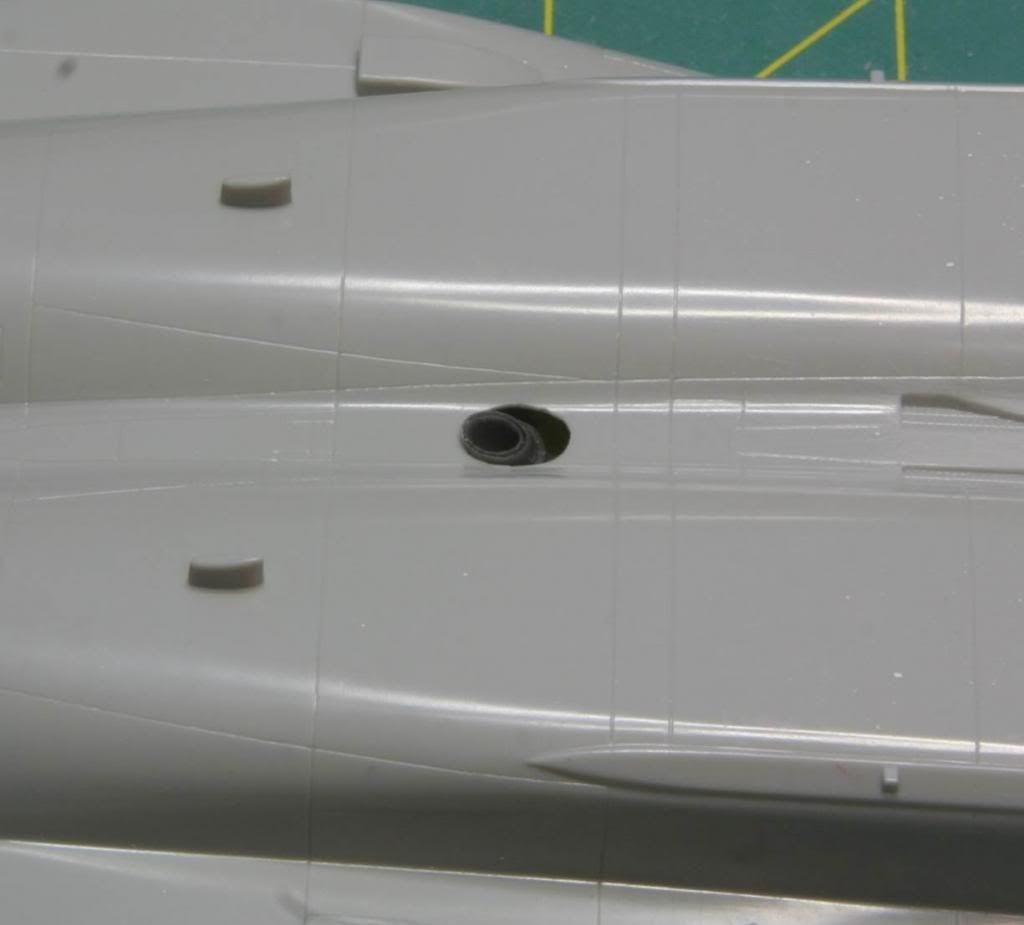
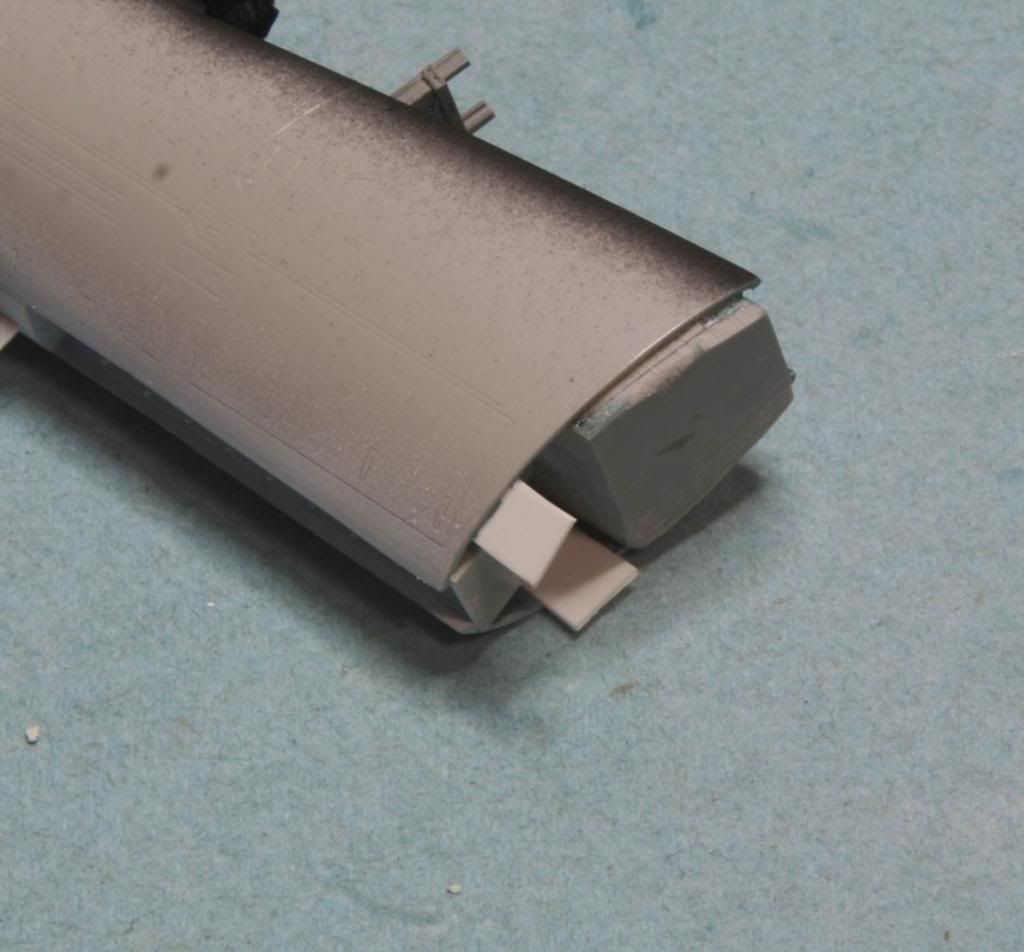
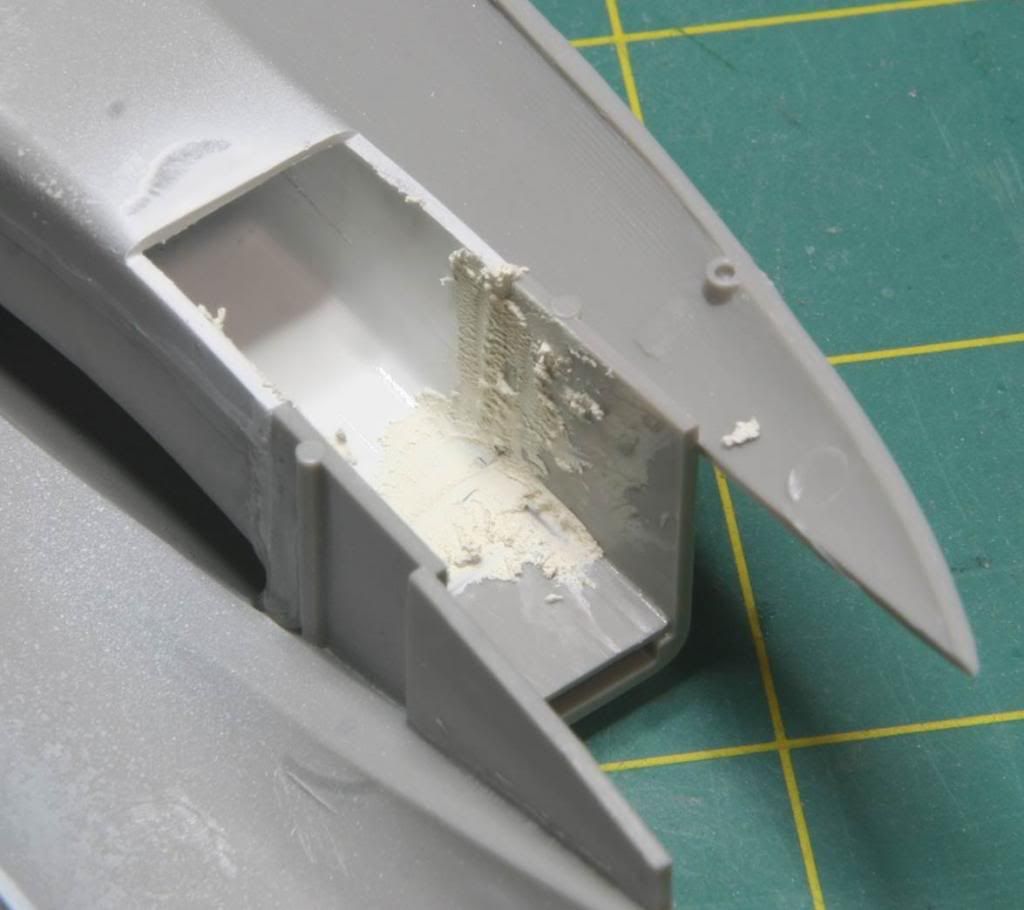
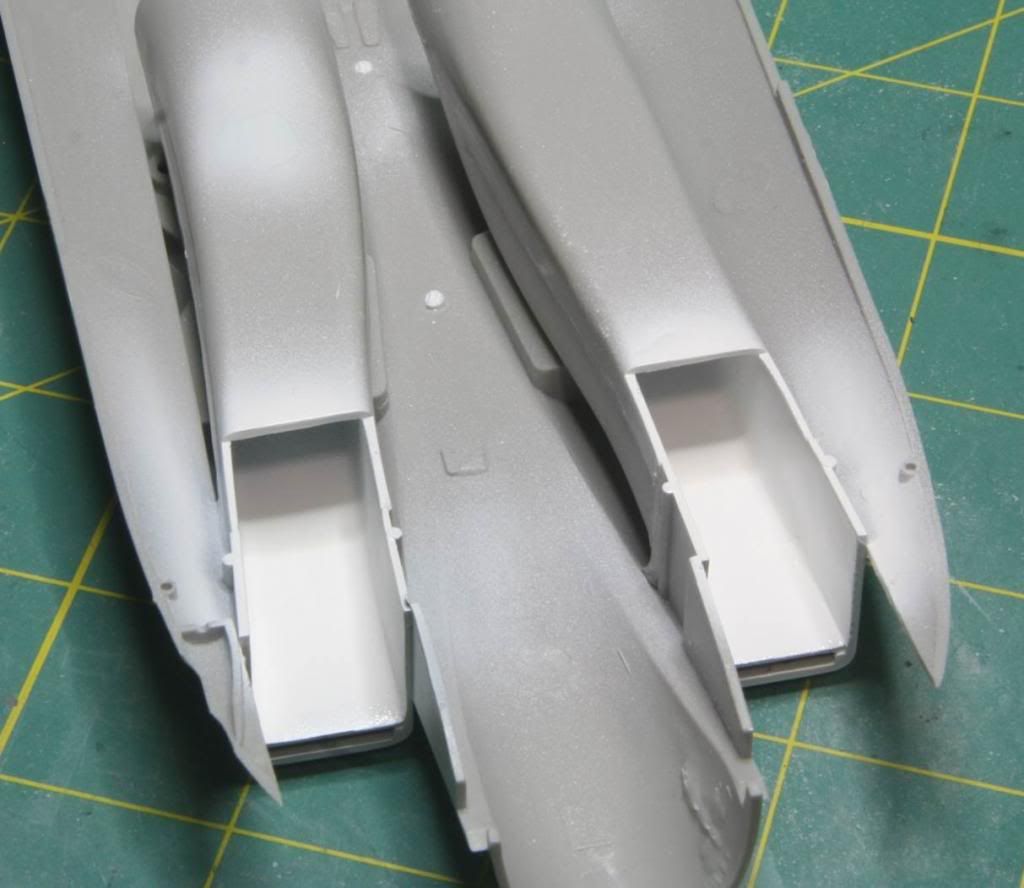
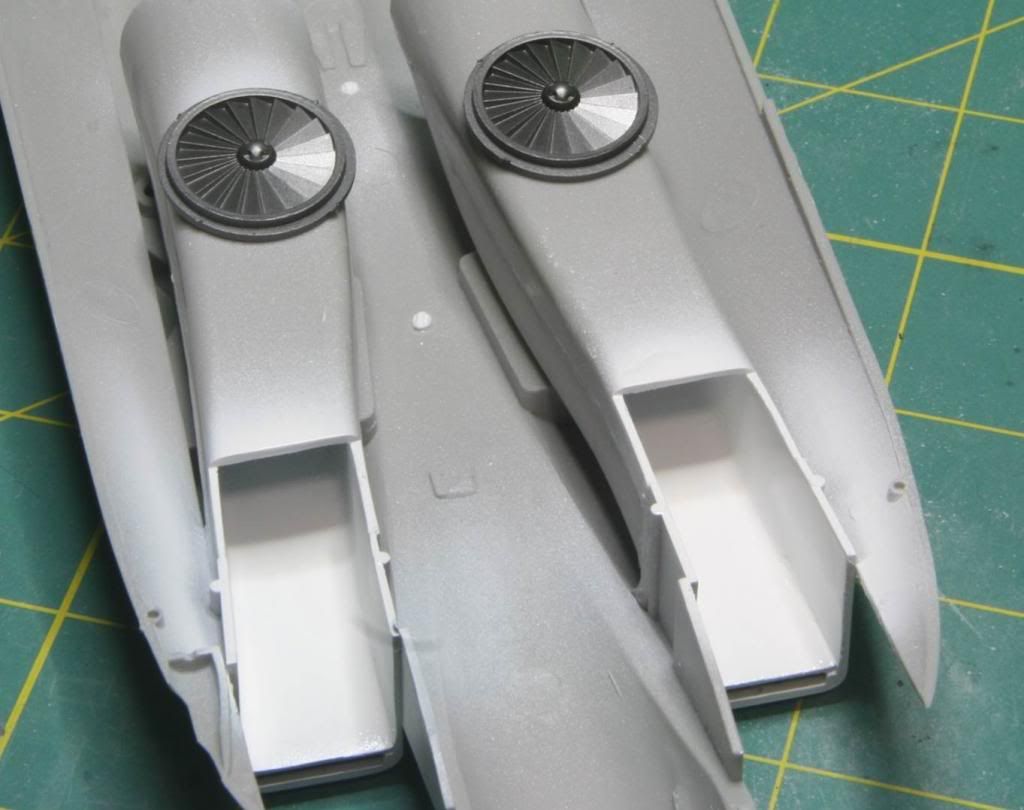
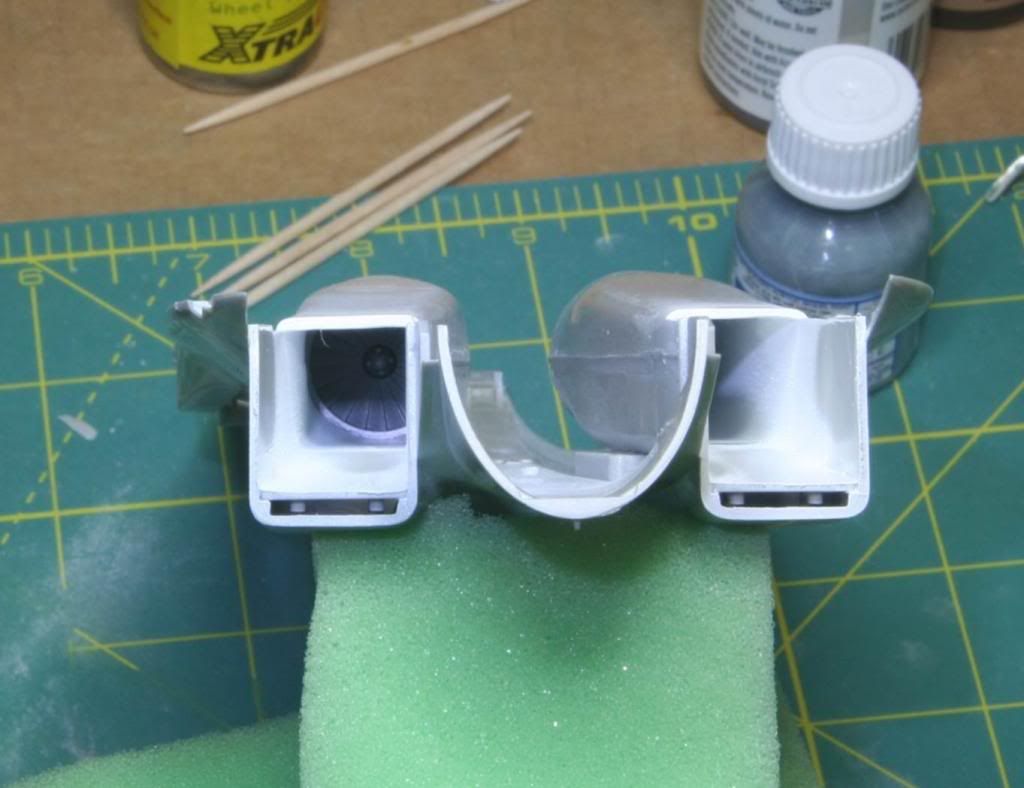
The hole on the kit was too big! Turns out that the hole, as descried in the hypersonic instructions (probably should have read those!) is smaller than the old exhaust on the kit. :bandhead2:/>/> So I had to fix it. I used some plastic card, drill out the appropriate sized hole and then shaped the outside to fit within the hole I had made in the bottom of the fuselage. I used some Tamiya Cement to get a good bond then used some Miliput to clean up the seam. After a coat of Tamiya Silver Leaf to check for seams, I added some more putty and cleaned it up some more and polished out the scratches. Once the hole was finished I installed the JFS. To do this I used a dab of putty and I continuously adjusted the installation until the putty had solidifies enough and the exhaust was in the right spot/orientation. I let the putty harden for a few hours and then encased the whole thing in CA glue so lock it all in. I didnt bother removing the casting block as it was perfect for using for installation.
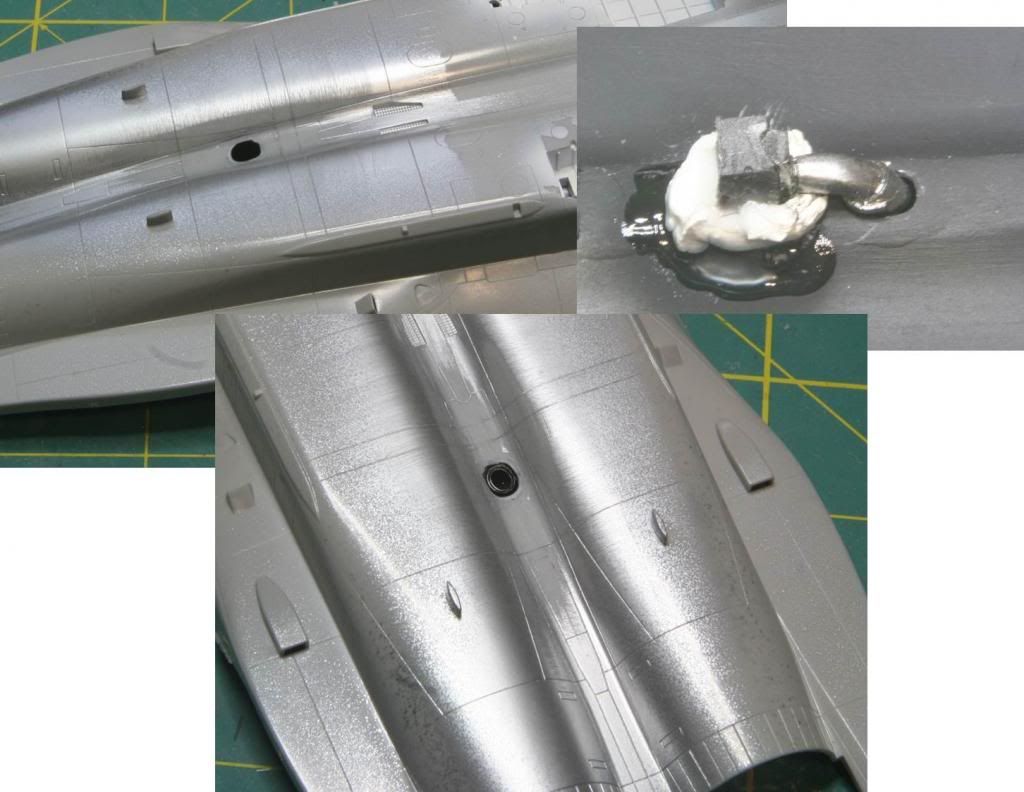
I think it turned out pretty well in the end.
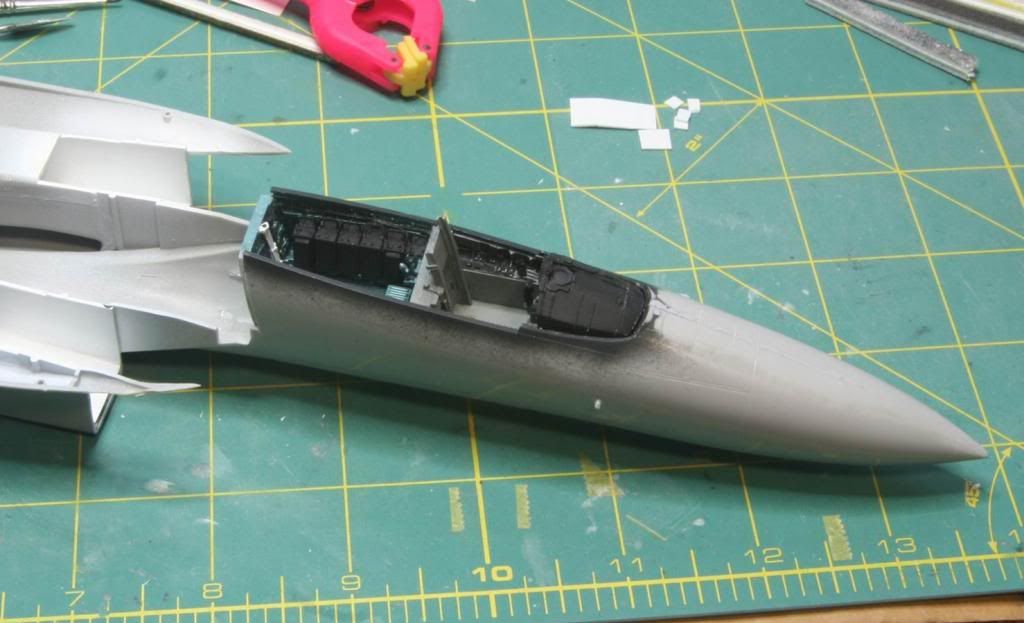
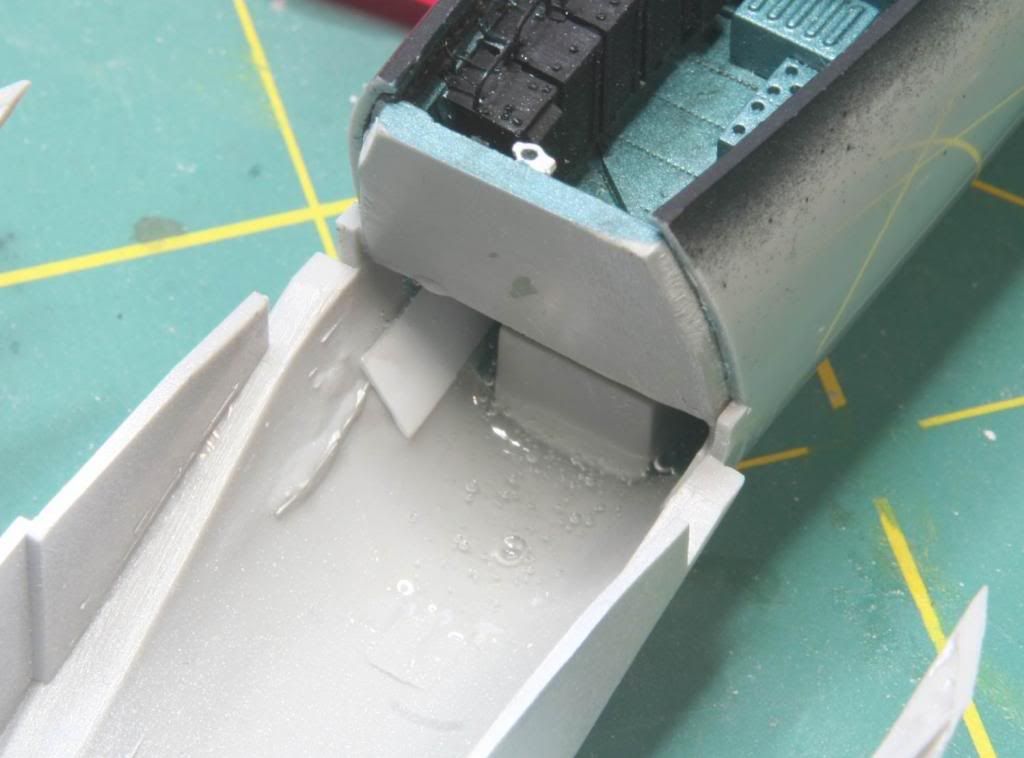
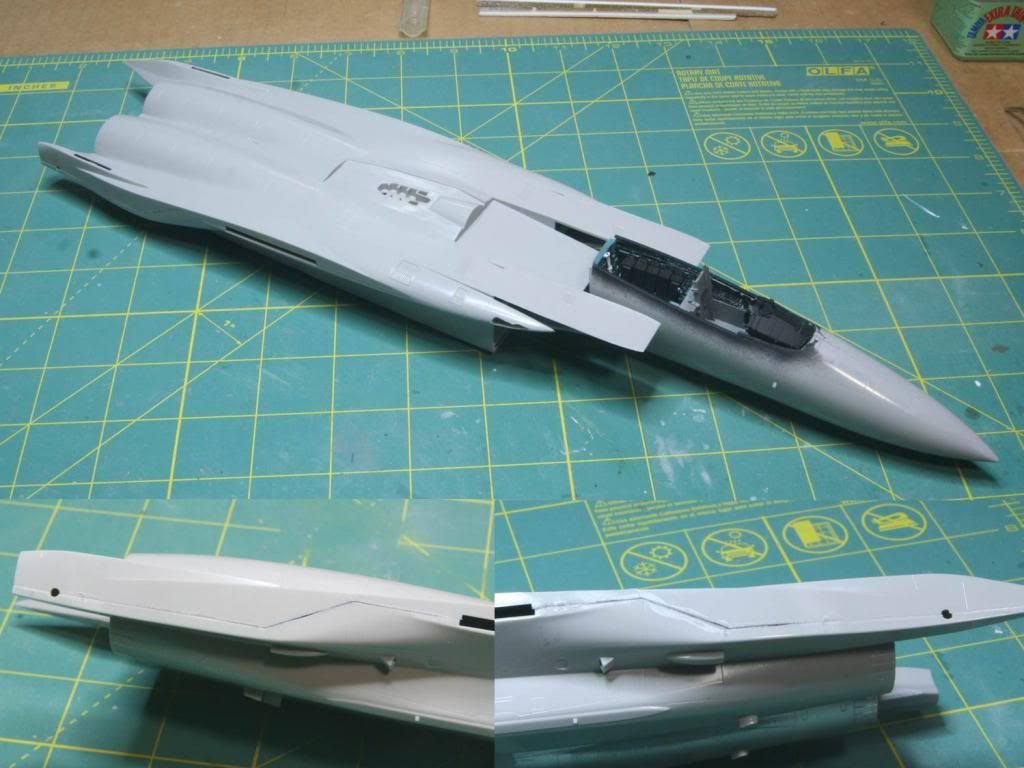
Next step was to mate the forward and aft fuselage. With the weight in the nose and the this being a simple butt joint, I wanted to strengthen the joint a little bit. My first step was to attach the front fuselage to the lower half of the rear fuselage. I used thick CA glue for the join. After about and hour I brushed on some Tamiya cement (The one with the orange cap) along the join on the inside and along the plastic tabs I had installed. I also added some more thick CA glue on the inside of the NLG well to fill the seam. I let the whole thing sit overnight.
The next step was to strengthen the joint a little more. For this I used some 5 minute epoxy. I mixed it up and basically poured it in around the inside of the fuselage all around the sides and rear of the nose landing gear well and all over the joint. Then I set it aside to set.
Joint is really strong now. Im debating replacing the landing gear with metal ones now because of all the weight in the nose, but Im not 100% on it yet.
Well the next step is to attach the top and the bottom halves of the fuselage. I started looking at the Wolfpack F-15 Aggressor Update set at this point as well. The first thing to do is add is the updated tail antenna and remove the arrestor hook housings.
Here is a shot of the antenna.
And here is the upper fuselage half with the Wolfpack replacement. Ive already removed the tail hook housing between the engines.
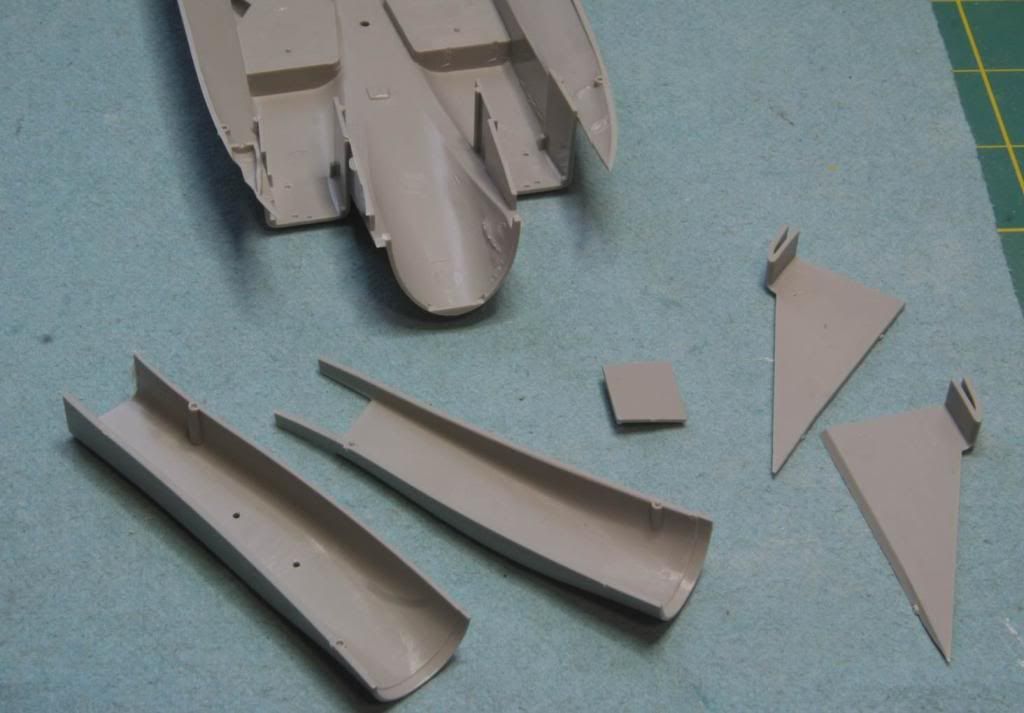
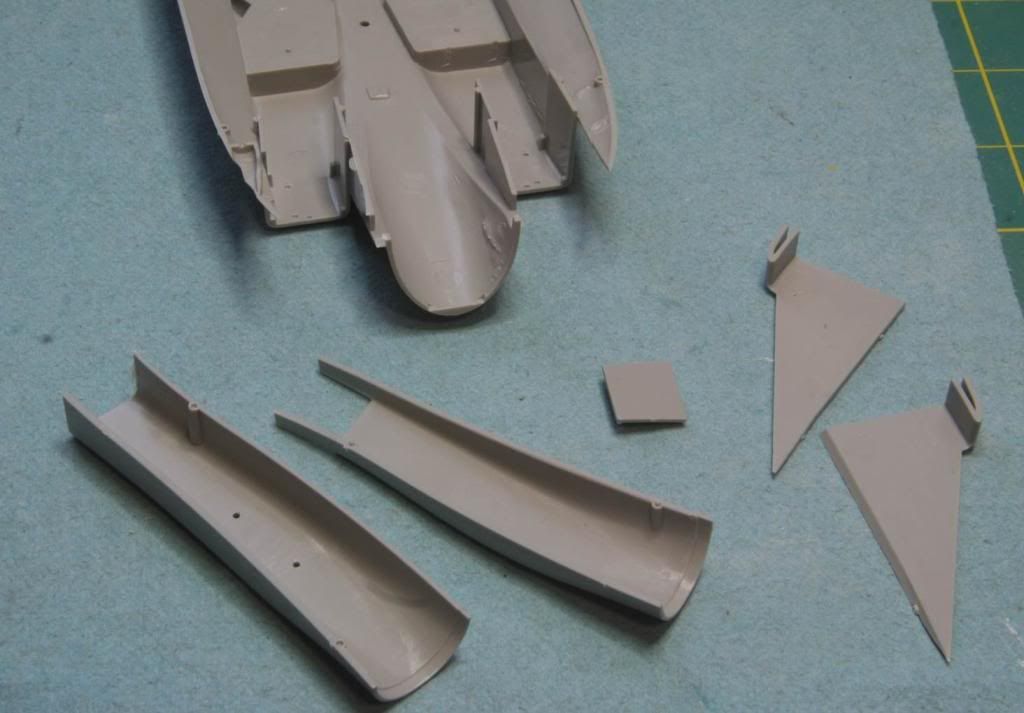
I removed the unnecessary plastic from the fuselage halves and then mated the top and bottom halves. Ill add the resin piece after I have the halves together.
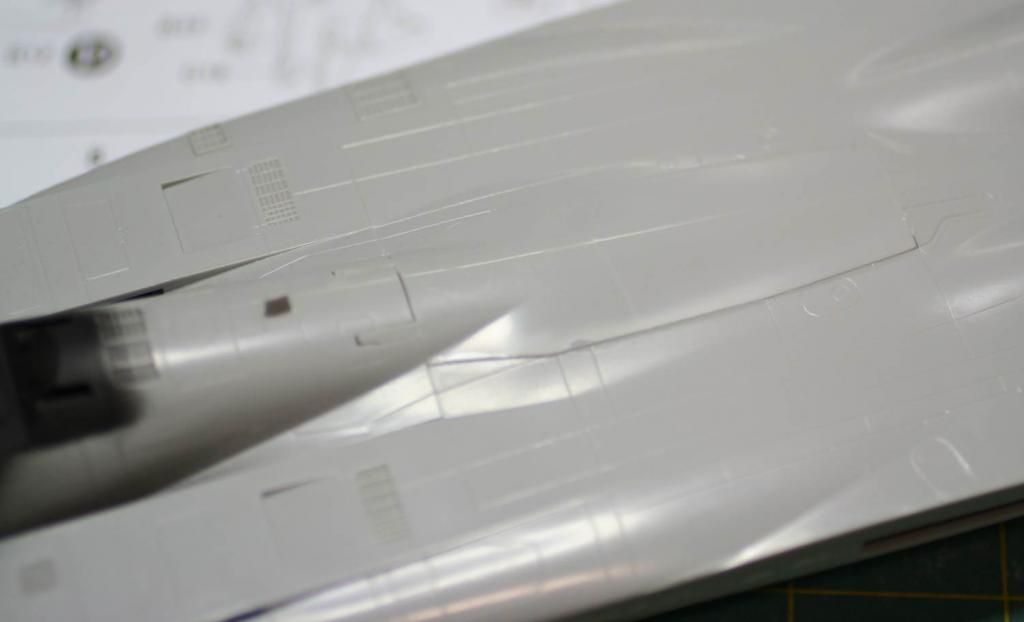
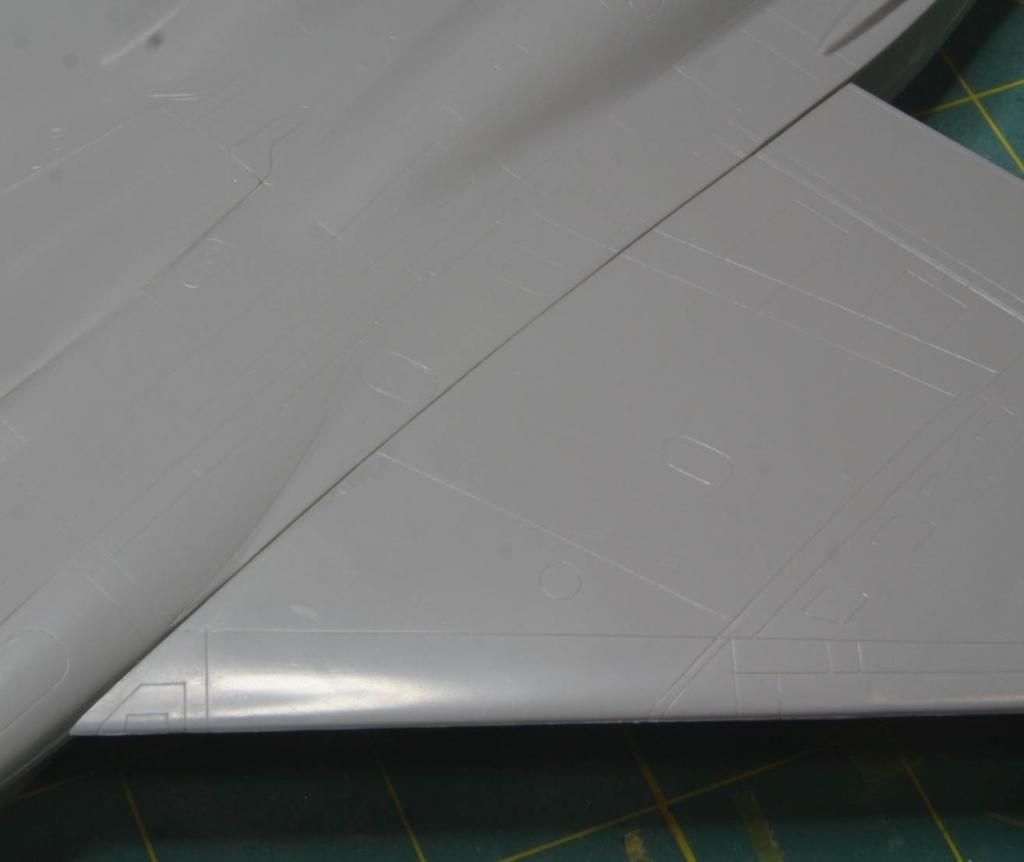
The halves were put together. The seams are terrible and need of work. There a some substantial seam aft of the wings. But its nothing that some putty wont fix.
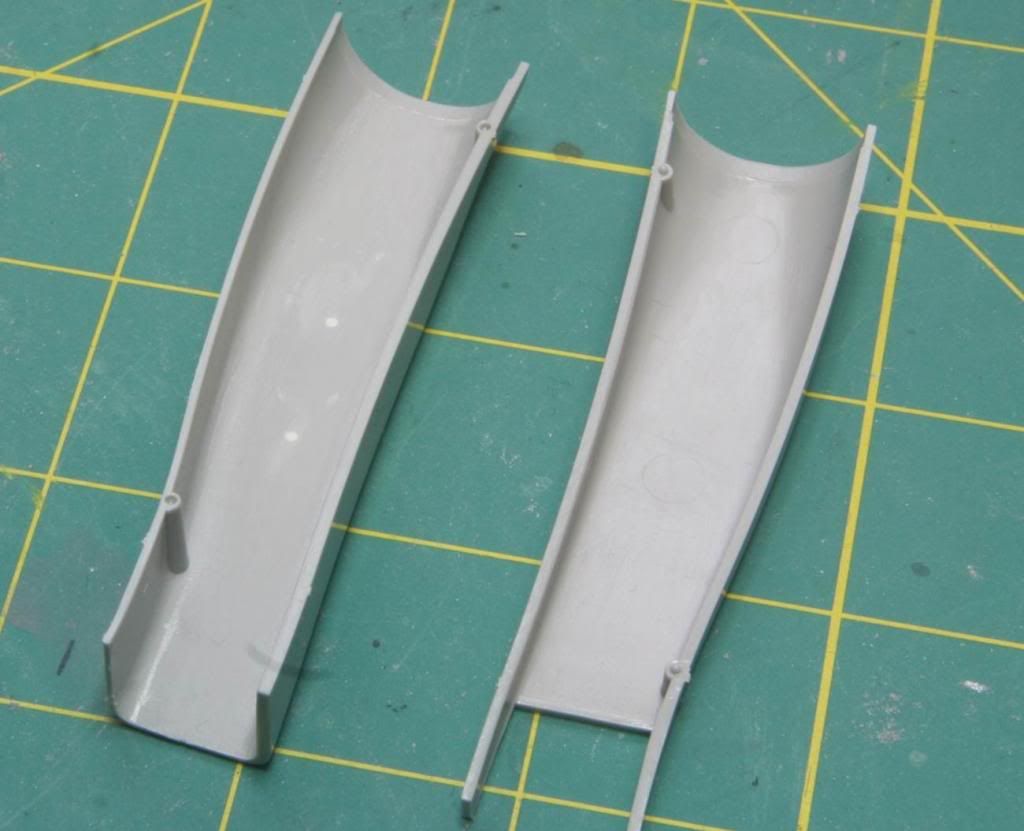
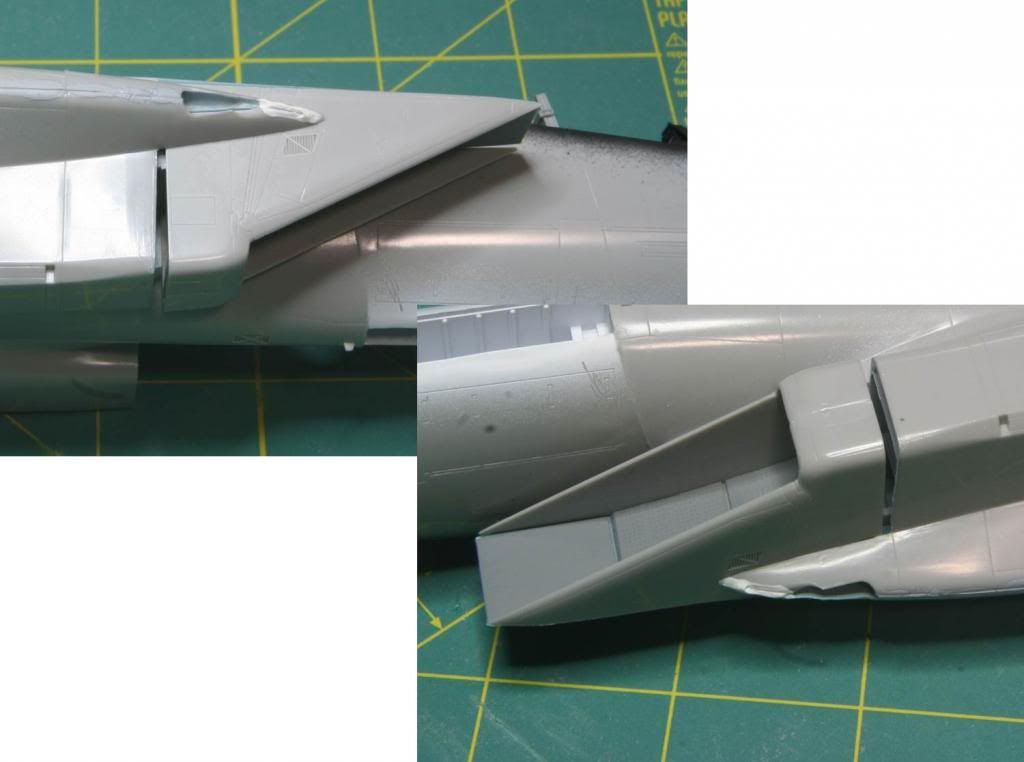
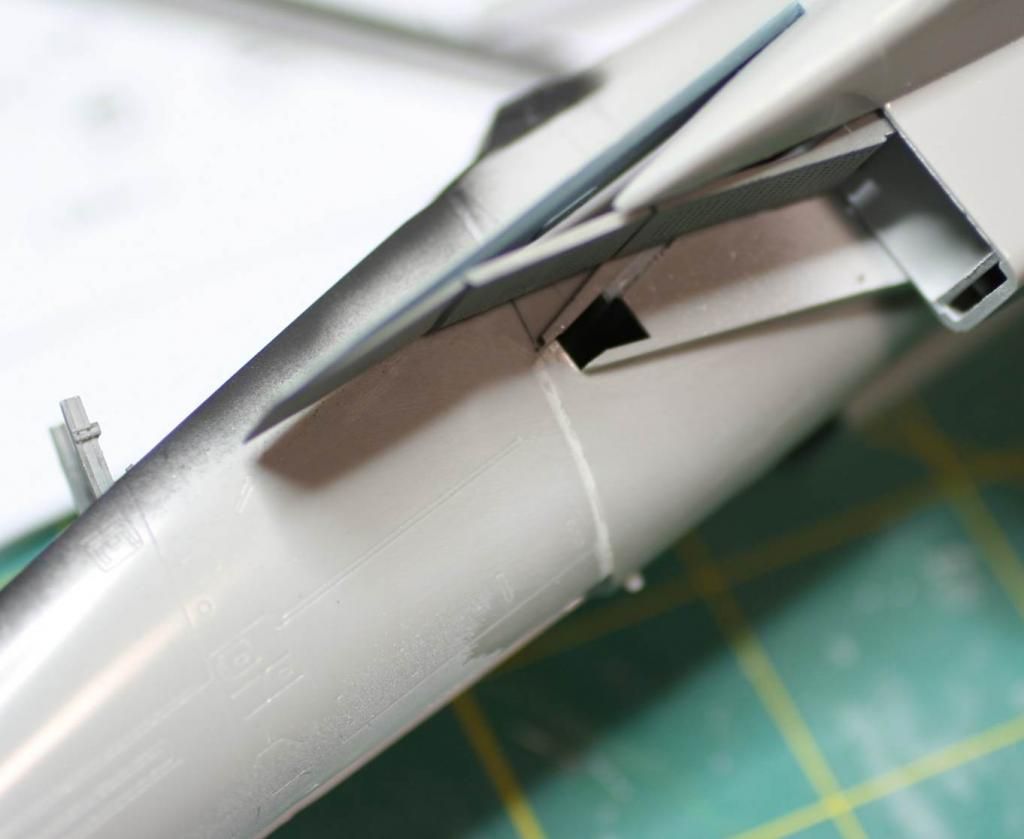
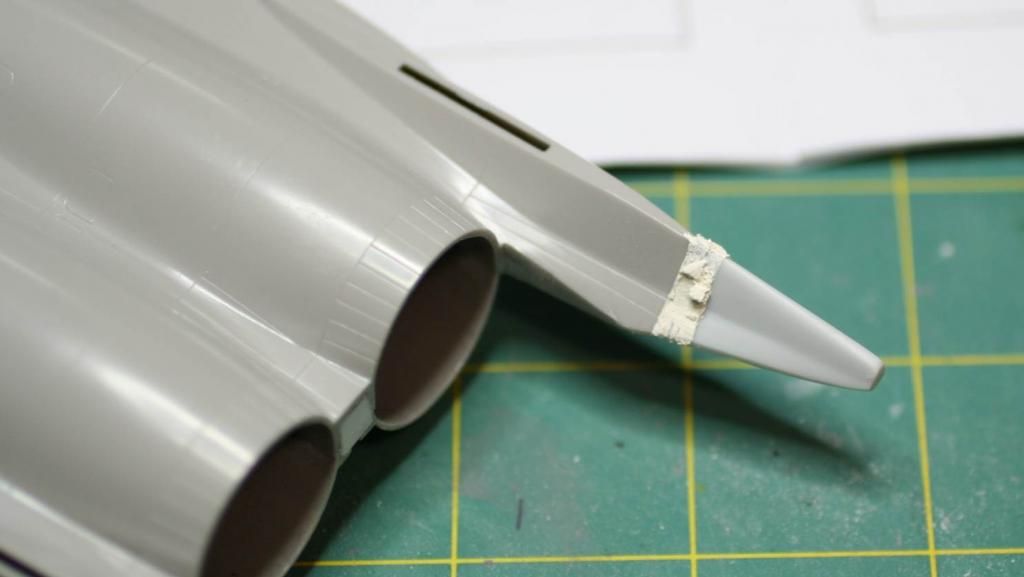
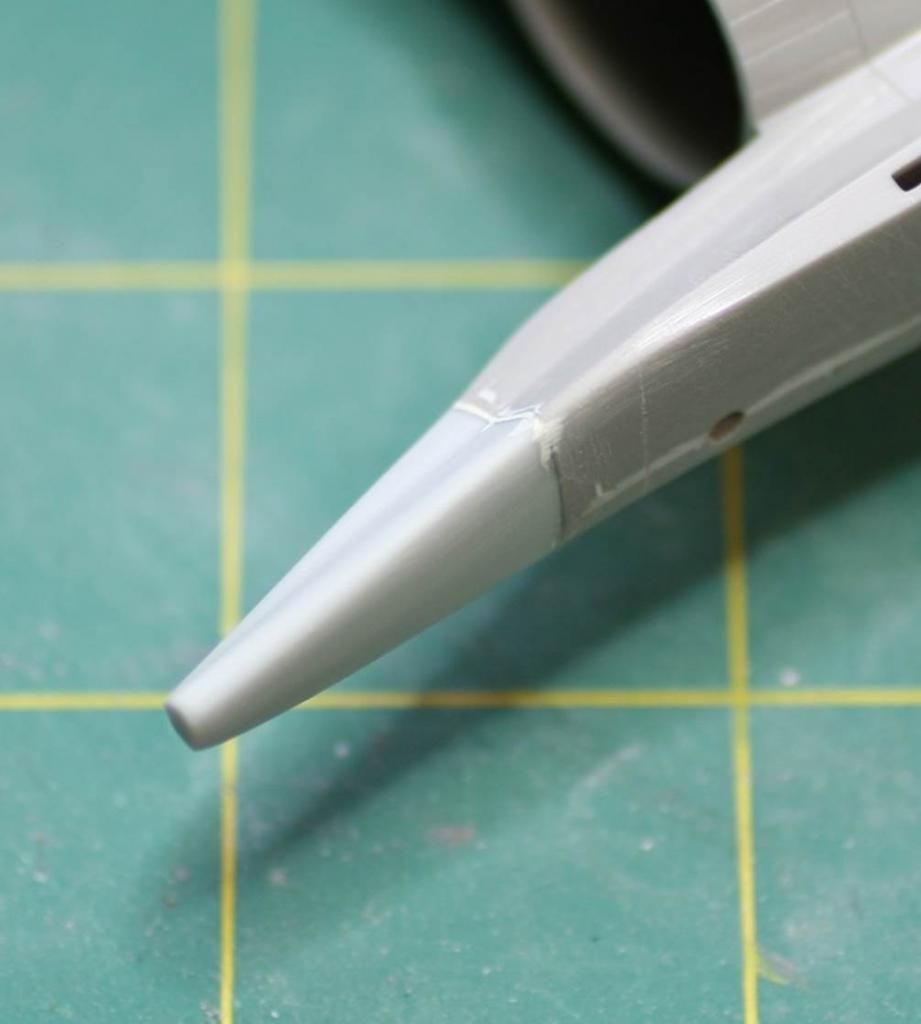
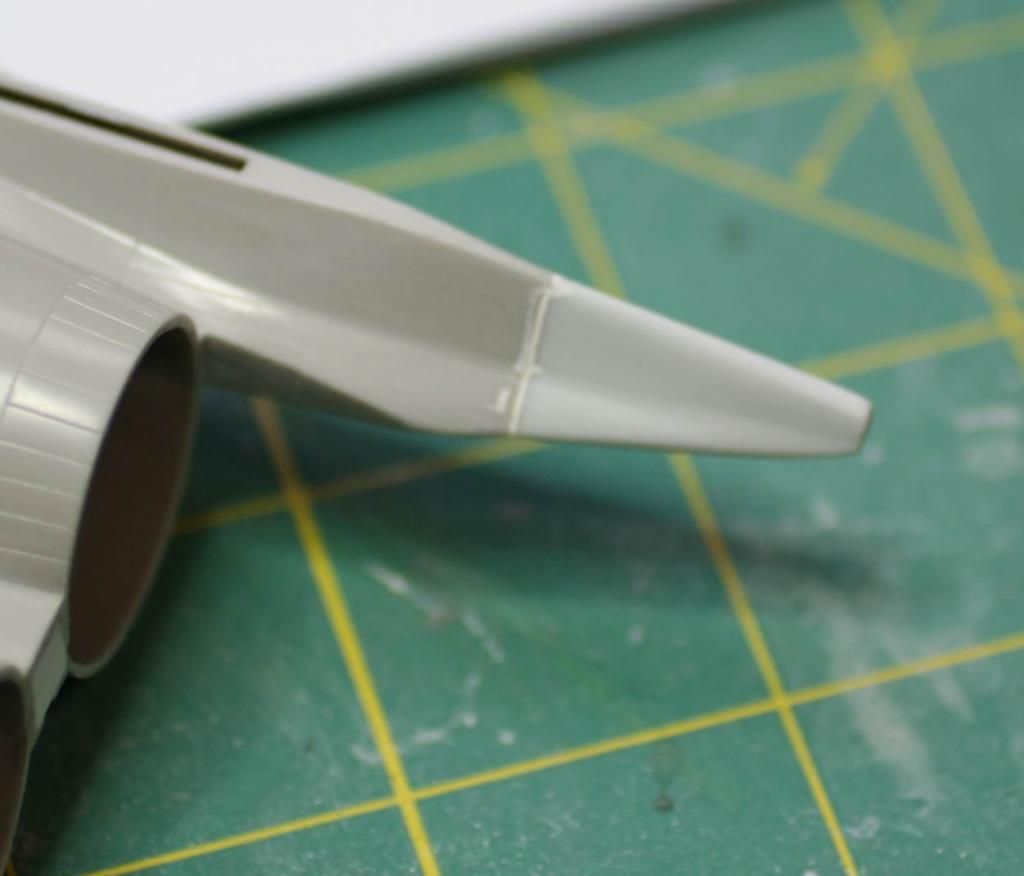
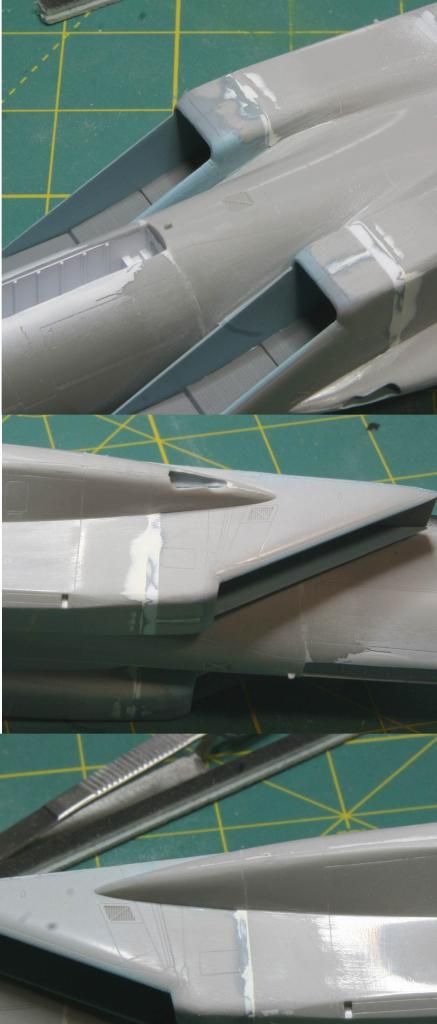
Well thats about where we are. The next step is to deal with some of the other fit problems on this kit. The first is the remaining parts of the intake. Yikes not sure how these could be off by so much!
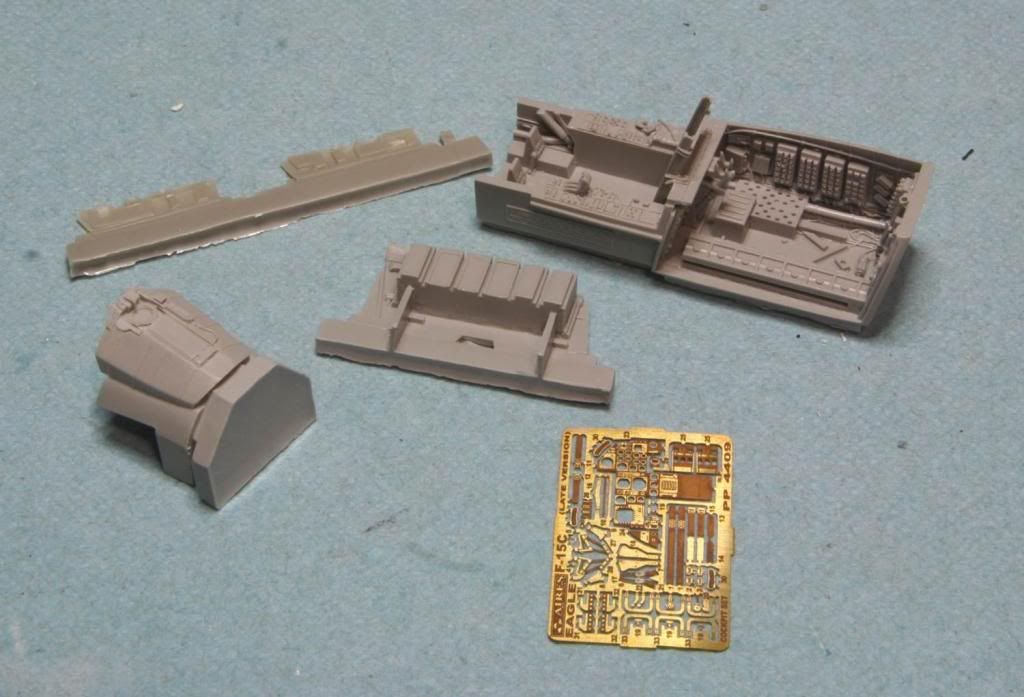
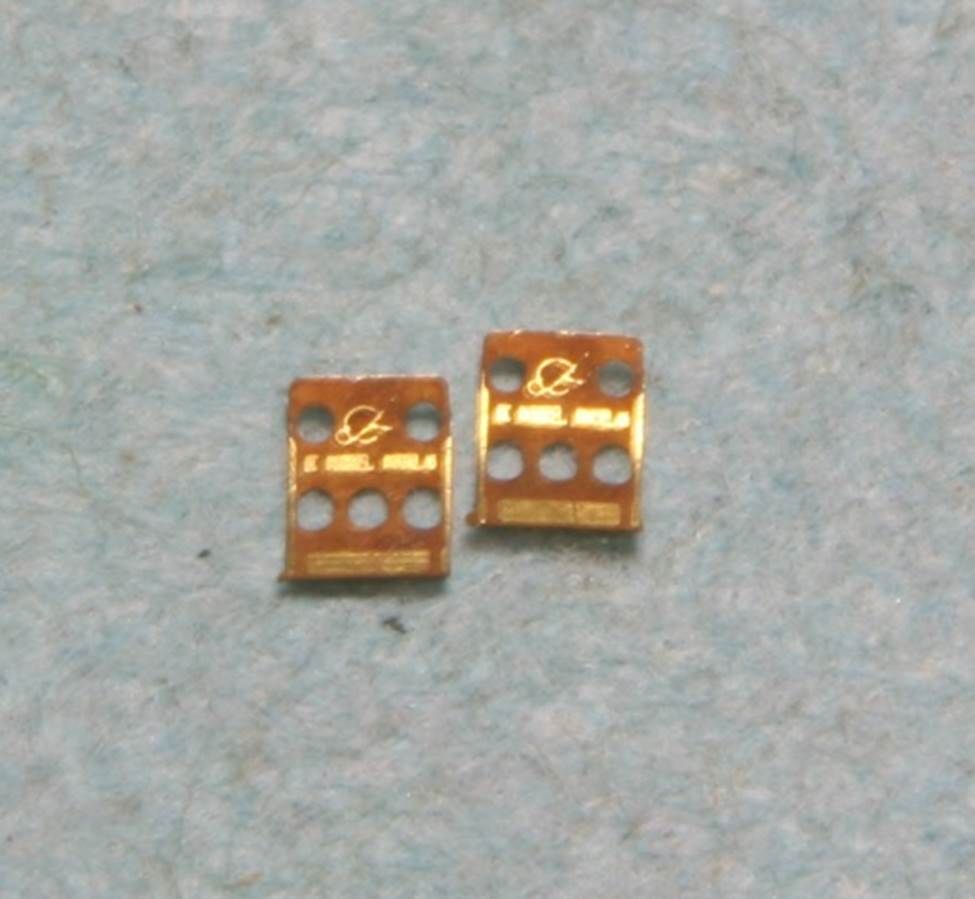
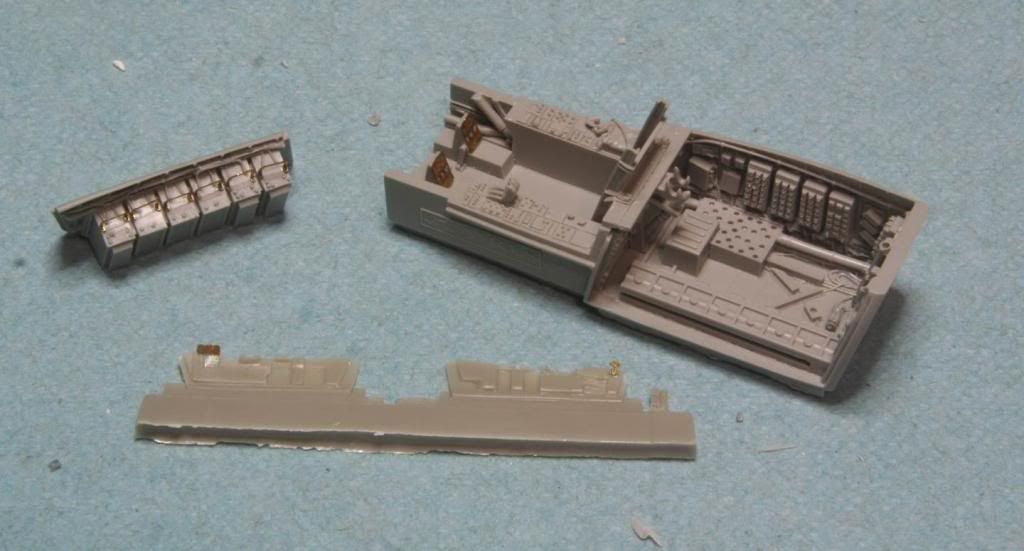
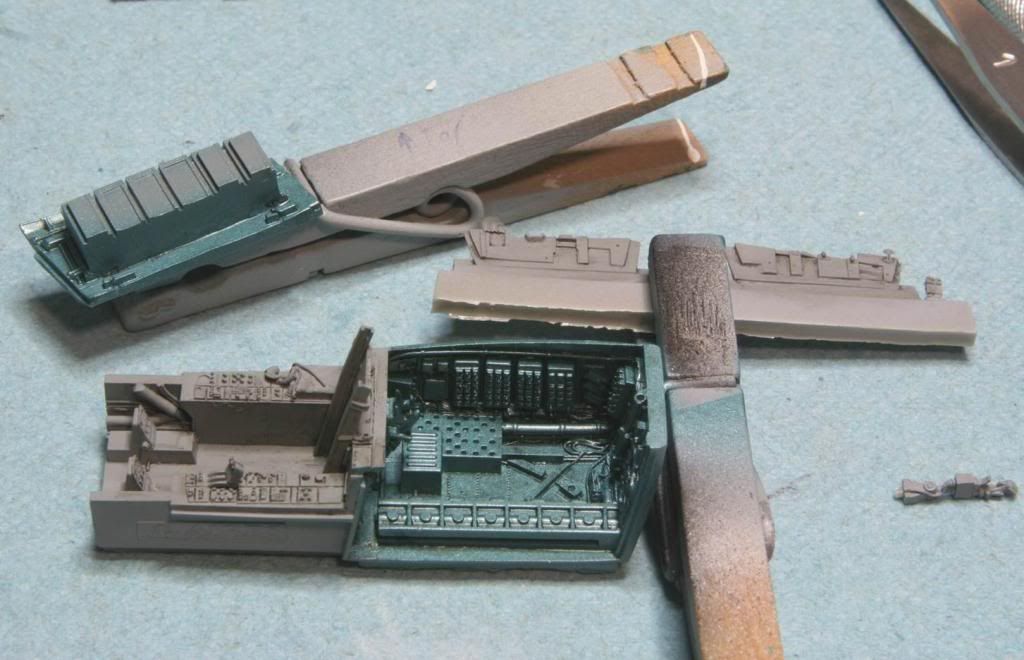
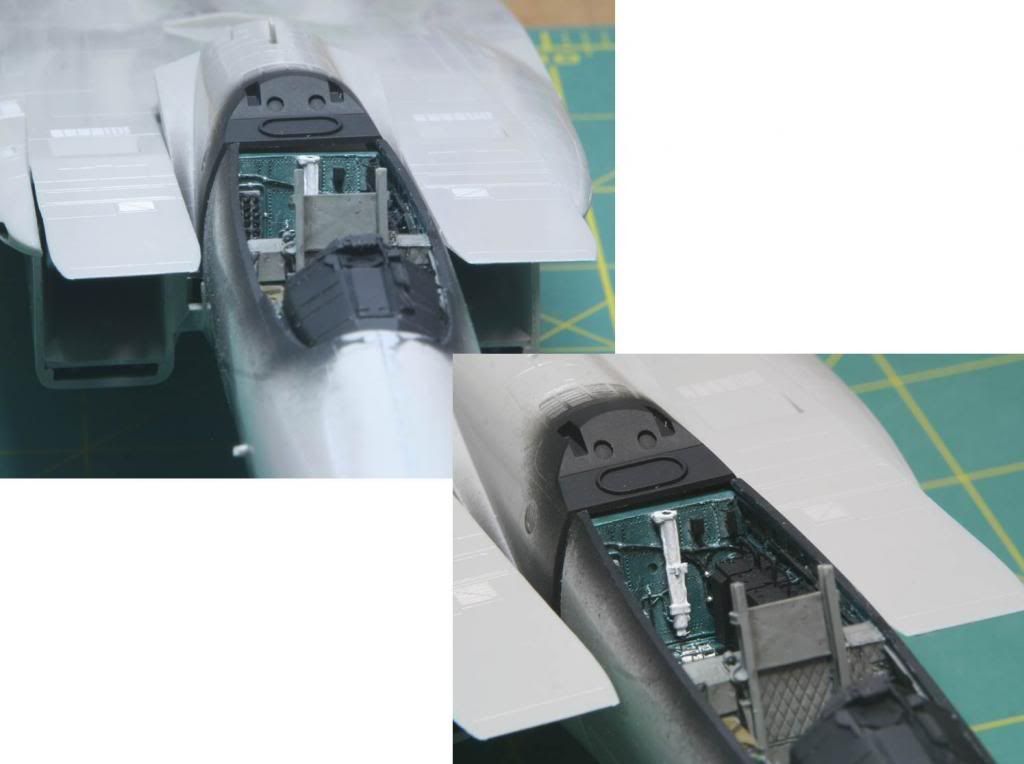
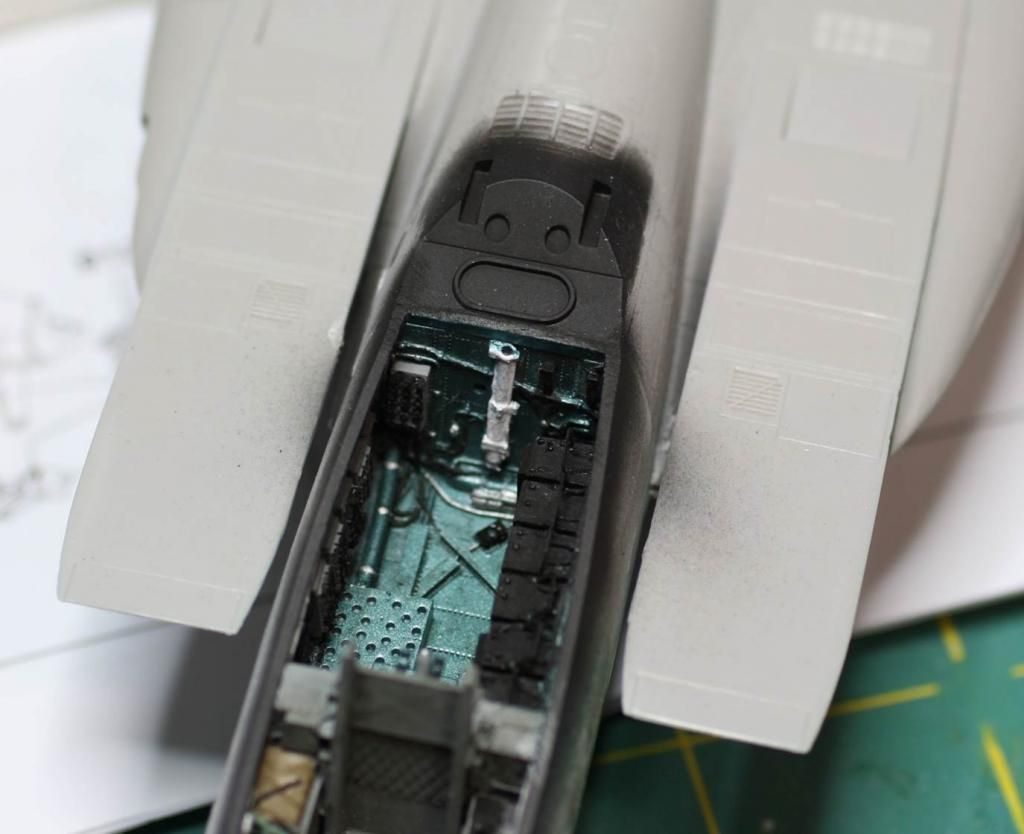
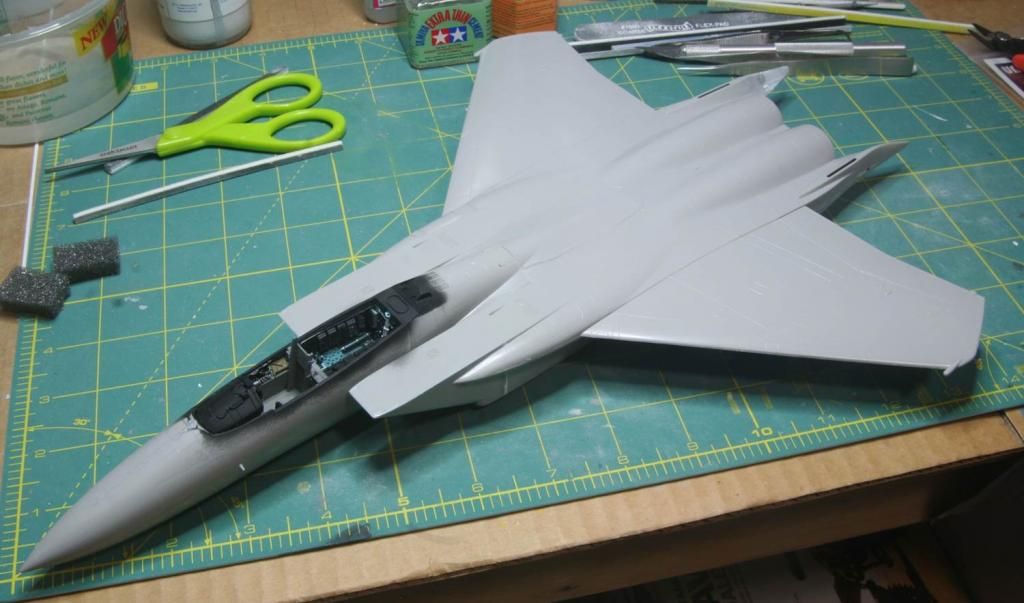
And this gap where the turtle deck meets the cockpit. Im pretty sure this is because I didnt get the Aires pit as snug as I should have at the back when I installed it.
Thanks everyone for checking out the build!
Mike





 You got a lot going on there.


