• Modelers Alliance has updated the forum software on our website. We have migrated all post, content and user accounts but we could not migrate the passwords.
    This requires that you manually reset your password.
    Please click here, http://modelersalliance.org/forums/login to go to logon page and use the "Forgot your Password" option.

1/48 Academy F-86F

Adam Baker

Active member
Here's my entry for this little shindig.

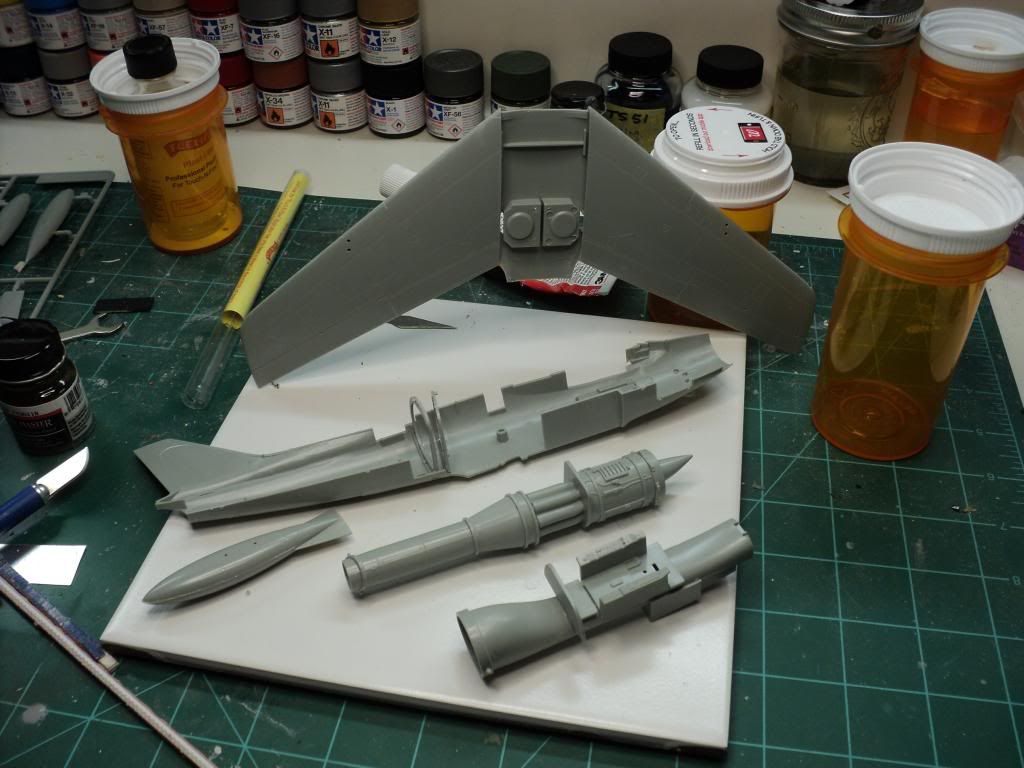
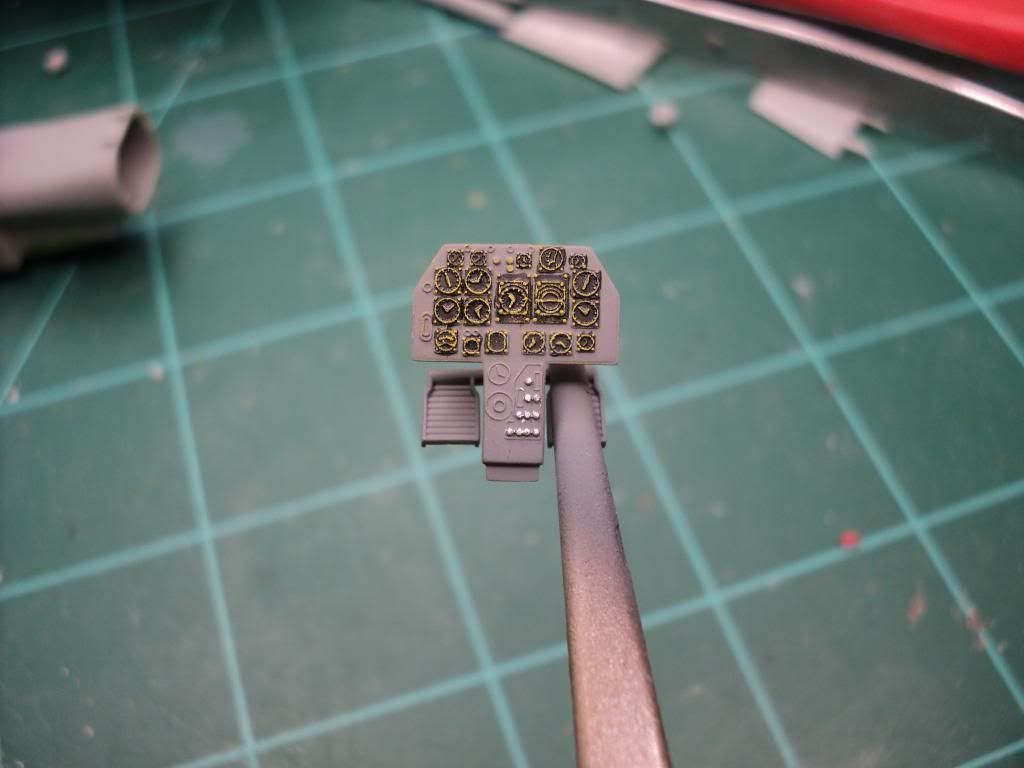
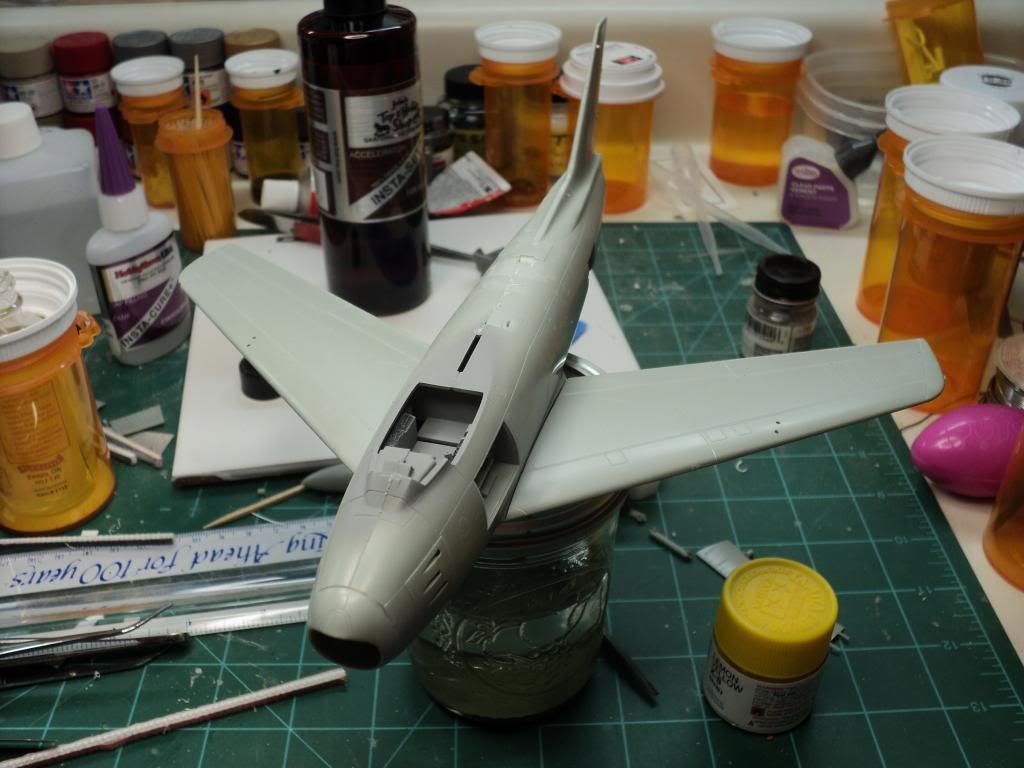
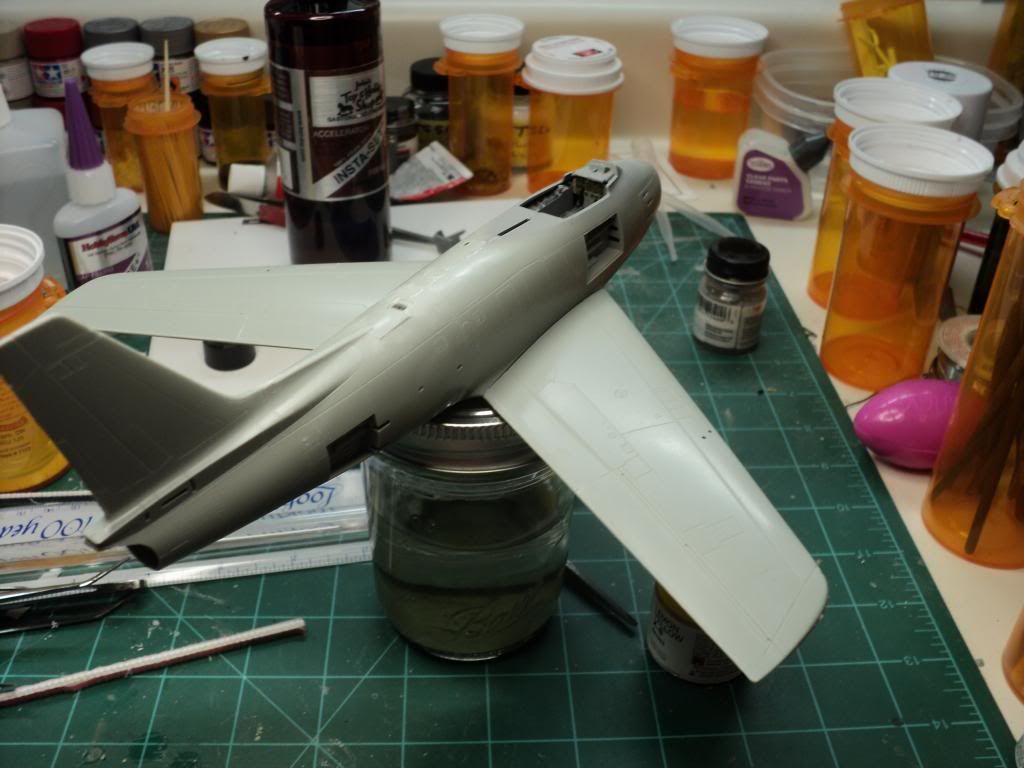
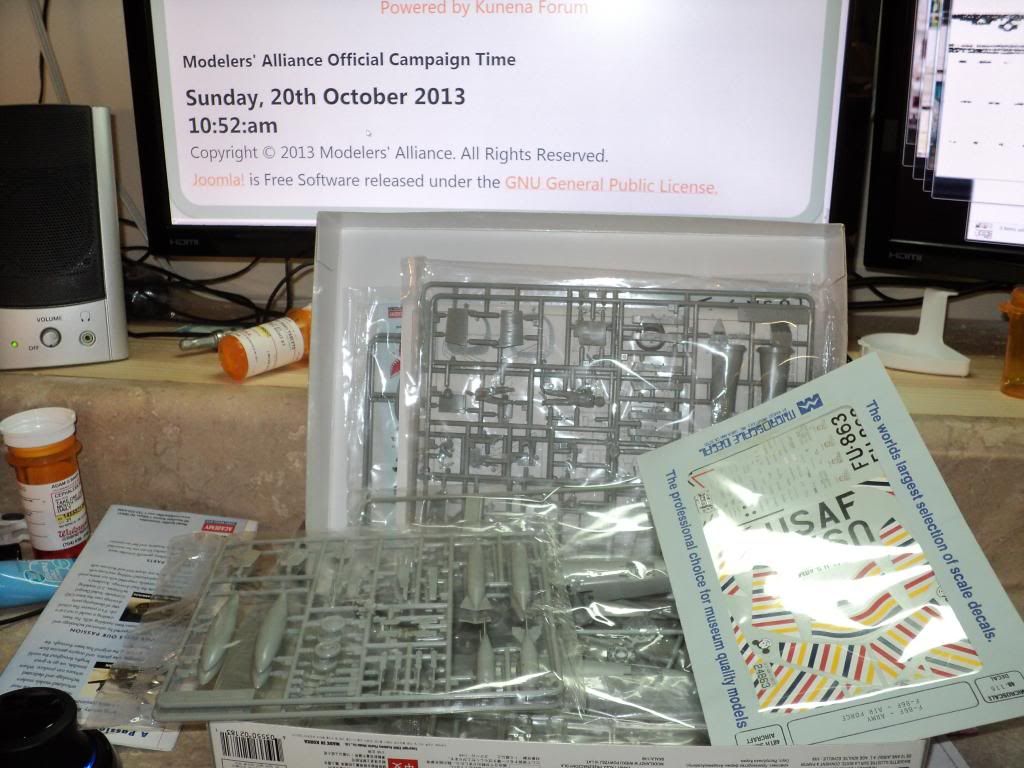
Academy's 1/48 F-86F "Mig Killer". I'll be building it as an F-86 from the 391st FBS 366th FBW using a set of ancient Microscale Decals (set 48-115).

The requisite starting images.

F-86-01_zps76748ca0.jpg


F-86-02_zps3bdf8e78.jpg


I'll be getting started on this today. I havent purchased the paint yet, I found out the Citadel Paints I plan on using for the BMF are quite a bit more expensive than I was expecting them to be.
 
Looks like a very nice kit. I've started working on it some, and so far the fit looks pretty decent. I'm really happy to see that FOD covers are provided for the engine & the intakes, so no having to paint them!
 
The Citadel is $4.00 for a 12 ml bottle. Bottles slightly larger than the small Tamiya bottles (10 ml) and smaller than the Model Master (14.7 ml). The HT is charging $2.49 for the Tamiya, and $3.69 for the Model Master. Just really surprised me that they were that much more expensive.

Hopefully it wont take more than a couple of bottles of the paint for this build, then it wont be too bad.
 
Just a quick update. Managed to get the engine & intake assembled, as well as the wings. I was very happy w/ the fit between the lower wing and the upper panels. Very little seam work and most of it was gone after going at it for a few minutes w/ a fine emory board. Got a couple of places that I might have to place a small piece of stretched sprue or a bit of putty but other than that its great. Engine & intake assembled quickly & cleanly. The best part is the FOD covers provided so no need to clean or paint either. I'll just make sure to paint the nose gear bay & the cockpit and then get the fuselage assembled.

F-86-03_zpsb1a4dc96.jpg
 
Haha, you should have seen what it looked like before I cleaned it to start working on this build. I think the white tile in the middle of the green mat was about the only thing w/o a ton of stuff piled on it.

I don't mind some clutter on my bench, but I don't really like working when there's stuff piled on it everywhere, but unfortunately it tends to end up that way anyway.

I'm kinda hoping that maybe tomorrow I can get the cockpit & nose gear bay painted up painted up so that I can get the fuselage assembled either tomorrow or Tuesday.
 
Small world getting smaller !!

Same kit and same sheet I started with last year and just brought back to the bench see it here. Looking forward to seeing yours progress, Adam.

Ian
 
Actually managed to get a litle bit of paint laid down tonight finally, still having trouble finding the mojo.

Painted the cockpit components, and the landing gear bays. Got the detail painting done on the cockpit.

F-86-04_zpsdb14a103.jpg


F-86-05_zps91f11e8b.jpg


F-86-06_zpsdedcf25c.jpg


I tell ya, taking a macro shot of the I/P definitely makes the detail work look a lot worse, haha. Can see several places in the large picture that could stand to be touched up that I couldnt see before I took the picture, even using my opti-visor. Guess I'll take care of that tomorrow. Hoping to get the fuselage halves joined this weekend, but that depends on a lot of things, the least of which is finding the mojo again.
 
Just a quick observation NOT a criticism.

The dials were yellow, not white on E & F Sabres. A quick couple of strokes of yellow over the white would do it. Excellent work Mr. Baker, coming along nicely.

Ian
 
Thanks for that info Ian, I didnt know that. Definitely a pretty easy correction. I'd been thinking about hitting it w/ another coat of dry brushing, so I can take care of that easily.
 
Ok, updated picture after followings Ian's advice w/ a yellow dry brush.

F-86-07_zps2eed5ad0.jpg


After looking at pictures online and in the Squadron F-86 walkaround, this I/P is way wrong for what the F-86F should have but I dont have much interest in trying to use an aftermarket cockpit, or take the time to correct it. The focus on this build is the NMF so I'm not going to worry about the cockpit too much.
 
More progress made today.

After getting the i/p taken care of I glued the engine & intake/cockpit into the fuselage. Instructions said it needed 15 grams of nose weight to keep it off its butt when complete. Pulled out my scale and measured out 15 grams of BB's, and then scratched my head trying to figure out how to get them all crammed in. If I'd thought about it before I glued the cockpit/intake in, I could have stuffed them all into the intake since I'll be using the FOD covers so the intake will be hidden. But since I didnt do that, I had to get creative, and started gluing them where I could. I fabbed up a quick & dirty box to go over the top of the intake in front of the cockpit and then put as many BB's in there as I could. I then started putting them in other places that i could make work. I ended up going w/ a bit extra, just to make sure I had enough.

F-86-10_zpsa85d315c.jpg


F-86-09_zpsa924945e.jpg


F-86-08_zps9bbba979.jpg


I let the superglue dry for a few hours, to make sure I didnt mess anything up, and then I joined the fuselage halves. Fit was pretty good, only issues I've had is placing in the various panels that can be displayed open which I'm not doing. Going to take some clean up work on those panels when its all dry.

But it looks like a plane now! The fuselage is just sitting the wing for the pictures. I'm not ready to glue the wings on, I want to get all the fuselage seams cleaned up before I move to that step.

F-86-11_zps5b97ee87.jpg


F-86-12_zpscc6bafbf.jpg
 
Back
Top