• Modelers Alliance has updated the forum software on our website. We have migrated all post, content and user accounts but we could not migrate the passwords.
    This requires that you manually reset your password.
    Please click here, http://modelersalliance.org/forums/login to go to logon page and use the "Forgot your Password" option.

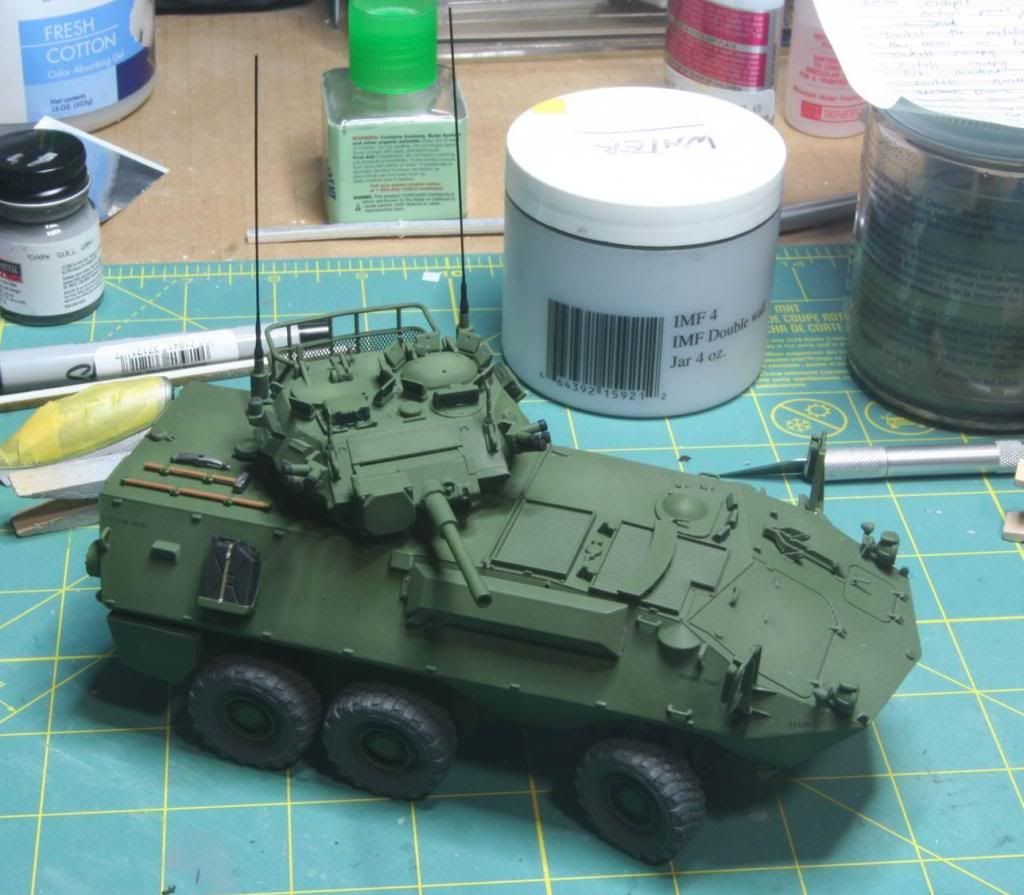
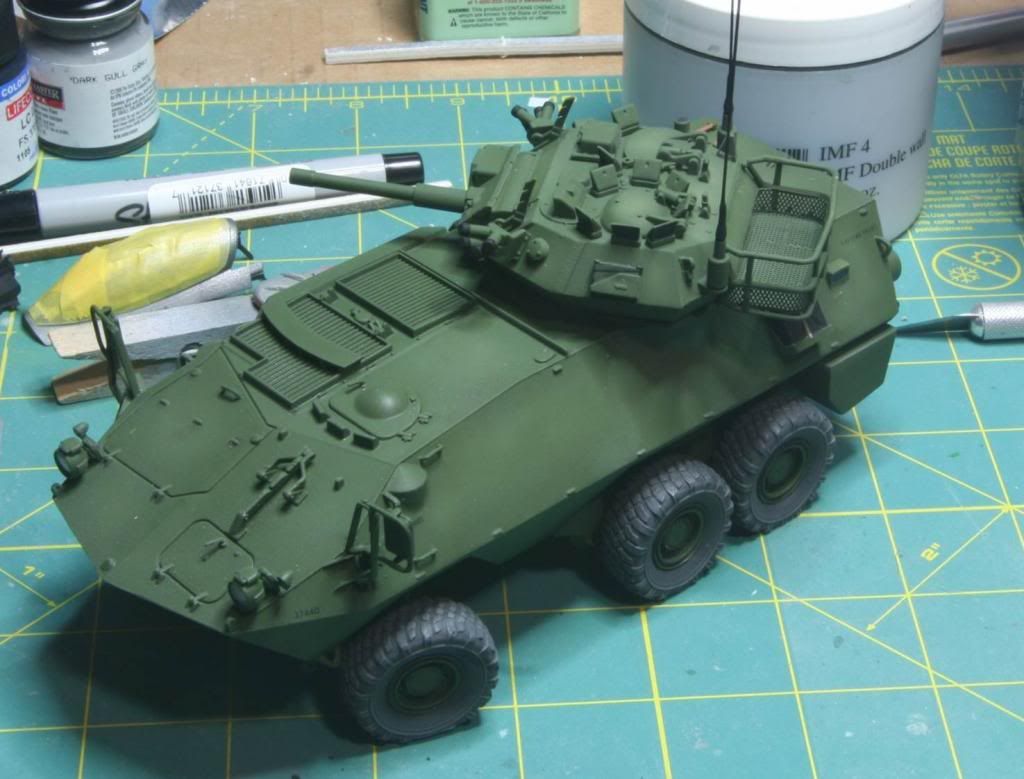
1/35 Scale Trumpeter Candian Cougar AVGP

Hi everyone! Sorry for the delay but I’m back with some new progress.

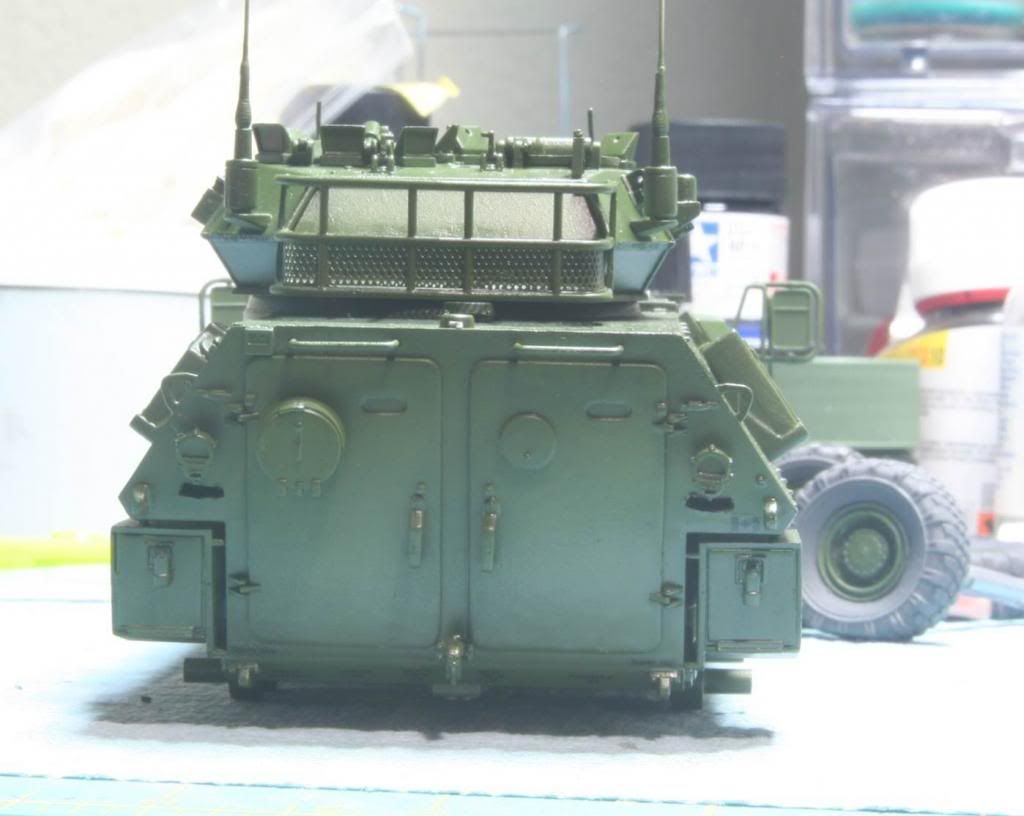
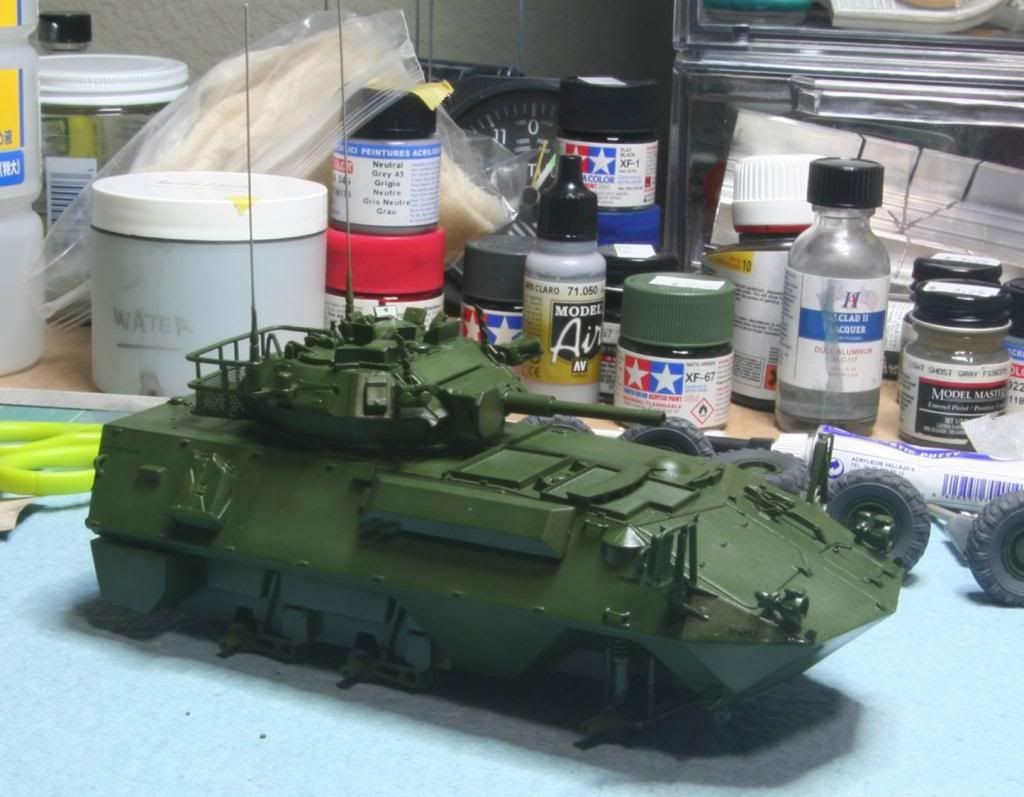
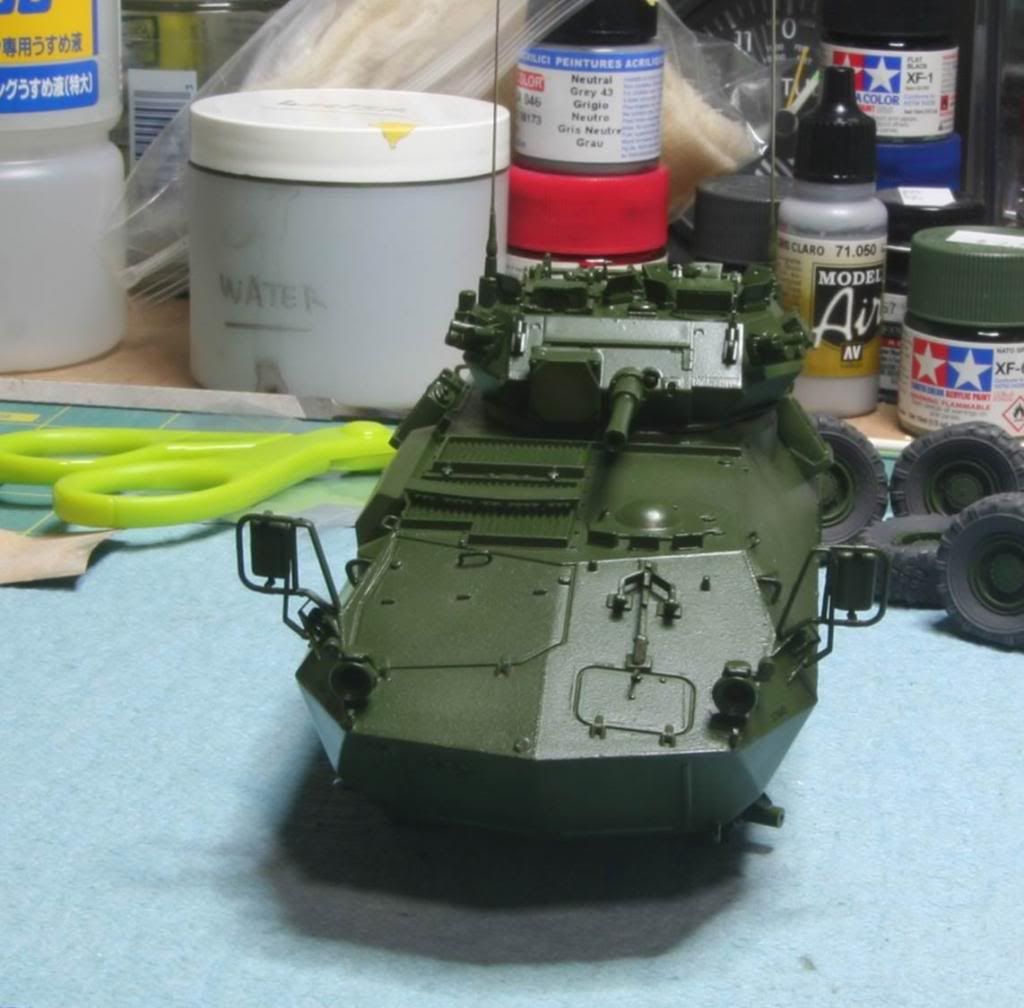
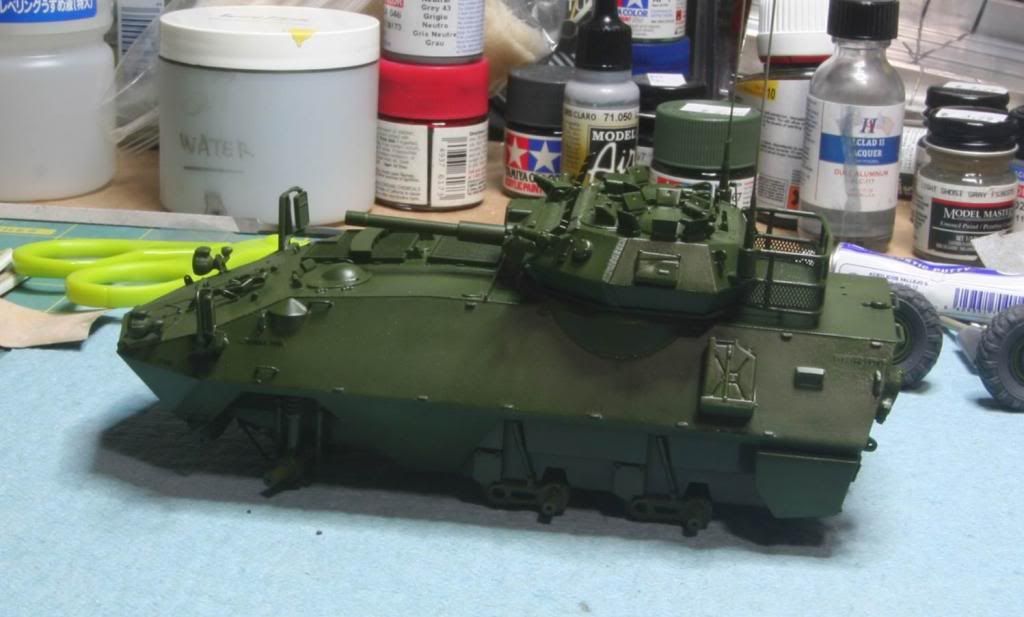
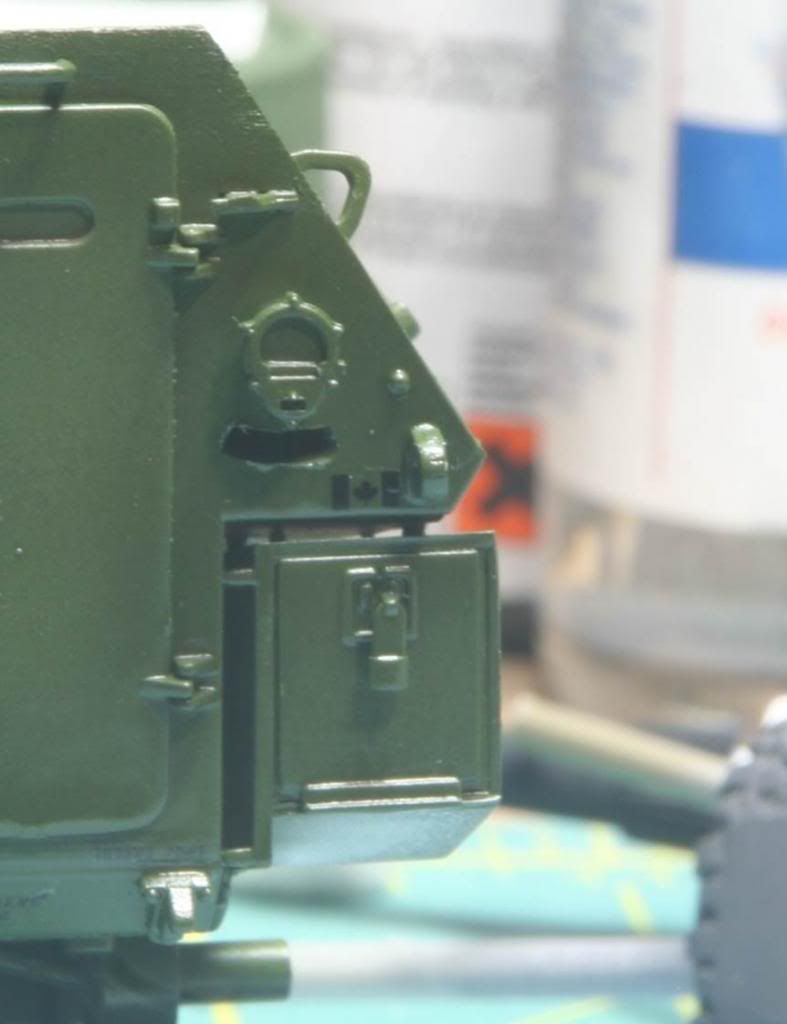
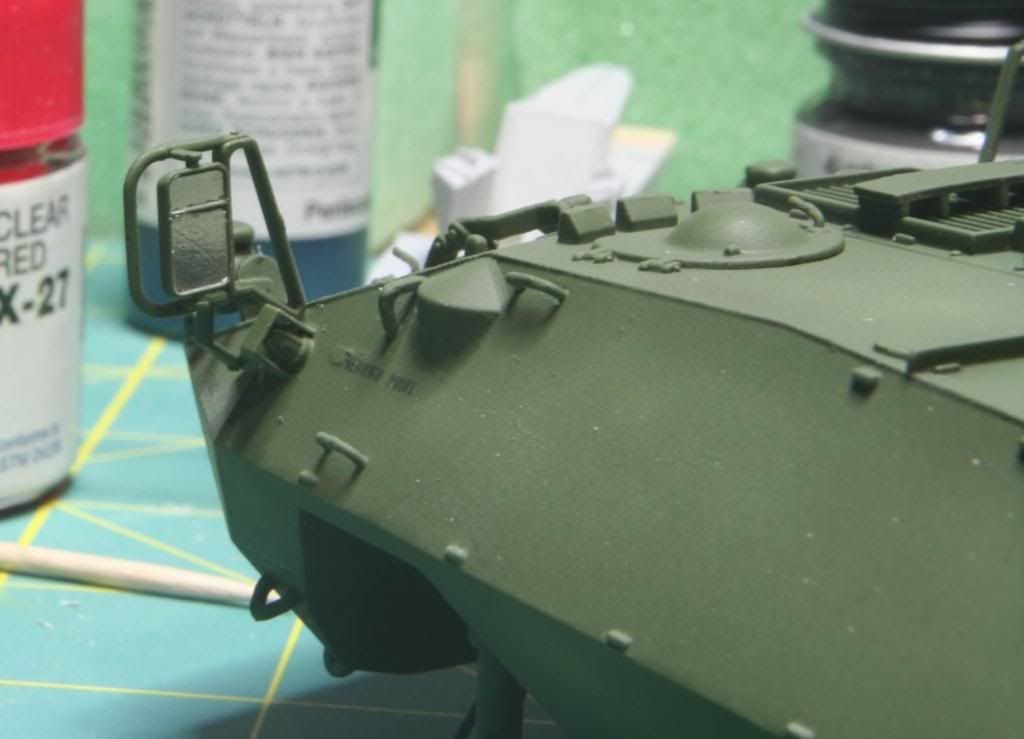
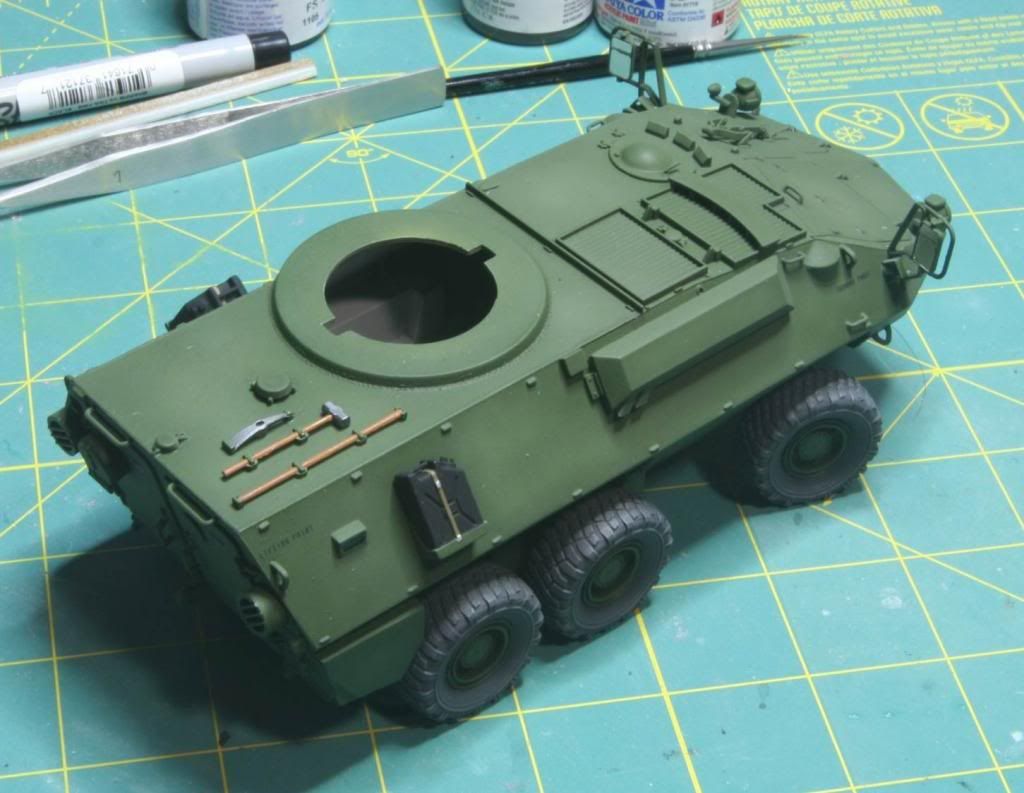
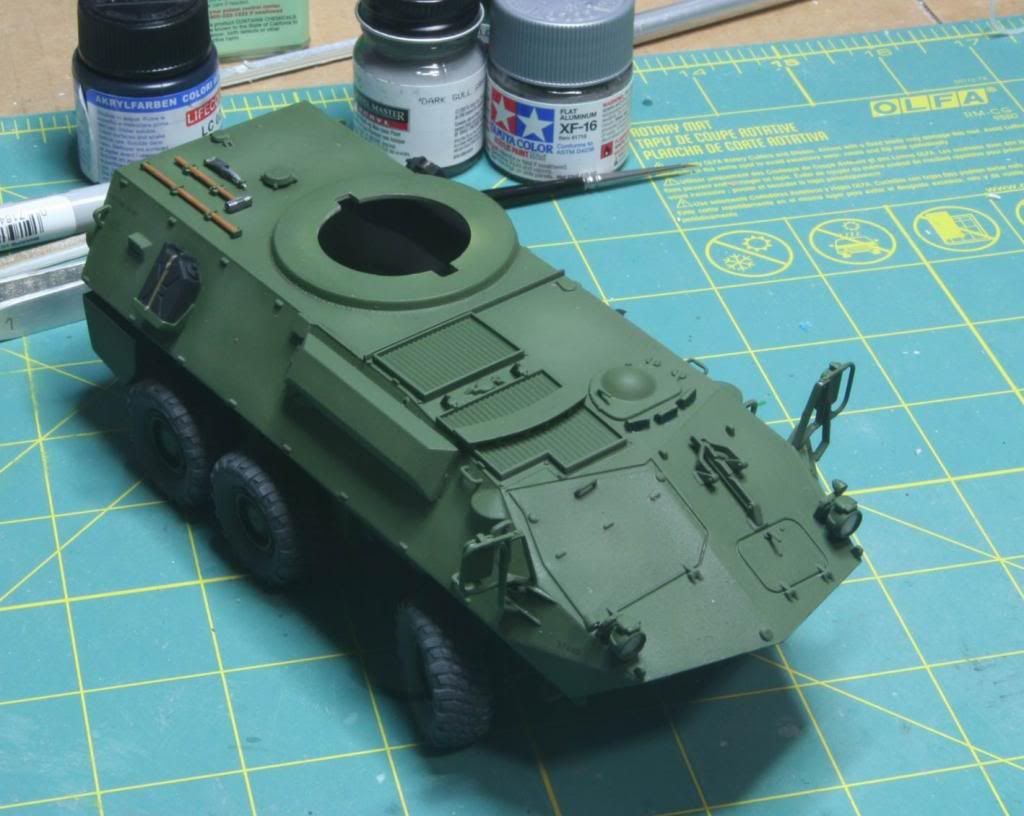
After the green I gave the whole kit a coat of future. I have had problems with future in the past, so I went away from it, but lately I am having really good luck with it so who am I to argue! After the future dried I applied Mig Filter for Dark Green. It seemed to give a little more depth to the paint and I am pretty happy with the outcome. Then I added the decals. I used the kit decals, which I found to be very thin. So thin in fact I messed a few of them up. Oops. I did find that some of the decals were too big to fit in the directed location, like the stencils below the tie down points on the front corners of the Cougar, and there were 2 red maple leafs that were supposed to be on the back of the hull. I left those off as they just didn’t fit next to the tie down point. After the decals set, I spray a shot of future just over the decals to get them to blend in. Here are some pictures.
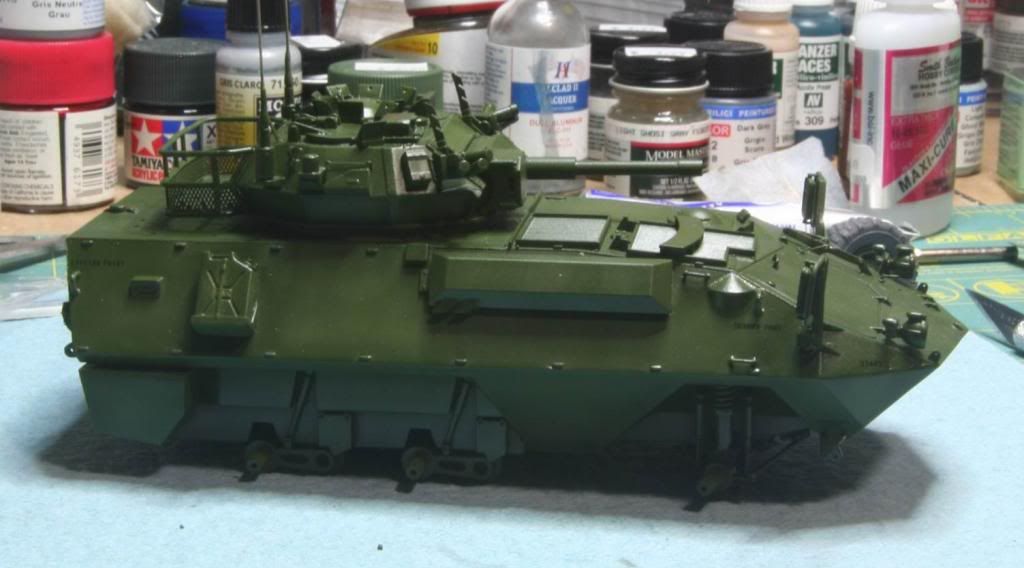
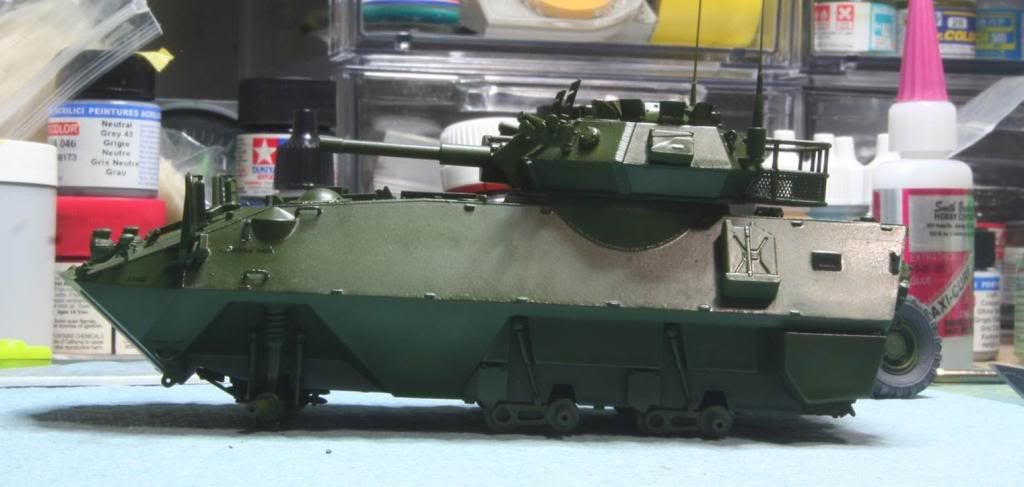
Post81_zpsb95075a5.jpg


Post82_zps60f8cb2a.jpg


Post83_zpsbd0b988f.jpg


Post84_zps568d0680.jpg


Post85_zpsaf2e10db.jpg


Post86_zpse73a83fc.jpg


And proof that its Canadian!

Post87_zpsba175fc8.jpg


During the decaling, I did manage to break off a mirror and one of the antennas! But they are back on and looking good!

That’s where I am. I am trying to decide if I want to do a pin wash on the tank now or leave it as is. I think it looks pretty good, but am open to other opinions! After that it’s onto the detail painting and I might muddy it up a bit, but I haven’t really decided that either.

Thanks for looking in!
Mike
 
Looking sharp. I dont think you could go wrong just dull coating, nor could you go wrong pin washing and muddying it up. Cant wait to see it either way. Nicely done (y) (y) (y) (y)
James
 
Hey guys! Thanks for all the kind words! I've run into a little bit of a problem. I'm hoping someone can help me out. I was laying down my flat coat using Model Master Flat Lacquer. It was the end of the bottle and I thinner it with some lacquer thinner. I found that I have some white haze now on some of the raised features of the kit! It looks pretty bad. I don't want to thrash the kit because its been going so well, but I can't leave it like this. Any one ever have this happen and found a way to get rid of the mess? Any advice is welcome!

Thanks for your help!
Mike
 
Mike I think if you spray some Future, gloss or satin finish it might fix it. Worth trying before chunkin!

:zen
:popcorn
 
Mike,I don't do a lot of modern stuff,but your build is mean looking and coming along great

I hate knocking little stuff off,a real pain
 
Wow I just noticed how log its been since my last post! Good news though. Got this bad boy finished up.

I used MP’s suggestion and re-sprayed the finish with future and that seemed to make the haziness from the dull coat disappear for the most part. Reapplied a thinned flat coat from a new bottle and Got some good results. Only thing left was all the little details. For the mirrors I added bare metal foil to replicate the mirrored surface. The foil was burnished in place and then trimmed. I think the next time I do this type of thing, I’ll do all the finishing of the mirrors separately and add them at the final stages.

Post91_zpsa9c302e6.jpg


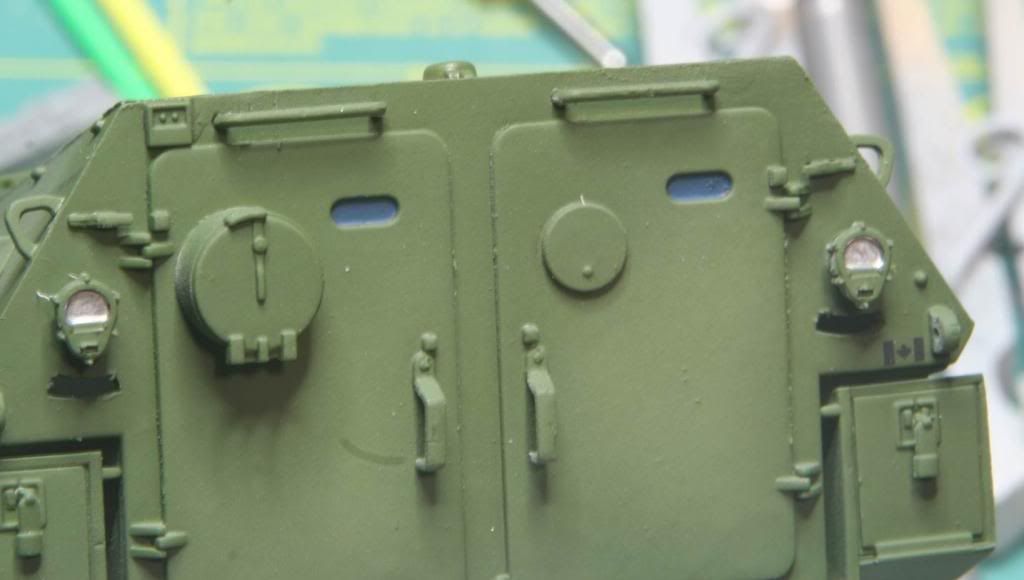
Next up, the hull periscopes. These I painted with Vallejo Periscope Color from the Panzer Aces Line. Its kind of a weird blueish color. Once dry I filled in the opening with some Micro Crystal Clear to replicate the glass. The periscopes on the drivers hatch were coated with future. I also painted the inside of the headlights and tail lights with chrome silver.

Post92_zpsc6f31c3e.jpg


Post93_zpse3d59afe.jpg


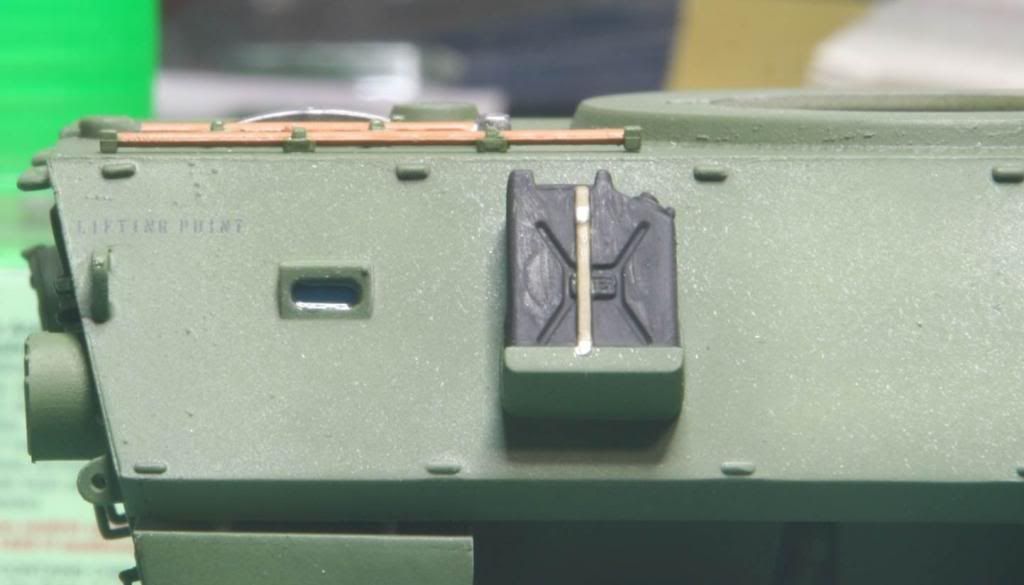
The other details were also picked out. Water cans finished in Lifecolor Flat Black. The tools were painted in Alclad Steel and Vallejo Panzer Aces New Wood. And finally the wheels were attached. I used 5 minute epoxy to secure them to the hull. It gives plenty of time to align the wheels so everything is straight and lined up, and a nice strong bond when it cures.

Post94_zps2eaa7173.jpg


Post95_zps9193ac6e.jpg


I waited about 24 hours after attaching the wheels, then I ran the kit over a piece of coarse sand paper to get knock the high spots off all the wheels and get all six tires firmly on the ground.
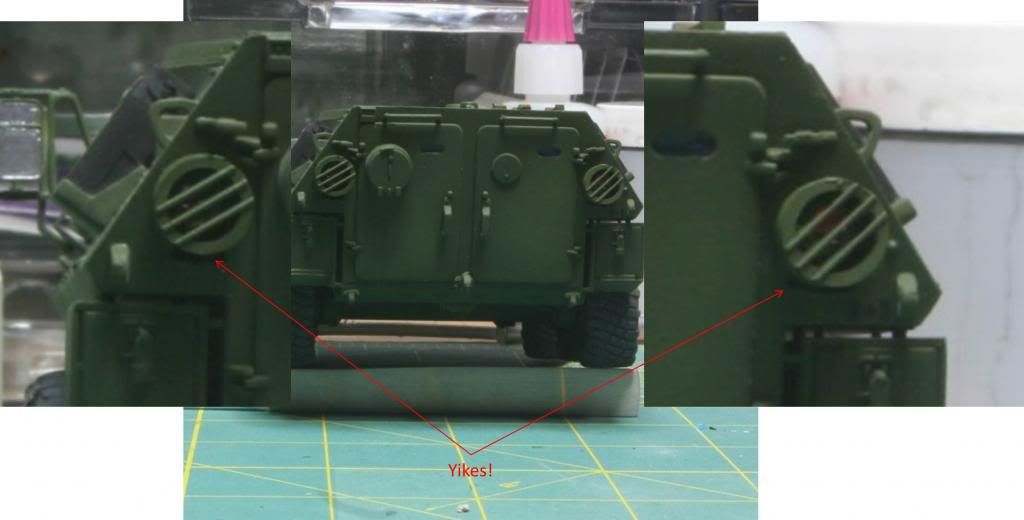
Lastly was the light covers. The taillight lenses were painted Tamiya clear red and installed and the clear lenses installed in the headlights. As you may recall, I had to cut out two mounting slots in the rear of the hull for the taillight guards. After finishing the taillights I tried to install the guards using the mounting slot, and they didn’t fit! Not even close. Geez. I though about filling in sanding and re-finishing, but the hole on the right side is dangerously close to the Canadian flag decal. There was no way I was going to fix this with out damaging the decal, and I don’t have any extras. I was also in a bit of a hurry as I needed to finish this for a contest in a day. So I decided to trim off the mounting tabs from the guards and install the parts, hoping for the best.

Post96_zpse5138bf6.jpg


The good news is that they aren’t super visible unless you’re looking right for them. But I learned my lesson! Always fit check before you paint! :bang head

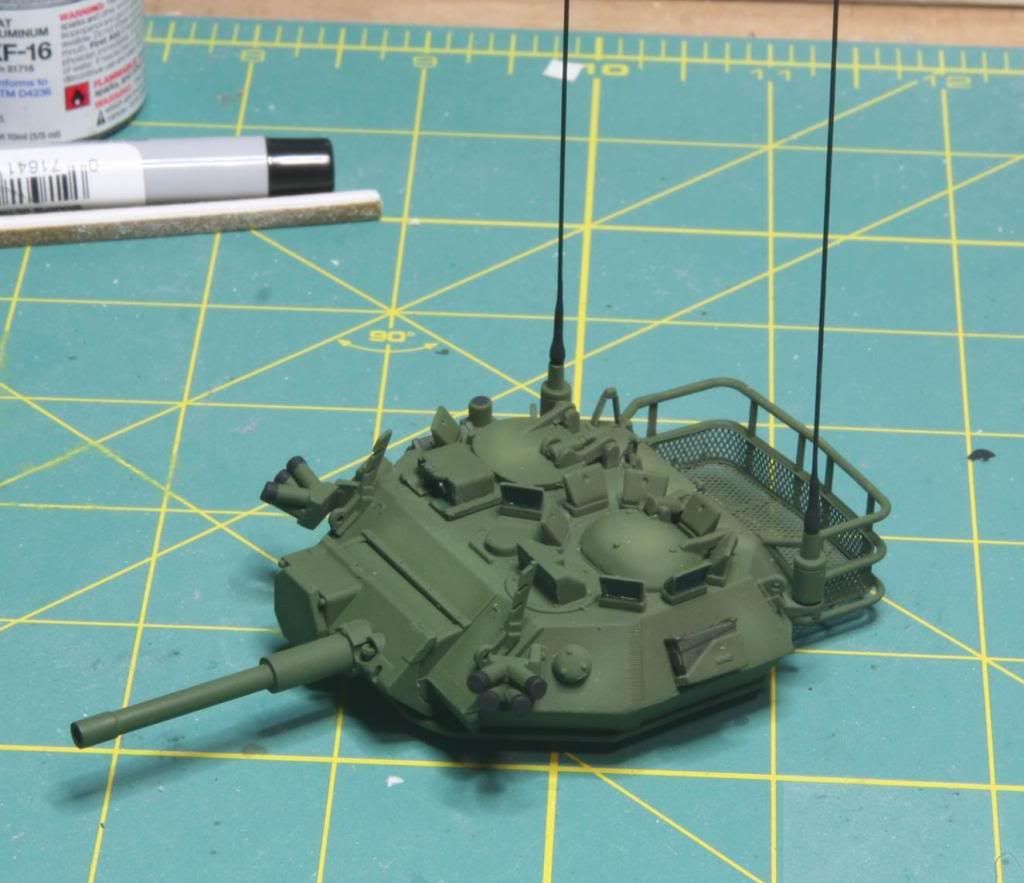
Next step – The turret. All the details were picked out here to, Periscopes are periscope color with a future coat. Antennas and the smoke dispenser covers are flat black and the ammo cans are Tamiya Olive Green. Pretty straight forward.

Post97_zps7c3600ca.jpg


And the turret on the hull…

Post98_zpscacecd33.jpg


Post99_zps94e40ec9.jpg


I have since added the tow shackles to and still have the license plates to go, but I’m calling this one done. I’ll add those parts and post some beauty shots later on.

Over all this was a fun little build. I tried out some new techniques, which I am pleased with and kick started my armor building again! Time to pull that Tiger I off the shelf of doom and get cracking!

Thanks for watching! See you next time!
Mike

:Hiay :beer
 
So, other than the turret basket, it wasn't too much trouble?

Regards,


Overall it was a pretty easy build. It does suffer from some of the same complaints I've heard of about Trumpeter kits - that being the instructions are not always super clear. But over all its not too bad.


Great job, Mike, Now you need to run that thing through some Canadian mud eh? :soldier.

Now that sounds like a plan! :yipee
 
At least add some dust in the tire treads. Other wise a very nice build! (y) Did I hear someone say Tiger? :coolio
 
Back
Top