• Modelers Alliance has updated the forum software on our website. We have migrated all post, content and user accounts but we could not migrate the passwords.
    This requires that you manually reset your password.
    Please click here, http://modelersalliance.org/forums/login to go to logon page and use the "Forgot your Password" option.

1/35 Scale Trumpeter Candian Cougar AVGP

Thanks everyone for the encouragement.

Thanks for the info James. That will help. Those resin pieces really look nice, but part of the goal was to do this build pretty much OOB. (OK I cheated with the wheels!) Can't wait to see yours!
 
Hi everyone!

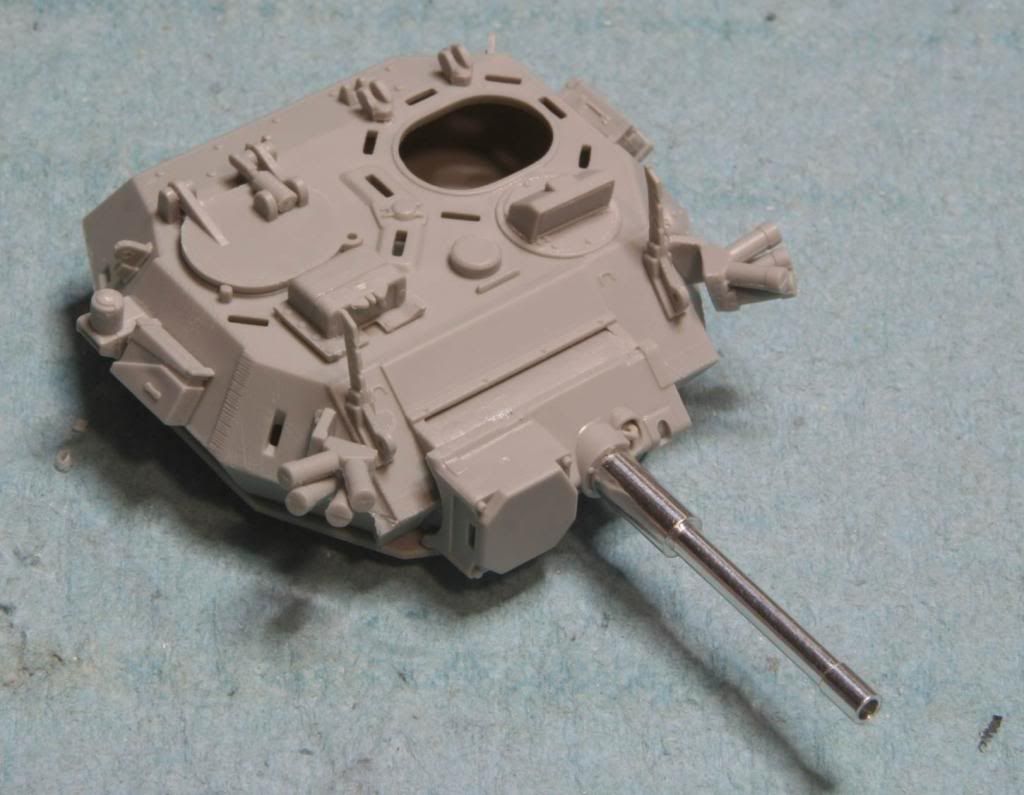
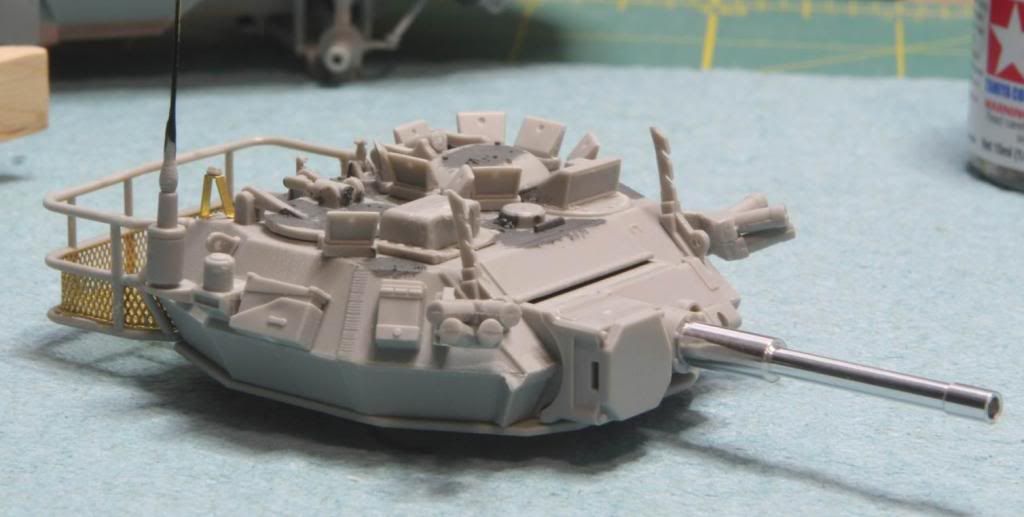
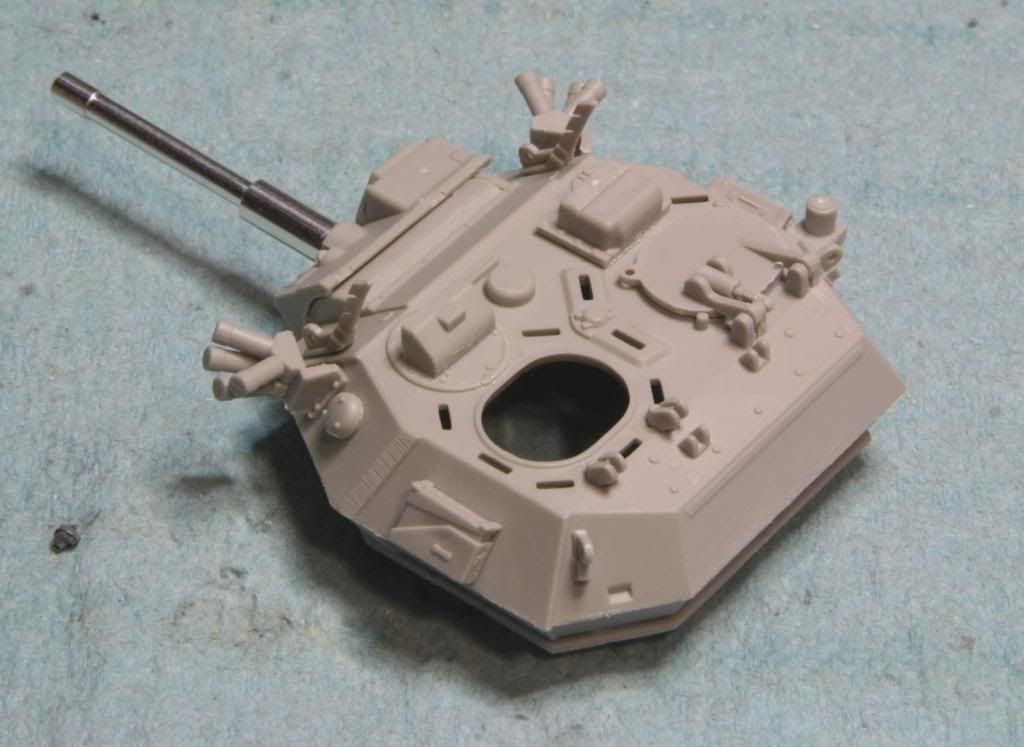
Quick update for today. Making some progress on the turret. I know I’m probably starting to seem a little boring here, but there were no real issues with the turret. Everything went together ok. The turned aluminum barrel came with the kit.

Post51_zpsdbcc0067.jpg


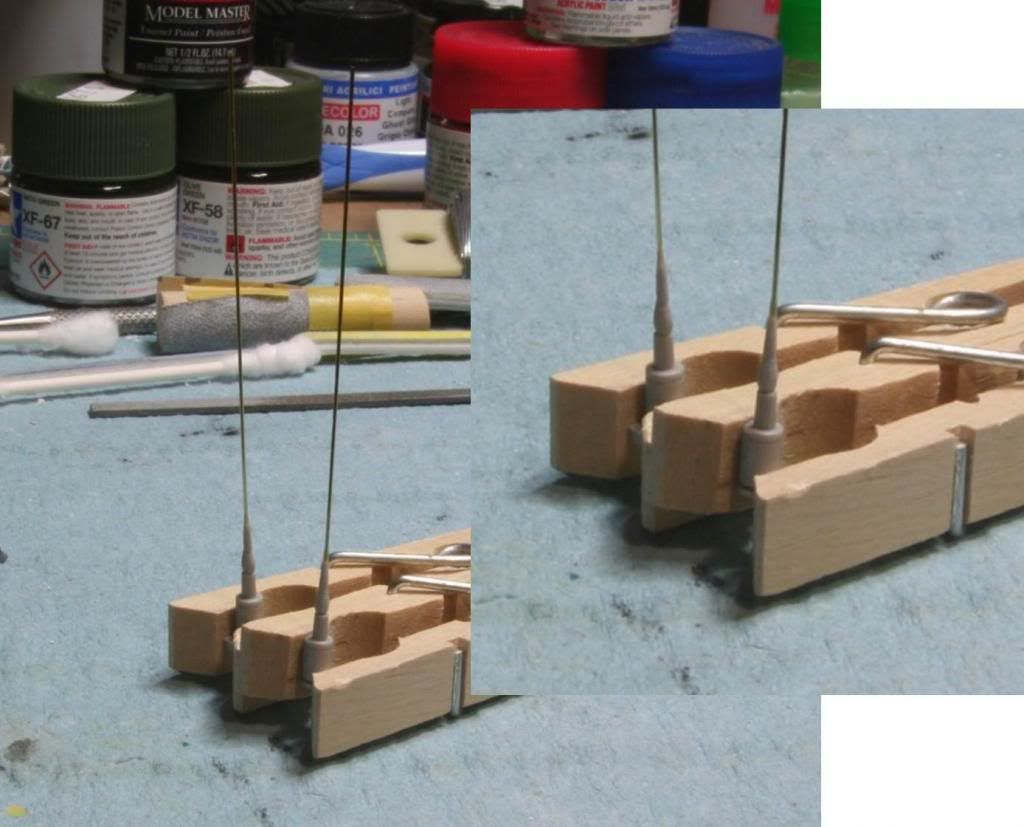
Post52_zps223bbbcb.jpg


The antennas did require a little bit of work however. The antenna mounts come with about a 1/2 inch “antenna” molded to the antenna mount. I cut that off, drilled a 0.5 mm hole in the mount and inserted a 2 and a half inch piece of half mm brass rod into the hole. Then I added some CA glue all around the joint and smoothed it out and tapered it to match the original contours. They seem a little thick, but look ok.

Post53_zps4f2247f9.jpg


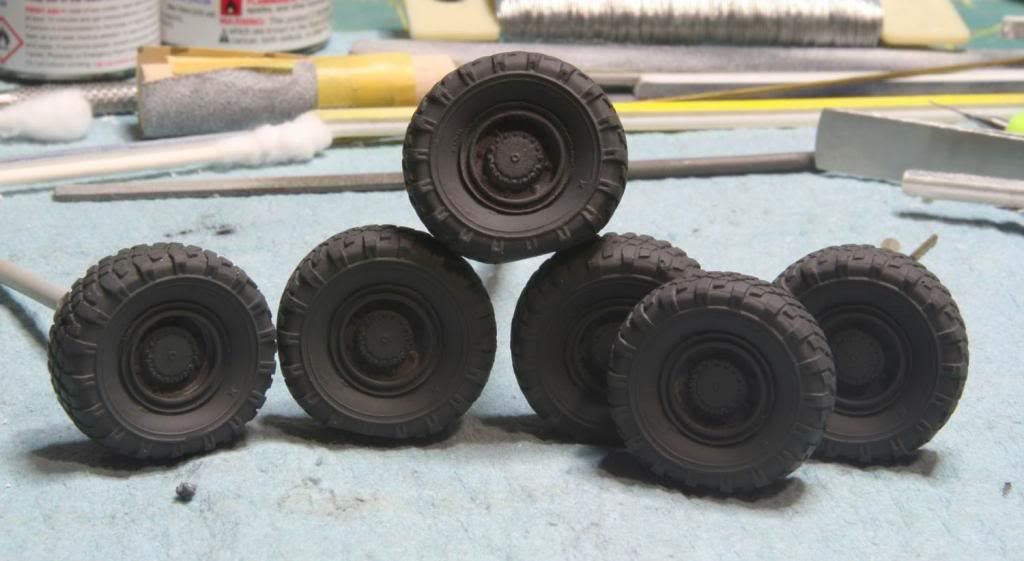
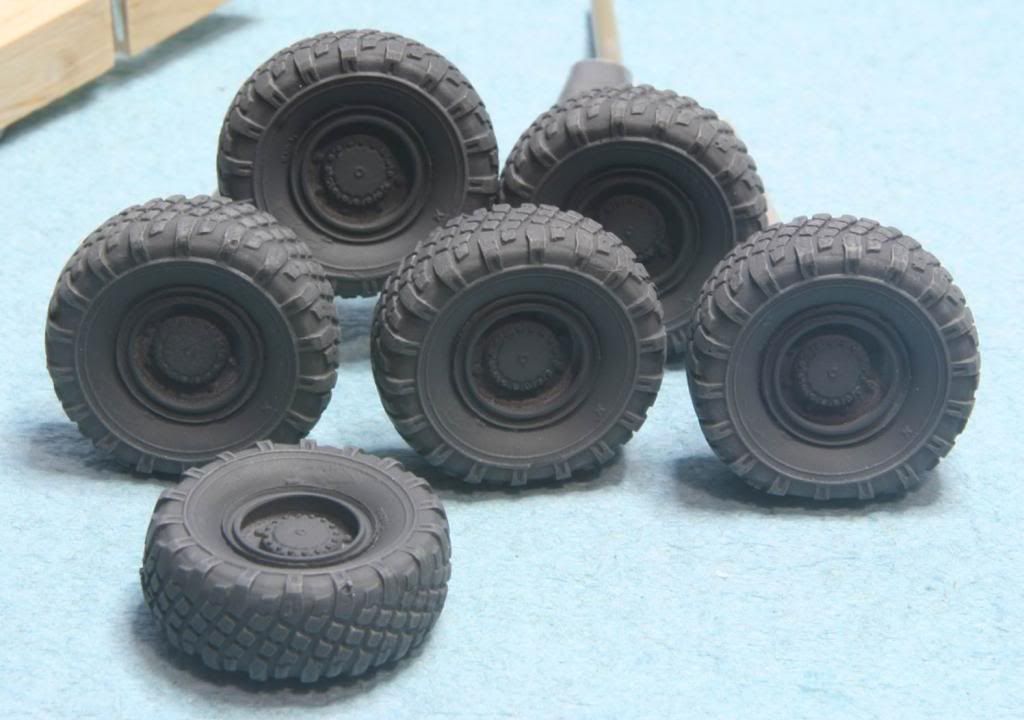
Lastly I painted the tires. I used Vallejo Dark Rubber for the tires. The hubs will get painted with the rest of the vehicle.

Post54_zps8dd9c92d.jpg


There you have it. I hope to finish up assembly in the next day or so. Then on to the painting. :yipee

I have an additional question. Anyone have advice for recreating the mirrored surface of the mirror? I’m not sure what would look best. Thanks for the help!

Thanks for checking it all out!
Mike
:drinks
 
Thanks for the great feed back guys. Moon Puppy - that is a great suggestion, but turns out I don't have the light rubber, but no worries, Sprue Brothers did and it will be here on Monday! (y)

Almost done with the turret, but I have a quick question. The instructions show the commander's periscopes to be a sort of clear purple color, which I assume is meant to replicate the anti-laser coating on the periscopes. But all the other periscopes the instructions indicate are clear blue. Shouldn't they all have the anti-laser coating?

Hopefully someone can help me out.

Thanks guys - update coming soon!

Wish I could help Mike, I'm sure someone can shed some light.
 
I have finished up the assembly of the Cougar! Well, ok almost. :woohoo:

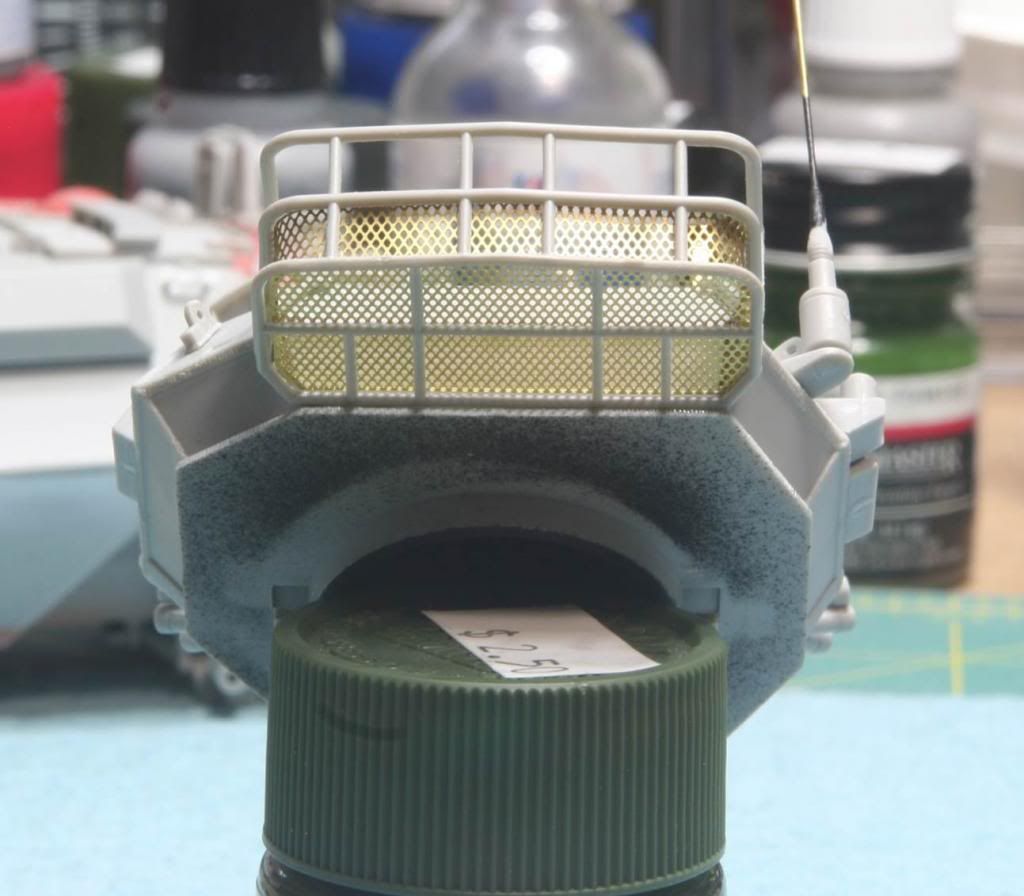
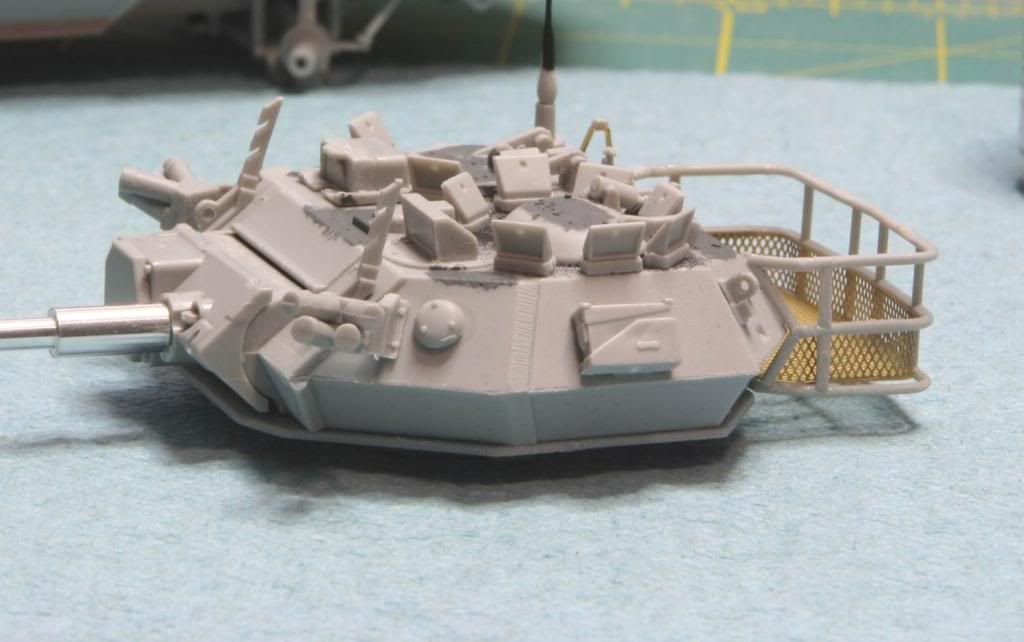
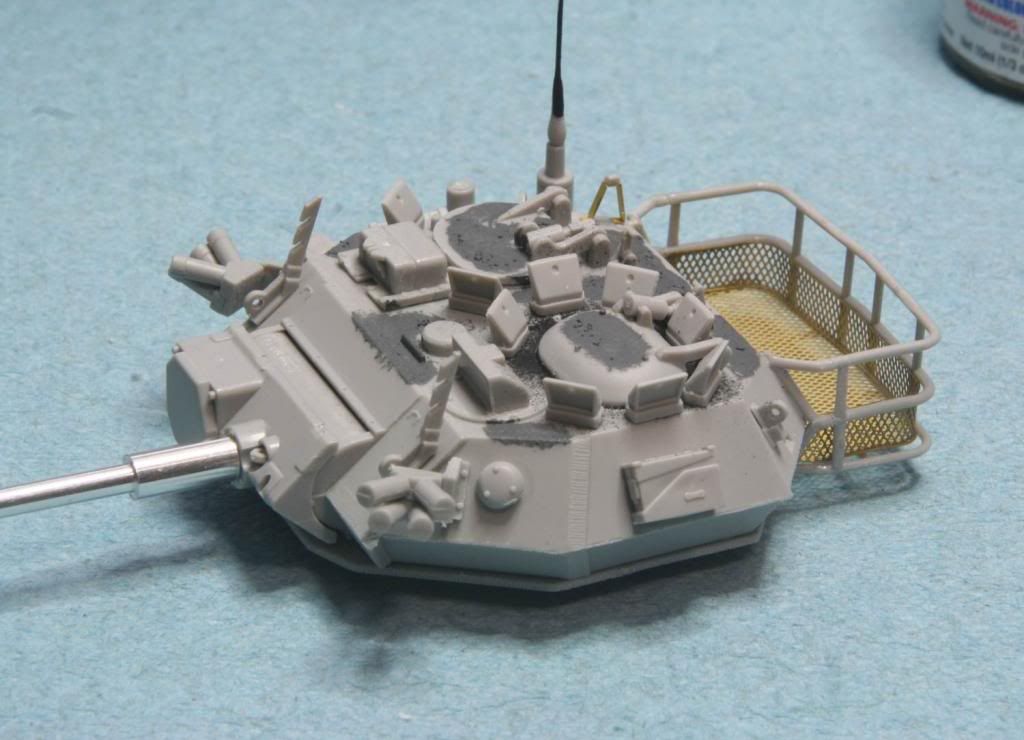
I had quite a few problems with the turret basket. First off there was a lot of flash on the parts. It took a little time to get them cleaned up. Once that was completed, I assembled the bottom and side/back plastic parts and then I added the photo etch mesh for the floor of the basket. This went ok. My problem was with the piece of photo etch that wraps around the sides of the basket. It was really just difficult to get that piece bent and fitted properly. I went slow, re-did it a few times and eventually got something I’m happy with. I’m positive that some of the more skilled modelers out there would have not had a problem with this, but I don’t work with photo etch like this too often. Just need more practice. :fencing

The last step was to add the antennas. But of course, since this is one of my builds, I broke off one of the antennas and had to repair it. Its in the process of the CA glue drying and it will be fixed up and installed tomorrow. :bang head

Post61_zps5a4d4835.jpg


Post62_zps5ad84e9e.jpg


Post63_zpsd0c2f0fa.jpg


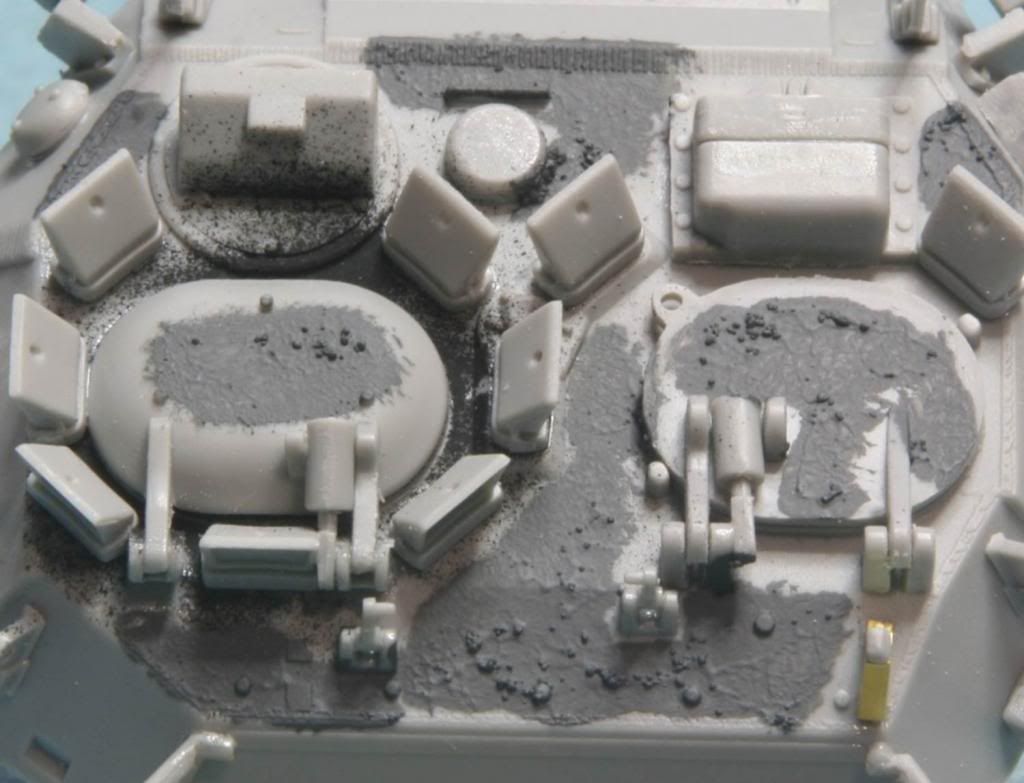
I also added an anti-slip coating to the turret top. For this I used a different product then the hull. I tried the Games Workshop Citadel Texture Paint. In this case Astrogranite. I had read about using this product, so I thought I would give it a try. It’s a very thick paint with some chunky bits in it. I dabbed it on around the top of the turret. Overall I think the texture may have not been spread around enough so I don’t think I got a very even texture. This product may be better suited to the really rough random texture that M1 Abrams tanks seem to have. Here are some photos. We’ll see how it does under a coat of paint.

Post64_zps7f9b1f3c.jpg


Post65_zps0dfe2fa1.jpg


I also followed some great advice and dry brushed the tires with Vallejo Light Rubber. They really turned out well.

Post66_zps7189b517.jpg


I noticed a few parts that need some clean up, and then I should be in the paint barn tomorrow!
Thanks for watching.
Mike
 
Mike, you could have said nothing about the problems you had with the PE mesh, it looks like it's done by a skilled modeler to me. (y)

You sure can't tell you had any problems with it. :popcorn
 
Hi everyone! Thanks so much for following along. I didn’t realize so much time had passed since my last post! Geez!

Here’s the next installment in my saga (ok not really, this build is going pretty well!)

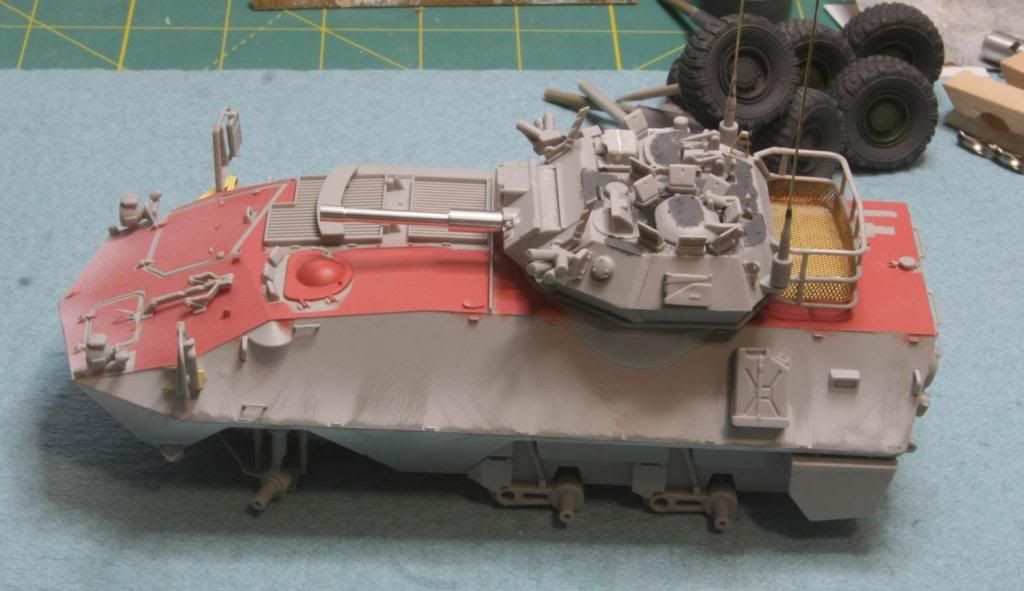
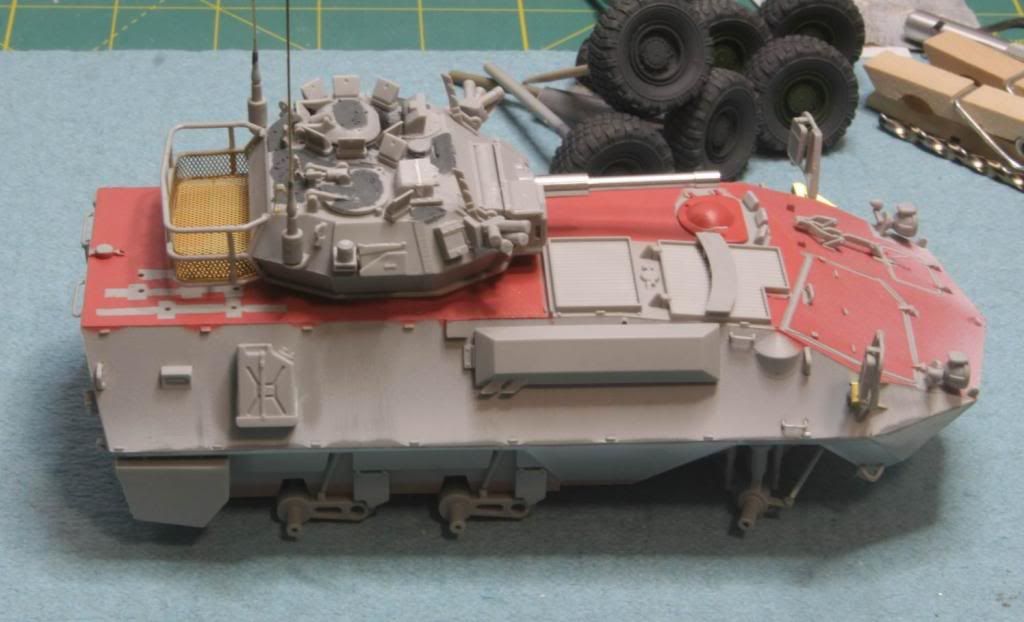
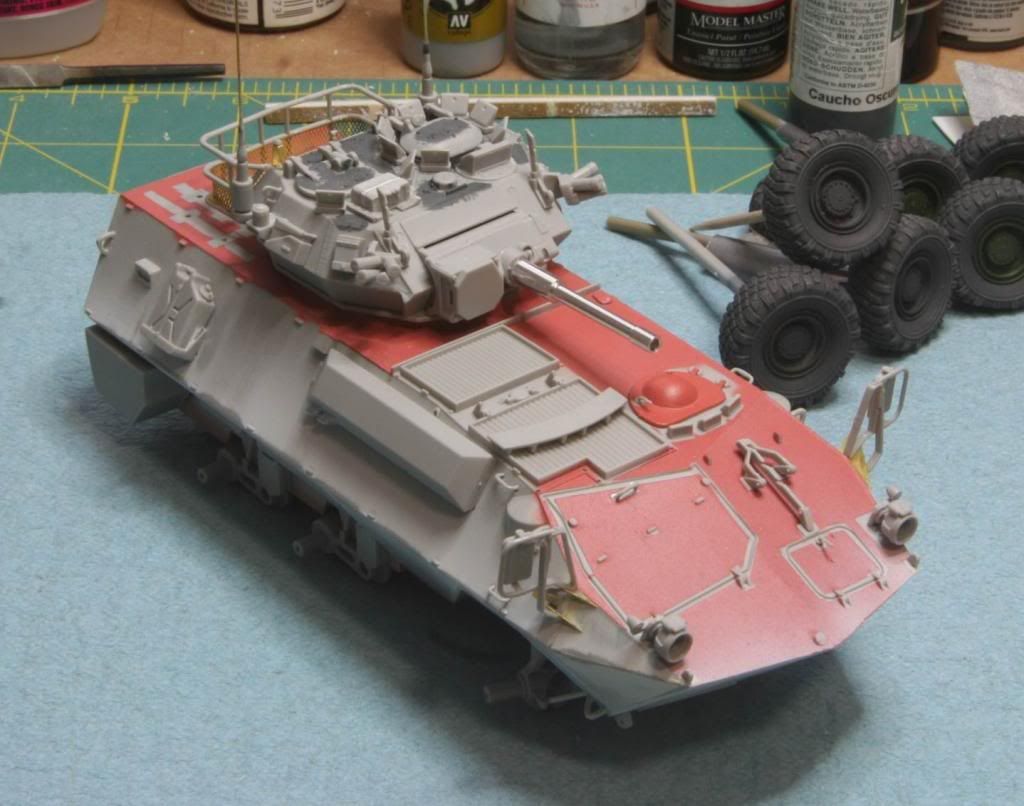
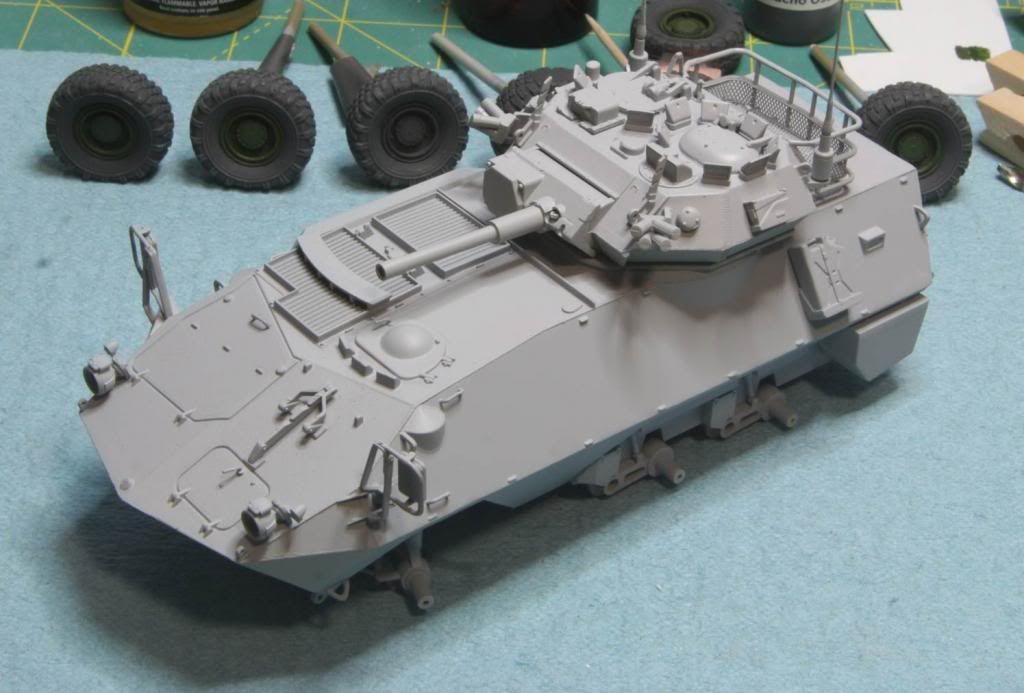
First up, some shots of the fully assembled kit.

Post71_zps64d82acb.jpg


Post72_zpsc8b91fa7.jpg


Post73_zpsecdbefbb.jpg


And primered. I used Tamiya Gray Primer straight from the rattle can on the turret and Mr. Surfacer 1200 from the rattle can on the hull. Why two primers you may ask? I ran out of the Tamiya primer.

Post74_zps1c70ce48.jpg


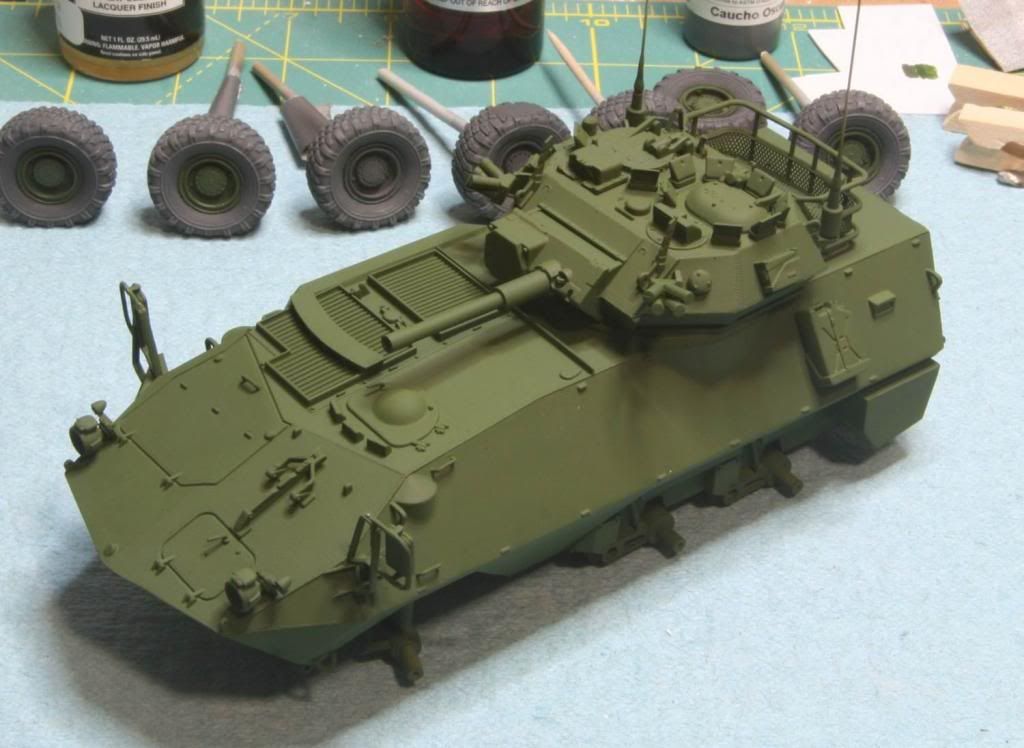
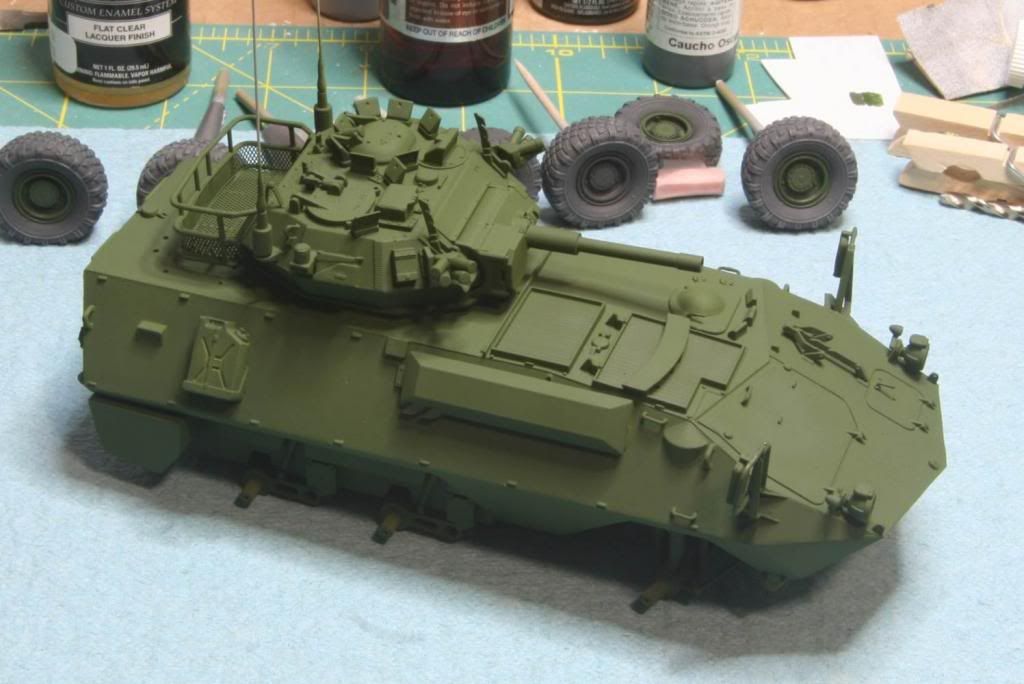
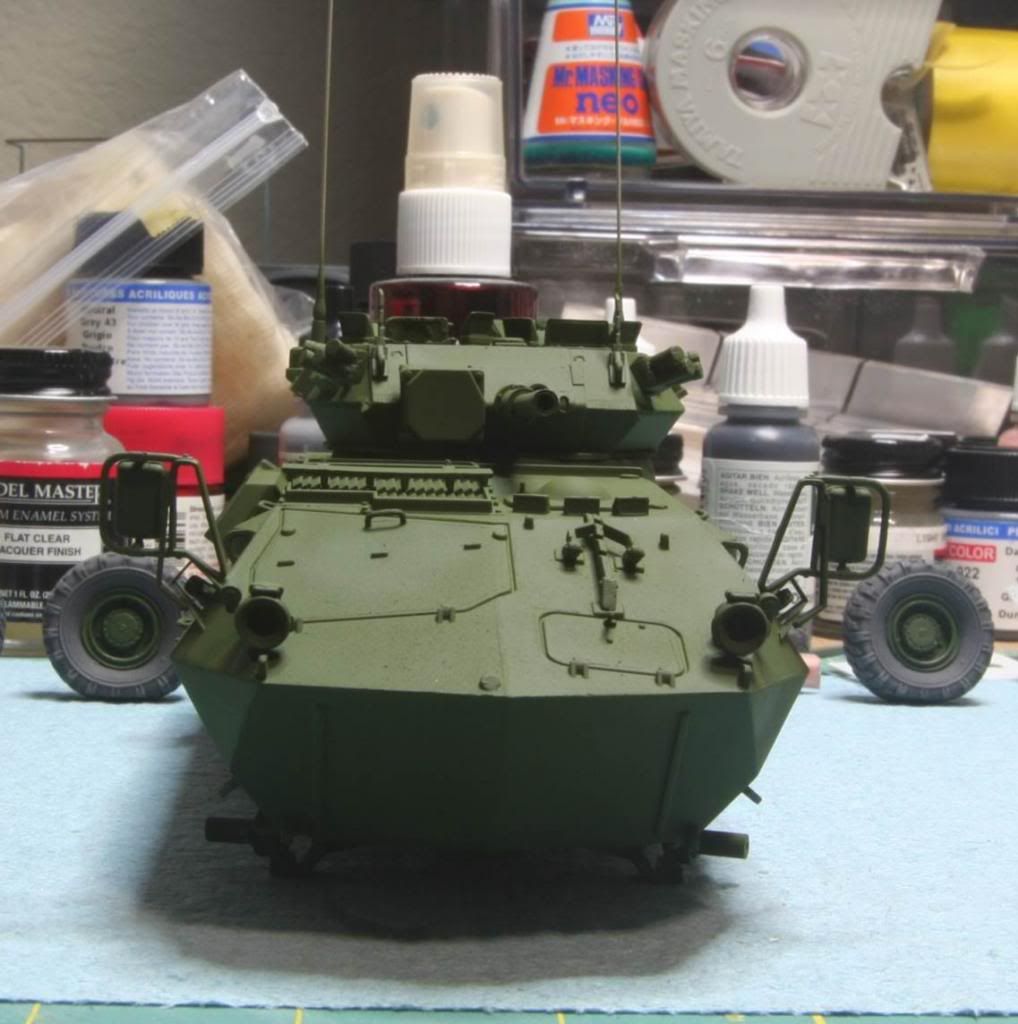
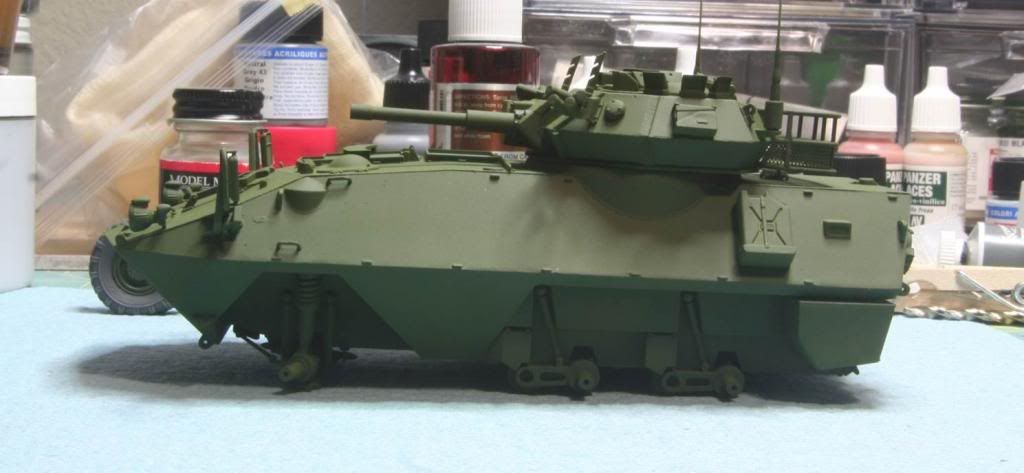
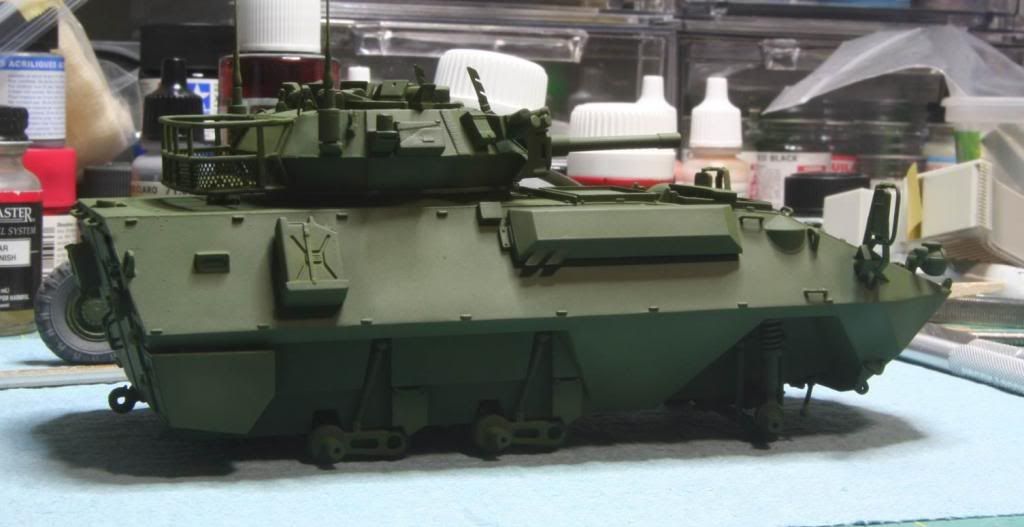
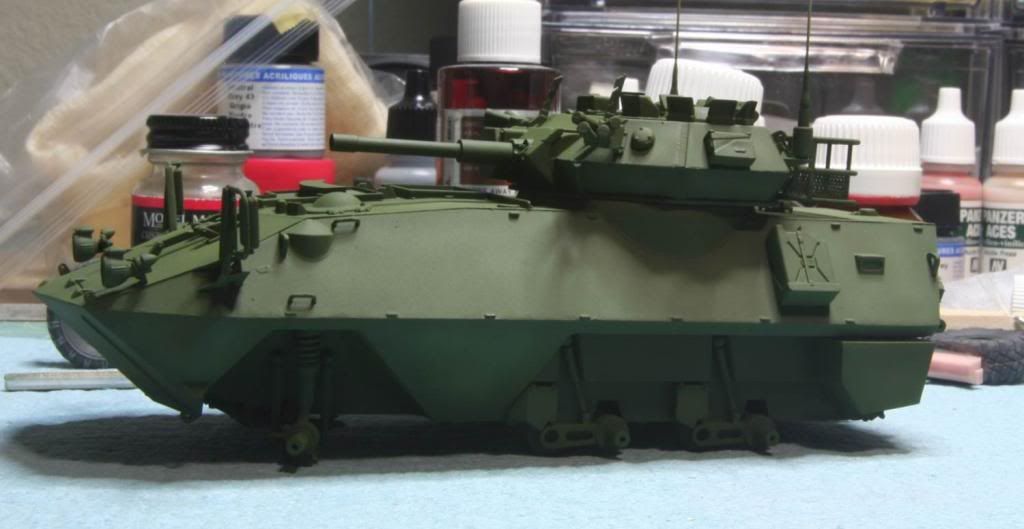
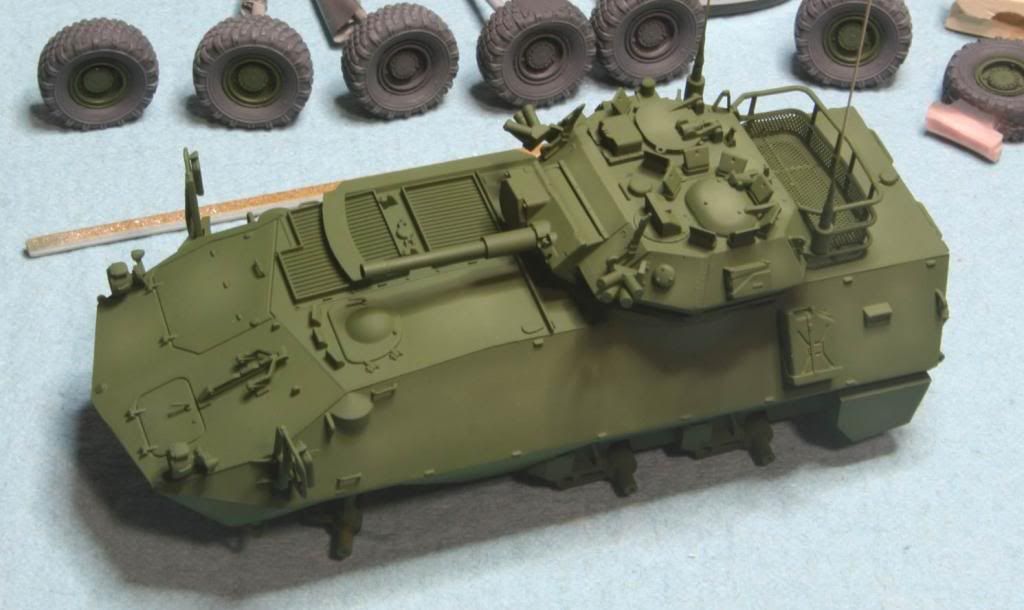
Next up was the Green. I used Tamiya NATO Green (XF-67) and I used my new Iwata HP-C Plus airbrush. First time using this airbrush and all I can say is WOW – what difference. I mixed the Green with Tamiya Lacquer Thinner in a ratio of 10 drops of paint to 20 drops of thinner. (I use an eye dropper to measure it all out.) And I sprayed at 10 psi. Here are the results.

Post75_zps4d69c6d6.jpg


Post76_zps754f523e.jpg


Post77_zps31c86734.jpg


Post78_zps2c937ca6.jpg


Post79_zps61ddc838.jpg


I am really happy with the results. And I found I had really good control with these ratios when I practiced on a scrap kit. What difference good equipment can make!

After looking at the top of the turret, I really wasn’t happy with the anti-slip coating. So much so I removed it at this point. Then I repainted the turret top.

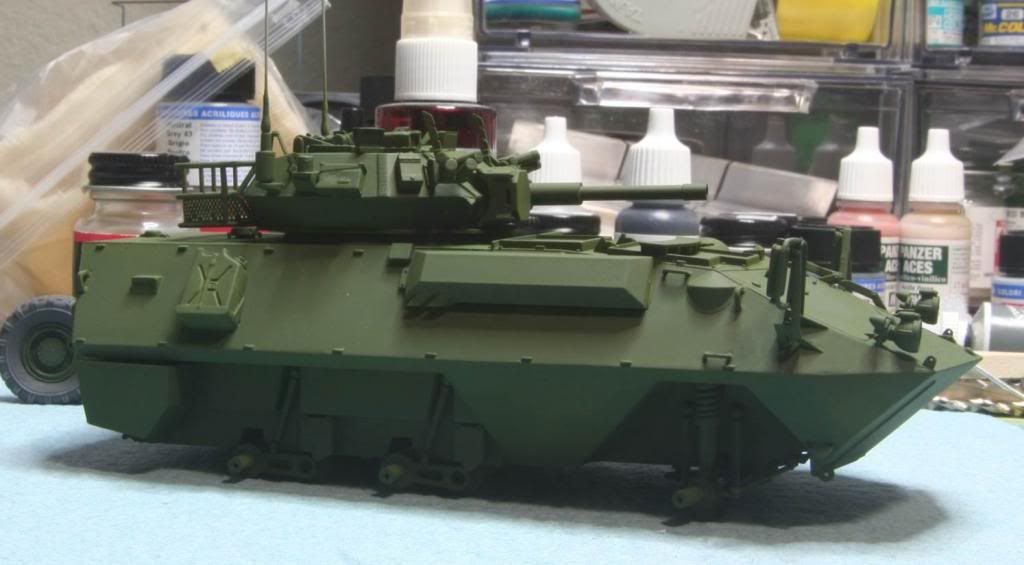
Now it was on to the experimenting. The goal of this build is now to work on my finishes and try some new techniques. After the paint was dried I mixed up a lighter shade of the base green as follows, 5 drops green (XF-67) + 5 drops white (XF-2) followed by 20 drops of thinner. This color I lightly sprayed in the centers of the panels to give some color variation. This was my first time trying this technique and the first time I honestly had confidence in my ability with an airbrush to pull it off. I’m not sure the photos do the finish justice, but I am very happy with the result. Just the right amount of subtle fading of the paint!

Post710_zpse4ef04c8.jpg


Post711_zps5789f06d.jpg


Post712_zps00e0420a.jpg


I think the last photo shows it off very well. Next step will be to lay down a coat of future then work in a filter and some washes along with the decals.

Not sure if they were visible or not in the background, but I ran into a little bit of an issue painting the wheel hubs. When I masked the first one as a trial I pulled the paint off the tire when removing the mask. Not really sure why. Paint must not have cured very well or something. Anyway, resorted to brush painting the wheel hubs green. Nothing like going old school!

Well Future will go on tomorrow, and then I am off to wine country on a much needed vacation! :yipee

Thanks you all for the continued support! This is really turning out to be a fun little build for me!
 
Looks fantastic. Really like how that anti slip turned out. The modulation looks very good as well. Very very nicely done (y) (y) (y) (y)
James
 
Back
Top