• Modelers Alliance has updated the forum software on our website. We have migrated all post, content and user accounts but we could not migrate the passwords.
    This requires that you manually reset your password.
    Please click here, http://modelersalliance.org/forums/login to go to logon page and use the "Forgot your Password" option.

1/200 Trumpeter Bismarck with Pontos 27001F1

Trogdor

Member
Ill Start off by Saying this is my 1st Build log ive Attempted so bare with me lol, Ive just finished a 1/350 Bismarck with the WEM Upgrade Set and last thing i wanted to do again for awhile was a Bismarck lol but the model gods told me other wise i picked up this 1/200 Bismarck form a older Gentleman who was giving up the hobby for 250 bucks which is a steal and it included the Wood deck form Pontos. So ive been saving my pennies and been buying rest of the upgrades for this Ship, I bought 22001F2 and the 21001F1 form Pontos at www.luckymodel.com. So these 2 sets make up 27001F1 which is the complete pontos Package just minus the deck since ive already had acquired it.

So onto the Unboxing,


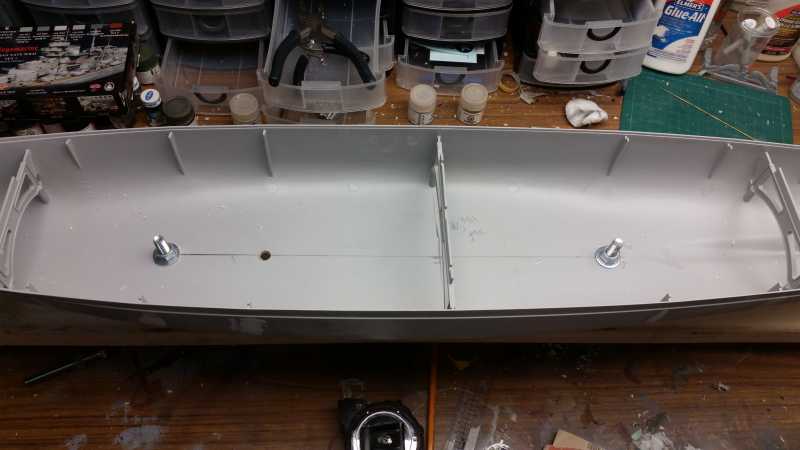
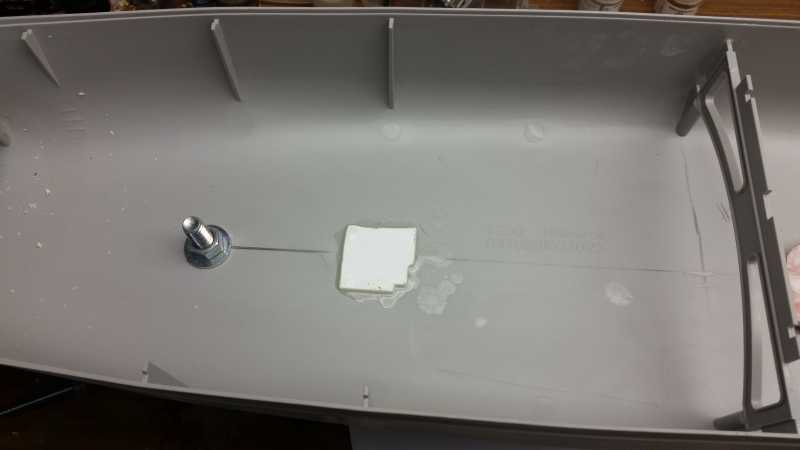
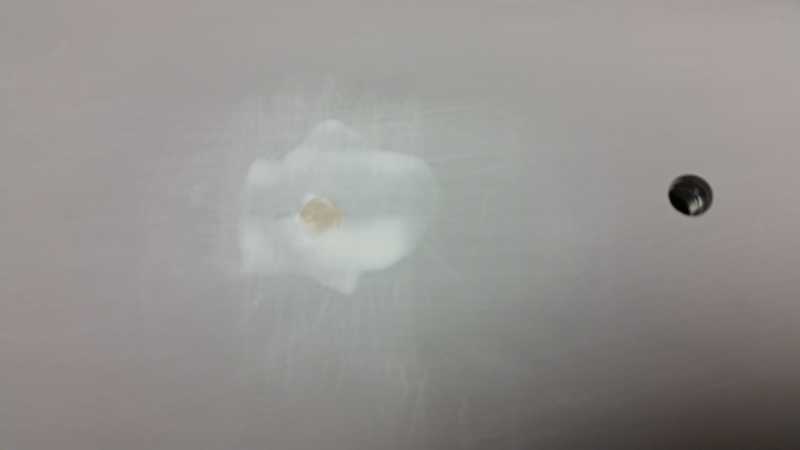
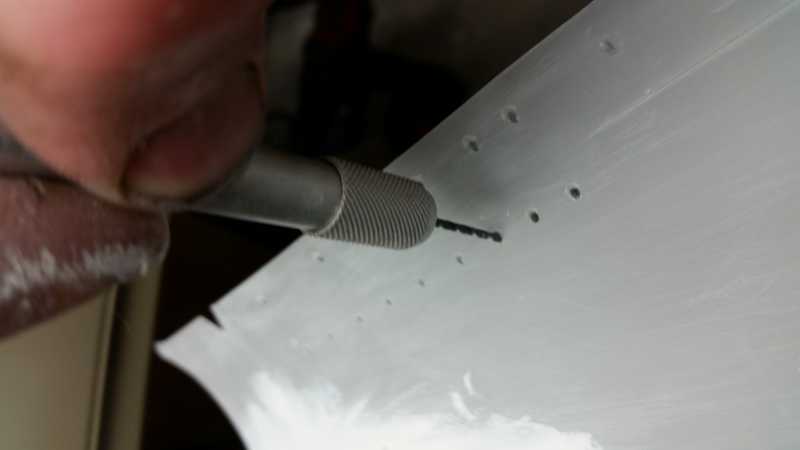
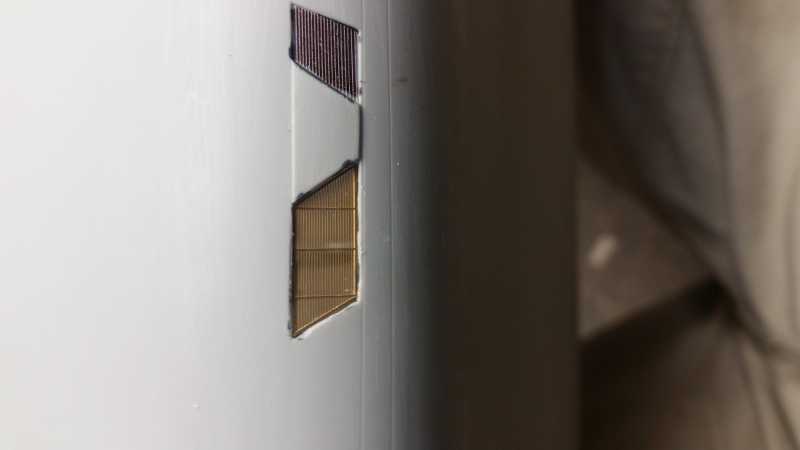
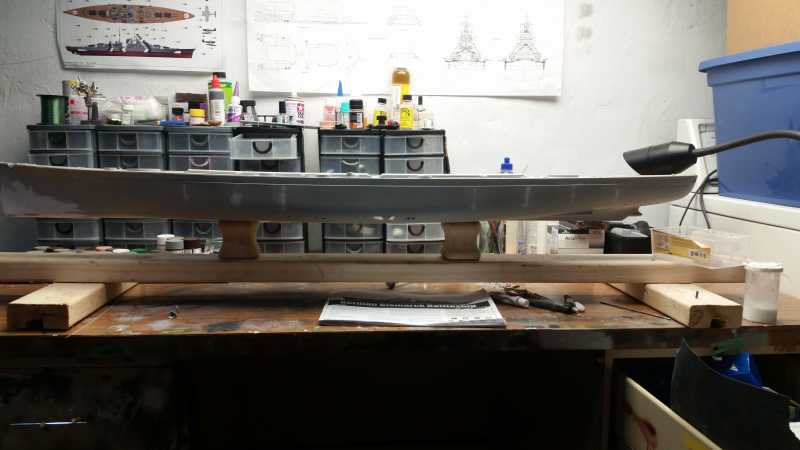
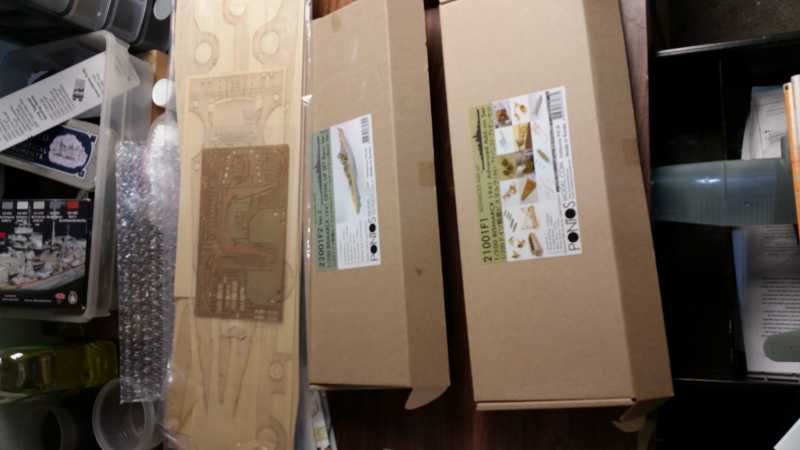
This kit is massive over 4ft Long, The hull in pretty well one piece other than the Bow section needs to be built ive noticed a bunch of seam lines on the outside of the hull and some areas ill need to putty to fix the injection points

h3126718.jpg


Everything is well Package and organized all the delicate pieces are Wraped up in foam which is a nice bonus and even comes with a bonus Turret Cross Section (might build one day i need a break form the Big Bis lol)

h7edfe25.jpg


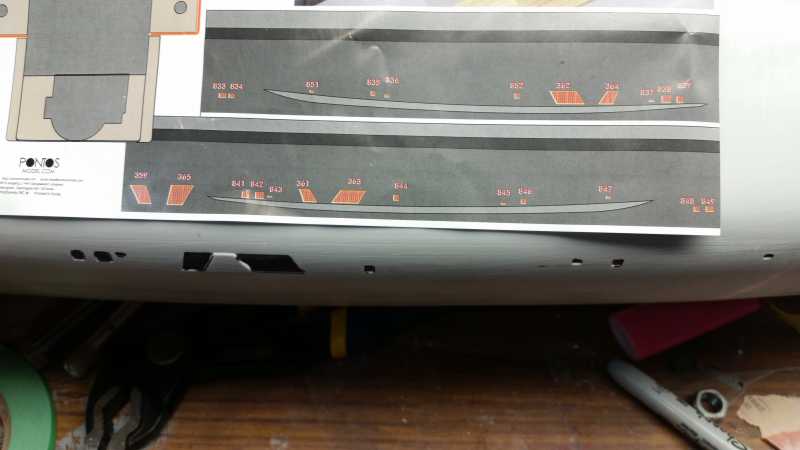
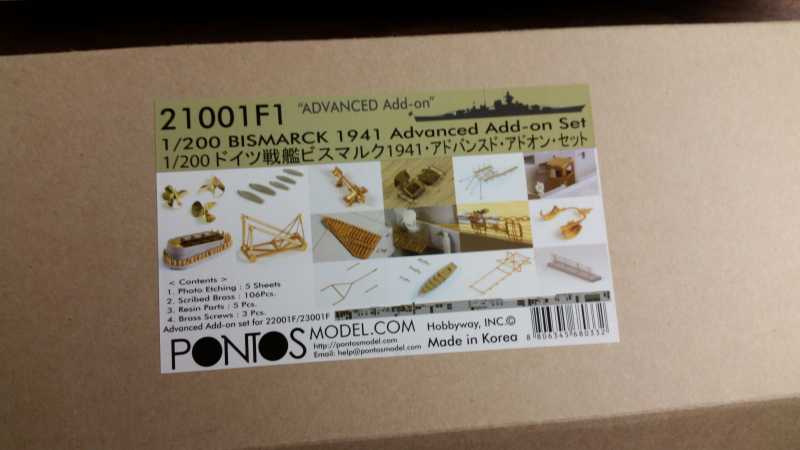
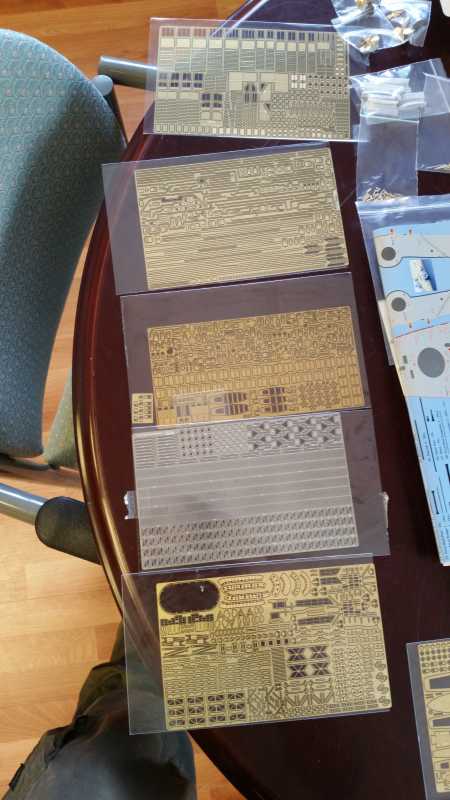
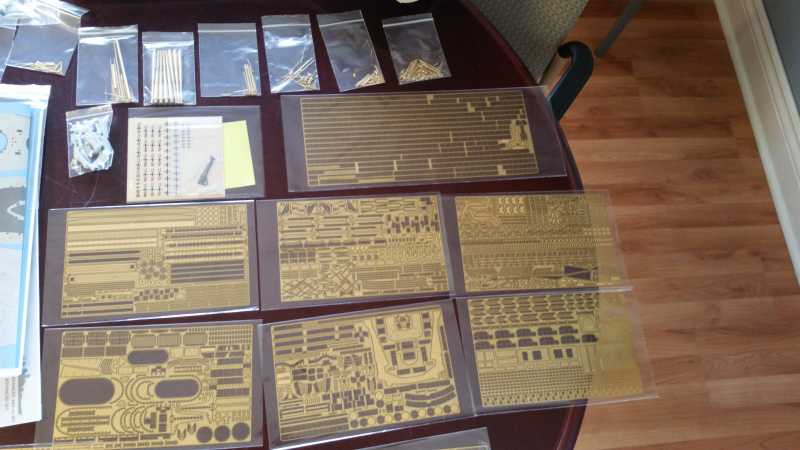
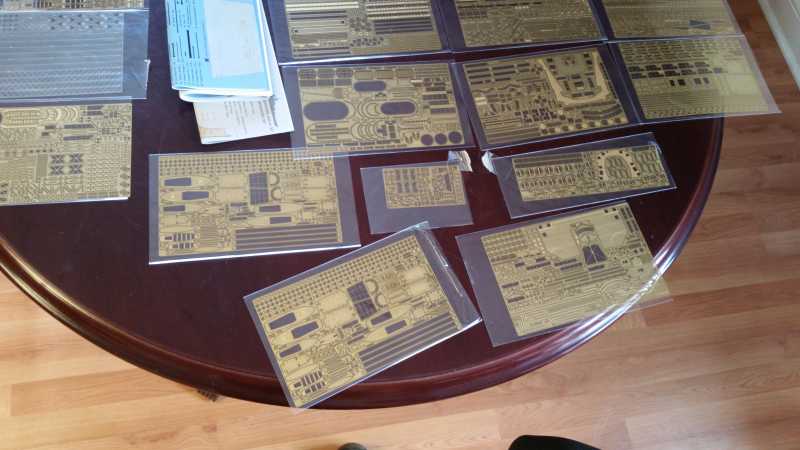
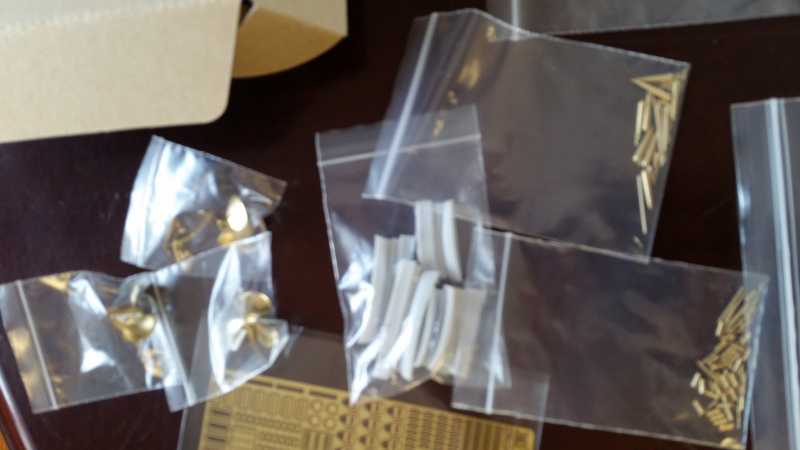
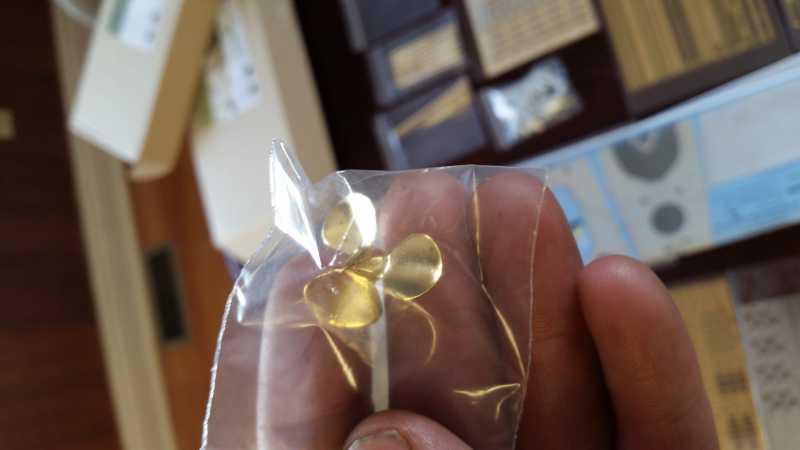
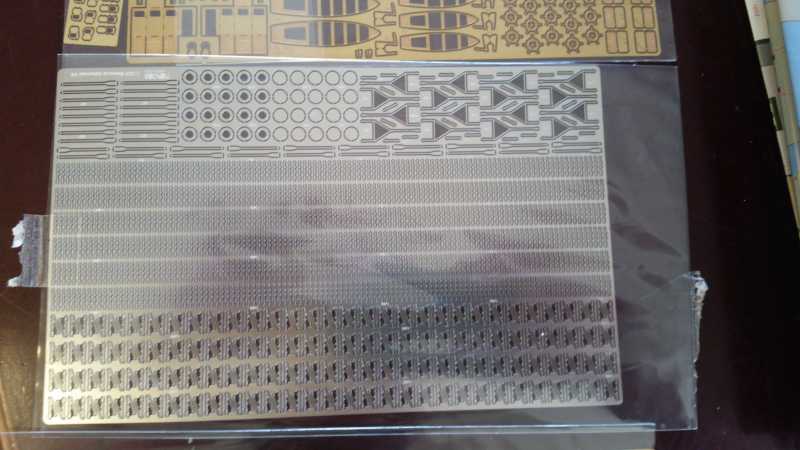
Ok onto the Pontos set, This set is the most complete set out there for this ship it contains 318 Scribed Brass / 15 Photo Etching sheets /Resin 27 Parts set / 25 Life Tubes / 3 Buffed and Polished Brass Screws
/ Stained Wooden Deck for one ship kit, you can check out the set at http://pontosmodel.com/html/27001f1.html


h8293ec6.jpg


hf16e673.jpg


h3c4472c.jpg


The Wood Deck is Excellent

hcc8ea98.jpg


h5e07d50.jpg


h5e7414a.jpg


h20800b0.jpg
 
Yes i have this OCD thing about building models lol gotta go all the way.

Here are some Start of the Build Photos


I Started with the Bow Section


The Bow section didnt line up very well so its putty Time
h3f9719d.jpg


So to anyone who is building this Ship make sure to check out the sides i noticed where the Bracing is inside the Hell its Warped the sides you can hardly see it but you can feel it for sure
hf31d898.jpg
 
OH MAN! One thing I learned from my Graf Spee attempt (I'll finish that dang thing one day) is, for me, you have to treat all the sub assembles as models within themselves. You find that true?
 
Yeah totally Agree, Thats the Beauty of ships, its like finishing 10 models in one, I think thats what makes ship building so much fun each sub assembles is like a new model
 
Very nice, can't wait to see the progress on this. I'm collecting the bits to super detail a ship model myself, so it'll be nice to watch someone elses progress and use that to help w/ mine.
 
Before i forget to say im gonna try to be detailed as possible with this build as i havent found anyone who is done or doing a build log with the 1/200 bismarck with the Pontos set so if anyone following is working on the same set as i'am and needs help or can help me greatly appreciate it and ill try to add a Reference list to the first post to help out.


I'm new to these Fourms is there a Way to change your Avatar pic i cant figure it out lol (Figured it out finnally)

Thanks Rob
 
Fantastic- and a proper project for The Burninator- now put that big beefy arm to work! ;) I notice the 1/200 Arizona set is nowhere on Ponto's site- bummer! I'm going to have to hunt that down.

Cheers!
chuk
 
Hope everyone had a good weekend got lots done Fix the car and started to add Photo Etch to the hull and im about half way done making notes for all the photo etch lol so much of it to keep track of.

So i messed up on the measurements for the holes for the Stand lol (math is not my strongest attribute) but i was able to fix it :laugh:
hd72b7a1.jpg


hf630fc7.jpg


h5941abf.jpg


Forgot to take pics of the Bracing i put in to hold theBolts in place ill take one of it once i get home today

I drilled out the Port holes i read alot of reviews and quite a few say the Port holes are misshapen but i dont see it they look straight and proper ive seen people go as far as cutting them out and readding them with plastic card very impressive but i dont see it being needed just depends how much work you want to add for your self

h7e14194.jpg


So i lost my really nice fine red marker so i will have to go buy one but i used black today to show what is needed to be removed, Do note that the pontos instructions and pictures of there ship show them just putting the grills over top, but im gonna remove it to add depth and bring out the details of the grills. And one other note to add when removing the Bigger Water Intake Trumpeter Put the inner Support Right where your cutting out i just used a Dremel tool to remove a small section to try to keep much of the bracing in there.

h27c05e8.jpg


h9f869d0.jpg


You can see here im adding bracing so the Water intake grills have something to hold onto plus it helps hide any gaps if your hole is not perfect

h8b2f3bb.jpg


Here is it finished

hc5d72ba.jpg


My next Issue is to figure out where the Boot Top goes Trumpeter Didn't mould the lines for it so i am going to have to bust out the calculator to figure exactly where to paint it :geek

Thanks Rob

Happy Modeling
 
So i haven't gotten alot done this week been away on Training for my Job, but i did manage to get some done last night

Here is a Shot of the Bracing i put in to hold the Nut in Place, i have to admit i'm terrible with Epoxy glue got real messy lol.

h2f226a2.jpg


Got all the Grills Drilled and Sanded out just gotta add a couple more PE and done one Side lol

h93e155a.jpg


And on a Exciting Note my package came in the Mail while i was gone, My head Magnifier Came in got them for 20 bucks on the Facebook Model graveyard Group Great Deal

h712abfe.jpg
 
Back
Top