Skinny_Mike
Well-known member
Hi folks, I’m going to throw my hat in the ring here and I am hoping for a quick build. I am currently stuck at a slow point for another build and this should offer something to fill in the dead time.
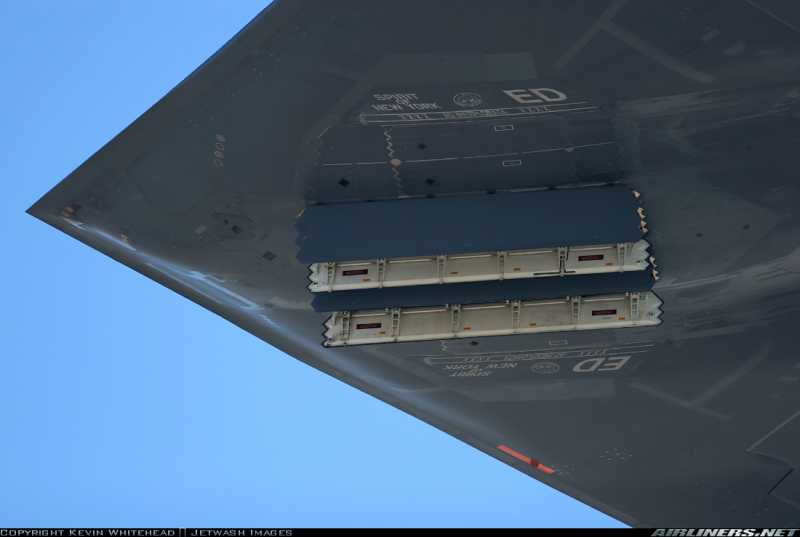
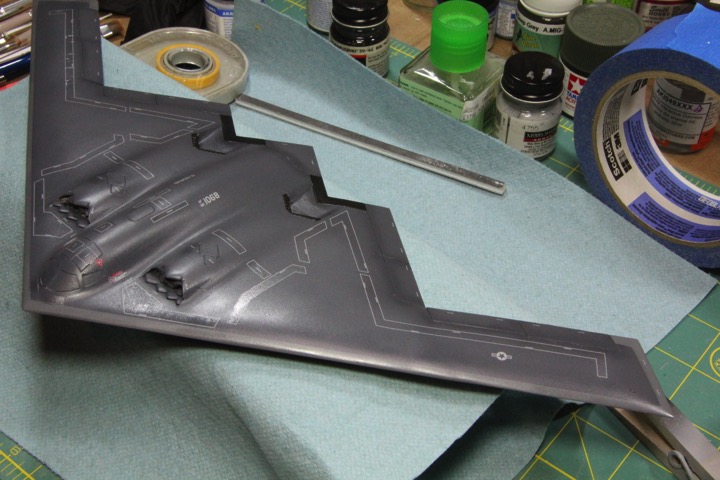
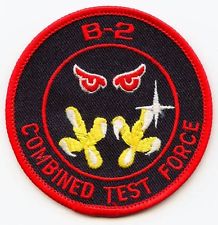
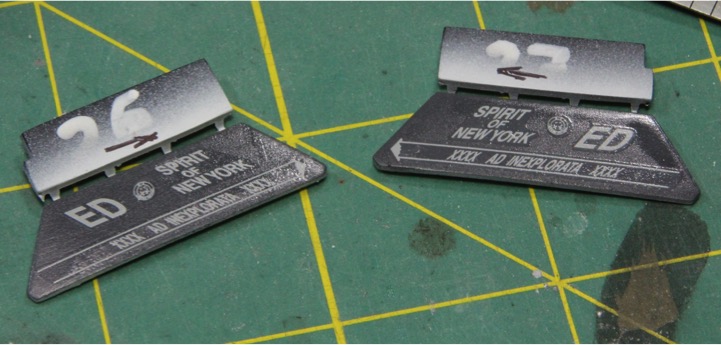
There was a thread going around out there asking if family history factored into your builds at all. Well for me it certainly has, but its more personal history, not family history. Up until a little more then a year ago, I was lucky enough to work on the B-2 program in a few different capacities, from Flight Test to weapons integration. I can’t lie, I really did love my job and loved being around this magnificent airplane. I was also lucky enough to meet my wife while we were both working on the program at flight test. During all that time I never wanted to build a model of the B-2 though. First of all the Testors kit is just a piece of junk, and none of the available kits really are well detailed or correctly detailed and I have the curse of knowledge! Secondly, every model of this jet only has markings for S/N 82-1066, which was the first airplane off the assembly line, and they do not include the door markings for the airplanes. So what’s changed? Well, about a month ago I stumbled across a set of aftermarket decals in 1/144th scale that include operational markings for 5 different aircraft, and the best part includes 82-1068, The Spirit of New York, in her flight test markings. This is the plane I wanted to build, I am from New York originally and it was the airplane we used as a test jet when my wife and I met (she still calls it “the other woman”). All of the signs were there, 1/144th scale Revell B-2 kit was in my stash (wife bought it, I thought for herself, turns out it was for me to build for her!), decals were purchased and March was just around the corner. Time to get building!
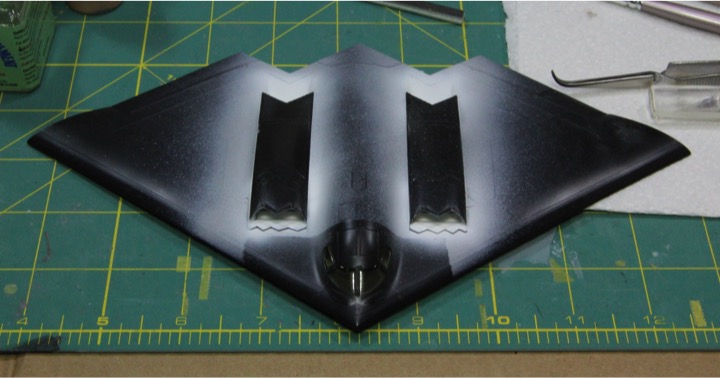
Here is the start up photo. The kit is the Revell 1/144th scale Northrop B-2 Stealth Bomber.

Cockpit was painted and assembled, there are only two parts. I used Ammo from Mig FS 26173, that they suggest for the interior of modern US aircraft. It looks about right. The seats were painted in black to mimic the ejection seats. The cockpit isn’t even close to accurate, but its tiny and you can’t see in anyway, so I left it be.

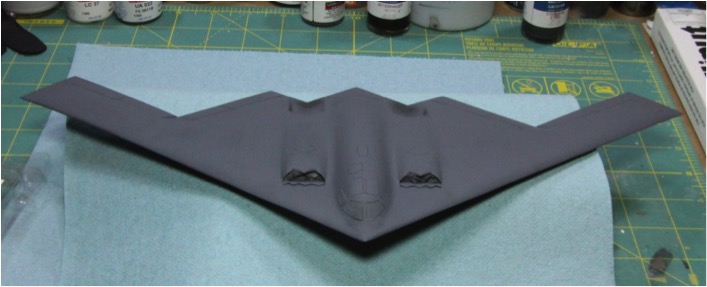
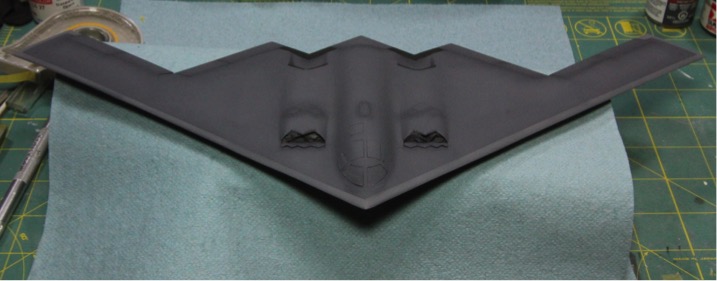
Next the clear window pieces was given a future bath, painted in a mix of Tamiya clear yellow, smoke and clear orange, then installed and the cockpit installed after it. The intake pieces were all cleaned up and the interiors painted white followed by clear gloss. I did prime the parts first with Tamiya primer from the rattle can. I figured it would help cover the black plastic.
And the intakes installed
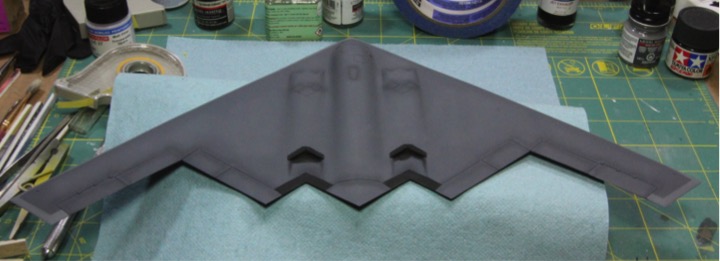
Next up I assembled the fuselage halves. I’m not sure if my parts were a little warped or something but they did not go together well at all. There is still a big step on the front seam line that I will need to deal with.

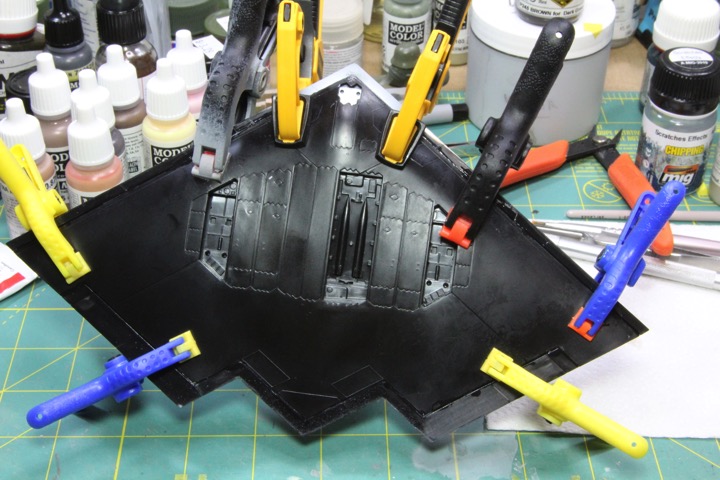
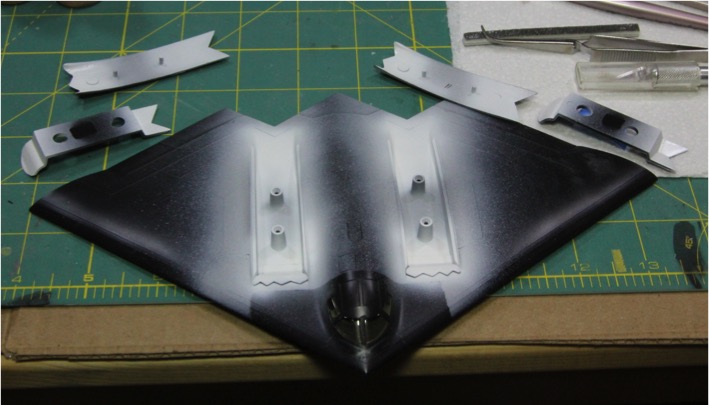
And the outer wings

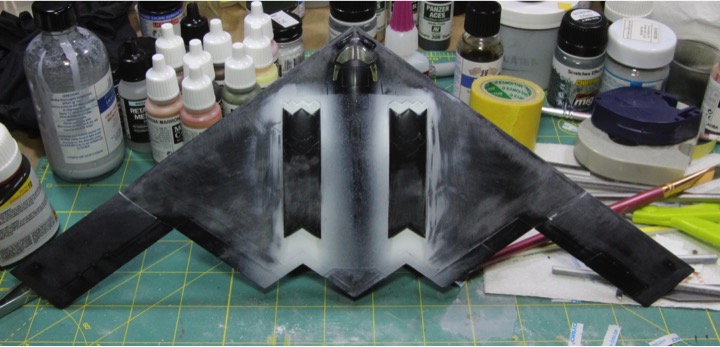
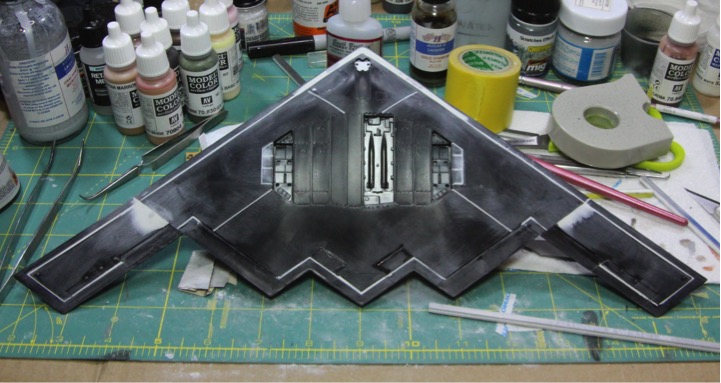
From what I can tell, this kit is based on, or is a rebox of the Revell snap tight kit. This has resulted in some giant seems where the parts come together. Lots of putty for sure. It’s also a mix of raised panel lines with some fairly cavernous recessed panels around the control surfaces and the moveable doors. I’m going to scribe out some of the panels that really exist and are depicted raised then sand off the remaining raised panel lines. I’ll leave the recessed stuff alone for the most part. I was really hoping this would be an easier build, but I’m already 75% done. Not quitting yet!
Time to order more putty!
See you all soon.
Mike
There was a thread going around out there asking if family history factored into your builds at all. Well for me it certainly has, but its more personal history, not family history. Up until a little more then a year ago, I was lucky enough to work on the B-2 program in a few different capacities, from Flight Test to weapons integration. I can’t lie, I really did love my job and loved being around this magnificent airplane. I was also lucky enough to meet my wife while we were both working on the program at flight test. During all that time I never wanted to build a model of the B-2 though. First of all the Testors kit is just a piece of junk, and none of the available kits really are well detailed or correctly detailed and I have the curse of knowledge! Secondly, every model of this jet only has markings for S/N 82-1066, which was the first airplane off the assembly line, and they do not include the door markings for the airplanes. So what’s changed? Well, about a month ago I stumbled across a set of aftermarket decals in 1/144th scale that include operational markings for 5 different aircraft, and the best part includes 82-1068, The Spirit of New York, in her flight test markings. This is the plane I wanted to build, I am from New York originally and it was the airplane we used as a test jet when my wife and I met (she still calls it “the other woman”). All of the signs were there, 1/144th scale Revell B-2 kit was in my stash (wife bought it, I thought for herself, turns out it was for me to build for her!), decals were purchased and March was just around the corner. Time to get building!
Here is the start up photo. The kit is the Revell 1/144th scale Northrop B-2 Stealth Bomber.
Cockpit was painted and assembled, there are only two parts. I used Ammo from Mig FS 26173, that they suggest for the interior of modern US aircraft. It looks about right. The seats were painted in black to mimic the ejection seats. The cockpit isn’t even close to accurate, but its tiny and you can’t see in anyway, so I left it be.
Next the clear window pieces was given a future bath, painted in a mix of Tamiya clear yellow, smoke and clear orange, then installed and the cockpit installed after it. The intake pieces were all cleaned up and the interiors painted white followed by clear gloss. I did prime the parts first with Tamiya primer from the rattle can. I figured it would help cover the black plastic.
And the intakes installed
Next up I assembled the fuselage halves. I’m not sure if my parts were a little warped or something but they did not go together well at all. There is still a big step on the front seam line that I will need to deal with.
And the outer wings
From what I can tell, this kit is based on, or is a rebox of the Revell snap tight kit. This has resulted in some giant seems where the parts come together. Lots of putty for sure. It’s also a mix of raised panel lines with some fairly cavernous recessed panels around the control surfaces and the moveable doors. I’m going to scribe out some of the panels that really exist and are depicted raised then sand off the remaining raised panel lines. I’ll leave the recessed stuff alone for the most part. I was really hoping this would be an easier build, but I’m already 75% done. Not quitting yet!
Time to order more putty!
See you all soon.
Mike

") I see the real thing almost everyday.
I see the real thing almost everyday.