• Modelers Alliance has updated the forum software on our website. We have migrated all post, content and user accounts but we could not migrate the passwords.
    This requires that you manually reset your password.
    Please click here, http://modelersalliance.org/forums/login to go to logon page and use the "Forgot your Password" option.

An M4A3 Sherman - Figures Done, all finished.

Thanks for all the help guys....got my answers.
Probably my only complaint for the Dragon Sherman is there is NO Info on the antenna installation in the instructions, making the builder think that they didn't have one.
Bob L - great link to the Sherman tech history:vgood:.
Saul - :vgood:great pics...no wonder your 'handle' is INFORMATION OVERLORD.:peacesign2:

Ian.
 
Last edited:
Here is my contribution to this.
1613047776500.png

1613047763970.png

:victory:
 
Ok, I actually finished something while doing 3 other things.
My first Sherman in 45 years and only my second ever. I had a blast and will definitely do some more!
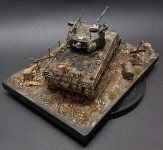
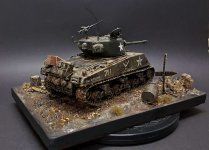
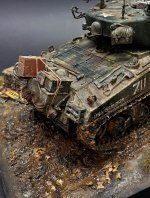
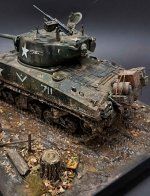
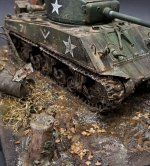
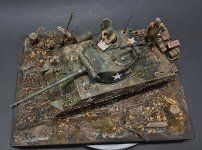
My 'Battle of the Buldge' Sherman scene is all but finished except for the figures which are 90% but I wanted to show you guys the finished scene. Its only small and just a basic scene to show off the tank. The Model is out of the box and the figures are Tamiya, but I will post a few more shots with the figures in a few days.
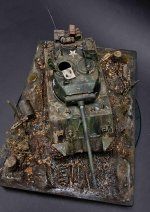
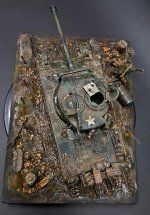
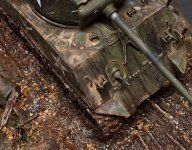
The scene is set in the early period of the battle before it started snowing. I spent a lot of time on the mud, making different areas of wet and dry and 'inbetween'. I used the mud spatter a fair bit as well. All this was done with pigments and oil paints with an underlayer of Acrylic color. I did not do any edge chipping as this is a reasonably new tank at this stage and my references of these tanks at this time show little or no edge chipping - only if they were veterans from earlier campaigns. I did remove some of the track exstensions though as this seemed to be pretty common.
The upper levels of the tank display dried mud and dirty rain, with a number of footprints (I still need to add some to the engine deck).
The tank commander has a folded map sitting over the hatchopening edge with his headphones laying on top and a MP40 underneath (war booty - thats what I would do if I was him).
Enjoy - critiques and questions welcome.
20210216_184747.jpg
20210216_184711.jpg
20210216_184852.jpg20210216_184828.jpg20210216_184730.jpg20210216_184910.jpg
20210216_184947.jpg
20210216_185005.jpg20210216_185108.jpg20210216_185040.jpg20210216_185146_001.jpg20210216_185206_001.jpg20210216_185130.jpg
special.jpg
 
Last edited:
Excellent :) if anyone needed inspiration to build then this is it. The stand out parts for me are, the way you have blended in the tracks to the ground and the water effect in the track impressions in the mud, you have really tied the model to the base so you cant see the join and that really works 10/10
 
Excellent :) if anyone needed inspiration to build then this is it. The stand out parts for me are, the way you have blended in the tracks to the ground and the water effect in the track impressions in the mud, you have really tied the model to the base so you cant see the join and that really works 10/10
Thanks Paddy, just what a diorama/scene maker wants to hear.:bigrin:
 
Thanks everyone for the feedback. I really appreciate all your comments and I am extra happy that you guys are recognising this as an exstension of my art - which is exactly what it is for me. I really surprised myself with how much I enjoyed this build, especially the paint and weathering from the base cammo on.
Bob, Gary, Mike, Paul, Duke, Eric, Terry, Razordws and Barney - much appreciated!:Drinks:
So this also means I earn another ribbon! I don't have many. :dance::dance::geekon:

So here are a few final shots of the figures with the tank plus some close-ups for those who would like to see the effects a bit closer. I am reasonably happy with them though I always get better with more practice and my figure painting has been very sparce and random over the last few years so I am in need of more consistent practice.
I also wanted to add that I agree with what John Steinman said in his beautiful Hunting Tiger build, about having a nicely crafted base. This one has the most basic and light base that I could make as this is a model made to fit in a cabinet with thin glass shelves. It was kept very simple and plain only because I had to.
20210218_133152web.jpg

The figures..... finished with a couple of small touches added around the model as well as all the stuff used to finish this little scene.
20210219_153019web.jpg


20210219_165648web.jpg

20210219_165508web.jpg20210219_153159web.jpgDSC02632web.jpgDSC02623web.jpg
DSC02624web.jpg

20210219_153111web.jpg

Thanks for looking, another one down.
 
Last edited:
Back
Top