Re: Scrap Heap Cuban M4A3E8
Quick look at decal application, part of the Archer Fine Transfers review:
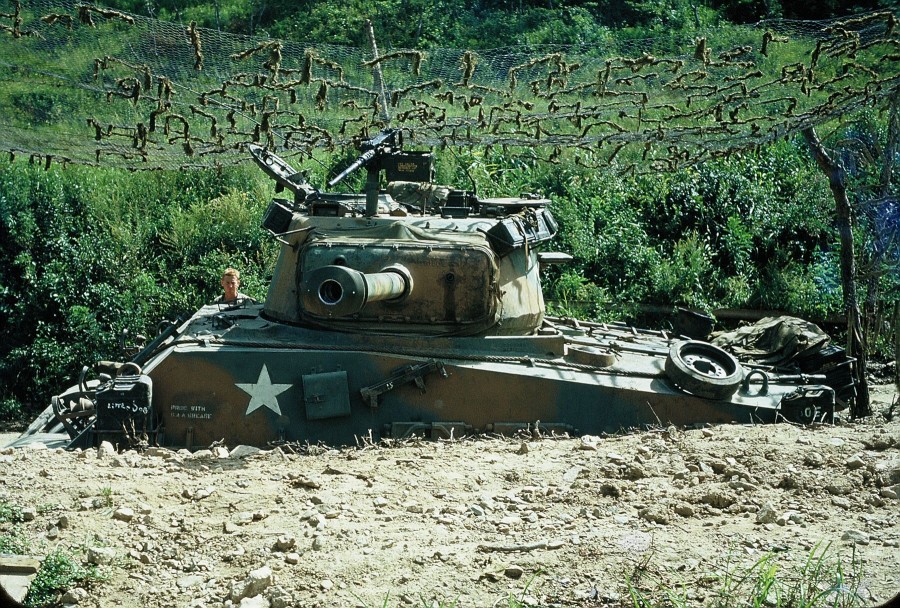
The sheet in question. Researched by Kurt Laughlin, I have full confidence plus the photos of the Chrysler built M4A3E8 it is based on.
Tools needed. OK, not all. Yet it is best to have sharp scissors (on right) or new #11 blade (in scalpel), good quality brushes (last thing needed are loose hairs), a decal setting solution, Future acrylic if adhesion is a problem, decal solvent to make the decal conform, and good quality tweezers to help position (in conjunction with a brush) the decal.
Decals needed were cut out with sharp scissors (Revlon scissors from a sale at a drug store's cosmetic aisle) and blunt nosed tweezers.
After placing the decals in very warm water for ten seconds, they were removed from the water and placed on a folded paper towel to continue soaking the paper backing. When first placed in the water, the rear of the sheet expands as it absorbs water but the front doesn't absorb so it curls. Placing it on the paper towel allows the absorption to continue and the decal flattens out as the adhesive gets wet and releases from the paper backing. Being on the paper towel, no need to fish it out.
The decal is then placed, with paper backing, near the final resting point. A brush moistened with decal setting solution (or Future) is used to wet the area where the decal will remain. Using tweezers to hold the edge of the decal paper, the brush is used to move the decal off the backing and into the final position.
After the decal is where one wants it, a clean brush moistened with decal solvent is dabbed onto the decal and final adjustments made. A paper towel's edge can be used to wick away excess solvent solution. Since it is to be painted over, no worries about silvering.
I hope this helps someone,


