I'm still doing the F4 J which is annoying me so pulled this one out a few nights back and committed to it
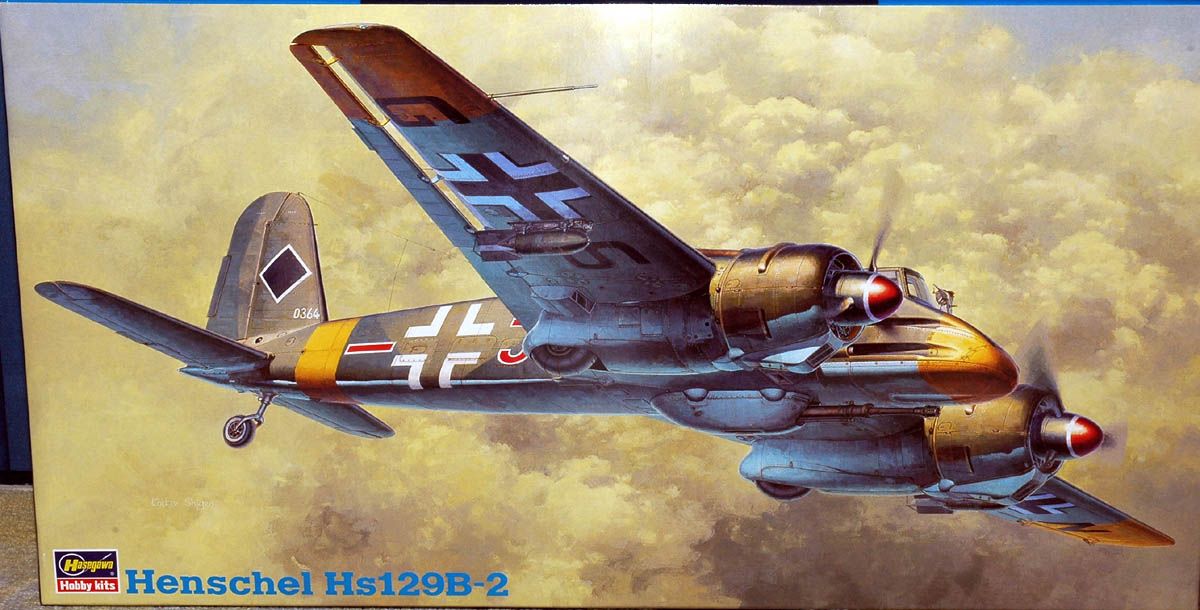
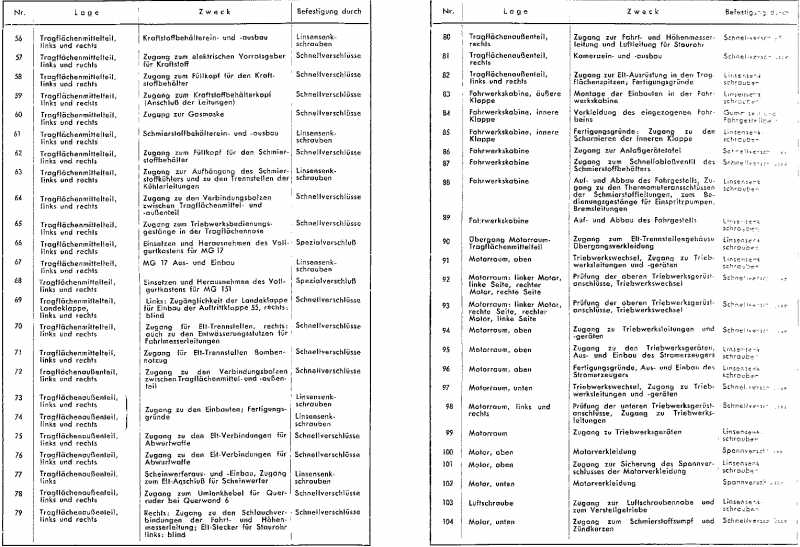
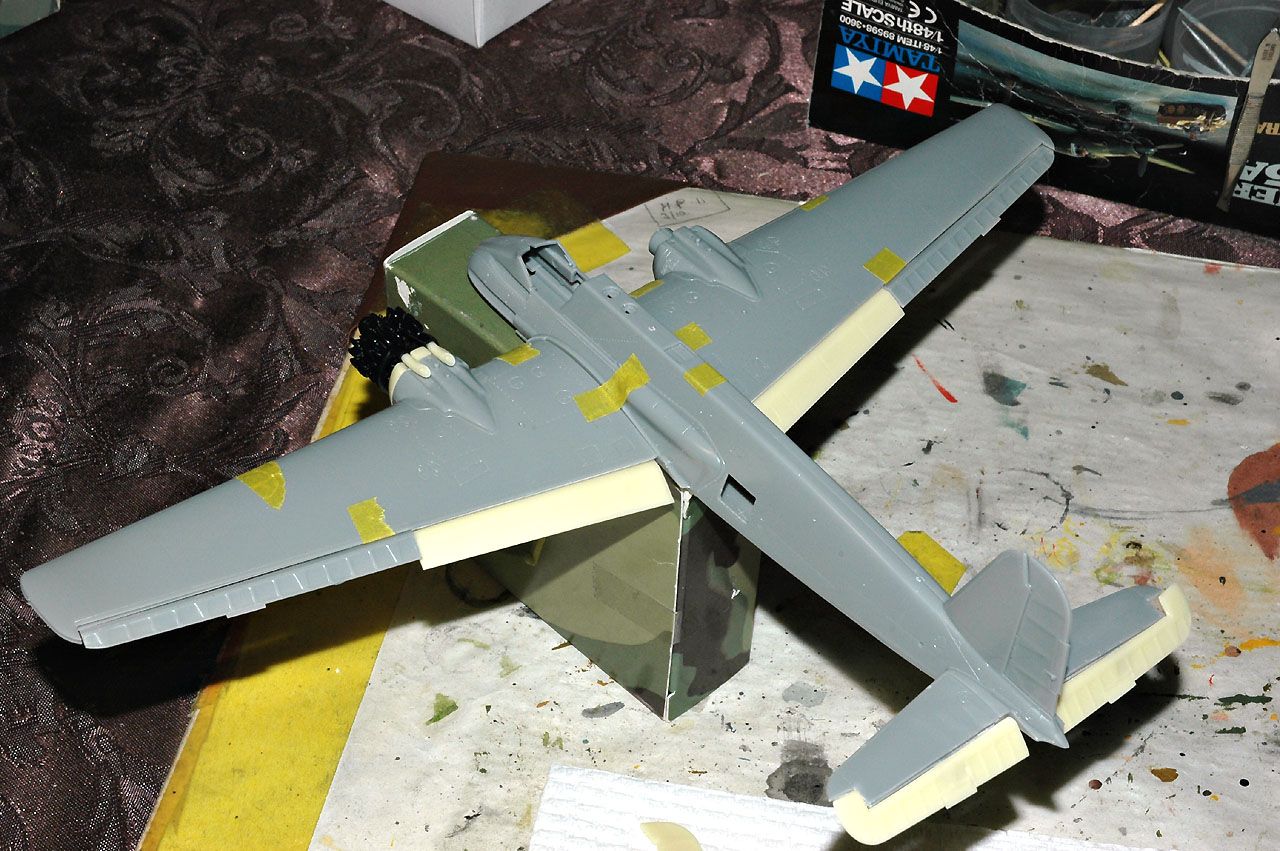
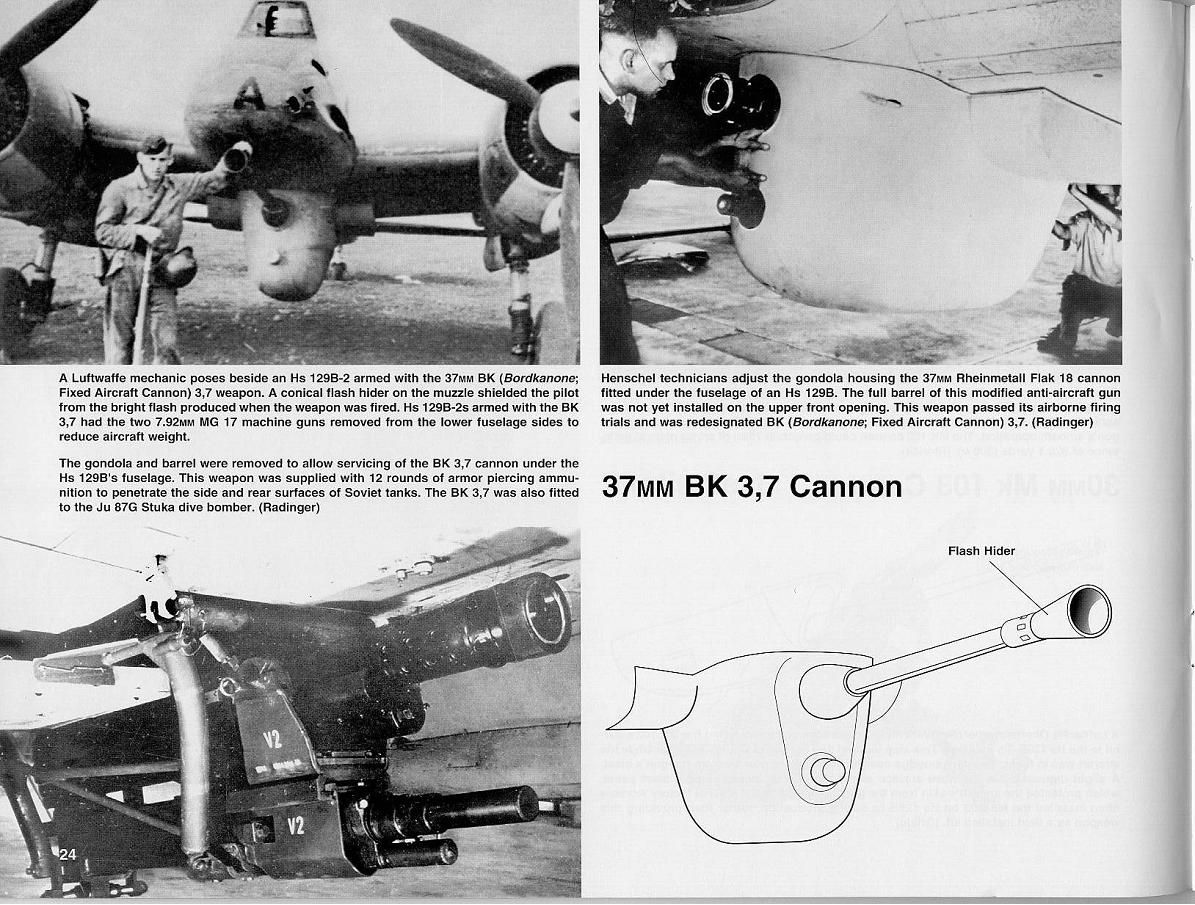
I'm doing a variant that was fitted with the 37mm cannon
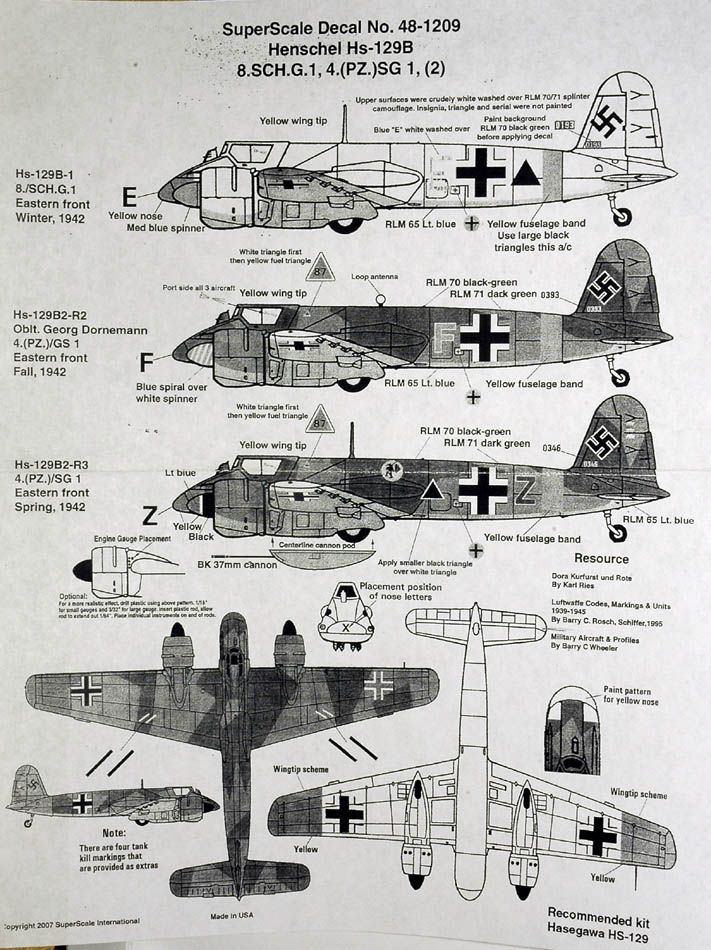
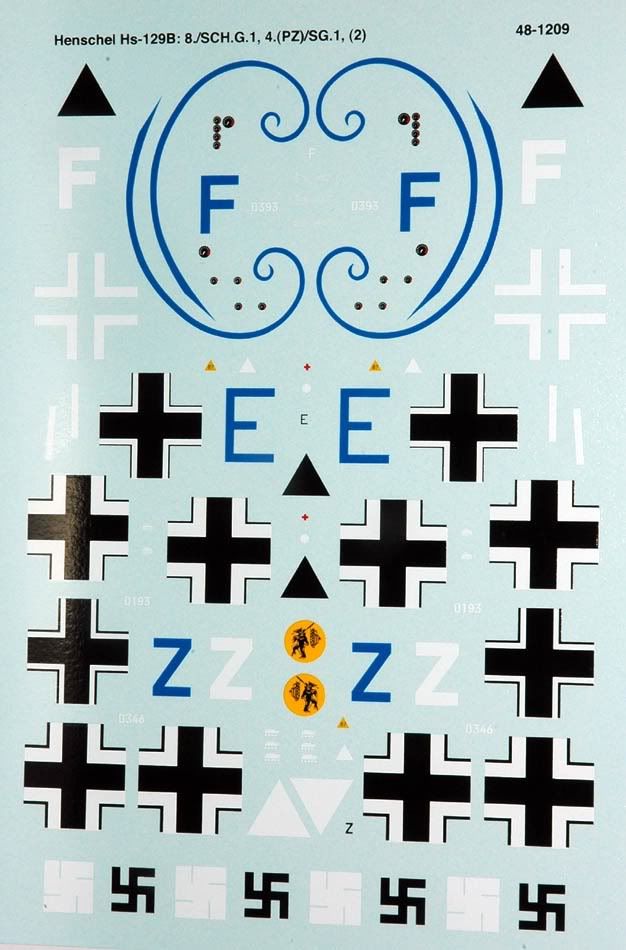
I need to check what makings this aircraft had but like the blue spinner spirals and blue letters so may go with those.
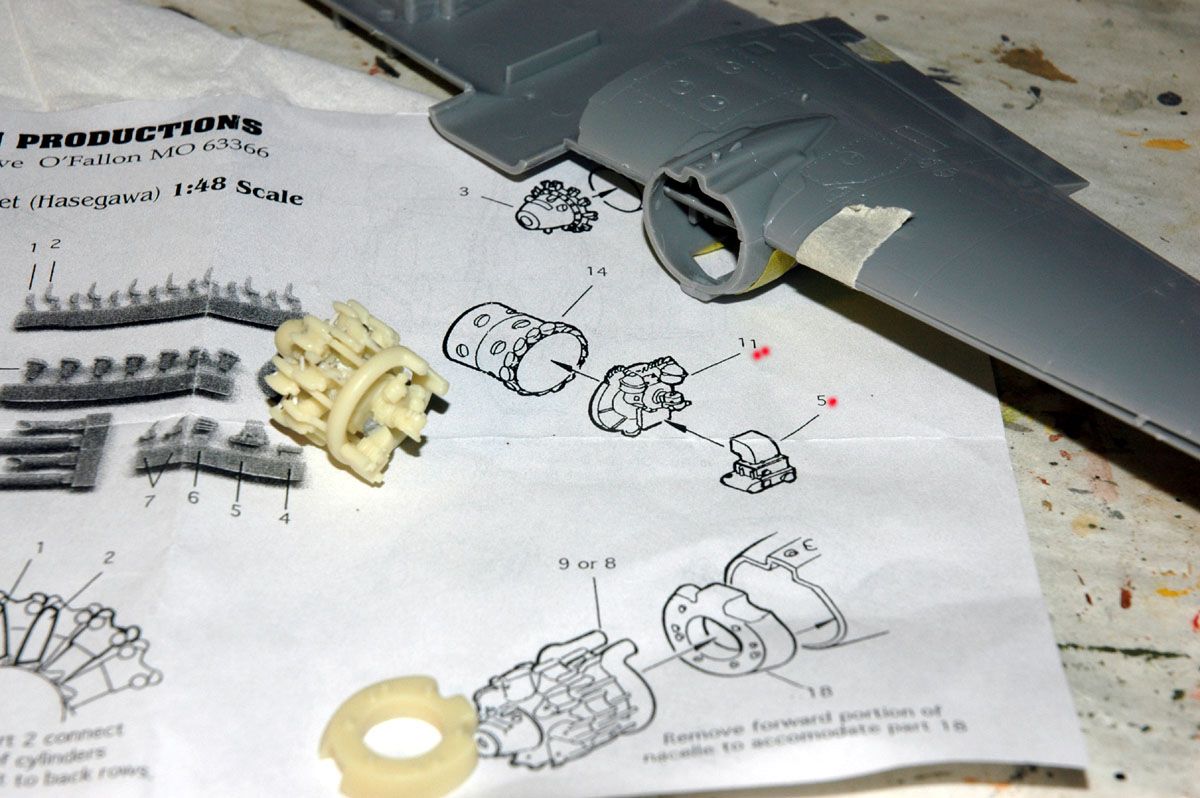
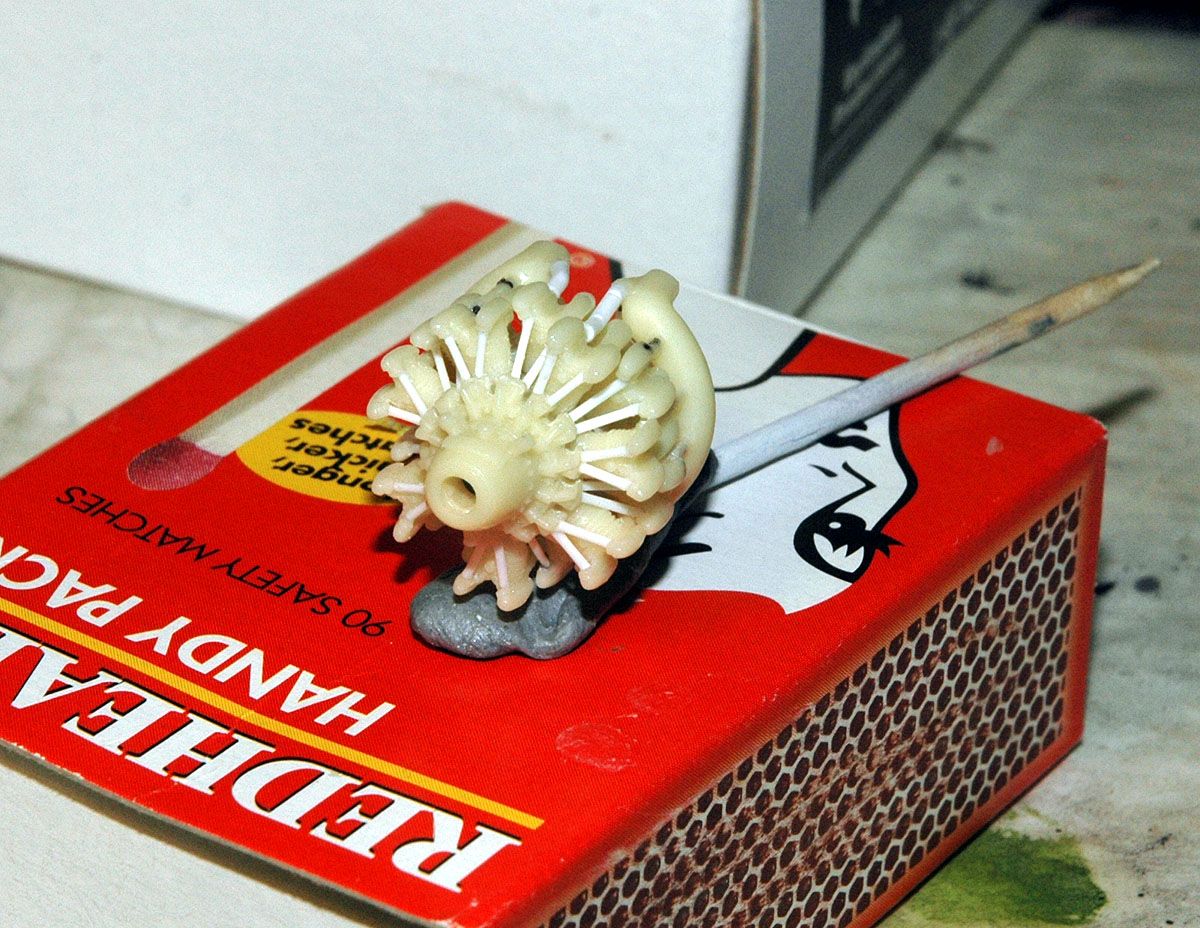
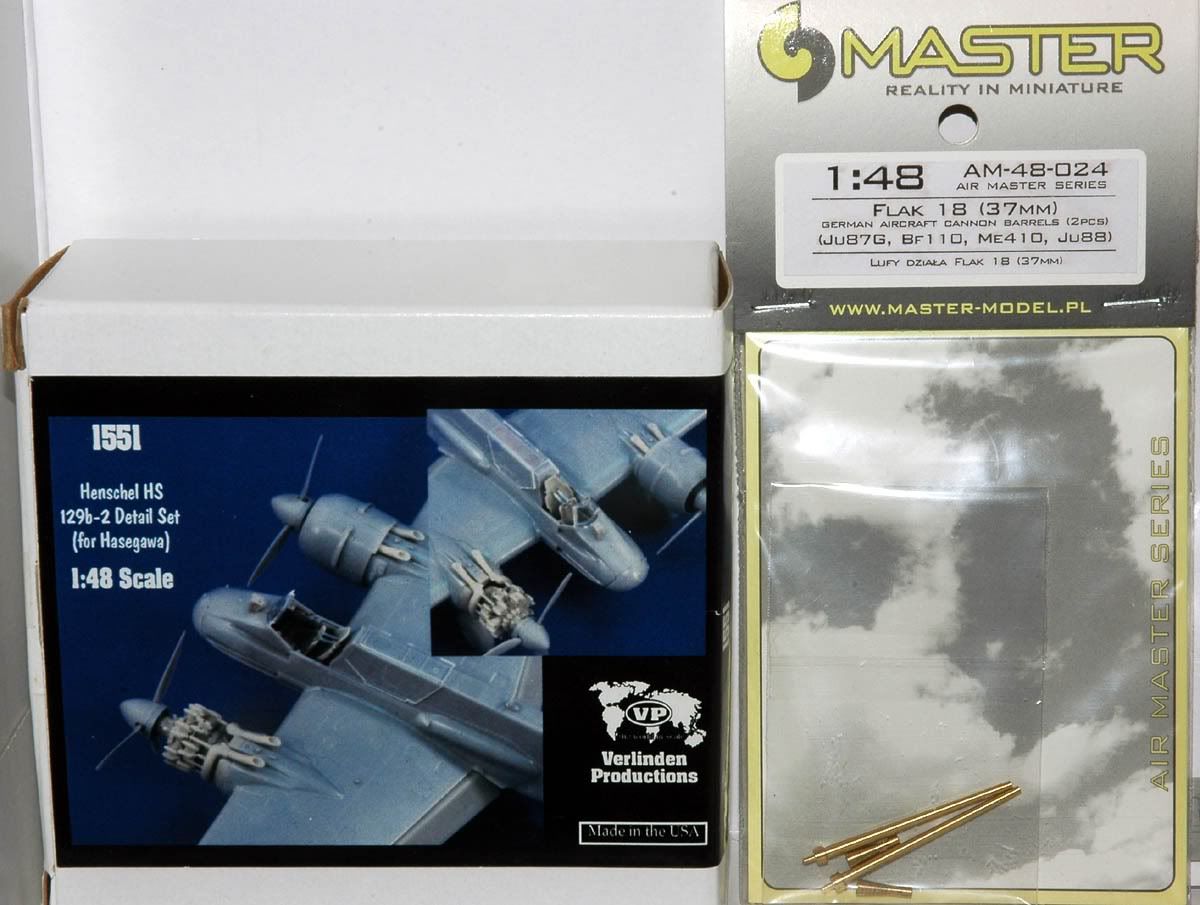
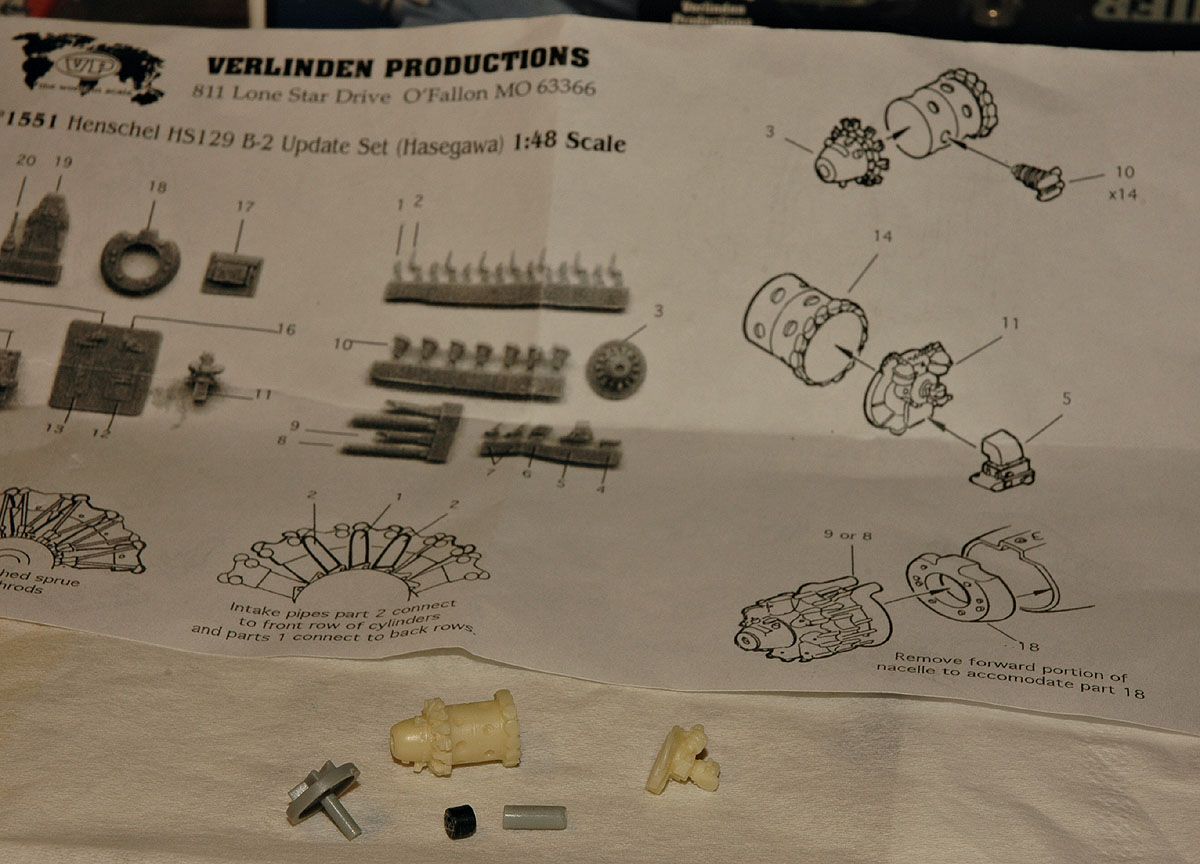
Using Master Model barrels, and I have started the engine, the Verlinden set also has all control surfaces and flaps so will be cutting the kit ones off and posing the resin replacements.
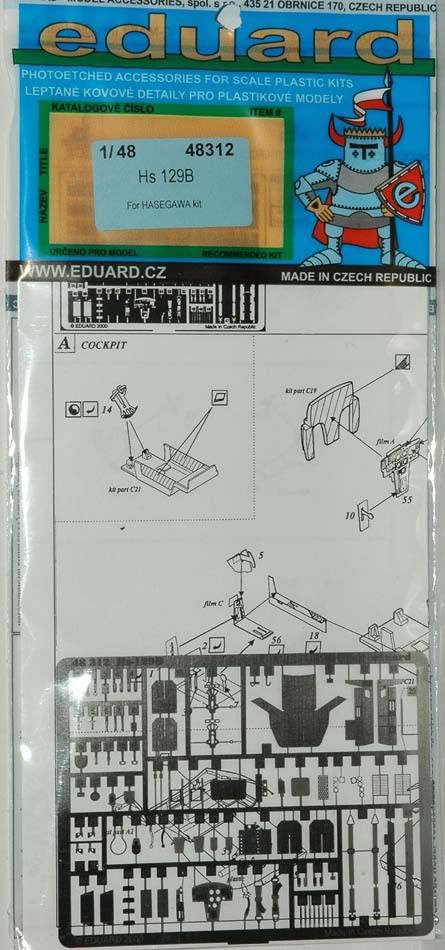
not forgetting the pit area
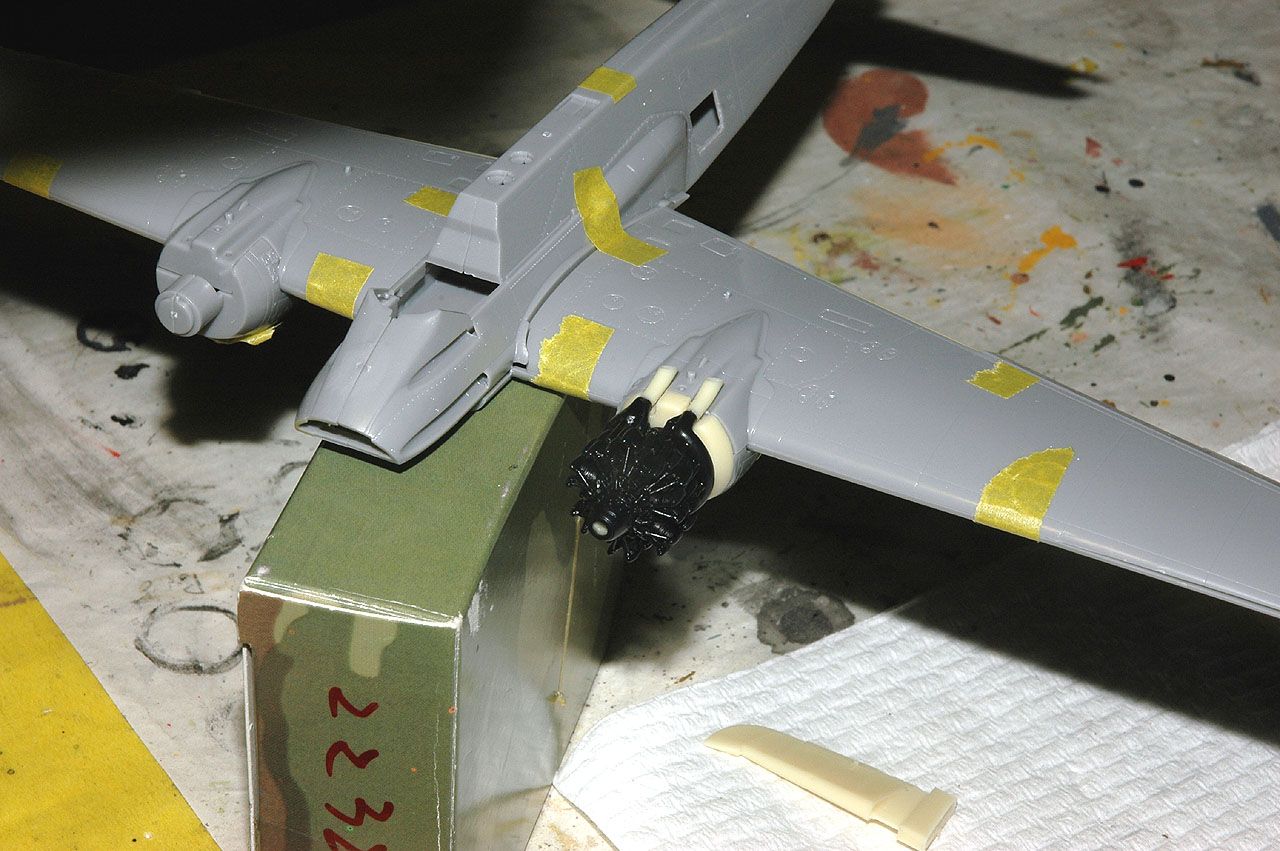
Where I'm at - very early days!
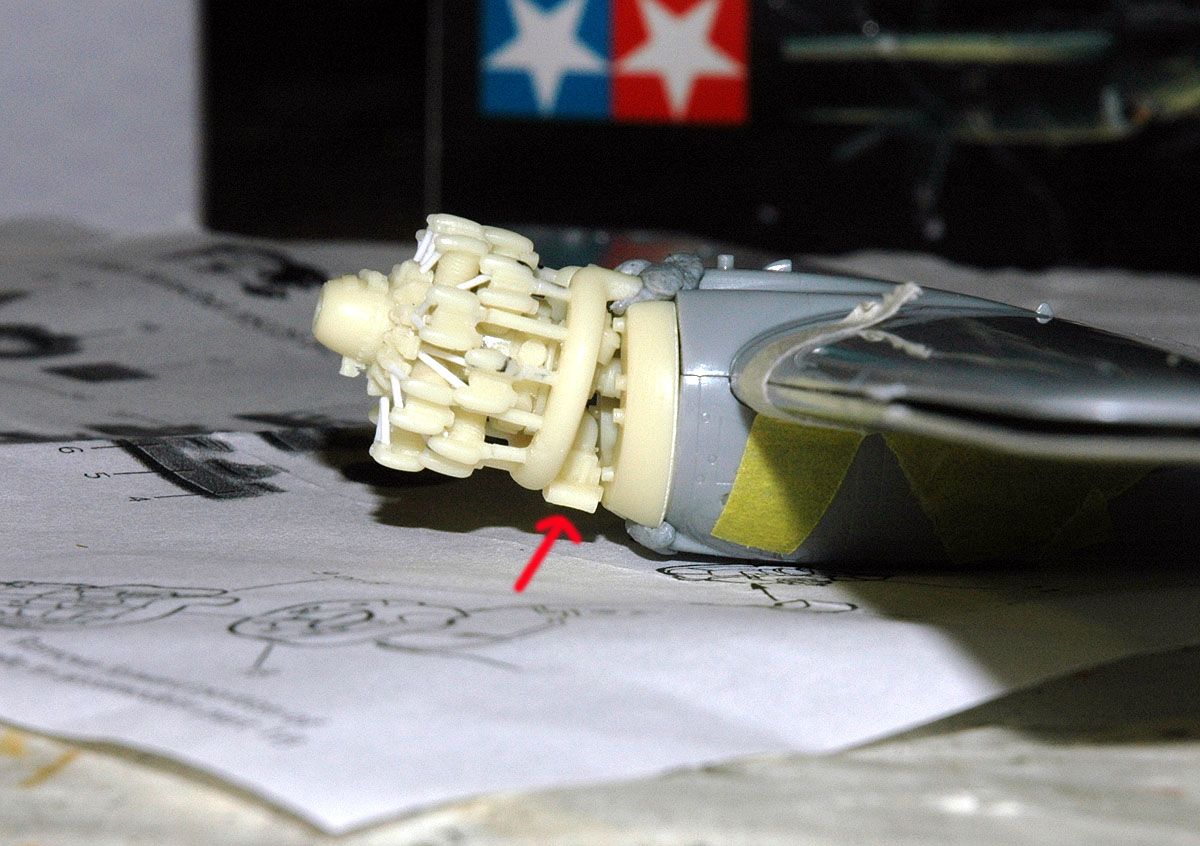
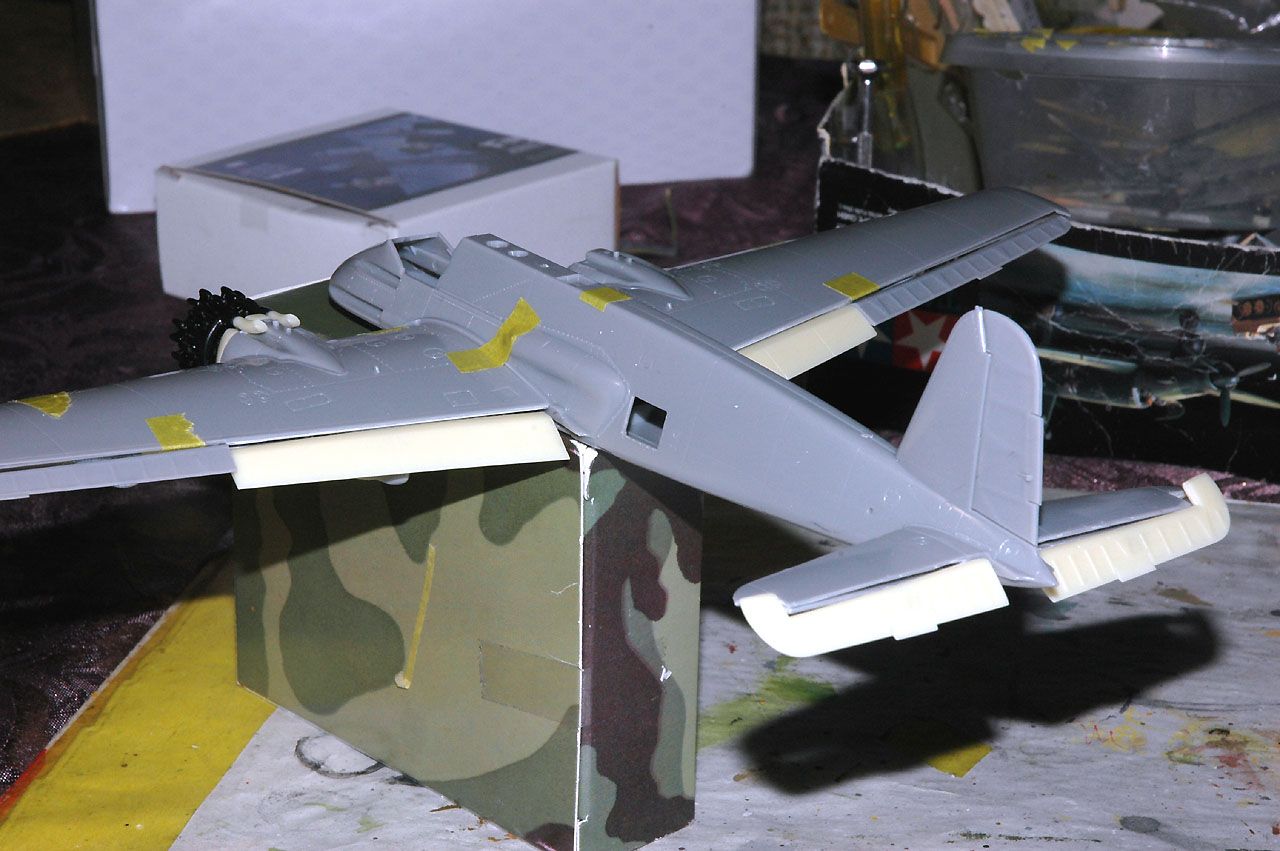
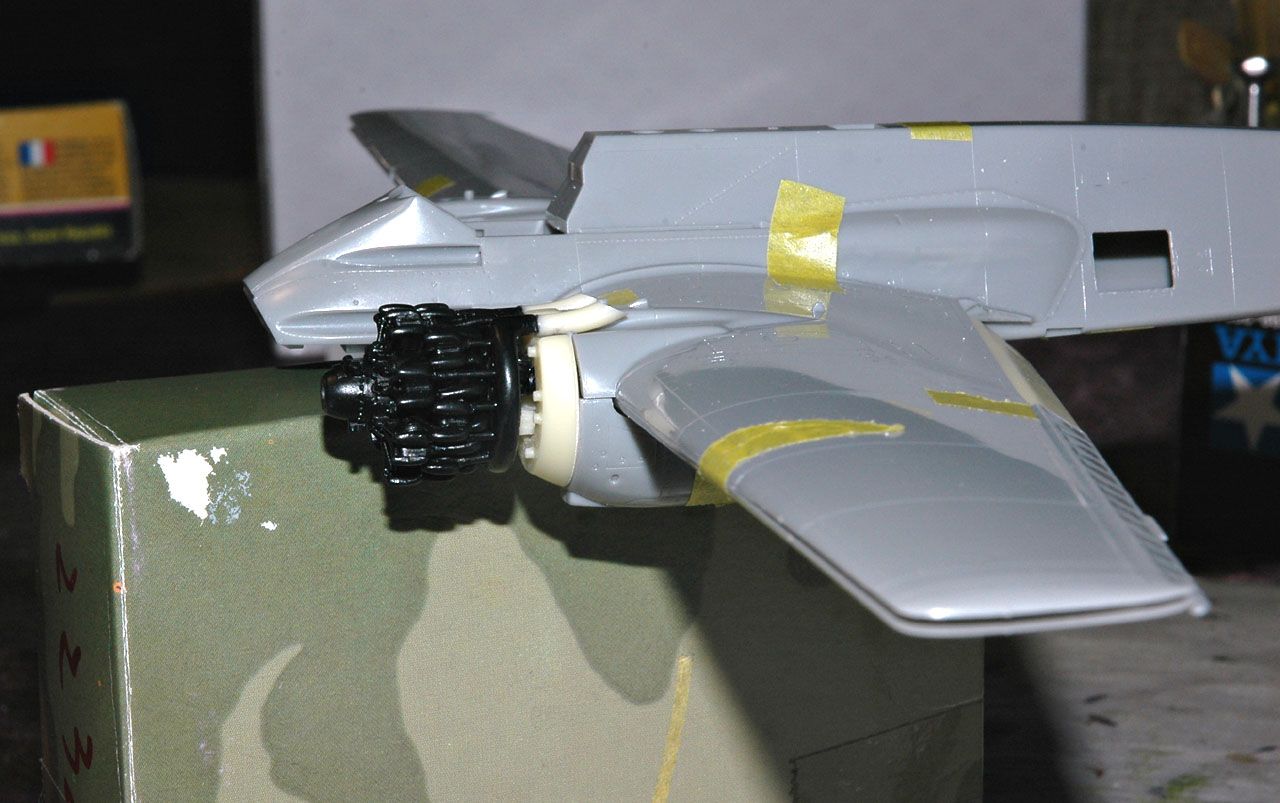
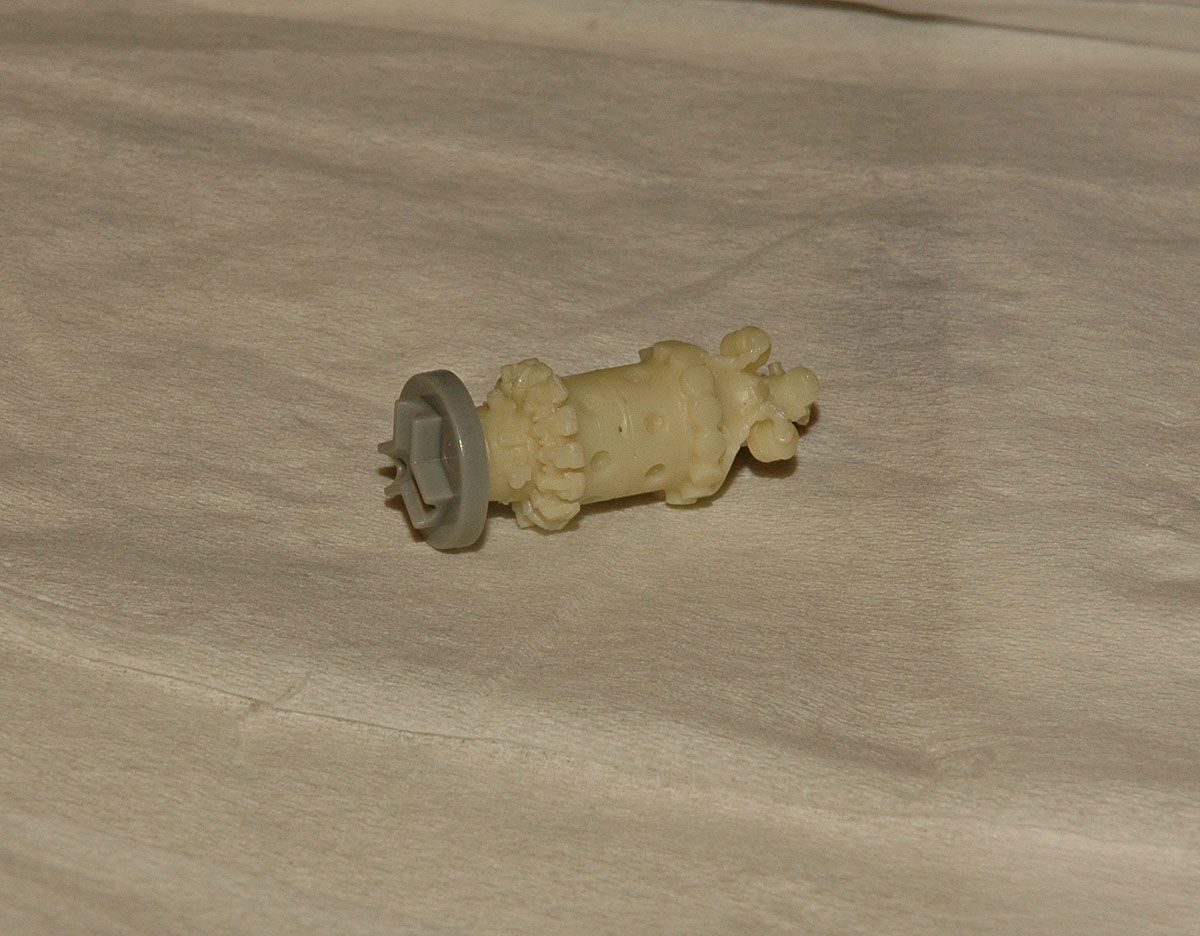
As you know I hate non rotating props with a passion - the resin set gives a solid engine without prop shaft holes.
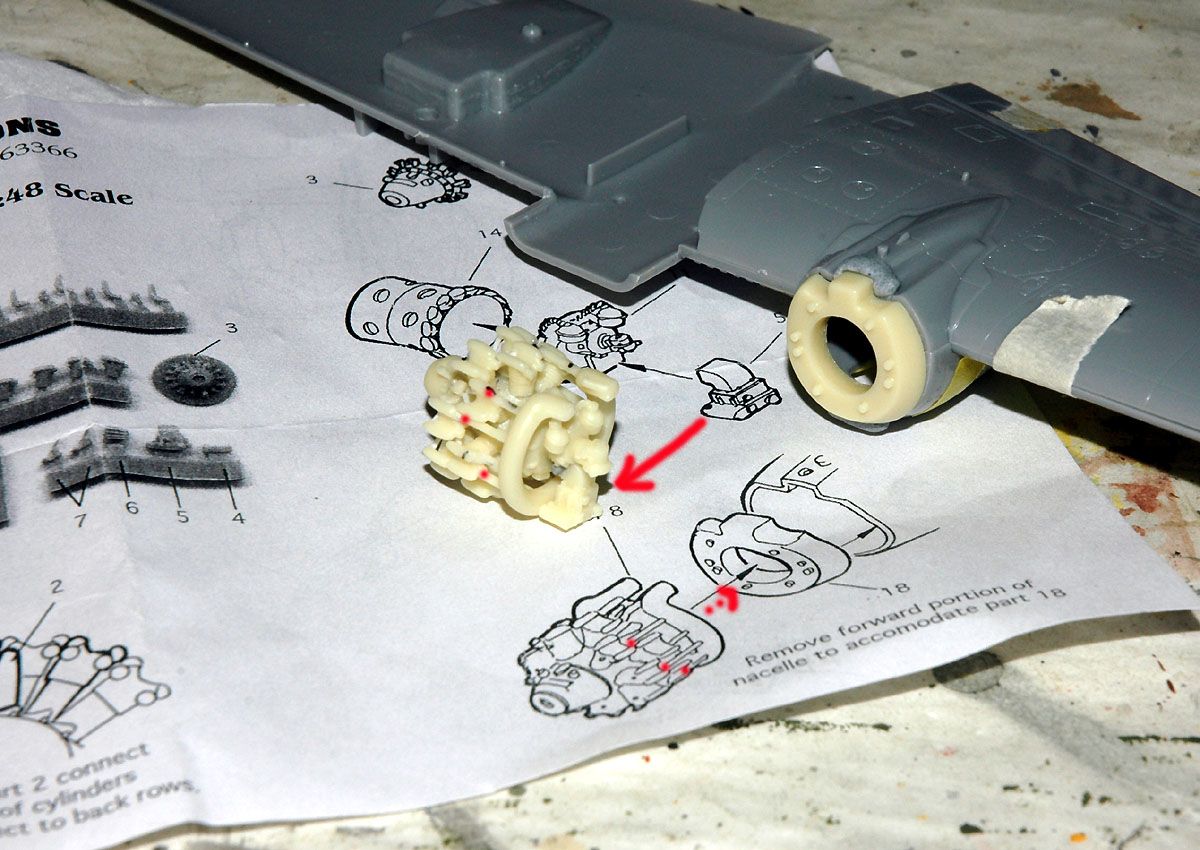
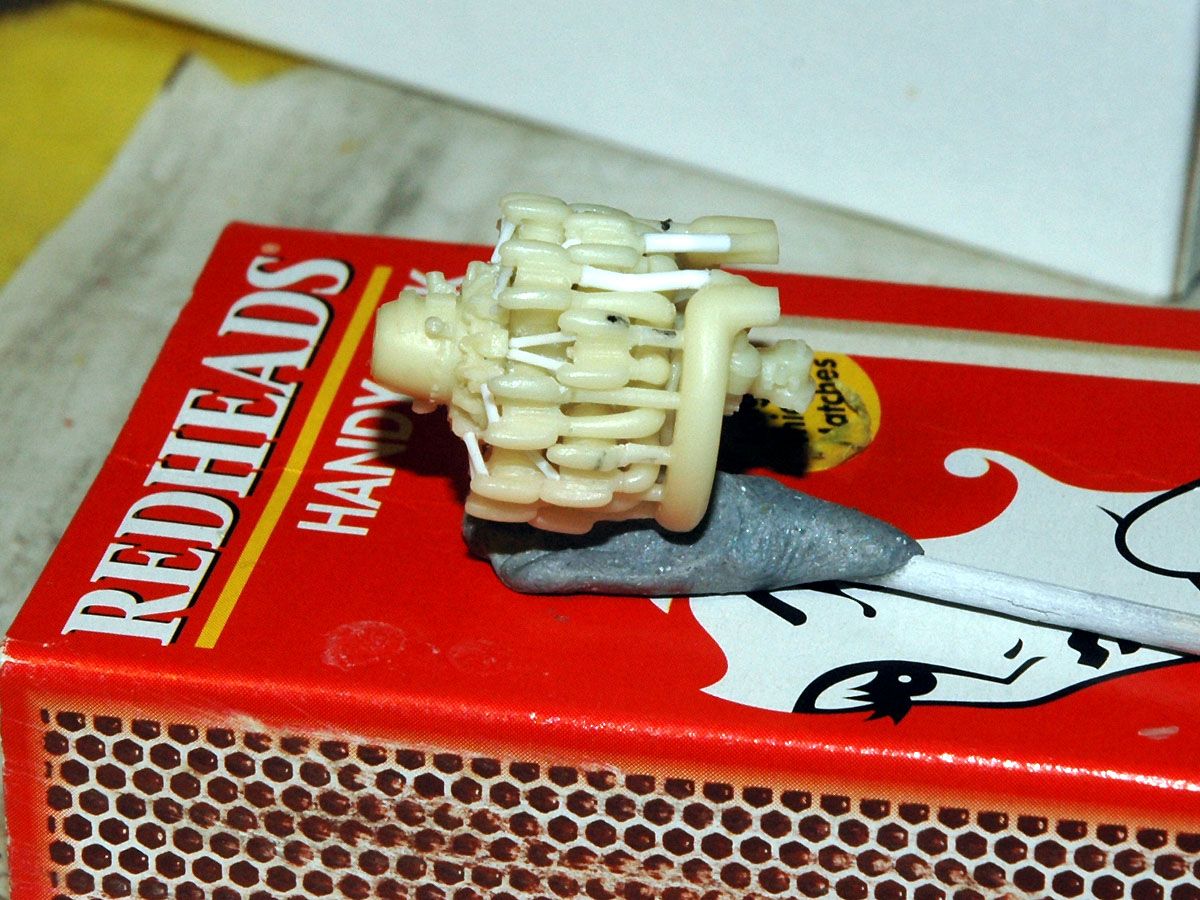
I devised a way to make this rotate, first glued the engine front on for a drilling guide, drilled through so the prop shaft fitted in, then drilled back the opposite side with a larger drill bit to accommodate Hasegawa's poly cap.
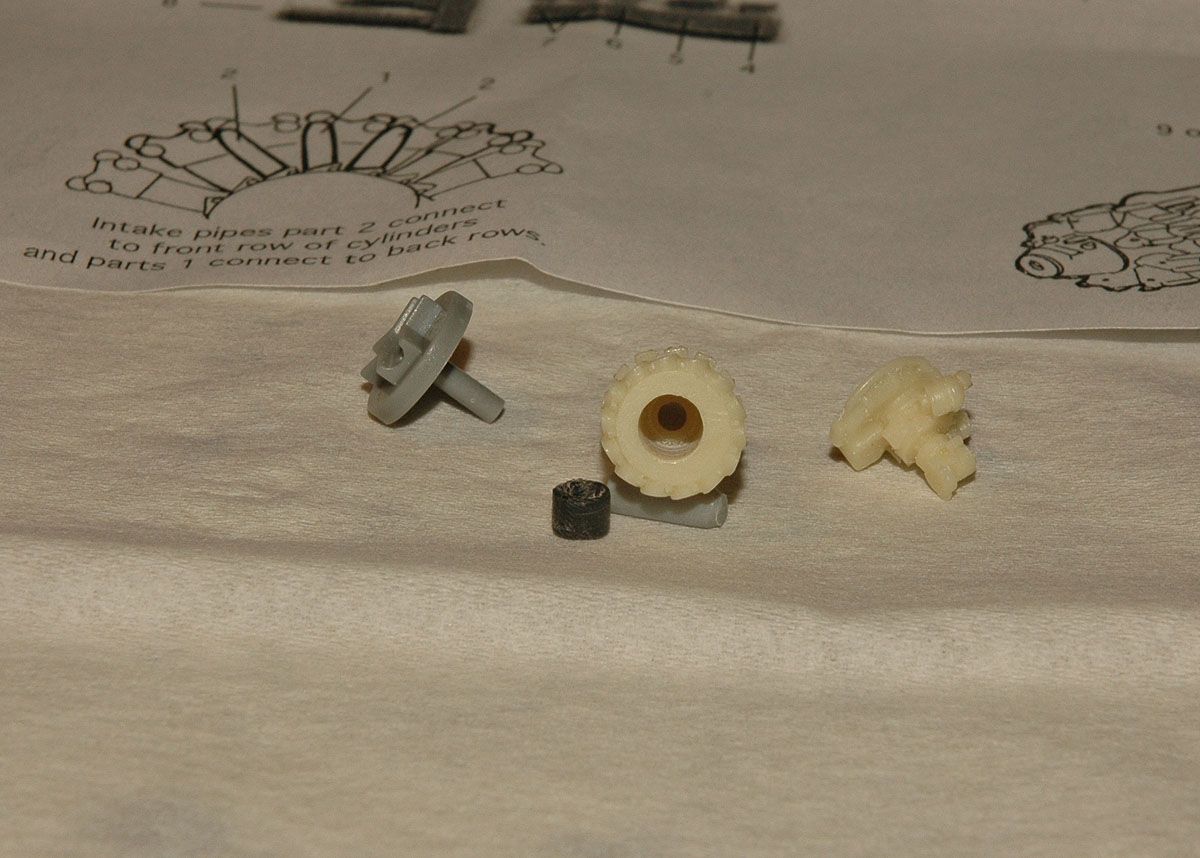
you can see the two different hole diameters
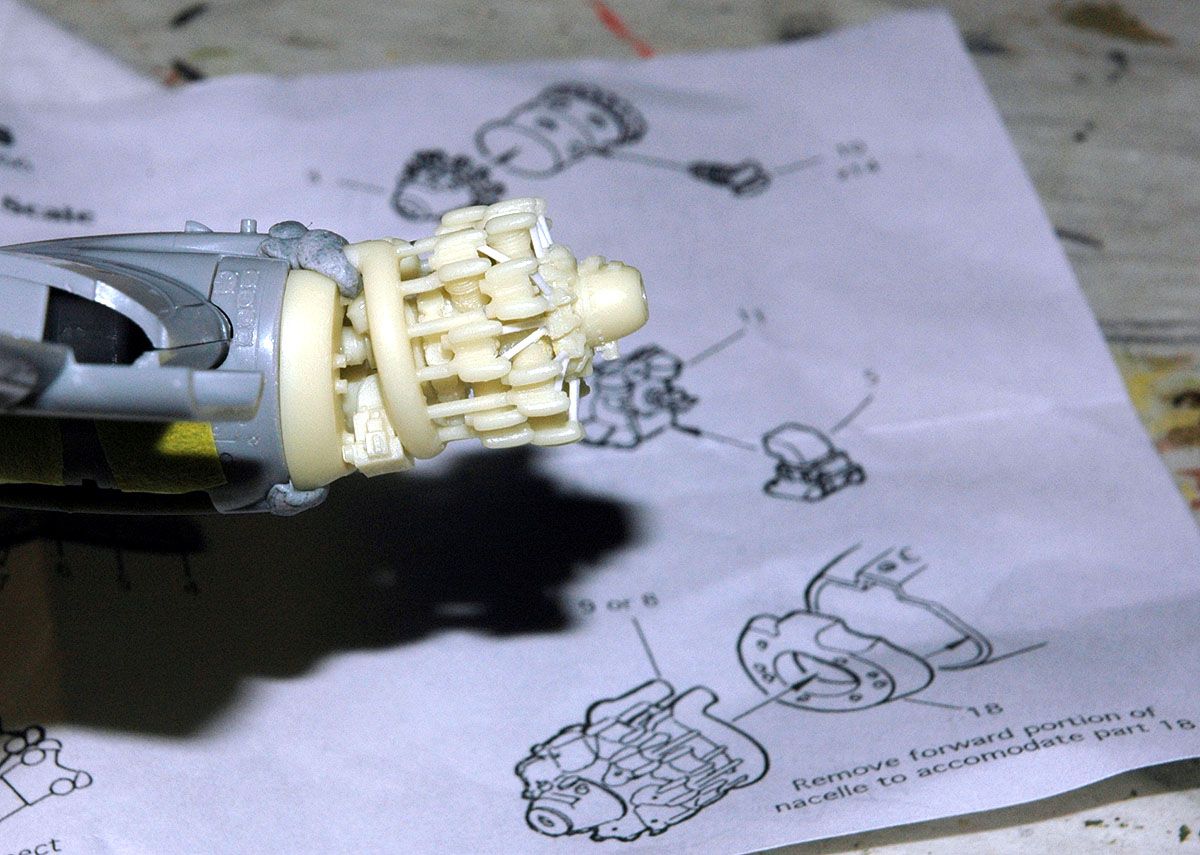
To keep the poly cap from moving away from the prop shaft i cut a piece of round scrap sprue and fitted it into the larger hole behind the poly cap. With these in place, glued the back plate on, this allows me to remove and replace the prop at any time, the poly cap holds the prop in and spins very free.

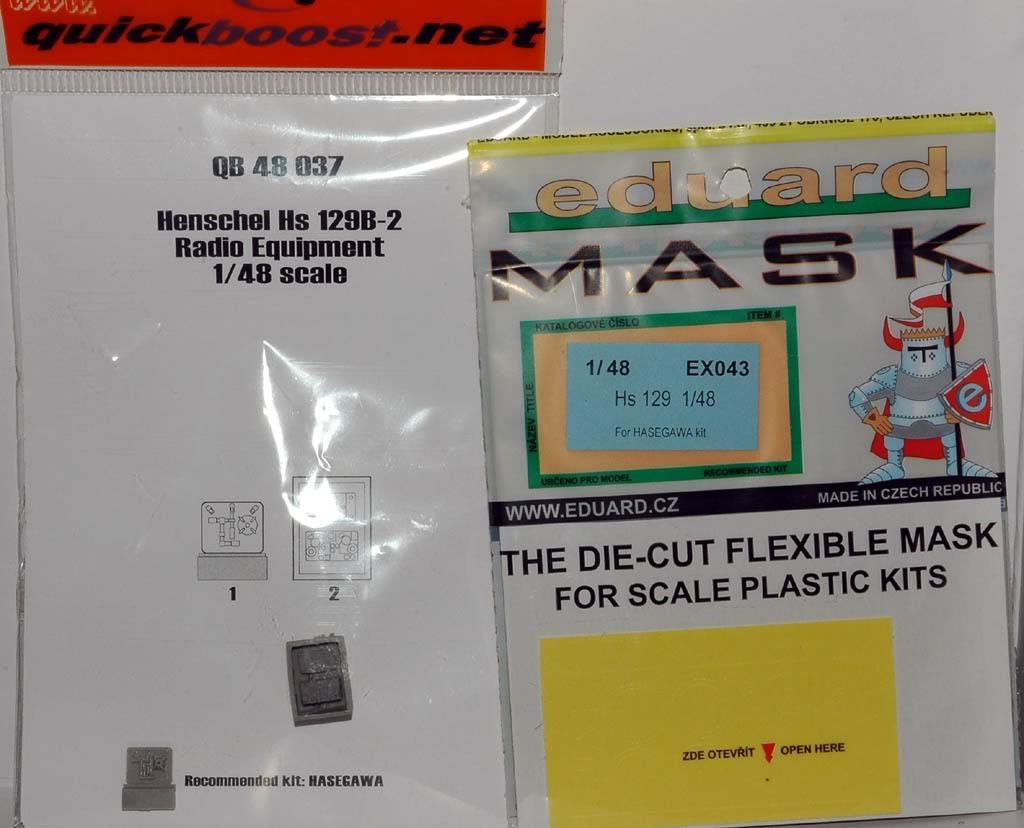
also have these for the kit
I'm doing a variant that was fitted with the 37mm cannon
I need to check what makings this aircraft had but like the blue spinner spirals and blue letters so may go with those.
Using Master Model barrels, and I have started the engine, the Verlinden set also has all control surfaces and flaps so will be cutting the kit ones off and posing the resin replacements.
not forgetting the pit area
Where I'm at - very early days!
As you know I hate non rotating props with a passion - the resin set gives a solid engine without prop shaft holes.
I devised a way to make this rotate, first glued the engine front on for a drilling guide, drilled through so the prop shaft fitted in, then drilled back the opposite side with a larger drill bit to accommodate Hasegawa's poly cap.
you can see the two different hole diameters
To keep the poly cap from moving away from the prop shaft i cut a piece of round scrap sprue and fitted it into the larger hole behind the poly cap. With these in place, glued the back plate on, this allows me to remove and replace the prop at any time, the poly cap holds the prop in and spins very free.
also have these for the kit


")