• Modelers Alliance has updated the forum software on our website. We have migrated all post, content and user accounts but we could not migrate the passwords.
    This requires that you manually reset your password.
    Please click here, http://modelersalliance.org/forums/login to go to logon page and use the "Forgot your Password" option.

Grumman Widgeon

:facepalm Hmmmm , the prop adventure is winding up to being way more technical than I had hoped for.

h781bedb.jpg


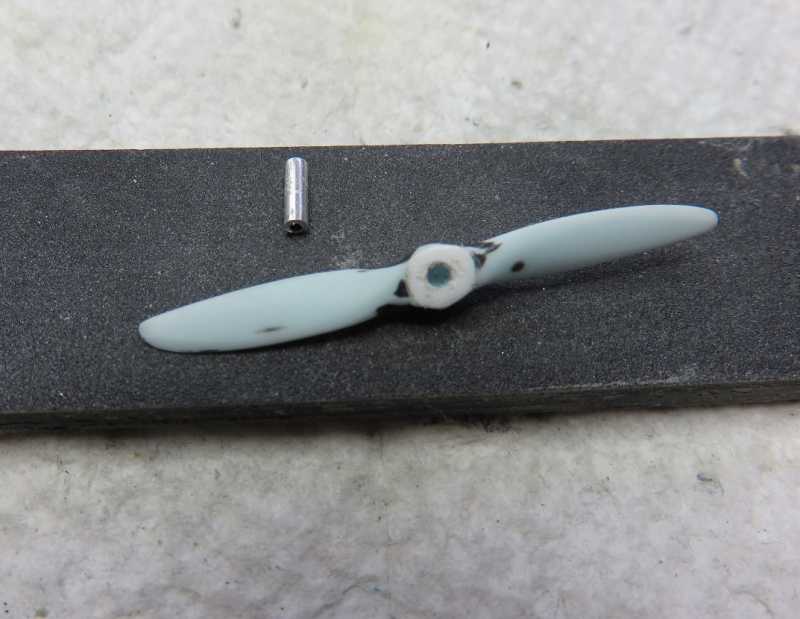
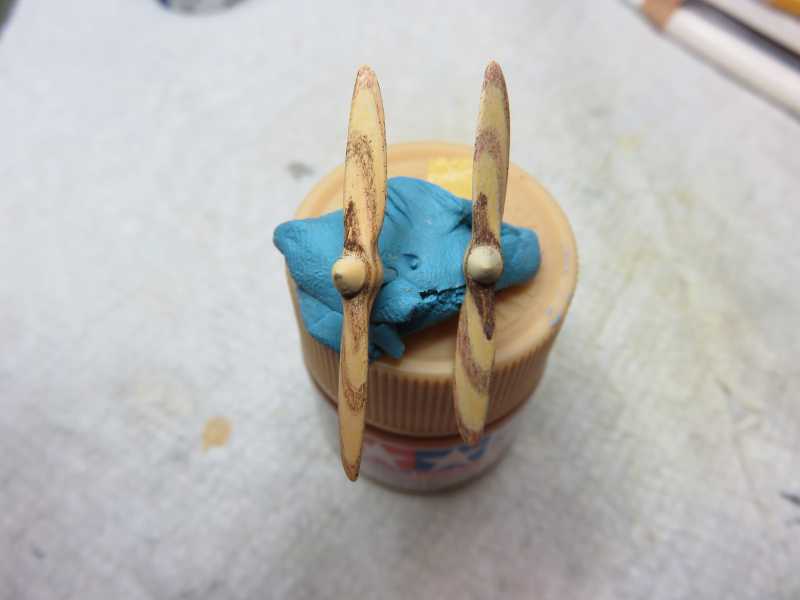
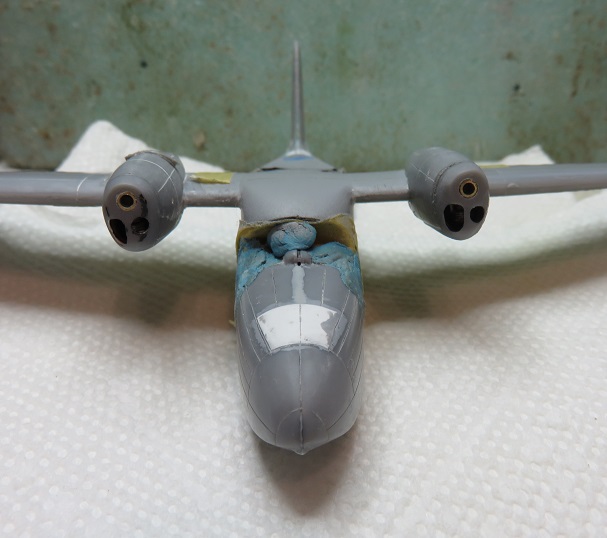
The first technical problem was this spot on the back face that looks like the mold push out places .

Filled it with a .010 stirene plug and made a prop shaft . :)

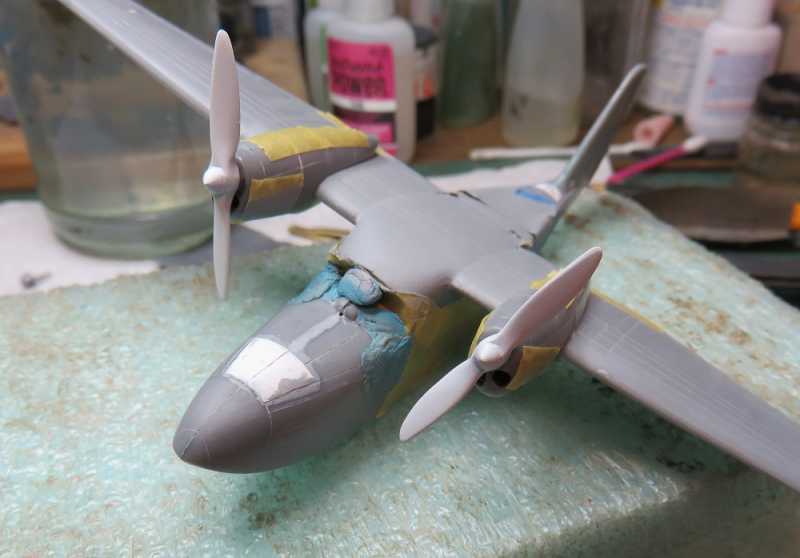
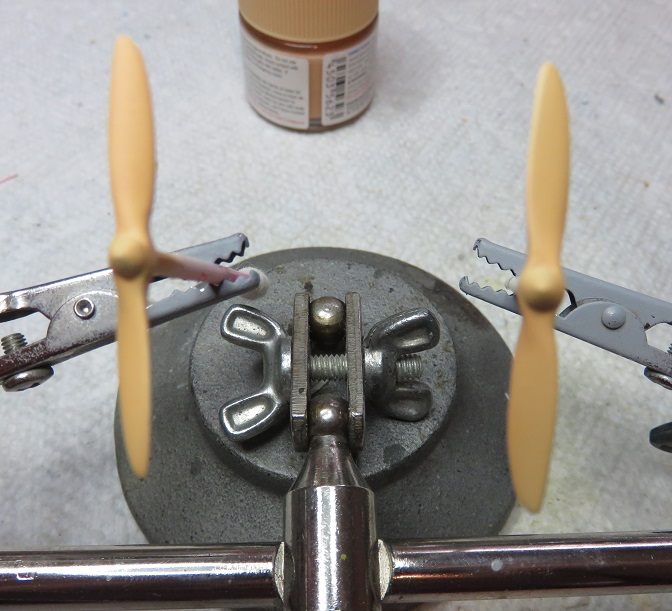
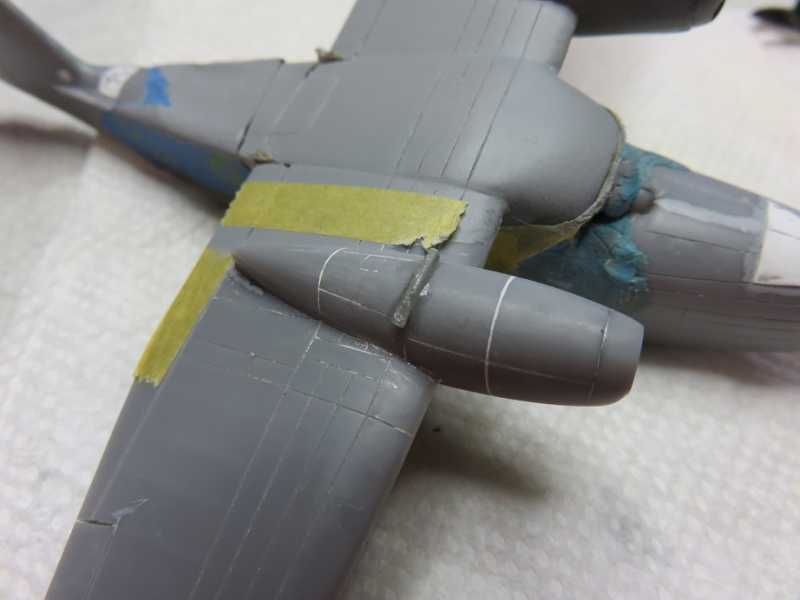
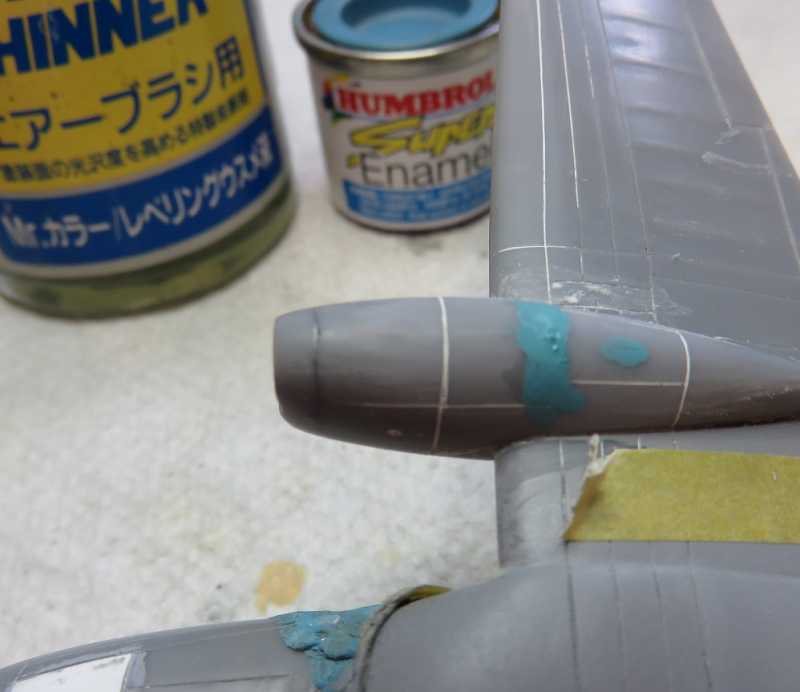
Of course the prop spinners from either kit did not look anything close to the real deal :idonno

So, I took a couple pieces from an old fret and turned them in the cordless DeWalt . Glued them into place.

h022814c.jpg


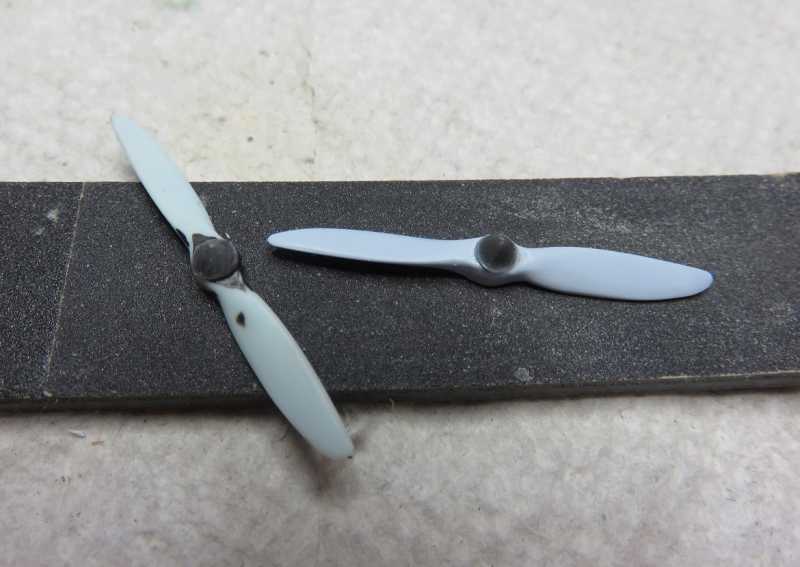
Shot some primer hopefully they'll be good enough to move on .

Cheers, Christian B)
 
Ok, had enough time for some white primer on the props .

Engine ready to go in but the cowls still need some work.


hd18aa07.jpg


Cheers, Christian B)
 
I've been under the weather for awhile and missed this one!

A Lot of work but you seem to be breezing right through it!

Lookin' good!

(y) (y) (y) (y) (y) (y)

Bob
 
I've been under the weather for awhile and missed this one!

A Lot of work but you seem to be breezing right through it!

Lookin' good!

(y) (y) (y) (y) (y) (y)

Bob


Thanks Bob . Plowing through my be a better word. The field is full of boulders :bang head

Hope you feel better soon.


Cheers, C . B)
 
Took some time to go through this thread again. What a challenge! :fencing

You're doing great though. :soldier (y)
 
Took some time to go through this thread again. What a challenge! :fencing

You're doing great though. :soldier (y)

Sorry to be taking so long on this Dave . Actually, the original though was to tinker with this while I waited on a replacement pilot's seat for my JU 88G-7 build . \
The seats just appeared this Friday , so in the meantime , I got really entrenched on this Grumman .

Glad you had the patience to look for it . After about six different times of getting to the table since Friday, I have actually manage to spray some paint on the props and I laid a coat of Future on them this evening :bang head

Too many interruptions but I'll get there :good:

Thanks for looking in.


Cheers, Christian B)
 
Ha ! This is proof that instructions should be read carefully :bang head

I have tinkered with these props for the last couple of days . I was trying to find a good way to do color laminated prop but I missed an important word at the beginning of the instructions . :(

h4a15d0d.JPG


So, I ordered the correct items and I'm stripping these and laying on another coat of Tamiya and wait for the shipment to arrive . :soldier

Cheers, Christian B)
 
Reading all the directions can prove beneficial. Those look pretty good though. :good:
 
Reading all the directions can prove beneficial. Those look pretty good though. :good:


Thanks Mike . I feel like all the colors are right . The problem is I missed the first item . He talked though the rest of the video but I needed to read the first few words.

Hopefully what I ordered will work correctly . Good practice I suppose :) Hope for better tutorials :idonno

There's plenty of plastic I can work on in the mean time .

Cheers, Christian B)
 
So, I have hit reset . Striped , primed and base color .

Sitting till shipment arrives :snoopy

h0cc7735.jpg


Cheers, Christian B)
 
I found some time to tinker some more last night. I knew this was going to be tricky and I didn't want to be half asleep when attempting this :frantic

First , the engines got stuffed into the cowlings .

h8d67de1.jpg


Can't see much of them but there they are .

The nose cowls were glued on ( such as it is ). A very loose interpretation of "fit "

h9f181ac.jpg


The nacelles were then glued to the wings

h5c2e4dc.jpg


After much sanding this morning , a rather large divot remained. ( above )

h0120e60.jpg


So , I pulled some of the kit sprue and melted it into the cowling . Will carve it back tomorrow :sick:

h9ca00d4.jpg


Overall though it's starting to resemble a smidgeon .

Now the other cowling . Cheers, Christian B)
 
Some small distractions at lunch time.

h7a2a538.jpg


After that, it was already to be carved.

h3410637.jpg


And a few licks of sandpaper follow by a bit of Humbrol applied with Gunze thinner . Yep, you read it right

h03fc61c.jpg


Now with some wet sanding :soldier

Cheers, Christian B)
 
Back
Top