• Modelers Alliance has updated the forum software on our website. We have migrated all post, content and user accounts but we could not migrate the passwords.
    This requires that you manually reset your password.
    Please click here, http://modelersalliance.org/forums/login to go to logon page and use the "Forgot your Password" option.

1/32 F/A 18 A

Thanks you guys!
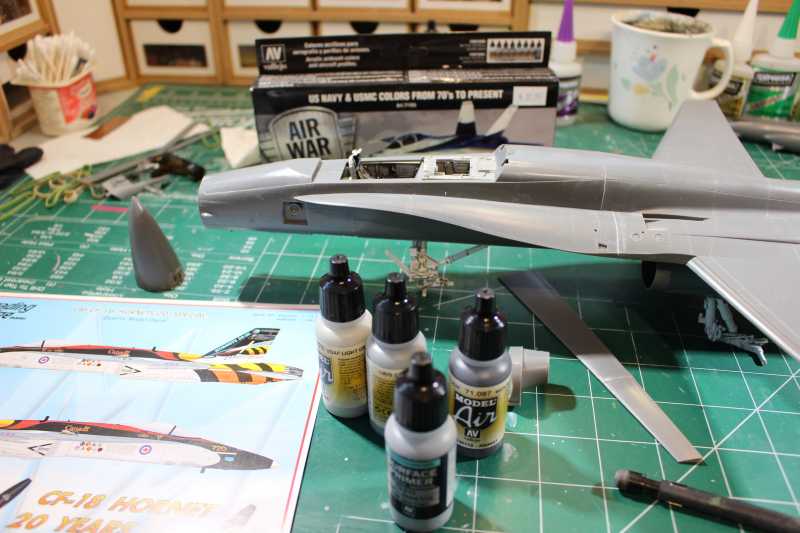
I've removed some antenna and filled some sink marks here, not a huge job but according to reference pictures the bumps had to go and if I can see the sink marks they have to go.

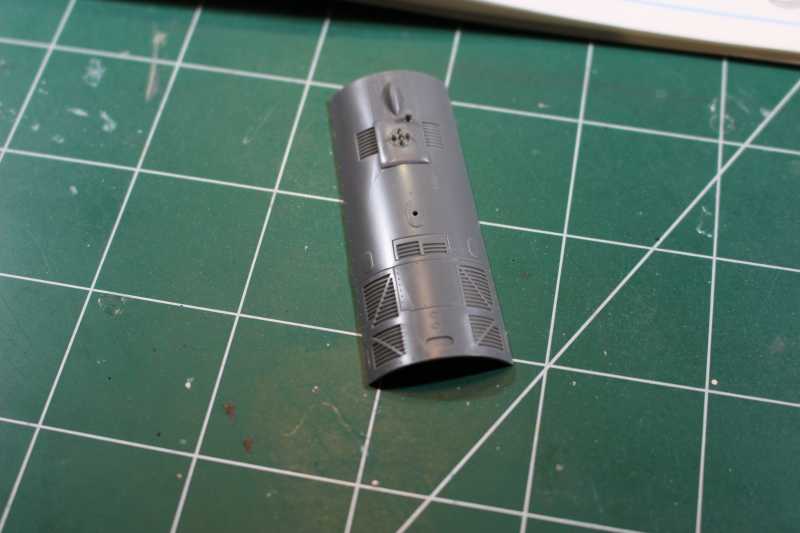
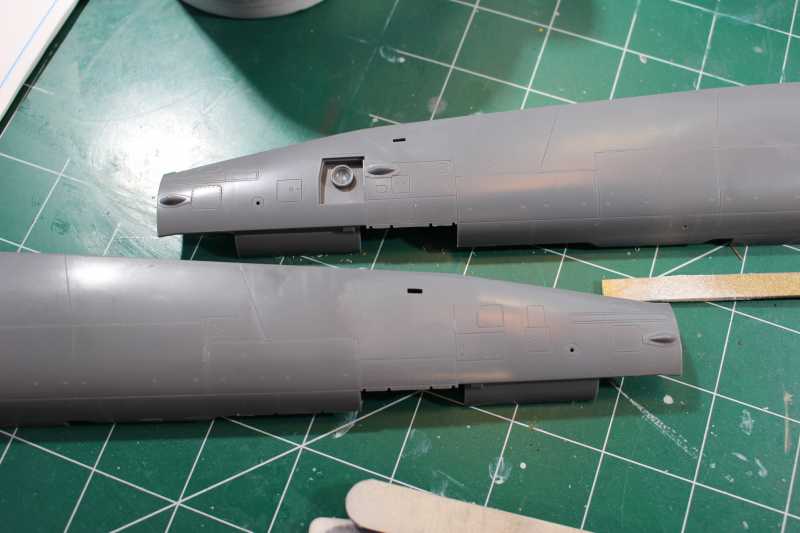
The ECM bumps that have to go
h7b4cc3f.JPG

One gone, one to go.
hb5e09cc.JPG

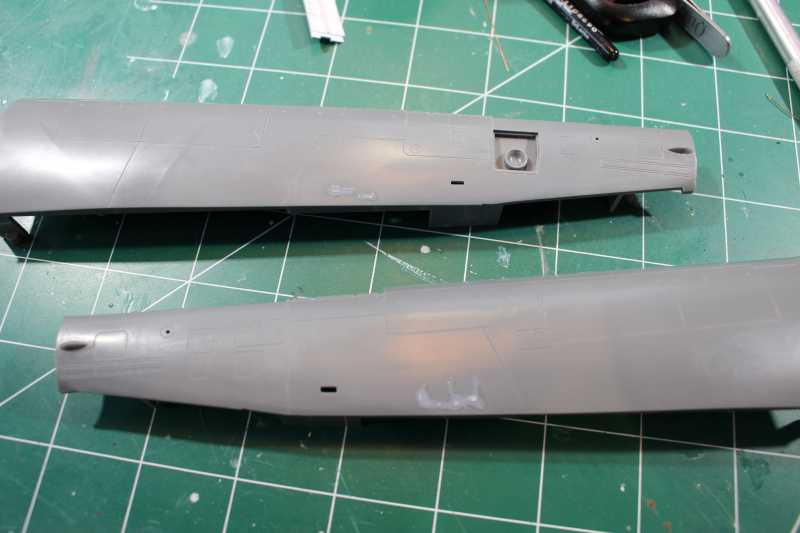
Bumps gone, sink marks under repair
h0e050d5.JPG

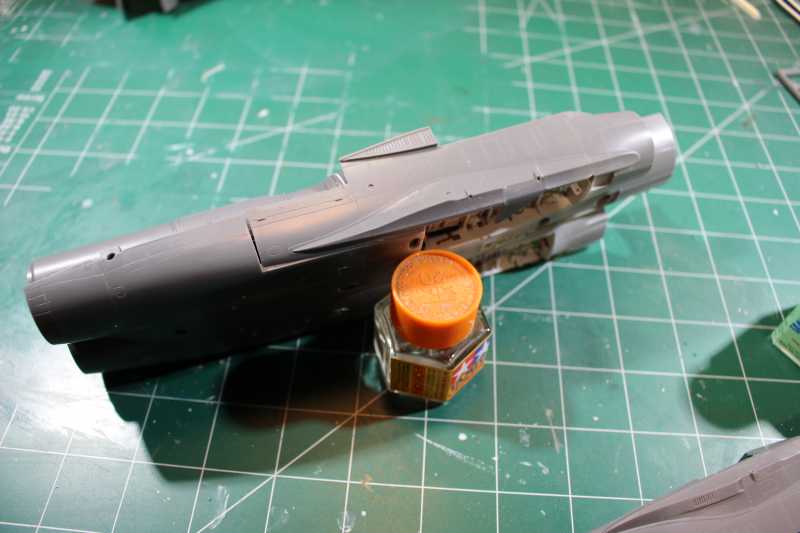
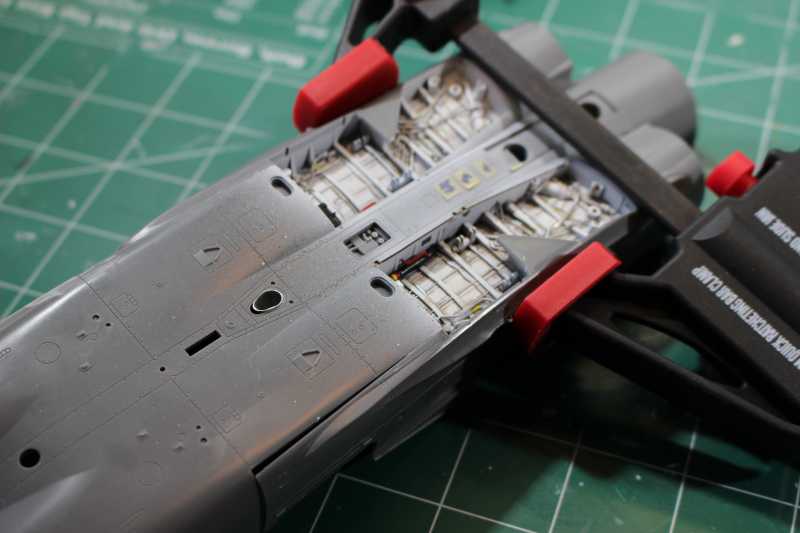
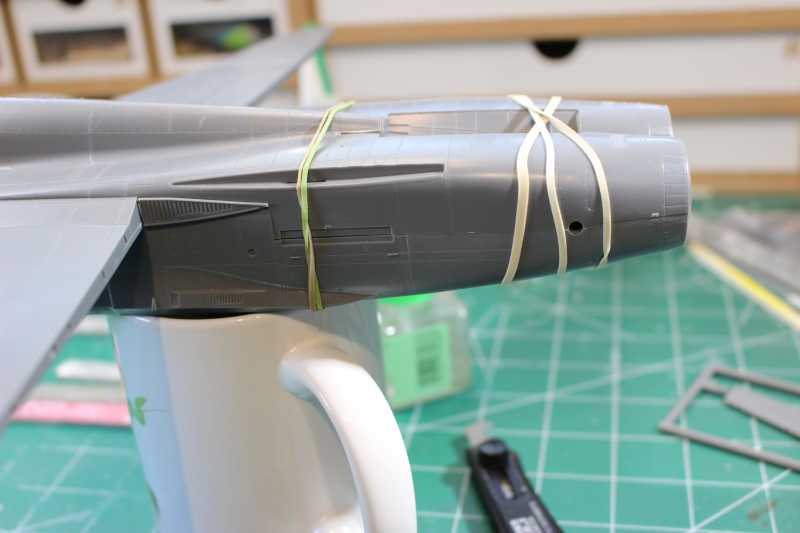
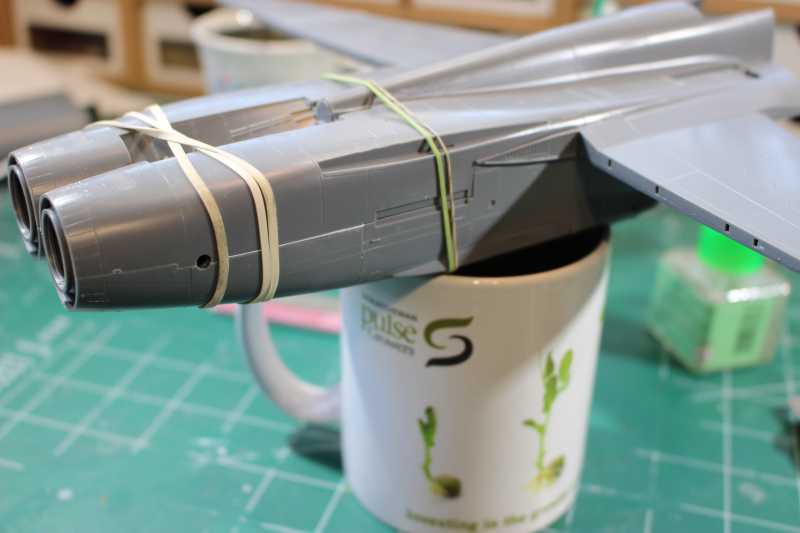
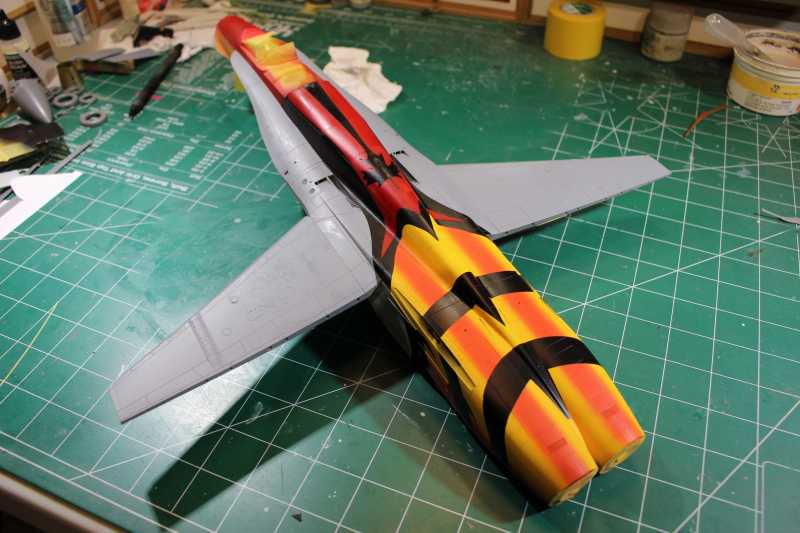
fuselage halves joined and seams being fixed
h2387565.JPG

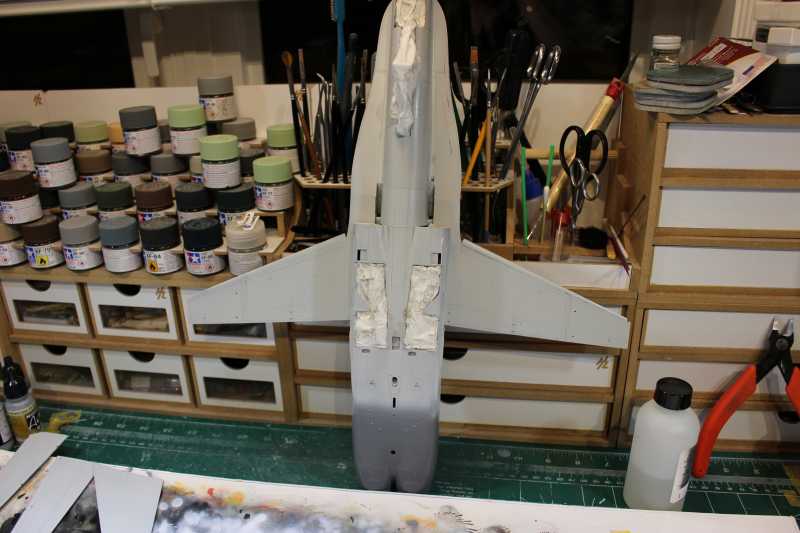
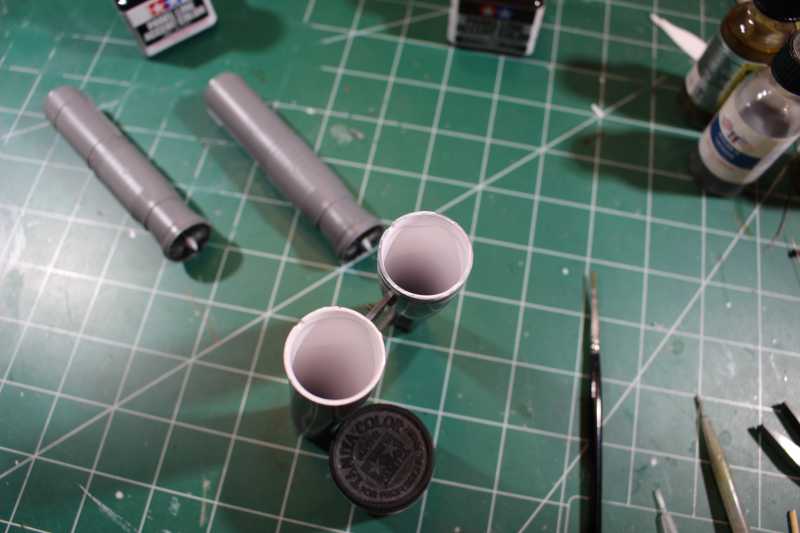
Thick gloss white latex paint poured into the intakes to give a smooth finish, they may take overnight to dry...

h552f3c4.JPG
 
Thanks guys! I’ve almost got the forward fuselage completed, I remember having a bit of trouble with the Radom fit on my last build (a D version) so I took a bit of time with this one (and ignored the instructions) it turns out, so far, that it is possible to get a good fit of the Radom if you fit and glue pieces a bit at a time, I know pictures would help but, I was in the zone and completely forgot to take any!
I’ll try posting some tomorrow.
As well, after all my work on the engine air intakes I couldn’t live with them and ordered the resin correction ones from Dmold so the rear fuselage construction may come to a stop until they arrive.
Again, thanks for staying with me on this one

I have found that out on a number of kits Chris. Take your time, get familiar with what fits where and ponder the best way to make it fit together and have had a lot less trouble with assembly.

So far it is looking real good! (y)

:popcorn
 
Thanks guys!
I've been hacking and chopping here again today (this poor kit doesn't know what hit it)
I've sanded through the back of the plastic in vents areas to give the vents a see through effect (took a while) and being the infinitely patient person I am I decided I couldn't wait for seamless intakes (I still have 3 kit's to use them on) I carried on with building.
I ignored the instructions, having a bit of a memory of the fit problems on the lower rear fuselage I did it my own way. I glued the wings to the top 1/2 and the lower rear sides (the problem fit) to the lower 1/2 instead of first joining the upper and lower 1/2's and then the side panels, there was a moment of self doubt wondering if everything would still fit but it did and better than the method called for in the instructions, not perfect but better. It took a smear of CA and a shim of .010" on the right side. Pictures...
Thinning the vents from behind
h060aeaa.JPG

gun vents also cleaned up
hd0d8b87.JPG

wings joined to the top half
h12a07a0.JPG

adding the lower side panels (the unapproved way)
h56b41a1.JPG


h2c6d4e9.JPG

top and bottom ready to go together
h60d489e.JPG

test fitting
h0784d1e.JPG


hed9f436.JPG
 
Thanks, it is a really nice kit, there are a couple of touchy fit areas but nothing really bad. As of today the fuselage components have been joined and filled, tops to bottoms and fronts to backs. It looks a bit like an F/A 18 now for some reason...I'll work on it a little more and see what happens.
 
Thanks for keeping an eye on me guys!
I've begun painting the Hornet, gray paint is Vallejo, orange/ yellow is Tamiya. I made stencils by making a scan/ copy of the decals and taped them to the model as a guide to masking...pictures attached.
the colors I'll be using
hd4b81db.JPG

bottom light gray on

h30350f0.JPG

top medium gray on

h0ffcf45.JPG

yellow and orange stripes

h995998d.JPG
 
Ha!
Well the stencil decal thing is in progress...
Cutting up the scans for mask templates

hb0dc7ff.JPG

masking in progress (hours of it)
hb287af4.JPG


hc8f3501.JPG

Some painting

h2236ab0.JPG


hb198b7d.JPG
 
Thanks for looking!
I've used scans of the decals on plain white paper as masks all along for the painting, this time I used cutouts of the scans laid directly on the model, dampened so they'd lay flat and stick to the model and shot paint right over the wet paper.

paper mask laid on and wet down...

haf9563a.JPG

painting over the wet paper mask

h9ab0d64.JPG


hb37c965.JPG

masks removed;

h22ffed1.JPG


h64aa3bd.JPG


h64aa3bd.JPG

Some touch up of paint work will be needed but, in my opinion, easier than working with an ill fitting or damaged decal.
 
Back
Top