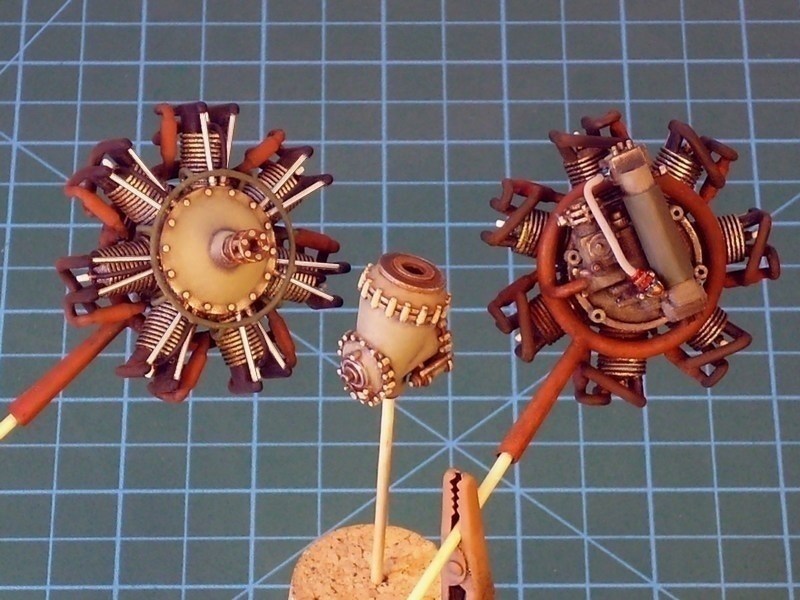
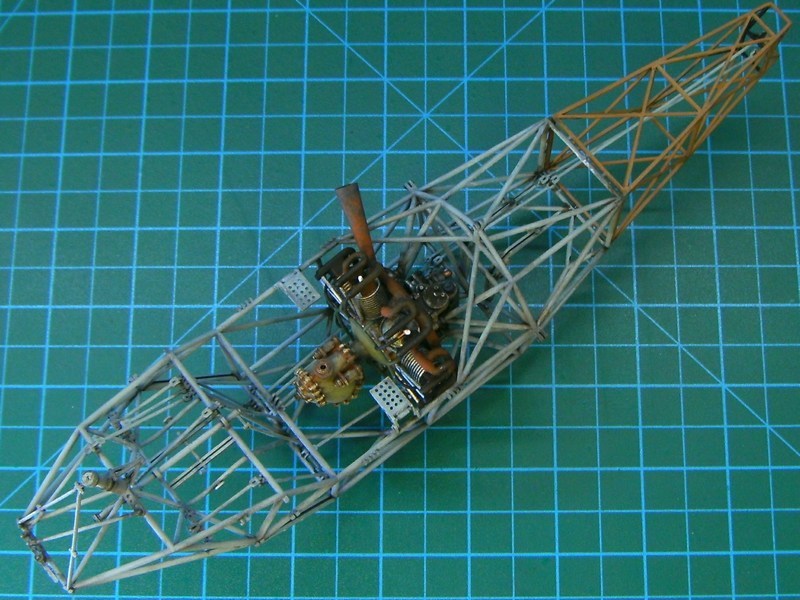
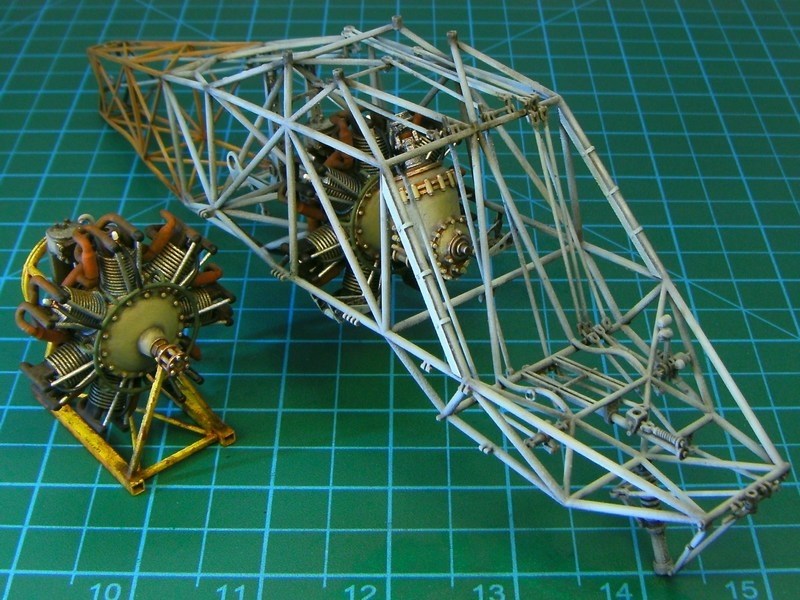
1/18 scale Flettner Fl-282 V21 Kolibri scratchbuil
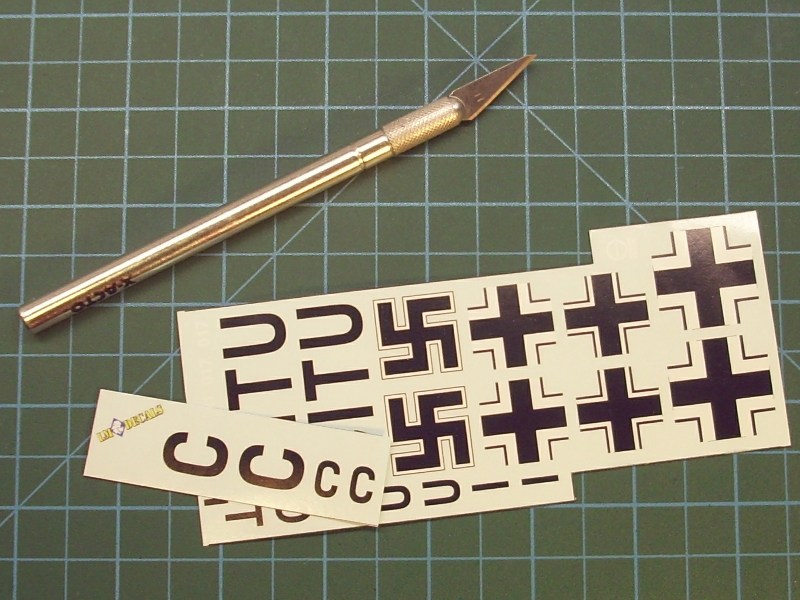
CHAPTER VI - Balkenkreuz & swastikas water slide decals
In recent years, most scale model companies avoid (for political correctness reasons) to depict the swastika symbol on kit box and the water slide decal film. In addition, some scale modelers fear of some mighty Holly Inquisitorial Court and remove or misquote the swastika symbol from their plastic aircraft models when present them on exhibitions, contests, magazine articles and hobby related forums around the internet.
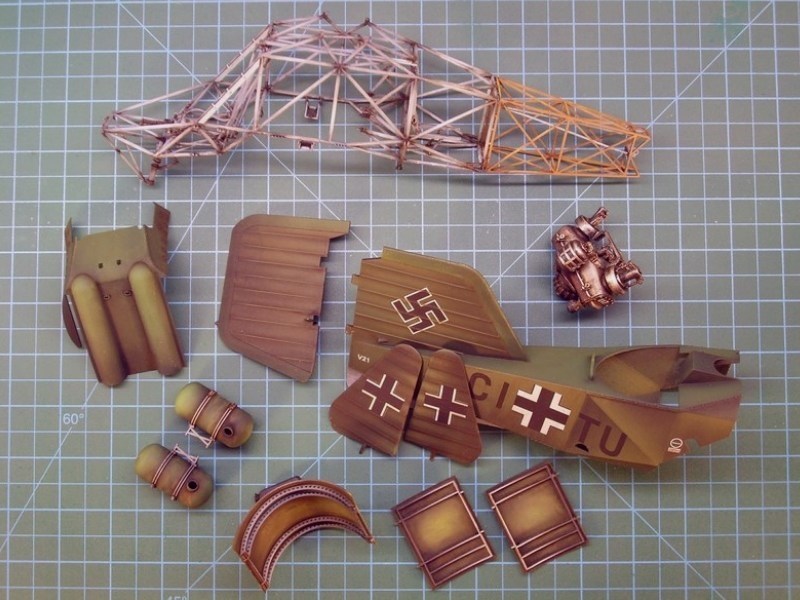
Since I strongly believe that scale modeling is not a political statement, but rather a source of Historical information, I do not intend to follow the hiding-the-truth hypocritical behaviour that starts to occur around the scale modeling community nowadays. Scale modeling is used for purposes of civic education, protection against anti-constitutional activities, scientific and military History research and reference for aviation enthusiasts. The swastika symbol stigmatized as being associated with German Nationalist Aryans sick wishes to conquer the World & dominate the Universe but it should never be forgotten, misquoted or deleted - it is a symbol marked a dark era of human History. Nowadays, the swastika has been outlawed in Germany, proof that the Germans ashamed (once again) of their ancestors History. In short, building WWII Luftwaffe plastic aircraft scale models with the swastika symbol on tail or wings should not be misunderstood as expression of sympathy for any neo-Nazi or extreme right-wing groups. For all the abovementioned reasons, the swastika symbol will be clearly visible on my Fl-282 V21 scale model tail fin as once appeared on actual helicopter during the WWII.
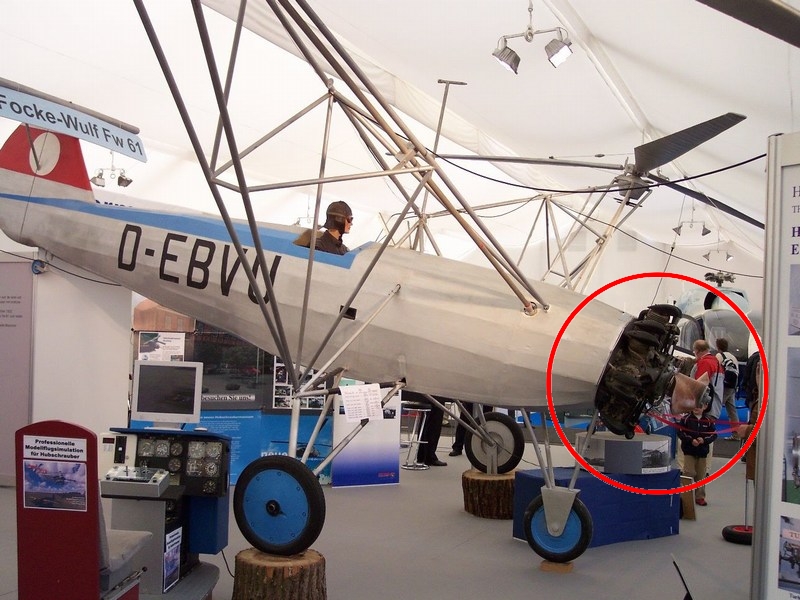
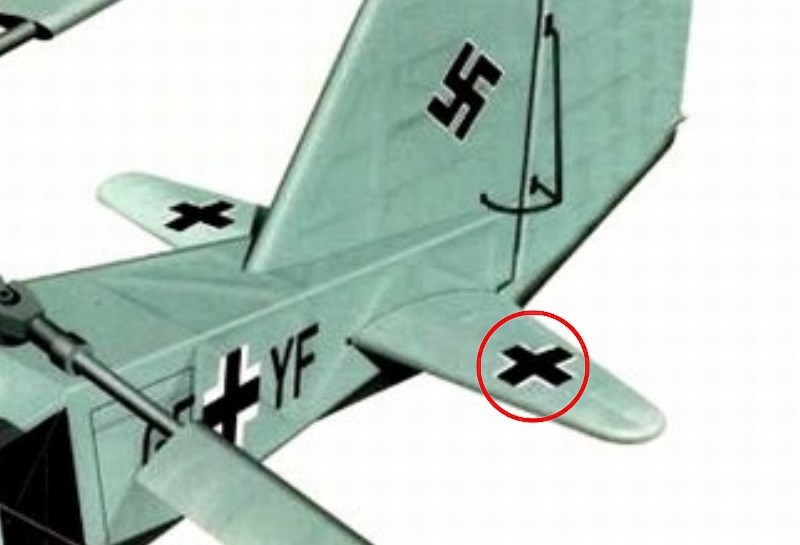
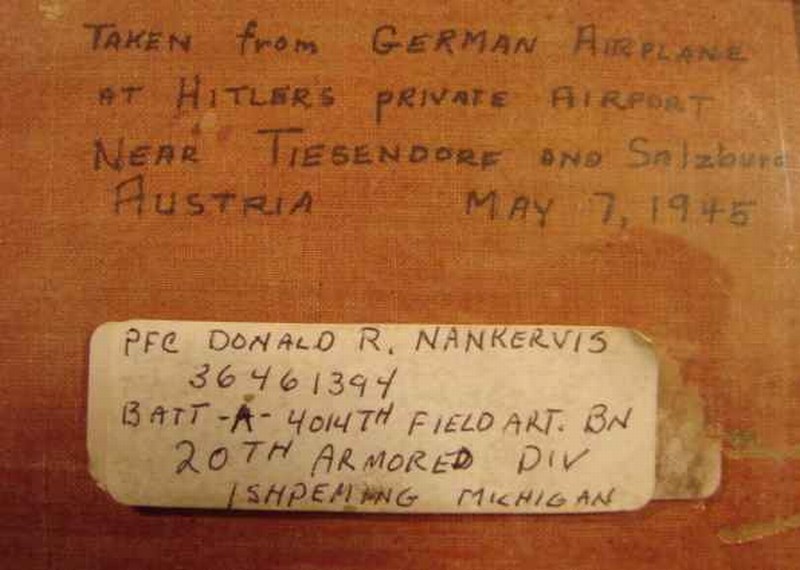
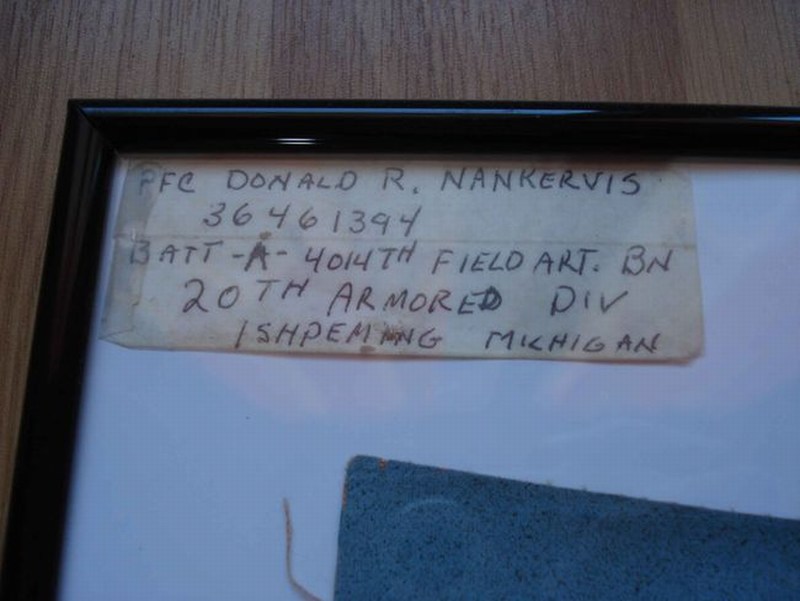
While surfing the net, I discovered someone who had an auction item, actually a WWII German aircraft relic, that is supposed to be part of Flettner 282 helicopter. He claimed that part (with balkenkreuz insignia on) was cut out by WWII veteran US Army PFC Donald R. Nankervis who sent it to his home back in States as a War trophy. According to the instructions written on the back of the canvas, the item was a part was “taken from a German airplane stationed at Hittler’s private airport at Ainring village between Teisendorf and Salzburg, Austria”. Nowdays
Ainring airport museum officials, confirm that the Flettner 282 helicopters were actually stationed there at that particular time period (7th May 1945) and used by the 3rd Reich authorities to serve Berchtesgaden & Berghof residence - this makes the story plausible enough and quite convincing, as far as the Historical data and dates. On the other hand, I have some doubts because at that time, all Kolibri helicopters were supposed to be painted with the Luftwaffe's RLM Green / Light Blue colours and not the Kriegsmarine's Grey. I’m also puzzled as to why the US serviceman didn’t cut out the entire stammkennzeichen marking, but I think that US soldiers were more interested for balkenkreuz & swastikas insignia trophies at this moment, because they symbolic represented the victory on the 3rd Reich. Possibly, the US troops didn’t have in their mind that these items will become very valuable for collectors & scale modelers 70+ years later. Additionally, if the above mentioned seller’s story is true, it turns out that the British troops were not the only ones who vandalized some one-of-a-kind (at that time) aircrafts, just to show to their friends & family back home that they fought Germans. Anyway, if the auction item is actually a genuine part of a Kolibri helicopter, the following pics are certainly valuable info, considering the rarity of helicopter’s color photographs.
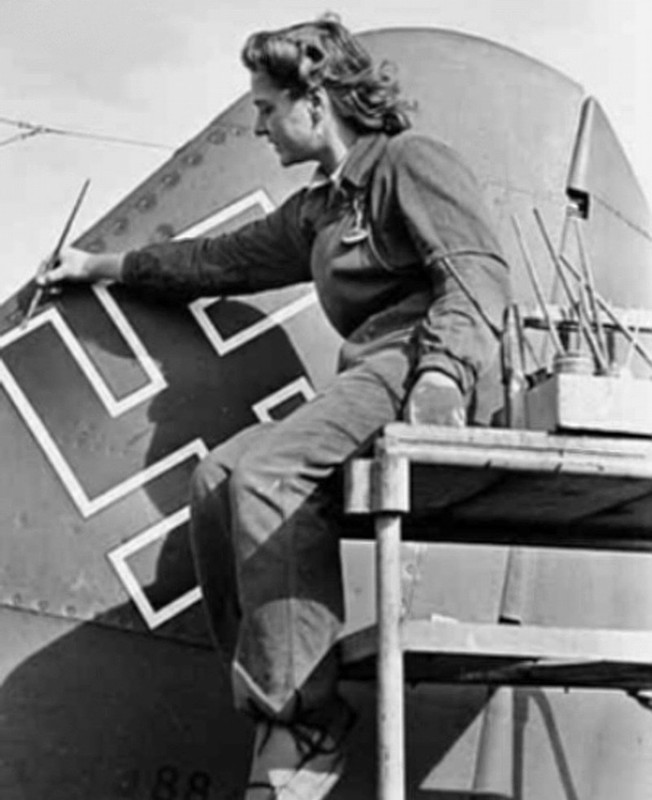
The first couple of 3D printed 1/18 scale Fl-282 helicopter models built by me as commision work on behalf of collectors, had the Kriegsmarine’s stammkennzeichen (four-letter factory radio code on the fuselage sides and repeated on the both elevator wings undersides), the balkenkreuz & swastikas insignia airbrushed on fuselage - a process that requires precision and careful masking.
The airbrushed insignia might look nice on big scales when all the repeated masking & airbrushing layers are perfectly executed, but I am a lazy guy and I follow that “
the easier, the better” motto. To do so, I designed the images on Corel, rescaled them on right dimensions and asked Mr. Triantafyllos Metsovitis, owner of
LM Decals to print some right-in-scale Luftwaffe water slide decals for me. Yes, simplicity makes things flow without effort.
Luftwaffe insignia print under exact dimensions for a 1/18 scale build, is included into the 102-page ultra-detailed “1/18 Fl-282 V21 kit building instructions” manual which can be found HERE as a PDF format downloadable file.
I used a soft brush to apply a light coat of Microscale MicroSol to soften the water slide decal and allow it to become part of the surface. As soon as the water slide decals were dry, an acrylic gloss coat applied to seal the result so far. Once the acrylic gloss coat has cured, I tried to wash the paint by brushing “Winter Streaking Grime” available by AK Interactive as AK014 filter, until the desired colour density is achieved. The outcome had tonality differences and looked like been highlighted by the sun while shades softly blend each other. Some of the wash mixture is re-applied and the wash being wiped completely out of the narrow points.


")