Nick_Karatzides
Member
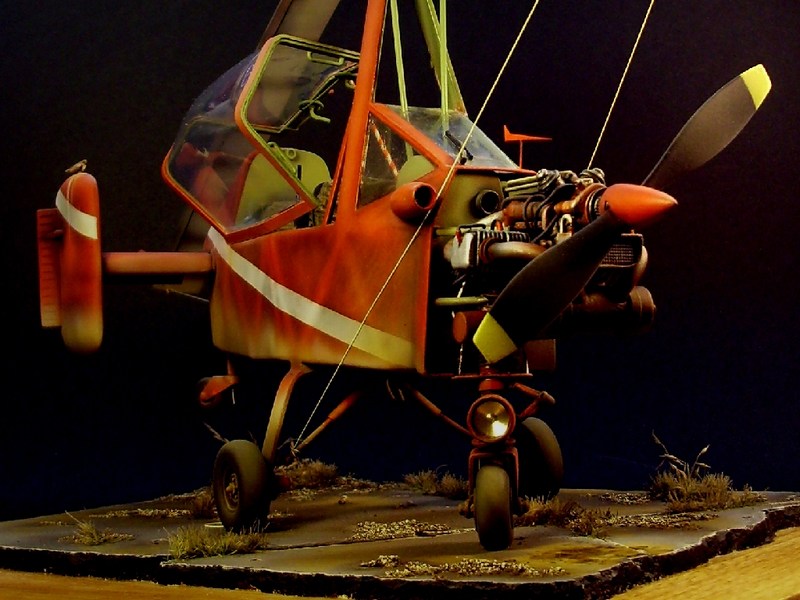
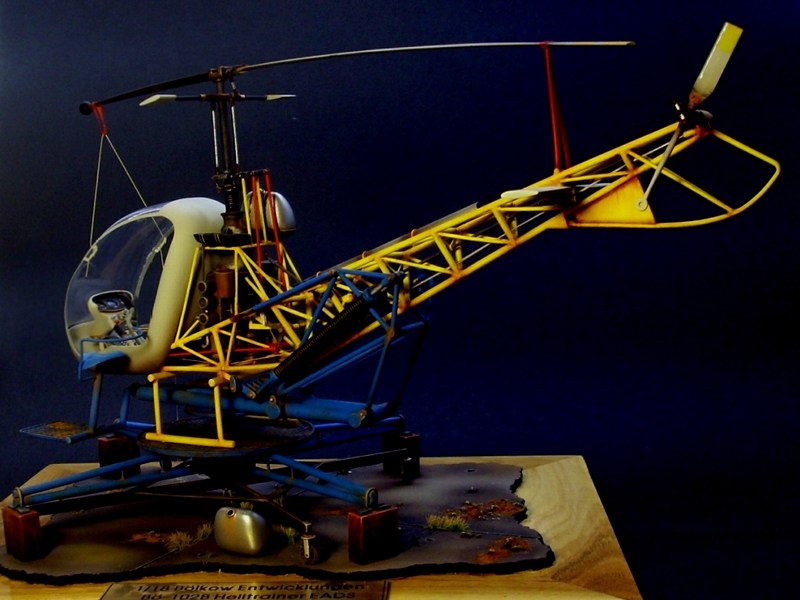
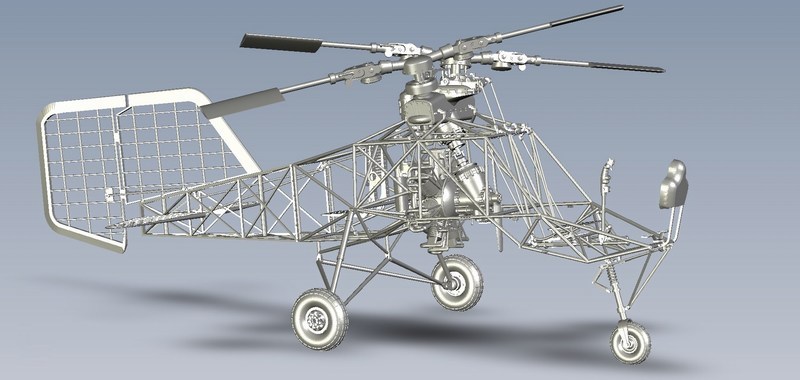
1/18 scale Flettner Fl-282 V21 Kolibri scratchbuil
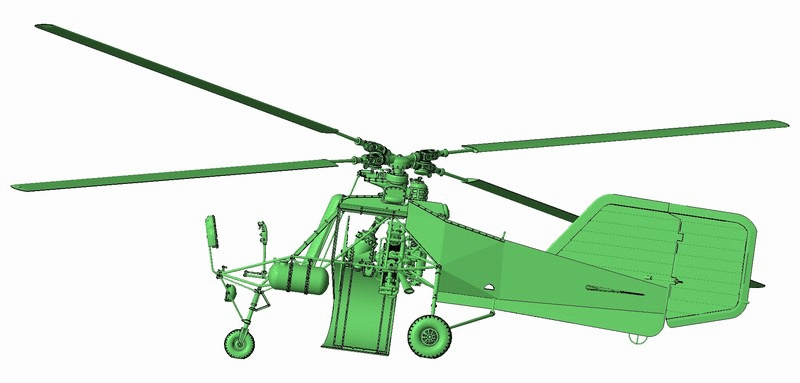
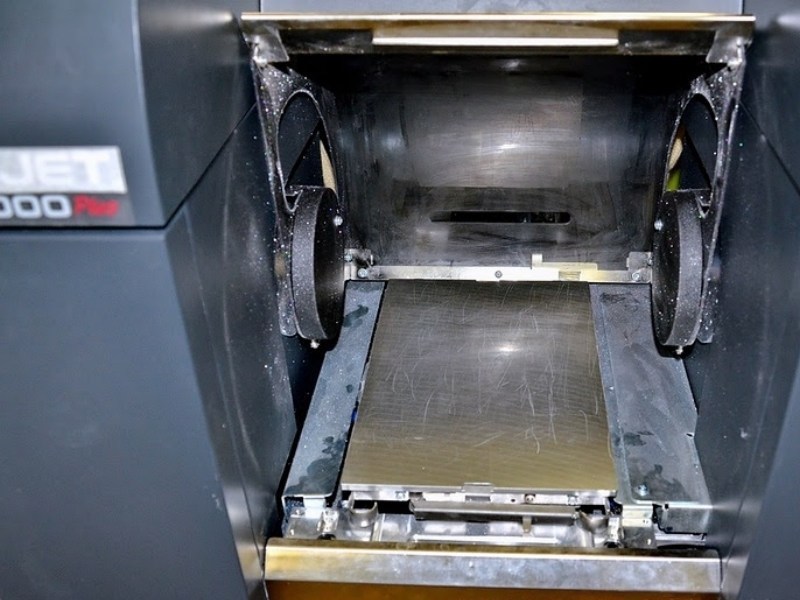
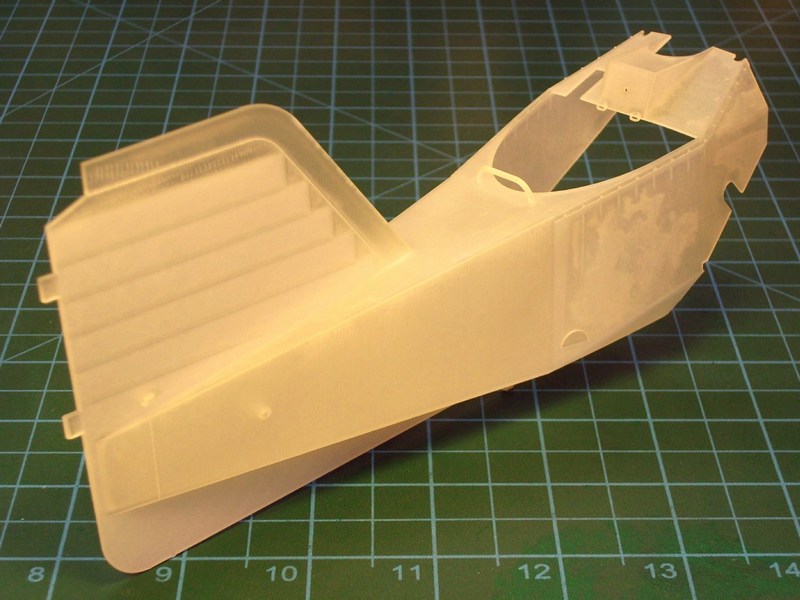
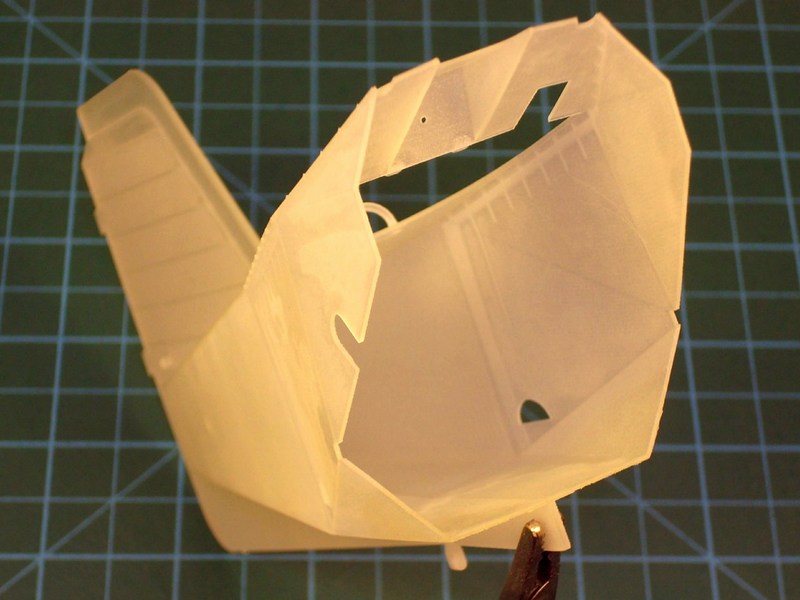
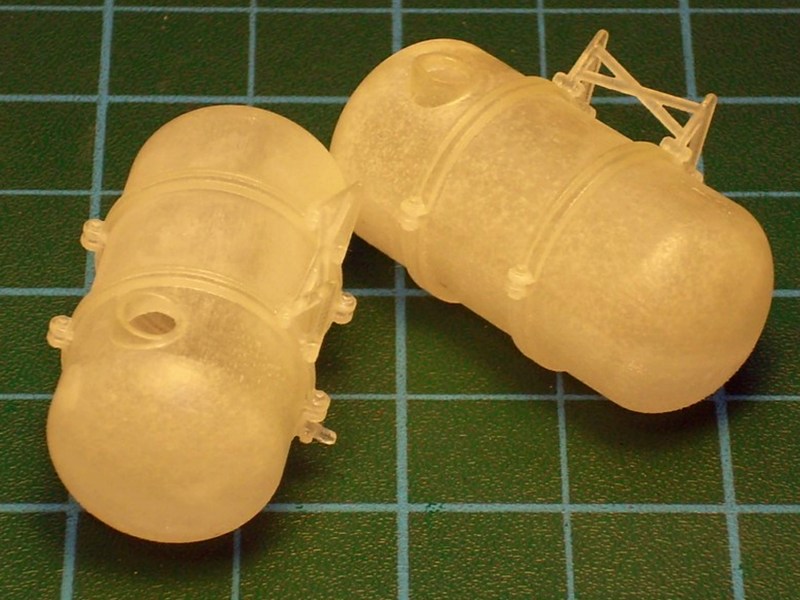
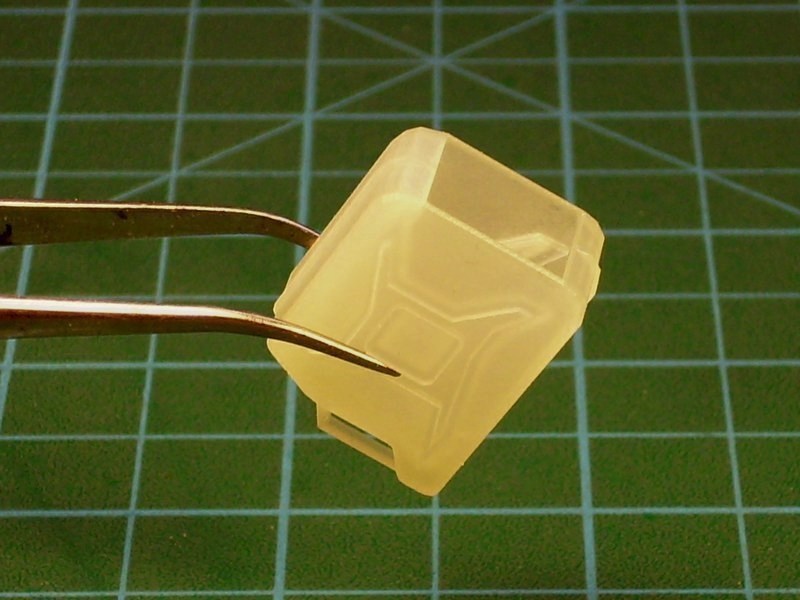
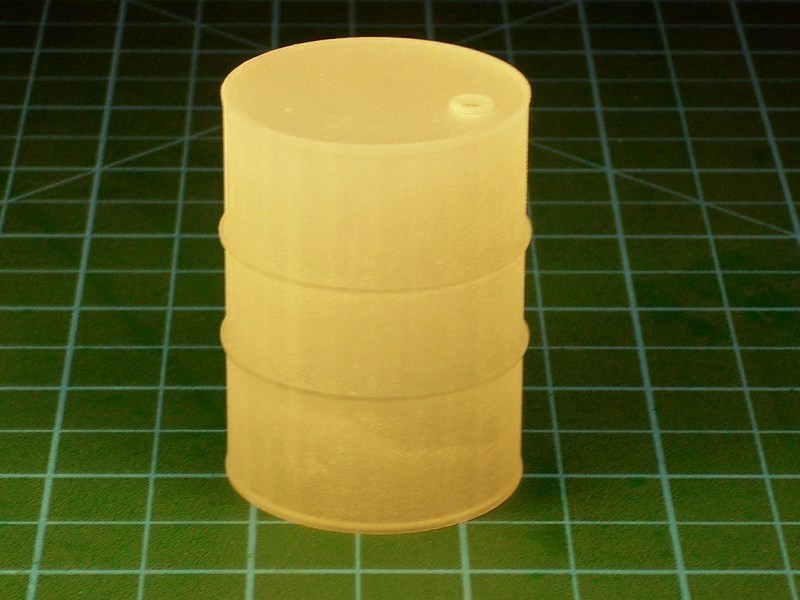
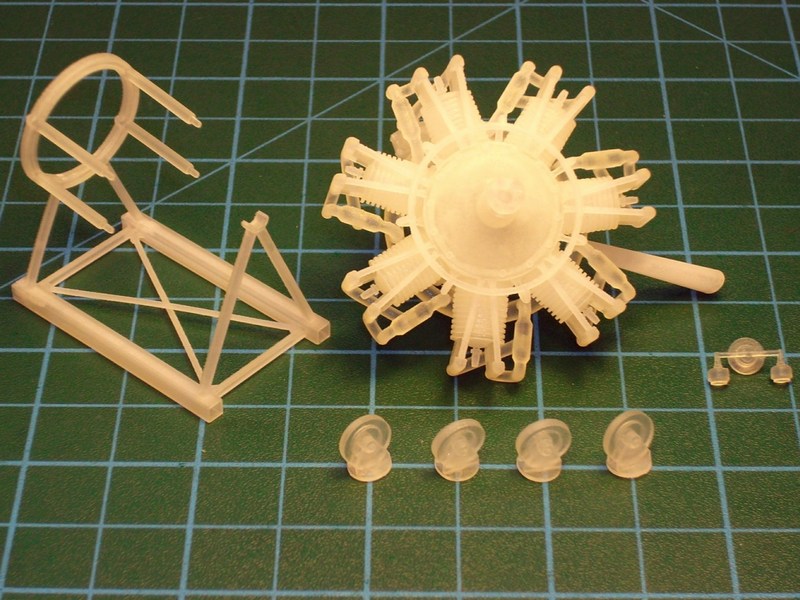
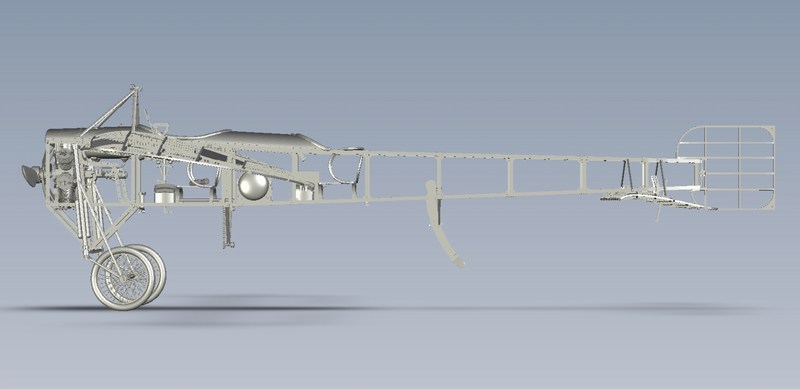
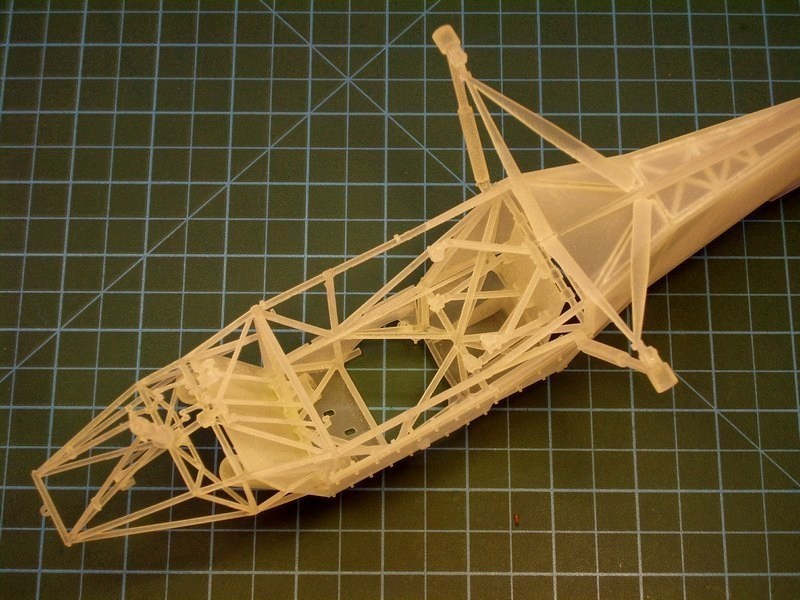
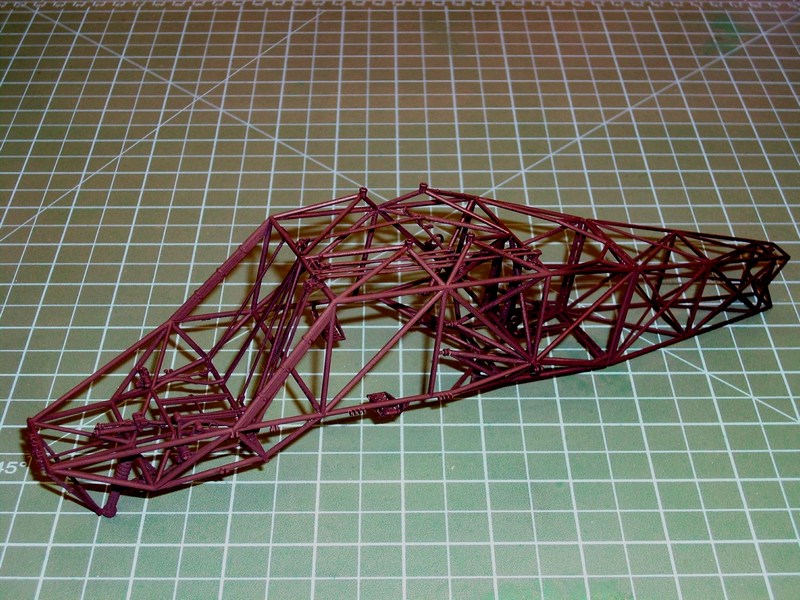
After digitally building the Fl-282 Kolibri 3D model using only mouse clicks, I saved it as an STL - STereoLithography format binary file and forward it on the 3D replicator to start generating the individual parts of the actual scale model. To do so, I used the best available tools & plastic material and asked from Shapeways, a special digital fabrication lab equipped with a high-precision & high-cost “ProJet HD 3000” machine for creating custom made-to-order products, to 3D print it. The 3D printing material used was a special plastic called “VisiJet SR 200”, a UV light cured acrylic polymer plastic material for 3D printing with ± 0.025 mm accuracy for every 25.40 mm. It’s actually an organic mixture, consists of 55% triethylene glycol dimethacrylate ester and 45% urethane acrylate polymer. It is printed using the “MJM” aka Multi Jet Modeling process. During this MJM process, cartridges of acrylate and/or wax material are heated and the plastic material is fired in ballistic micro droplets from a multi-chambered print head containing hundreds of Piezo jets. Molten plastic is deposited onto an aluminum build platform in layers using several nozzles, essentially like a large print that sweeps across the build layer. As the heated material jets onto the build plate, it solidifies instantly. After each layer is deposited, it is cured & polymerized by a wide area UV lamp. The next layer then applied, and through this repeated process layers of thermoplastic build up into a model. This method can print durable plastic parts with a high level of detail and accuracy as well as burnout materials and real wax parts for casting. Layers can be as thin as 16 microns, so MJM produces fantastic surface finish with minimal “stepping”.
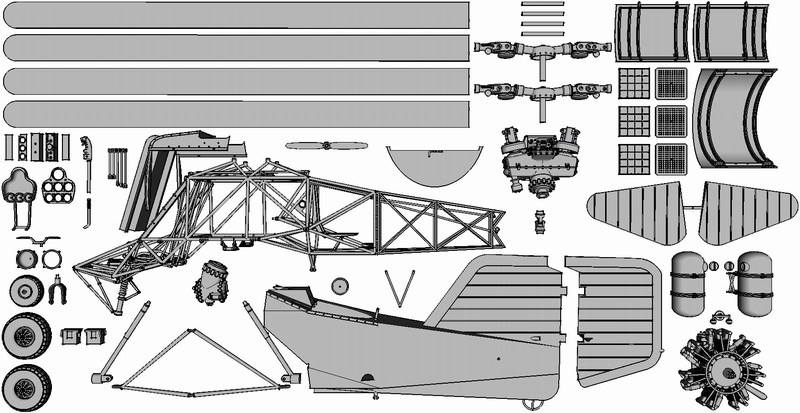
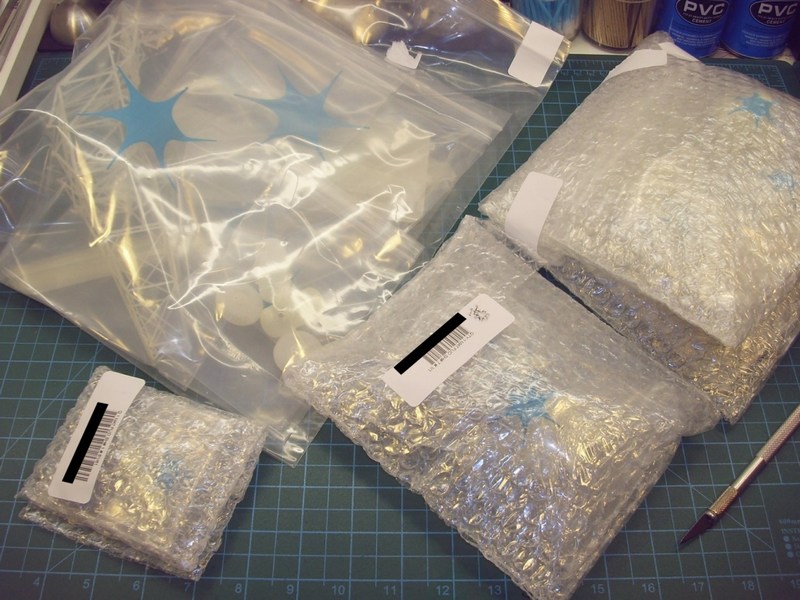
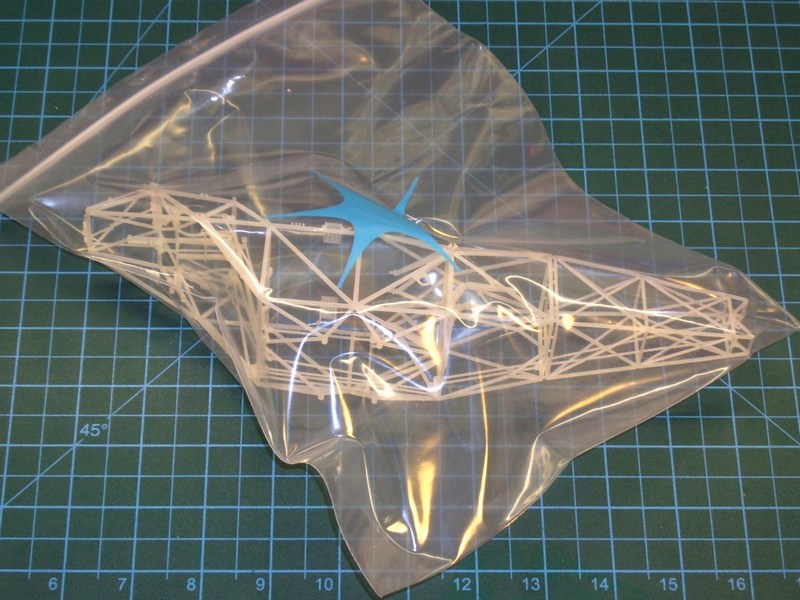
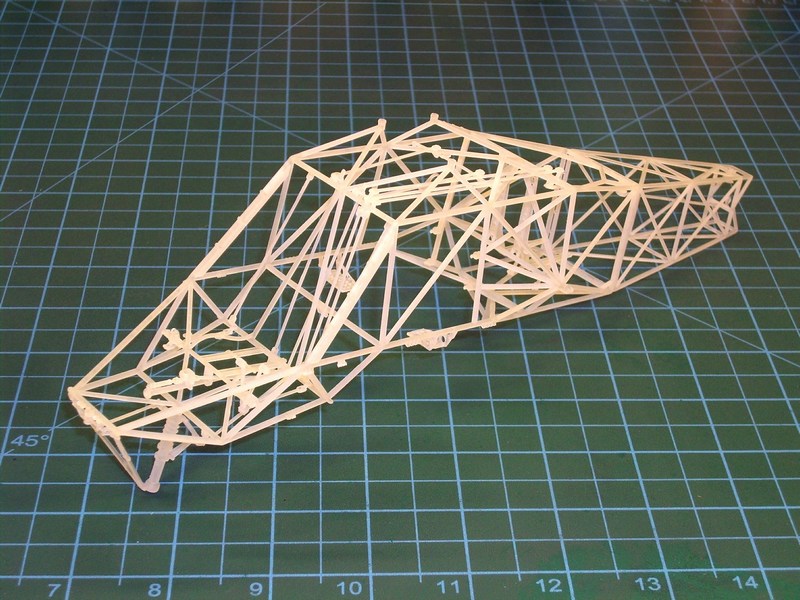
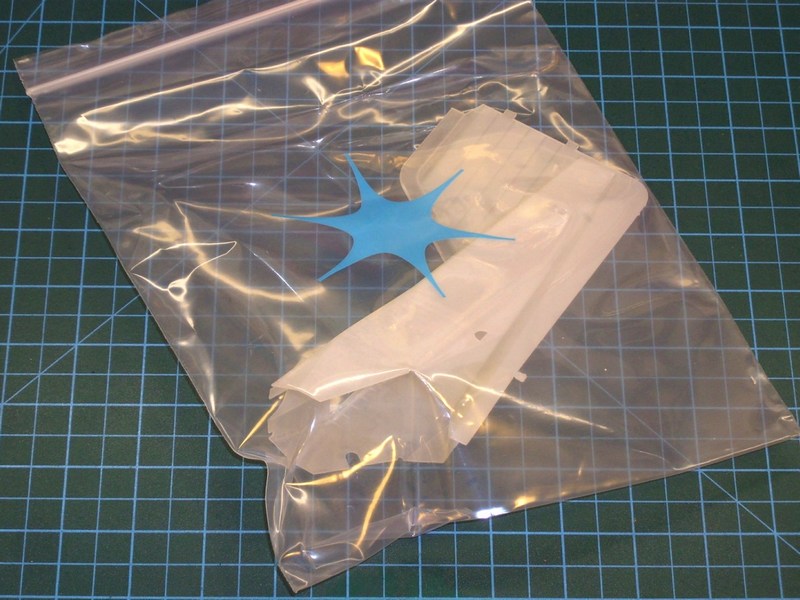
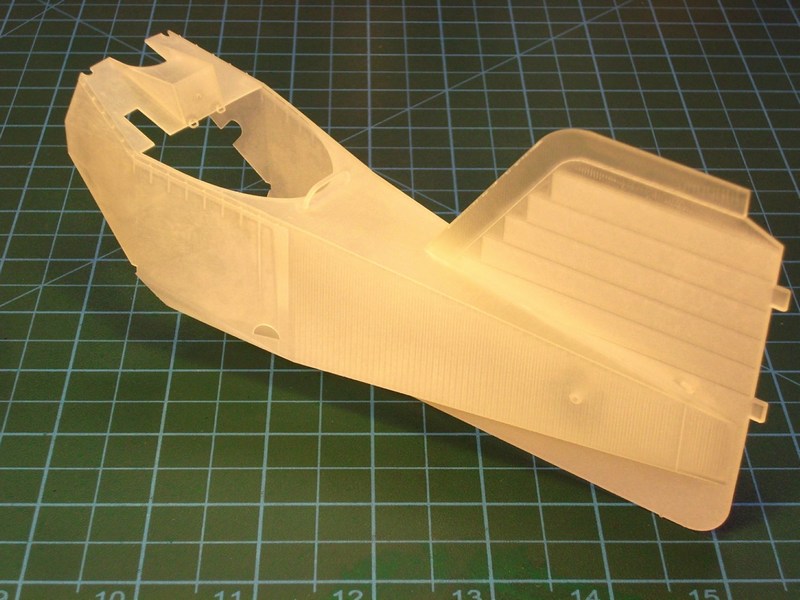
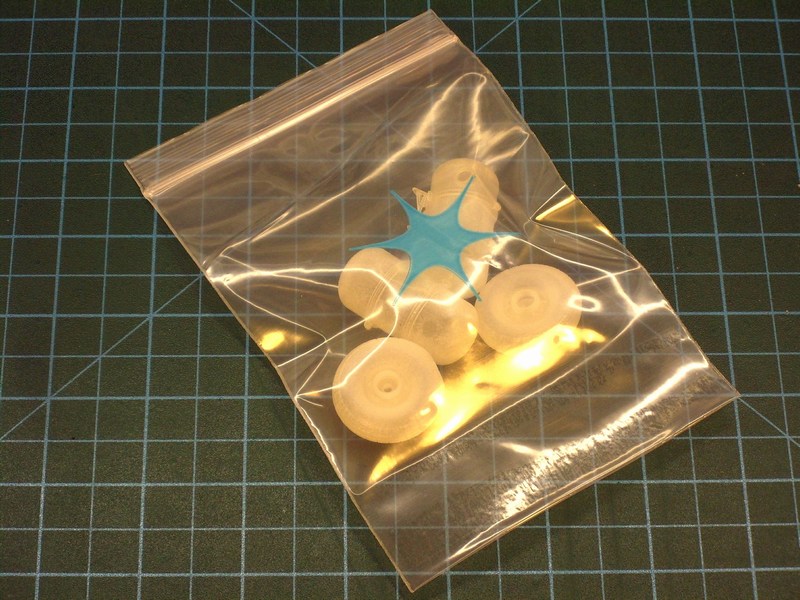
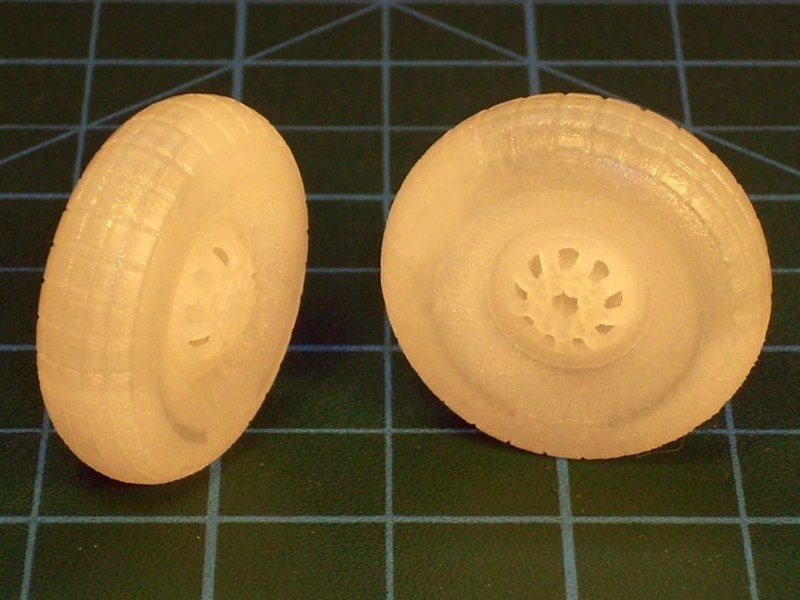
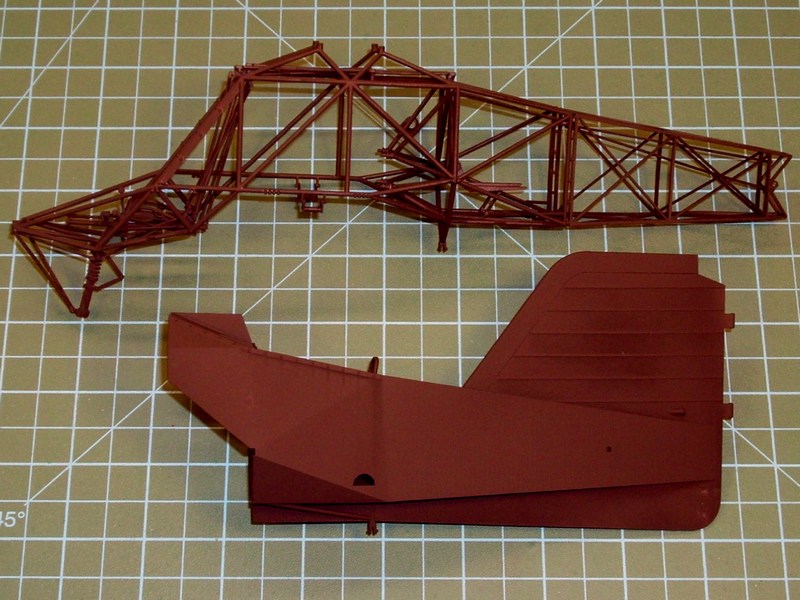
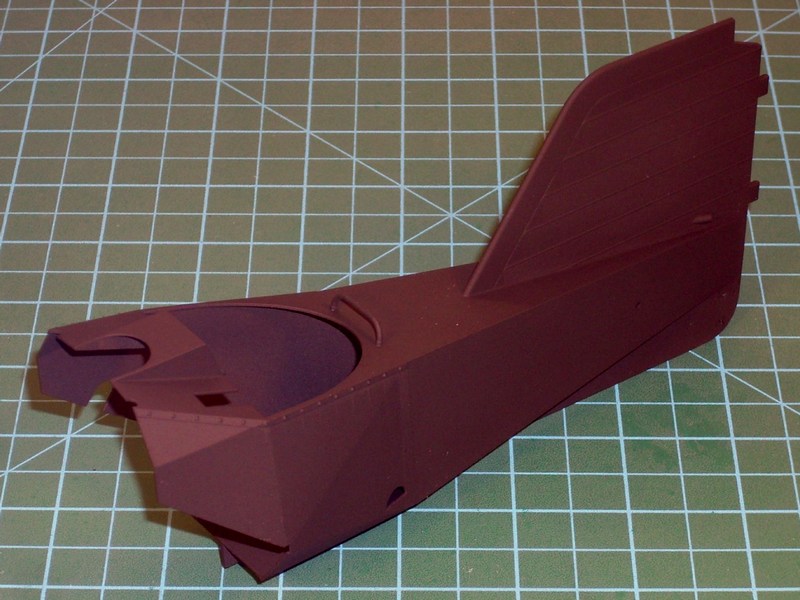
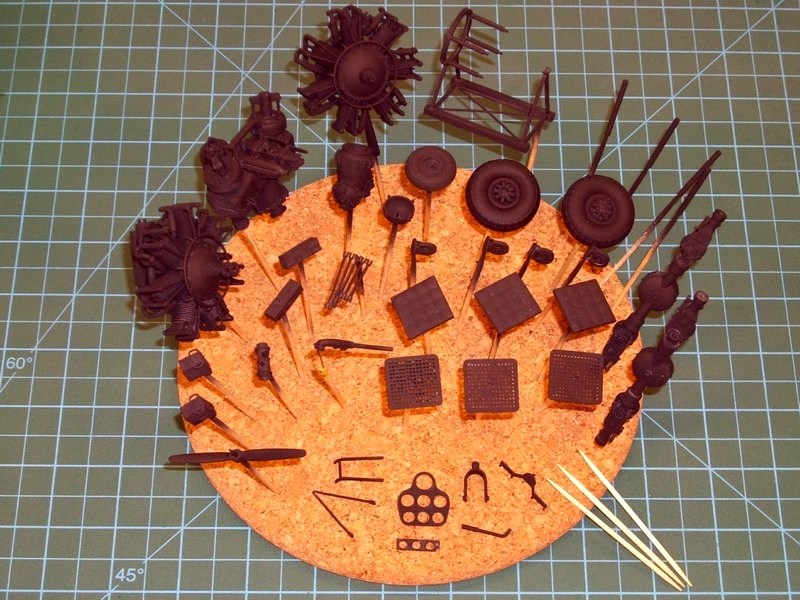
The 1/18 scale Fl-282 V21 Kolibri “full fuselage” model kit consists of 60 different 3D printed parts made of matte translucent plastic material - in fact, the kit parts are quite more, but smaller in size are interconnected on same sprue frame which is counted as one part. Kit was CAD designed and 3D produced in such way to simplify assembling process while maintaining necessary details required by the scale size. Following the instructions described into the 102-page ultra-detailed “1/18 Fl-282 V21 full-fuselage kit building instructions” manual (which can be found HERE as a PDF format downloadable file), the assembling process becomes easy.
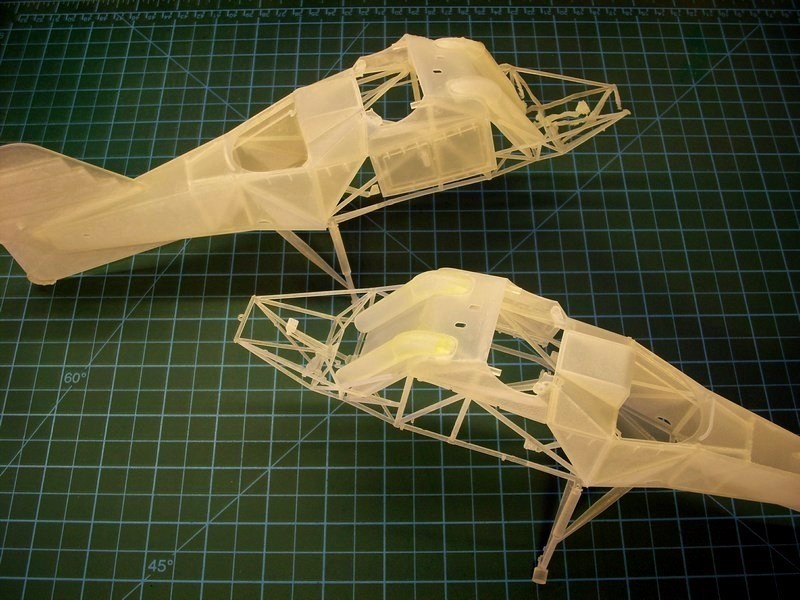
When printing is finished, the model parts are removed from the tray and placed into an oven that melts away the wax support material. Next, the models are placed into an a ultrasonic oil bath to remove any remaining wax residues, and then a ultrasonic water bath to remove any oil on the model. Final inspection and dry by hand follows for every single model part. Although the ProJet HD 3000 prints in high resolution (16 microns per layer) and can easily produce high detailed parts as small as 0.1 mm, it is better to avoid printing such small parts because they could easily get lost while washed into ultrasonic bath later, for wax residues removing.
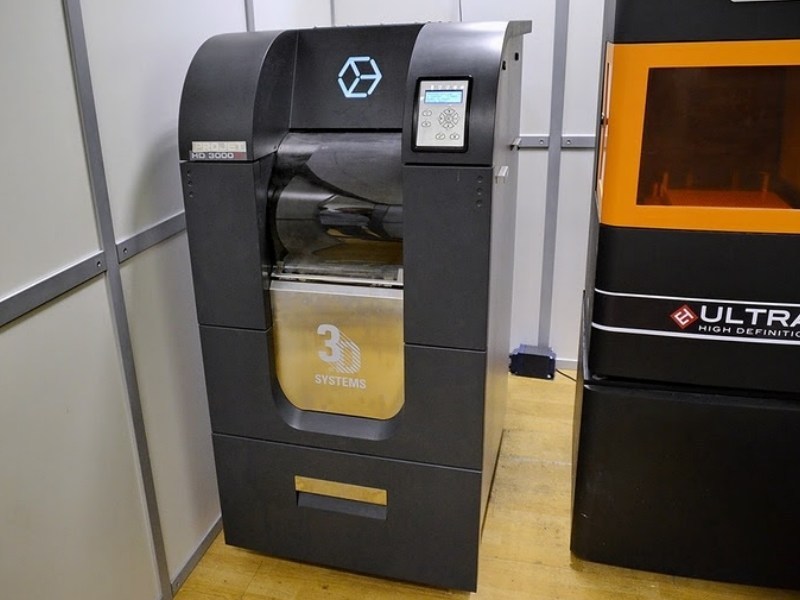
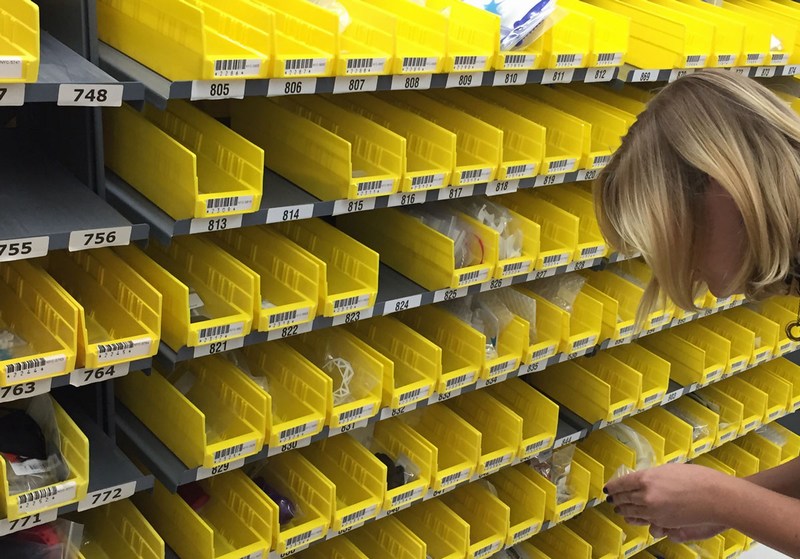
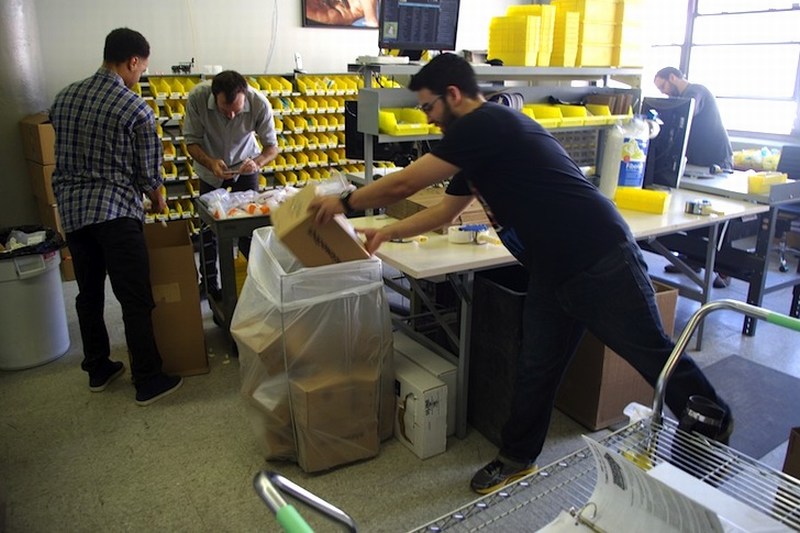
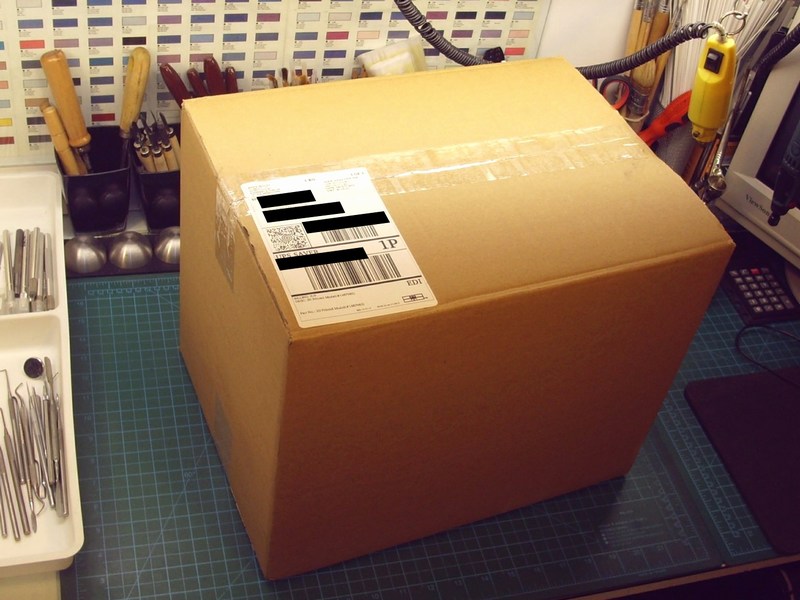
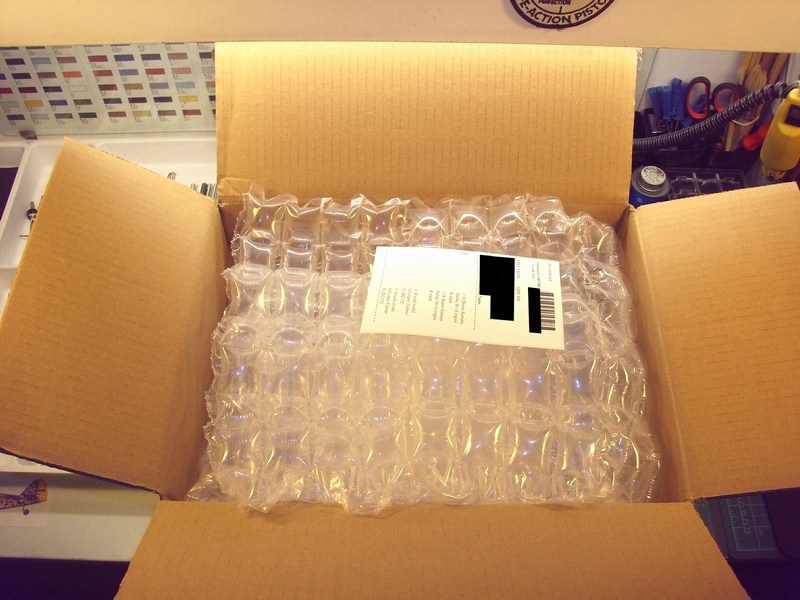
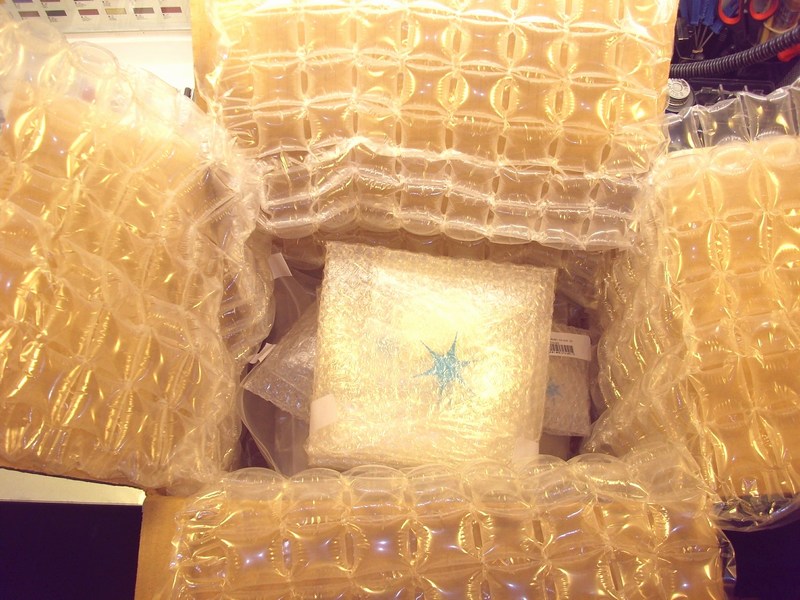
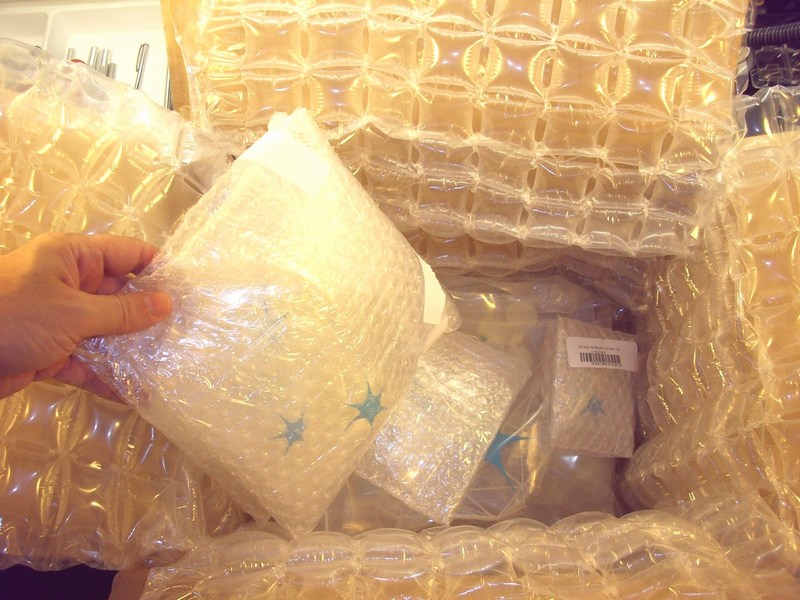
Keep in mind that due to increased 3D printed items manufacturing demand and workload in Shapeways factory, a complete model kit takes about 5 to 7 days to get produced after order. Depending customer’s location, the 3D printed parts are produced at one of two Shapeways production lines based at NYC Long Island, USA or Eindhoven, Netherlands and shipped Worldwide, (24hrs to 48hrs delivery time) right at your doorstep by USPS, UPS and DHL with most reasonable prices.
After digitally building the Fl-282 Kolibri 3D model using only mouse clicks, I saved it as an STL - STereoLithography format binary file and forward it on the 3D replicator to start generating the individual parts of the actual scale model. To do so, I used the best available tools & plastic material and asked from Shapeways, a special digital fabrication lab equipped with a high-precision & high-cost “ProJet HD 3000” machine for creating custom made-to-order products, to 3D print it. The 3D printing material used was a special plastic called “VisiJet SR 200”, a UV light cured acrylic polymer plastic material for 3D printing with ± 0.025 mm accuracy for every 25.40 mm. It’s actually an organic mixture, consists of 55% triethylene glycol dimethacrylate ester and 45% urethane acrylate polymer. It is printed using the “MJM” aka Multi Jet Modeling process. During this MJM process, cartridges of acrylate and/or wax material are heated and the plastic material is fired in ballistic micro droplets from a multi-chambered print head containing hundreds of Piezo jets. Molten plastic is deposited onto an aluminum build platform in layers using several nozzles, essentially like a large print that sweeps across the build layer. As the heated material jets onto the build plate, it solidifies instantly. After each layer is deposited, it is cured & polymerized by a wide area UV lamp. The next layer then applied, and through this repeated process layers of thermoplastic build up into a model. This method can print durable plastic parts with a high level of detail and accuracy as well as burnout materials and real wax parts for casting. Layers can be as thin as 16 microns, so MJM produces fantastic surface finish with minimal “stepping”.
The 1/18 scale Fl-282 V21 Kolibri “full fuselage” model kit consists of 60 different 3D printed parts made of matte translucent plastic material - in fact, the kit parts are quite more, but smaller in size are interconnected on same sprue frame which is counted as one part. Kit was CAD designed and 3D produced in such way to simplify assembling process while maintaining necessary details required by the scale size. Following the instructions described into the 102-page ultra-detailed “1/18 Fl-282 V21 full-fuselage kit building instructions” manual (which can be found HERE as a PDF format downloadable file), the assembling process becomes easy.
When printing is finished, the model parts are removed from the tray and placed into an oven that melts away the wax support material. Next, the models are placed into an a ultrasonic oil bath to remove any remaining wax residues, and then a ultrasonic water bath to remove any oil on the model. Final inspection and dry by hand follows for every single model part. Although the ProJet HD 3000 prints in high resolution (16 microns per layer) and can easily produce high detailed parts as small as 0.1 mm, it is better to avoid printing such small parts because they could easily get lost while washed into ultrasonic bath later, for wax residues removing.
Keep in mind that due to increased 3D printed items manufacturing demand and workload in Shapeways factory, a complete model kit takes about 5 to 7 days to get produced after order. Depending customer’s location, the 3D printed parts are produced at one of two Shapeways production lines based at NYC Long Island, USA or Eindhoven, Netherlands and shipped Worldwide, (24hrs to 48hrs delivery time) right at your doorstep by USPS, UPS and DHL with most reasonable prices.


")