phantom II
Master at Arms
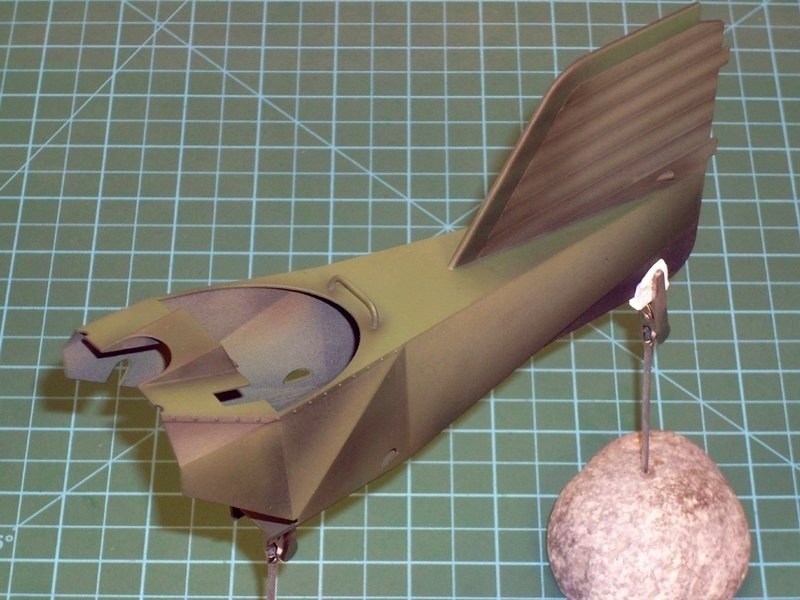
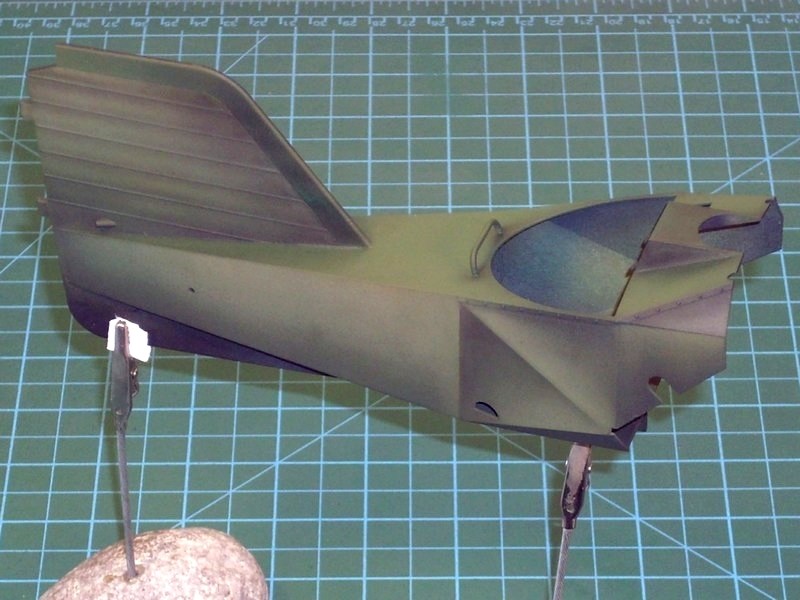
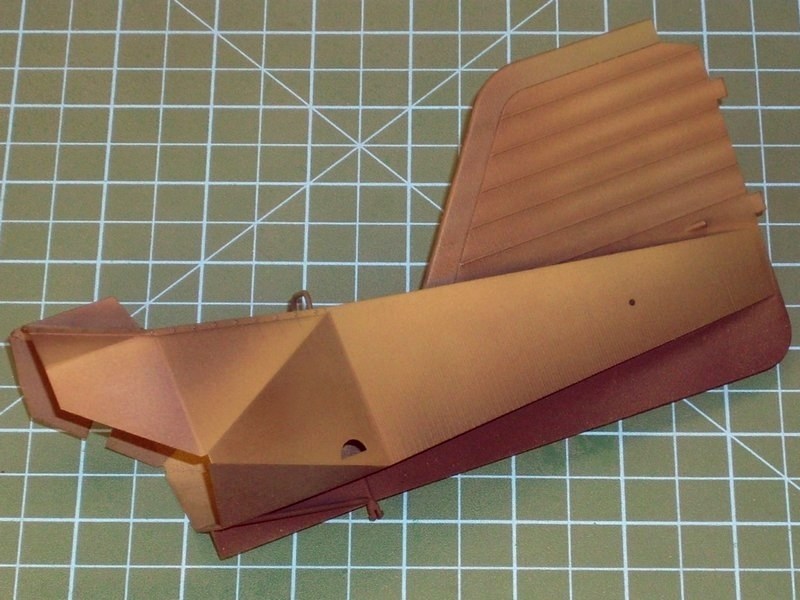
1/18 scale Flettner Fl-282 V21 Kolibri scratchbuil
Thanks for clarifying my question. It strikes me as a good idea to overcome the resistance to flow that would be induced by the long run of the exhaust pipe.
Realistically one fan is only capable of moving that much air if it is running without anything to impede the flow like ducting or a bend in the ducting.
By adding the second fan , you probably overcame the resistance to flow caused by the duct work .
At any rate, you definitely found more flow than what is needed")
Cheers, Christian B)
Thanks for clarifying my question. It strikes me as a good idea to overcome the resistance to flow that would be induced by the long run of the exhaust pipe.
Realistically one fan is only capable of moving that much air if it is running without anything to impede the flow like ducting or a bend in the ducting.
By adding the second fan , you probably overcame the resistance to flow caused by the duct work .
At any rate, you definitely found more flow than what is needed
Cheers, Christian B)