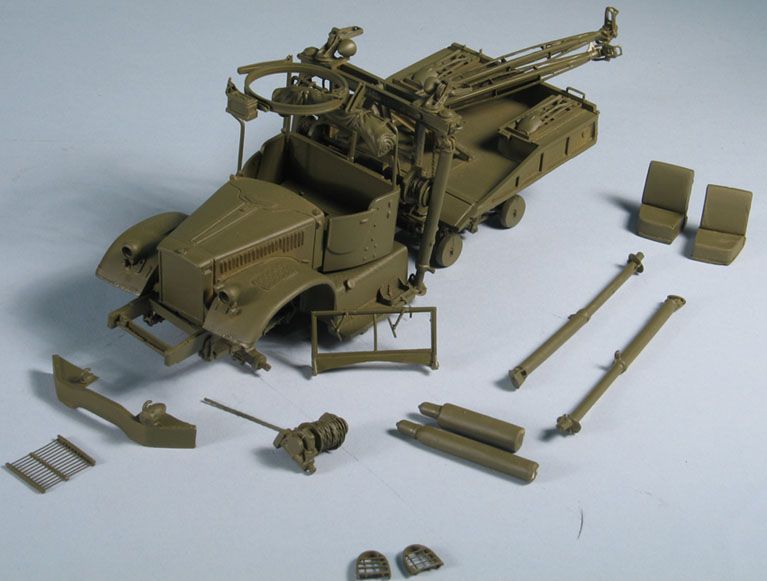
I'm not sure how I got talked into doing this, how can I refuse anything from Junior.  , but lets get started.
I'll be talking about a lot of things, this has the possibility of running for some time. To begin, this is the way I have been weathering since the 70s. It certainly isn't the only way, and there are those that will believe it is old school. I happen to believe that the new techniques are barely modifications of old school systems. I have experimented with this system so many times I can't remember and only a couple of times found a reason to alter it.
New systems with new titles have been out there for some time now and I can't argue with their results. I have noticed one thing though. Many modelers, including ones I have seen on this website, can build and detail beautiful models. The rub comes in with, not the painting, but the weathering. I see guys that are working on a an above average level, but weathering on a much lower level. I think too many attempt to use techniques of the top armor modelers in the world like Mig Jeminez. Like so many other things in this world, you have to learn to walk before you run.
Mig is a friend of mine, a nice guy but, let's face it guys, Mig is a natural born artist with phenomenal artistic talent. I would bet his first model would blow you away. He is the kind of modeler who needs no classes or tips. He develops his own techniques because he is an artist with artistic skill sets that allow him to do things that would not be possible for the average modeler.
I have had the honor of being friends with many of the great artists in the modeling world, Shep Paine, Mig, Lewis Pruneau, Mike Good, Carlos Andrea, Luca Marchetti of Pegaso models, and many more. I was also a business partner with Francois Verlinden for many years, another of the modeling greats. I have been building models since 1945.
To start, I will give a list of materials that will fall into 4 categories. 1) completely flexible, substitutions no problem. 2) Totally optional items, depending on whether or not you need them. 3) Items I would strongly recommend for this system, but, if you must, you can still make substitutions, and, 4) Those items which can NOT be substituted. If you have problems, I'll help you find a place to buy them.
Category 1). A clean old T-shirt, the normal white ones.
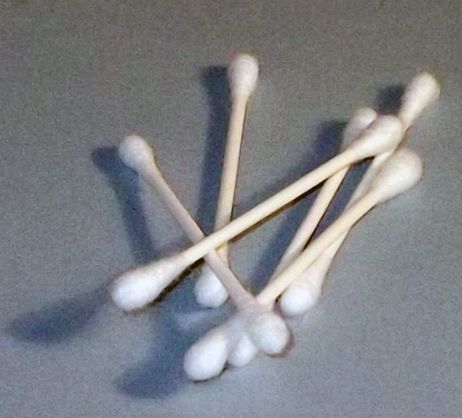
Some Q-Tips.
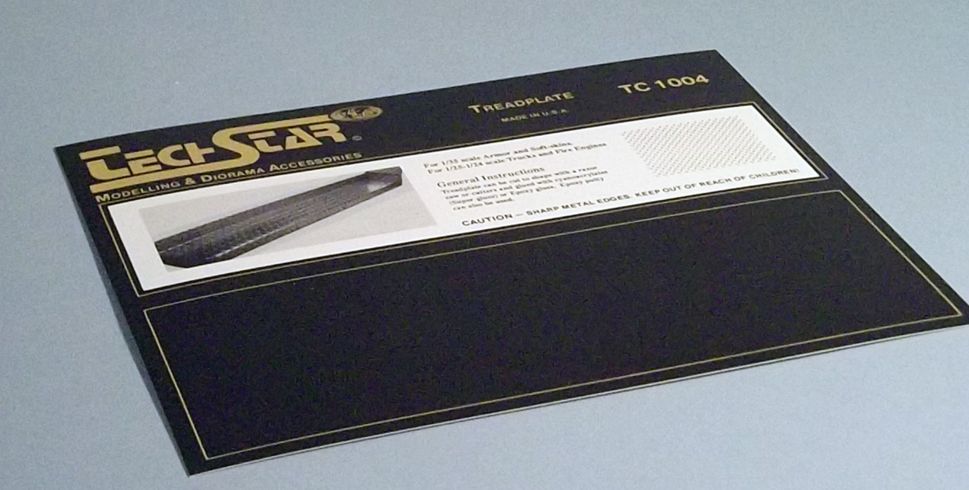
Some slick cardboard for pallets.
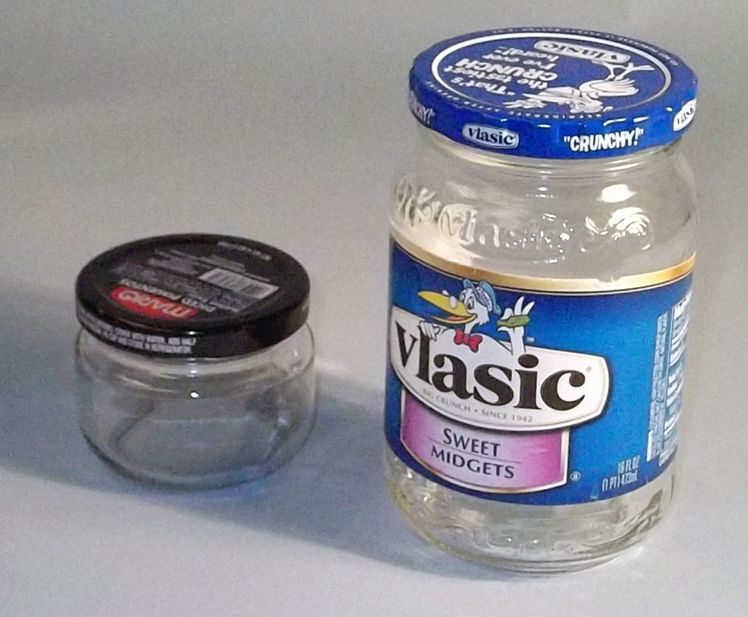
Some clean used bottles for liquids.
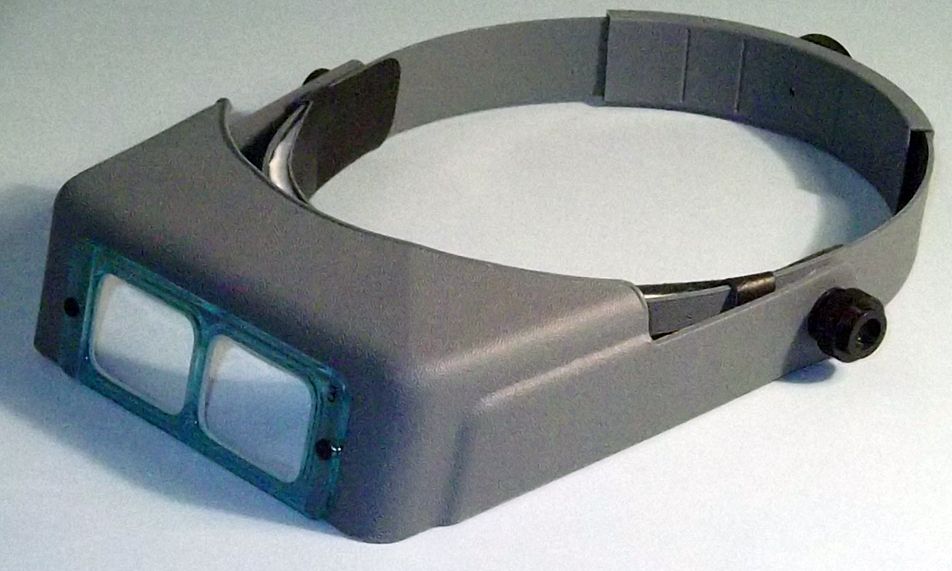
Category 2) An Optivisor, (If you are over 40 and don't have excellent eyesight, they can make a huge difference in the quality . of your work. No, I don't own stock in Optivisor.
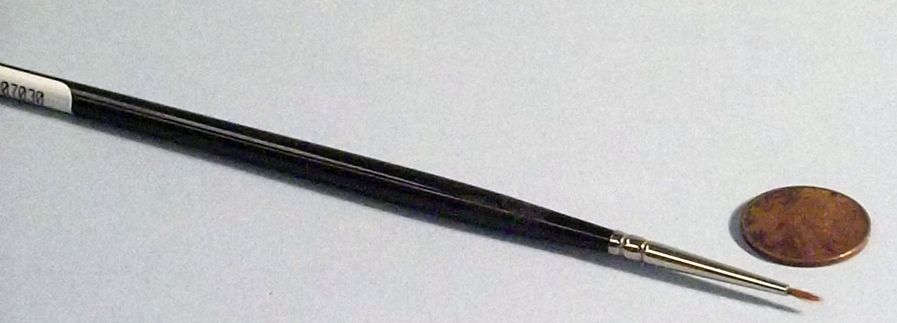
Category 3) Brushes. I use Winsor-Newton Series 7 sable brushes for detailing. I use no. 1, No. 0, 00, 000, 0000, and 00000.
Yes, they are expensive, but well worth it. If you take care of them they can last for years. More on this later.
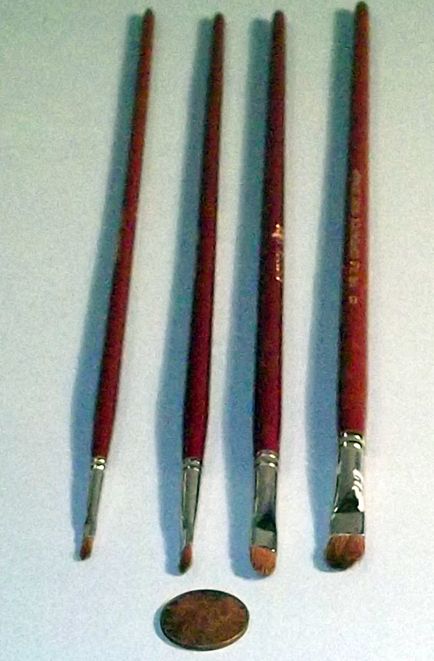
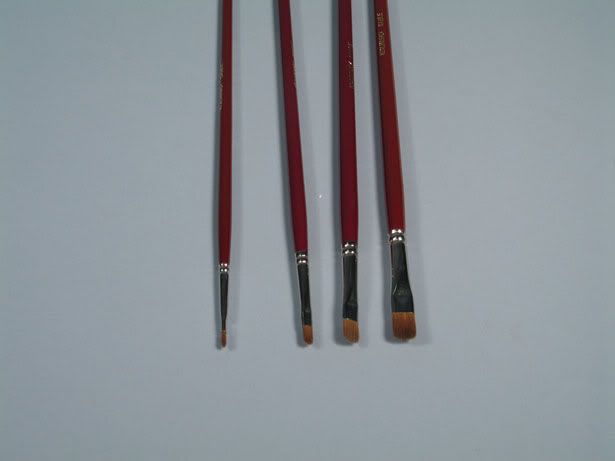
Then, for mostly dry-brushing, I use Russian sable Filberts. Again, these are expensive, but, they will improve
your dry-brushing so much, they are well worth the outlay of cash. If used and maintained properly, they will last
for years. I have both the series 7 and filberts that I have had for 30 years!
Category 4) These are items than CANNOT be substituted. Of course, I can't make you buy them, but, if you don't, then you
probably shouldn't bother with this because it won't turn out well unless you are a natural born artist.
Humbrol paint tins. The colors you will need are.
Matt 72. Khaki Drill.
Matt 29. Dark Earth.
Matt 33. Matt Black.
Matt 34. Matt White.
Matt 26. Matt Khaki.
Matt 60. Matt Scarlet.
Matt 155. Olive Drab.
Gloss 35. Clear.
Buffable Metallic. 27003. Polished Steel.
I also use these, but you can skip these for this tutorial if you like..
Matt 159. Khaki Drab.
Matt 179. French Artillery Green.
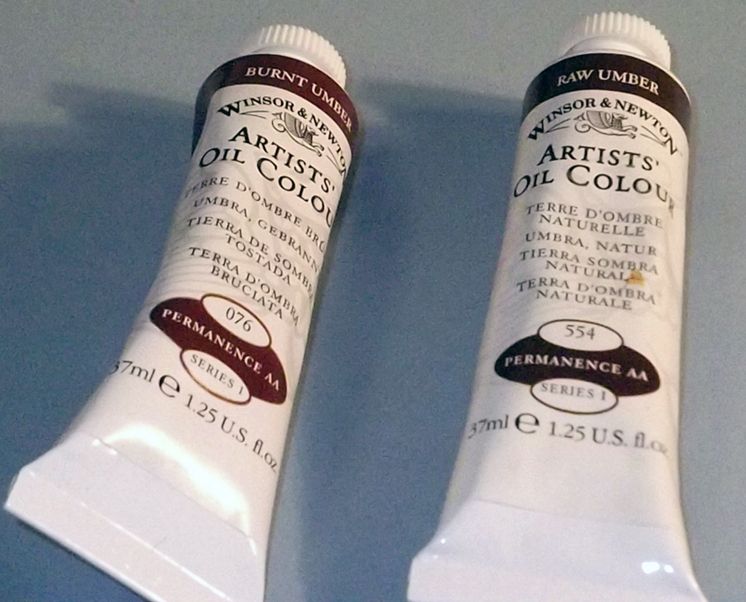
Next, two tubes of Artist's oils. Not the acrylic tubes. OIL. I use Winsor-Newton, but any quality artists oils will do.
Raw Umber.
Burnt Sienna. I screwed up when photographing. Burnt Sienna, NOT burnt umber.
And finally. If you choose to omit any of these products, absolutely get this one. I can't emphasize this enough.
Artist's Rectified Turpentine.
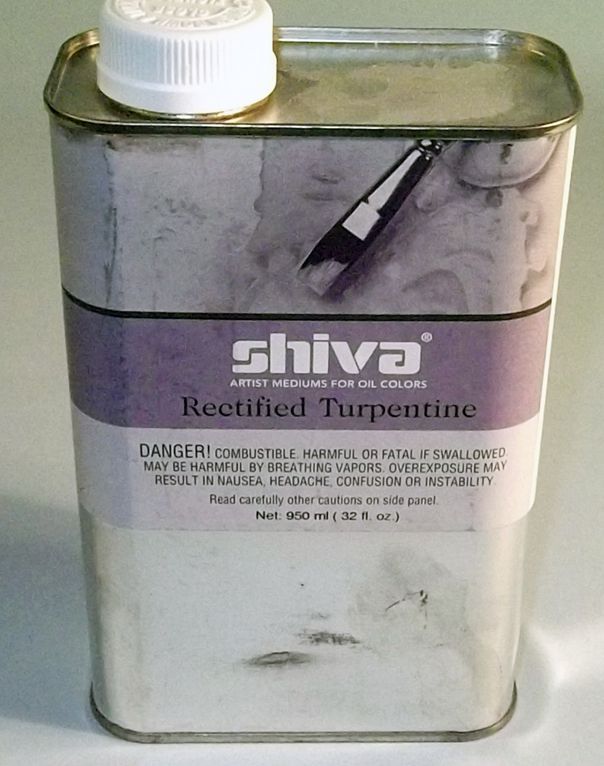
Believe me, I have tried every substitute imaginable. They DO NOT WORK! They WILL NOT WORK! Without artist's rectified turpentine, forget it! If you use regular turpentine, you will have an oily mess that will never dry. If you use mineral spirits or thinner, it will dry glossy if it dries at all. Please, trust me on this one. A 30 ounce can will be under $20, and will last you for years. Only available in better art stores.
The vehicle you choose to use in this build can be anything of your choice that would be painted olive drab. If you use acrylic olive drab as a base coat, then it should be hard enough in a couple of days. If you use enamel olive drab, you should wait at least two weeks. The turpentine will eat through your base coat if it hasn't hardened. I will show you how to keep that to a minimum as we go along.
Use the count me in thread to join the build. There will be a"My Project" thread to post your builds.
I'll be talking about a lot of things, this has the possibility of running for some time. To begin, this is the way I have been weathering since the 70s. It certainly isn't the only way, and there are those that will believe it is old school. I happen to believe that the new techniques are barely modifications of old school systems. I have experimented with this system so many times I can't remember and only a couple of times found a reason to alter it.
New systems with new titles have been out there for some time now and I can't argue with their results. I have noticed one thing though. Many modelers, including ones I have seen on this website, can build and detail beautiful models. The rub comes in with, not the painting, but the weathering. I see guys that are working on a an above average level, but weathering on a much lower level. I think too many attempt to use techniques of the top armor modelers in the world like Mig Jeminez. Like so many other things in this world, you have to learn to walk before you run.
Mig is a friend of mine, a nice guy but, let's face it guys, Mig is a natural born artist with phenomenal artistic talent. I would bet his first model would blow you away. He is the kind of modeler who needs no classes or tips. He develops his own techniques because he is an artist with artistic skill sets that allow him to do things that would not be possible for the average modeler.
I have had the honor of being friends with many of the great artists in the modeling world, Shep Paine, Mig, Lewis Pruneau, Mike Good, Carlos Andrea, Luca Marchetti of Pegaso models, and many more. I was also a business partner with Francois Verlinden for many years, another of the modeling greats. I have been building models since 1945.
To start, I will give a list of materials that will fall into 4 categories. 1) completely flexible, substitutions no problem. 2) Totally optional items, depending on whether or not you need them. 3) Items I would strongly recommend for this system, but, if you must, you can still make substitutions, and, 4) Those items which can NOT be substituted. If you have problems, I'll help you find a place to buy them.
Category 1). A clean old T-shirt, the normal white ones.
Some Q-Tips.

Some slick cardboard for pallets.

Some clean used bottles for liquids.

Category 2) An Optivisor, (If you are over 40 and don't have excellent eyesight, they can make a huge difference in the quality . of your work. No, I don't own stock in Optivisor.

Category 3) Brushes. I use Winsor-Newton Series 7 sable brushes for detailing. I use no. 1, No. 0, 00, 000, 0000, and 00000.
Yes, they are expensive, but well worth it. If you take care of them they can last for years. More on this later.

Then, for mostly dry-brushing, I use Russian sable Filberts. Again, these are expensive, but, they will improve
your dry-brushing so much, they are well worth the outlay of cash. If used and maintained properly, they will last
for years. I have both the series 7 and filberts that I have had for 30 years!


Category 4) These are items than CANNOT be substituted. Of course, I can't make you buy them, but, if you don't, then you
probably shouldn't bother with this because it won't turn out well unless you are a natural born artist.
Humbrol paint tins. The colors you will need are.
Matt 72. Khaki Drill.
Matt 29. Dark Earth.
Matt 33. Matt Black.
Matt 34. Matt White.
Matt 26. Matt Khaki.
Matt 60. Matt Scarlet.
Matt 155. Olive Drab.
Gloss 35. Clear.
Buffable Metallic. 27003. Polished Steel.
I also use these, but you can skip these for this tutorial if you like..
Matt 159. Khaki Drab.
Matt 179. French Artillery Green.
Next, two tubes of Artist's oils. Not the acrylic tubes. OIL. I use Winsor-Newton, but any quality artists oils will do.
Raw Umber.
Burnt Sienna. I screwed up when photographing. Burnt Sienna, NOT burnt umber.

And finally. If you choose to omit any of these products, absolutely get this one. I can't emphasize this enough.
Artist's Rectified Turpentine.


Believe me, I have tried every substitute imaginable. They DO NOT WORK! They WILL NOT WORK! Without artist's rectified turpentine, forget it! If you use regular turpentine, you will have an oily mess that will never dry. If you use mineral spirits or thinner, it will dry glossy if it dries at all. Please, trust me on this one. A 30 ounce can will be under $20, and will last you for years. Only available in better art stores.
The vehicle you choose to use in this build can be anything of your choice that would be painted olive drab. If you use acrylic olive drab as a base coat, then it should be hard enough in a couple of days. If you use enamel olive drab, you should wait at least two weeks. The turpentine will eat through your base coat if it hasn't hardened. I will show you how to keep that to a minimum as we go along.
Use the count me in thread to join the build. There will be a"My Project" thread to post your builds.

