
Ruben Lopez
Active member
Hello everyone,
If you are frustrated by those little bumps of plastic that the manufacturer calls tiedowns and wonder how are you going to hang your packs on them I’ll show here my method for making realistic ones for your favorite model.
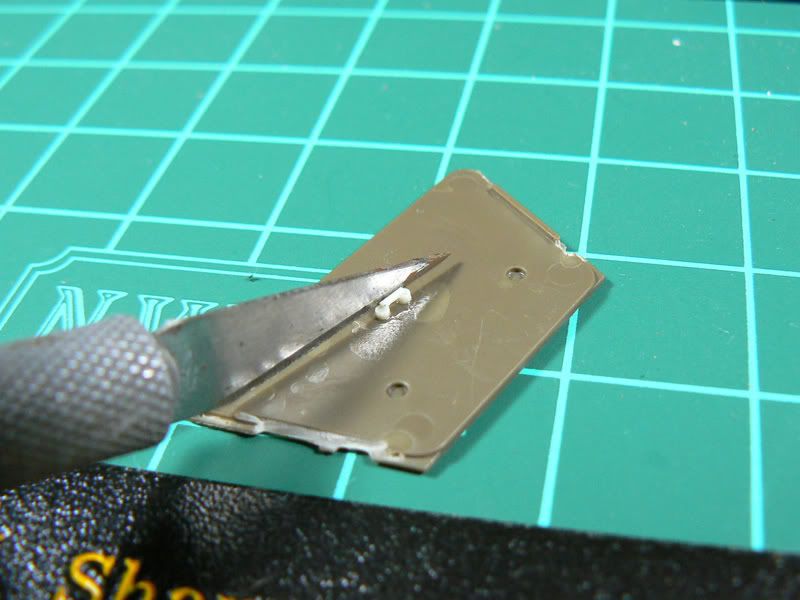
1.Remove the molded one from the model.
2.Cut two disks from the 1.0mm rod to a length of 1mm and a piece of 0.5mm rod to the original length of the tiedown.
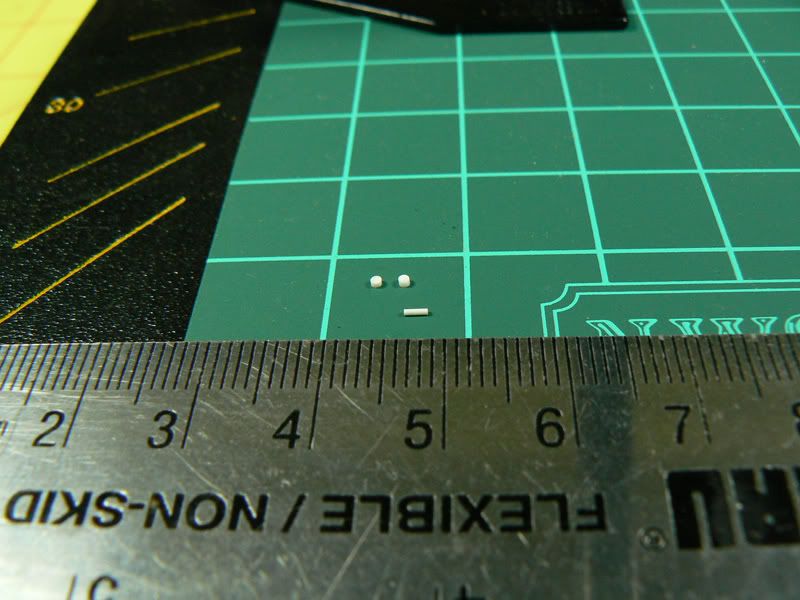
This is one of those moments when a Chopper comes handy but if you don't have one don't worry.
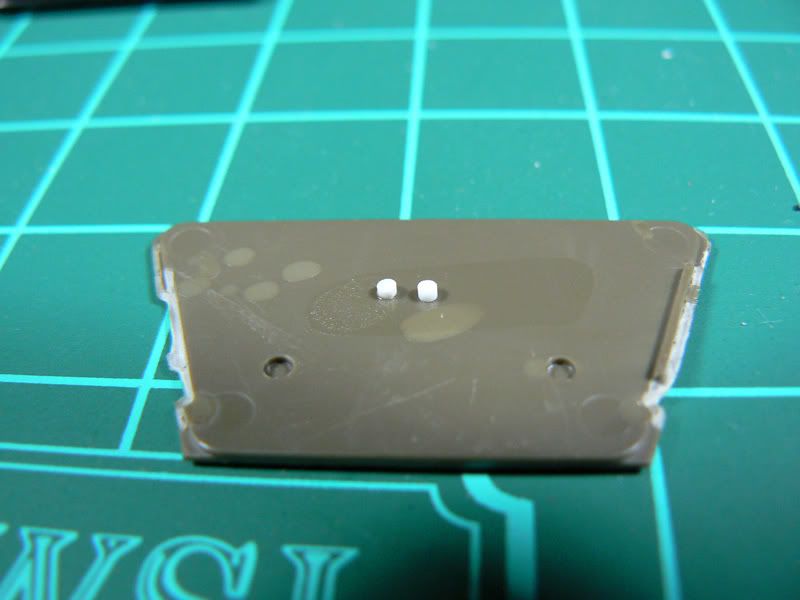
3.Glue the disks where the ends of the tiedown were. I you are cutting the disks by hand wait till they are dry and file them to the desired thickness.
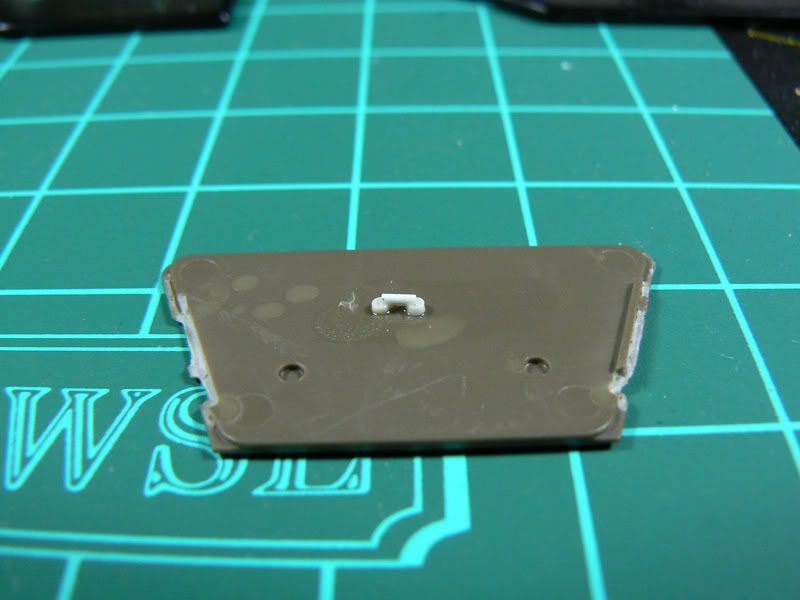
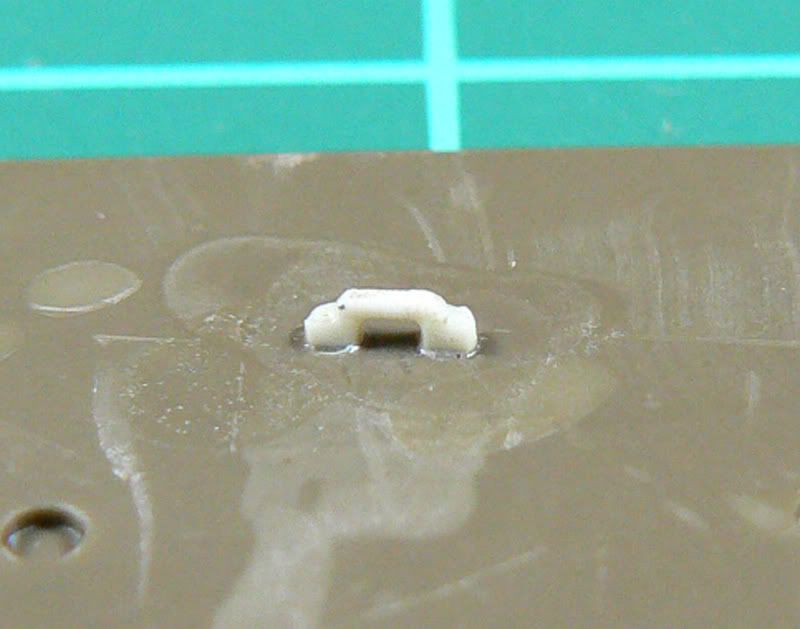
4.Glue the rod on top of the disks.
5.Repeat for every tiedown you want to replace.
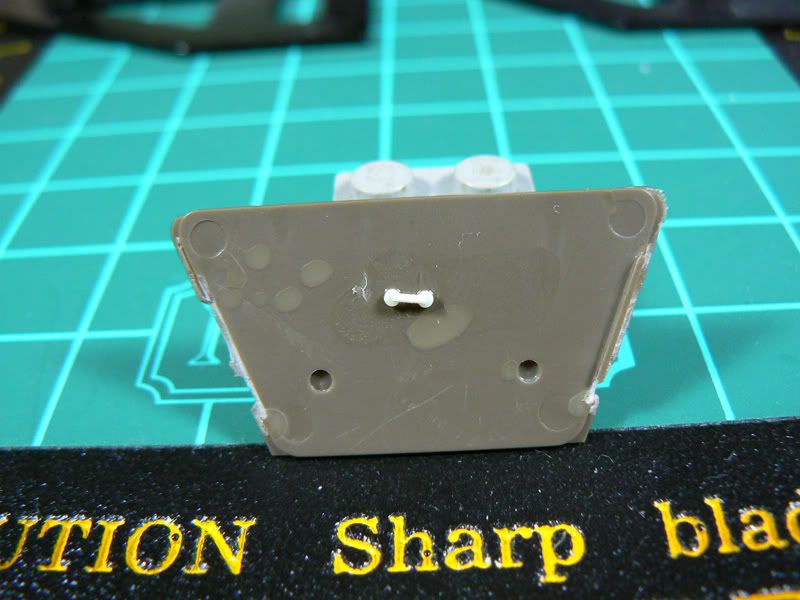
6.When everything has dried (I usually wait to the next day) align the blade of your knife with the rod and cut the disks to both sides of it. Also you can file the ends of the rod a little at a 45 degree angle. (This is an optional step)
7.Give the tiedown a final coat of liquid cement to round the edges and that’s it, your tiedown is ready to use.
Hope you find this useful!
If you are frustrated by those little bumps of plastic that the manufacturer calls tiedowns and wonder how are you going to hang your packs on them I’ll show here my method for making realistic ones for your favorite model.
1.Remove the molded one from the model.
2.Cut two disks from the 1.0mm rod to a length of 1mm and a piece of 0.5mm rod to the original length of the tiedown.
This is one of those moments when a Chopper comes handy but if you don't have one don't worry.
3.Glue the disks where the ends of the tiedown were. I you are cutting the disks by hand wait till they are dry and file them to the desired thickness.
4.Glue the rod on top of the disks.
5.Repeat for every tiedown you want to replace.
6.When everything has dried (I usually wait to the next day) align the blade of your knife with the rod and cut the disks to both sides of it. Also you can file the ends of the rod a little at a 45 degree angle. (This is an optional step)
7.Give the tiedown a final coat of liquid cement to round the edges and that’s it, your tiedown is ready to use.
Hope you find this useful!