• Modelers Alliance has updated the forum software on our website. We have migrated all post, content and user accounts but we could not migrate the passwords.
    This requires that you manually reset your password.
    Please click here, http://modelersalliance.org/forums/login to go to logon page and use the "Forgot your Password" option.

The Me-163 diorama quest

Flyingbabydoc

Well-known member
Hello everyone,

Since it really seemed a good and exciting idea, here is my plan for the 1/72 Diorama using 5 Me-163 models in different situations.

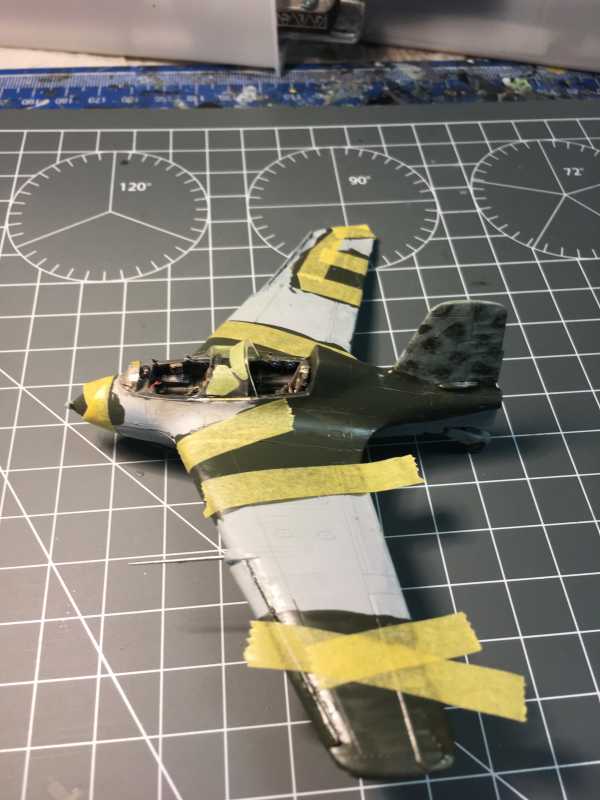
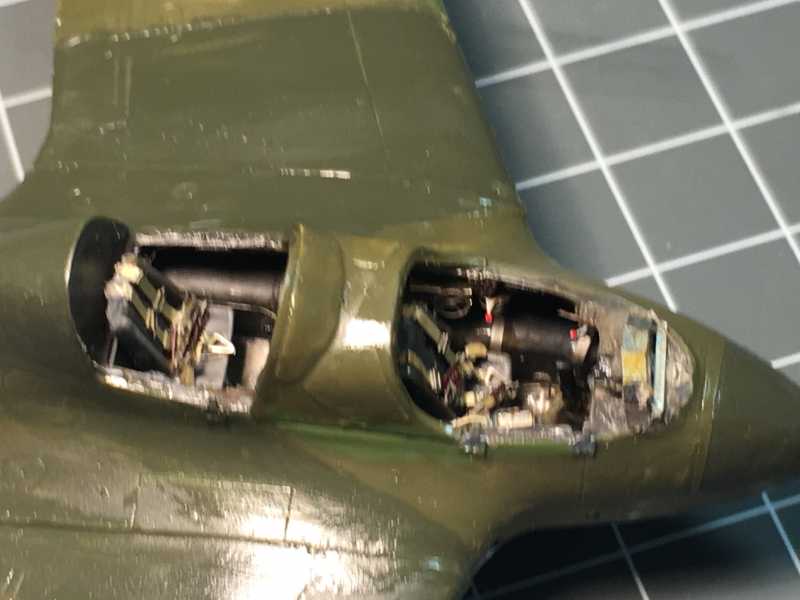
I actually have already built 2 of those for the micro modeller month. Unfortunately the first one not only turned out crap, but the wings are upside down. Total disaster! So I will redo that one.

This is the one already completed:


h3fe4ee4_2017-04-03.JPG


And this is my Project for the Diorama:
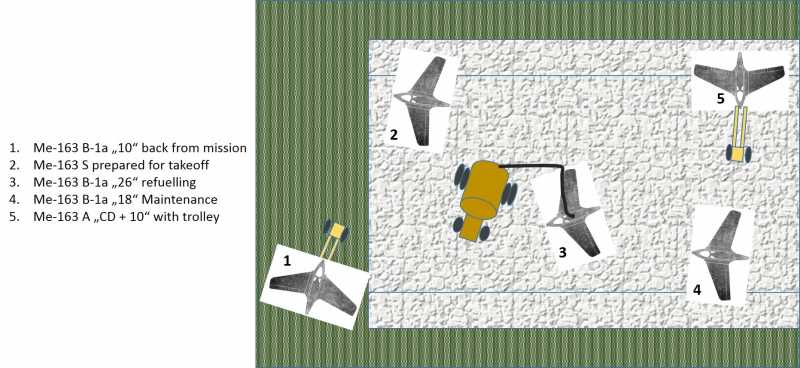


ha1ebce5.jpg


I will add a C-Stoff or T-Stoff fuel truck and lots of mechanics in different positions. I think this will be the Highlight of my modelling year if I don't screw it up too much.

Wish me luck. You comments are as always most appreciated!

Cheers

Alex
 
Looking GOOD,and a nice set up .

:eek:ldguy


The fuel tanks where rinsed out with water before refuling and after landing (safety precaution)
So the preparing/refueling tarmac sections had coverd gutters to wash away the T stof and C stof .

The stuff even burned thru normal flight clothes.....
Pilots wore special overalls to protect them from this agressive fluid. They were made of Mipolan fibers

Really nice quality footage

www.youtube.com/embed/kMScNZFg0k4?ecver=1"


https://robdebie.home.xs4all.nl/me163/references.htm
 
The fuel tanks where rinsed out with water before refuling and after landing (safety precaution)So the preparing/refueling tarmac sections had coverd gutters to wash away the T stof and C stof. The stuff even burned thru normal flight clothes.....
Pilots wore special overalls to protect them from this agressive fluid. They were made of Mipolan fibers

Thanks a lot. Indeed I will try to add gutters and hoses to the Diorama. I have been watching this and other films from the time. Water was omnipresent else things would just blow up! I will see what I can do with some urinary catheters - they are small and will work out well as hoses ;)

Cheers

Alex
 
Hi Folks,

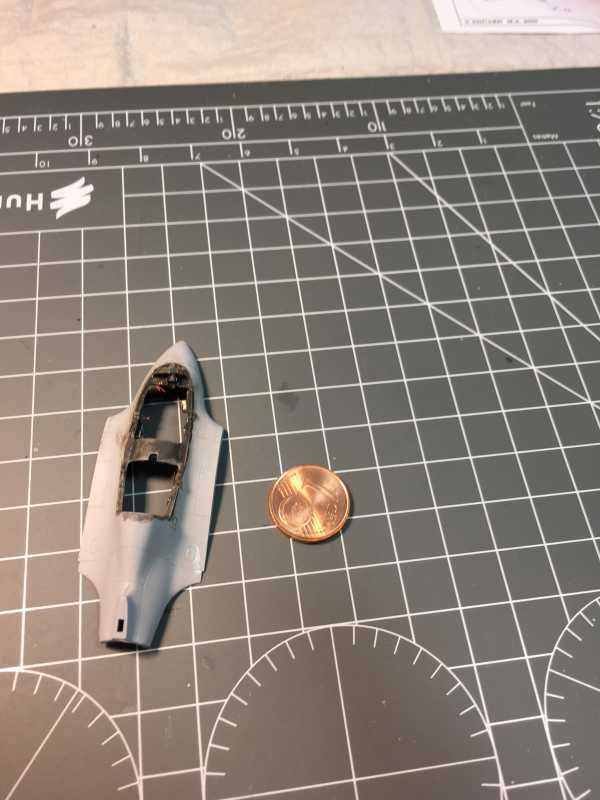
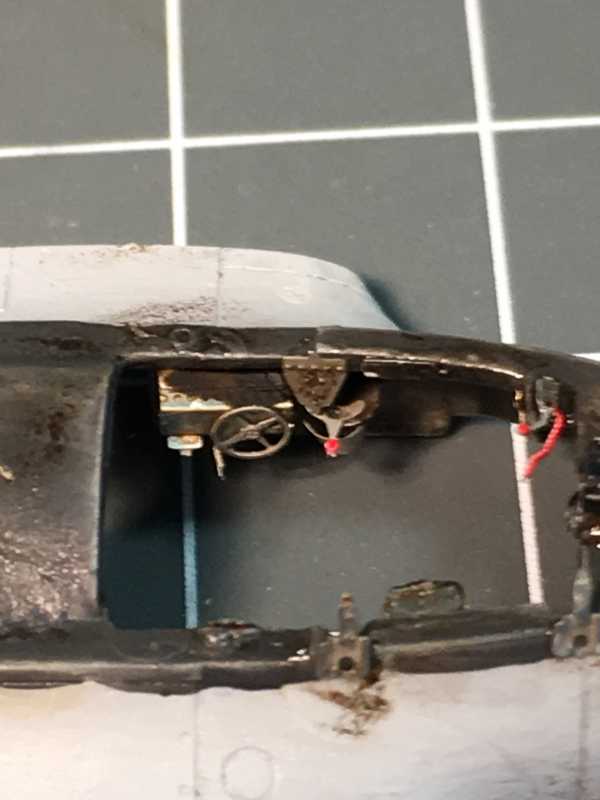
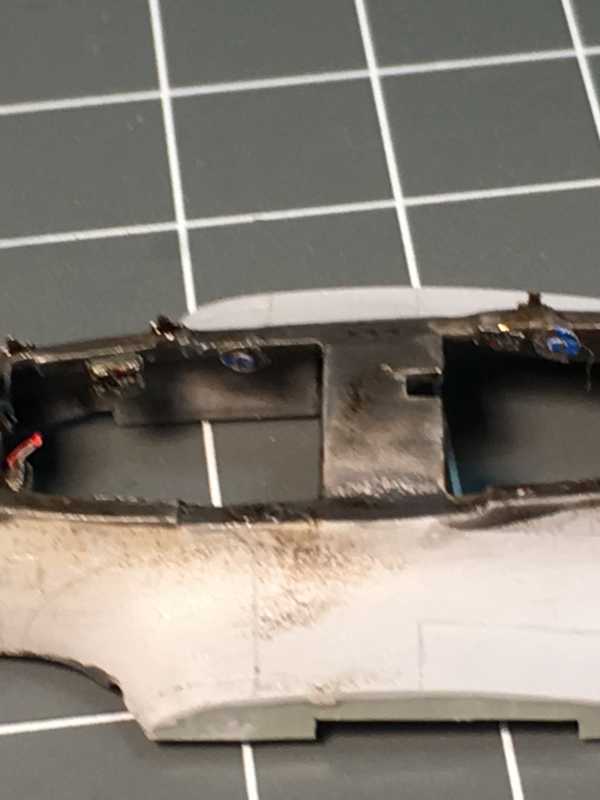
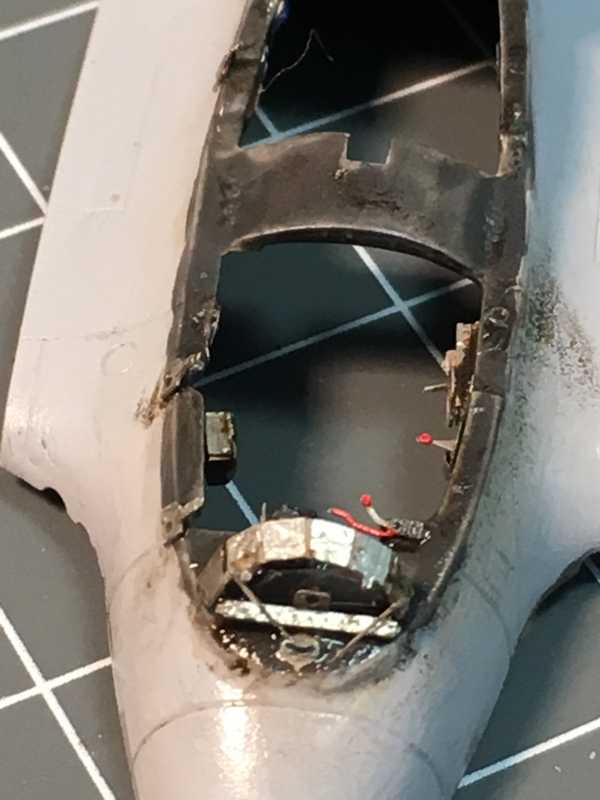
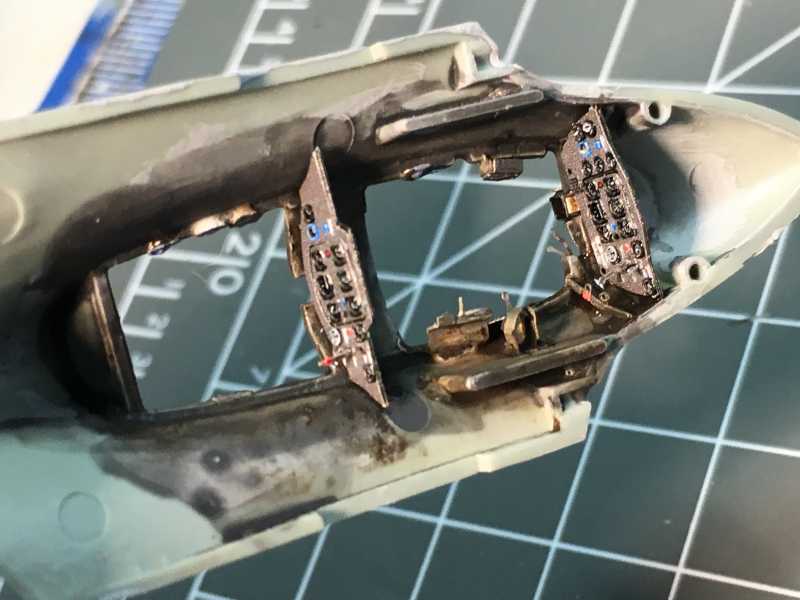
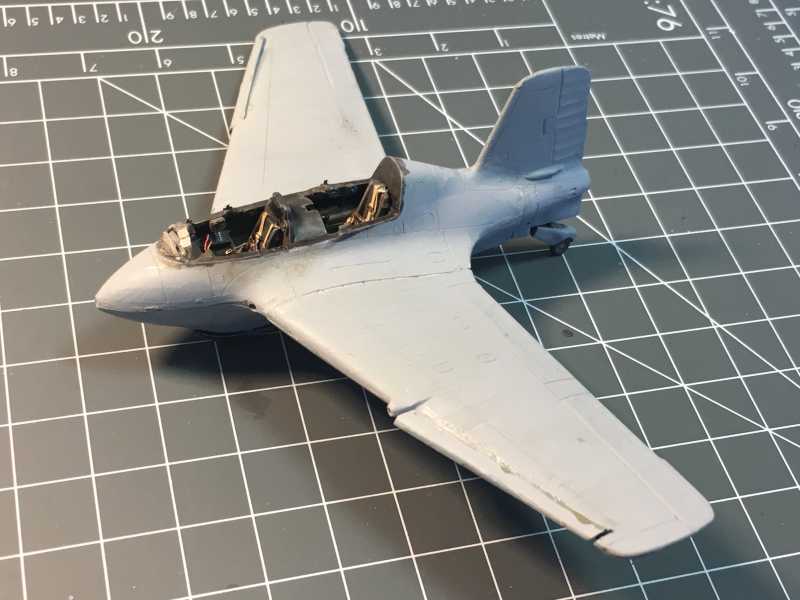
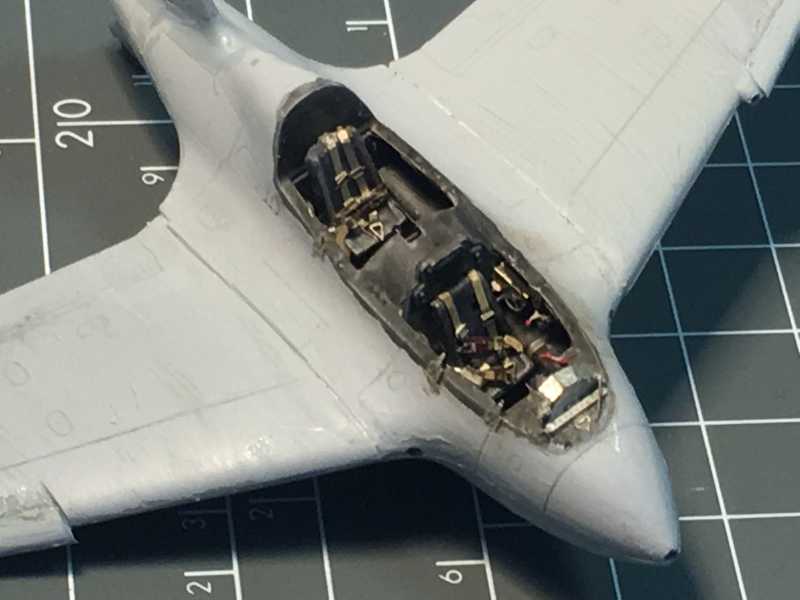
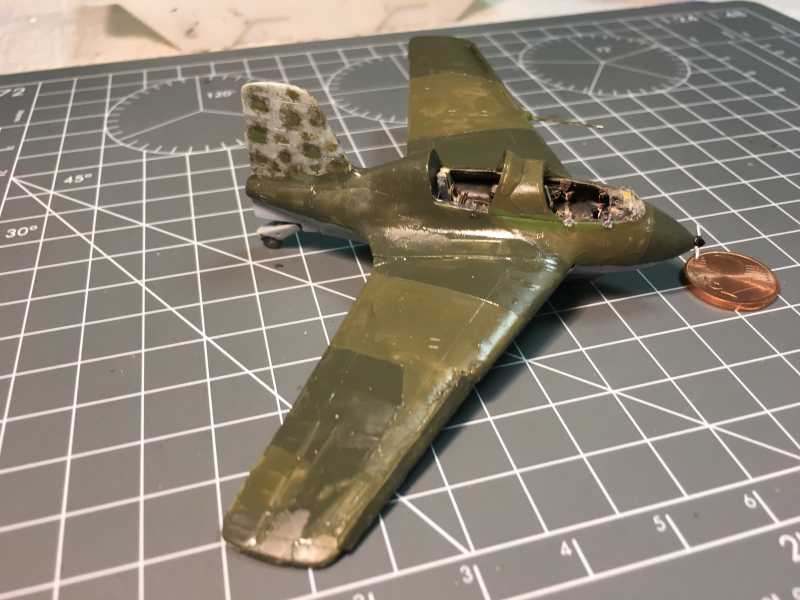
These have been very busy days and I didn't almost get any bench time. So not much Progress. In any case, I am diluting the paint a lot more, painting BEFORE assembly and PE and then weathering only a Little bit. Of course in 1/72 even a bit is too much, that is what I have been learning. But is looking nonetheless better.

Here the fuselage with side instruments

Then the Cockpit w/o seats

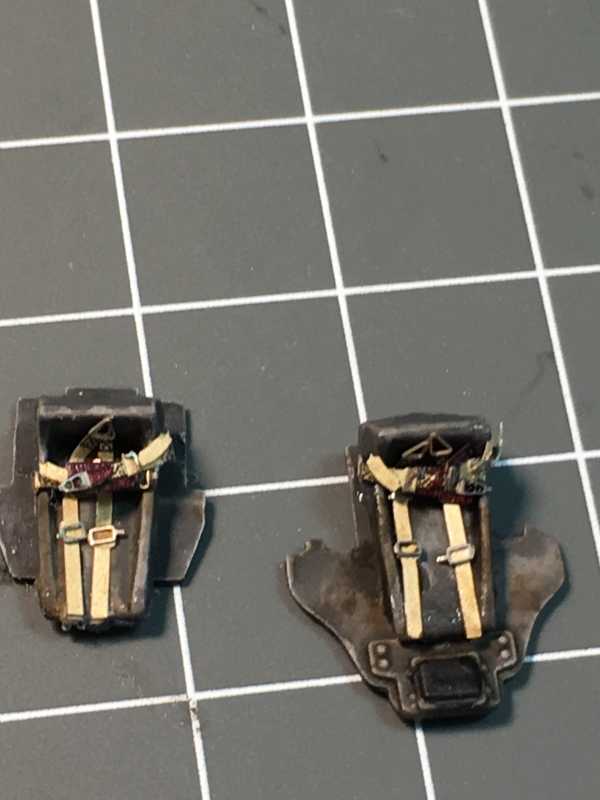
the seats

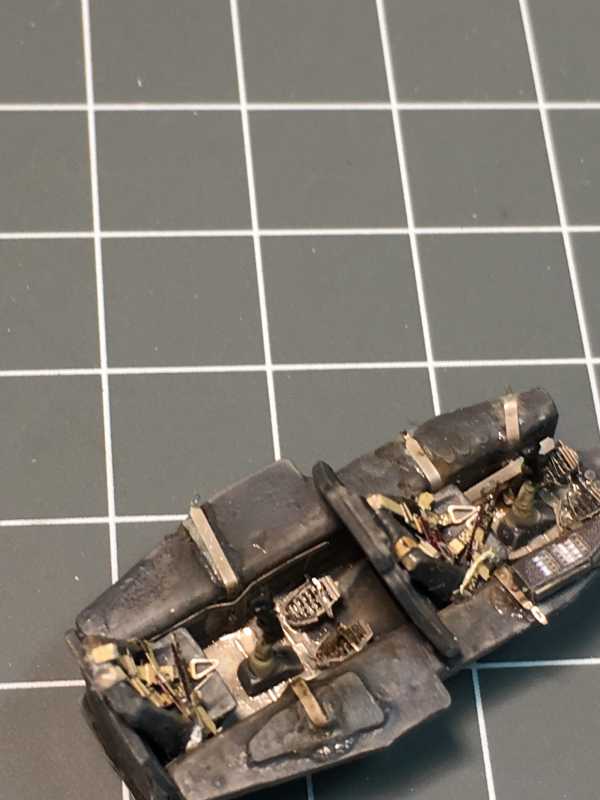
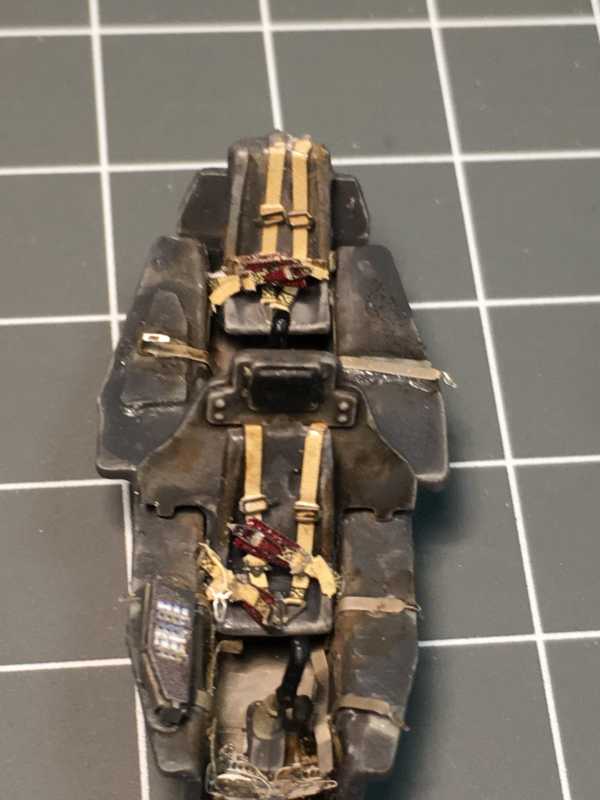
then the Cockpit with seats.

Stay tuned.

Cheers

Alex
 
Hi Folks,

These have been very busy days and I didn't almost get any bench time. So not much Progress. In any case, I am diluting the paint a lot more, painting BEFORE assembly and PE and then weathering only a Little bit. Of course in 1/72 even a bit is too much, that is what I have been learning. But is looking nonetheless better.

Here the fuselage with side instruments


hf4d1f95_2017-04-09.JPG

h3c0d534_2017-04-09.JPG

h204c071_2017-04-09.JPG

hdc86806_2017-04-09.JPG

hdd9c313_2017-04-09.JPG


Then the Cockpit w/o seats

h3d81eea.JPG

hb8d4513.JPG

h902acb4.JPG

h0251a4f.JPG


the seats


h28d999a.JPG

h53572f0.JPG


then the Cockpit with seats.


h1c312b3.JPG


he75a6f3.JPG

hc2cf446.JPG


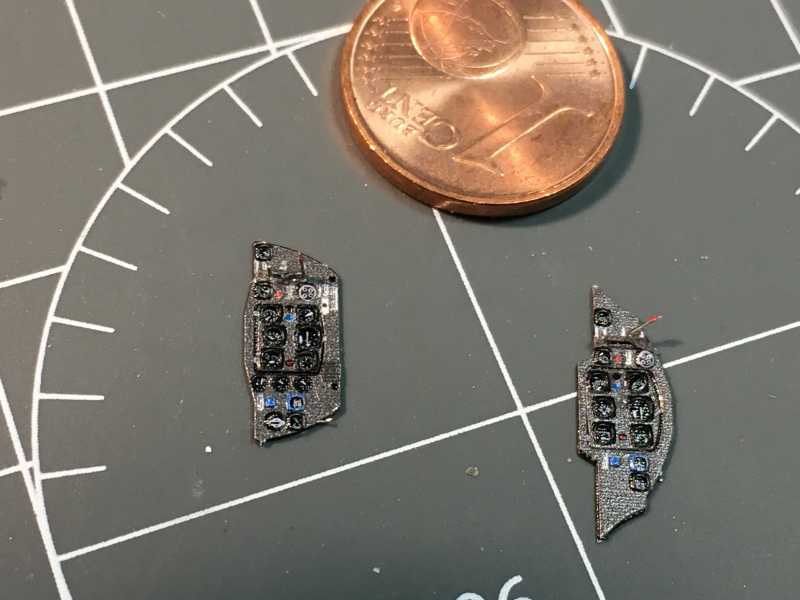
And finally the Instrument Panels


h5d7f4f4.JPG


Stay tuned.

Cheers

Alex
 
Really digging your "less is more" approach. That tends to be the way I build as well. Looking sharp. Definitely a big step in the right direction in my eyes, not that my opinion matters as it's your build. ;)
 
Thank you so much everyone!

Your opinion most definitely matters! All of you. I look up to you to finally learn how to do things right. I really appreciate your Input and critique. And absolutely no Need to mince words - I was a surgical resident for 8 years, I can take a lot of punishment!

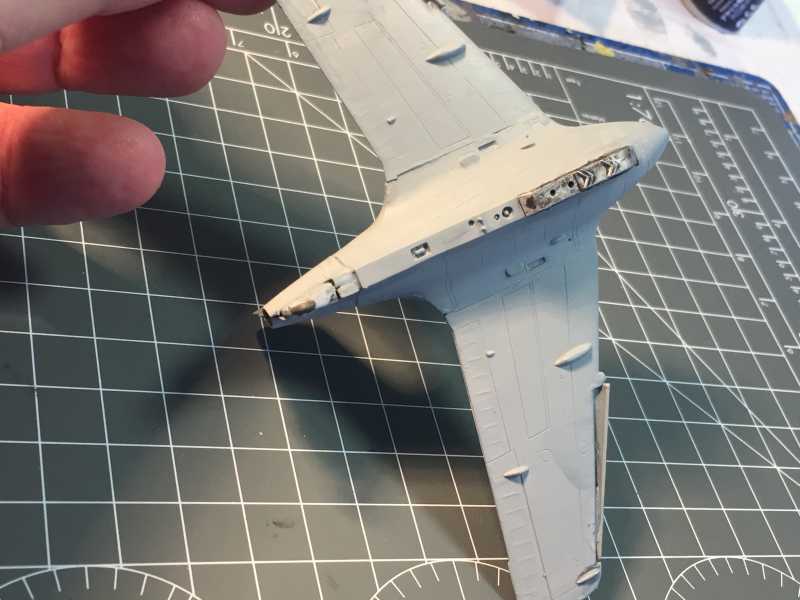
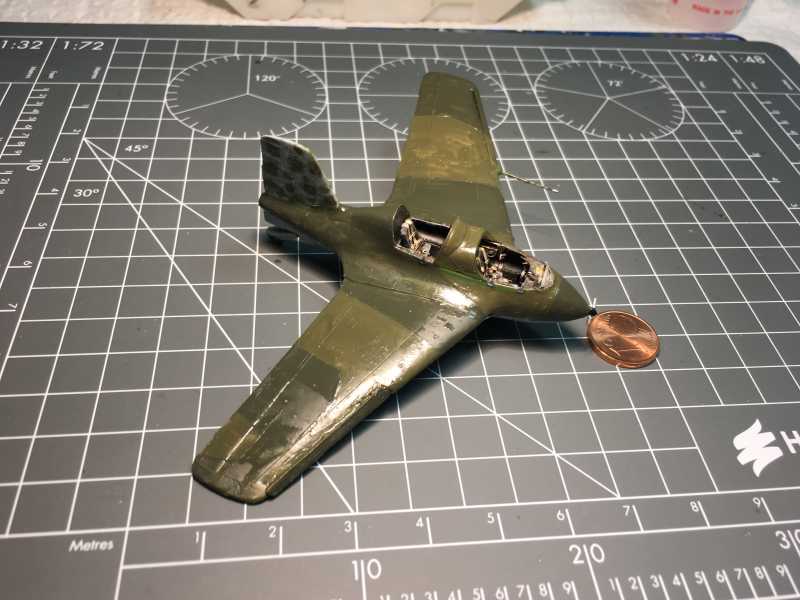
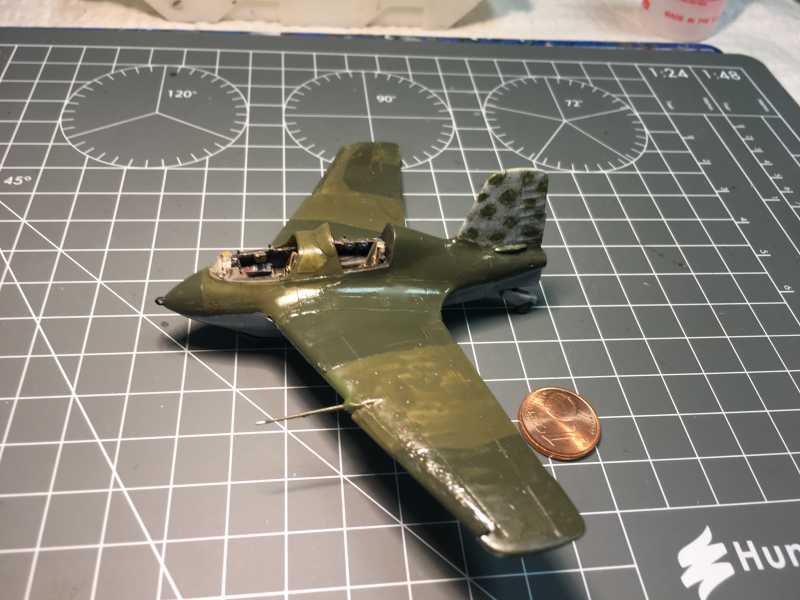
This is the Kraftei already assembled. There were a few minor seam line issus that were addressed, I think I got a smooth and even surface at the end. In the first Pictures I have already applied the RLM 76 undersides, and in the last the Primary Camouflage with RLM 83. In this plane I will depart a bit from the normal RLM 81/82 Schema, since there is no real Consensus as to what These buggers used for Camouflage (some say 76/75/74, others 81/83, others 81/82).

Thanks for following. Komets 3 and 4 have already arrived. Will be next.

Cheers

Alex


ha872127.JPG


haa3fced.JPG


h0604436.JPG


h032fc51.JPG


ha58c1ca.JPG


hfd66ee8.JPG


hebeaca7.JPG
 
Please note : The ME 163 does have leading edge slats.

Instead it has slots , which is not a movable surface.

Cheers, Christian B)
 
Thanks Luiz and Christian

I was actually wondering that myself, master. In a reference book I have they Show it as slats similar to those used in the Bf-109s and in the Me-262s, which means movable. Another reference Shows that they were, as you say, Slots.

I will Change them accordingly. In any case, thanks for the Input.

Got some more work done before I had to go back to the Hospital. Sorry the pictures aren't great I was in a rush.

Now it is shiny and ready for the decals.


hd9a7361.JPG

hf235b10.JPG

h25d2c89.JPG

hc0daa8c.JPG


Cheers

Alex
 
Hey Alex , I can not say for a fact that the German could not have tried it at one time or another.

The phrase that sticks into my mind though is how hard it was to slow down enough to stick it onto the ground.

It had so much lift.... I bet if you study it some, you will find some spoilers , which would have been useful to slow it down enough to land.

Looks so much better Alex (y) (y)

Cheers, Christian B)
 
Back
Top