• Modelers Alliance has updated the forum software on our website. We have migrated all post, content and user accounts but we could not migrate the passwords.
    This requires that you manually reset your password.
    Please click here, http://modelersalliance.org/forums/login to go to logon page and use the "Forgot your Password" option.

The Maus that squeaked.

Heavens Eagle

Well-known member
Nope, there was no roar. It was huge, heavy, and could barely move. Getting across a river was an adventure and required 2 tanks. While it had a big gun, it never fired a shot and when it was called upon it broke down. Can't really give it a squeak even.

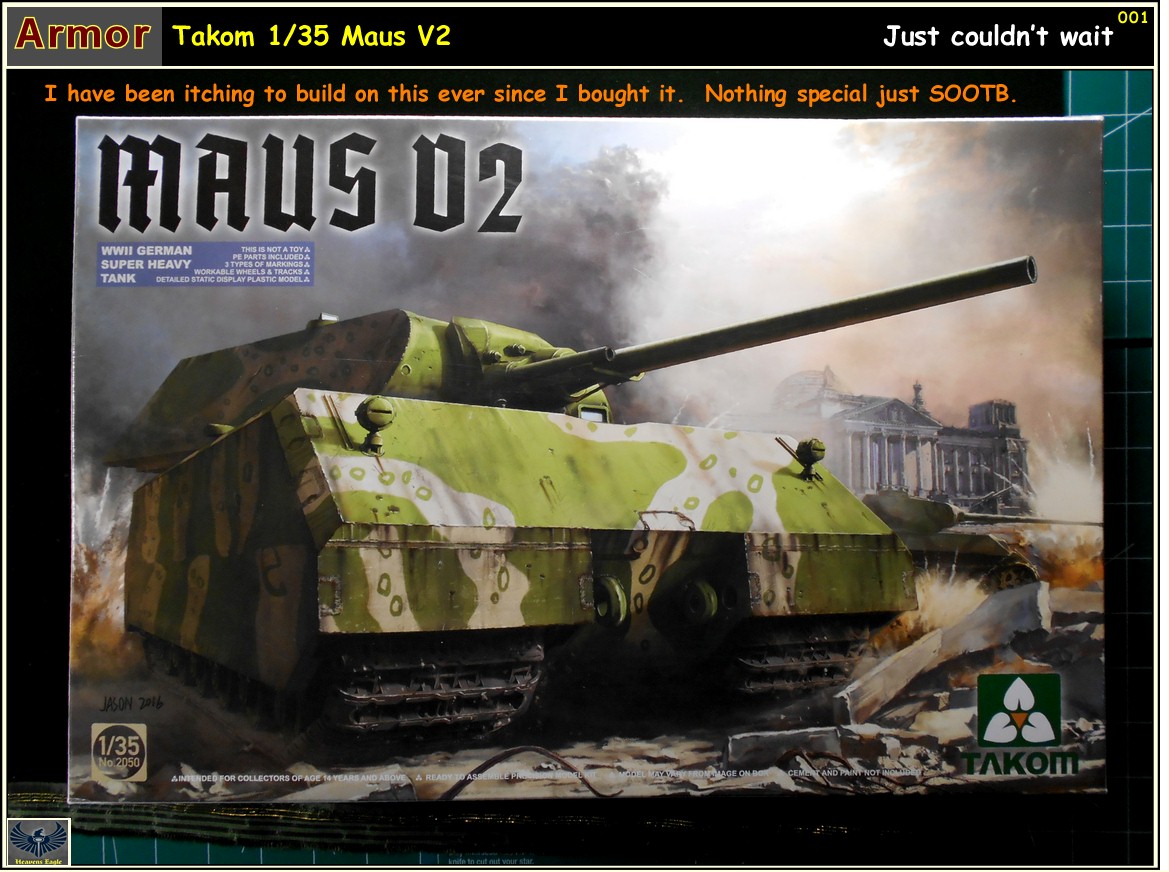
One of the new Takom kits, this version has the full turret rather than the box. It had a mild camoflage and there aren't any real details to add on the outside. A perfect SOOTB kit. It also is fairly simple and straight forward. I am shifting some of the build order around and due to the size some things need to be pre-painted before complete assemblies are done and before some final assembly is done. The tracks it turns out are fully articulate and while they are a bit of a pain to cut out and clean up, they assemble up fairly easy.

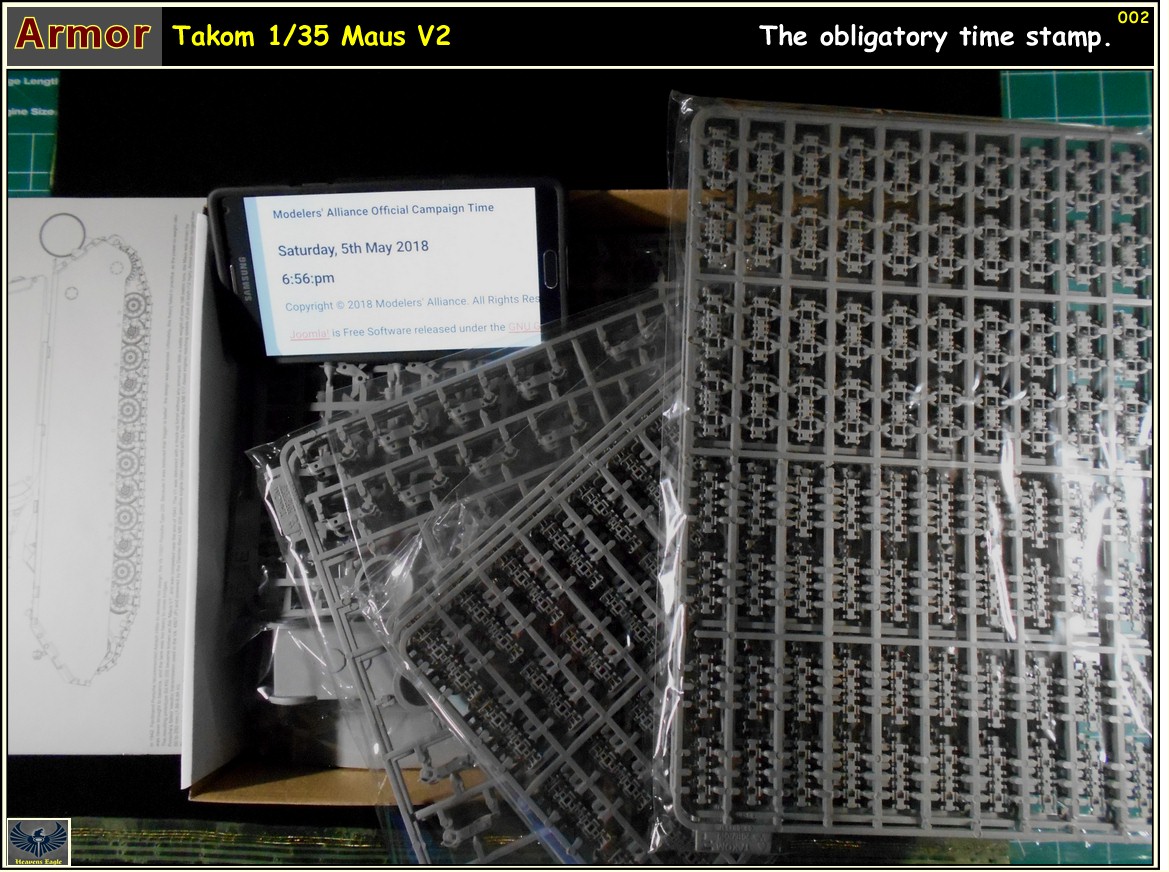
Here are my start photos.
Maus_V2-001.jpg


Maus_V2-002.jpg


Feel free to follow along. My goal with this is to build it quickly. I have some research info, but am mainly going to use it for painting and later on with a little dio based on some photos.

Thanks for looking in.
 
:popcorn
I have been so close to buying this kit that this will feel like I bought it while I watch you :laugh:

Ian.
 
:popcorn
I have been so close to buying this kit that this will feel like I bought it while I watch you :laugh:

Ian.

It is a fairly simple kit Ian. The majority of the work is in the running gear, the rest is basically a big box.


...hope to see a fantastic work.. :popcorn

Luiz

It is definitely an interesting kit Luiz. The biggest problem I have found so far is minor warpage with the large flat parts. I think the box could have stood to be a touch bigger. The bottom part has a slight twist and the hull top isn't flat. Most of that should go away with proper assembly so as to counter the twist and clamping the parts together for the top piece. Surface detail is minimal so all the detail will be in the paint work.

Man you're gonna have fun with those tracks. :popcorn

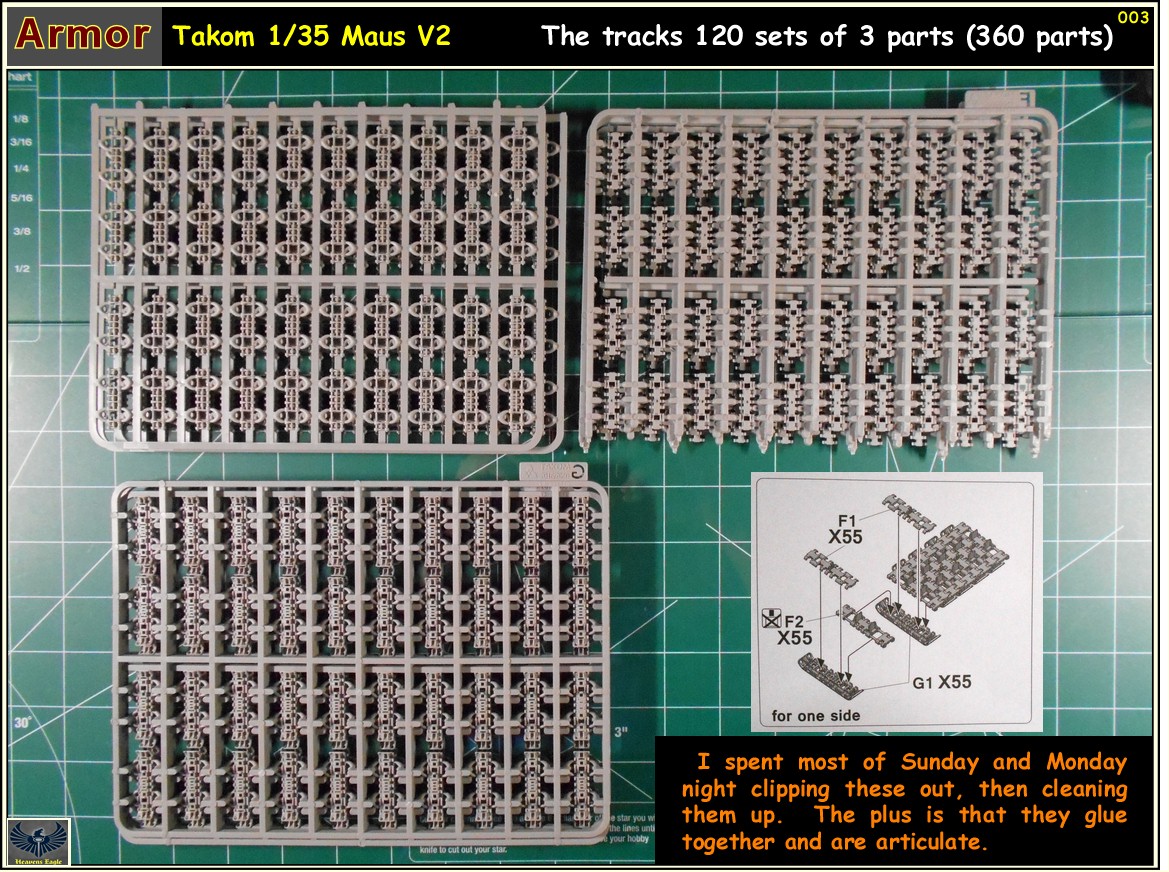
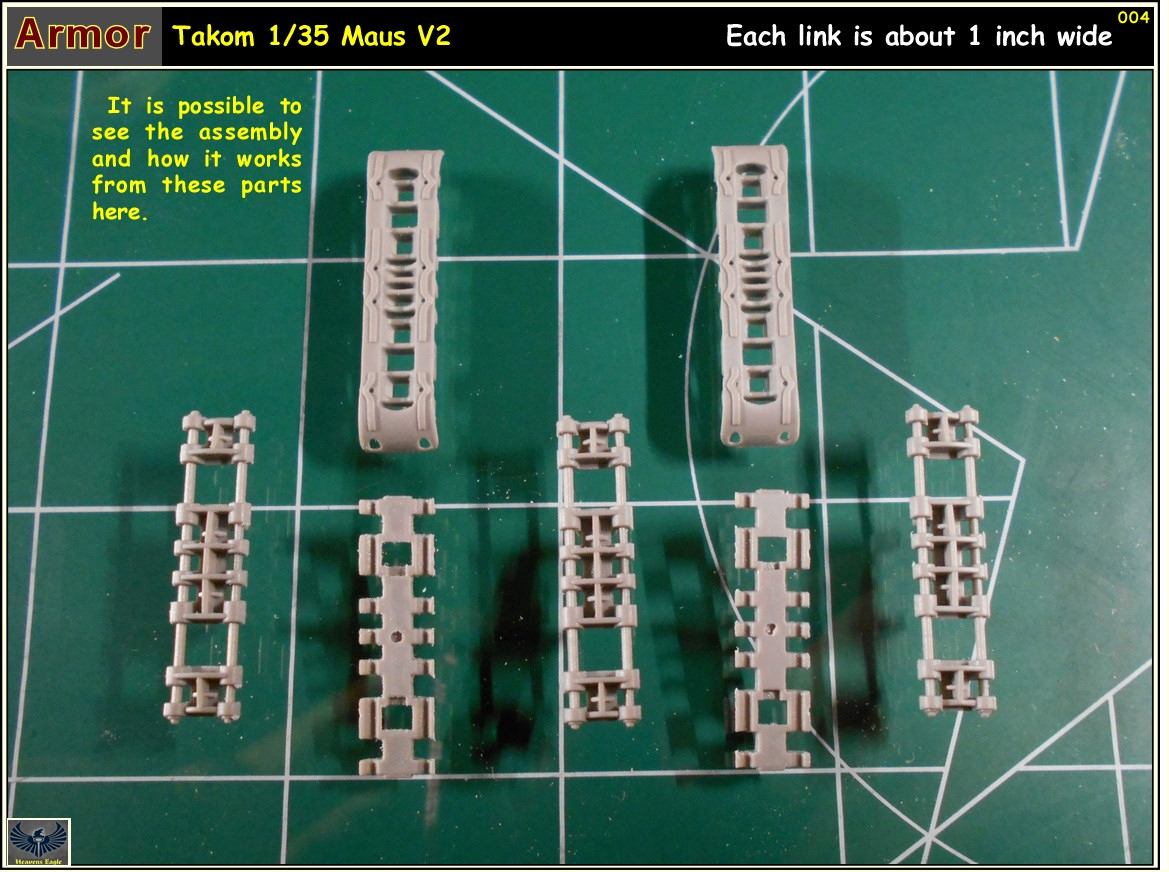
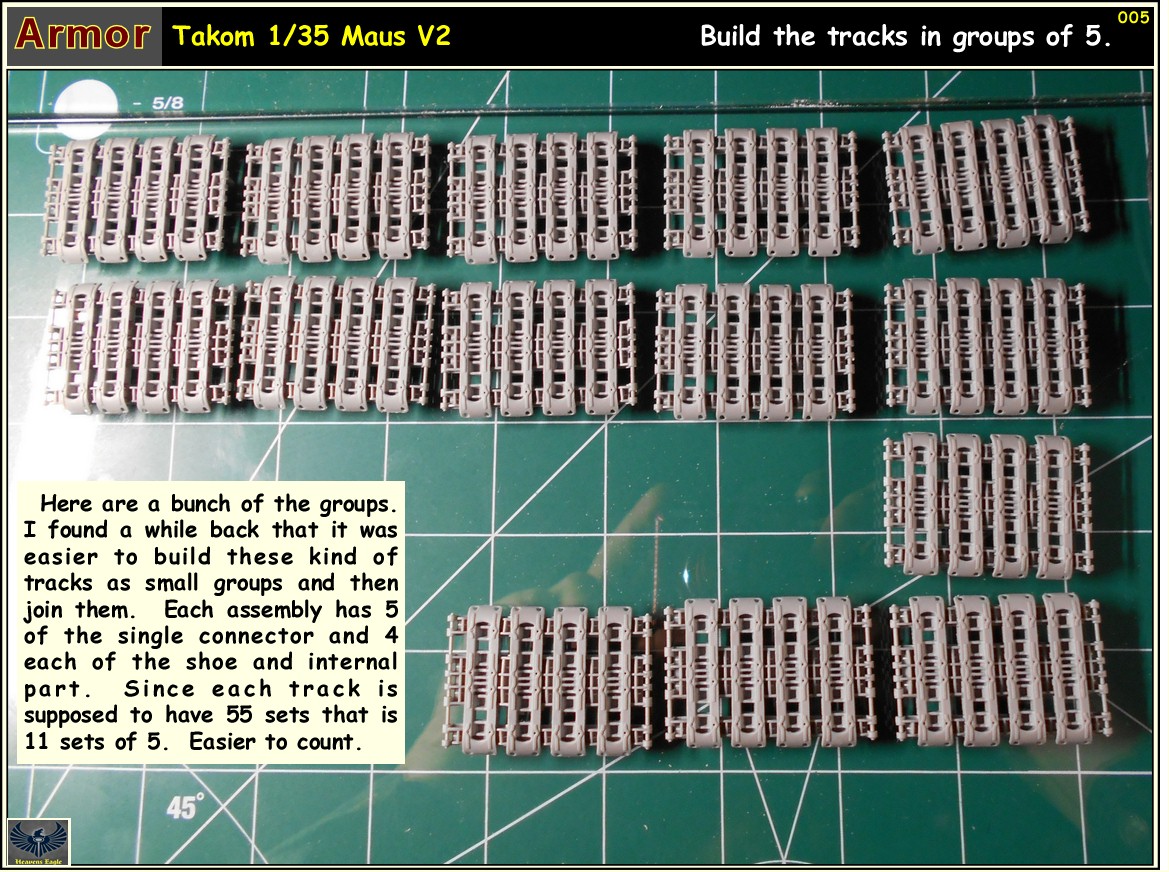
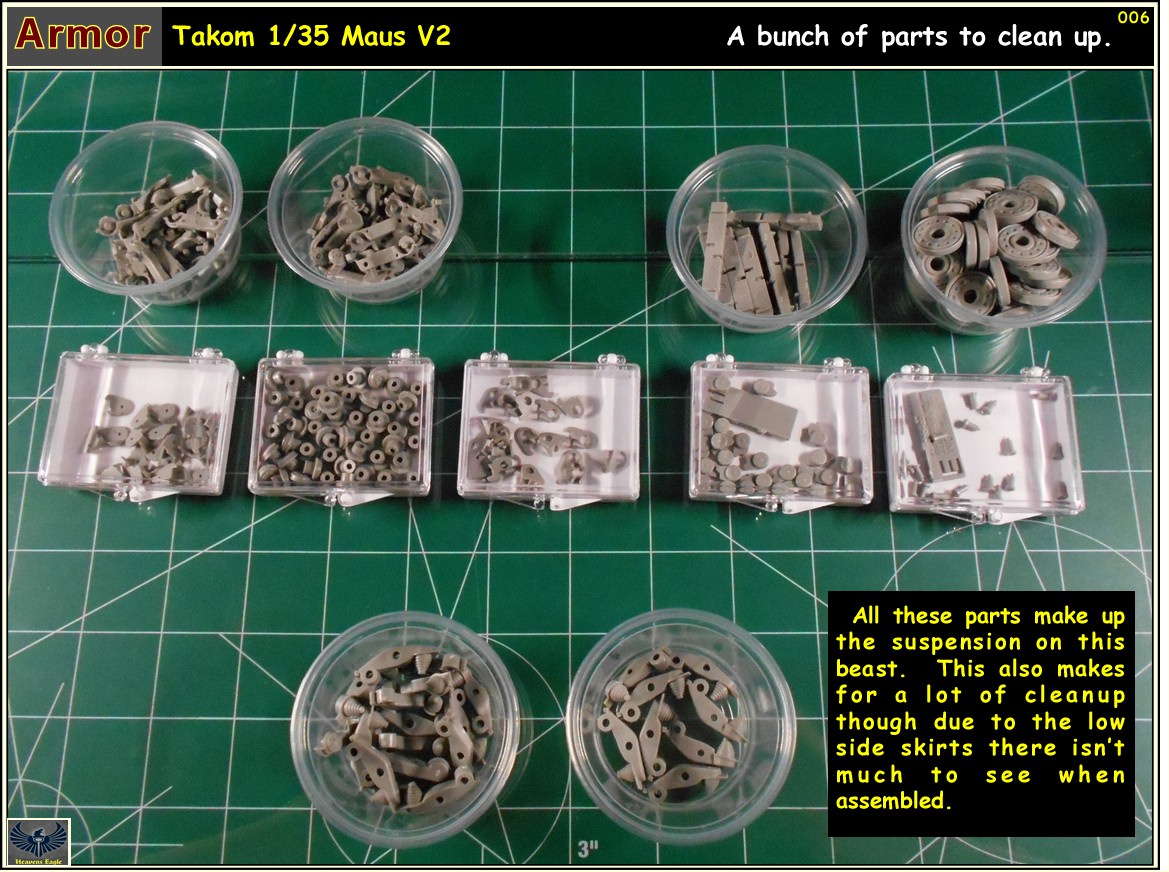
Already have Bob, here is the next installment. The tracks are not that hard but they take a bit of time to clip out and then much more to clean up. The main shoe pieces are the worst and most time consuming.

Maus_V2-003.jpg


Maus_V2-004.jpg


Maus_V2-005.jpg


Maus_V2-006.jpg


Maus_V2-007.jpg


Maus_V2-008.jpg


Maus_V2-009.jpg


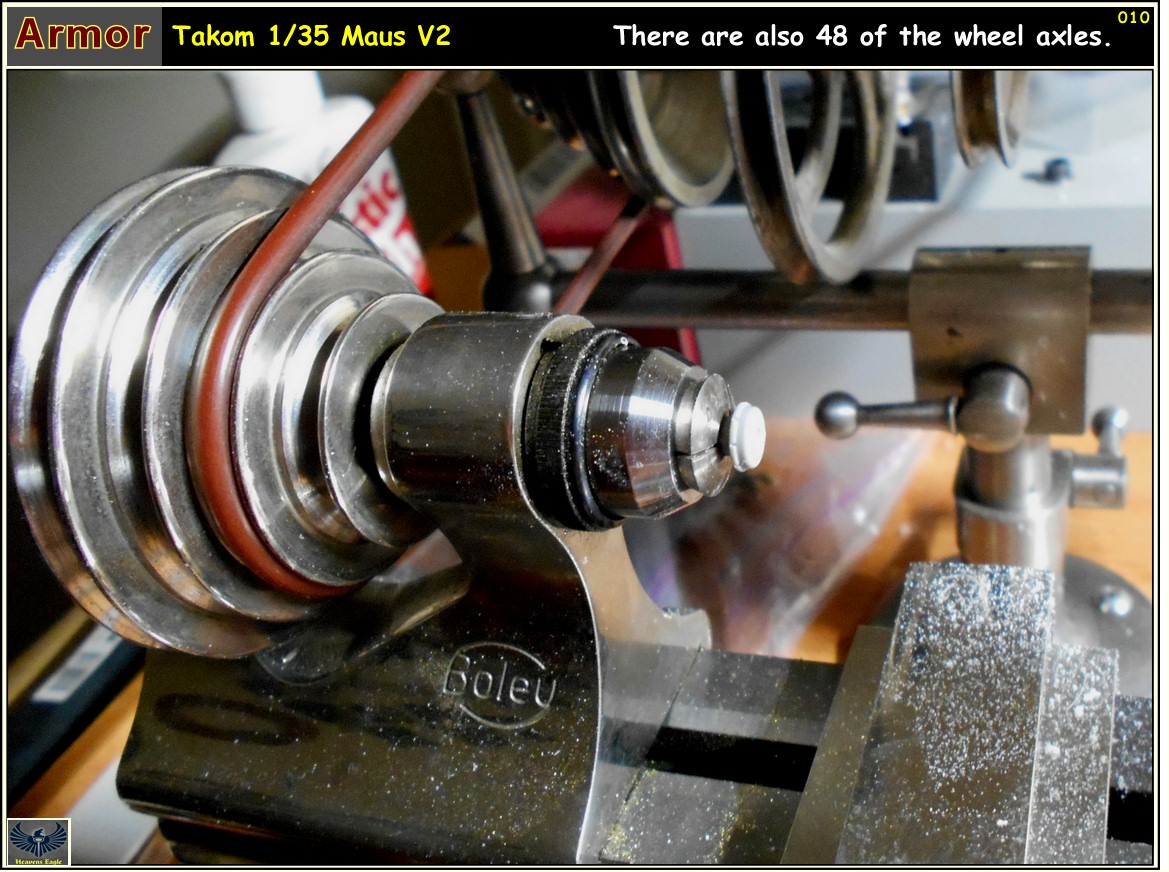
Maus_V2-010.jpg


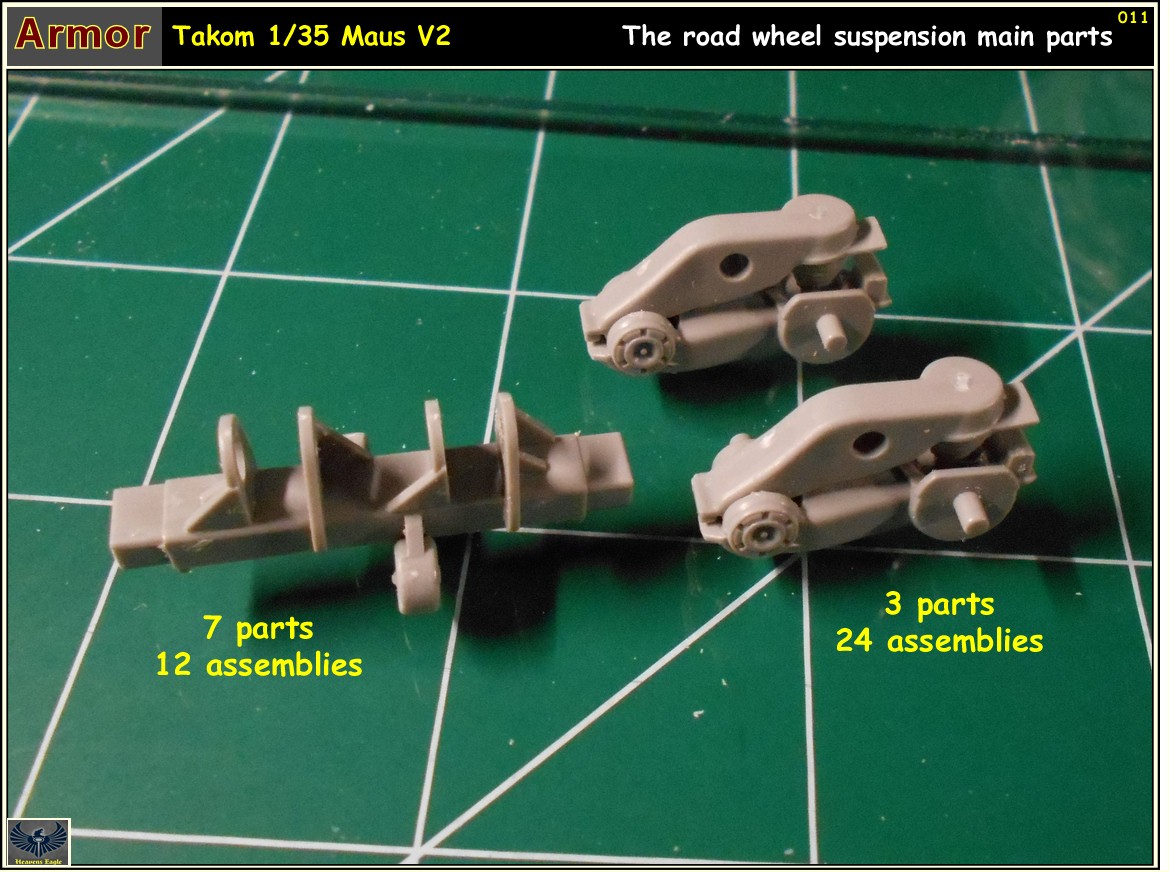
Maus_V2-011.jpg


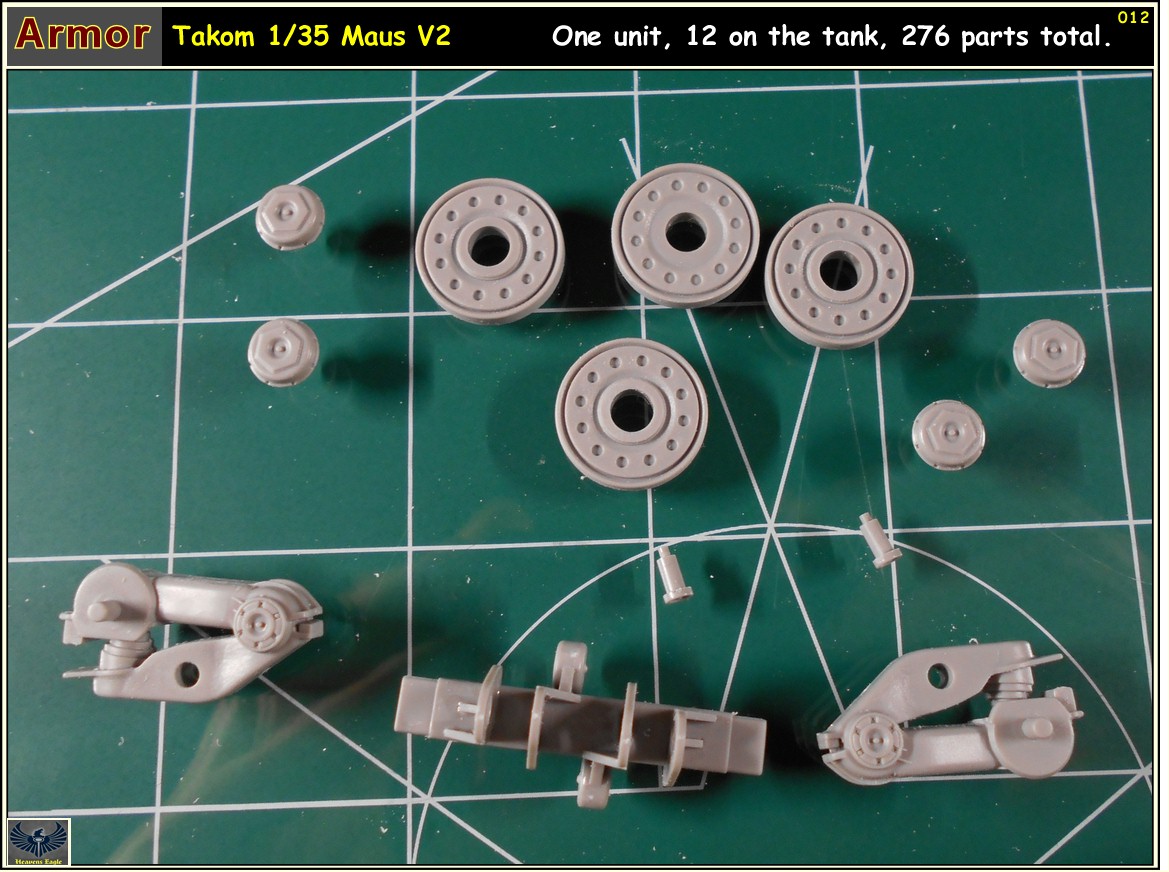
Maus_V2-012.jpg


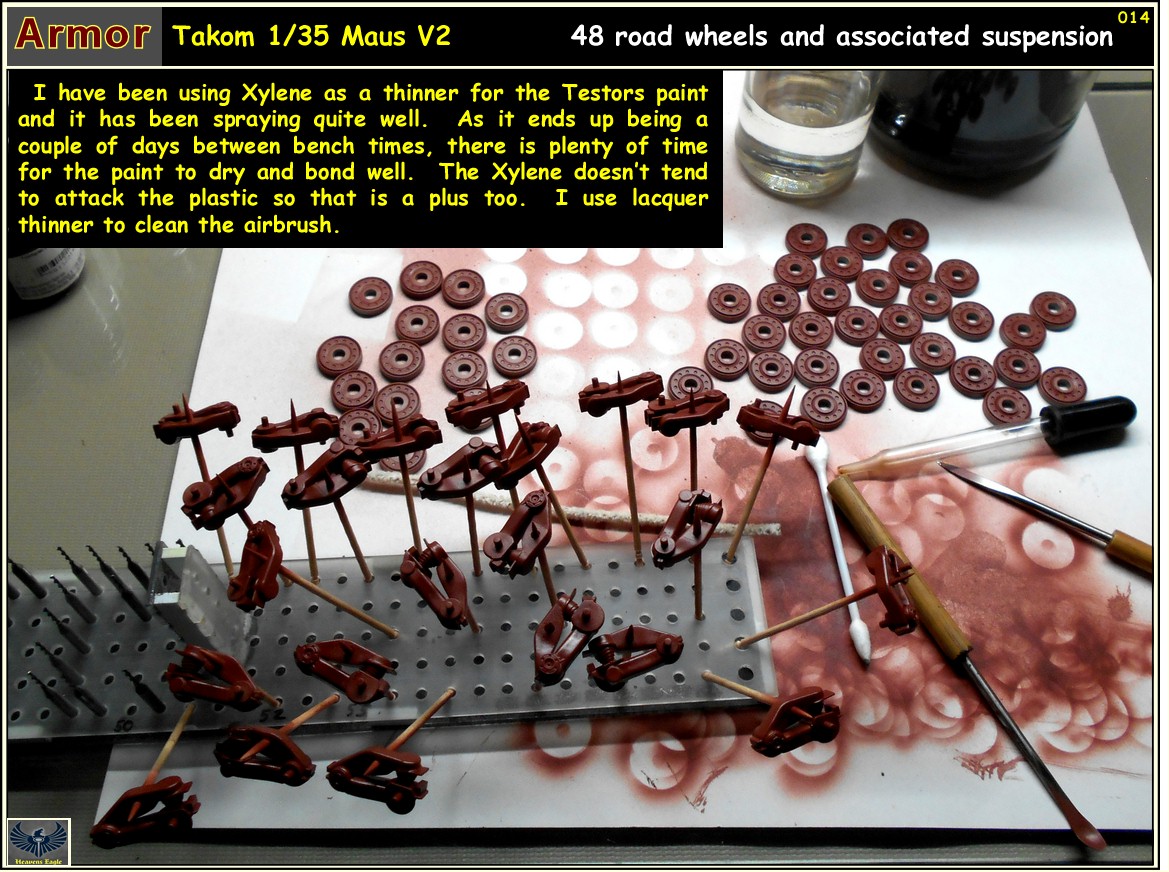
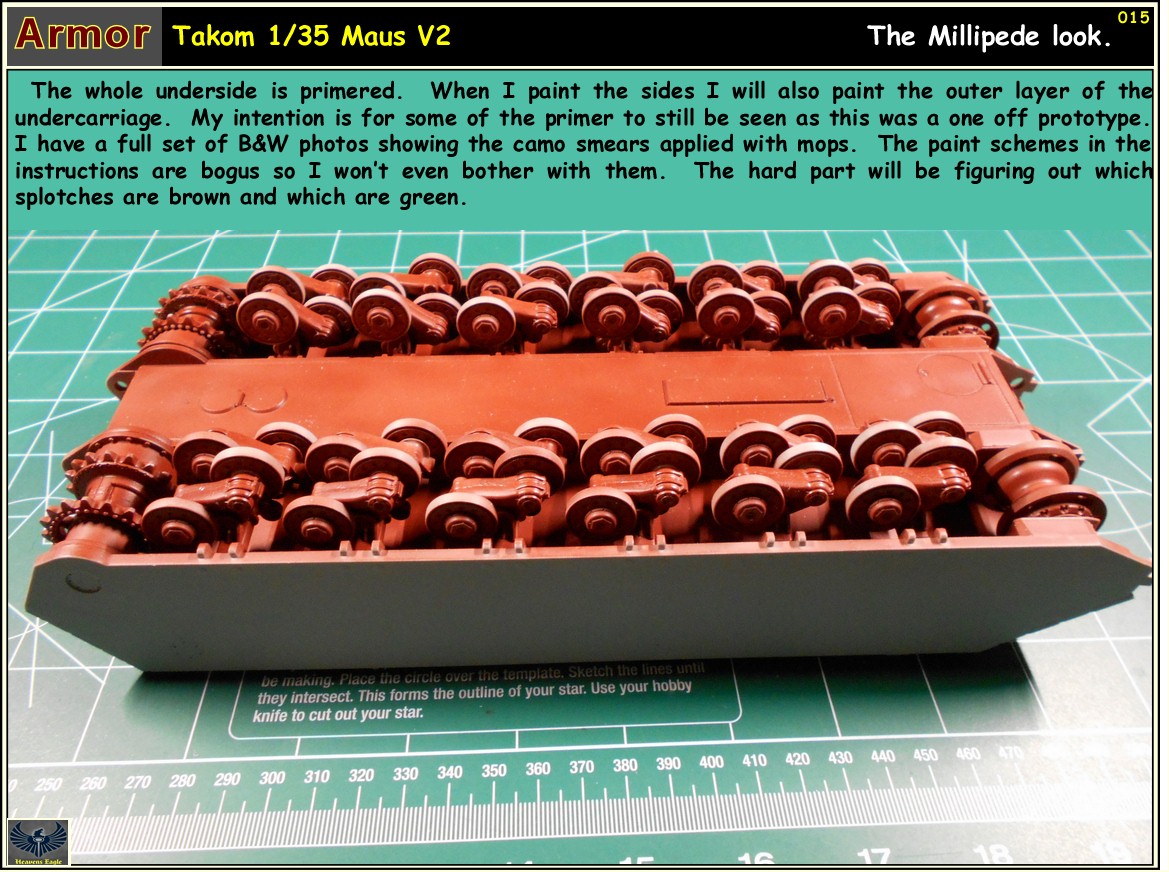
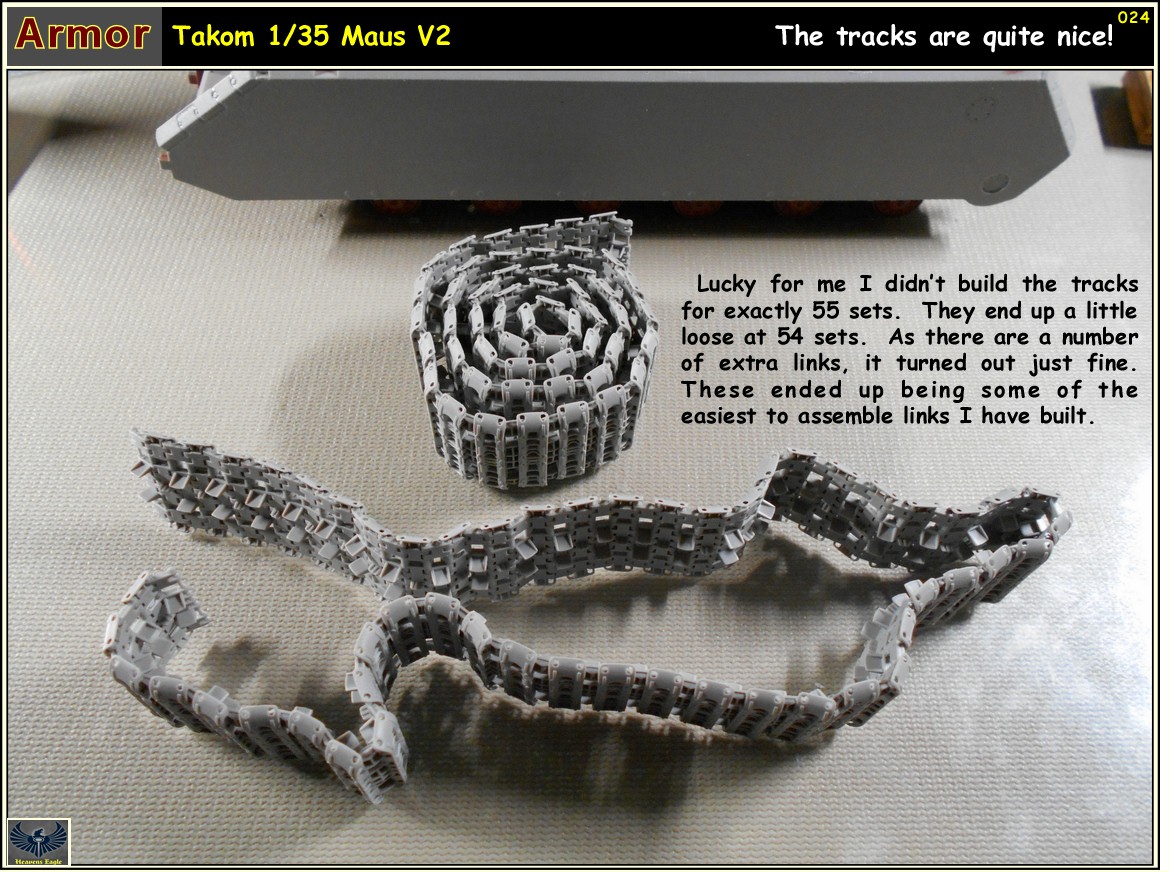
The next step is going to be painting the suspension parts the brick red primer. I sincerely doubt that the upper track channel in the hull was painted in anything other than the primer as it couldn't be seen. This will apply to the chassis and suspension parts as well. I will spray the camo color once I have the side skirts on with the suspension all placed between. Once all the suspension is placed I will slide the tracks in the upper part of the channel and wrap them around to get the correct length. Takom says 55 sets, but I don't fully trust them yet.

Have done a little bit of work on the hull and fit is so-so. The twist isn't that bad, (about 1/8 inch back-left to front-right) but I don't want it to rock like a table with a short leg. Not severe as the model is 10 inches long and 4 inches wide but still want it to set there and look like it is going TANKITY, TANKITY, TANK, not weeble wobble or rocky box.
 
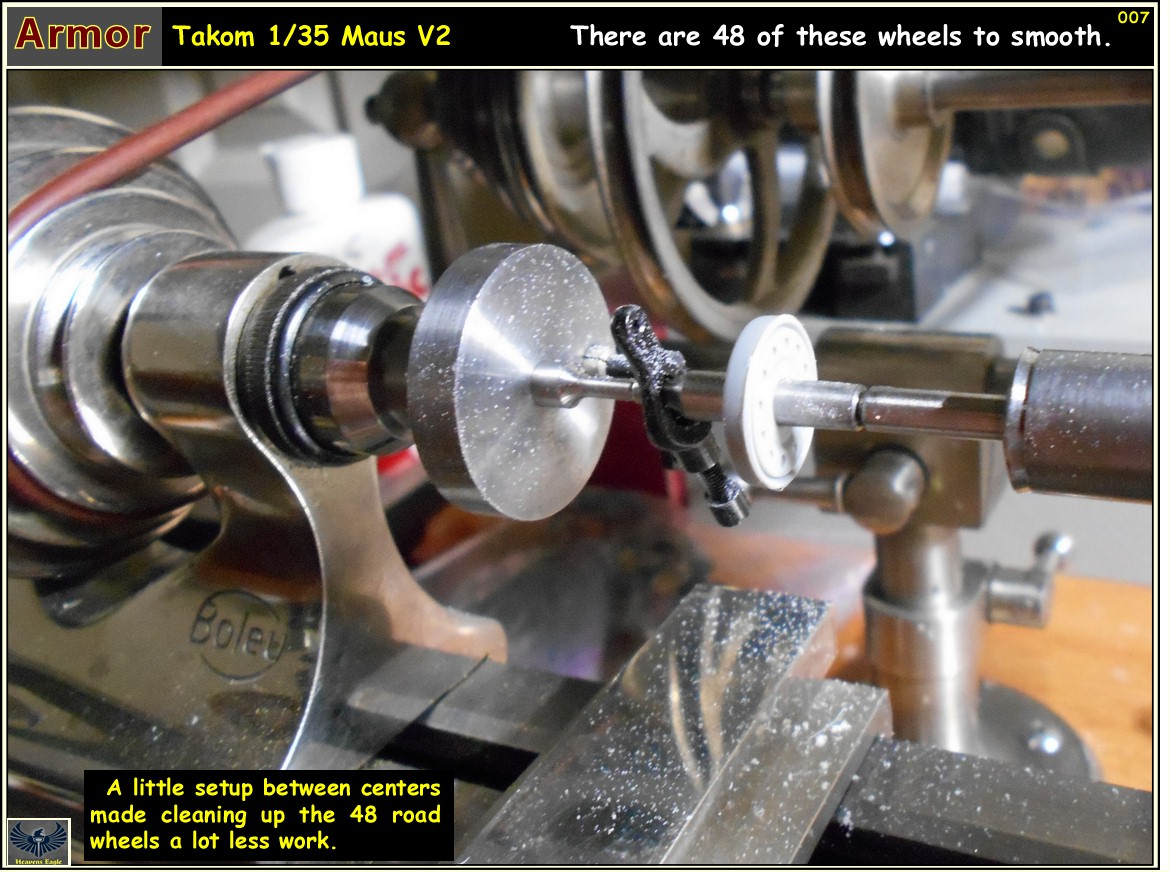
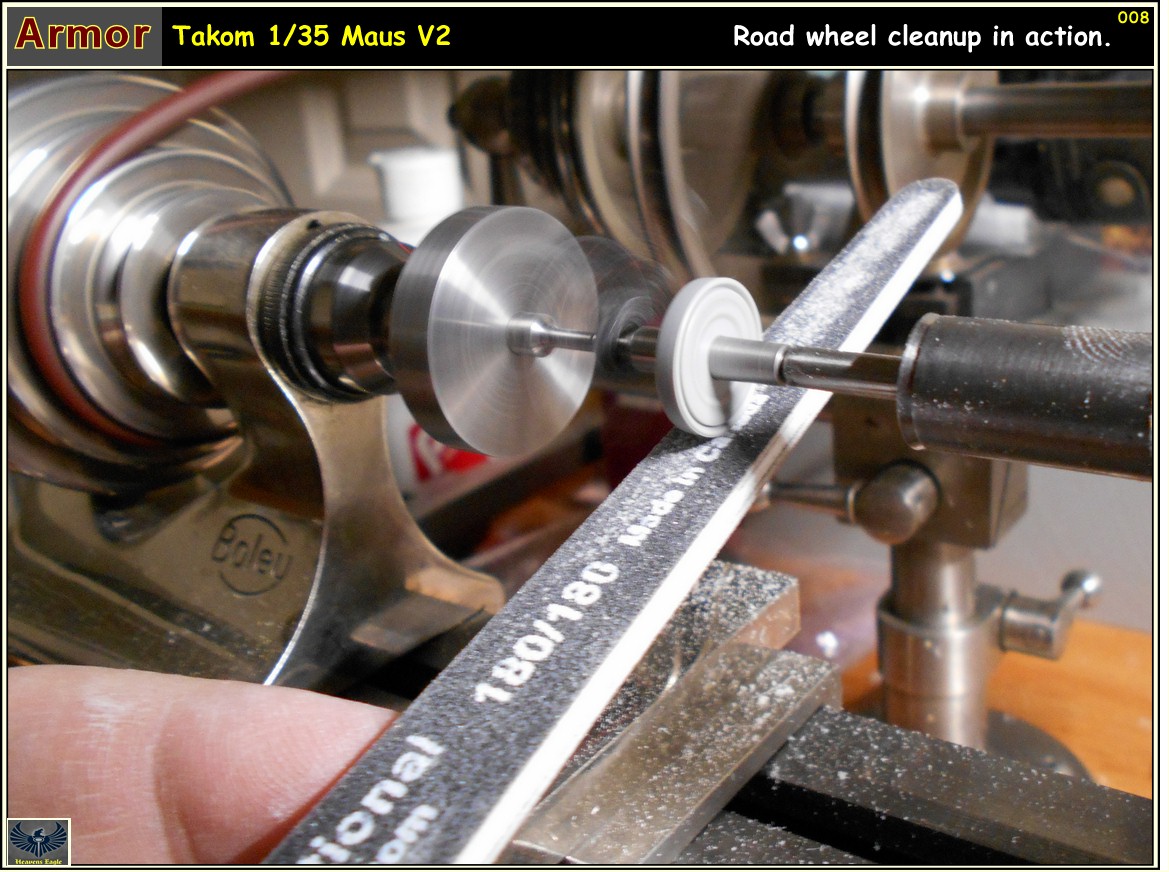
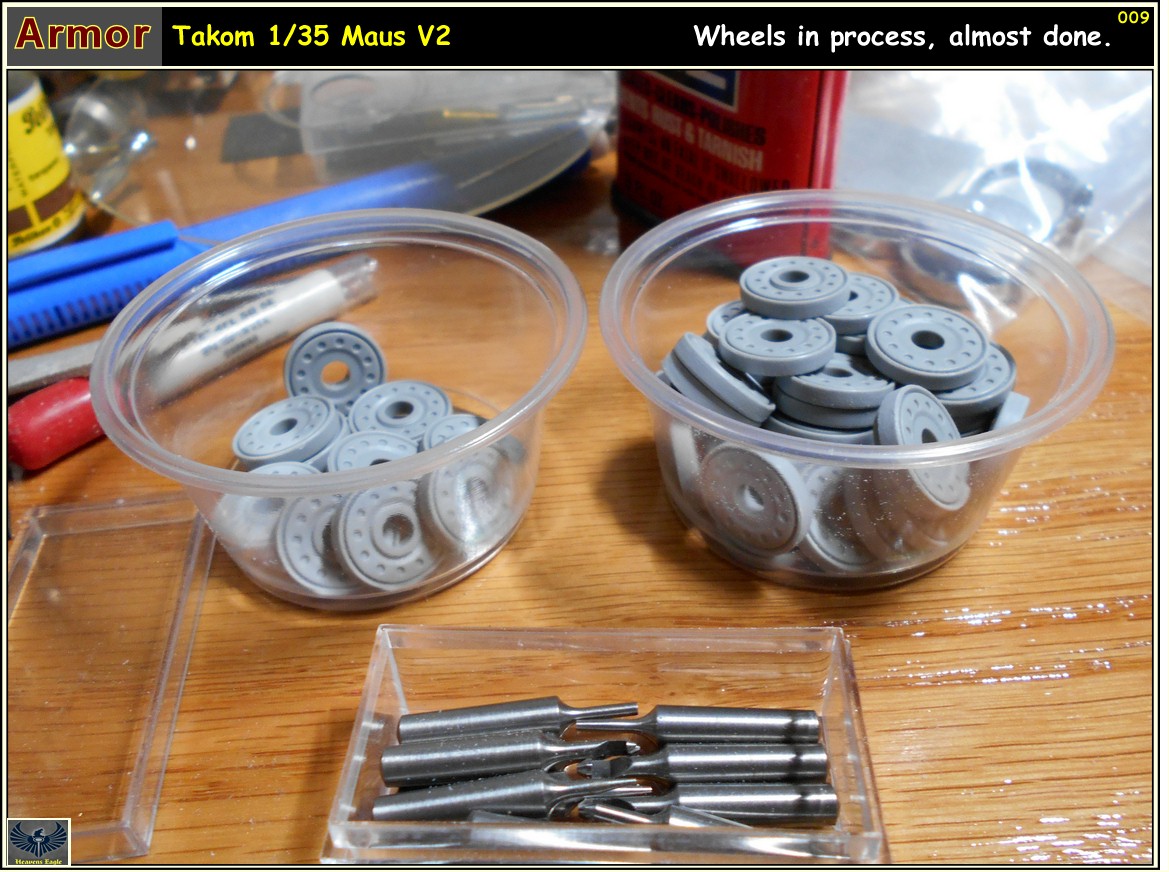
Nice work so far, cleaning all that parts is time consuming but thanks god for power tools. want to see how it compares to dragons
when finished :popcorn

Abdin
 
Have the running gear all assembled and the basic hull assembled. While there was a slight warp, I was able to counteract it by flexing it slightly the opposite way while the cross members dried. It ended up nice and square.

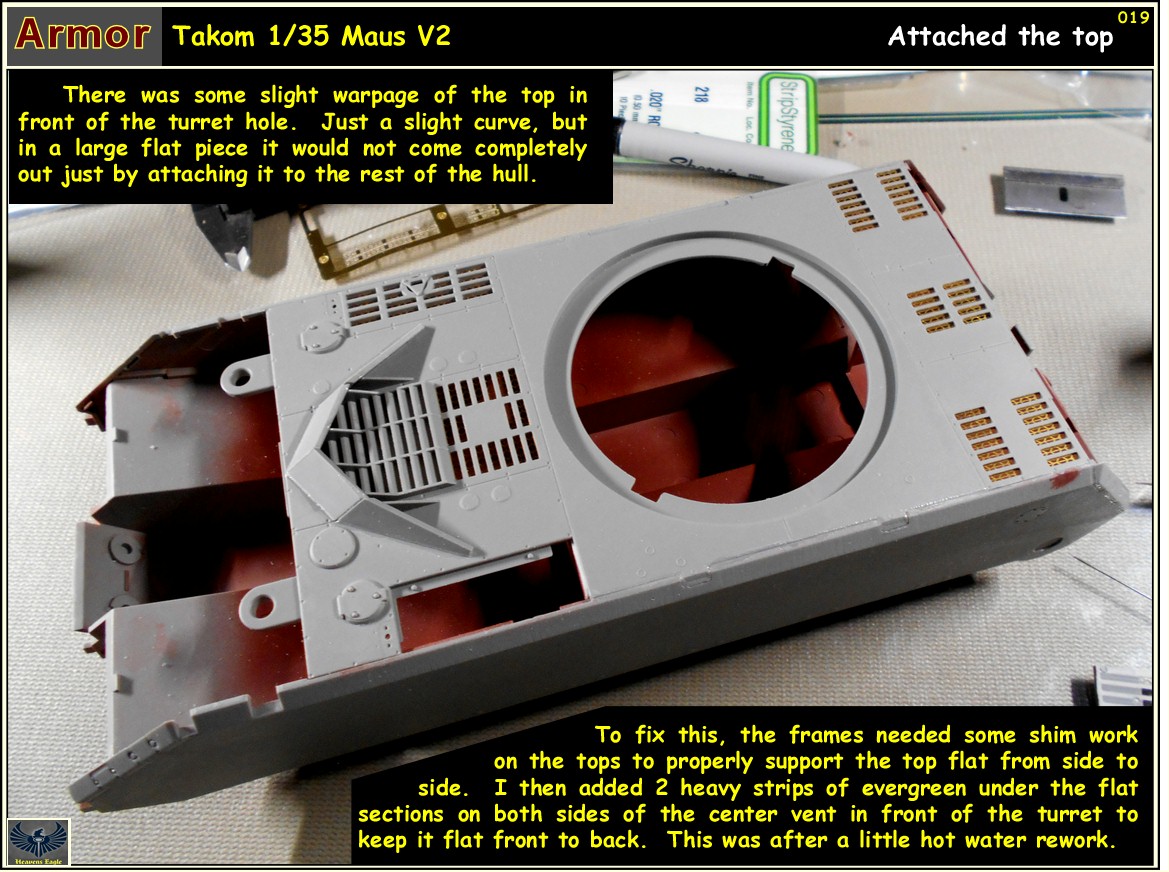
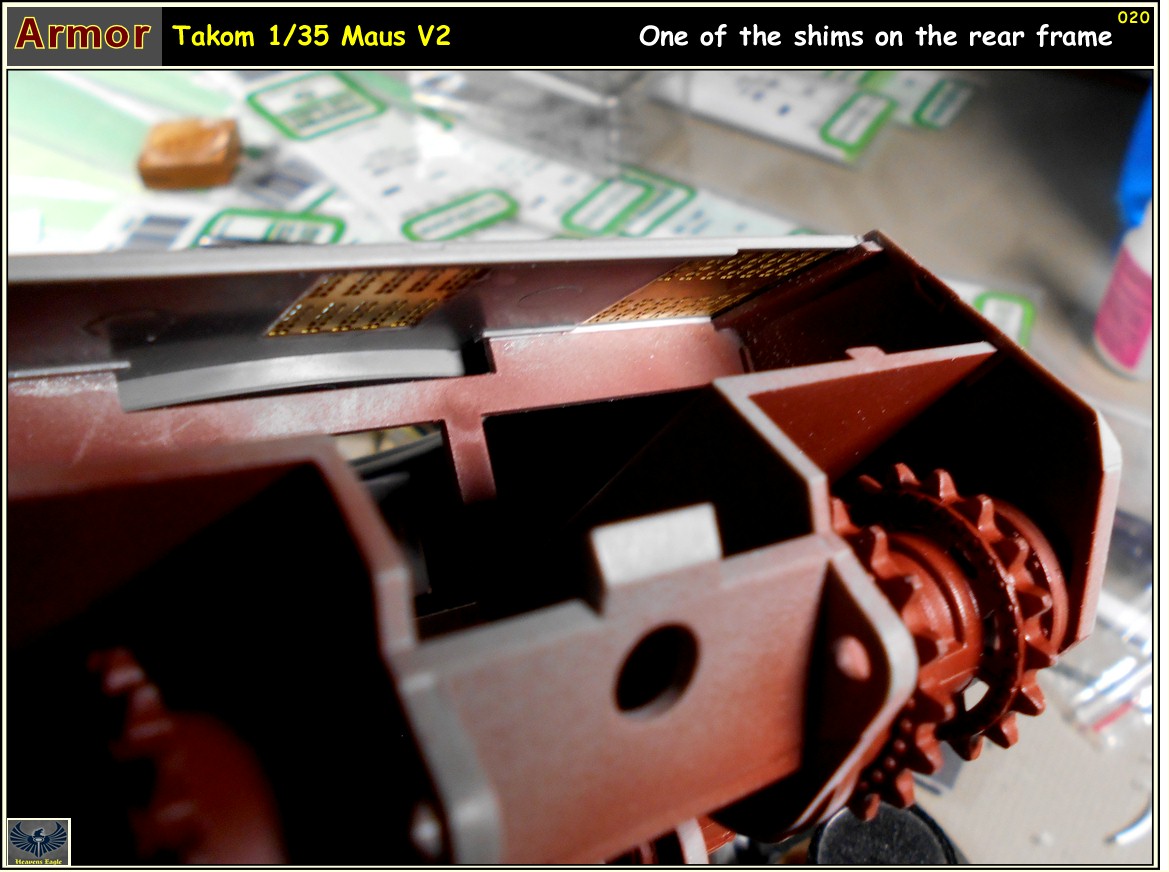
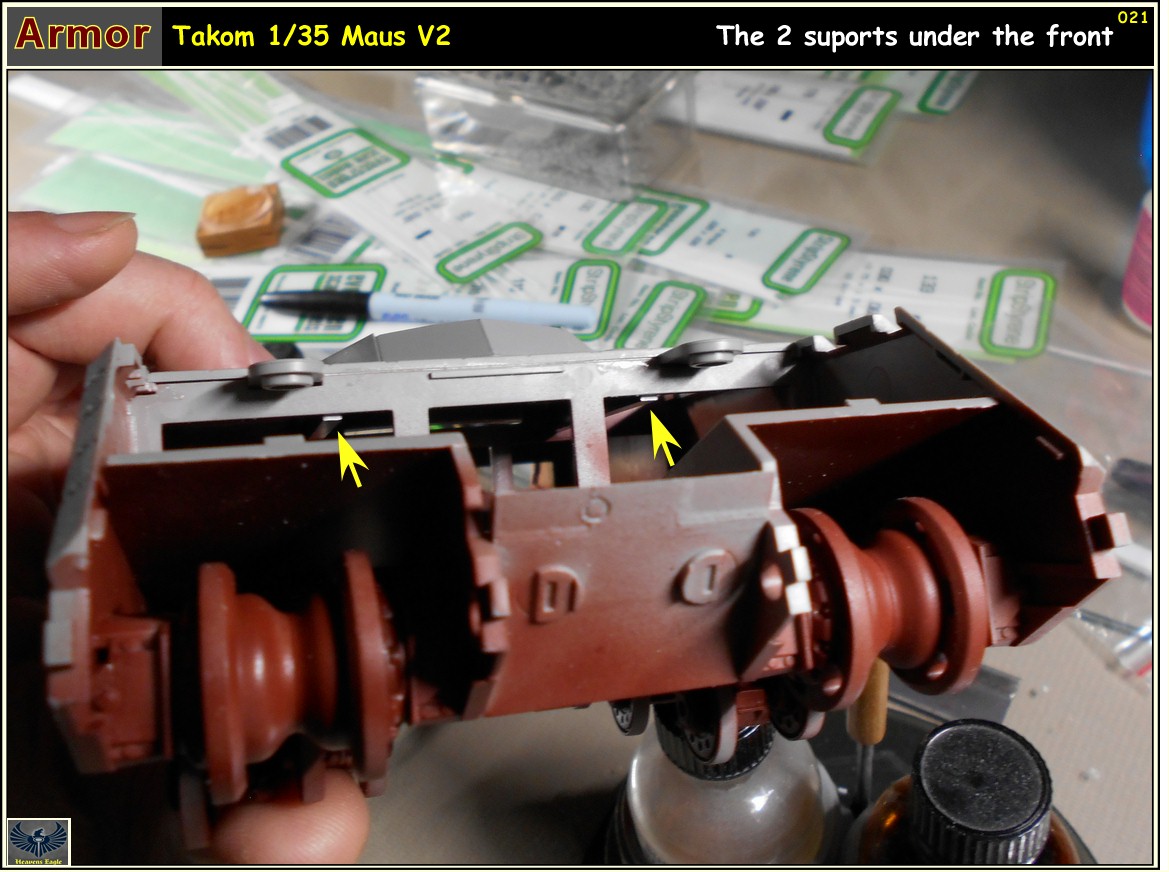
The hull top was a little swaybacked so some hot water and flexing to the rescue. Managed to make it nice and flat and level. I will add some reinforcement to the underside to keep it that way before gluing it on.


Nice work so far, cleaning all that parts is time consuming but thanks god for power tools. want to see how it compares to dragons
when finished :popcorn

Abdin

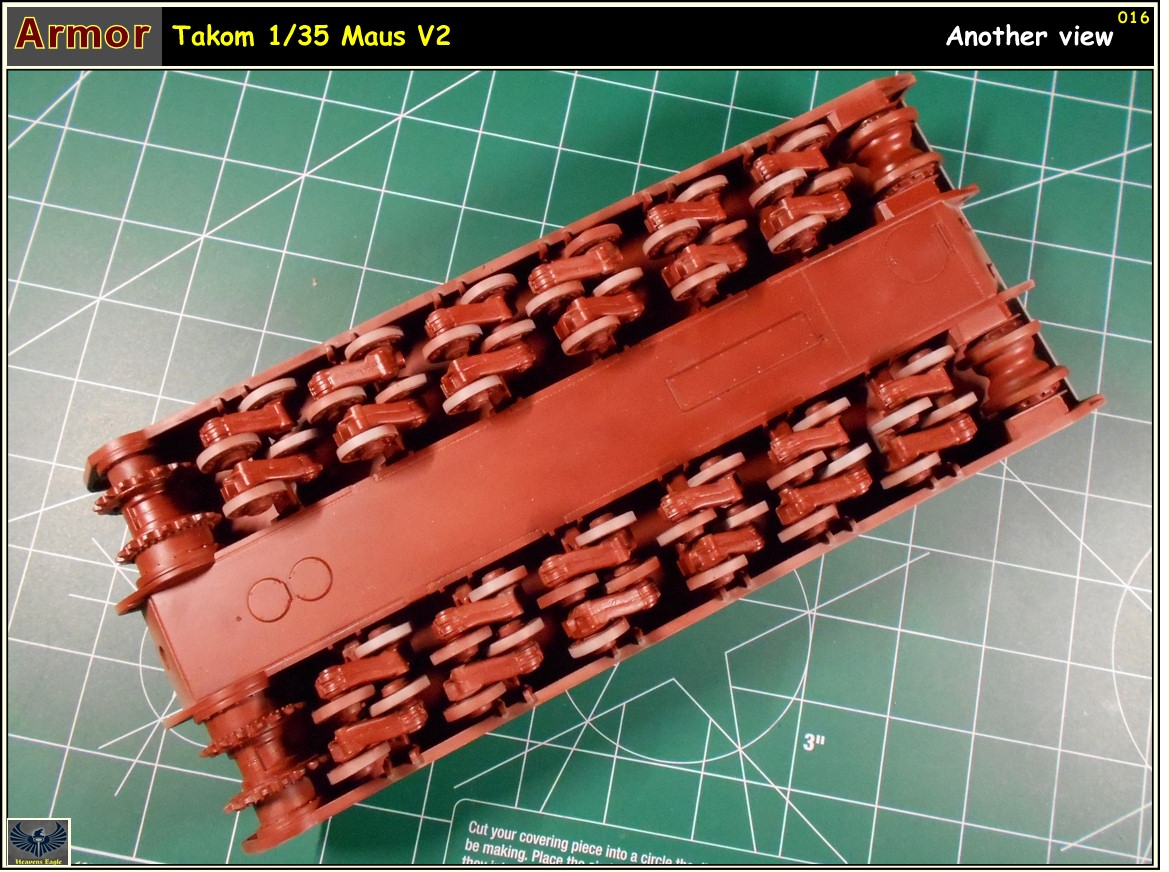
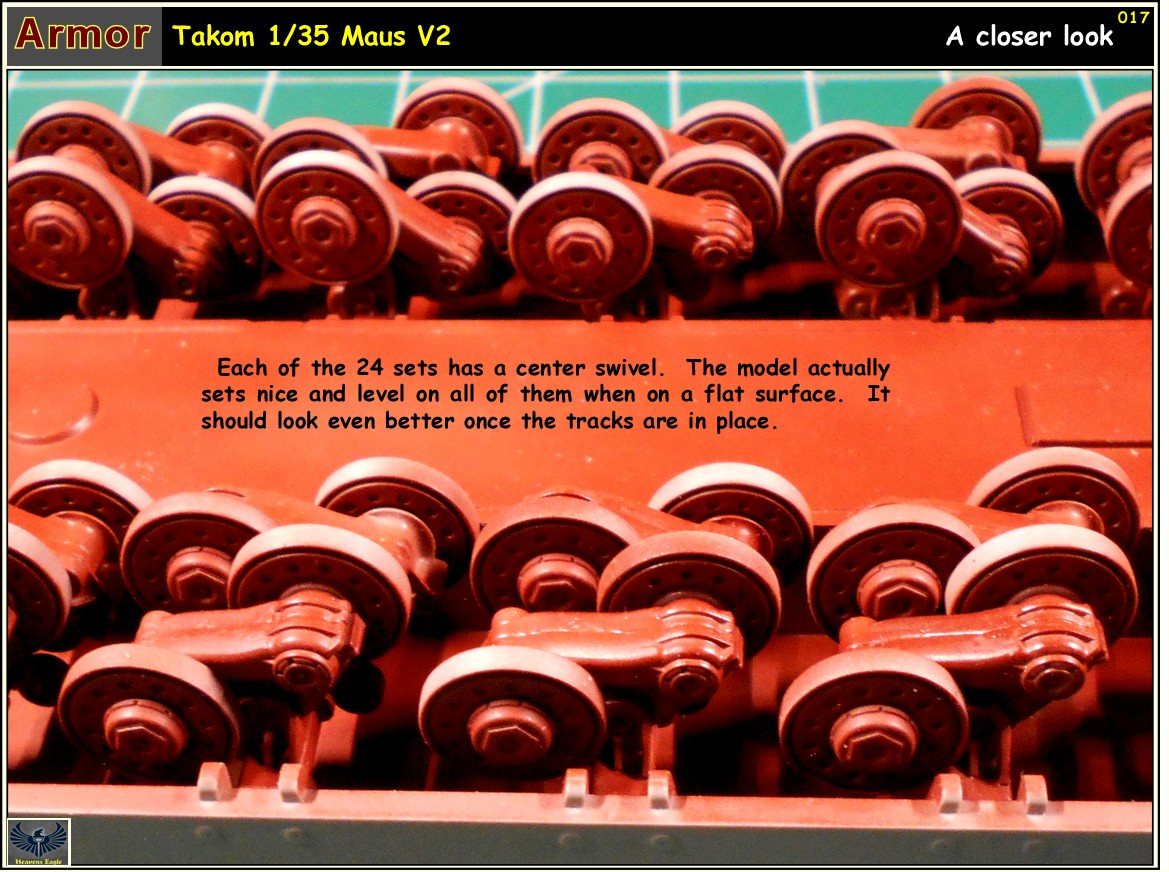
I am not familiar with the Dragon kit Abdin. Would have picked it up, but am quite happy with this kit. I found that it would have been a little better with some locators for the sides in the center areas. The front and back corners where the bottom attaches to the sides have a positive locator. The center area though can bow up or down if you aren't careful. Nothing there really makes sure it ends up where it is supposed to be. This can affect the cross members where the bogies mount. I ended up with a little shift but the wheels all set flat like the good little millipede it looks like. Each of the bogie wheels has a little bit of slop in the axle but this ends up being a good thing. It allows a little play so all the wheels set level.

There is a lot more to come and I have photos but had to post something BIG tonight. More photos soon.
 
Nice work so far Paul! Those tracks scare me! Once I get the mindset to finish my Type 1, I've decided I'm never building another tank!

:popcorn :popcorn
 
Nice work Paul. Looks like this will be a winner.

I really like Takom's kits. Well detailed, not overly complicated and well priced.
 
Nice work so far Paul! Those tracks scare me! Once I get the mindset to finish my Type 1, I've decided I'm never building another tank!

:popcorn :popcorn

Hey Warren, These tracks are some of the easiest I have ever handled. The links are about an inch wide and 3/8 of an inch lengthwise. Sharp nippers removed them from the sprues quite nicely then a couple of fine sanding sticks to clean up mold lines easy-peasy. It took time but no real effort and wasn't difficult. Watched some DVD's while doing it. The assembly was easy as the main piece had holes to add solvent through to attach the back piece. I did the assemblies in batches of 5 connecting links and 4 glued sets. Each track takes 55 sets so that is 11 bunches. When ready I will attach 10 of the bunches together and double check the length. Nice thing is that there aren't really any small parts in the links. The suspension is more of a pain. Still a lot of small parts and it takes a little forthought when you go to assemble it. Trick is to not get any glue on the moving bogie frames so they will set flat.

Have photos of where it is now. Going together well. Just adding some strengthening to the hull top as it wants to warp. Big flat piece had a slight warp that I removed most of with hot water and flexing by hand. I should have more photos this weekend and they will illustrate what I am talking about.

Thanks for looking in!
 
Here is the next update. I just realized that I skipped a couple of photos to where I am at for now. We will see what I can come up with.

This build is moving right along for a change. I am not doing any in depth research only building it out of the box. As it is basically a big armored box anyway it is moving along.

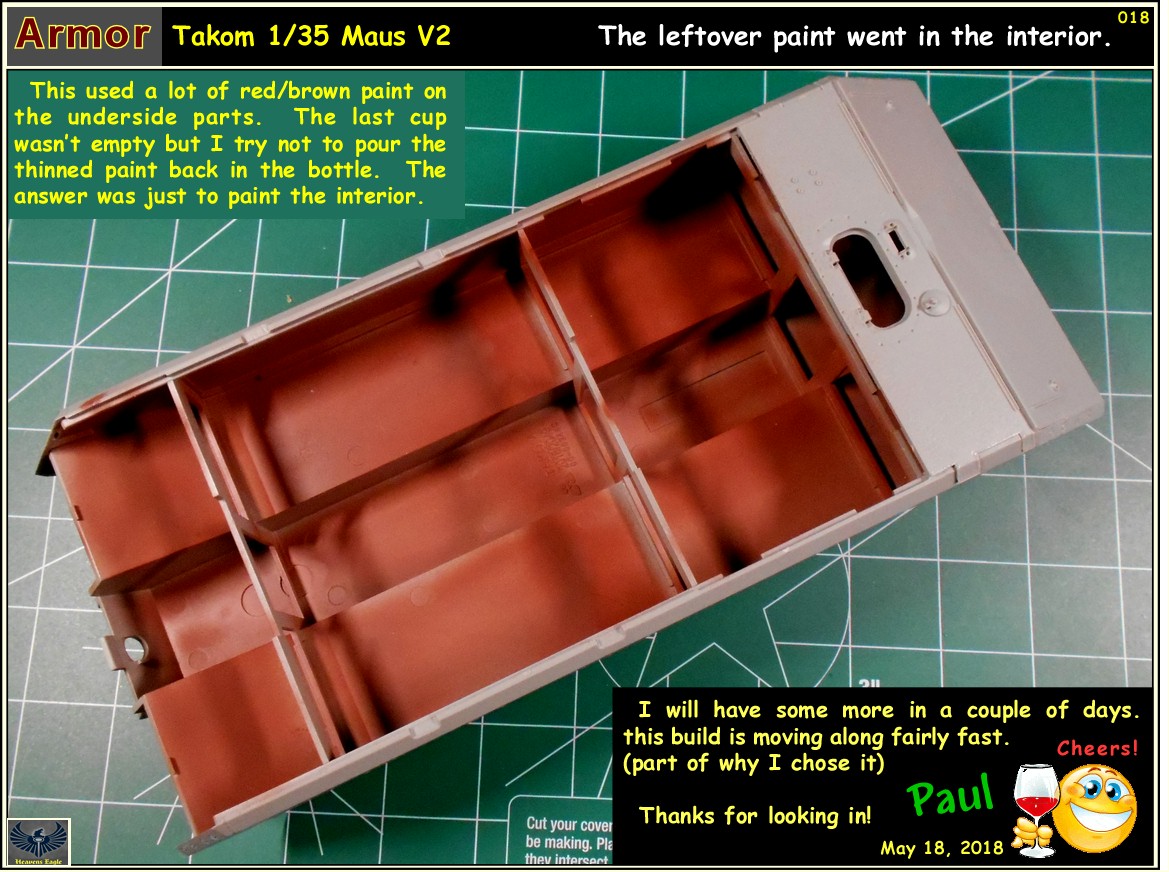
Here are the photos.

Maus_V2-013.jpg


Maus_V2-014.jpg


Maus_V2-015.jpg


Maus_V2-016.jpg


Maus_V2-017.jpg


Maus_V2-018.jpg


Thanks for looking in!
 
Thanks Bob and Piet, much appreciated.

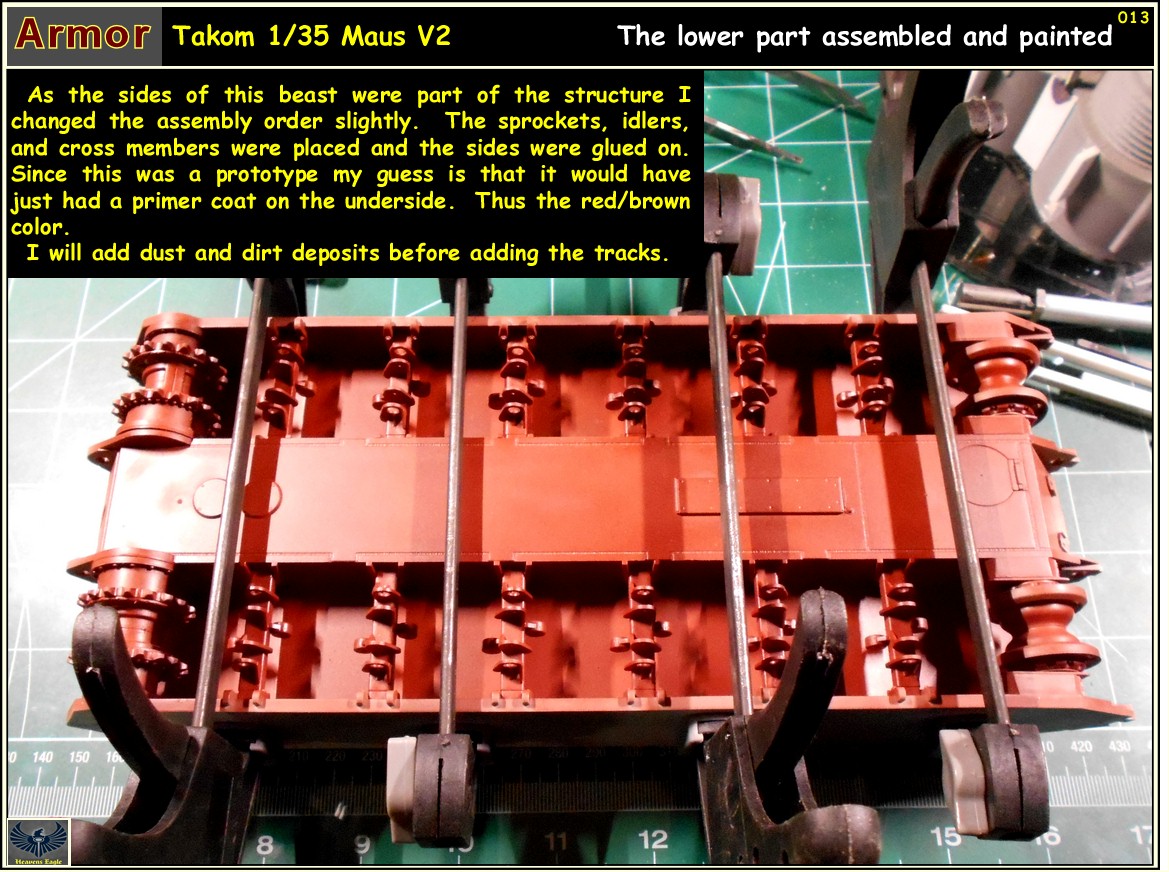
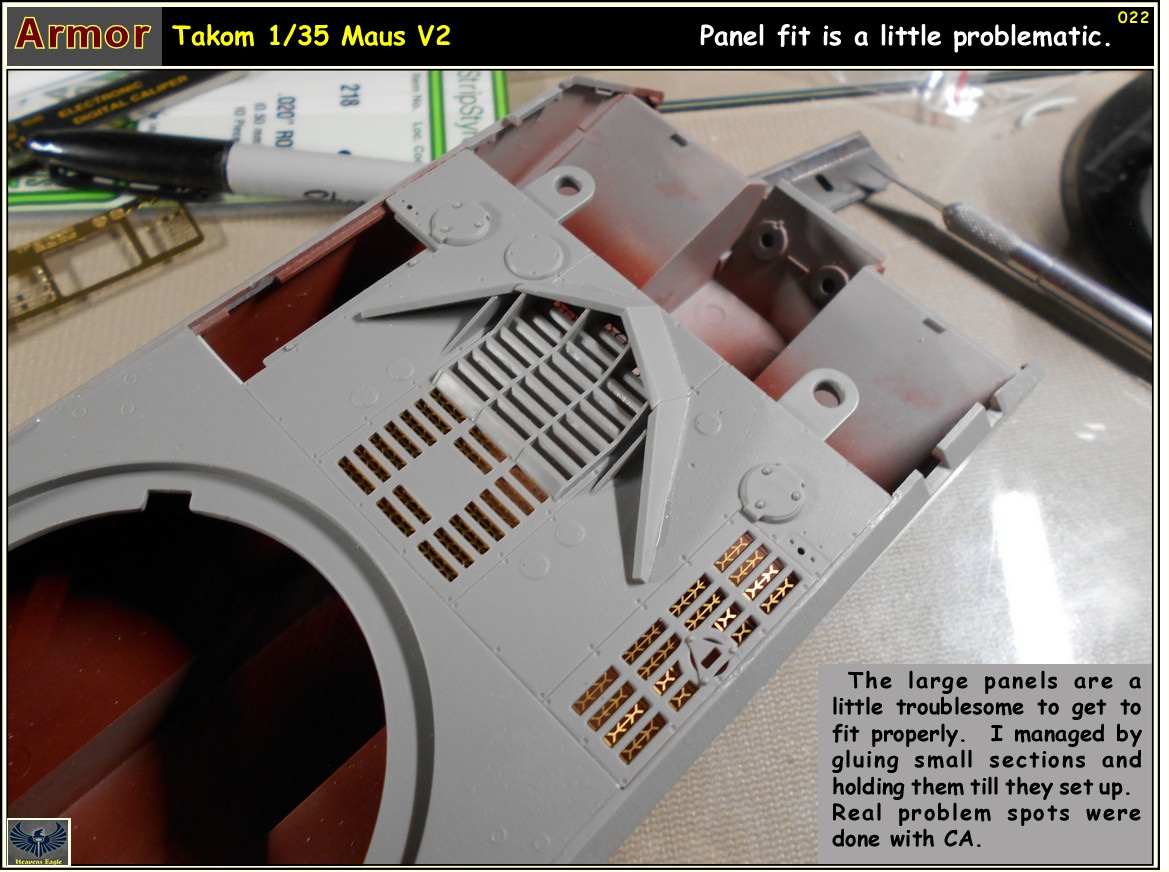
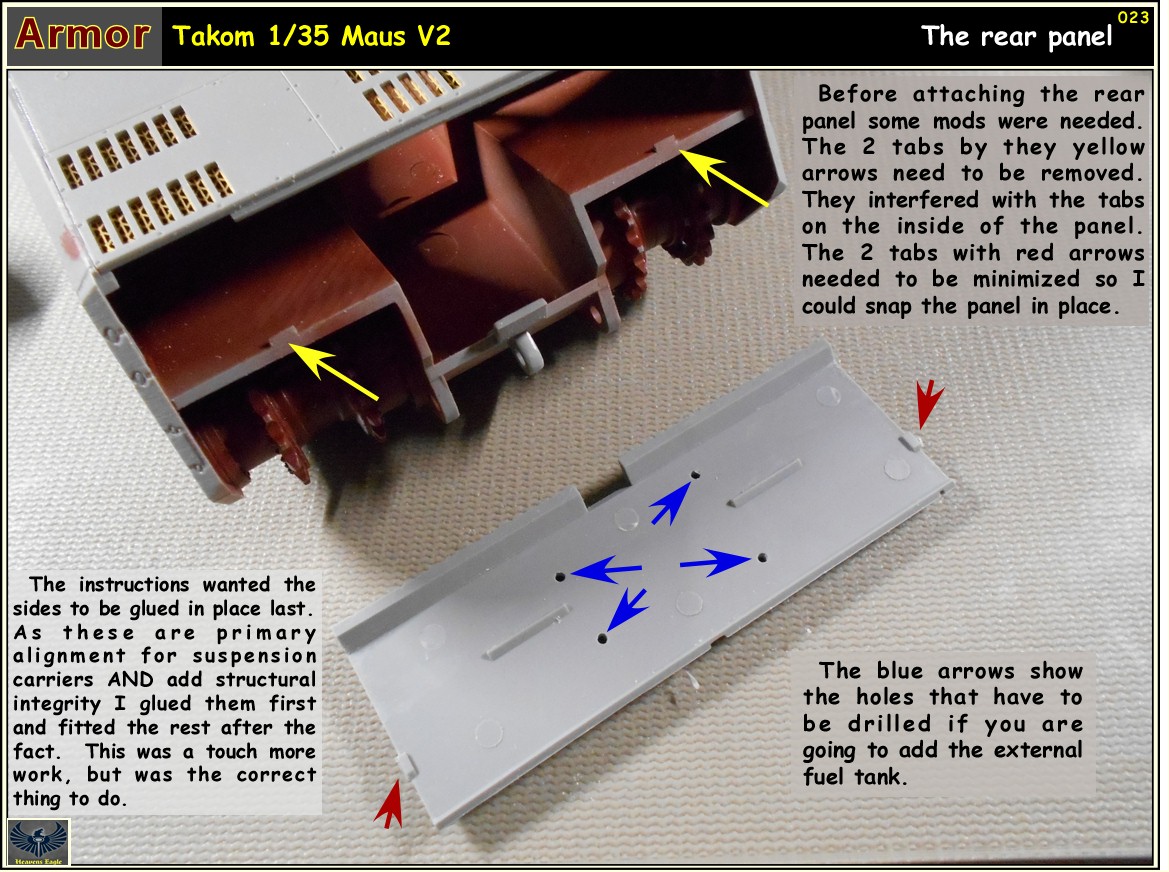
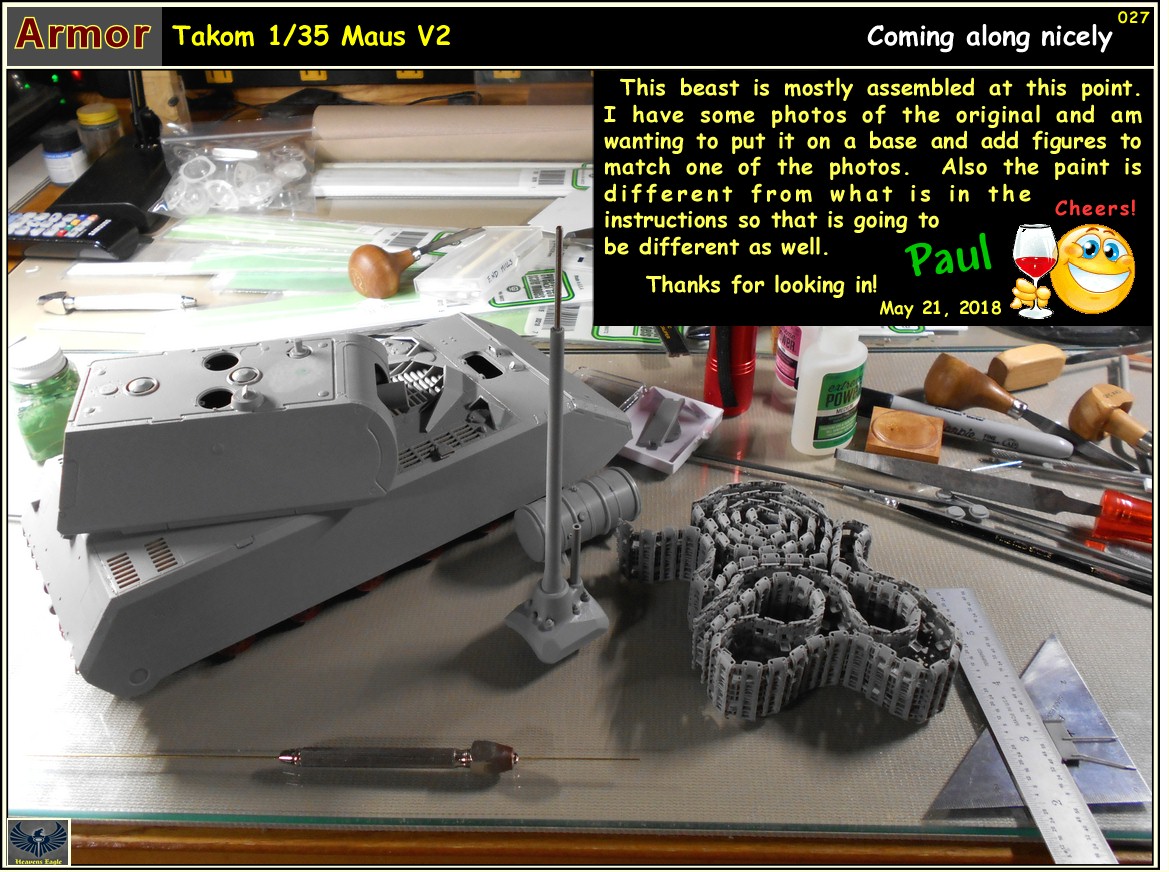
I spent a little time on this over the weekend and have managed to keep at it a little at a time. Have only a hand full of parts still to put on and it is basically ready for paint at this point. I have to apologize as I got to building on this and kind of forgot to shutterbug it on some items. I also didn't quite realize it at the time but I threw some of the assembly order out the window. The sides are supposed to be glued on last. Problem is they are a major part of the structure of the kit. They also align the suspension carriers and a few other things. I still think my assembly process turned out better on this. After dealing with the various parts, I think it was less alignment headache overall by doing it the way I did. All the parts are large enough that they have some packing warpage which needed to be dealt with. Once I got it assembled to a point other parts had to be adjusted slightly and "snapped" into place. Overall fit wasn't too bad considering and I managed to get the hull assembly square and flat.
Woo Hoo!
thumbsup.gif


Now on with some more photos.

Maus_V2-019.jpg


Maus_V2-020.jpg


Maus_V2-021.jpg


Maus_V2-022.jpg


Maus_V2-023.jpg


Maus_V2-024.jpg


Maus_V2-025.jpg


Maus_V2-026.jpg


Maus_V2-027.jpg


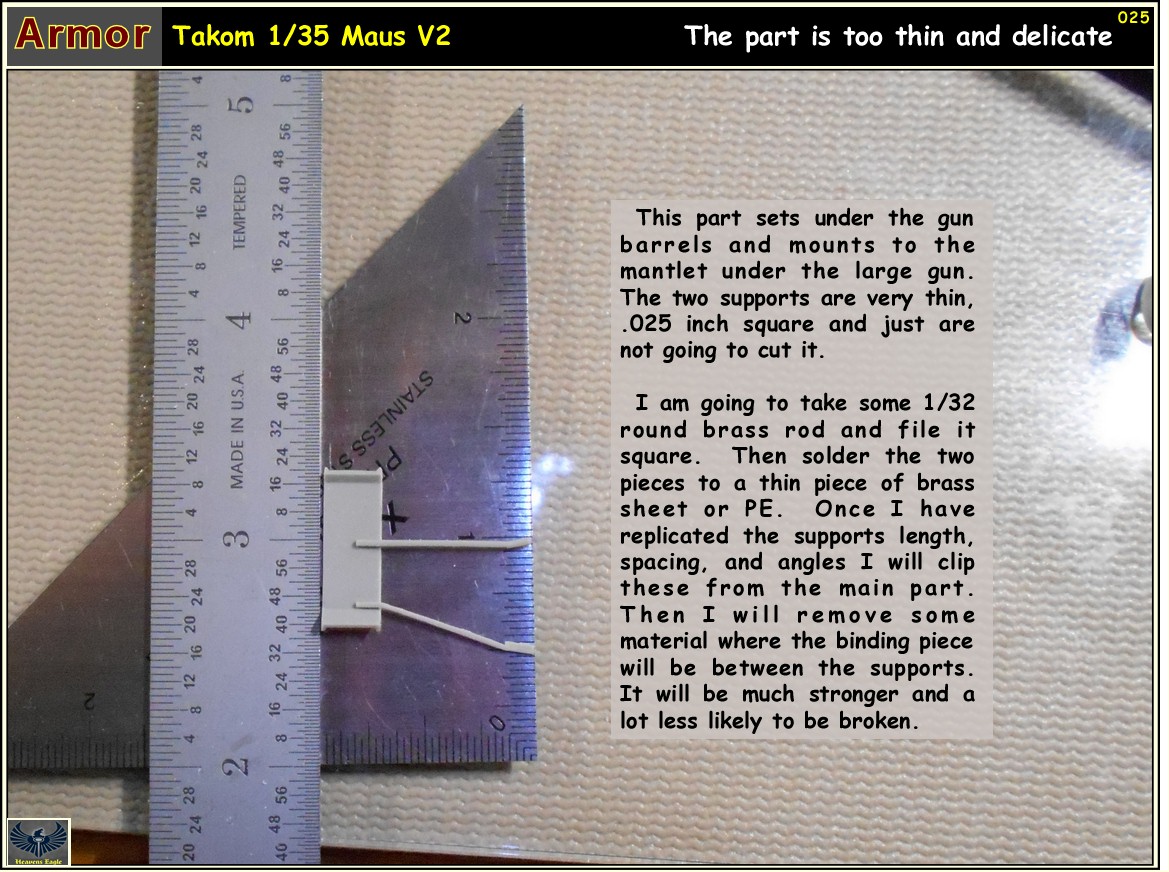
Next it is time for paint. If you noticed I am also trying something with the large gun barrel. It came as a split part (two halves) and the tip had some rifling molded in. It wasn't much and didn't look that great. I am trying something with one of my jewelry tools, some plastic scraps and liquid glue. I will know more tomorrow if it will work or not.
med3d-ennuye.gif


Thanks for looking in.
 
Fantastic work and nice presentation. Will definately help when I build mine. I just got in some barrels for it so its on the radar.
James
 
Wow, that is pretty impressive! Well done on the proper assembly; that certainly did appear to make things easier. Way to go Paul!
 
Back
Top