White_Wolf
Master at Arms
When I joined this forum, little did I imagine what amazing experience it would be. And it has been unreal.
I am a few steps away from finishing the makeover, but I wanted to share the journey so far, something that I have and still am thoroughly enjoying.
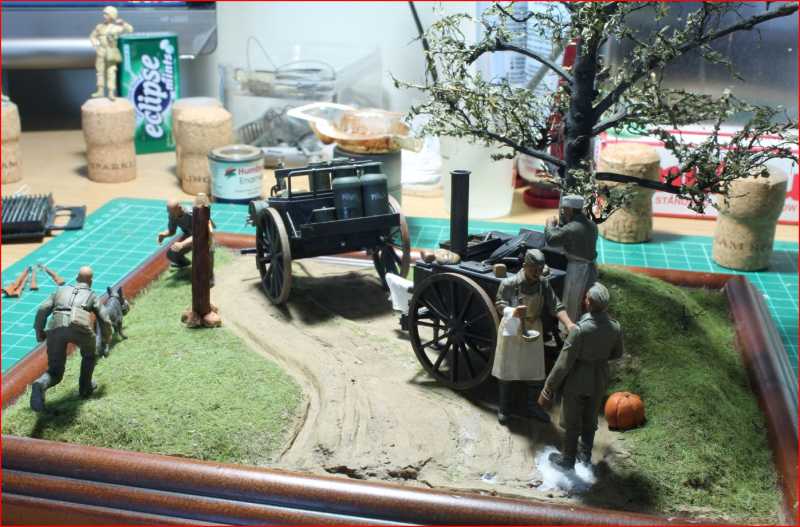
This is what it looked like when it was done initially - on the table at Scale ACT in Canberra in November 2013 - got the second place - how the heck did that happen ???
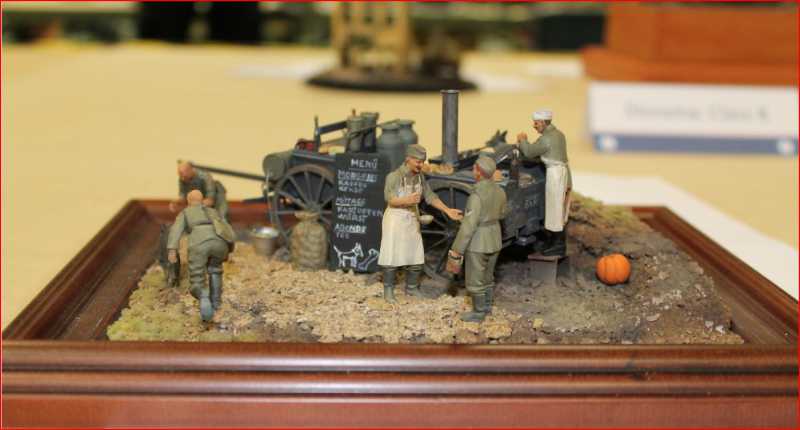
And then I joined MA - and I started giving this little thing a well deserved makeover. To keep it short and reduce the amount of rambling, I have had lots of help and patience and instructions and all things that one doesn't run into on a daily basis. Some sort of divine guidance if you wish
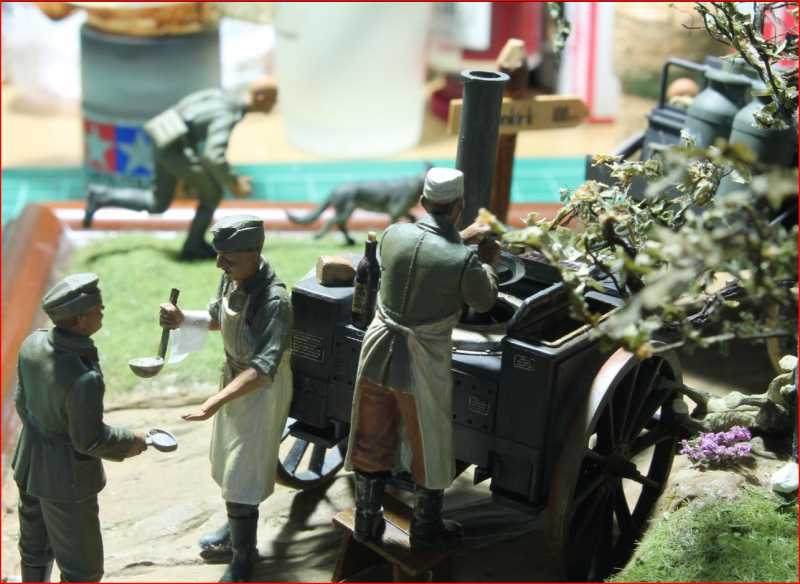
Anyway - here's the progress pics ...
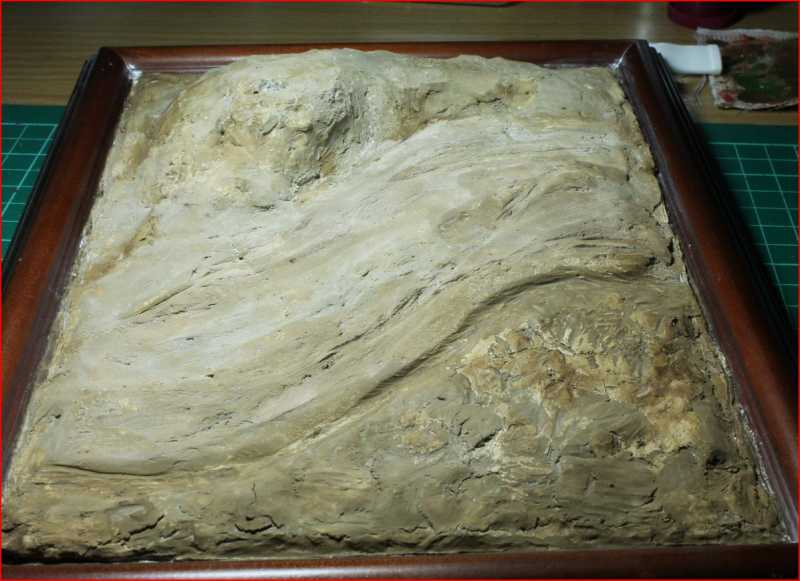
All figures and stuff removed, all that ugly terrain covered in Cell-u-Clay (similar product that I found here)
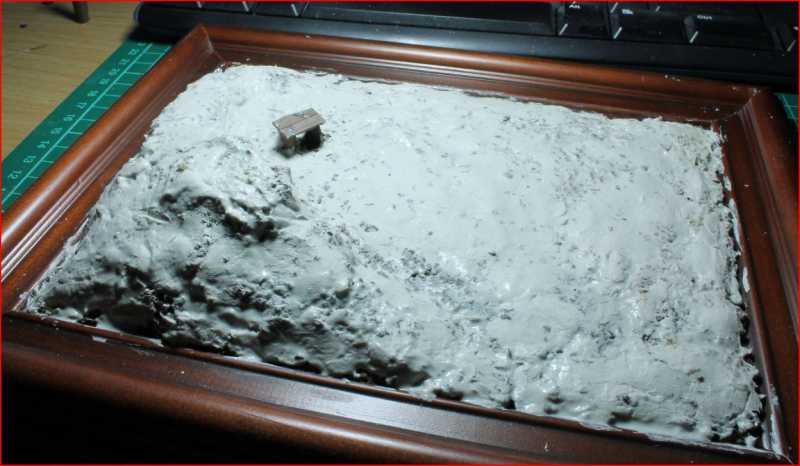
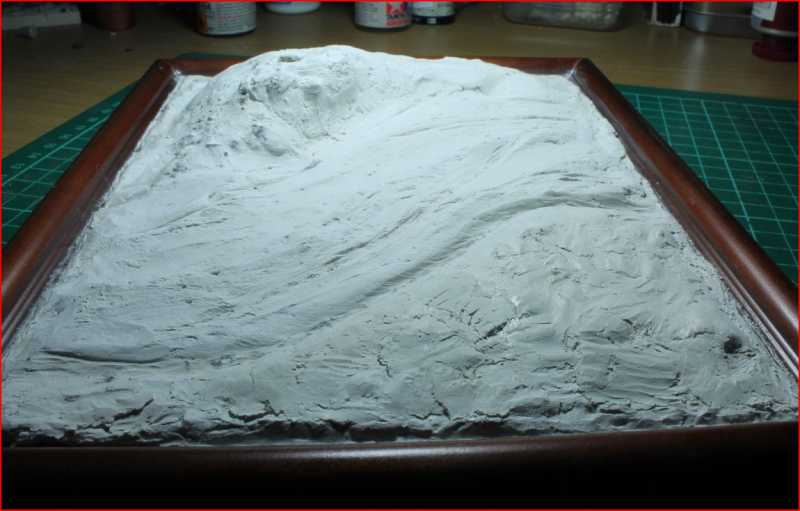
Then I made it smoother and traced the road and the ditch to the side.
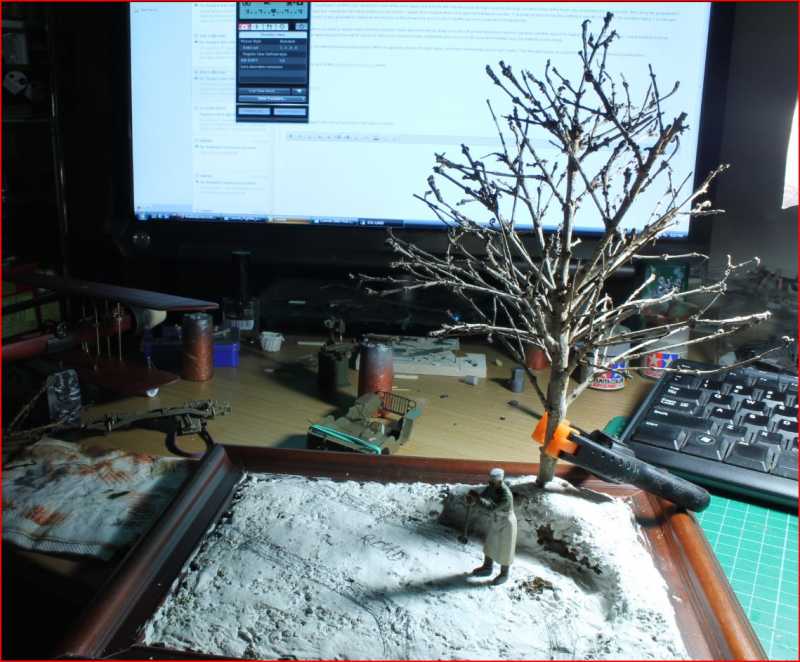
I pinched a bit of a tree like section from an unidentified bush, then placed it on the mound with a figure on the base to get a sense of proportions.
Then I gave the whole base a coat of Humbrol Matt 29, then another one when the first one dried
Second coat
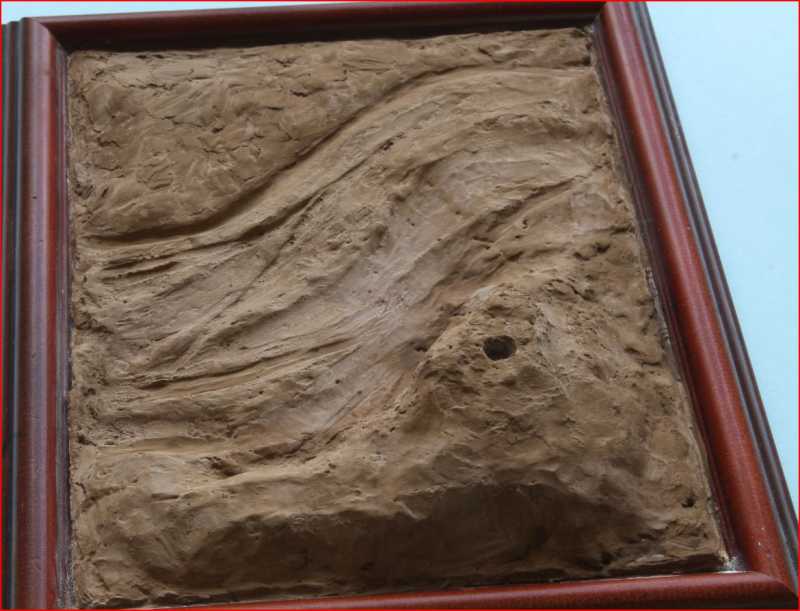
The hole on the mound is obviously for the tree. :smack
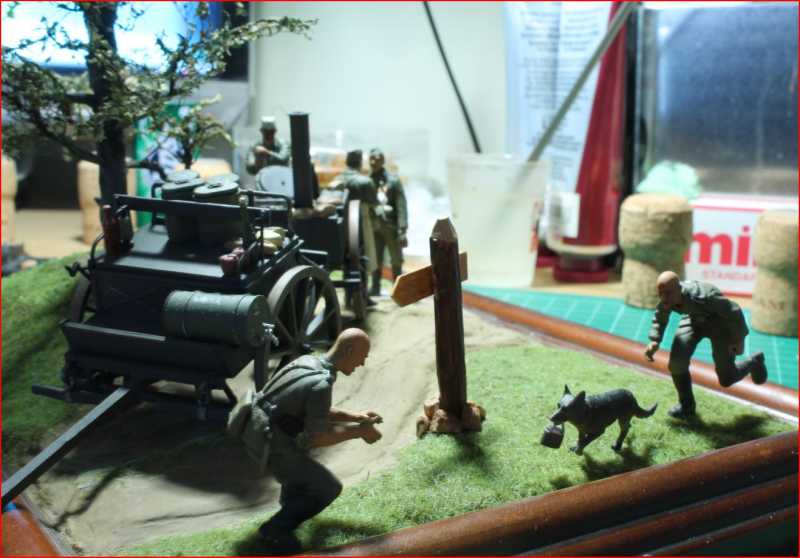
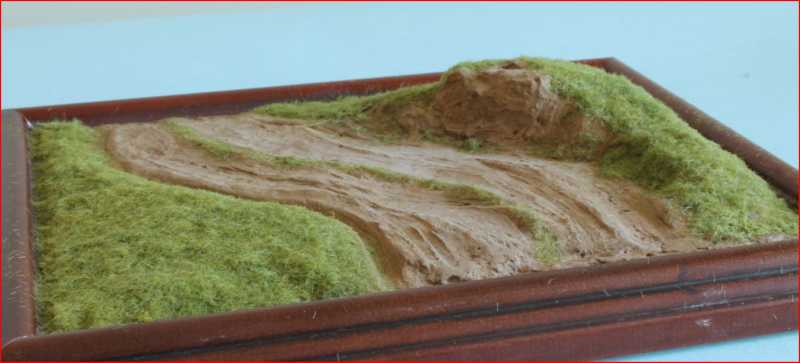
Then, once the base coat was on, time for the static grass - here it is after two applications to cover it properly.
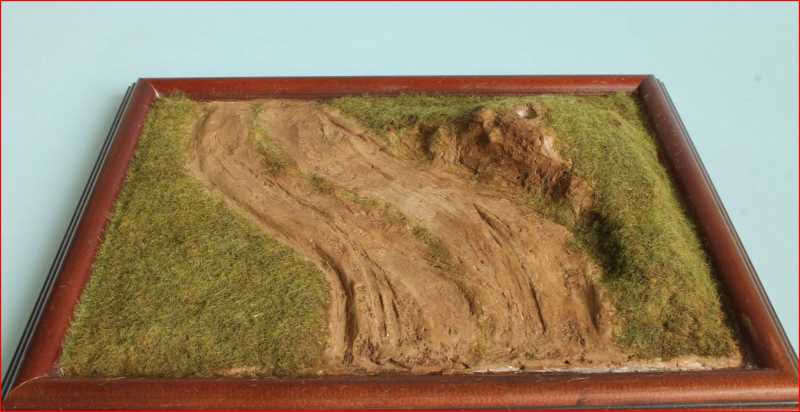
And another pic showing the grass with a raw umber wash and a humbrol yellow dry brush.
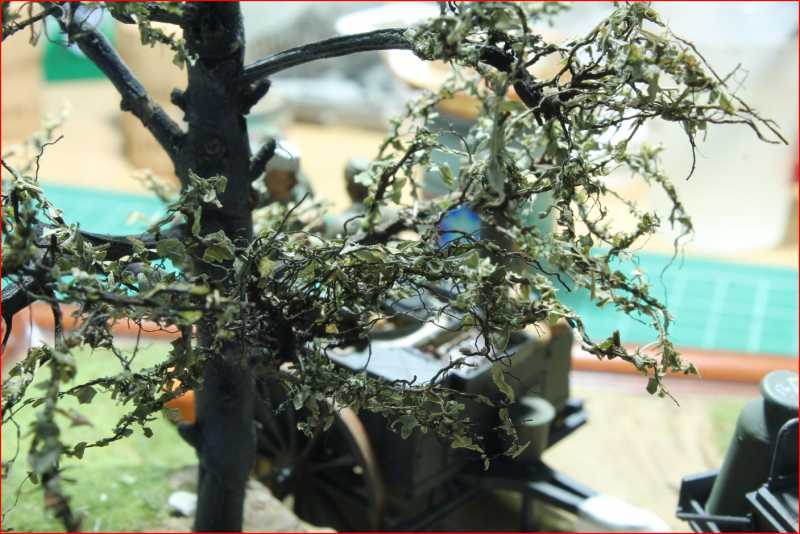
The tree got an overall black (Vallejo primer that is) with an airbrush, then a dry brush treatment with Humbrol 72. Here's the result.
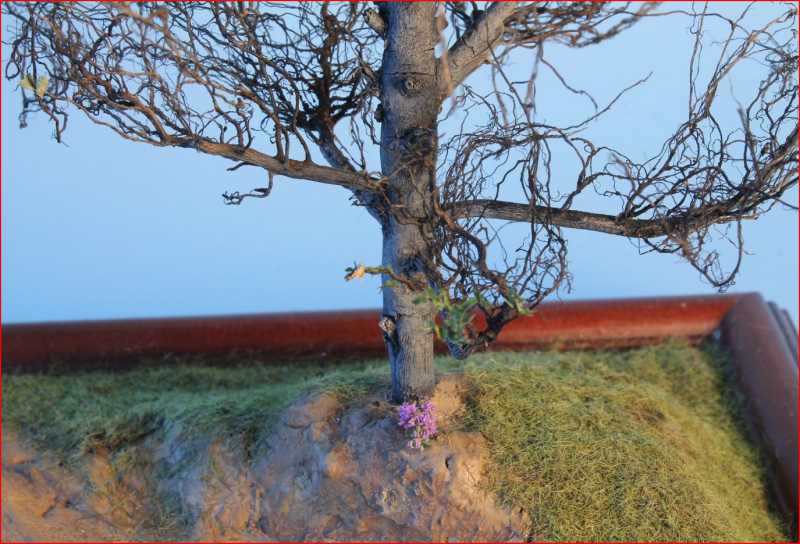
Tomorrow will show some pics with leaves and some additions to the base.
As always, please do express your criticism, ideas and opinions, it will always be much appreciated
Thanks for watching
Laurence
I am a few steps away from finishing the makeover, but I wanted to share the journey so far, something that I have and still am thoroughly enjoying.
This is what it looked like when it was done initially - on the table at Scale ACT in Canberra in November 2013 - got the second place - how the heck did that happen ???
And then I joined MA - and I started giving this little thing a well deserved makeover. To keep it short and reduce the amount of rambling, I have had lots of help and patience and instructions and all things that one doesn't run into on a daily basis. Some sort of divine guidance if you wish
Anyway - here's the progress pics ...
All figures and stuff removed, all that ugly terrain covered in Cell-u-Clay (similar product that I found here)
Then I made it smoother and traced the road and the ditch to the side.
I pinched a bit of a tree like section from an unidentified bush, then placed it on the mound with a figure on the base to get a sense of proportions.
Then I gave the whole base a coat of Humbrol Matt 29, then another one when the first one dried
Second coat
The hole on the mound is obviously for the tree. :smack
Then, once the base coat was on, time for the static grass - here it is after two applications to cover it properly.
And another pic showing the grass with a raw umber wash and a humbrol yellow dry brush.
The tree got an overall black (Vallejo primer that is) with an airbrush, then a dry brush treatment with Humbrol 72. Here's the result.
Tomorrow will show some pics with leaves and some additions to the base.
As always, please do express your criticism, ideas and opinions, it will always be much appreciated
Thanks for watching
Laurence