135engineer
Active member
I was asked recently how I did fades on my armor. So here goes a step by step . Hope it is informative.
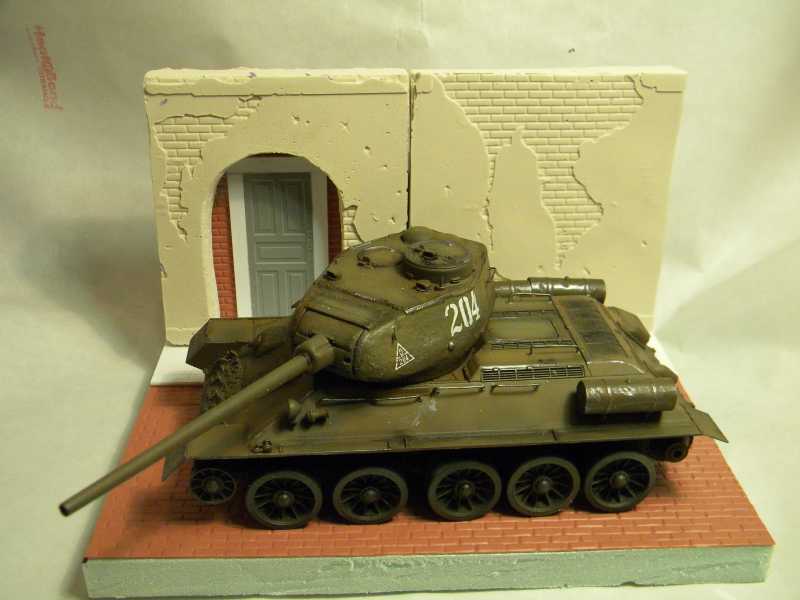
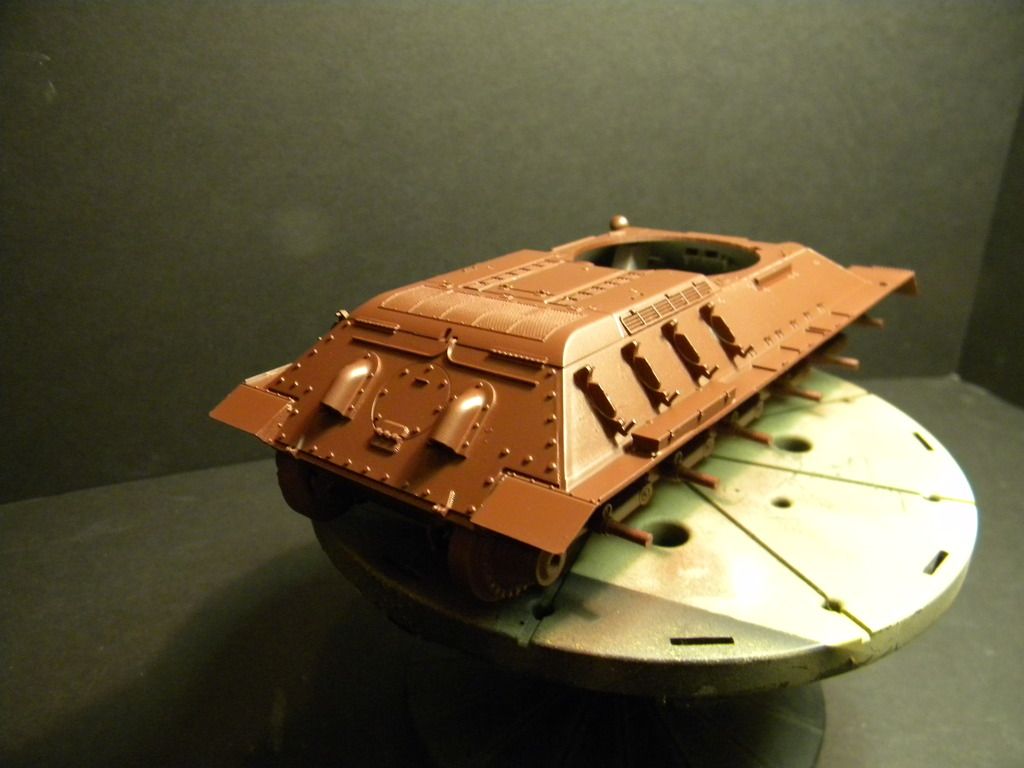
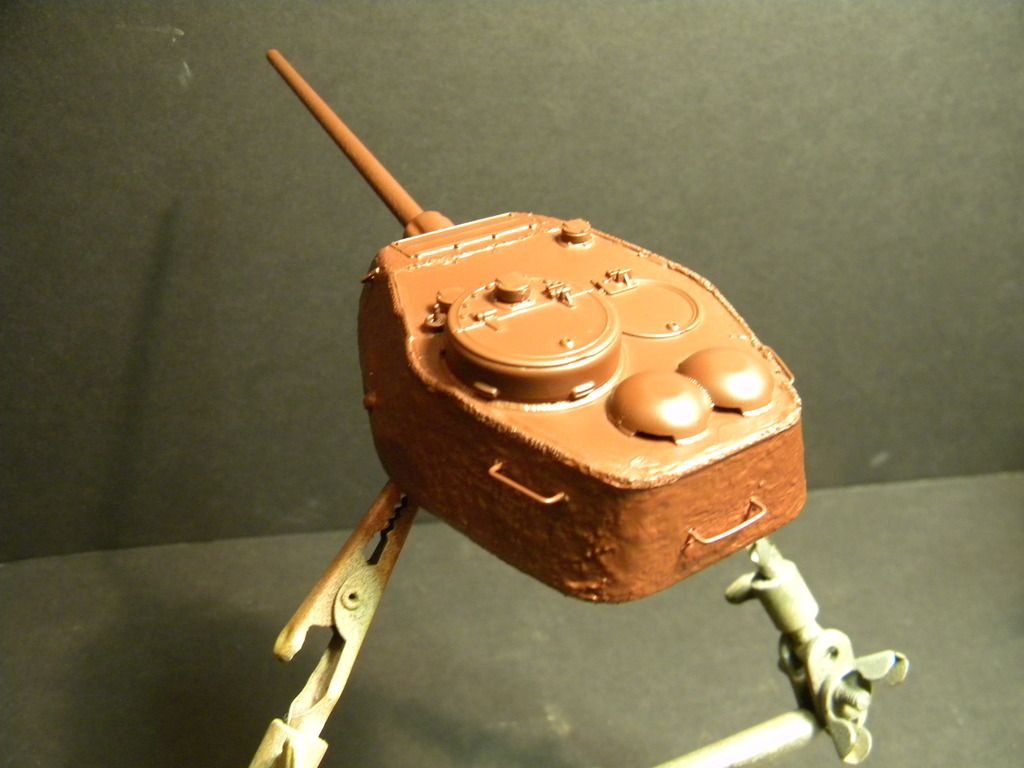
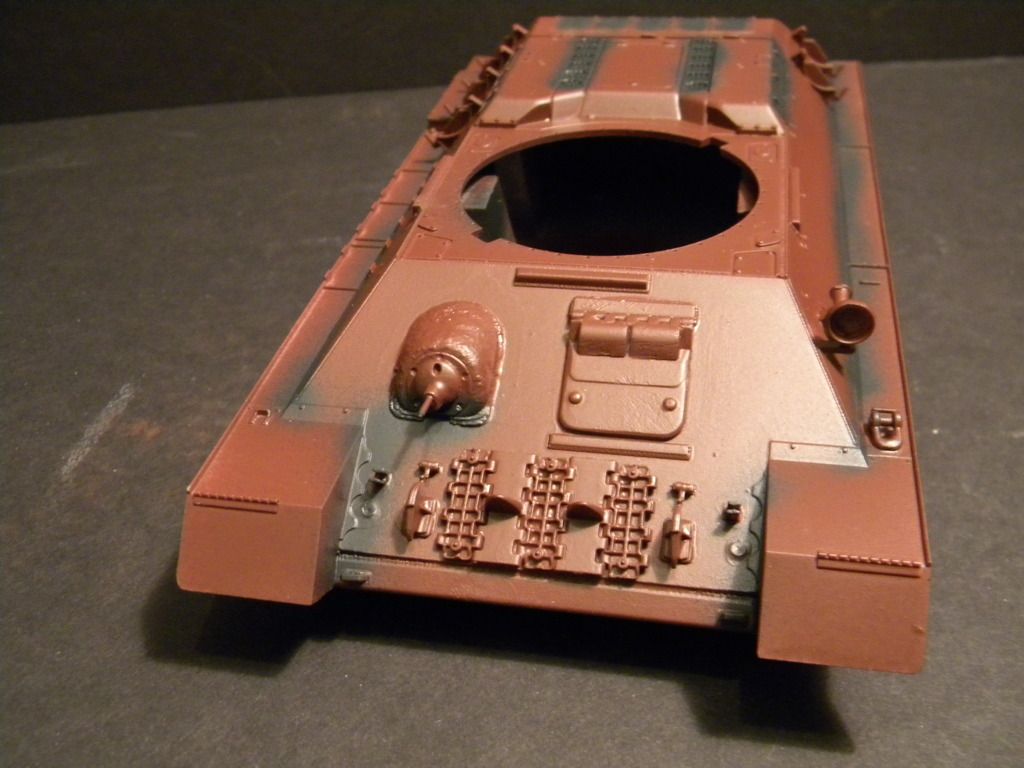
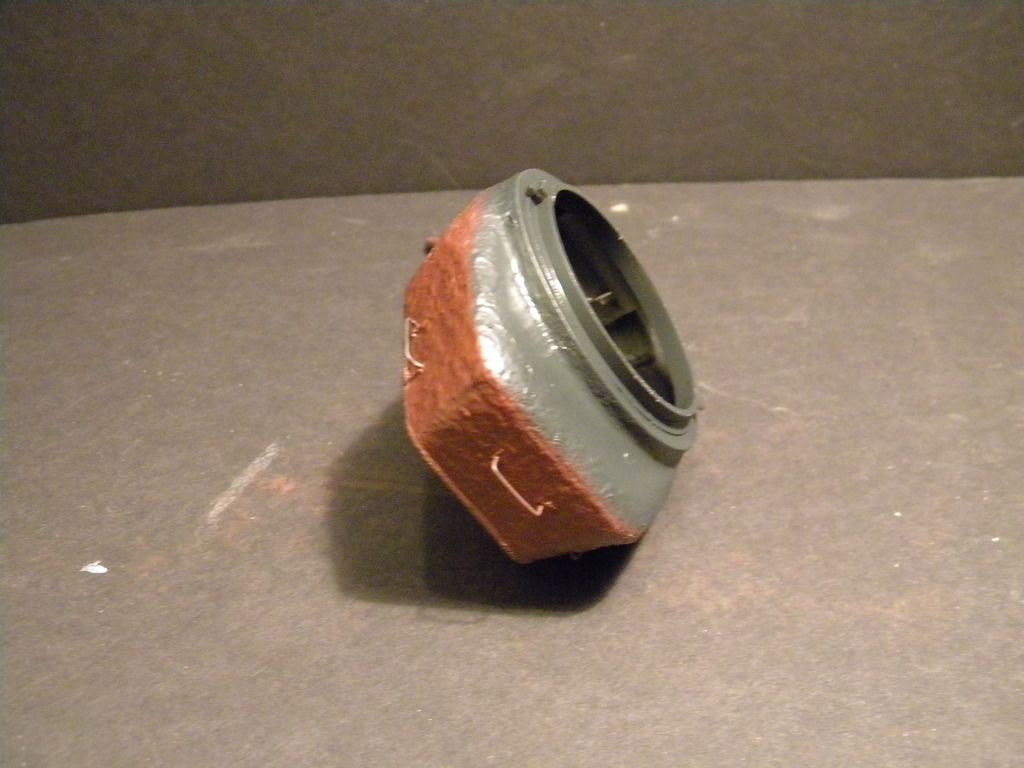
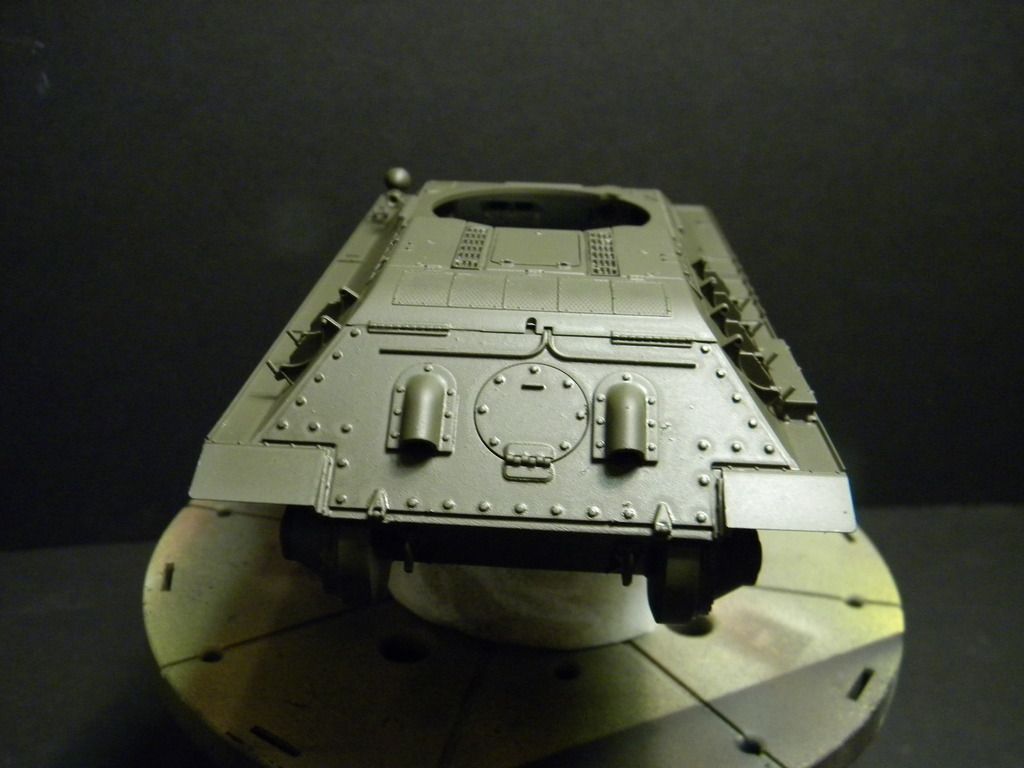
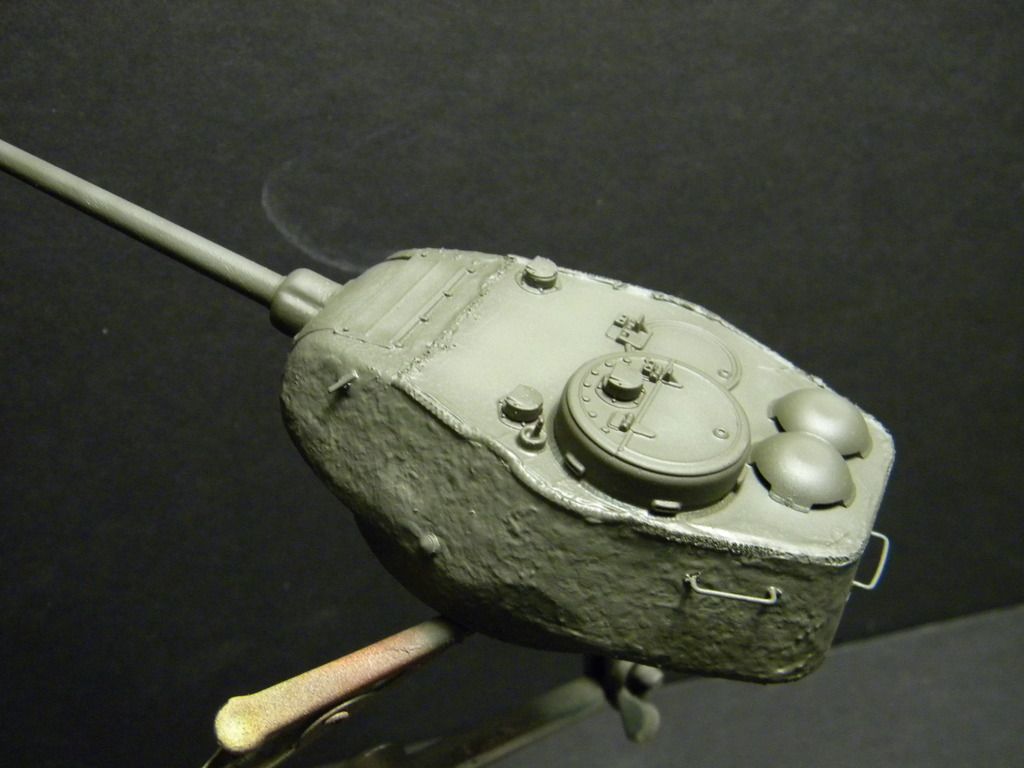
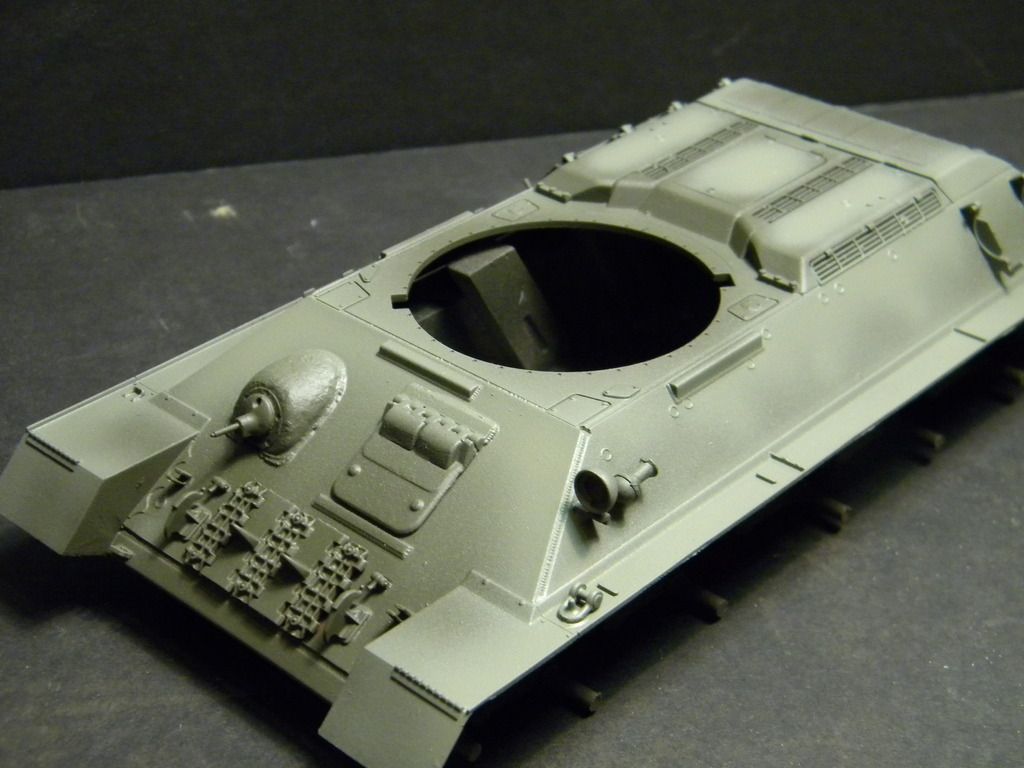
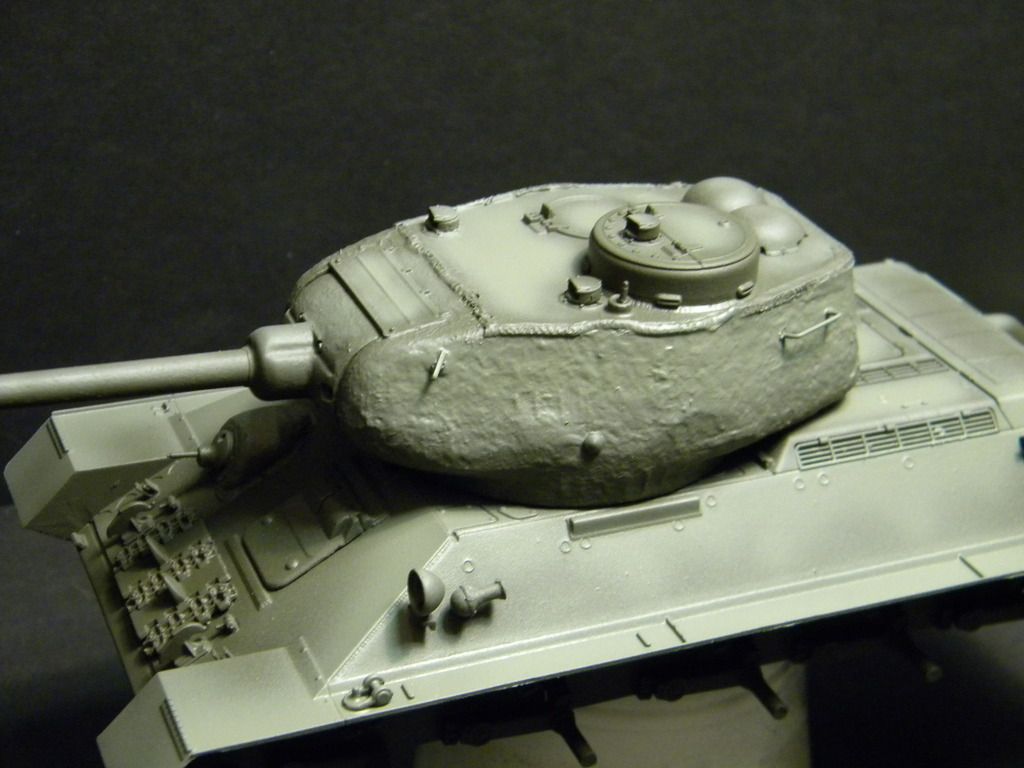
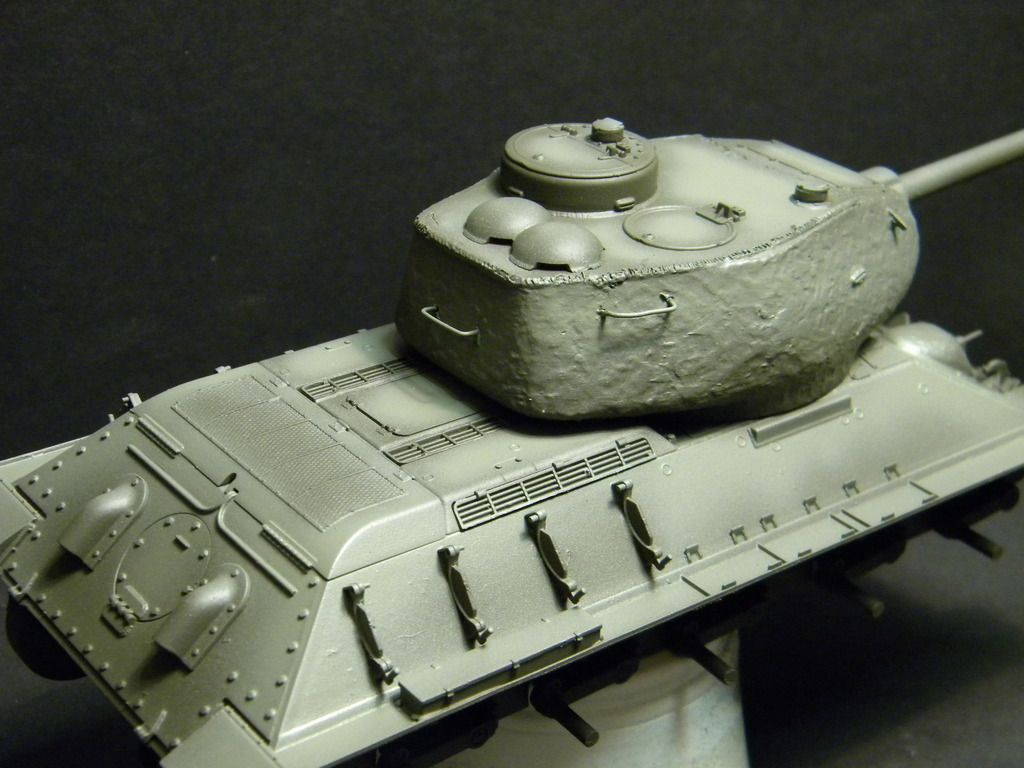
First I started with a dragon t-34/85 went through all the build process . In addition I added a weld bead to the upper plate of the turret and a sand cast texture to the turret and the bow mg.
The grab handles on the turret were replaced with wire.
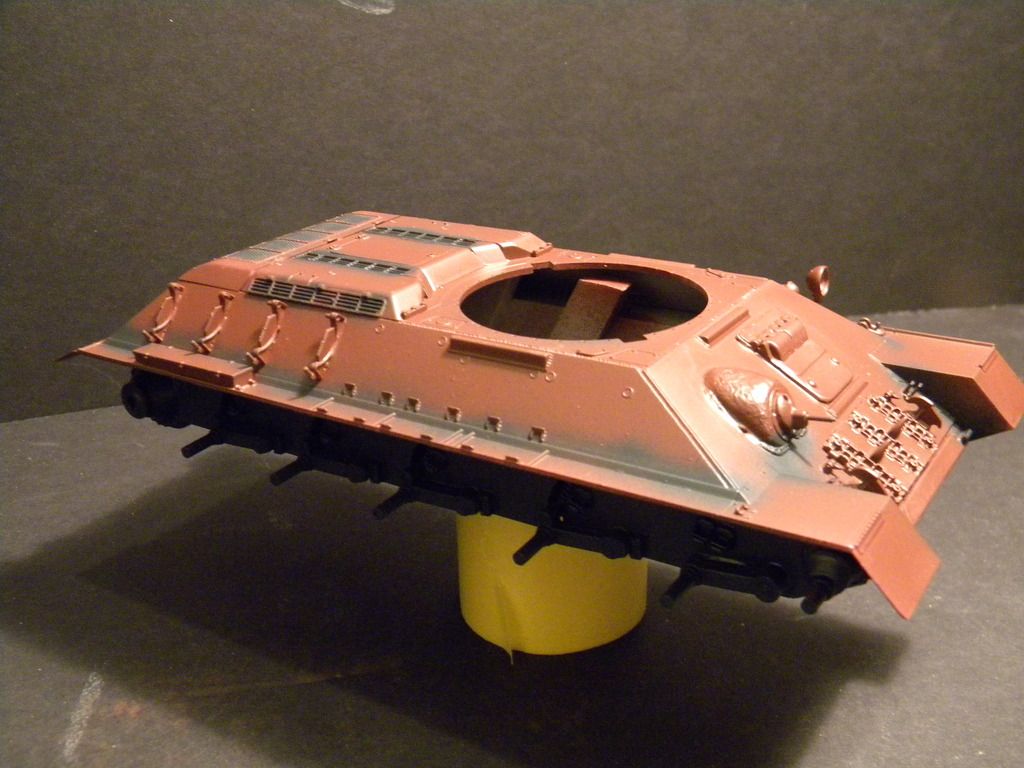
The paint process begins with a couple light coats of red brown . I use red brown for this because it is easier to see the final colors in the following steps.

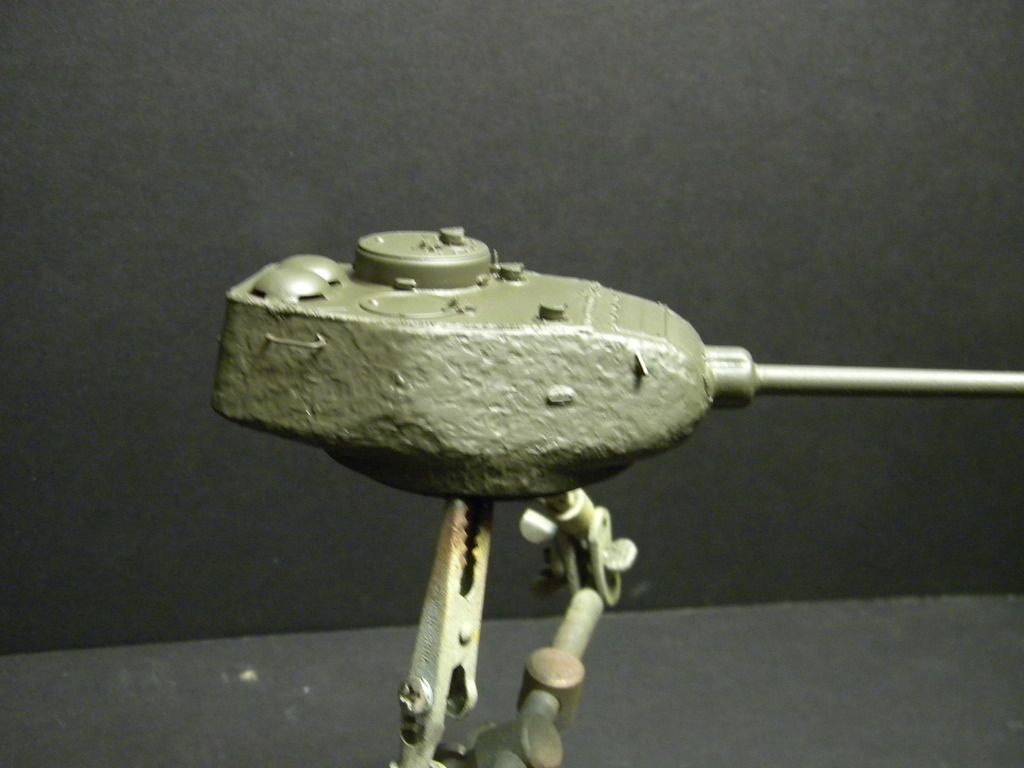
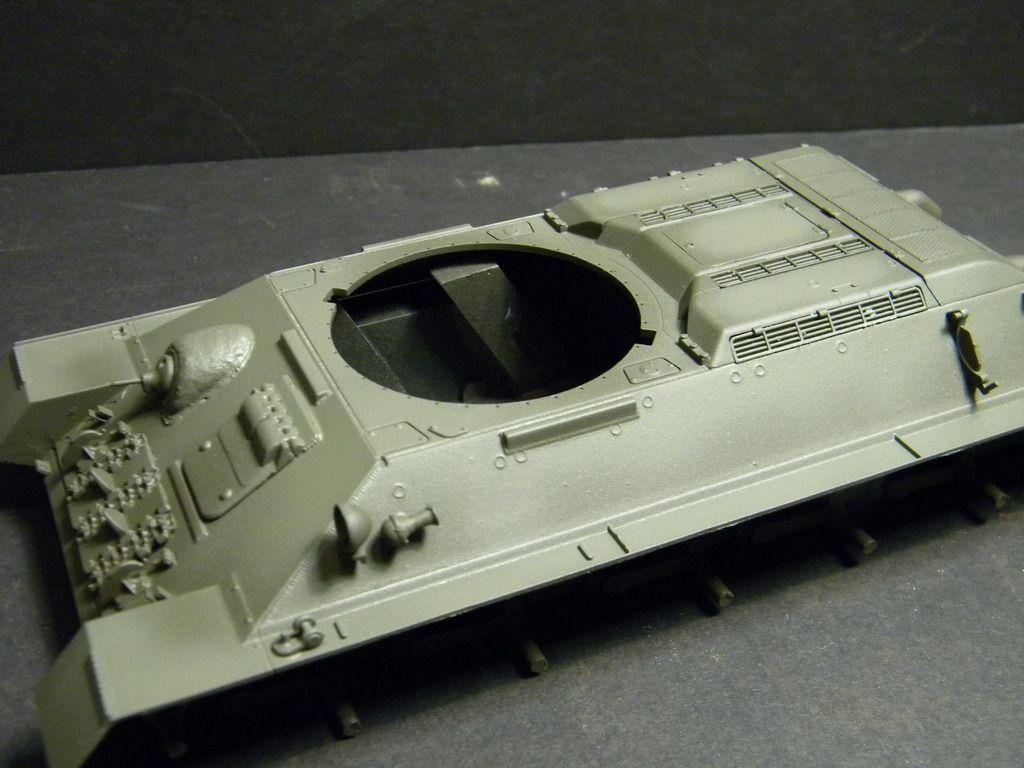
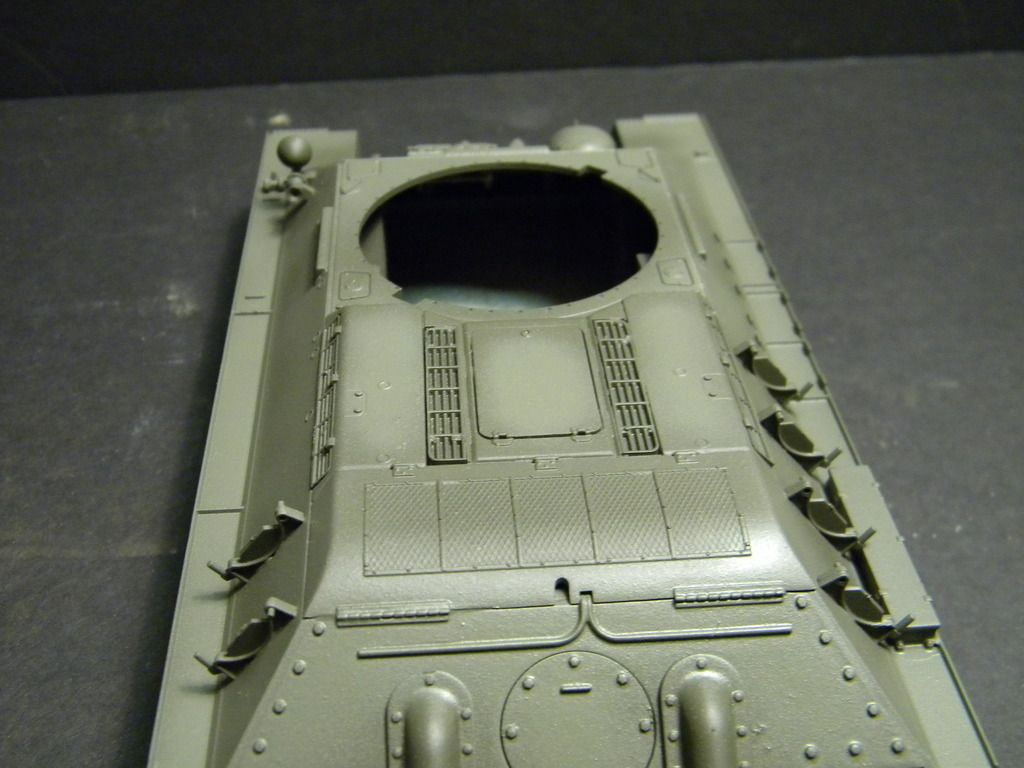
Next I will spray the lower surfaces and any upper areas that would have a shadow with a dark panzer grey or tire black. This aides in deceiving the eye into seeing depth and shadow in a subtle manner when the top color is laid over it.
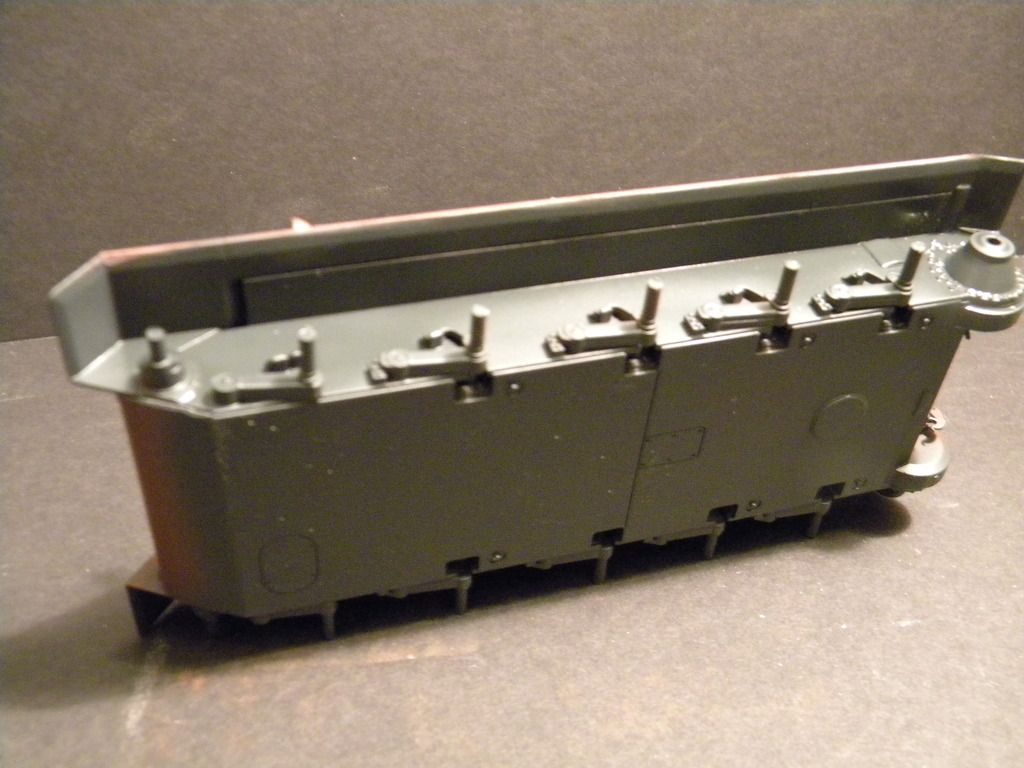
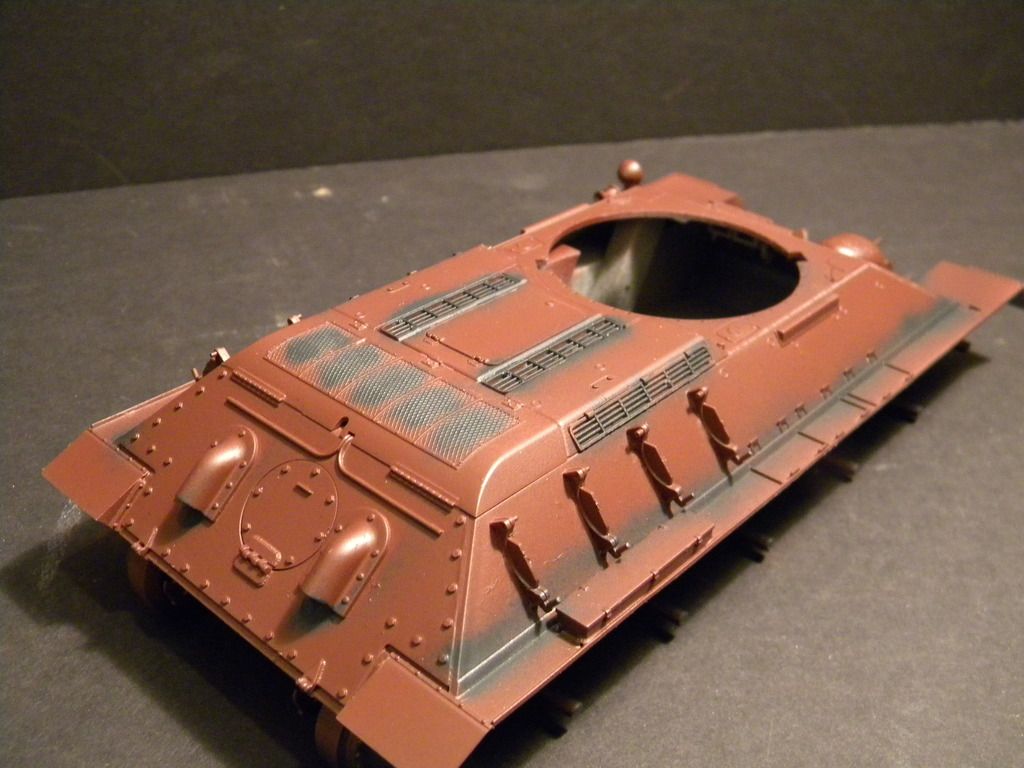
The engine grilles and air intakes are not completely covered in the grey black but rather the center area is done fading to the edges.
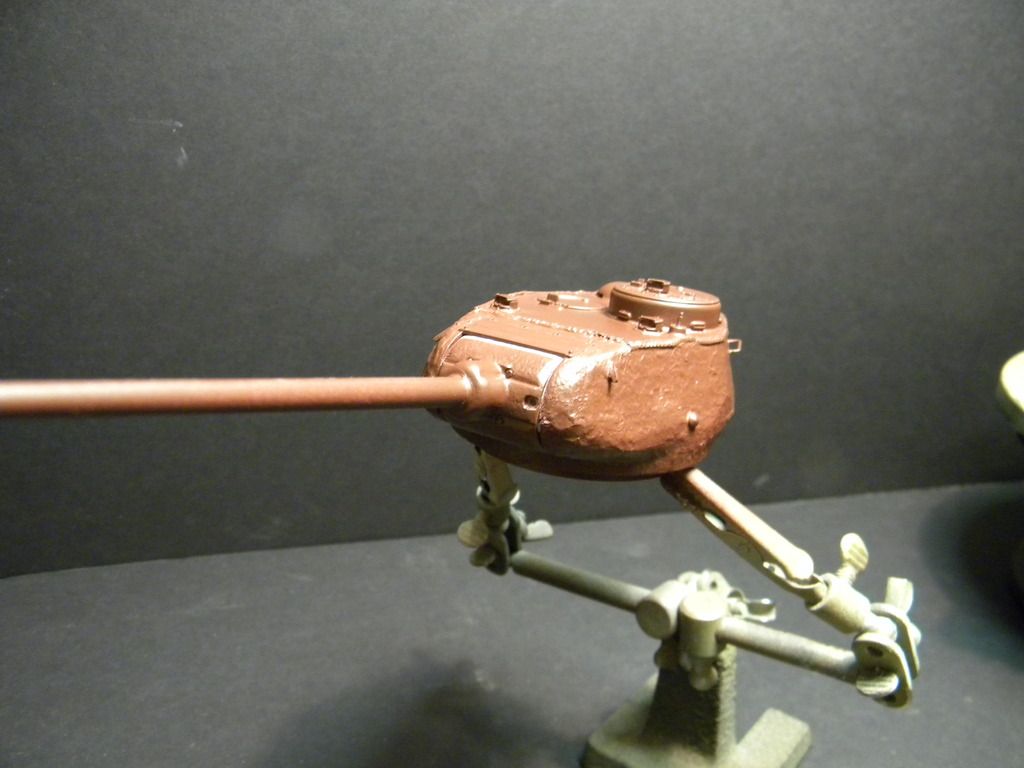
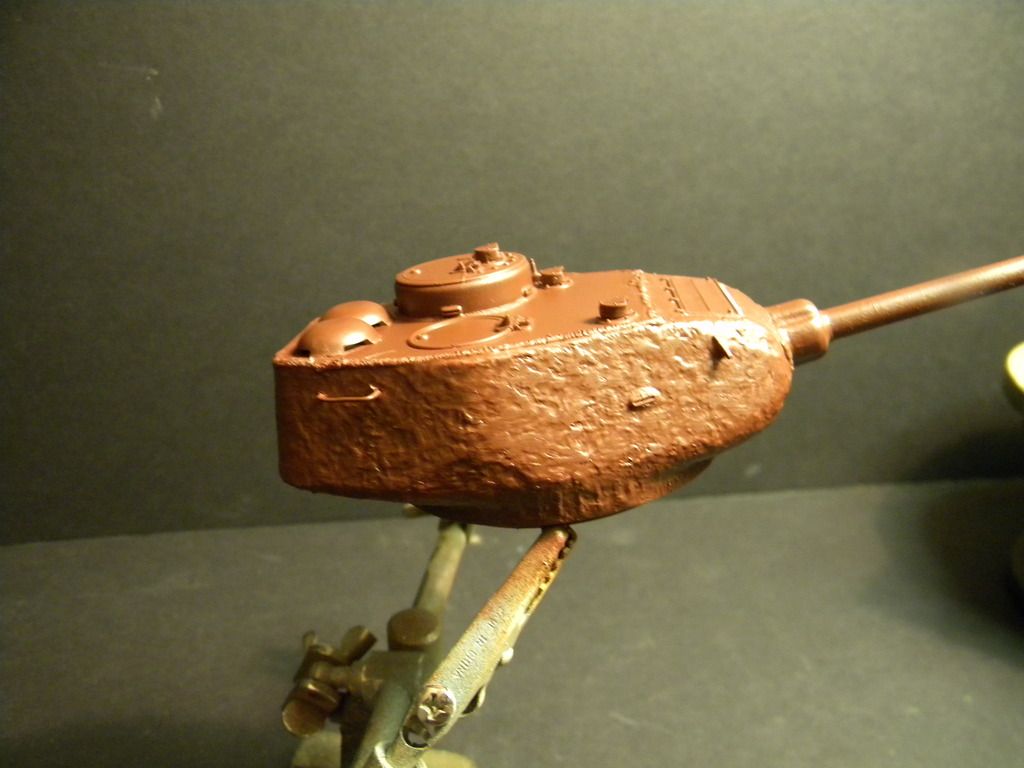
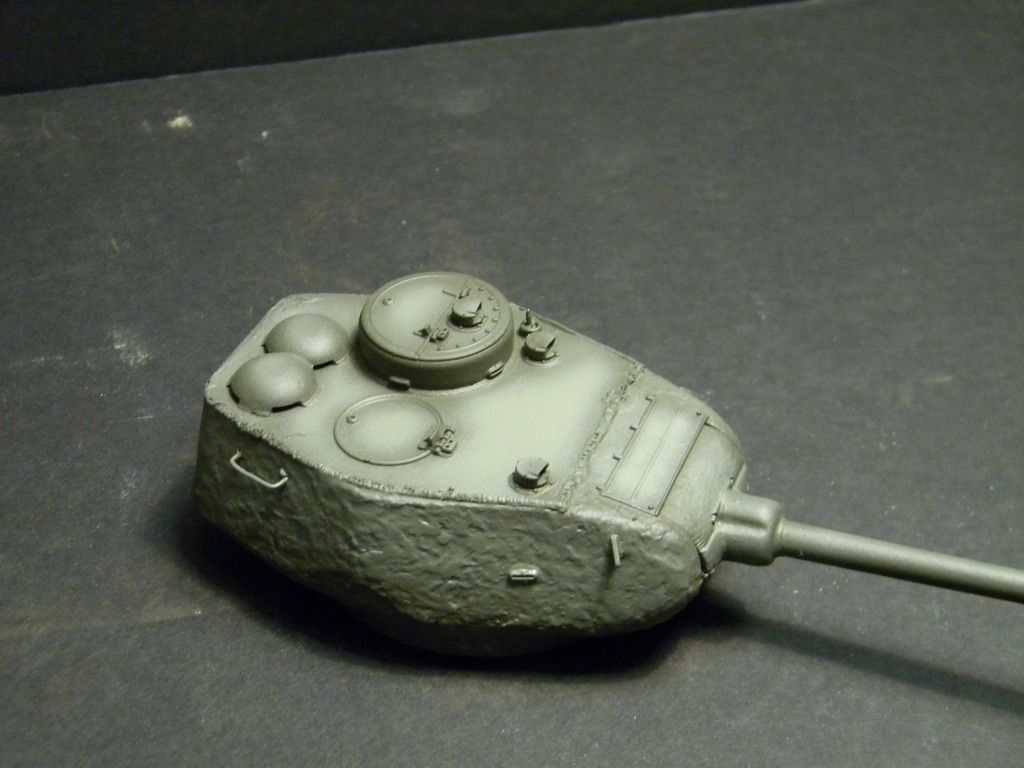
The turret receives the same treatment as well.

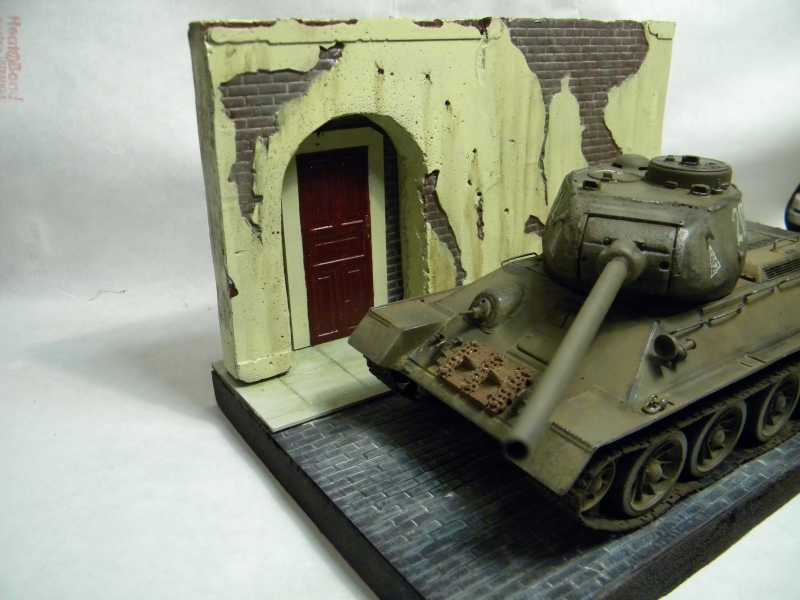
Now that the pre shadow is in place . I will start applying light coats of a top color that is darker than what I want the final color to be . Green is a great color to work with it is easily toned down and faded.
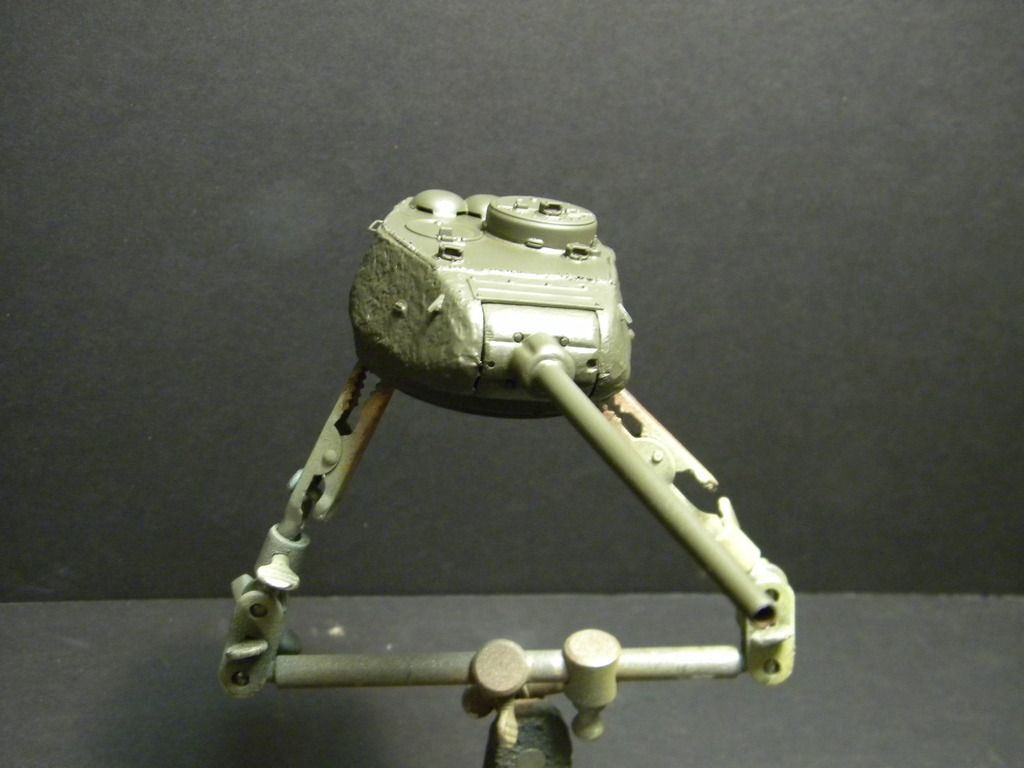
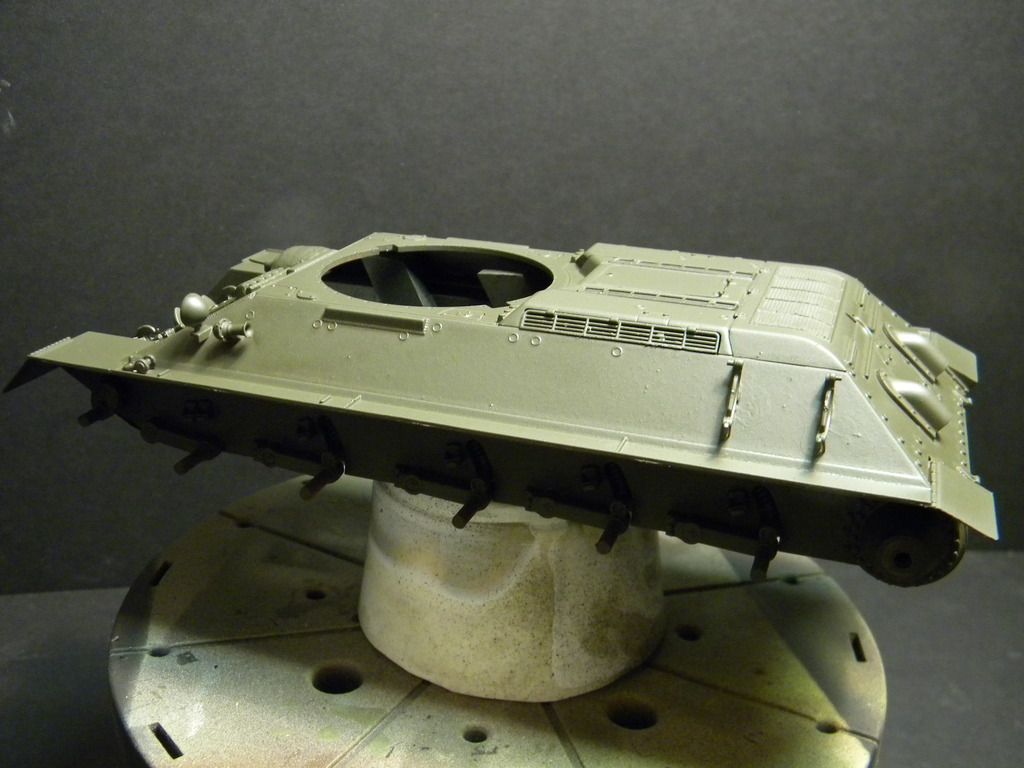

The process is fairly simple I use a standard Valejo paint cut aprox 15 % with a universal acrylic thinner. This works with any of the valejo colors lighter colors need less thinner.
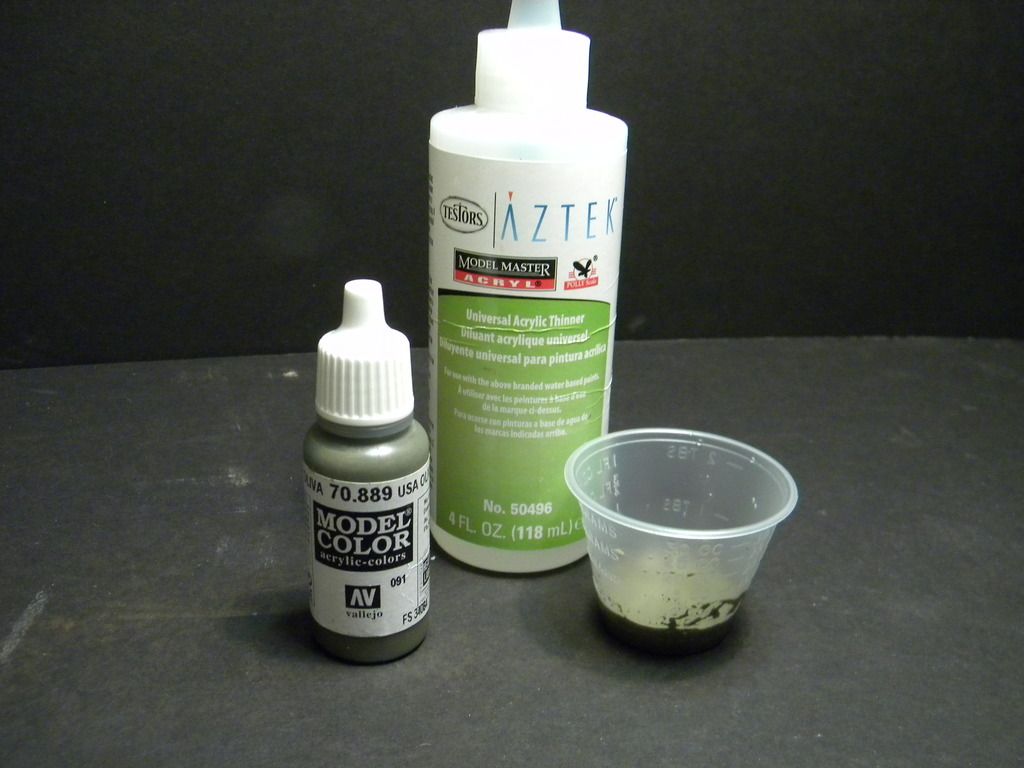
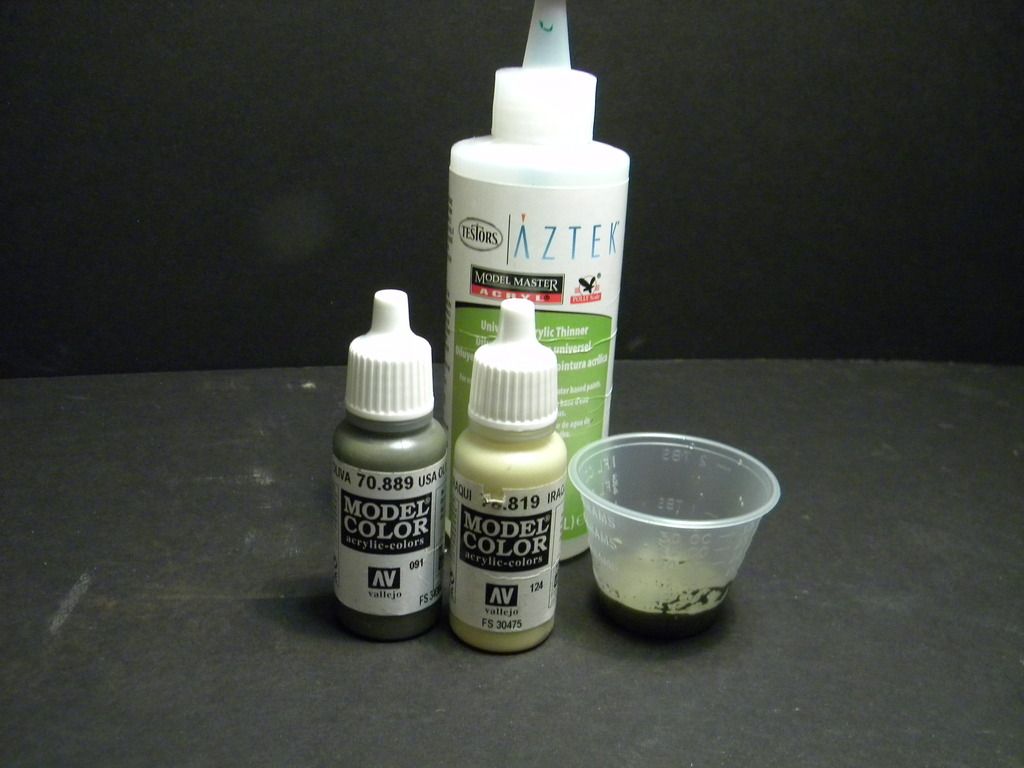
To start the fade process I add a little sand color to the original mix aprox 10%. Then starting in the center of each panel work out to the edges lightly applying this mix.
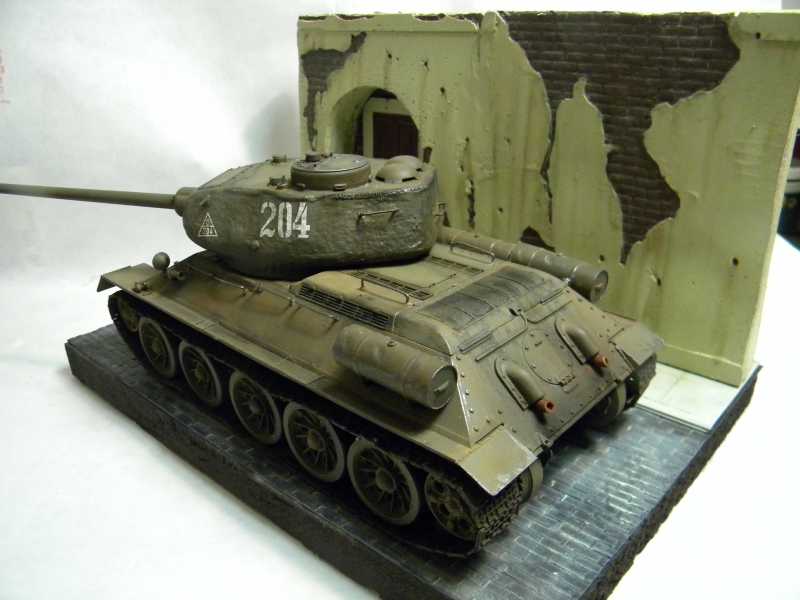
Here it is atarting to get that subtle faded look.
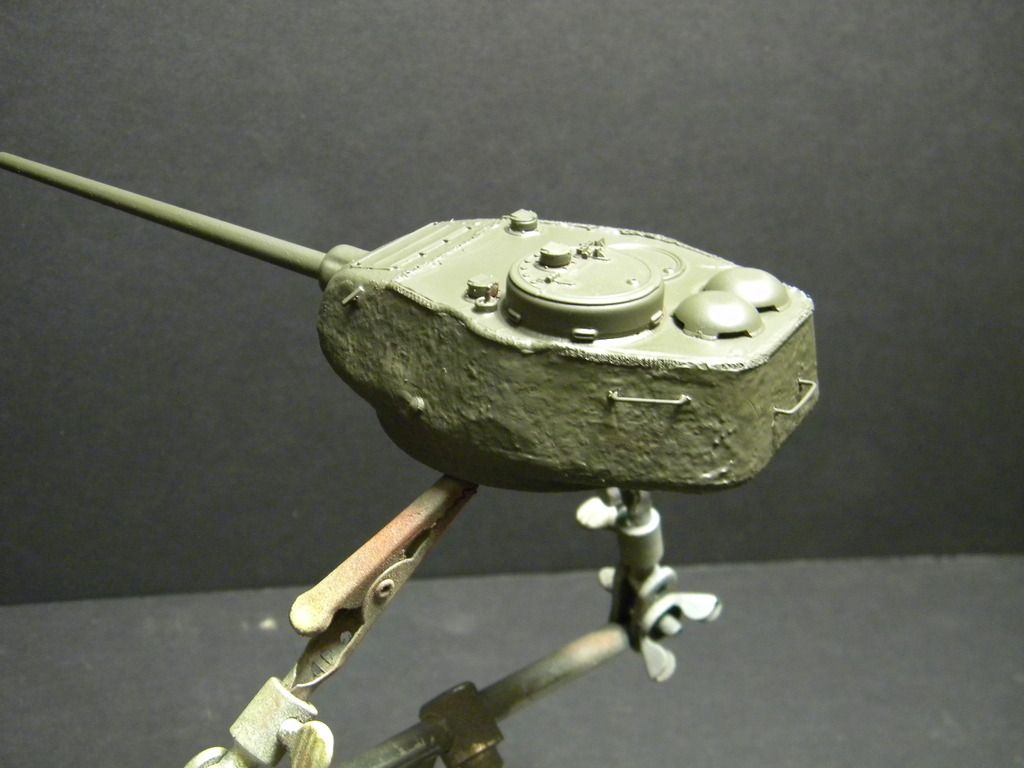
The next step is simple add 10% more of the sand color to the mix again now for a total of 20% and repeat the process.


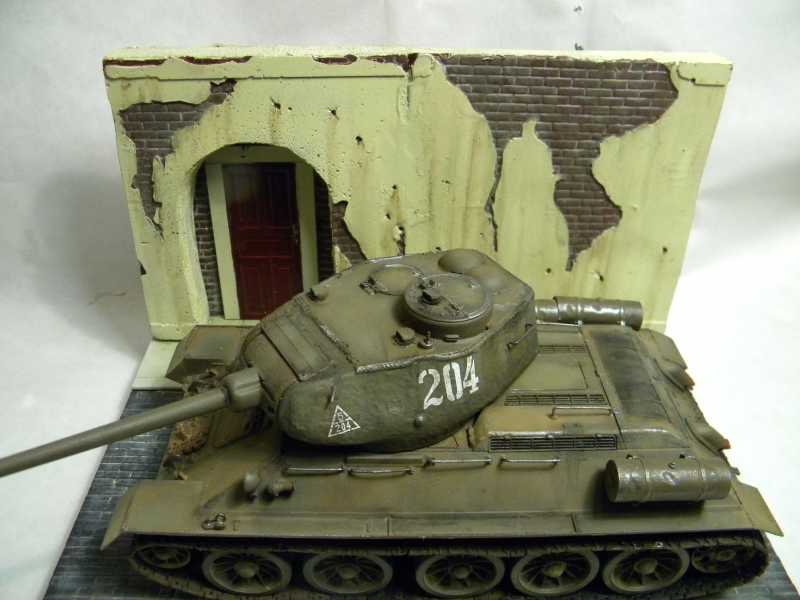
This subtle color fading now leaves a foundation for the filter effect that will blend and tie it all together . The filter and some pigments will bring a subtle and natural faded look to the vehicle.
Next step is to do the filter. Back to the bench for now
First I started with a dragon t-34/85 went through all the build process . In addition I added a weld bead to the upper plate of the turret and a sand cast texture to the turret and the bow mg.
The grab handles on the turret were replaced with wire.
The paint process begins with a couple light coats of red brown . I use red brown for this because it is easier to see the final colors in the following steps.


Next I will spray the lower surfaces and any upper areas that would have a shadow with a dark panzer grey or tire black. This aides in deceiving the eye into seeing depth and shadow in a subtle manner when the top color is laid over it.


The engine grilles and air intakes are not completely covered in the grey black but rather the center area is done fading to the edges.
The turret receives the same treatment as well.


Now that the pre shadow is in place . I will start applying light coats of a top color that is darker than what I want the final color to be . Green is a great color to work with it is easily toned down and faded.


The process is fairly simple I use a standard Valejo paint cut aprox 15 % with a universal acrylic thinner. This works with any of the valejo colors lighter colors need less thinner.

To start the fade process I add a little sand color to the original mix aprox 10%. Then starting in the center of each panel work out to the edges lightly applying this mix.

Here it is atarting to get that subtle faded look.


The next step is simple add 10% more of the sand color to the mix again now for a total of 20% and repeat the process.


This subtle color fading now leaves a foundation for the filter effect that will blend and tie it all together . The filter and some pigments will bring a subtle and natural faded look to the vehicle.
Next step is to do the filter. Back to the bench for now
")