• Modelers Alliance has updated the forum software on our website. We have migrated all post, content and user accounts but we could not migrate the passwords.
    This requires that you manually reset your password.
    Please click here, http://modelersalliance.org/forums/login to go to logon page and use the "Forgot your Password" option.

Steven's build- Cyberhobby's sturmpanzer 43

stevenk

Member
Hello everyone!

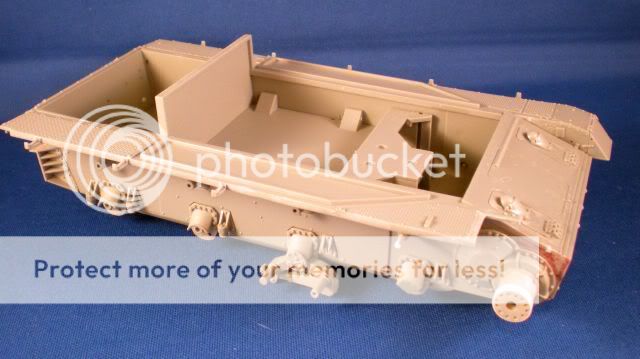
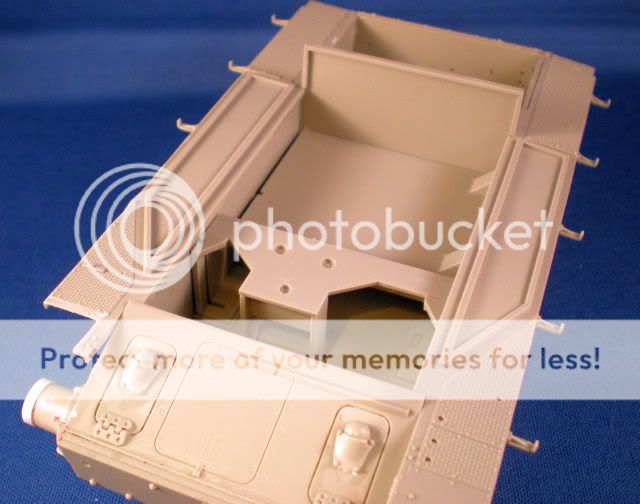
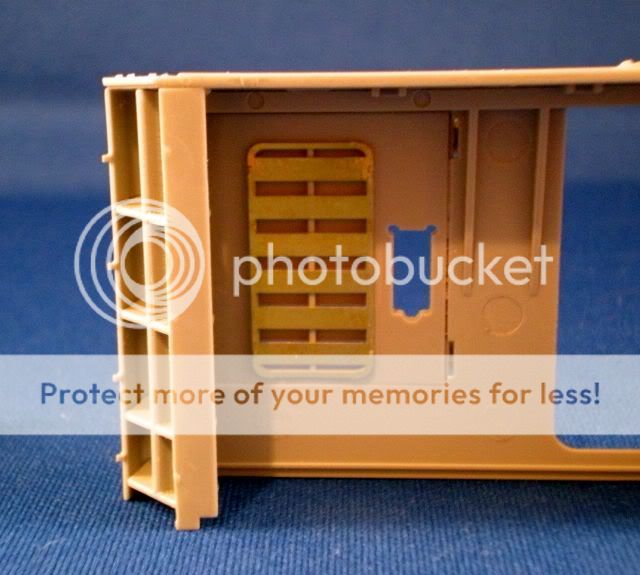
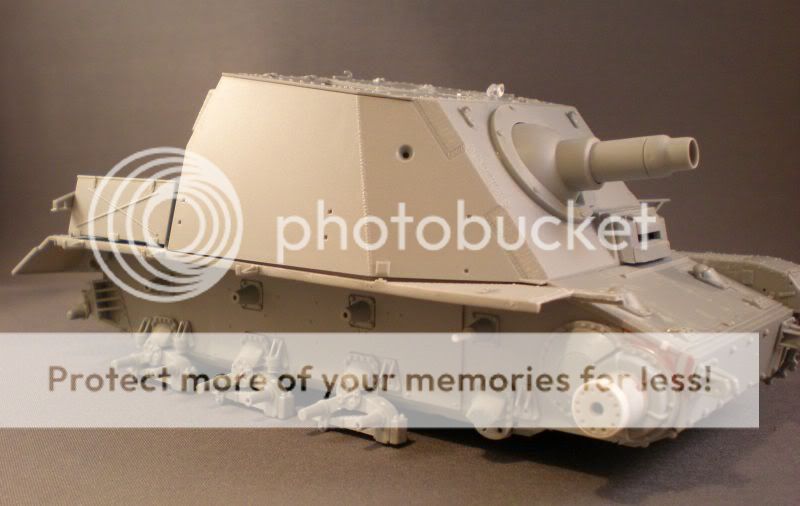
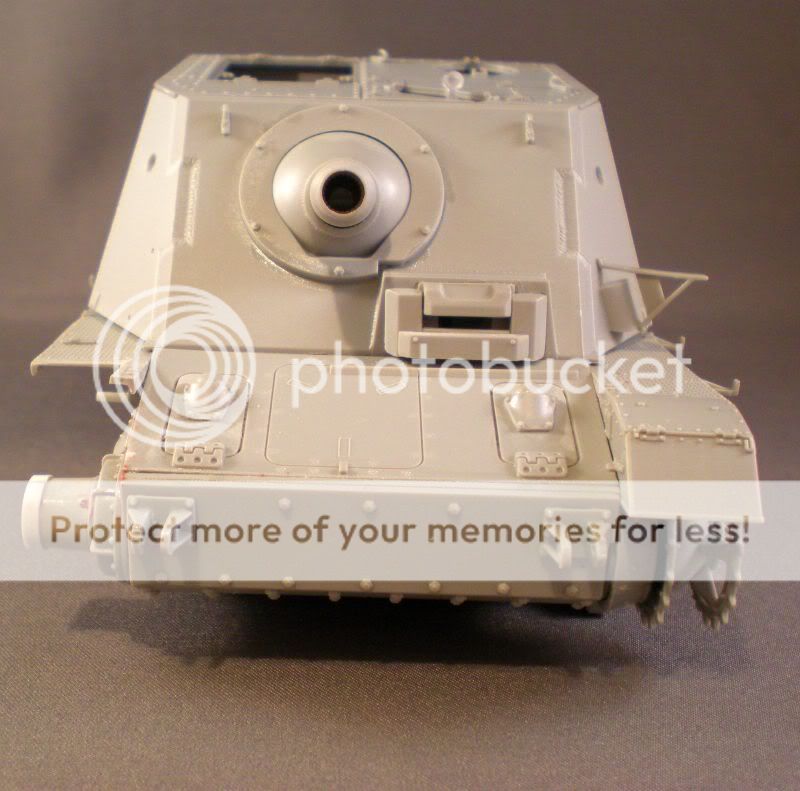
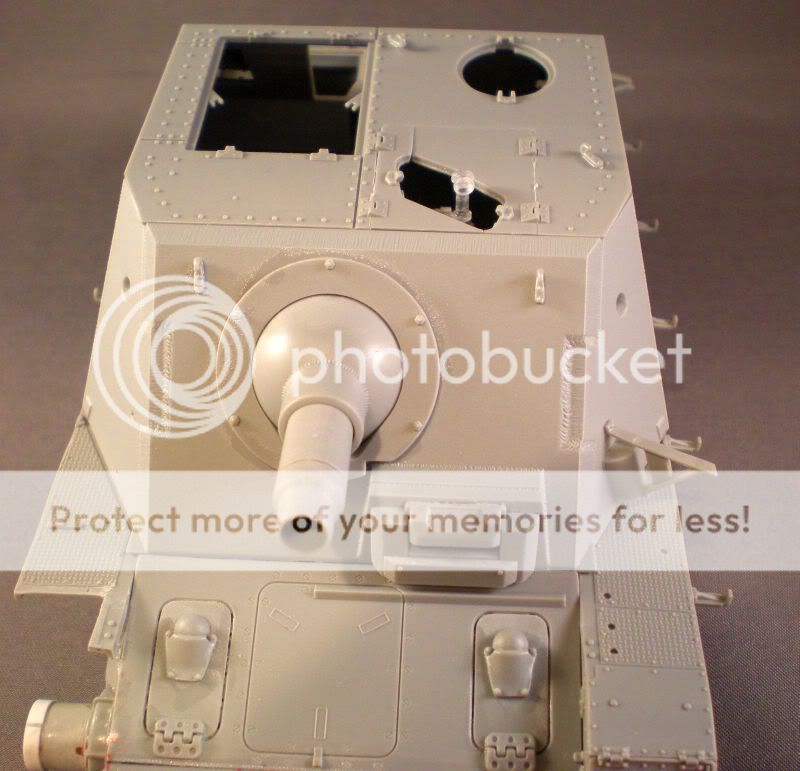
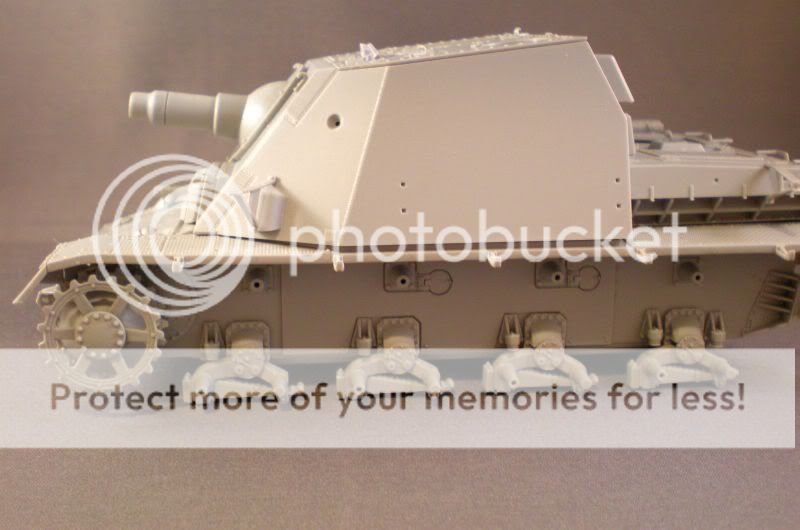
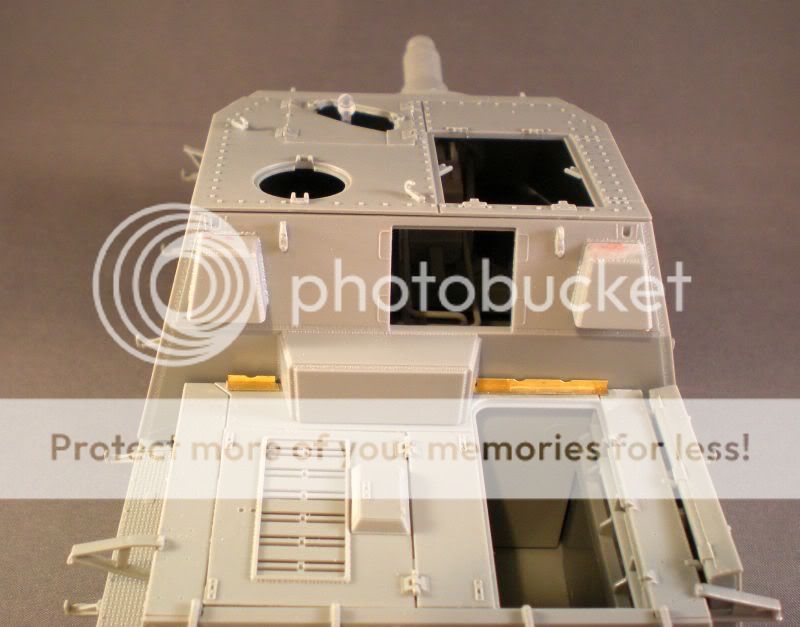
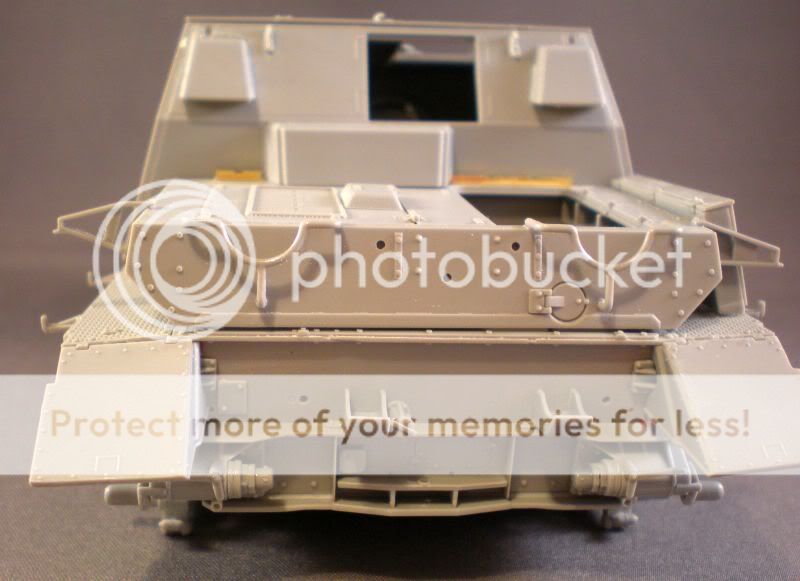
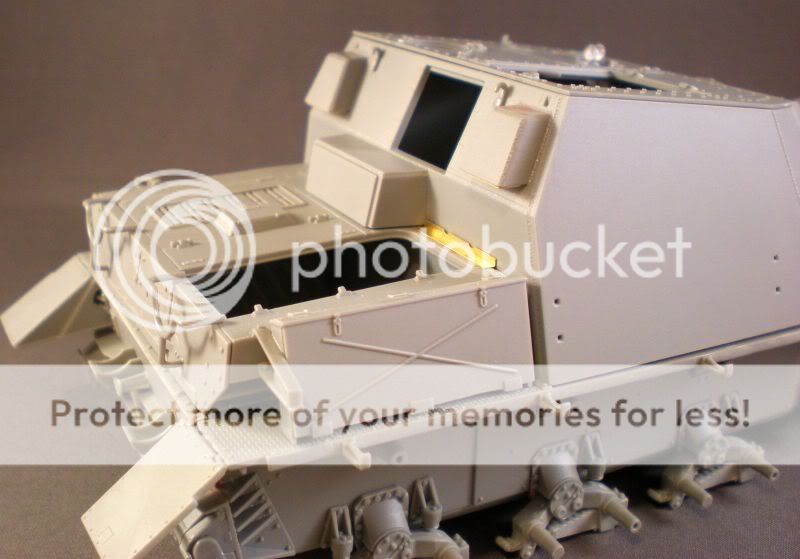
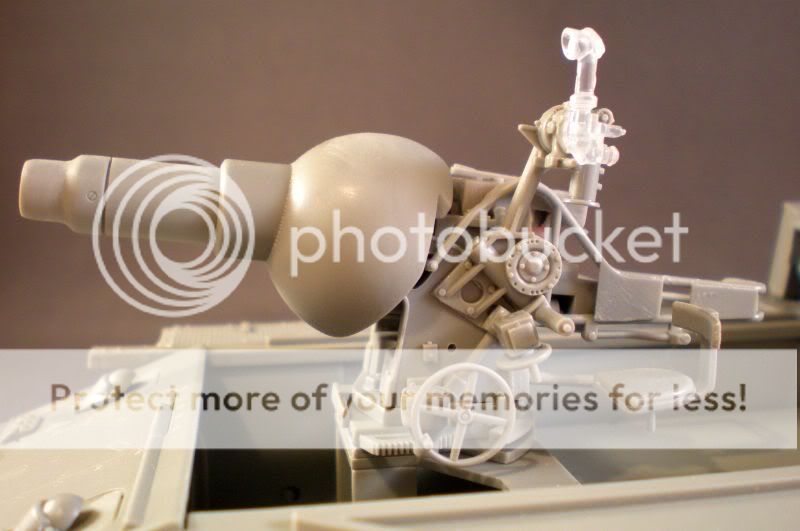
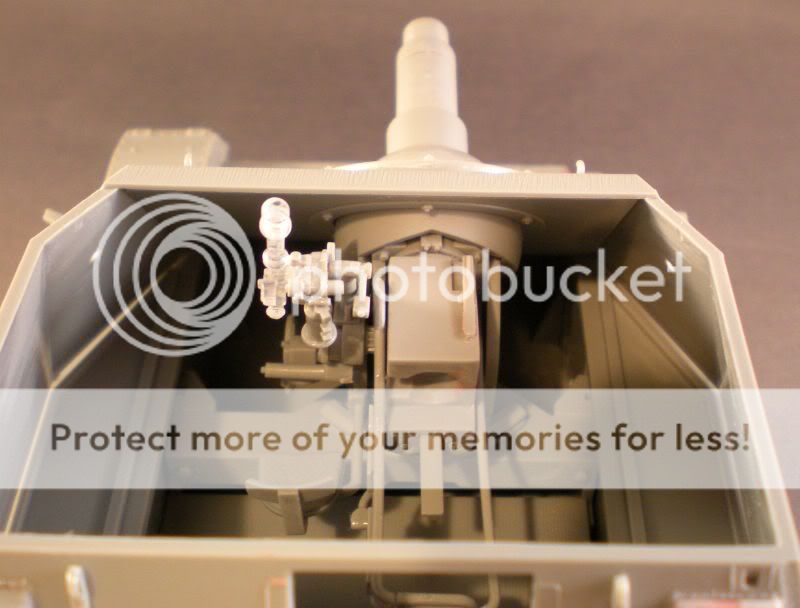
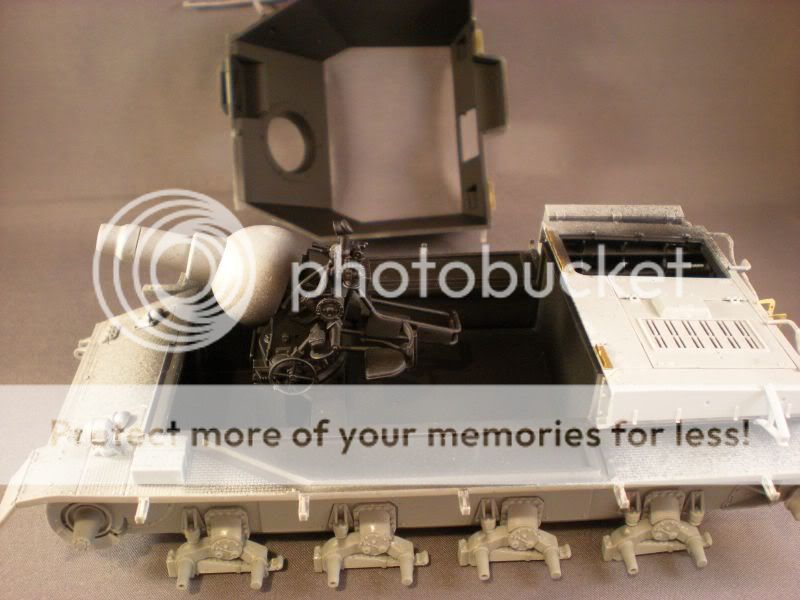
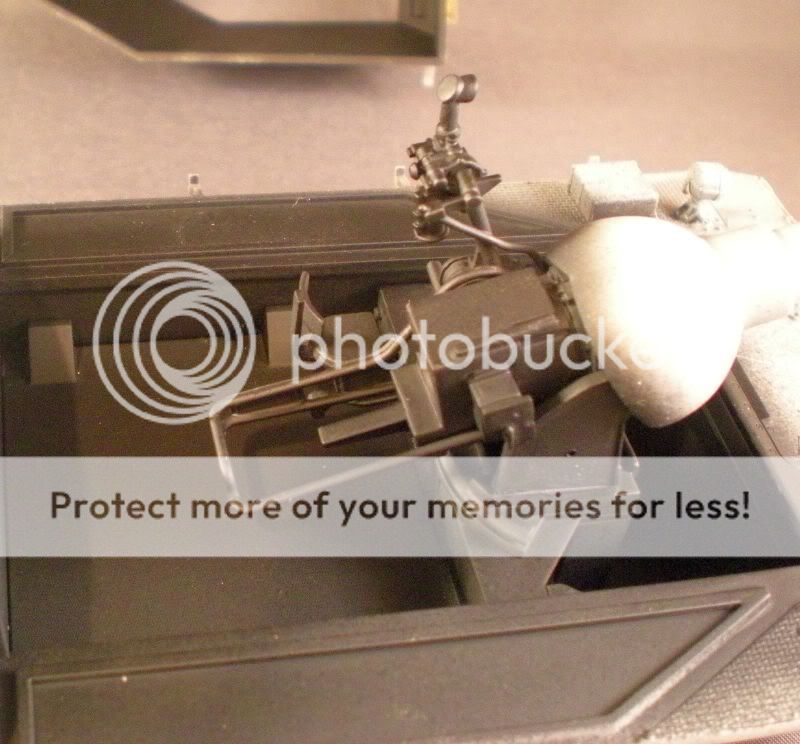
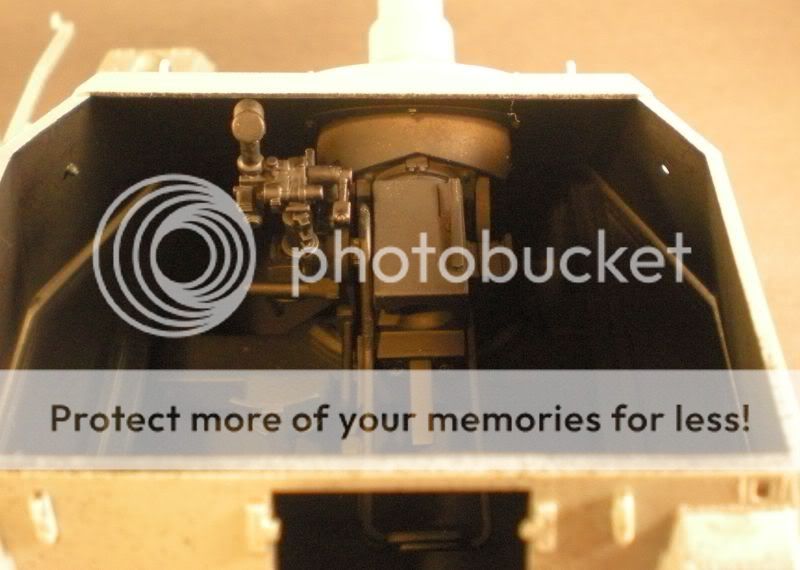
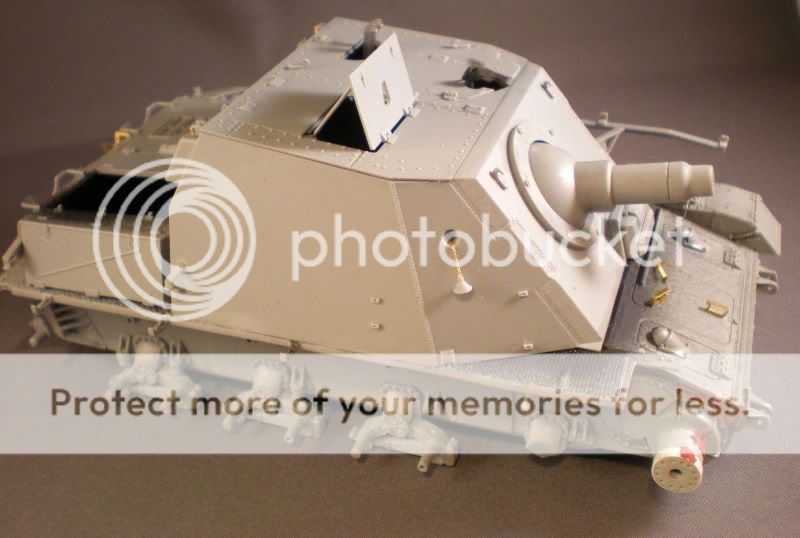
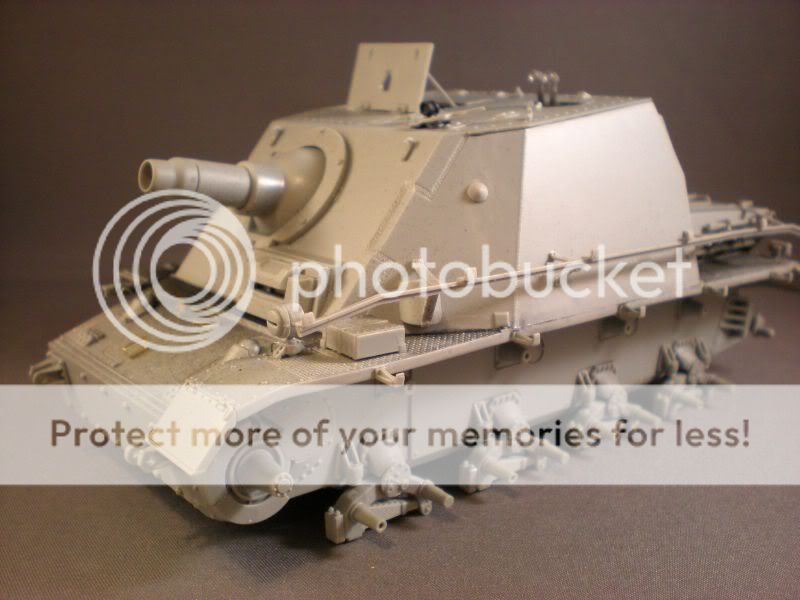
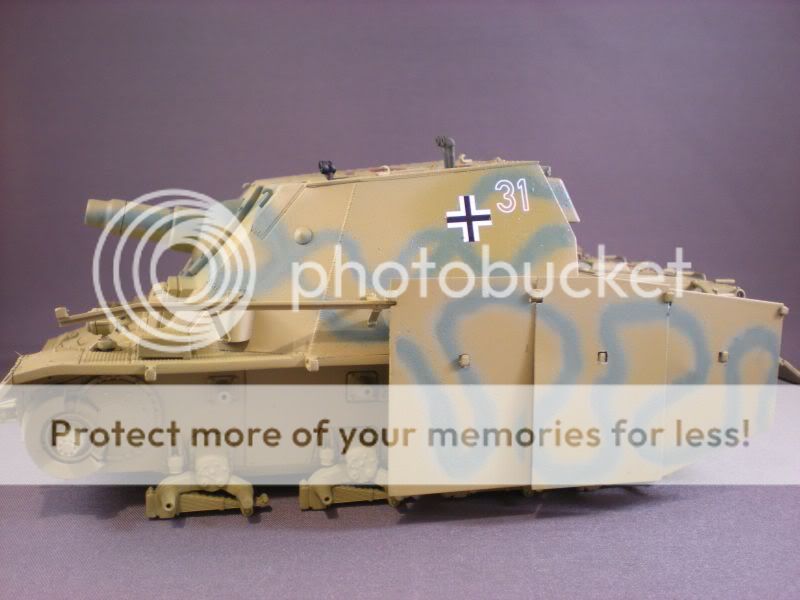
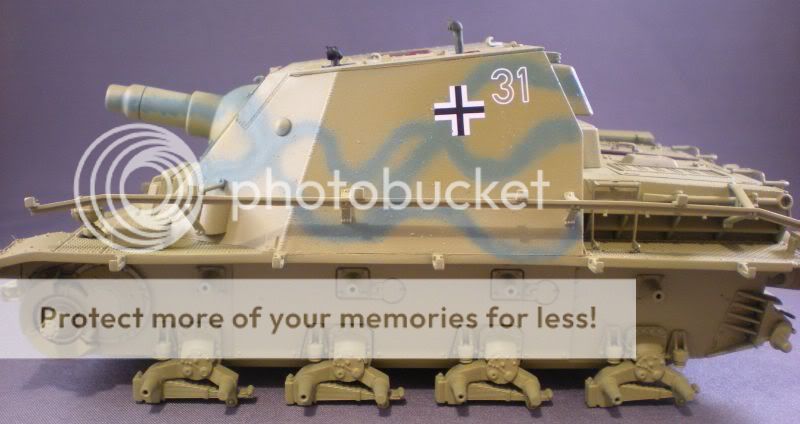
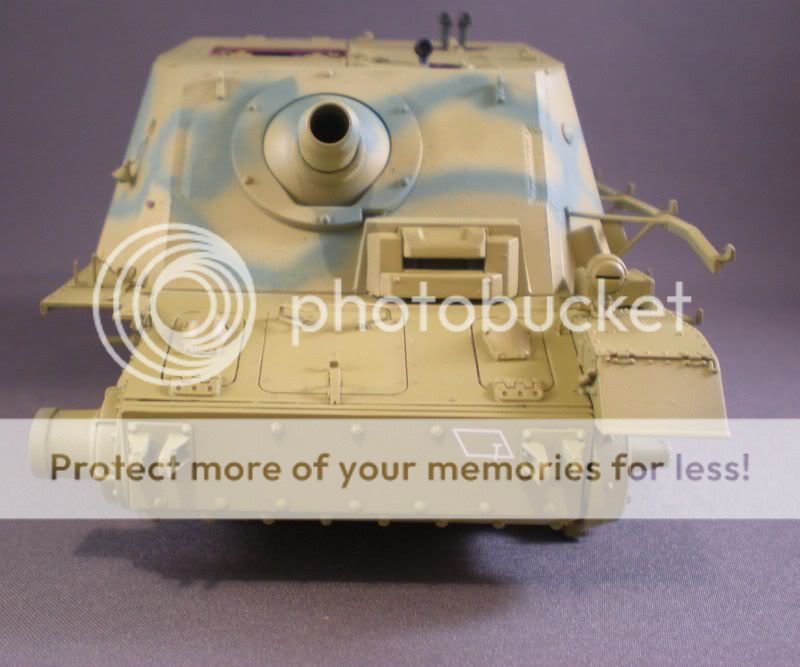
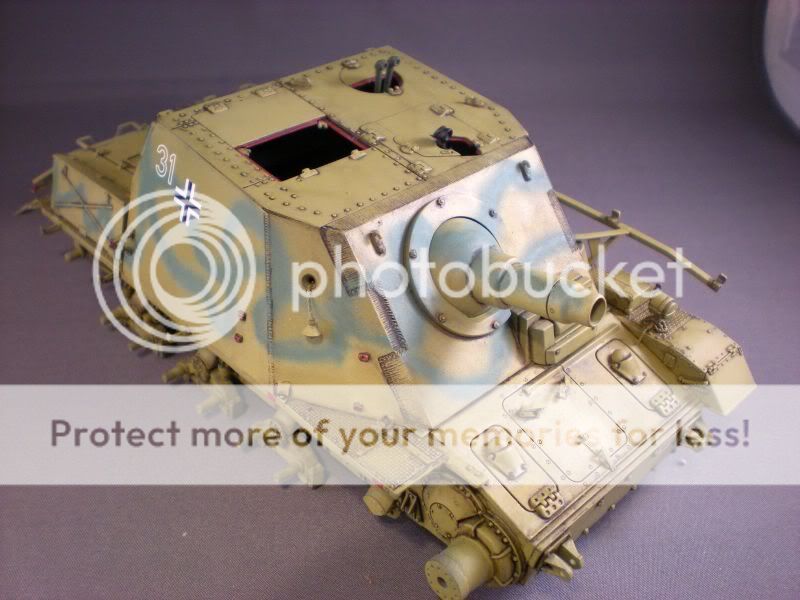
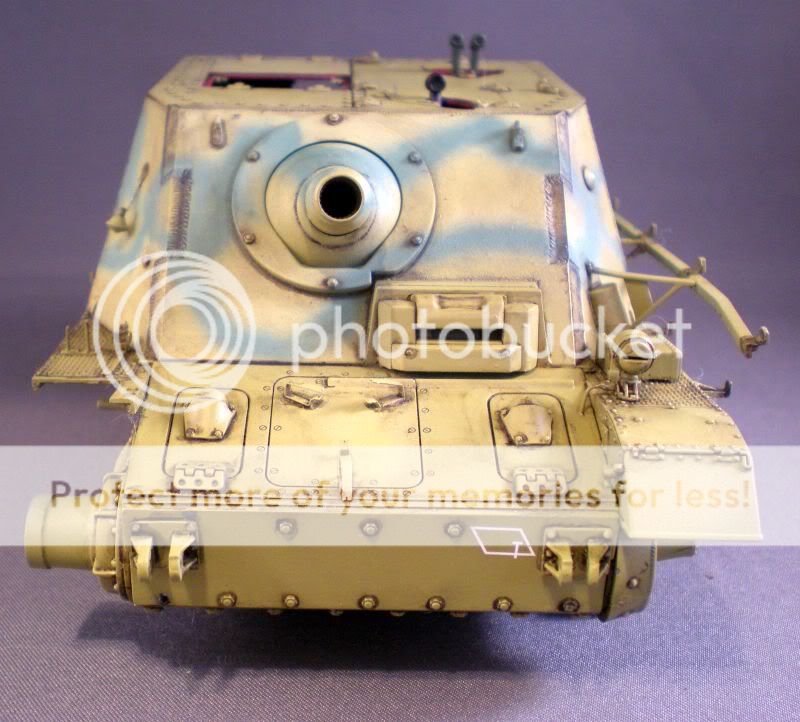
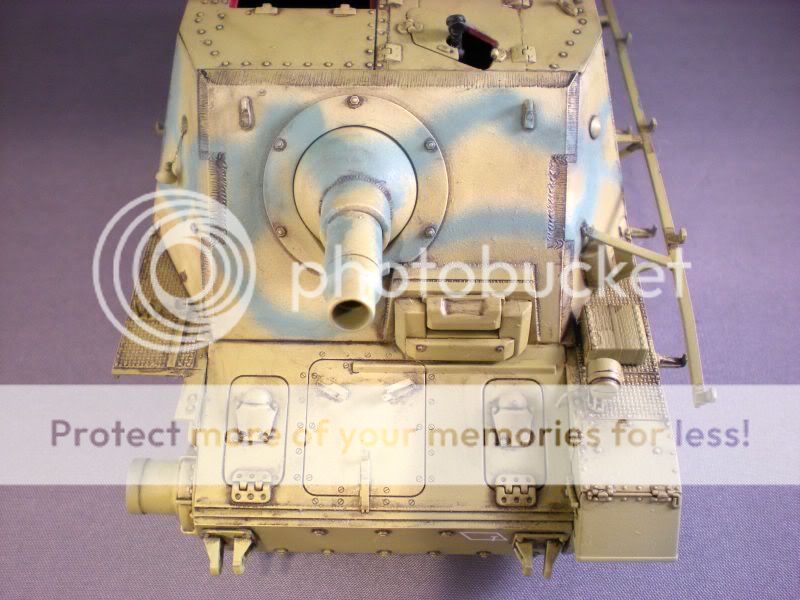
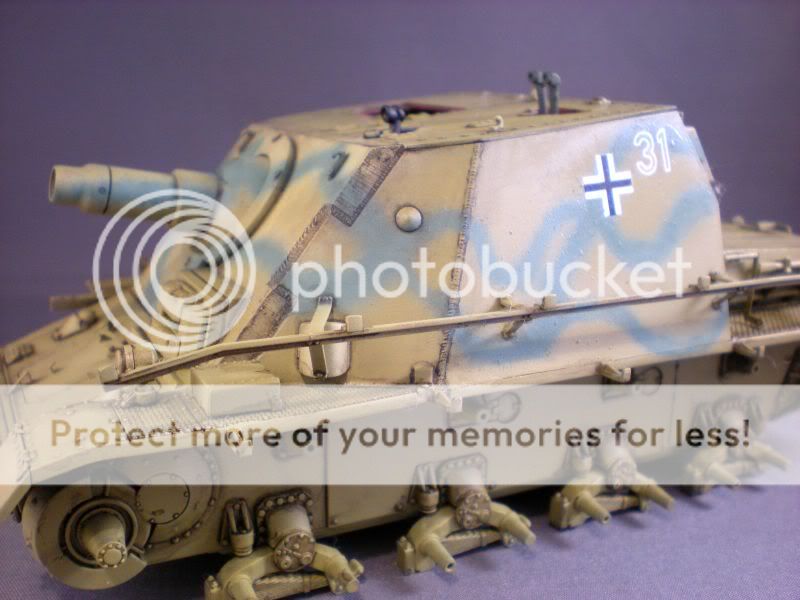
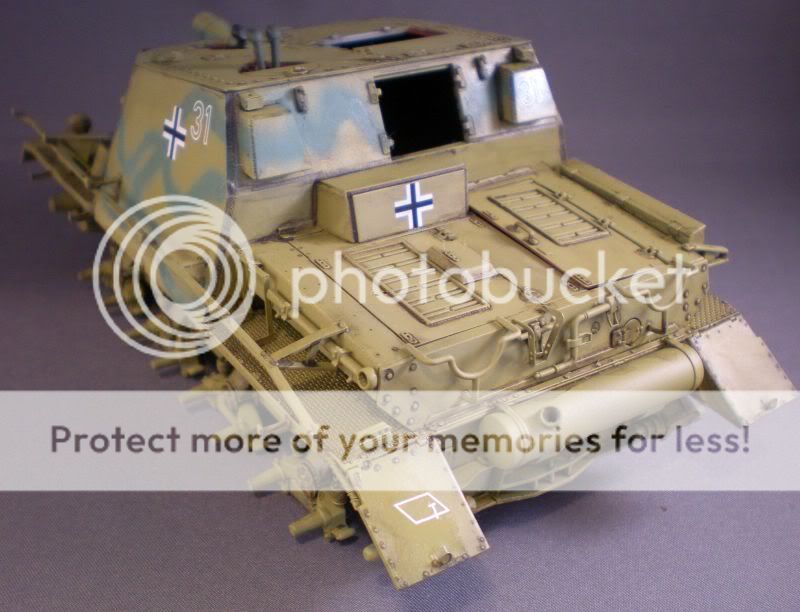
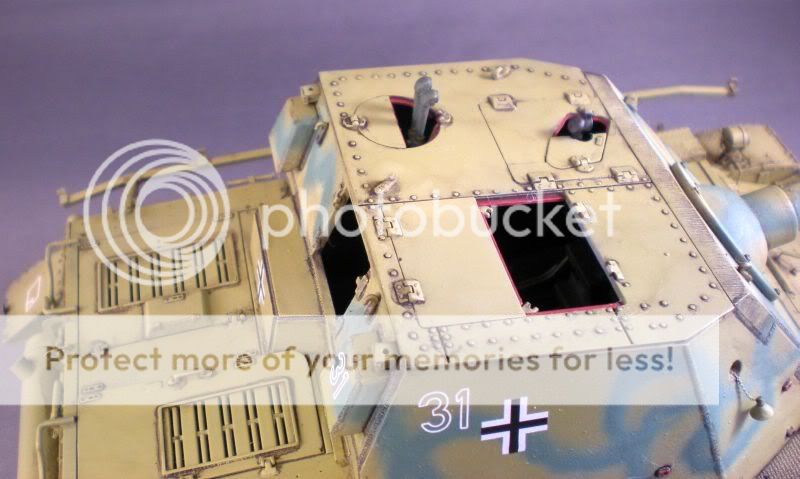
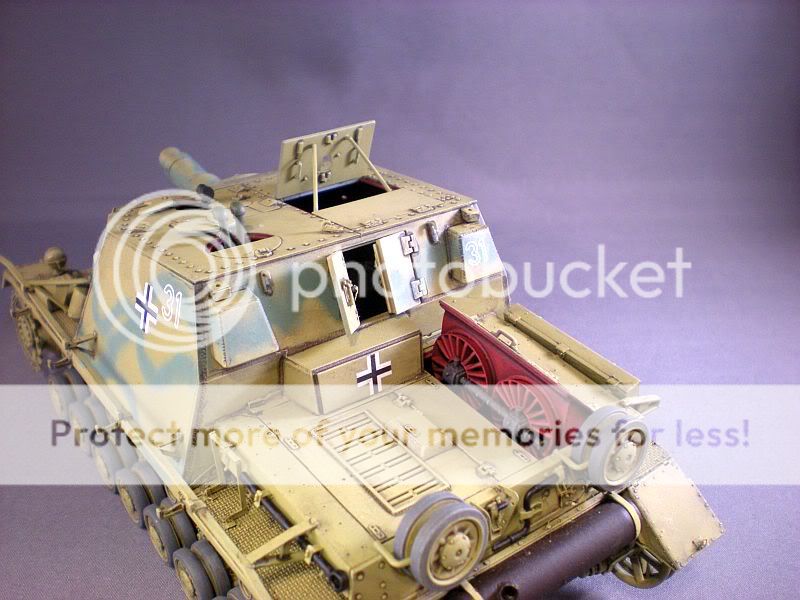
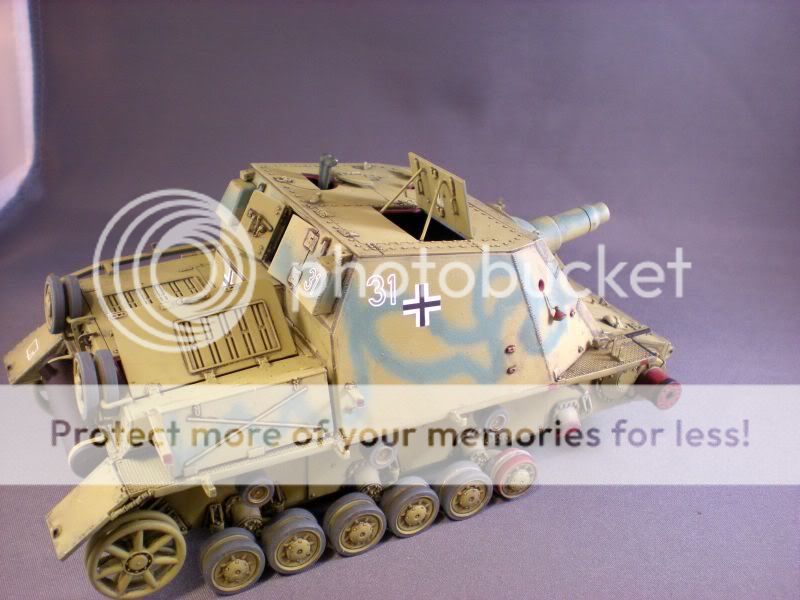
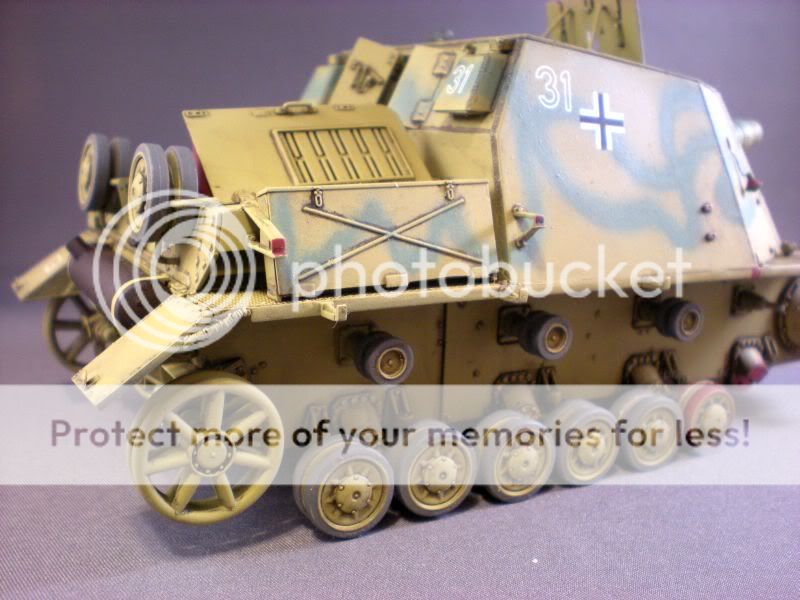
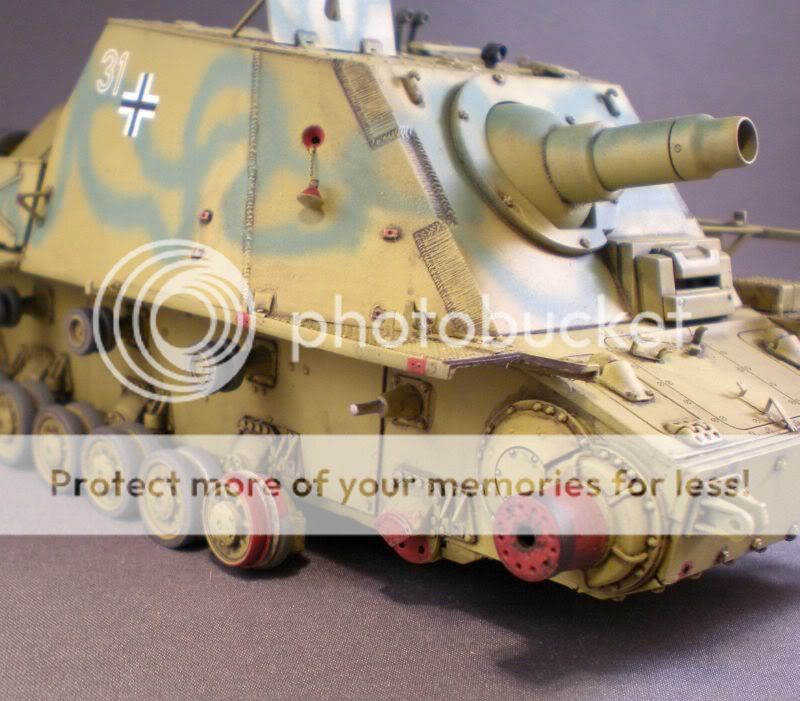
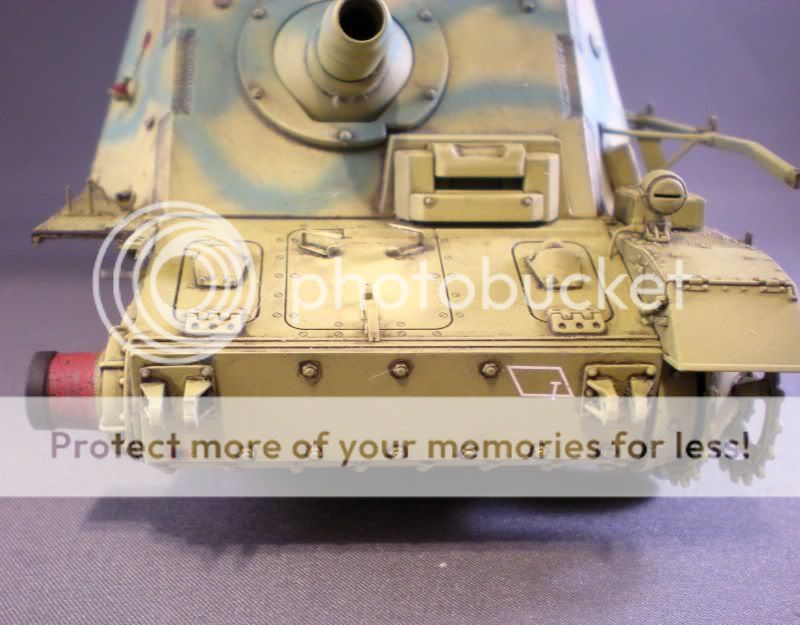
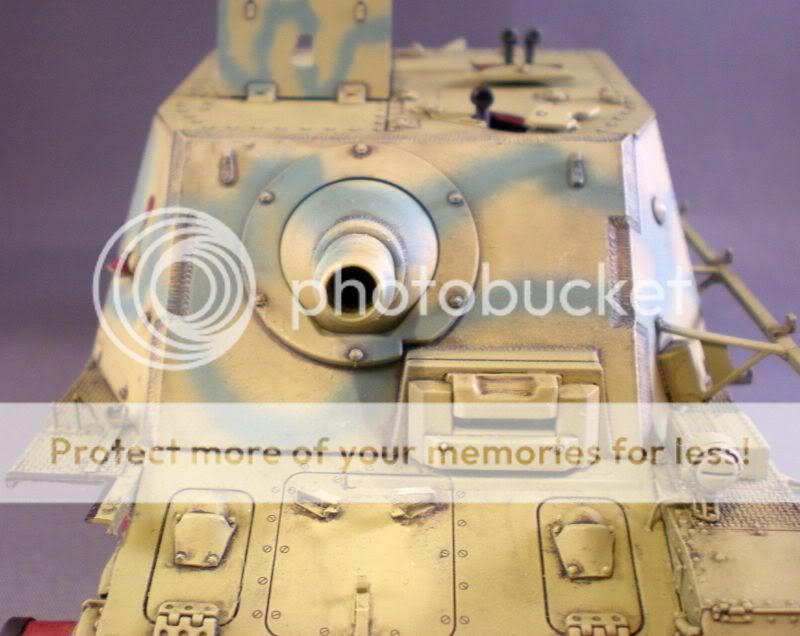
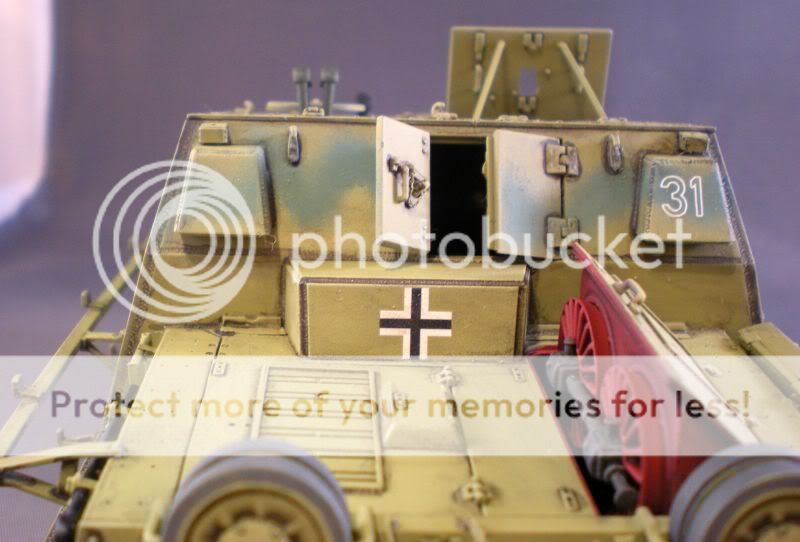
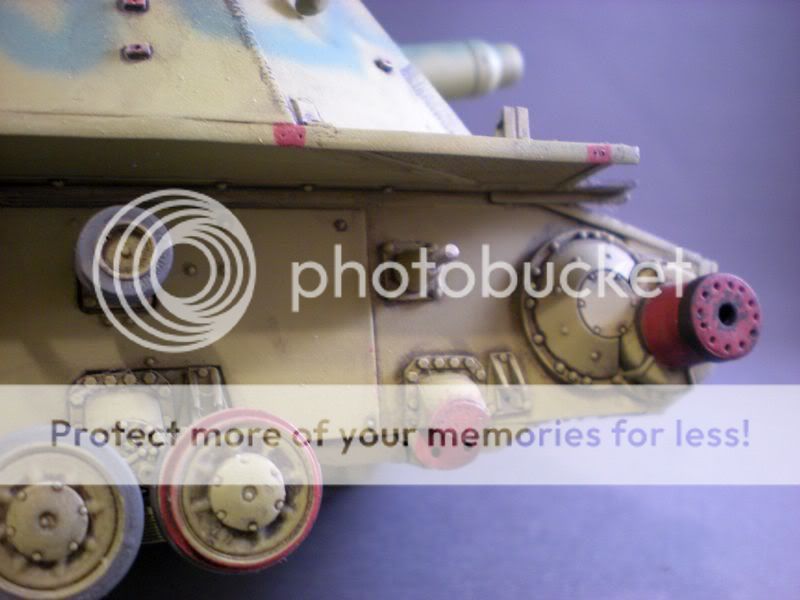
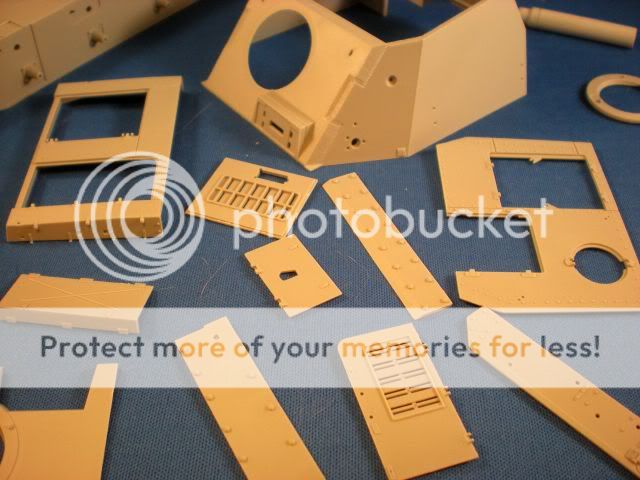
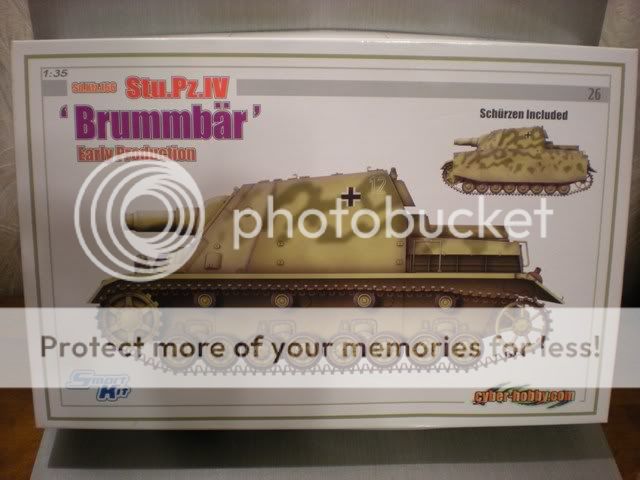
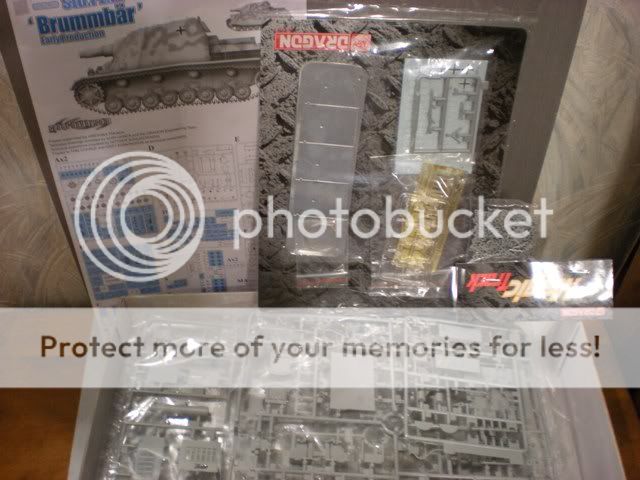
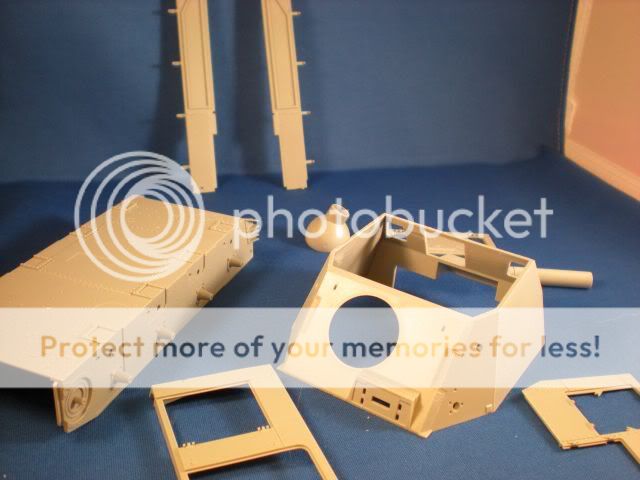
I finally got a chance to start cutting plastic on this nice kit. This is a slightly strange kit, employing parts from both their Panzer IV superkits and their smart kits. Overall detail is impressive. Don't know if I will stick to my original idea of having this vehicle abandoned, or in service with the Germans, but it will be during the Kursk battle.
Comments and questions are welcomed, and thanks for watching.

Steven
090702StuPa002.jpg

090702StuPa003.jpg

Boxcover.jpg

insides.jpg

091102Picture014.jpg

091102Picture016.jpg

091102Picture018.jpg
 
So Steve I assume this will be an OOTB build?

Nice looking kit.....good luck, I'll be keeping an eye on this one.

Paul
 
This will be a mostly OOB build, but there are a few things I need to scratch/alter such as the damaged running gear. Don't want to get too much into aftermarket, this is a kit I want to finish eventually B)
Steve
 
Here's an update on my Sturmpanzer 43- I decided to stick with my original idea, with this particular vehicle being abandoned after suffering mine damage at Kursk. Aided by Panzerwrecks photos of Panzer IV-based vehicles suffering damage to their running gear (most notably Panzerwrecks 7 Ostfront), I began by showing damage to the right drive sprocket, and the front bogey and bumpers. At this point I decided to add the fenders early on, and damaged the right front.
091123Picture038.jpg

091123Picture039.jpg

091123Picture040.jpg

091123Picture046.jpg


Moving onto the interior and rear of the vehicle, I added the main components of the interior structure. I don't know at this point how much of the interior I will have visible, as the only interior provided is the gun installation- no ammo racks, no radio.
091123Picture041.jpg

091123Picture042.jpg

091123Picture045.jpg


Notice in the above photo the misalignment between the floor and where the fuel filler caps are. Just a mm off :(

The rear engine deck is a cinch to assemble, which PE parts for the engine grilles. I elected to add the fans from the Panzer IVB kit. This hatch will be partially open.
091123Picture047.jpg

091123Picture048.jpg

091123Picture049.jpg


That's all for now, comments and questions welcomed, and thanks for watching.
Steven
 
Hello- here is an update I managed to get together during this Thanksgiving break. I pretty much have all the major components assembled and dryfitted as you can see here.
091127Picture001.jpg

091127Picture002.jpg

No part is included for the driver's armored visor? Guess I'll have to scrounge one up somewhere. These vehicles used the visor from the Tiger I.
091127Picture003.jpg

091127Picture004.jpg

091127Picture005.jpg

091127Picture006.jpg

091127Picture007.jpg

Here is the main gun assembly for the 150 mm howitzer. It was really simple to build, and encompasses a lot of detail. However, as I mentioned previously, this is the only detail you get for the cavernous fighting compartment.....
091127Picture008.jpg

091127Picture014.jpg


A few more small fittings to add, and the vehicle will be ready for a priming. The schurzen brackets will be intact on the port side of the vehicle, whereas the majority of them will be missing from the side where the mine damage occured.
That's all for today, I hope all my fellow Americans were able to have a happy and healthy Thanksgiving.
Thanks for watching.

Steven
 
Hi Steven,

Thats a nice job on the Brumbar.
I am surprised on how much extra interior detail DML give for the gun .

Excellent work so far .Look forward to seeing more.

Thanks
Michael :)
 
Super work so far , I am really impressed . I have the Griffon interior but I am not sure it is designed for the Cyberhobby kit ?

Jenny :kiss:
 
Thank you for the comments so far. Here's another update...

The vehicle is pretty much all assembled at this point. I took the easy route and sprayed the interior black. Most of the hatches will be shut anyway.
091205Picture001.jpg

091205Picture003.jpg

091205Picture008.jpg

091205Picture011.jpg

What a cavernous interior..... :angry:

After about a dozen dry-fittings to get comfortable with the mating of the casemate, rear engine deck, and the lower chassis, I decided to glue the items together. This is where it decided to go wrong, I wound up with a huge gap between the fighting compartment and the rear engine deck. I don't know where this came from, it wasn't there when I dry-fitted.
091205Picture017.jpg

This happenedd on both sides, so I had to use cut plastic strip and putty to fill the gaps. Builder error I presume :blush:
091205Picture012.jpg

091205Picture018.jpg

091205Picture019.jpg

091205Picture020.jpg

091205Picture022.jpg


That's it for now, just a few small fittings to add before the primer job. Thanks for looking.
Steven
 
Looks great so far, but why couldn't you just call it a Brumbar? I had no idea what a Sturmpanzer 43 was!! Ok, lets' get some paint on her.

Shaggy :dude
 
Thank you all for the comments so far. Shaggy, the Allies called it the Brummbar, not the Germans. They called it Sturmpanzer or Stupa for short. Figured I'd call it what the Germans designated it :)
Here is some paint on the vehicle, sprayed with Model Master enamels. Time for weathering...
Thanks for looking.

Steve
091216Picture012.jpg

091216Picture013.jpg

091216Picture014.jpg

091216Picture015.jpg

091216Picture016.jpg

091216Picture017.jpg

091216Picture019.jpg

091216Picture020.jpg
 
Hello everyone, Happy holidays to all!!! Here is an update before Christmas....
I gave the vehicle a wash with Grumbacher acrylics, thinned in 91% isopropanol. I am wiping away the excess wash with a paper towel moistened in alcohol, so it doesn't appear to dark when I dullcoat the model. After I have done so, I can drybrush the model with lightened shades of the dunkelgelb.
Thank you for looking, and enjoy the holidays!
Steven
091224Picture001.jpg

091224Picture003.jpg

091224Picture004.jpg

091224Picture005.jpg

091224Picture006.jpg

091224Picture008.jpg
 
Hello everyone-

Just a small update. I've been trying to grind away at this over the past few weeks. The photos are actually out of date, I have advanced further than this, but very little time to take some snapshots....
I have begun the weathering process on this beast, drybrushing lighter shades of the base coat dark yellow over the entire vehicle. The roadwheels are now attached and areas of red primer have been picked out using Model Master British Crimson. I have also started work on the muffler, giving it a base coat of Testor's rubber.
I have already begun work on the tracks, and further weathering, so I will try to get pics of those up soon.
As always, thanks for watching :)

Steven
DSCN2176.jpg

DSCN2177.jpg

DSCN2178.jpg

DSCN2179.jpg

DSCN2180.jpg

DSCN2181.jpg

DSCN2182.jpg

DSCN2187.jpg
 
Hello everyone-

Just a quick update- got the tracks assembled and installed on the vehicle. Now I can begin work on the base :)
Thanks for looking-
Steve

091224Picture025.jpg

091224Picture027.jpg

091224Picture029.jpg

091224Picture030.jpg

091224Picture031.jpg
 
Back
Top