• Modelers Alliance has updated the forum software on our website. We have migrated all post, content and user accounts but we could not migrate the passwords.
    This requires that you manually reset your password.
    Please click here, http://modelersalliance.org/forums/login to go to logon page and use the "Forgot your Password" option.

Soviet Panzer IV

stevenk

Member
Hello-

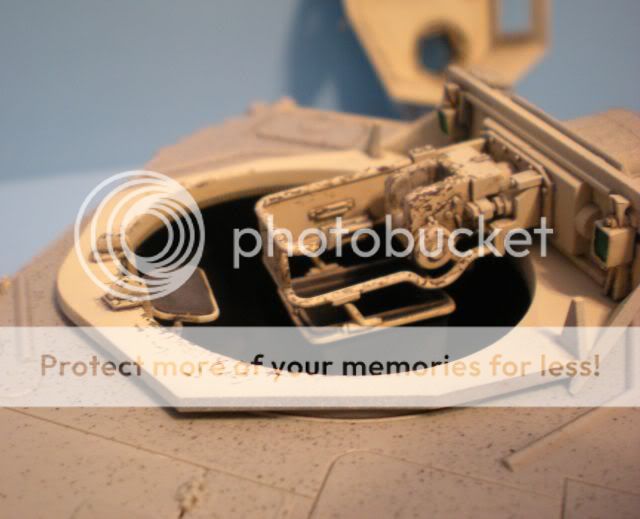
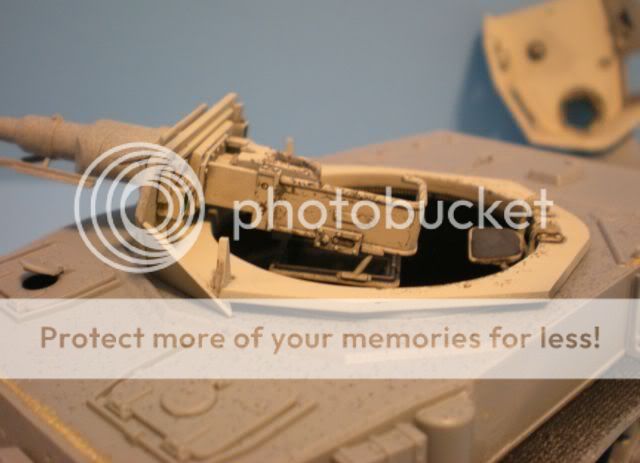
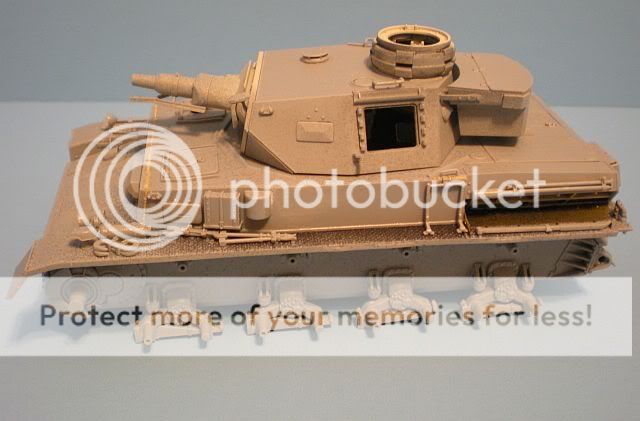
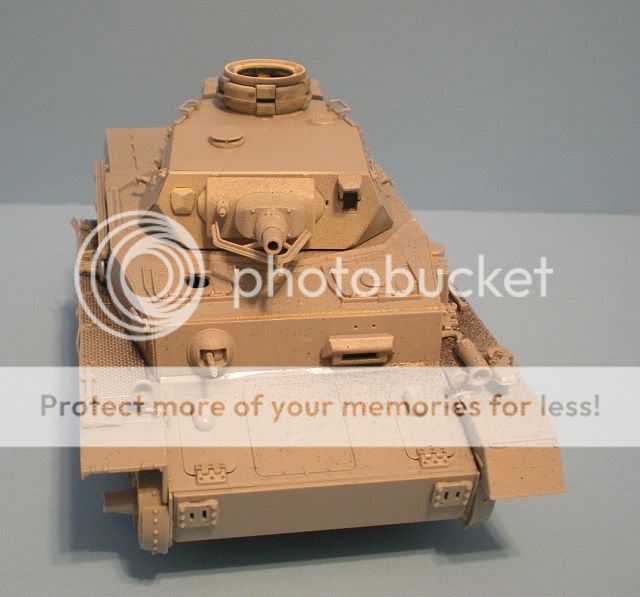
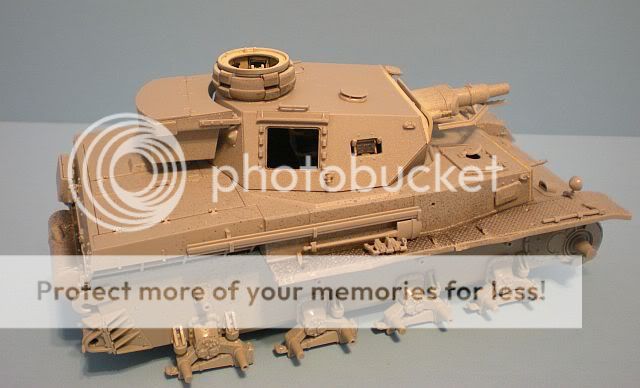
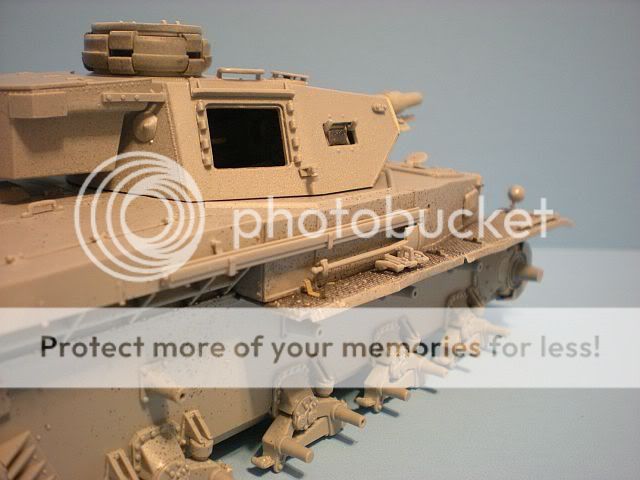
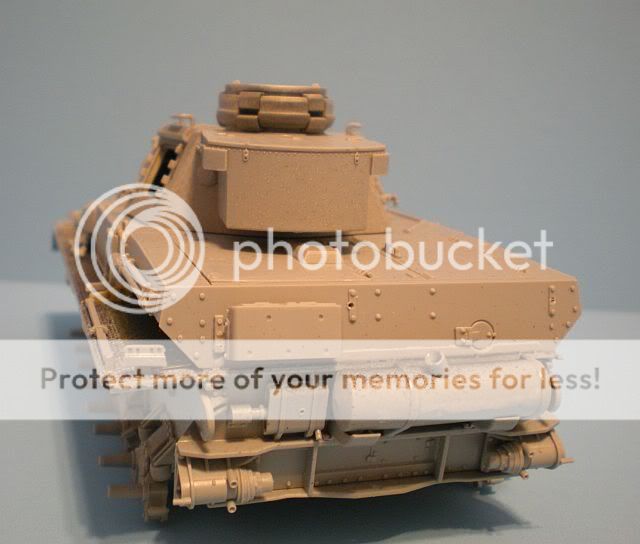
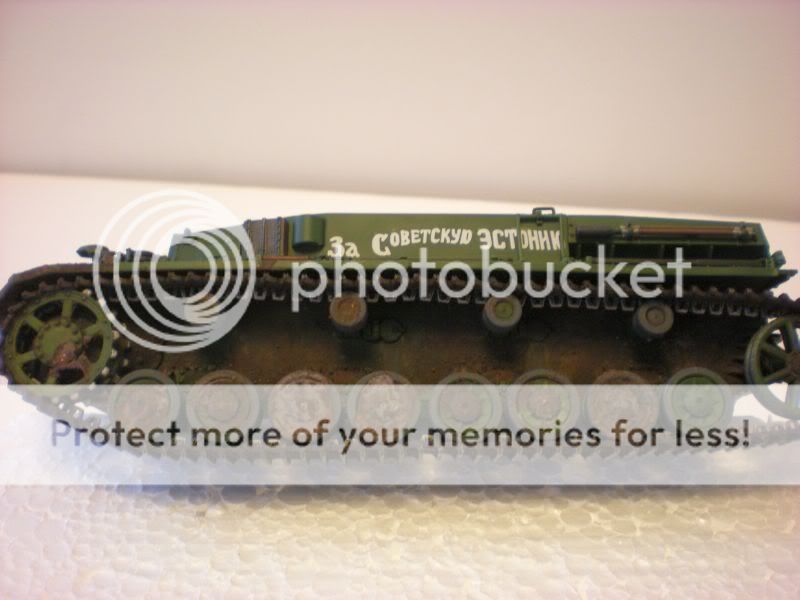
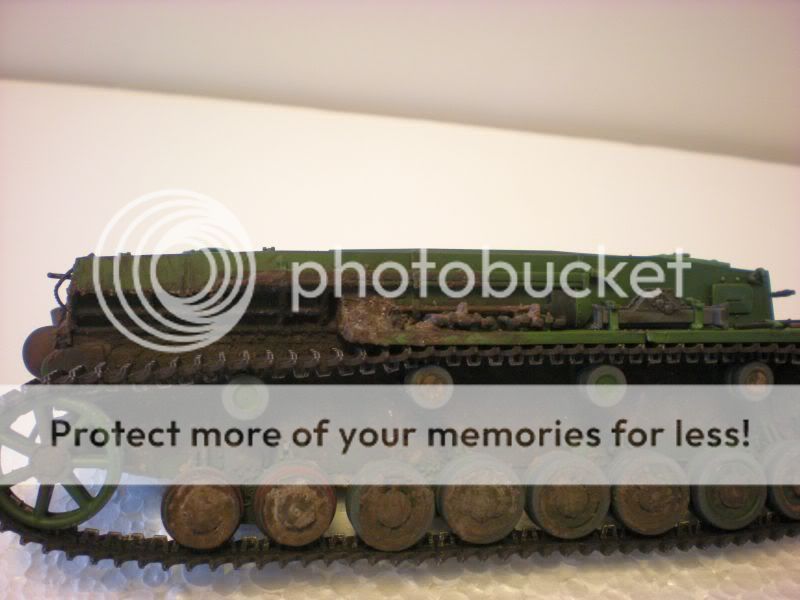
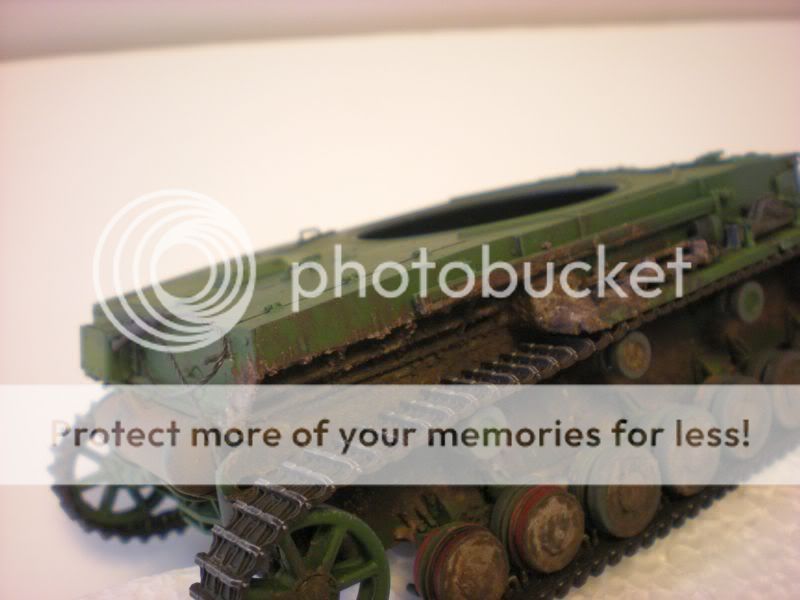
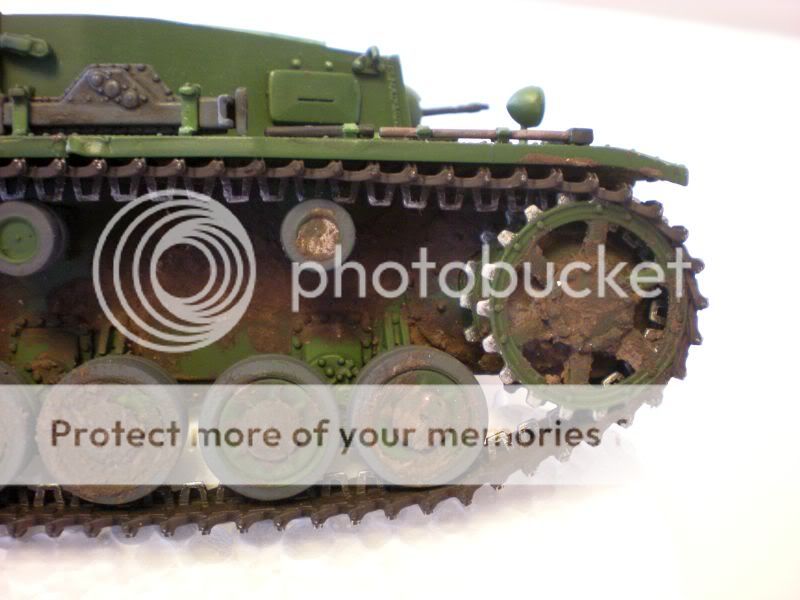
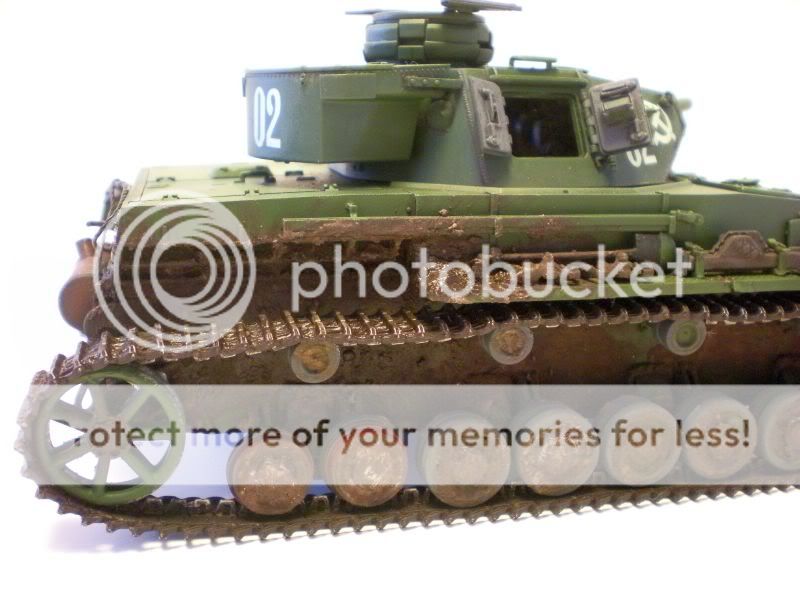
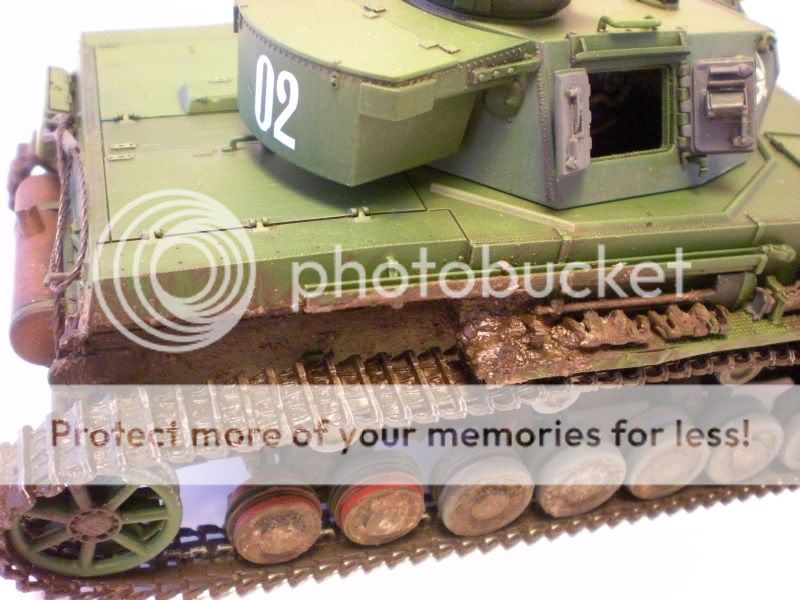
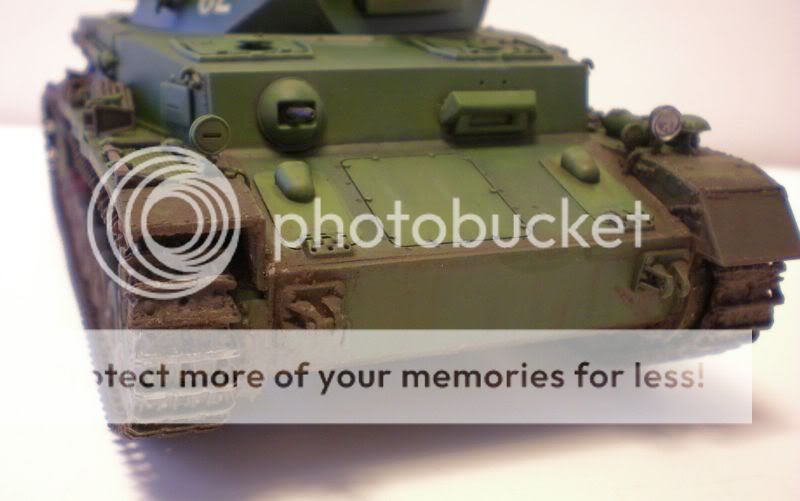
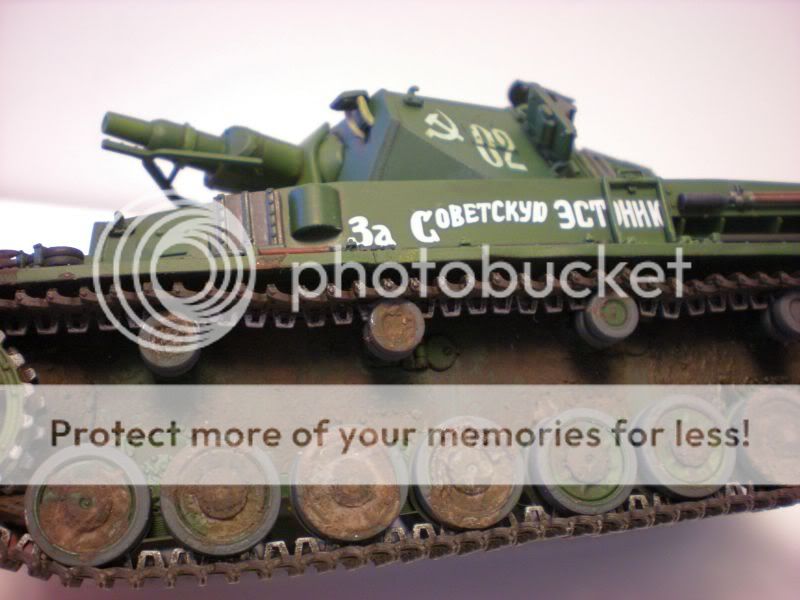
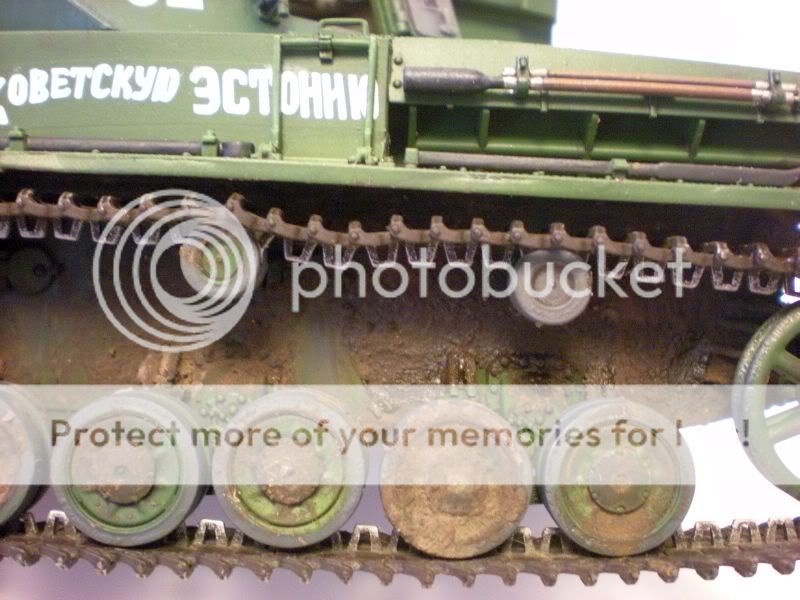
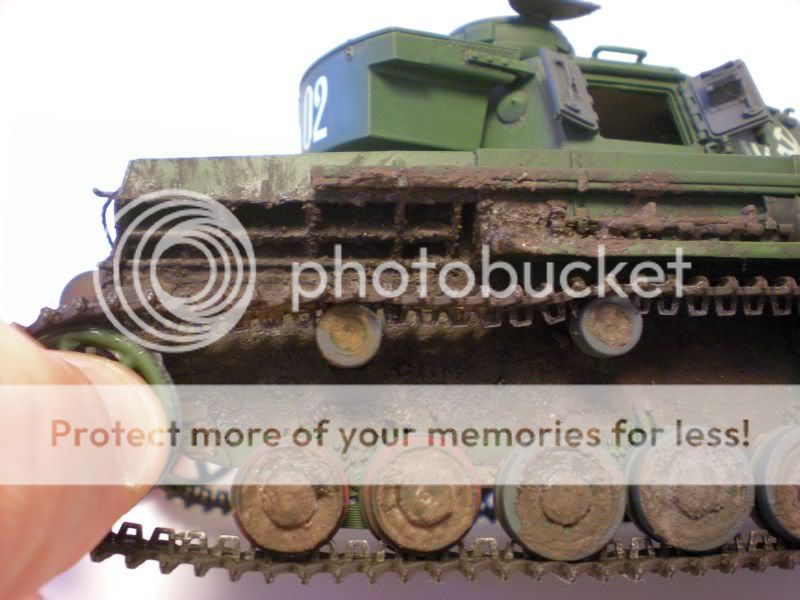
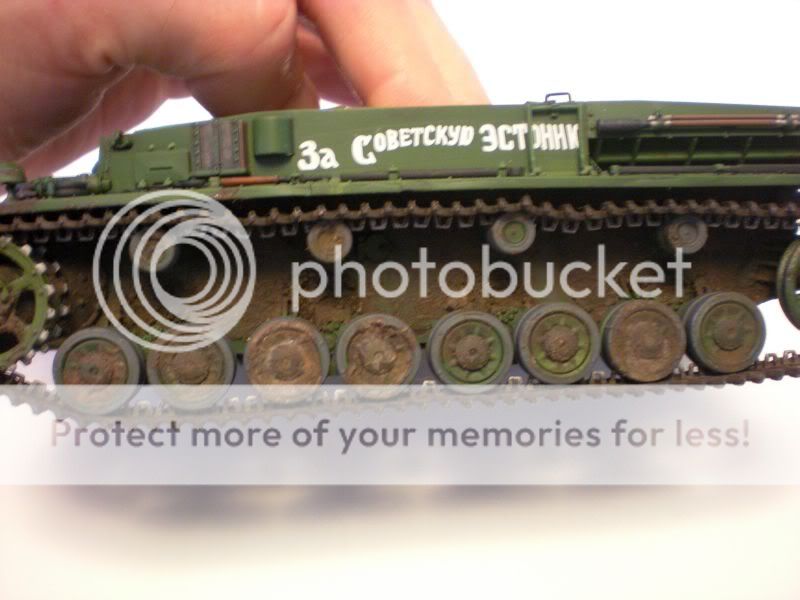
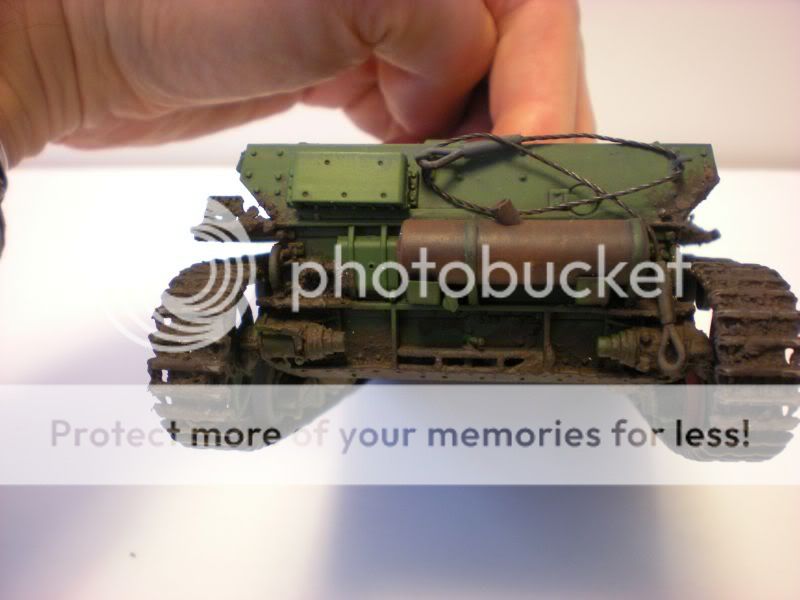
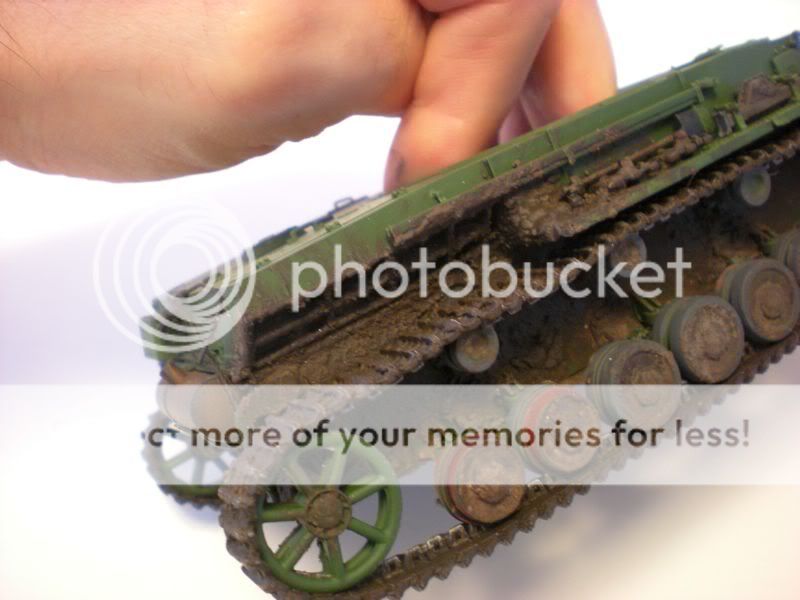
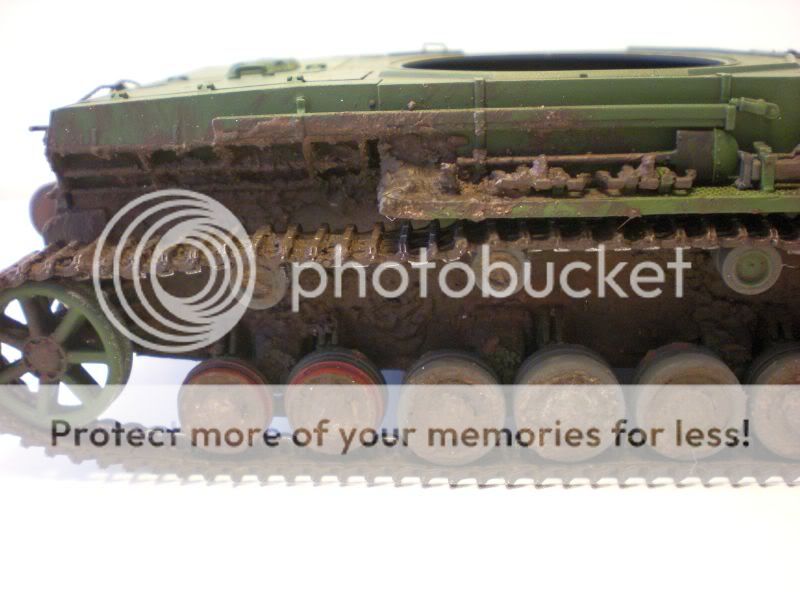
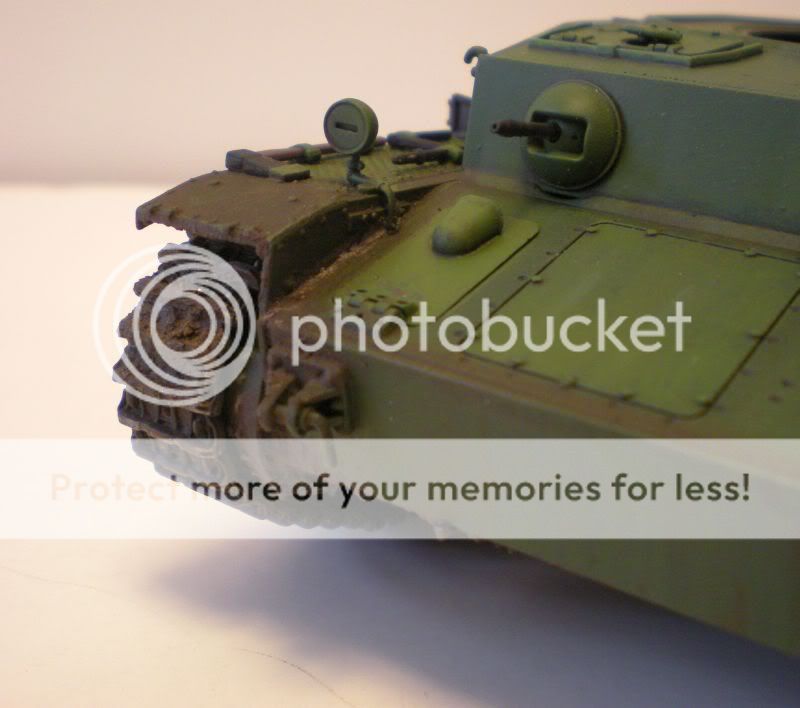
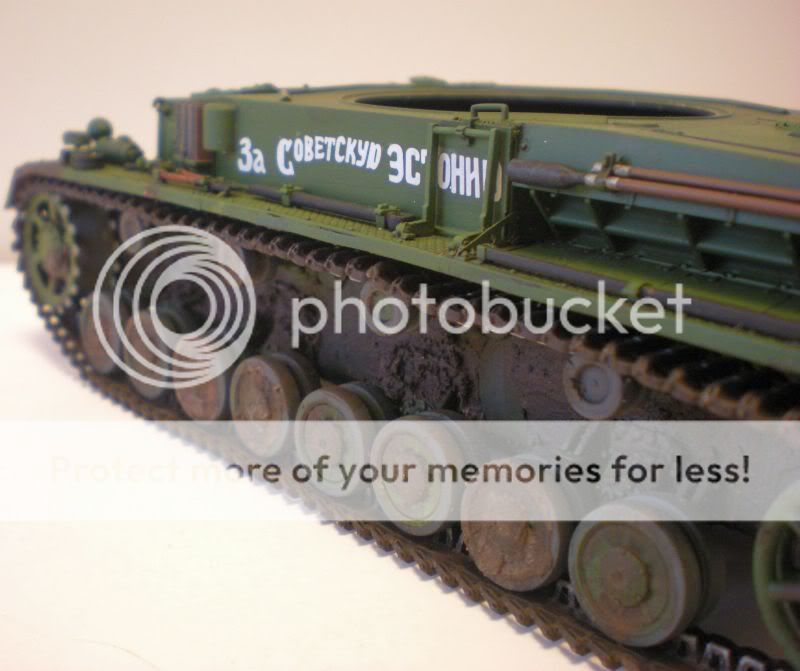
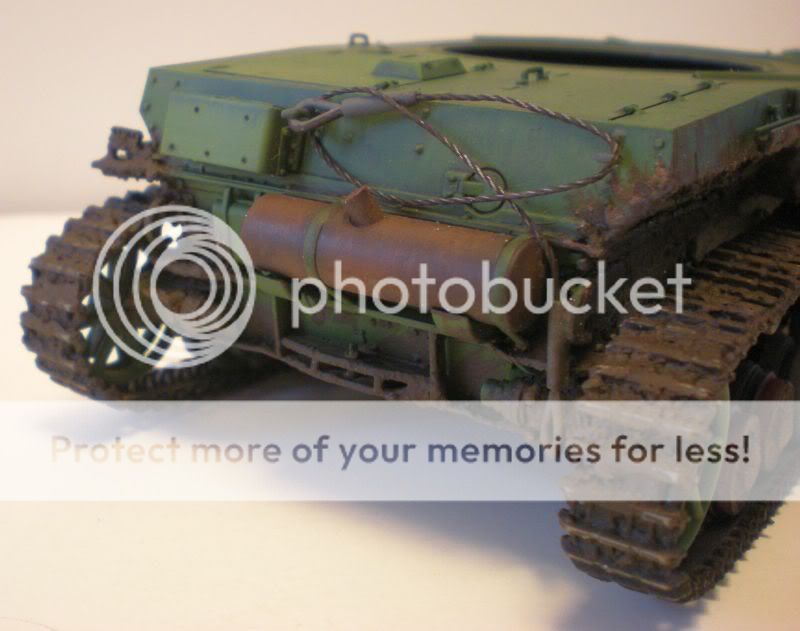
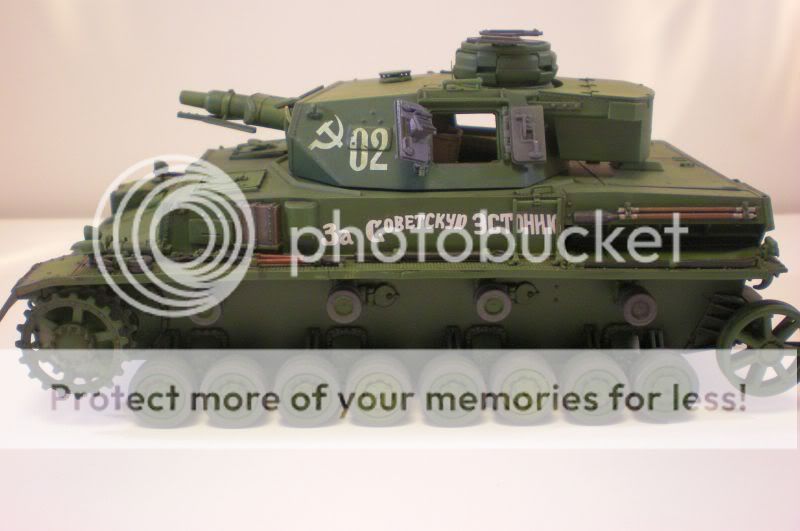
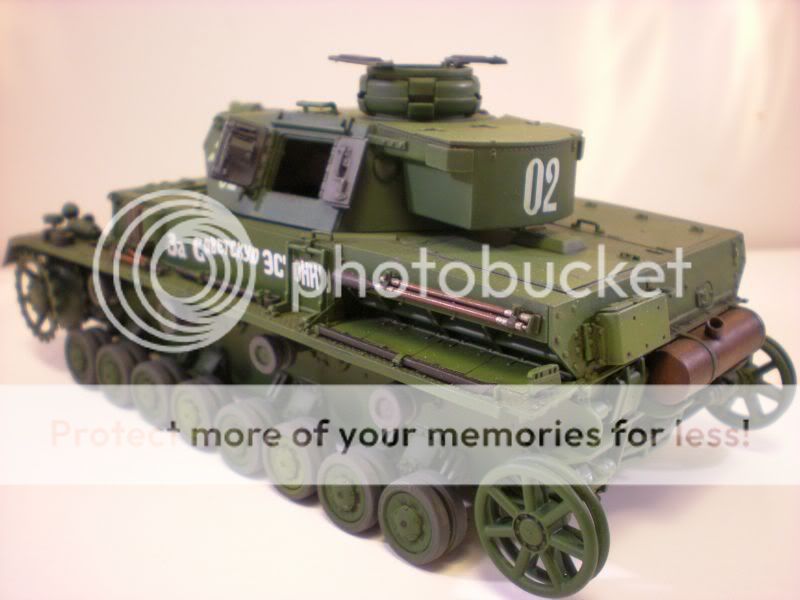
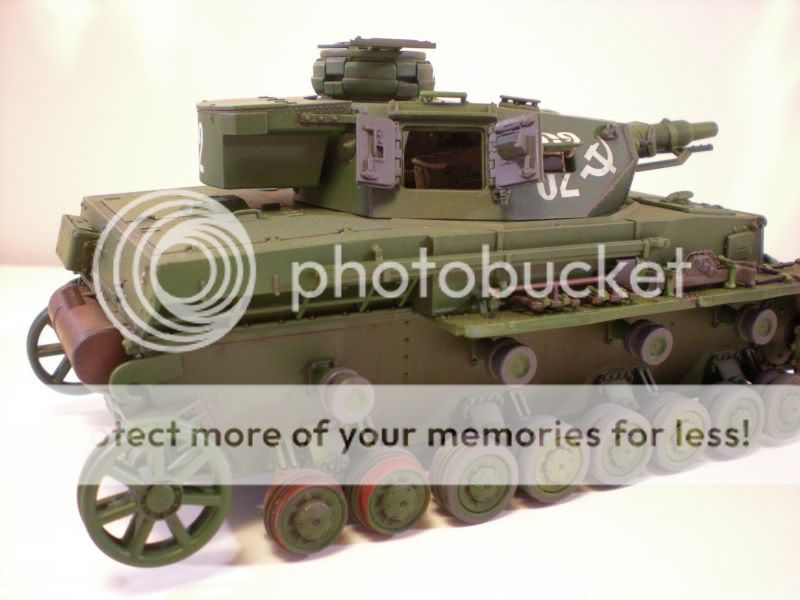
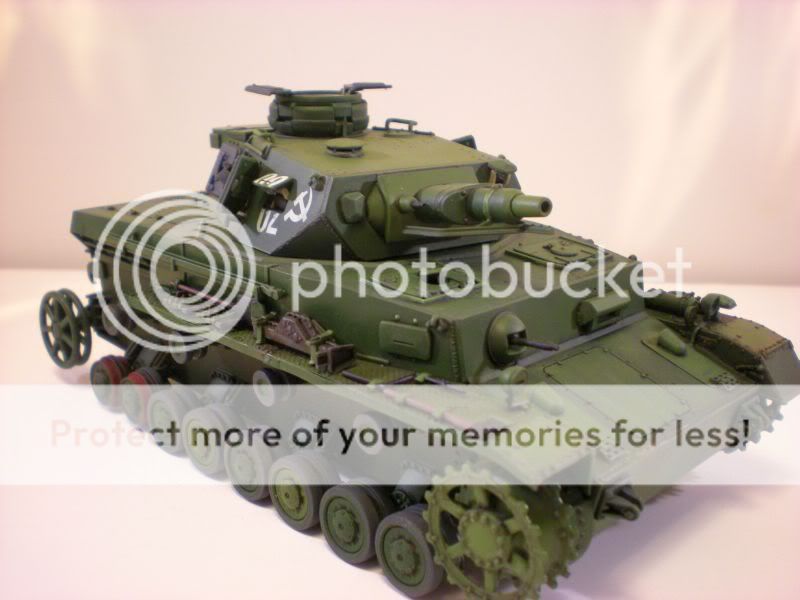
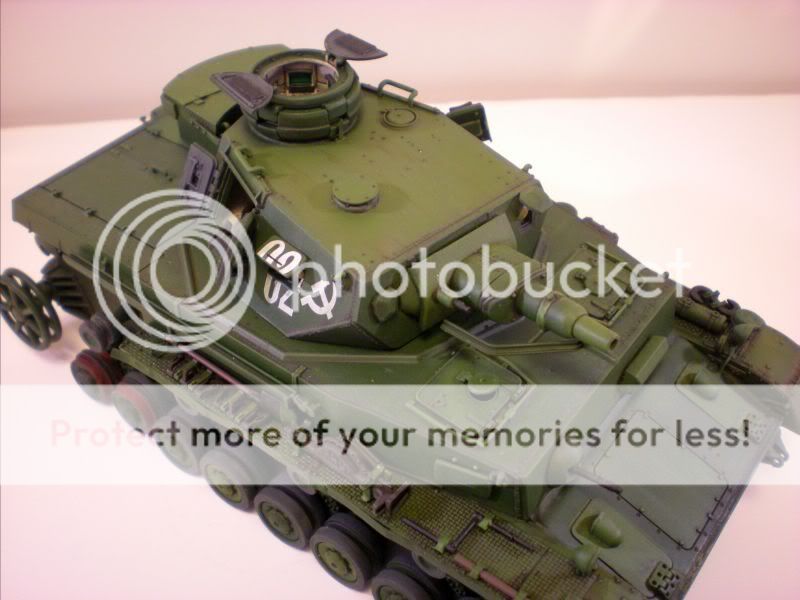
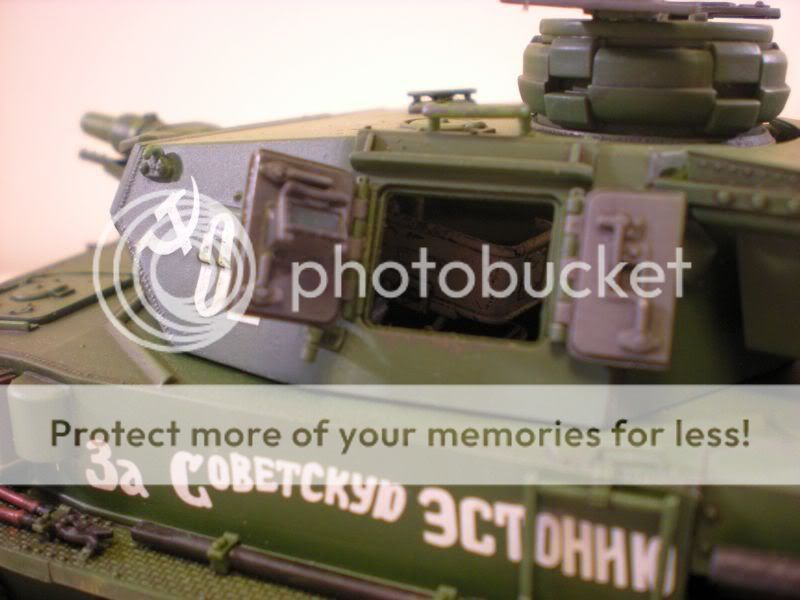
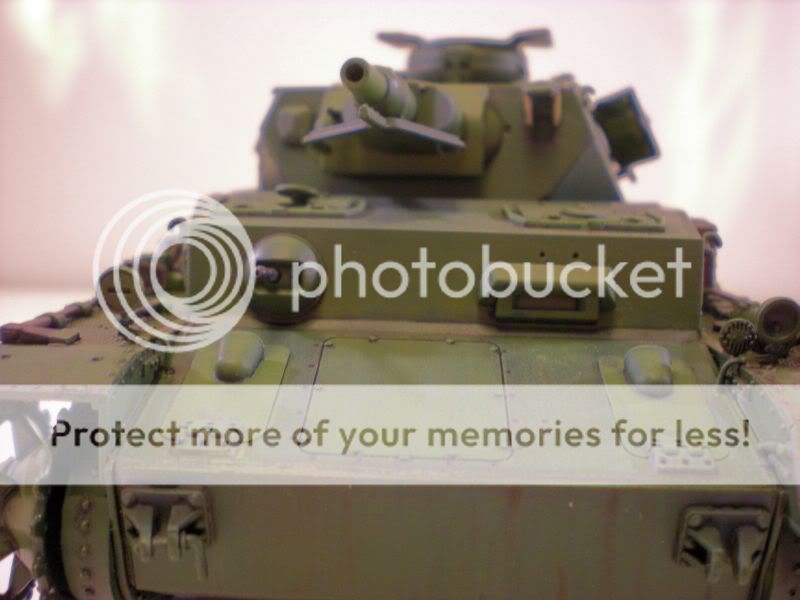
I figured that my desire to rush my Brummbar finished has died down, I would show you another middleweight I have been working on, on and off the past year. This is Dragon's Panzer IV F1 Smart Kit. I wanted to do it as a captured vehicle on the Russian front when I saw it as one of the markings options. I knicked up and bent the fenders by carefully slicing with a brand new #11 blade, and removed the rear fender completely. The vehicle was painted in Model Master Panzer Schwarzgrau enamel as a base coat, then sprayed on several different shades of Tamiya dark green and yellow green. The markings, except the slogan, came from the kit. I added the slogan for interest to break up the green on the side of the vehicle. Next, it's on to the tracks.....
Thanks for looking :)

Steven
DSCN2430_159.jpg

DSCN2431_160.jpg

DSCN2432_161.jpg

DSCN2433_162.jpg

DSCN2434_163.jpg

DSCN2436_165.jpg

DSCN2437_166.jpg
 
hi Steve, what color is on the hatches on the insides? I like a kit that sports at least some detail inside hatches there, or were they am? I like it. I have yet to do any middle weight panzers since getting back in to it. The last DML kit I did had instructions that screwed my head up so bad I haven't been the same since :blink
Ron
 
Thanks for the comments, guys. Ron, I know what you mean about Dragon instructions- trying to find out if they accurately labelled a part they are calling out can be a challenge sometimes. The hatches come with that detail- and I painted the interior of the hatches Model Master Panzer Schwarzgrau enamel. The kit also comes with a very basic turret interior, just enough can be seen through the hatches. Here are some WIP shots I dug up....
Thanks for watching-
Steven
Turret_int_055.jpg

Turret_int_057.jpg

Turret_int_056.jpg

SovPzrIV__059.jpg

SovPzrIV__060.jpg

SovPzrIV__061.jpg

SovPzrIV__062.jpg

SovPzrIV__063.jpg
 
OK I gotta ask- In these pics there looks like something like specks in many places brownish looking. Is this a method of some kind or over spray? looks like you did it intentionally.
Ron
 
Oh, that's overspray :) I sprayed the interior flat black as the hatches to the turret were going to be open. I didn't want people looking in and seeing bare plastic on the bottom of the tank's interior...
Steven
 
Oh, ok. This is the first time I've seen a model German tank in Russian Green. There are a few kits of captured Russian tanks used by the Germans. It seems the Germans took everyone's stuff for their own use. One more question, the missing rubber road wheels showing an orange-ish color there- was that part of whatever the adhesive used or rusty rims? just curious
R.
 
Thank you for the comments :)
Ron, the orangish color is red primer, given a wash and drybrushed. The color I used was Model Master British Crimson enamel.
Here is another update- I assembled and installed the tracks. I began to add a build-up of encrusted soil and mud by using what I had left of my MMP pigments, and some of my Doc O'Brien weathering powders. Still have to build a little more up....
The figure is from MiniArt with a Dragon head. As always, thanks for watching.
Steven

DSCN2473_202.jpg

DSCN2474_203.jpg

DSCN2475_204.jpg

DSCN2476_205.jpg

DSCN2468_197.jpg

DSCN2469_198.jpg

DSCN2470_199.jpg

DSCN2471_200.jpg
 
Looks good so far. I think you may want to re-visit the mud on the lower hull, IMO you have left some bare areas that would have collected the most mud first.
 
Here's another update- applying more mud with a mixture of different colored pigments and Liquitex gloss medium. I'm gonna call it done with the hull for now- now I will focus on the upper surfaces, give the tools their metallic sheen, paint chipping around the hatches, ect.
DSCN2513_242-1.jpg

DSCN2514_243.jpg

DSCN2516_245.jpg

DSCN2517_246.jpg

DSCN2520_249.jpg

DSCN2521_250.jpg

DSCN2522_251.jpg

DSCN2523_252.jpg


As always, thank you for looking :)

Steven
 
Back
Top