Generally takes me two kits to get one so what can I say. 

Modelers Alliance has updated the forum software on our website. We have migrated all post, content and user accounts but we could not migrate the passwords.
This requires that you manually reset your password.
Please click here, http://modelersalliance.org/forums/login to go to logon page and use the "Forgot your Password" option.


Greetings all! Its been a little while since I’ve posted much of anything here. Its been a hectic few weeks, I’ve found time for modeling, but not a lot of time online. I’ve got some free time this weekend, and plan to spend a lot of it at the bench. :yipee
All right, lets get caught up on this build.
The basic build sequence so far has been to paint the pieces and then add them to the build. The next step was the dashboard and instrument cluster. The assembly is made of two parts. Unfortunately the top of the dash was warped. I fixed this by gluing down the left side and letting that set overnight. Then I glued and clamped the right side and let that sit overnight. Once I removed the clap it was pretty much straight. Once assembled, I painted everything black, then shot some future on it and placed the decals for the gauges. Once they set and were flat coated, I replicated the glass with Micro Crystal Clear and added the steering wheel.

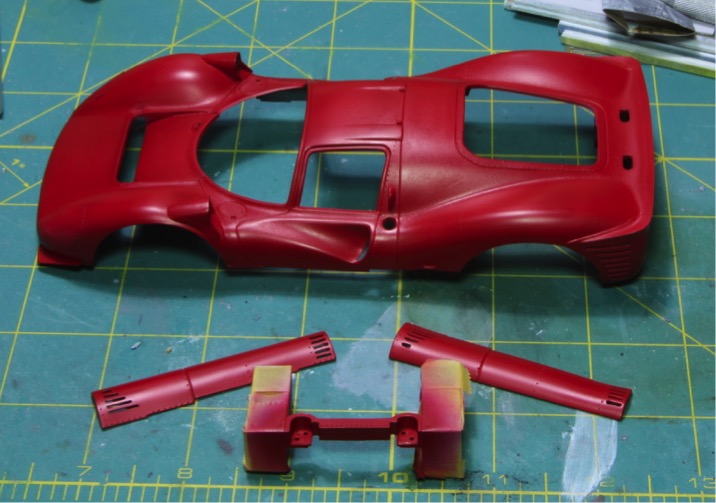
The next step was to paint the rear firewall. The top was painted first using Rosso Corsa 300 from Zero Paints. These paints are color matched to the manufactures specs and this was the red used by Ferrari on the 330s. The bottom was painted Tamiya Semi-Gloss Black. The shoulder harnesses are attached to the firewall so I felt it would be easier to attach them prior to assembly. Fujimi provided either photo etch belts with the hardware attached, or the option to use self-adhesive fabric belts with photo etched hardware. I went with the fabric option, which worked out very well. The only downside is the fabric is very rigid and does not lay down very well. But they do look better then the photo etch would have.

The lap belts were installed and then the remaining parts to make up the drivers cockpit were assembled. There are no positive positioning indicators for the firewall and the inside door panels. This made it a little fidgety to get them all in place. A little patience, dry fitting the body shell and some sanding eventually led to a good fit.


Next step was to get the rest of the detail parts painted. I used mostly Tamiya colors loosely following the instructions. I did have one nearly catastrophic mishap. The rear suspension swing arms were molded as a single piece. Fujimi’s plastic is very soft and this piece broke when I removed it from the tree. In the end I used a piece of brass rod to pin the pieces together. Once it was all aligned and glued down to the chassis everything appeared pretty strong. Disaster avoided! Here’s a shot of the finished parts prior to assembly.

Next up, assembly. Here are the engine, suspension and rear brakes installed.

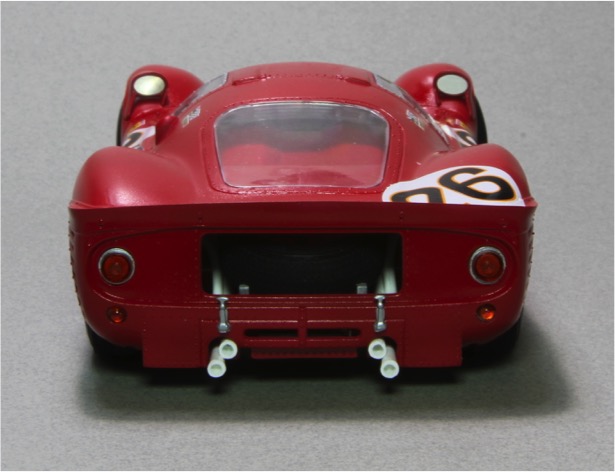
Next was the exhaust pipes, rear structure and the spare tire mount. The exhaust pipes did not fit at all. In the end I had to shorten them and add pins to support them on top. They are pretty much invisible in the end, so in hindsight I could have avoided a lot of aggravation and just left them off.

Up front I added the radiator. I painted it Alclad Stainless Steel. It is quite visible through the bodywork. And I thought this was an appropriate color for it.

The rear deck was assembled next. Its made up of a clear window and the deck. I painted it the same red body color and the window was masked so the trim was painted black, then they were assembled.

The wheels where the last part of the chassis that I needed to assemble. I sanded the seam off the tires, and was very surprised I didn’t screw up the tread blocks. I through them into my ultrasonic cleaner when I was done to help get all the sanding dust out of them. Then I added them to the wheels. The front wheels had the brakes installed as well and the spinners were added. I unfortunately lost one of the spinners, so I didn’t add them to the rear wheels.

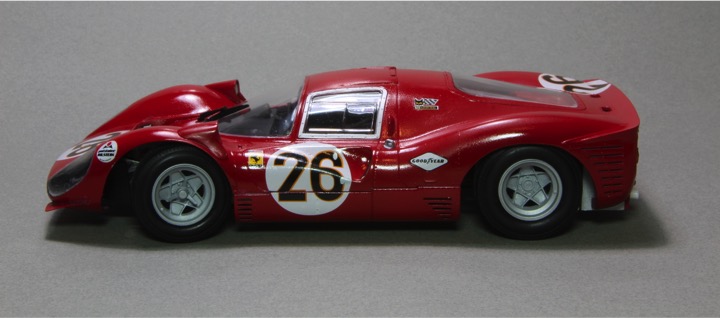
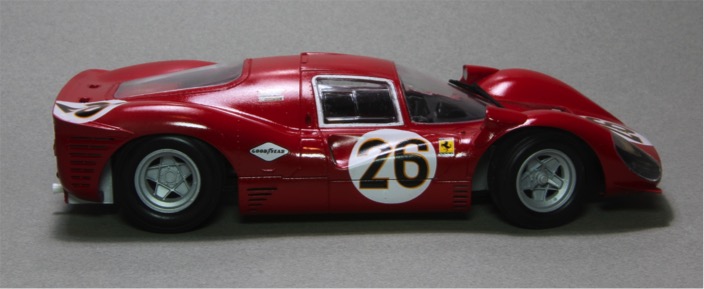
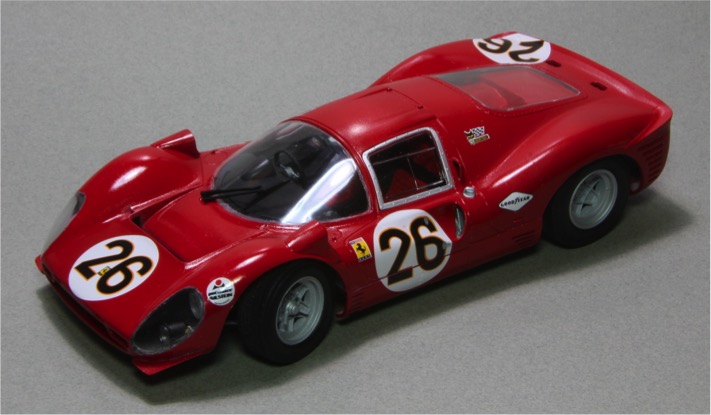
Fujimi did have dry transfers to add the logos to the tires. They include both Firestone and Goodyear logos in gold color. I couldn’t make them work at all. According to my references for this car, #26, the tires were Goodyear with white logos. I went out and sourced some decals, but unfortunately the only ones I found where the wrong diameter. I chose just to leave them off in the end. I also found out that the wheels supplied in the kit are wrong for #26 as well. Compare the picture above of the kit wheels with the real car below.

With all that in mind, I decided not to worry too much about it and installed the wheels as is. The front wheels are steerable and roll. Once I get it all finished up though I will probably glue them in place, as there is just way too much play in them in every direction. The rear wheels attach to a solid metal rod that acts as the axle. The spare tire was super glued into position.

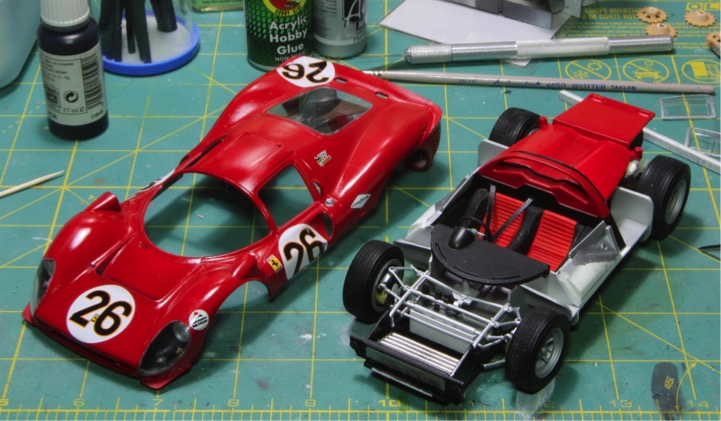
Then the rear deck was installed, which hides all the rear detail.

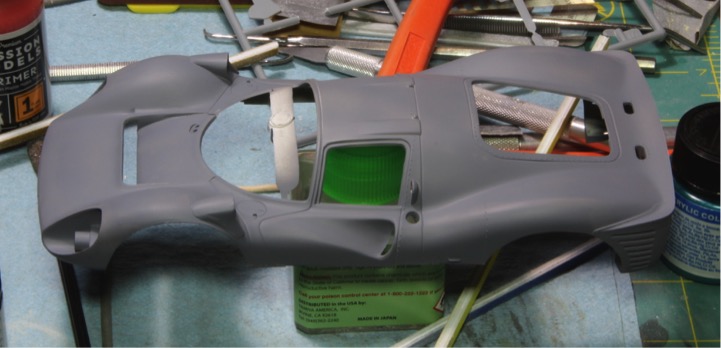
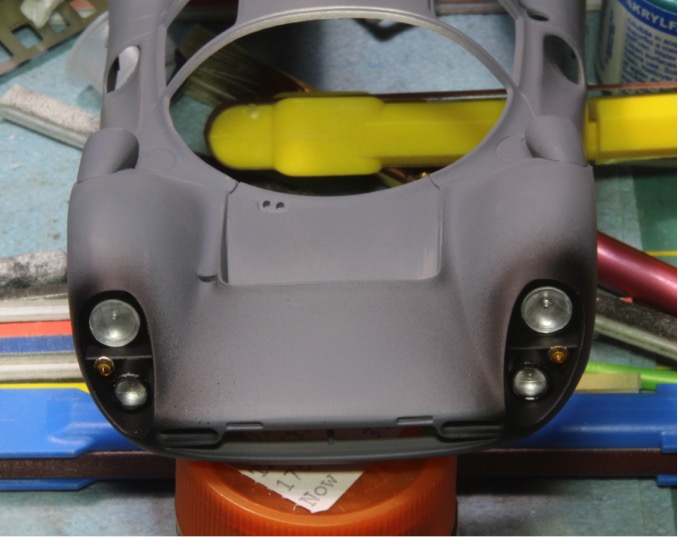
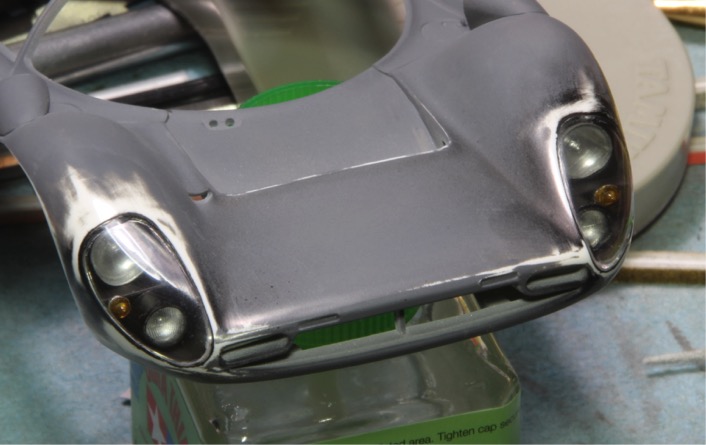
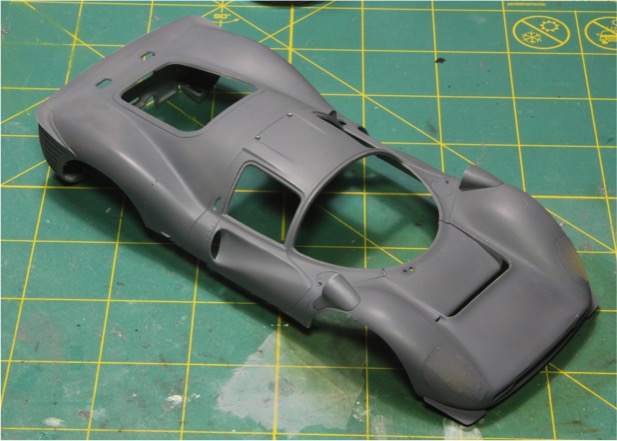
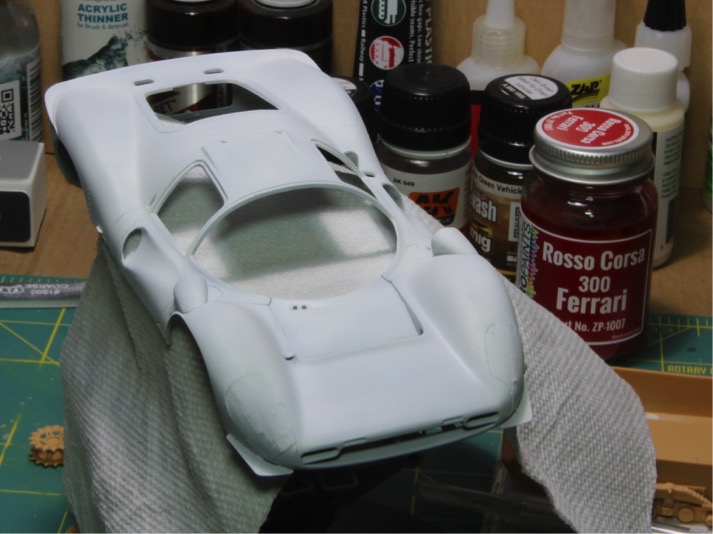
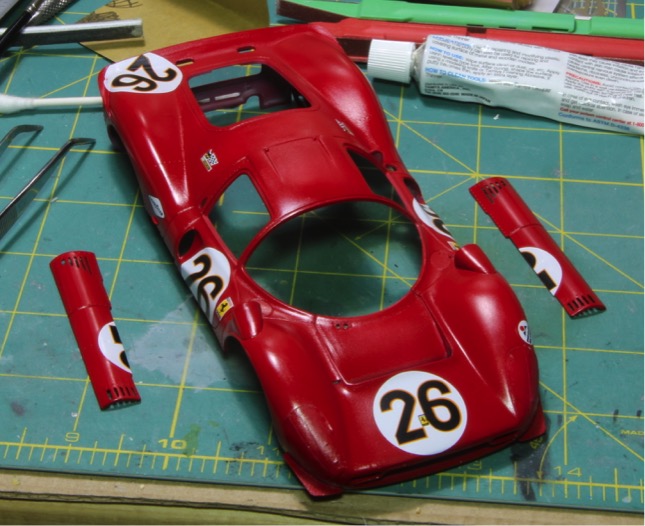
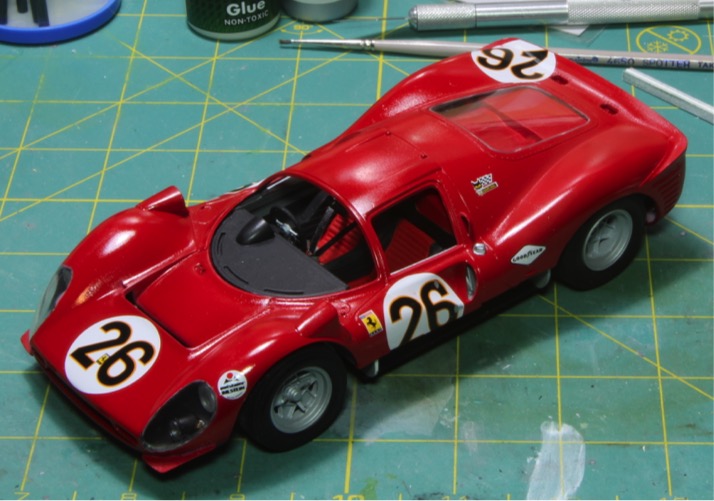
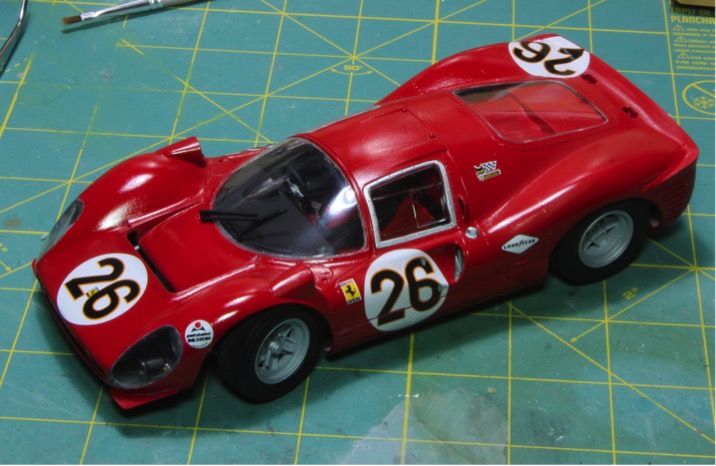
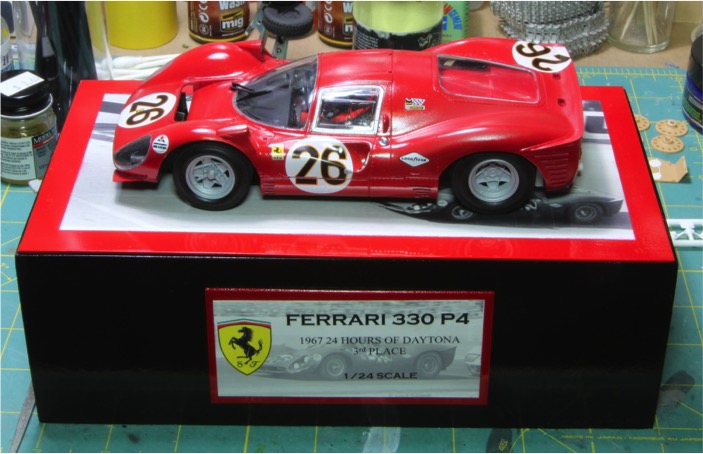
That completes the chassis. Next step is to get the bodywork cleaned up and painted. This has been a challenging kit, as I have stated before. But its turning out well, and is keeping me very interested as I go.
Thanks for looking in folks!
See you soon
Mike


")
Great build, one of my personal favourites.

Ian.