Since this was to be a slum or kind of derelict subject matter, I decided to use a wood stump as the base of the diorama. The ground work was done on a white foam board (never did like this brand but it was the easiest to come by at the time. Low funds, in short). The frame work of the shanty was an ordinary cardboard used by artist. Nothing special about it. As I mention, cheap was the main theme for me not spending too much on materials. The corrugated zinc individual pieces were done using foil sheets and a tool that gives it the corrugated design. Again, I will use anything possible to keep cost down. But I found another material. I Used aluminum platter, that bakers use to put cakes or food on. I found some cheaper ones at a cheap store for very little money. I cut out everything around it and use the bottom which was perfect.
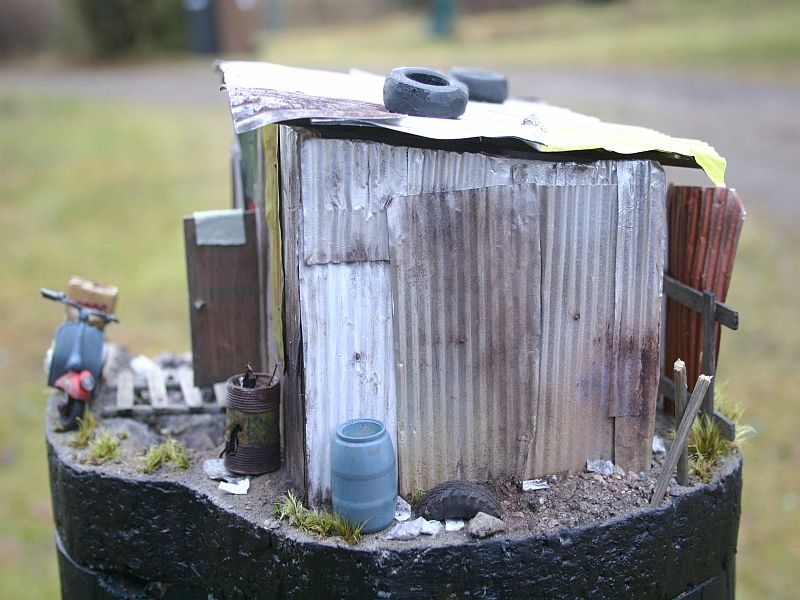
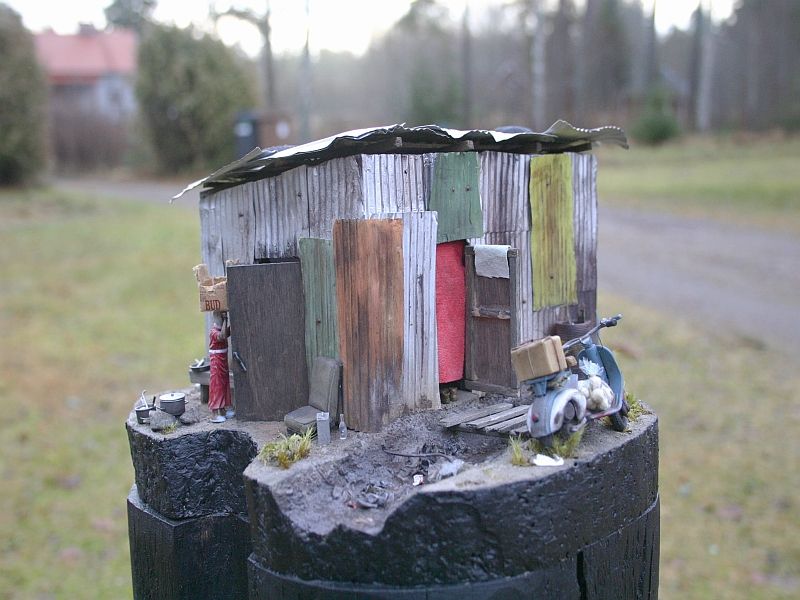
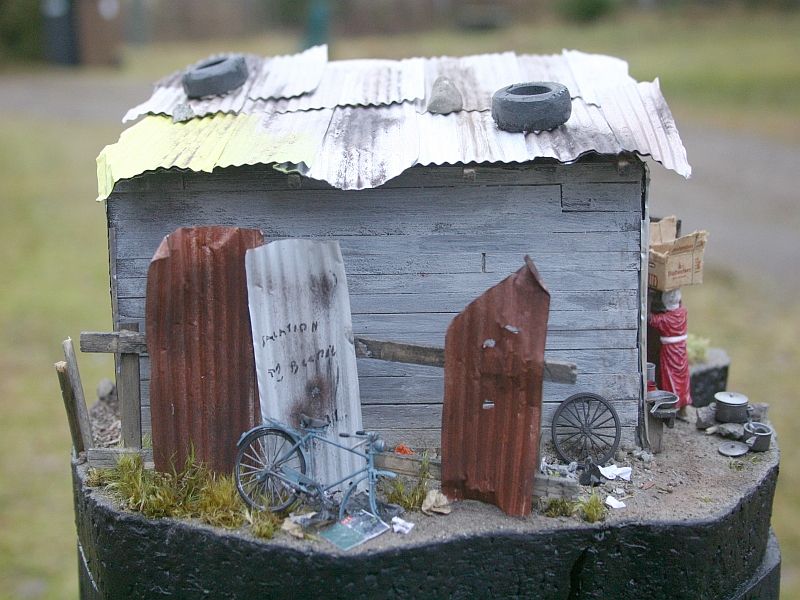
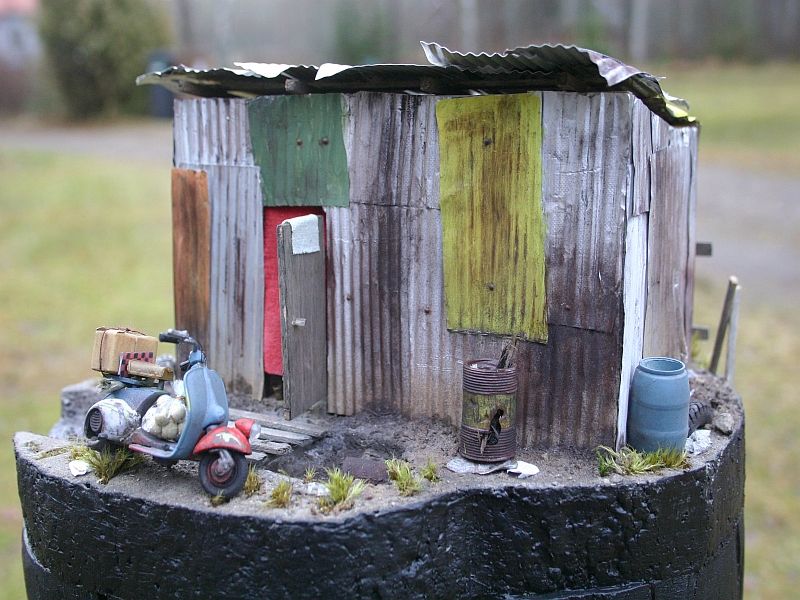
After the individual sheets were made they were glued directly onto a cross frame made from balsa, after it was painted. At the back of the shanty, I used scale wood painted first in diluted white paint and gone over in a much diluted green color. Then I went over it with a medium size brush to give it that worn look. Prior to painting the sheets I poked small holes and deformed them in various forms to give them that really old neglected and battered look. I painted most of the corrugated sheets a different color as this is done in most slum areas; at least in some of my reference pictures. I used random colors, such as orange, green, oxide Red, yellow, purple and white.
Now, for some of you, this might come as a shock to you but I still use spray cans. Yes, I know. I am stuck in time. I will buy one but have been scared off by the amount of painting you have to do between each paint job. But I will buy one for its flexibility. And of source it is cheaper in the long run.
For the rusty look I used a mixture of Mig’s rust, real dirt and black pigments. The drainage ditch just outside the shanty was simply done by carving out pieces and adding miscellaneous scrap. I added everything from crumpled up paper to plastic(cellophane).
The ground is mainly done using real dirt and Mig’s pigments. I also used some no-name brand pigments such as black, grey and amber. The doors on both sides of the shanty were made from Balsa and aged by simply painting them with a diluted black paint. I then hung a red piece of cloth at the front entrance of the doorway, as usually seen in these shanties. The pair of shoes on the ground just in the doorway was taken from the same Meng figure set. I sawed off the feet and hand drilled holes in them and painted them using Citadel Leather color.
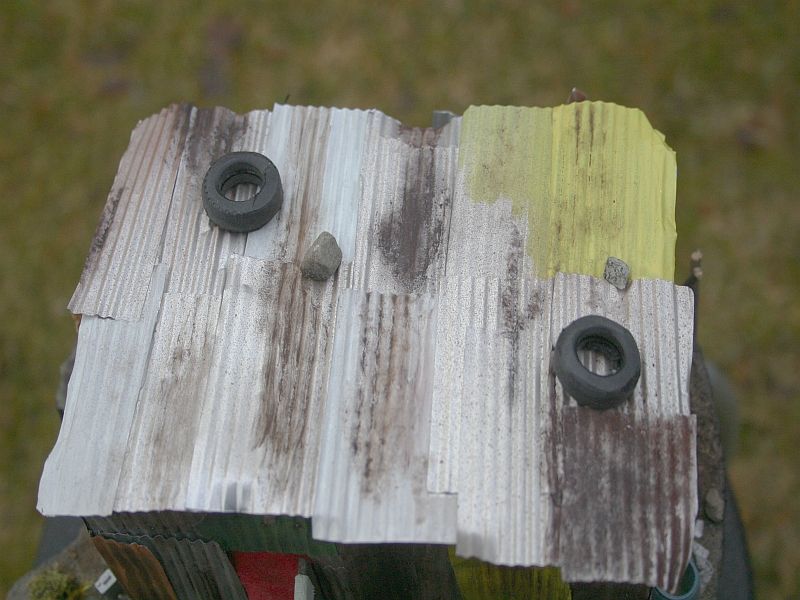
BTW, these Citadel brands are very good. If you have not tried them, give them a try. The tires on top of the shanty are used to help hold the corrugated sheets down so they won’t blow away after a storm or strong wind.
In most cases they do not help very much. But the effect on the shanty gives the model authenticity. The tires are 1/24 tires taken from another kit. I just used a grinder and removed the threads.
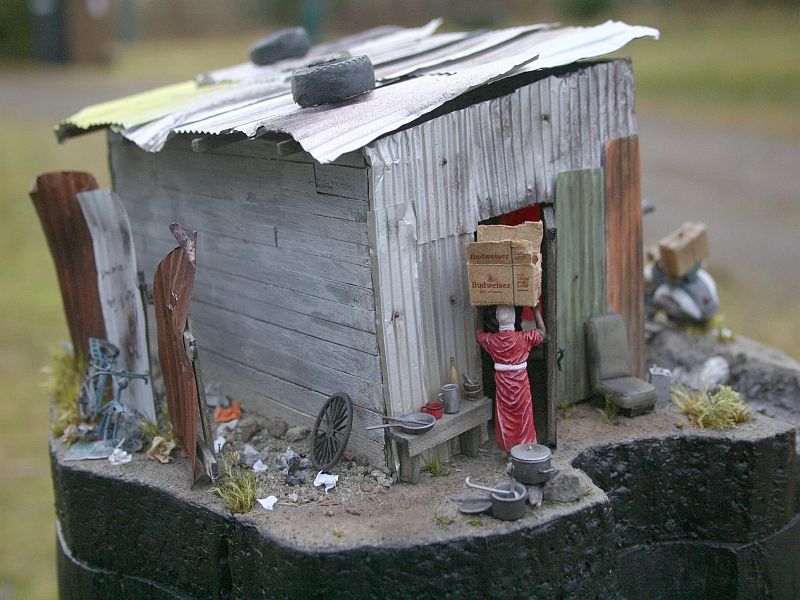
The vegetation is nothing more than finely selected moss and small plant branches I got from outside. If picked and placed right it does look the part. The figures are from Meng. The pots, pans and cutlery accessories as well as the broken down bicycle are from Diopark. I must say, that Diopark as some really nice kits. If you have not bought anything from them, then wait no longer. You will not regret.
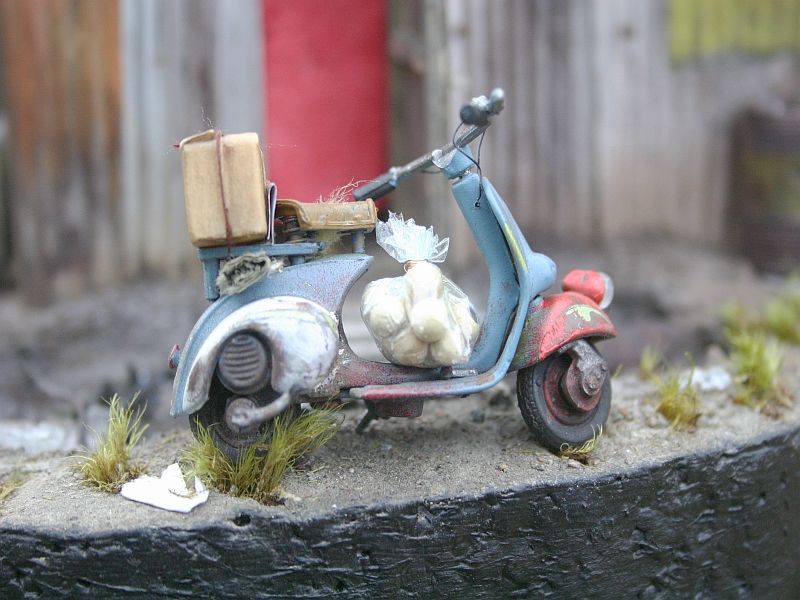
In the cooking area, I used balsa wood, broken up in small pieces to represent fire wood; weathered with black and grey pigments to give the impression that it has been used. The pot sitting on the top of the stones has been scorch due to it being used many times over. The car seat or truck is a resin replacement seat used for the Italeri HEMTT kit. The old bench was scratch built using balsa and stained the same way using the dilute black paint method. The vespa at the front of the shanty is a 1/32 (could not find a 1/32 at the time) scale die-cast model which I modified by adding brake cables and damaged the seat to give the worn look. The modeled was then painted in different colors, red, blue, white and rusted up to create the used worn effect that would fit the scene. Added a resin box painted with a light sand color from Humbrol and weathered using pigments.
All-in-all it has been a wonderful learning experience and something to honor those less fortunate human beings around the world living in such poor conditions. We are all human beings. Let’s be kind to one another. BTW, if you type in Slum in Google's search window, you will see many different types from around the world. Peace.


