• Modelers Alliance has updated the forum software on our website. We have migrated all post, content and user accounts but we could not migrate the passwords.
    This requires that you manually reset your password.
    Please click here, http://modelersalliance.org/forums/login to go to logon page and use the "Forgot your Password" option.

SdKfz 8 12-Ton Heavy Halftrack 8.8cm Flak18

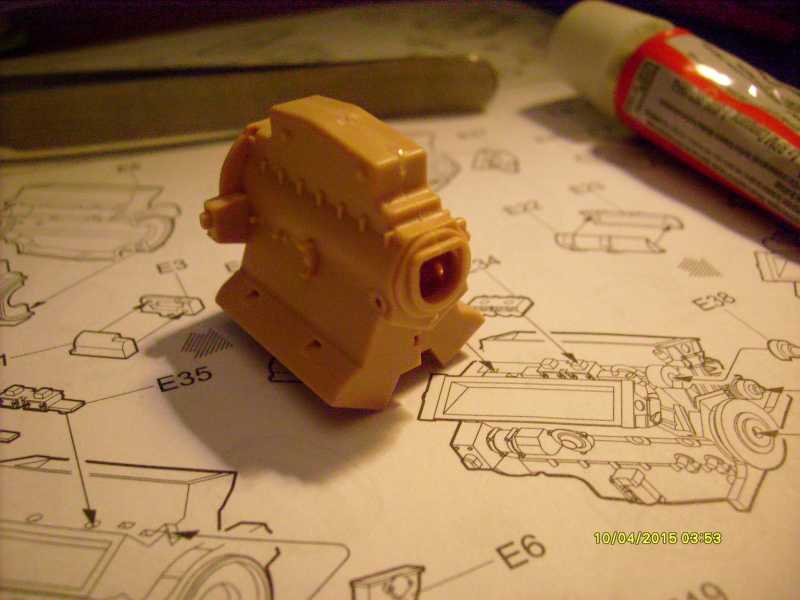
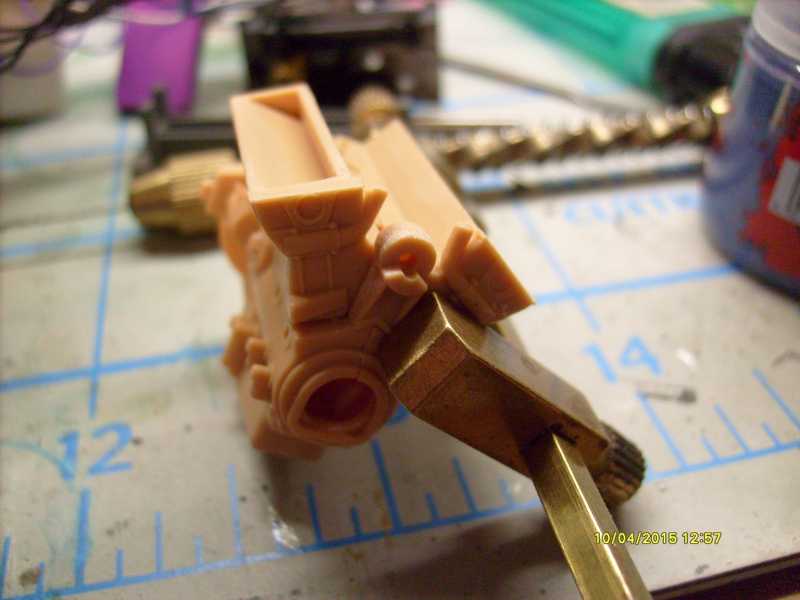
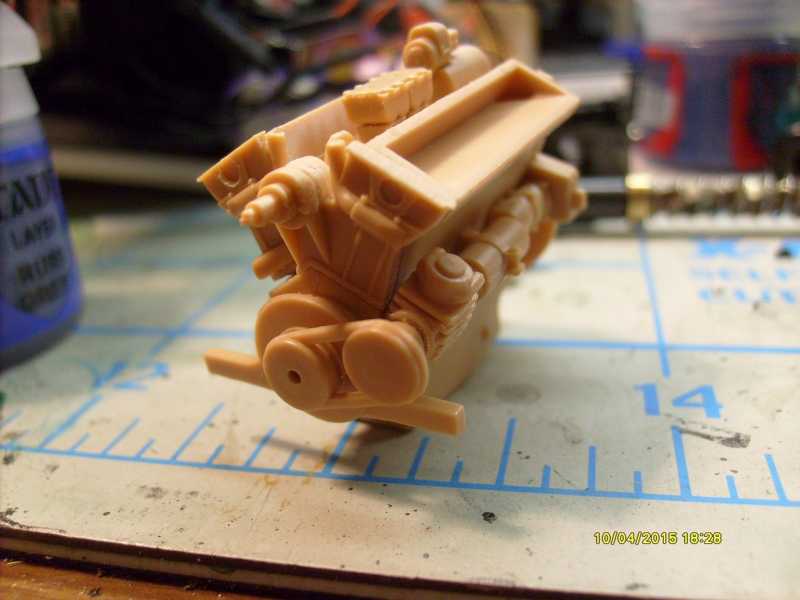
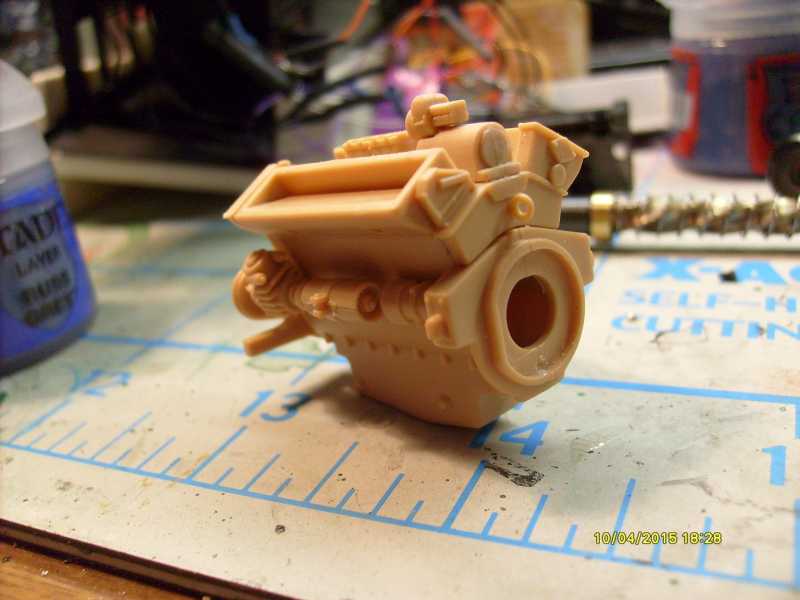
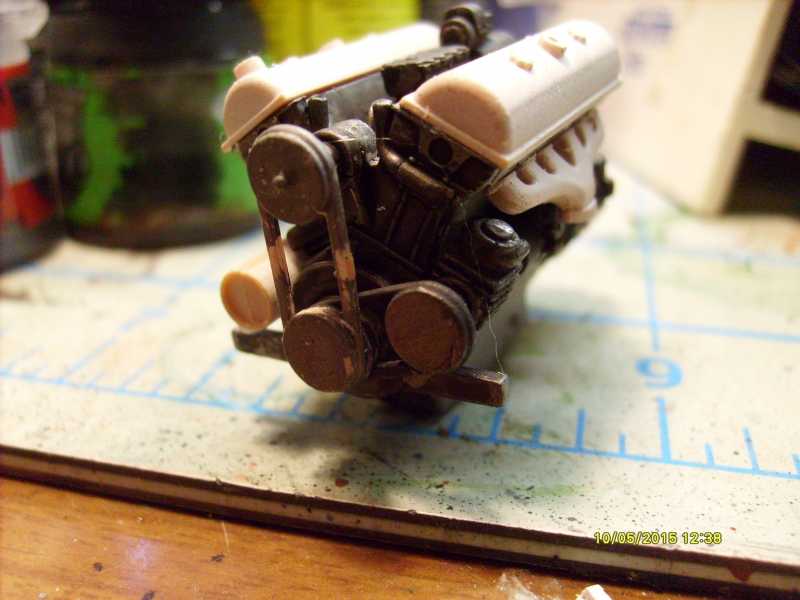
Is that hub out of alignment in the last picture?

Better check it.

Tony lee

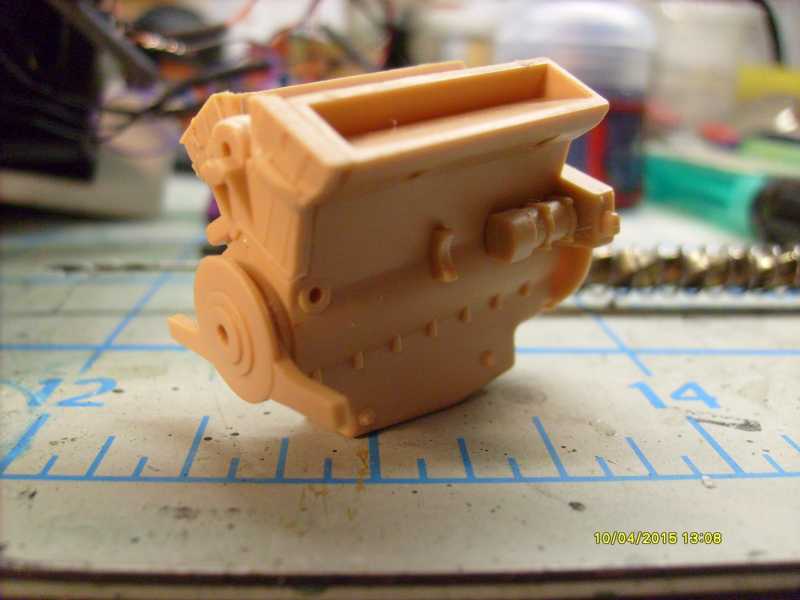
No they aren't glued on yet ... thought I would wait Until the sub assemblies went together to make sure they're not supposed to turn as they do rotate in the assy ... Thanks for your concern ... the trumpeter instruction are good ... but still vague ... :soldier :soldier :soldier
 
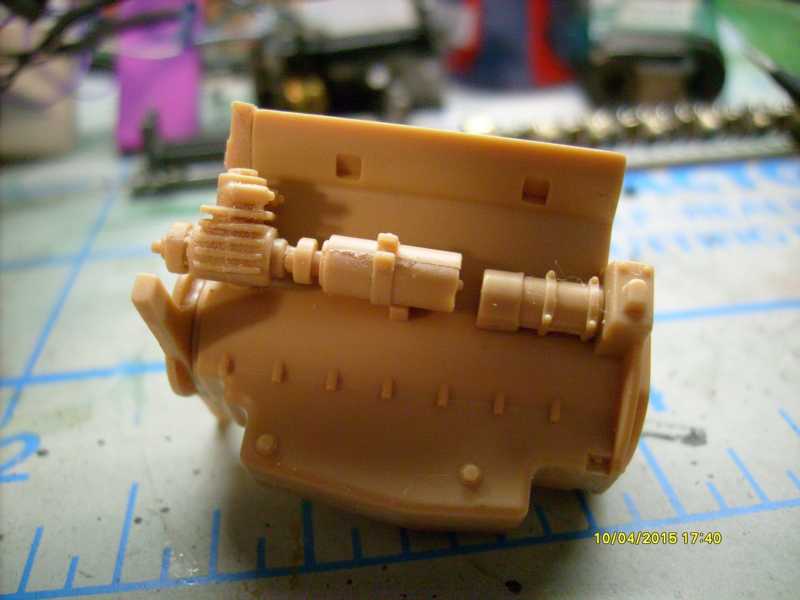
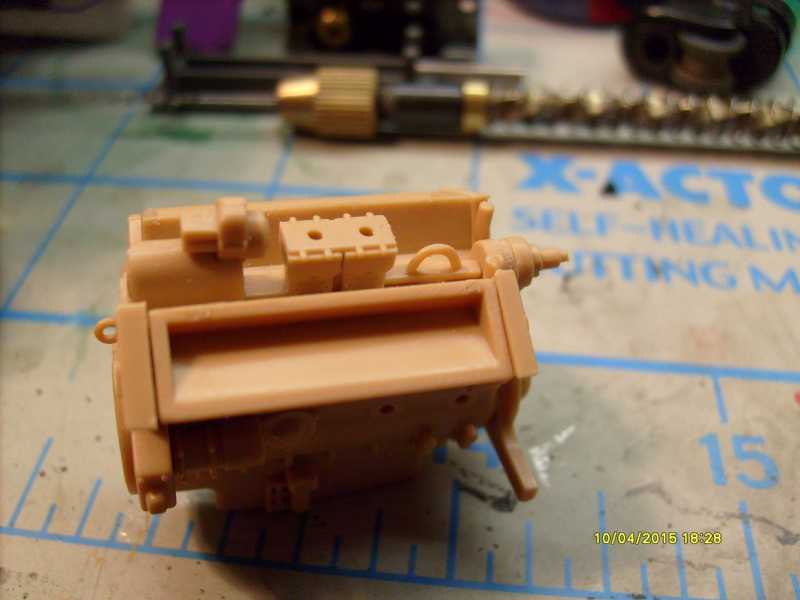
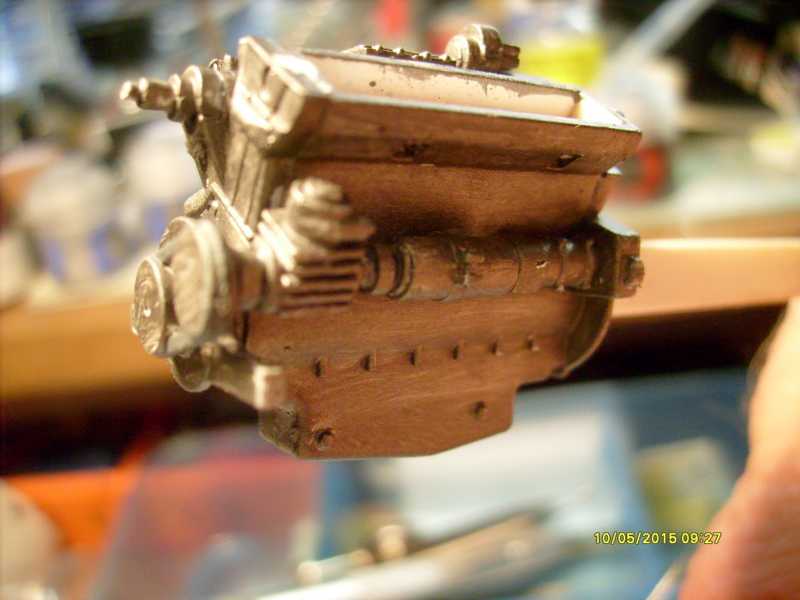
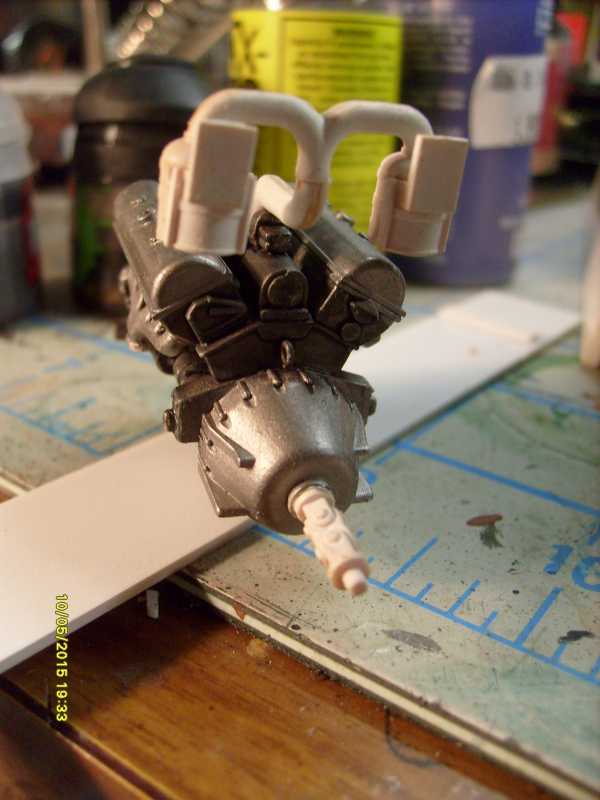
I worked on the motor all evening ... Down to valve covers and painting the thing ... A steel color pics in the morning ... (y)
 
Thanks Mark ... I have pictures now this morning ... as for the little glue threads dust and different stuff ... I use these photos to find the problems ... they may have been fixed ... before you can type or will be ... :soldier :soldier :soldier

hb18a95e.JPG


h2a539a4.JPG


hfc0b571.JPG


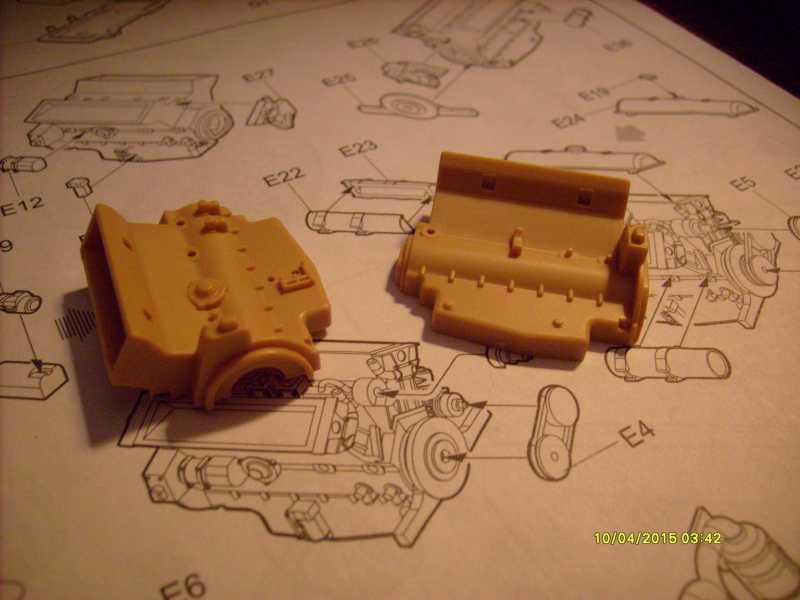
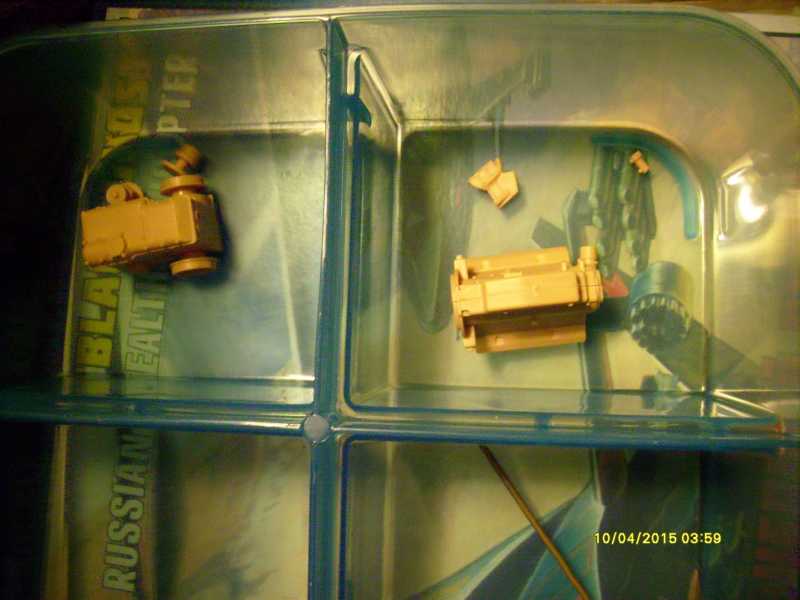
We start with the Motor Halves ... Remember the parts/paint containers I bought ??? I'll use these divided compartments to keep my sub assembly's organized ... my transmission is in there ... :good:

h2f8cc12.JPG


h211b754.JPG


hbcde442.JPG


h0be8622.JPG


h0b8ad1f.JPG


hfb09c31.JPG


hc23131e.JPG


hb58e6c6.JPG


Well there you go ... lots of different little tiny parts being put on ... I'll primer this much with my spray primer as I want to paint the fan belt with my Vallejo Rubber paint ... before proceeding ... (y) :ro: :dude :soldier
 
Thanks Kenny & MP ... just have to solve the primer troubles ... seems this is that styrene that a water based primer (acrylic) won't stick to it ... I soaked it in Dawn overnight ... going to the big Bunker to paint the primer ... :salute
 
here ya go I've been working I went to Dollar general and pick up some flat white for primer ... then I looked under my desk and there was a full can ... :woohoo: :facepalm :coolio

ha179f79.JPG


h1130013.JPG


h838395f.JPG


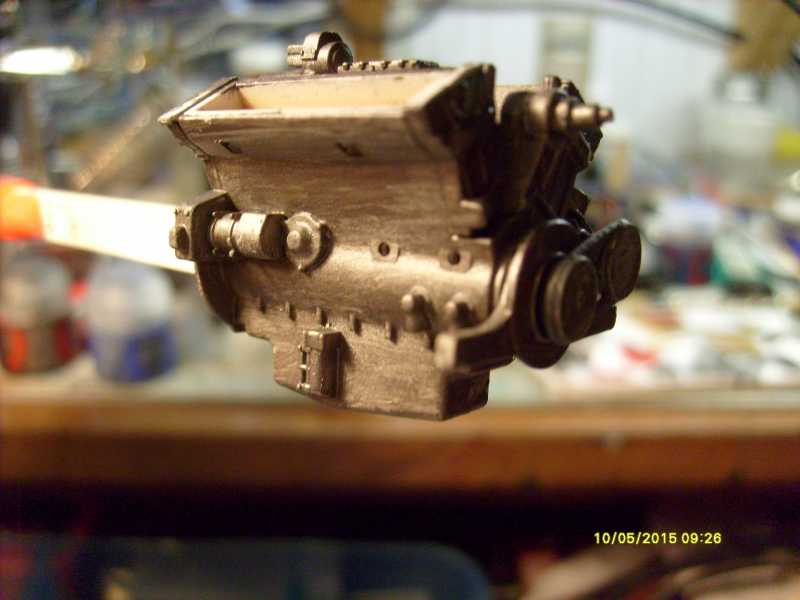
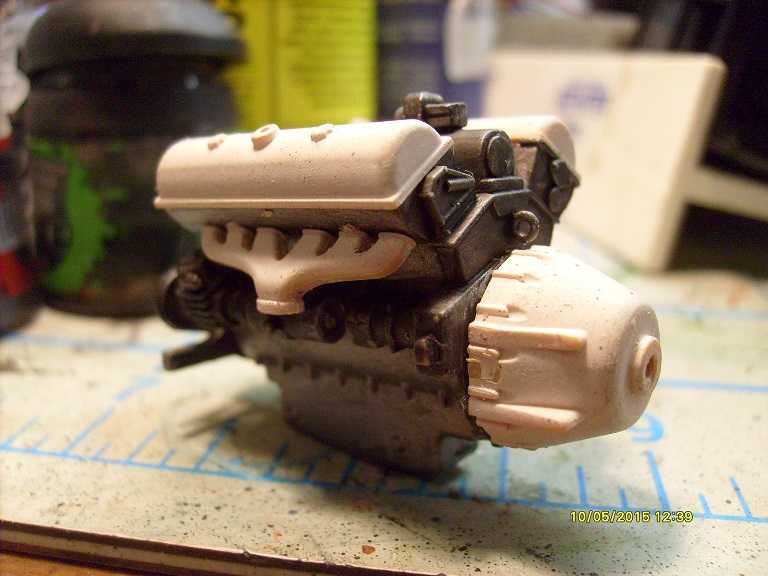
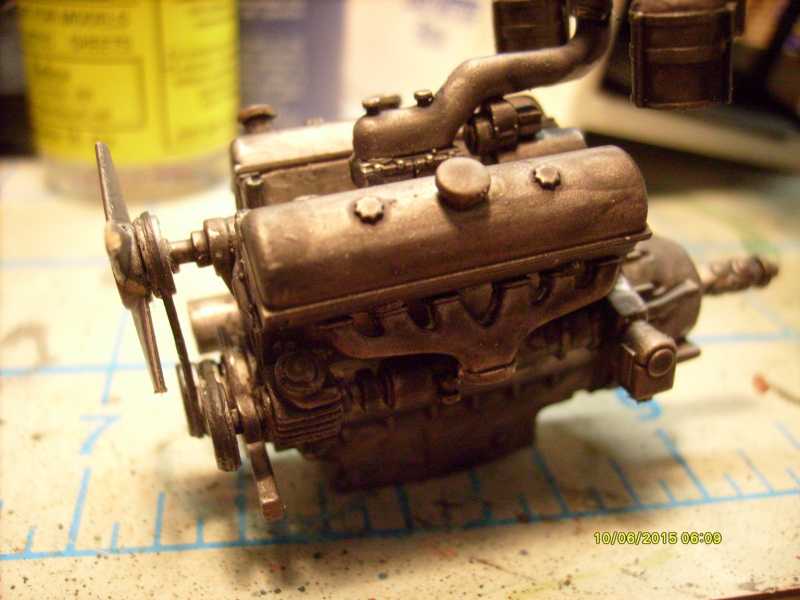
I primed and painted the motor with Lead Belcher (gun Metal) ... added a wash of nulin oil ... :soldier

h19134d5.JPG


h5ac0dad.JPG


h73fde7b.JPG


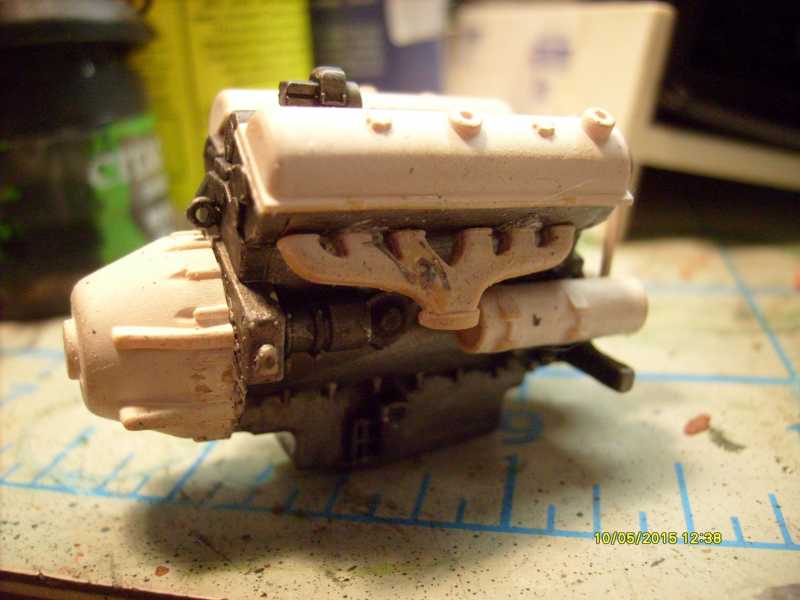
I added this next series of parts & bits ... I knoe the manifold has crap all over it ... dang thing went falling down upside down ... I will have to fix it after it sets .... :soldier ... :frantic
 
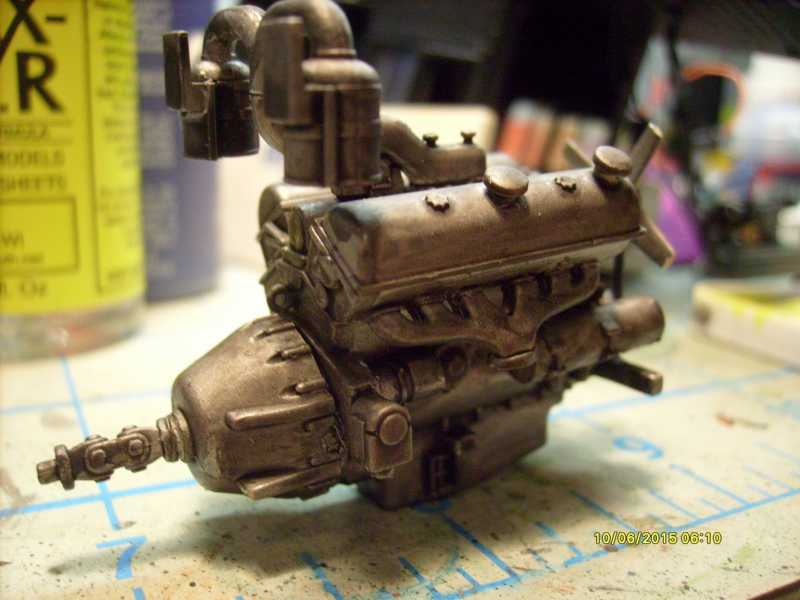
I decided to paint it the same color ... but I'm fixin to go and add some weathering powders ... I know what my header in my truck look like ... so I'm going for the hot look ...

h33d1253.JPG


ha990045.JPG


hb0d9b02.JPG


hea76828.JPG


h09f9b44.JPG


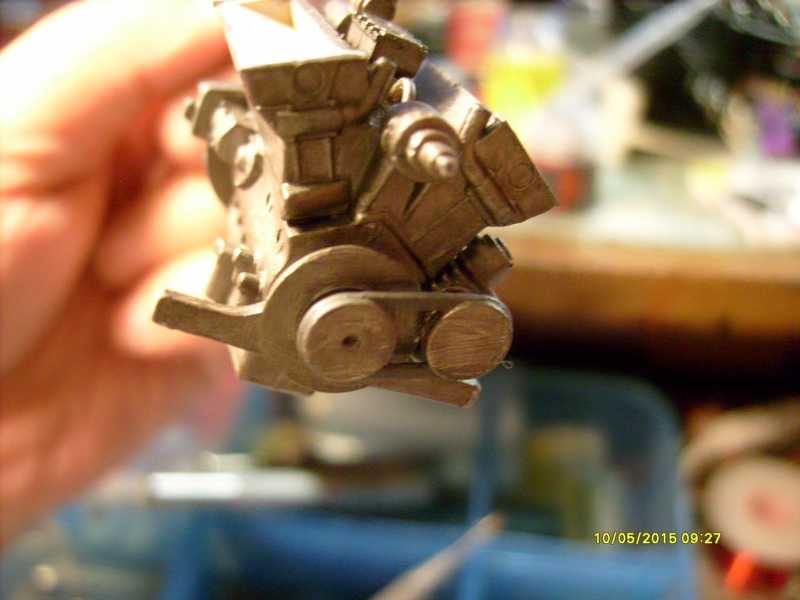
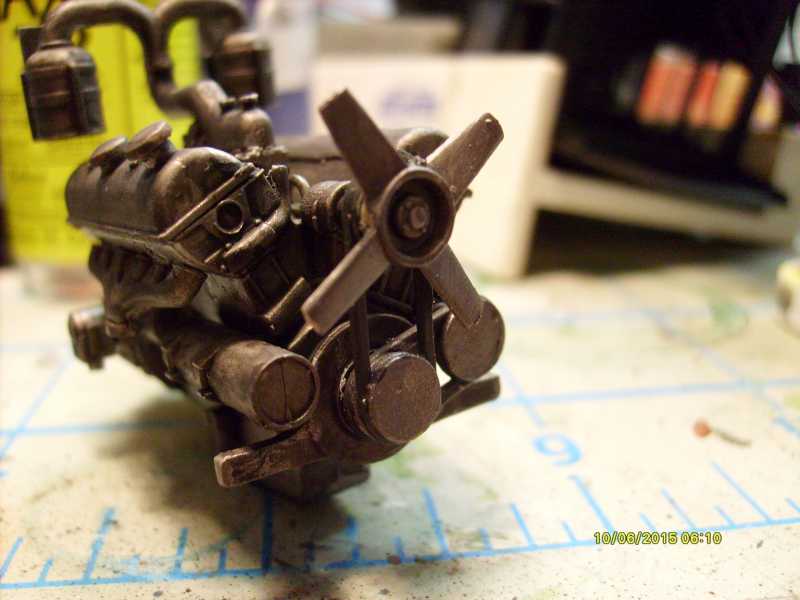
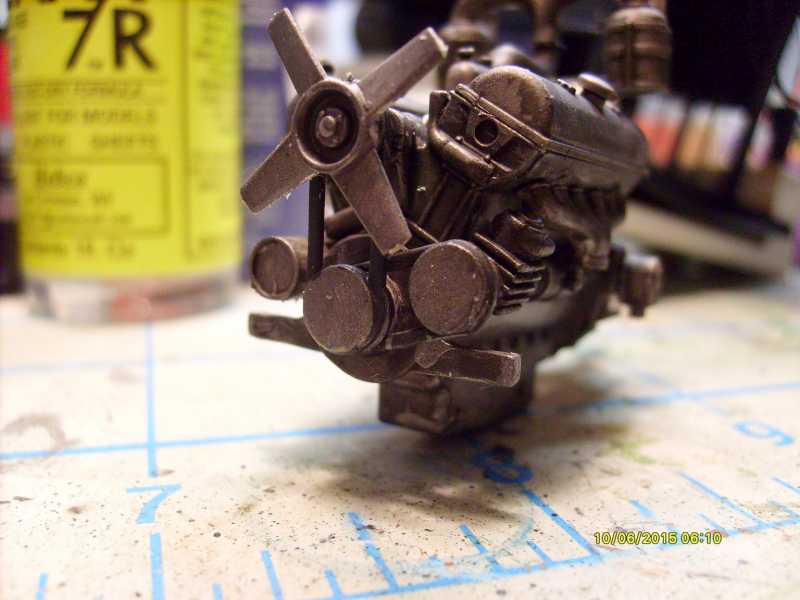
Ok all painted ... and all parts on time to move on next are the wheels ... but I think I'll do the frame 1st ... :soldier Oh I hope the fan shot that is so crooked is camera fisheye ... I don't remember it looked like that ... :soldier
 
Maybach V-12 over-head valve, liquid-cooled, HL 85 TUKRM gasoline engine, rated at 185 horsepower. Ignition is the conventional 12-volt Bosch magneto located behind the carburetors. All ignition wires are carried in a flexible aluminum conduit to the side of the engine.

The transmission provides four speeds forward, one reverse, with high and low range.

This vehicle is equipped with an inertia starter and a cable winch with a lifting power of 5.5 tons.

_____________________________________________________ :soldier _________

Above will be the wiring I'll be checking on this in the Am.... :drinks L may have to do a Mr. T cable sound like Yes ... :drinks
 
It is a nice build although I stopped before the upper armor as I sent it out.

Unless you plan to replace the front wheels/tires, glue the plastic parts (without the rubber tires) and paint them up. This will allow (hopefully 1 week of) time for the paint to cure and form a barrier in case there is a reaction between the different materials.

Regards,

Interesting... :hmmm
 
Here's the finished Motor ... last night I used the dusting powders to color the exhaust manifolds ...

hc2db3a4.JPG


ha066a7e.JPG


h5898b12.JPG


They look fair ... So on with the frame ... I must soak the bit's in dawn ....

C&C welcome ... It's getting Dark down Here in Texas ... :soldier
 
Back
Top