• Modelers Alliance has updated the forum software on our website. We have migrated all post, content and user accounts but we could not migrate the passwords.
    This requires that you manually reset your password.
    Please click here, http://modelersalliance.org/forums/login to go to logon page and use the "Forgot your Password" option.

Rudi's StuG III B: 17/01/10 - small update

I figure I'd better make a start on this - only 4 months to go, and cutting it rather fine for my build pace :ermm:

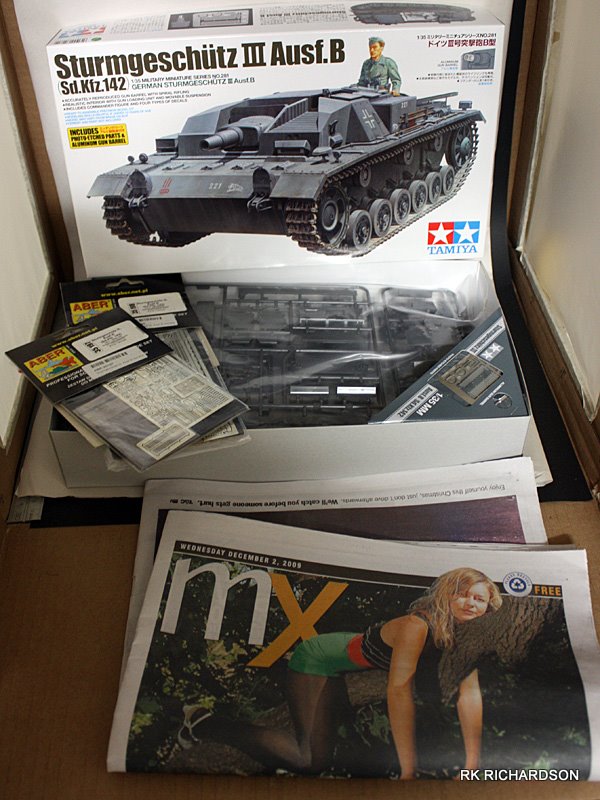
I'll be not finishing.... ooops, I mean building :lol: Tamiya's 1/35 Sturmgeschütz III Ausf.B (Sd.Kfz. 142). After-market products include Aber PE sets 35197 Sturmgeschütz III, Ausf.B (Sd.Kfz. 142) Vol.1 - basic set and 35198 Sturmgeschütz III, Ausf.B (Sd.Kfz. 142) Vol.2 - Fenders. I'll most likely also be adding Friuls.

In terms of setting I've been bouncing ideas around for a good few weeks and while narrowed it down to 2 or 3, still not made a final decision.

So here's the obligatory opening post with local gossip rag for date stamp.

StugIIIB_000.jpg


Unfortunately it may be a while before the next post, but I suppose at least I've now committed myself through this post :blink

Rudi :woohoo:
 
Re:Rudi's StuG III Ausf B

Hi Rudi,

Great tank

A lot of photoetch

and the mx paper does grab your attention :)

Cheers
Michael :)
 
Re:Rudi's StuG III Ausf B

Thanks for the support, gents.

Yeah, the mX (a free street newspaper) certainly can pick it's sensationalist cover photos (and stories) :laugh: Would you believe me if I told you I only pick it up for the Sudoku puzzle for the trip home? I actually had to remember not to toss this one for purposes of the above pic :lol:

Mike: yup, pleeeeeenty of PE on this one. It'll be one of my most challenging builds yet, so I'll be leaning on all of you for support (y)

Got a few other things to sort out first, but hopefully I'll get cracking on this soon :)

Rudi
 
Re:Rudi's StuG III Ausf B

A beauty! I mean.... just looking at it sends shivers of excitement!

Just looking at the box and the packed photo-etch.... boy... simply beautiful!

THe newspaper cover is also ok!

Great kit and PE you've got there!

Regards
Noel
 
Re:Rudi's StuG III Ausf B

Hey Rudi looking forward to seeing this at Wheel's & Track's :cheer: should be a beauty
Some great After market gear as well
I didn't even notice the cover of the MX paper :blink :laugh:

cheer's

Matt
 
Re:Rudi's StuG III Ausf B

i won't comment on that funky koala bear pic in the newspaper but that stug is a dreamkit you will love to build!

don't let us wait too long!
 
Re:Rudi's StuG III Ausf B

Thanks all. As of COB Thursday I'm on vacation for 2 weeks. As the missus is working through it'll just be me, my workbench and that not-too-long, somewhat self-imposed DIY/chore/honey-do list :)
 
Rudi's StuG III Ausf B - Update 4 Jan '10

Just a small update. Steps 1 - 4, covering rear panel, suspension arms, etc. Pretty ordinary thus far, with the only changes being drilling out the shock absorber and installing a 2mm plastic rod to extend the shaft. The extensions aren't perfect, and are a bit skew :blush: 
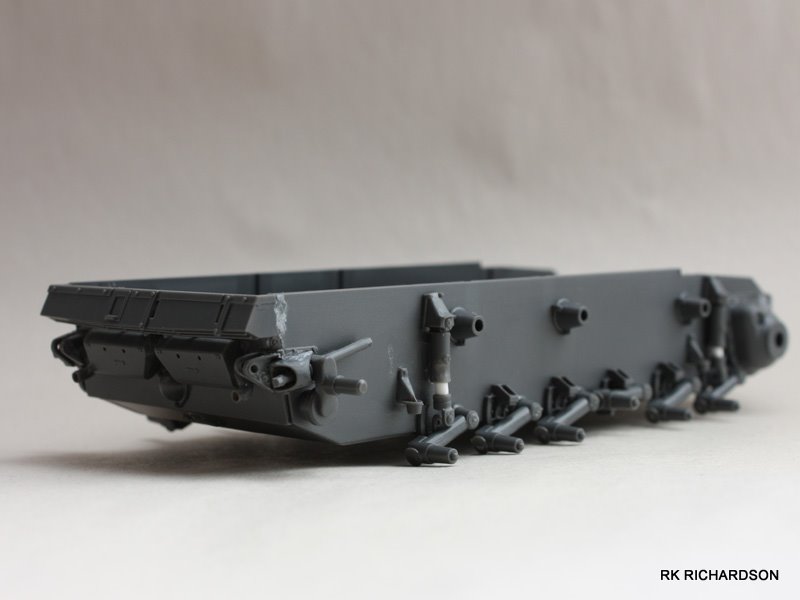
but they'll have to do. I also installed a nut and bolt for later fixing to groundwork. I've decided not to attach the return rollers yet for painting purposes, and will similarly skip over the next steps which cover the road wheels, drive sprockets and idler gears.
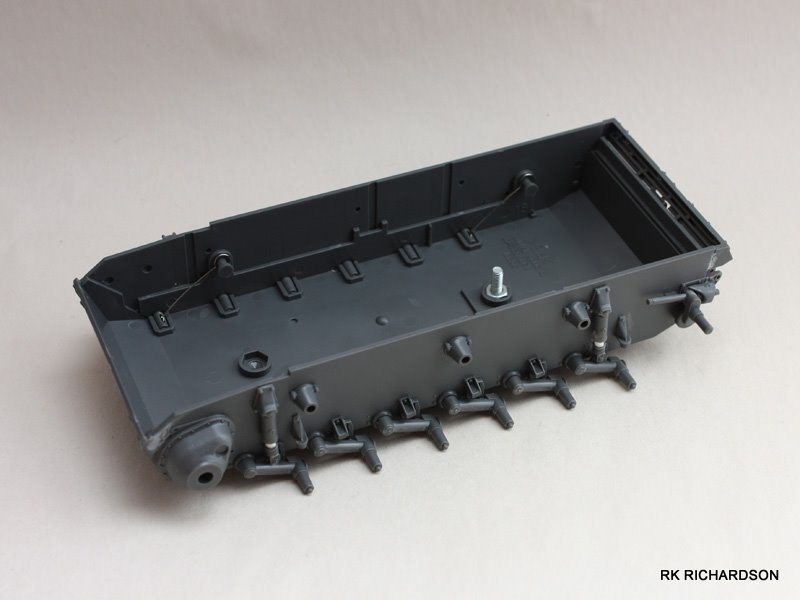
StugIIIB_001.JPG

StugIIIB_003.JPG


Edit: A quick postscript. The keen eyed will notice that I haven't attached the shocks to the suspension arms yet. This is so that I can position the arm (and thus adjust the length of the shock) when the groundwork is done.
 
Re:Rudi's StuG III Ausf B - Update 4 Jan '10

the nut and bolt inserted in the floor was also on my todo list when i built mine but in the heat of the build i had forgotten about! :blush:

keep on going and show us more! :cheer:
 
Re:Rudi's StuG III Ausf B - Update 4 Jan '10

Thanks Laura. Got a few days before I go back to work - hoping to to make the most of it modelling-wize ;)

BTW, lurve the new avatar - looks like the talented work of ChukW?
 
Re:Rudi's StuG III Ausf B - Update 4 Jan '10

Hi Rudi.

That is a good start on an otherwise quick building kit. And I see that you have already figured out the problem with the shocks quick and easy (y) . I ended up spending almost an entire day trying to scratch build the entire shock :eek:hmy: , when I hit on the same simple answer that you did in just a few minutes :duh . Now get that honeydew list done and get to gluing :lol:

Gary B)
 
Re:Rudi's StuG III Ausf B - Update 4 Jan '10

Hey Gary,

LOL, thanks for the comments. Naw, actually what you see there is 2 and bit days of building - yeah, I know, I know: I build sloooowly :blink The shocks were inspired by your work, so I benefited from you having done the brain-work already ;) I'll be following your lead (again) on the interior, adding 2 bulkheads (I think that would be the right term?) and the ammo cases on the loader side. It's basically just enough in case anyone looks inside. Although I'll have both the commander and loader hatches open, figures will be positioned in them and hopefully not much will be visible.

Here are a few shots from the trial I did yesterday to determine how much is visible (more shots in my gallery, here). Although this figure won't be used, similarly posed figures will be - well that's the plan anyway...

StugIIIB_006.JPG

StugIIIB_012.JPG
 
Re:Rudi's StuG III Ausf B - Update 4 Jan '10

Hi Rudi.

That's pretty much the same idea I had. But I was thinking of having the commander standing in his hatch, and the loader sitting up on the back hatch like you have. But these are pretty big hatches, and still can see a fair bit inside. That is why I am doing the stuff I am doing on my interior. Nothing extravagant, just something to fill the space. The only thing I really have my eye on though is the grenade rack, as it is directly below both hatches. I think after I rework that, the rest will be just general crew equipment and "stuff", then it will be on to the rest of the exterior for me.

Gary B)
 
Rudi's StuG III Ausf B - Update 9 Jan '10

Inspired by Laura' and Gary's work on their interiors, I decided to scratch build a little bit. Really just looking to fill the space in case anyone manages to see past the figures sitting in the 2 open hatches.

Added were two bulkheads (?) per side, 2 missing gun mount support beams (?), the general shape of the 3 ammunition boxes on the loaded side, and some crew equipment on the commander and gunner side. I also boxed the fighting compartment in with some plastic card to limit to viewer's depth of vision. With the exception of the crew equipment, which was scavenged from various DML figure kits, the additions were done with plastic card.

It's (the interior) not looking to win any awards, but just provide form where there should be shapes on the odd chance someone decides to try look past the figures. :laugh:

StugIIIB_020.JPG


StugIIIB_018.JPG


More here: Rudi's StuG III B Photo Album

Rudi :)

p.s. as you can see from the pics I had a few accidents and re-thinks along the way :blush: :laugh:

p.p.s. this is also the first time I'm attempted to scratch build a portion of an interior (so be gentle with critique ;) )
 
Re:Rudi's StuG III B: 09/01/10 - interior added

Hi Rudi.

That is looking just perfect. I felt the same way as you. All that is really needed is the general shadowy shapes down in the depths to please any prying eyes. And you have done a great job. The only obvious thing I see missing is a little rectangular seat right under the loaders hatch that is in the corner next to the engine firewall and hull side. But your build is going great.

Gary B)
 
Re:Rudi's StuG III B: 09/01/10 - interior added

G Cooper wrote:
Hi Rudi.

That is looking just perfect. I felt the same way as you. All that is really needed is the general shadowy shapes down in the depths to please any prying eyes. And you have done a great job. The only obvious thing I see missing is a little rectangular seat right under the loaders hatch that is in the corner next to the engine firewall and hull side. But your build is going great.

Gary B)

Hi Gary,

Thanks mate! Appreciate your comments! :woohoo:

Don't worry, I didn't forget the seat; it's shown in one of the other photos in the gallery.

StugIIIB_017.JPG


I moved it a bit further back (closer to the firewall) as initially I was going to fit 3 bulkheads per side (decided against that after reviewing the pics from that Spanish site you linked to on the old forum). I've noticed that some pics show a box under the loader's seat which I may still install, as well as a small box on the commander/gunner side of the gun mount.

Thanks again for the comments!

Rudi :)
 
Back
Top