Ruben Lopez
Active member

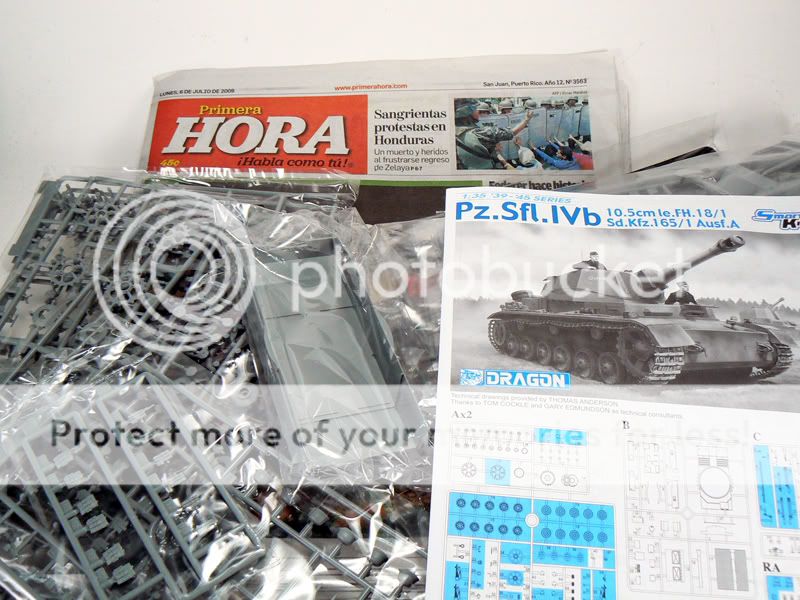
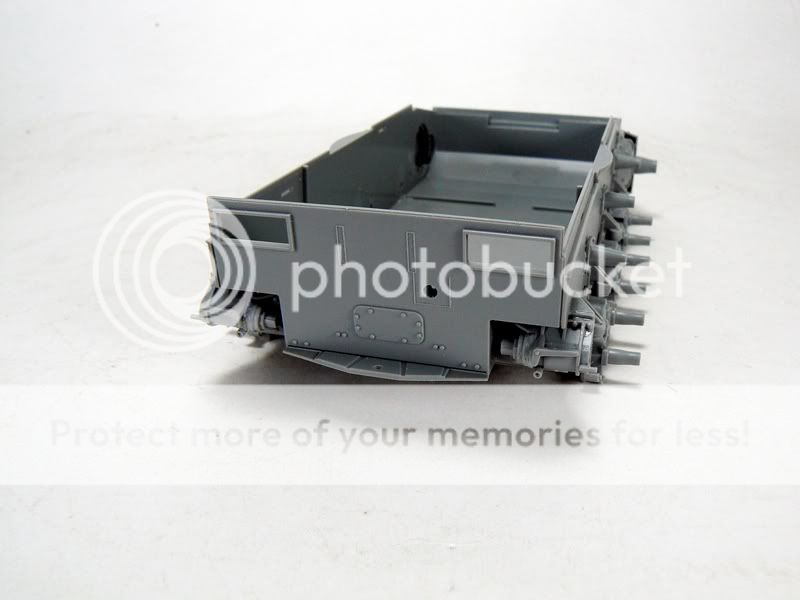
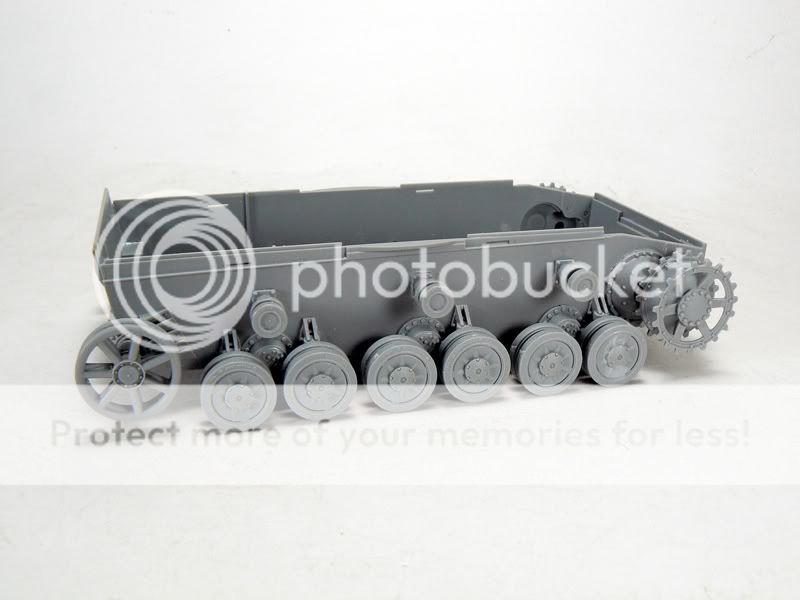
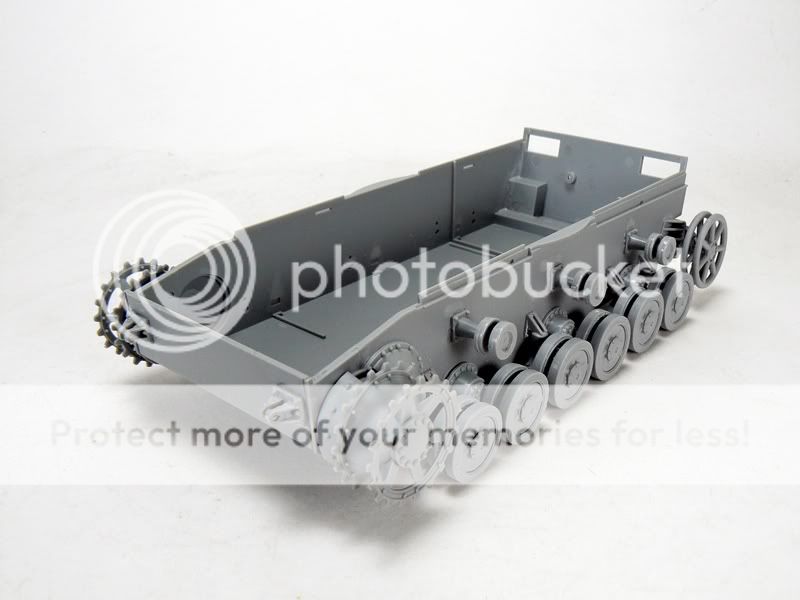
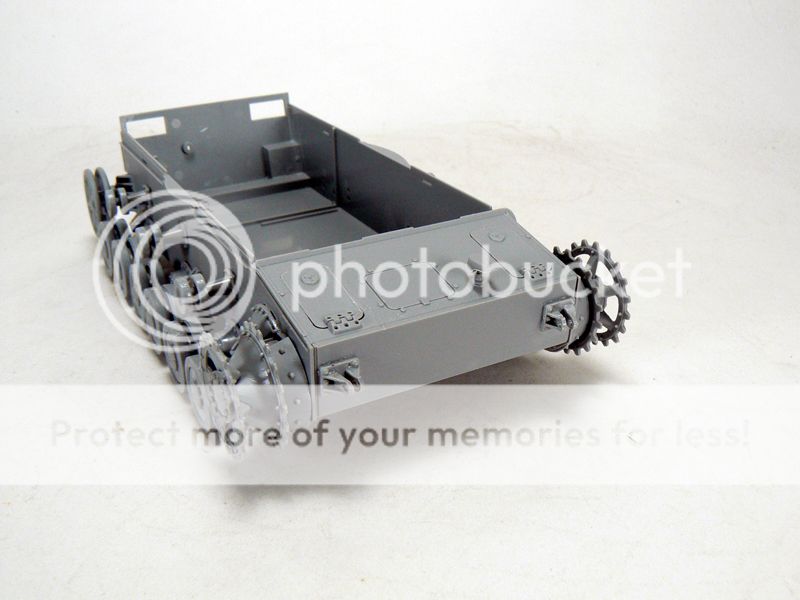
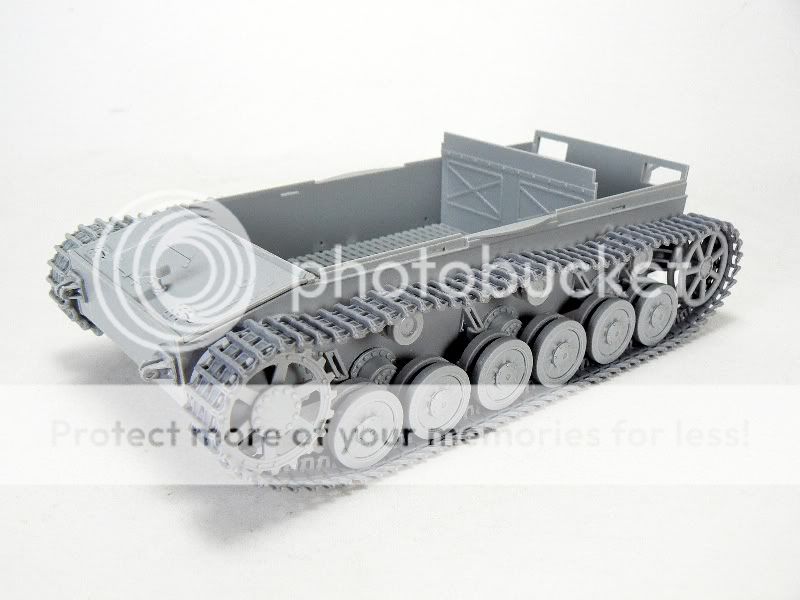
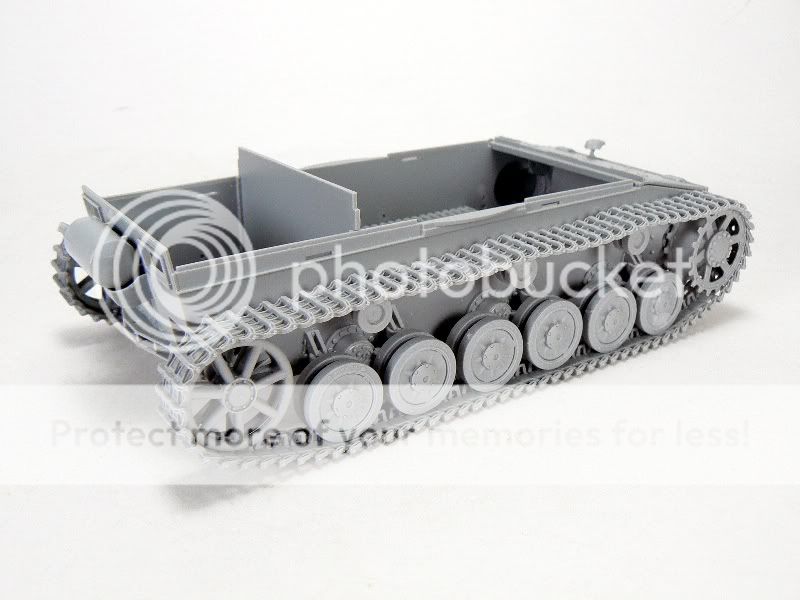
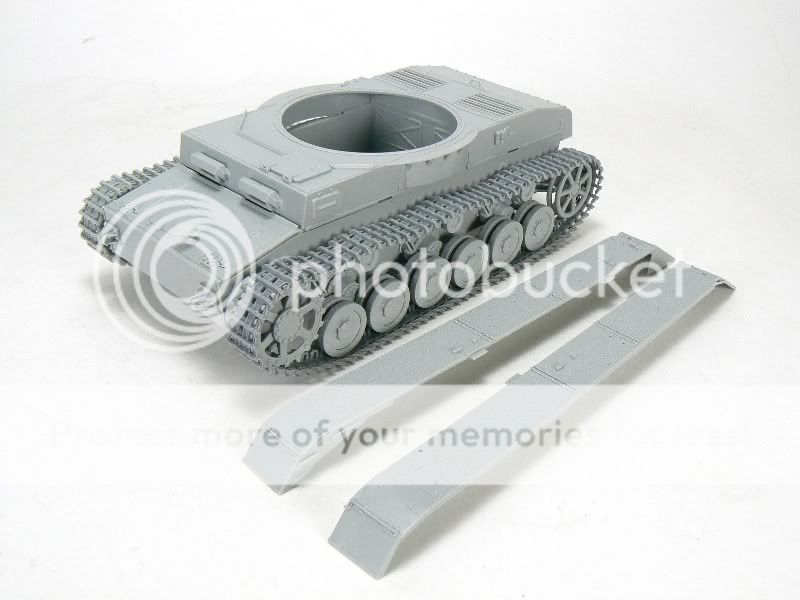
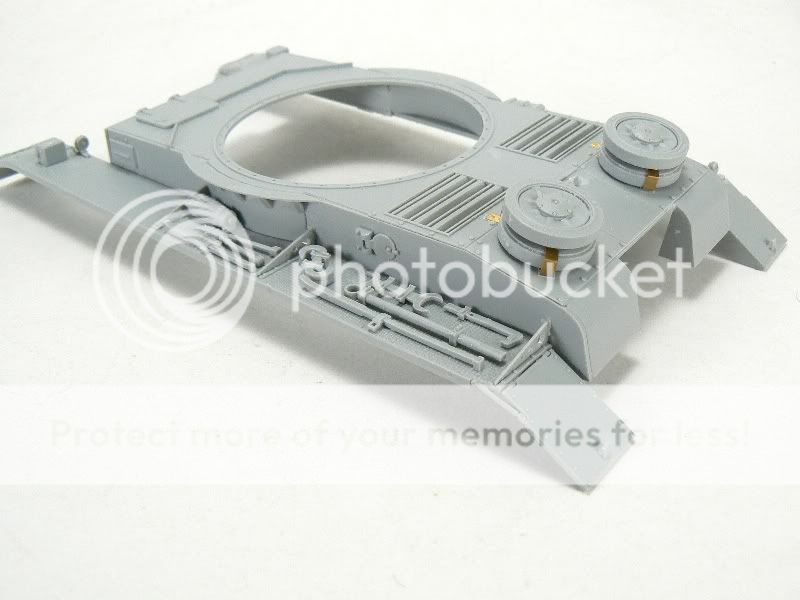
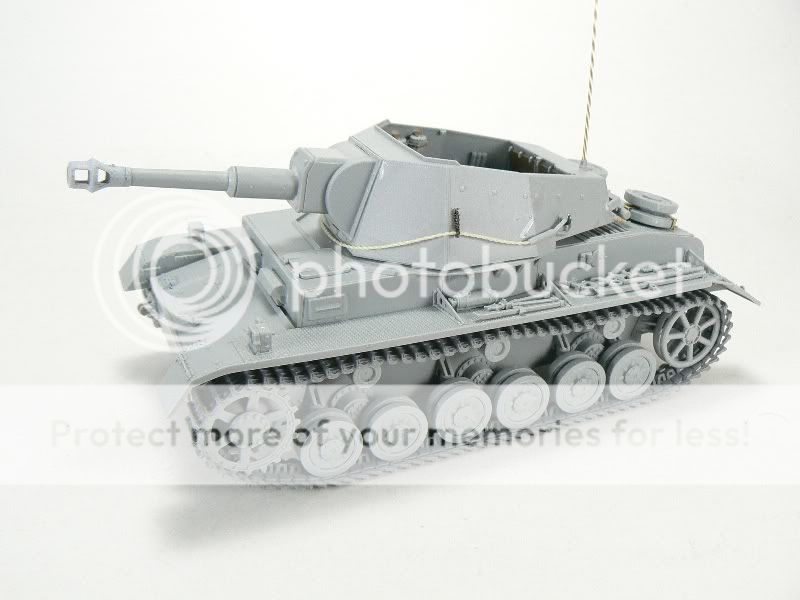
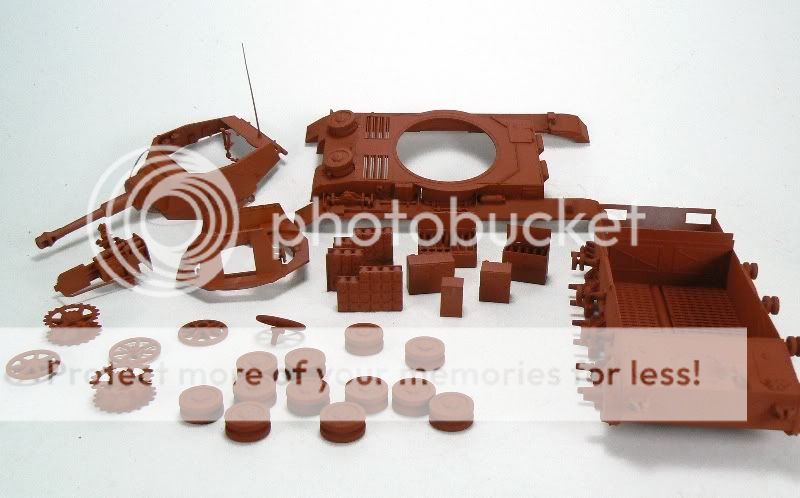
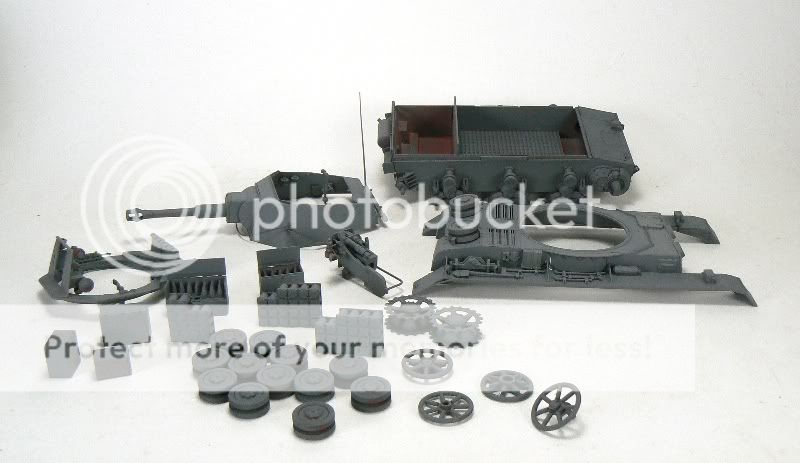
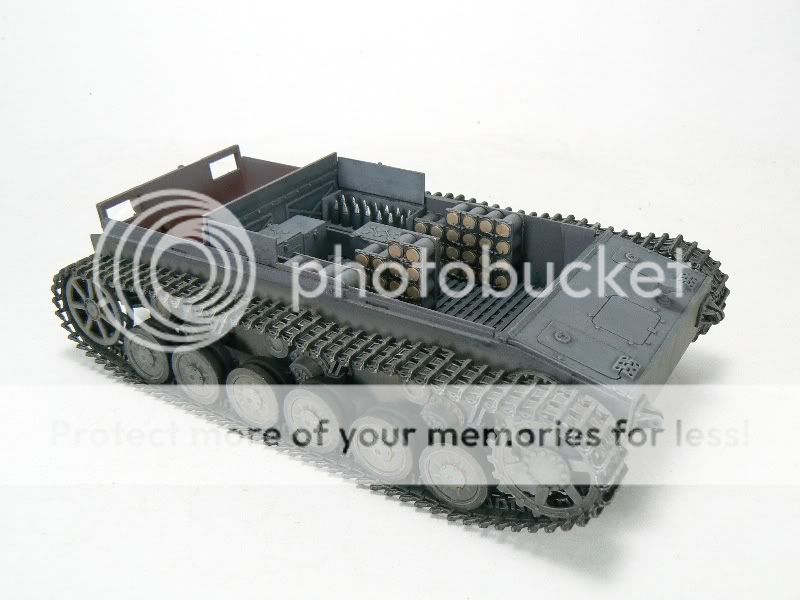
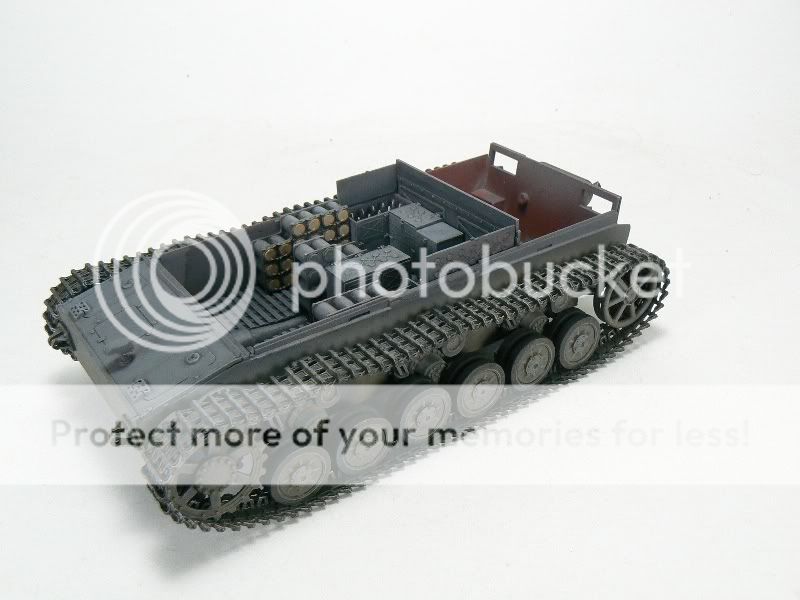
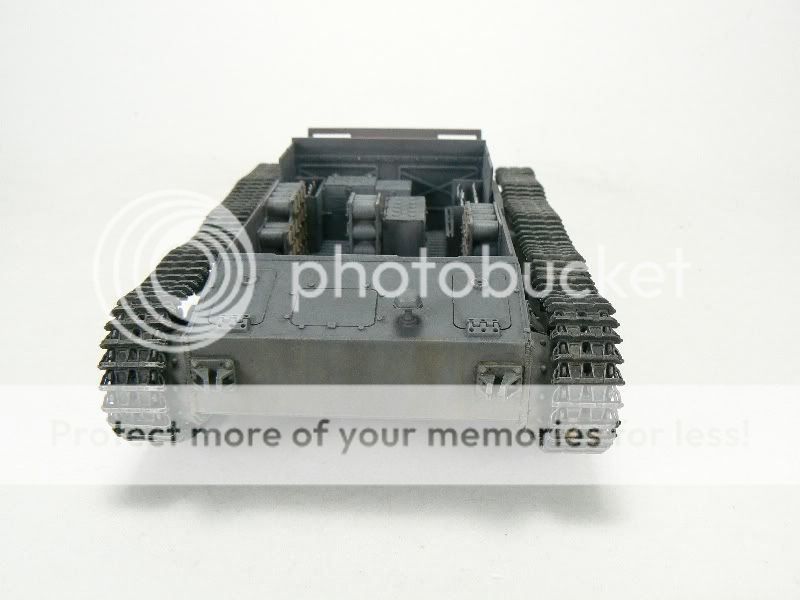
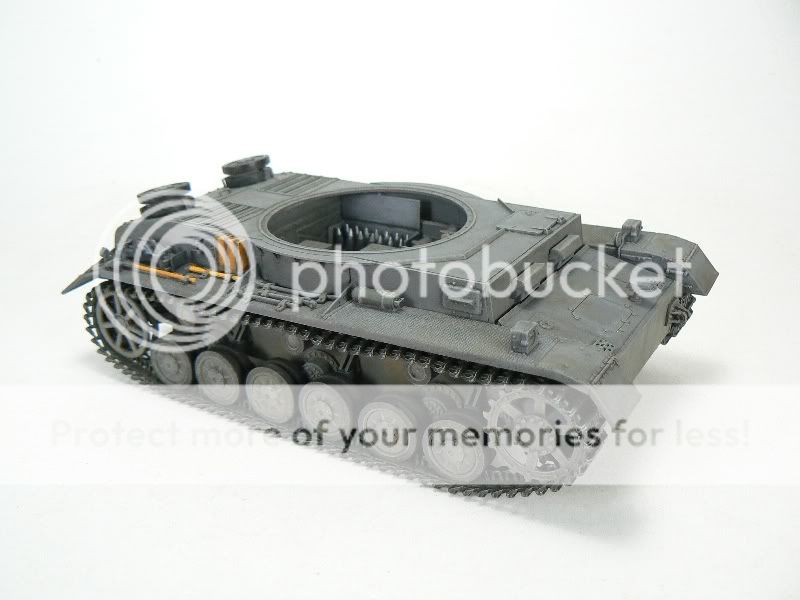
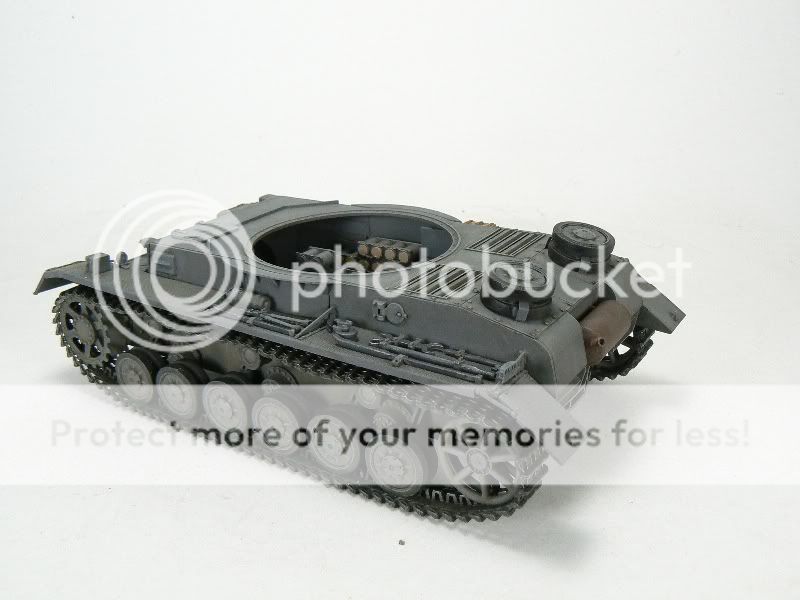
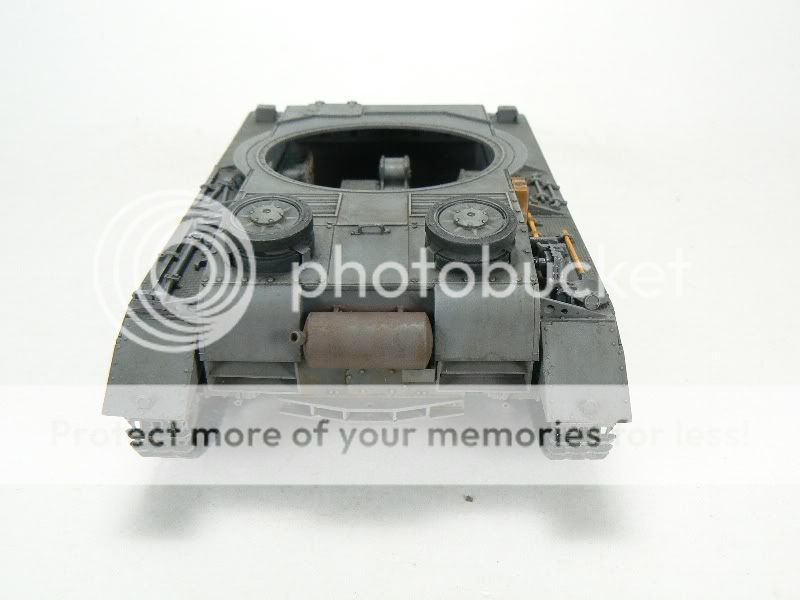
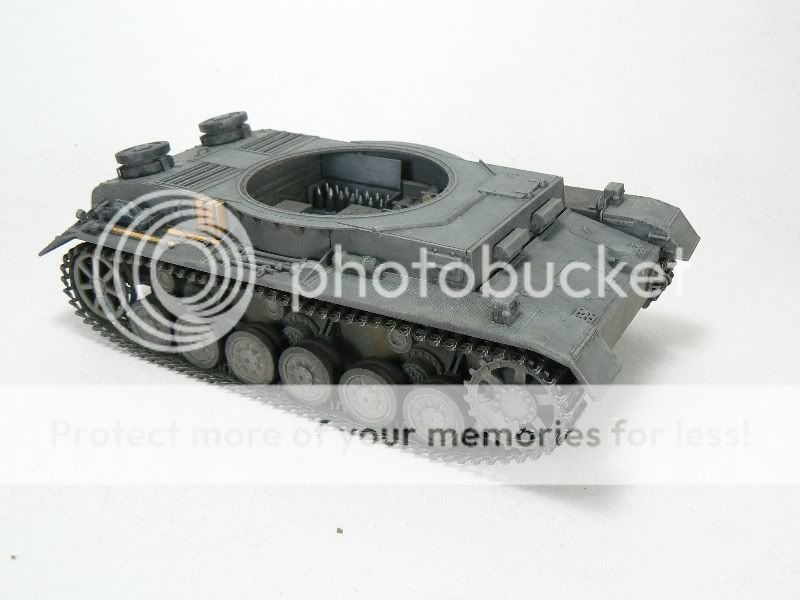
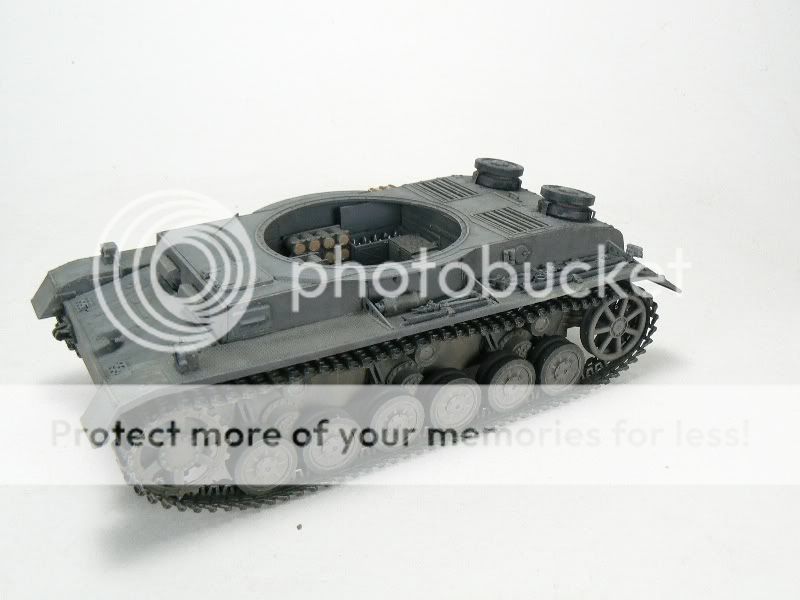
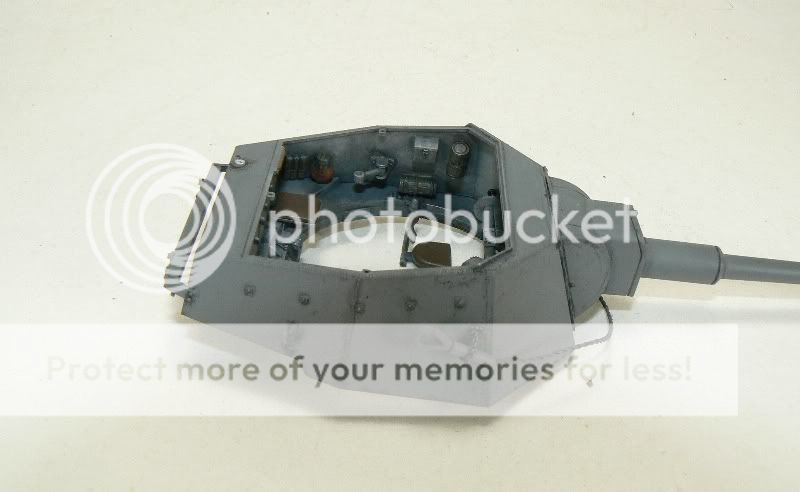
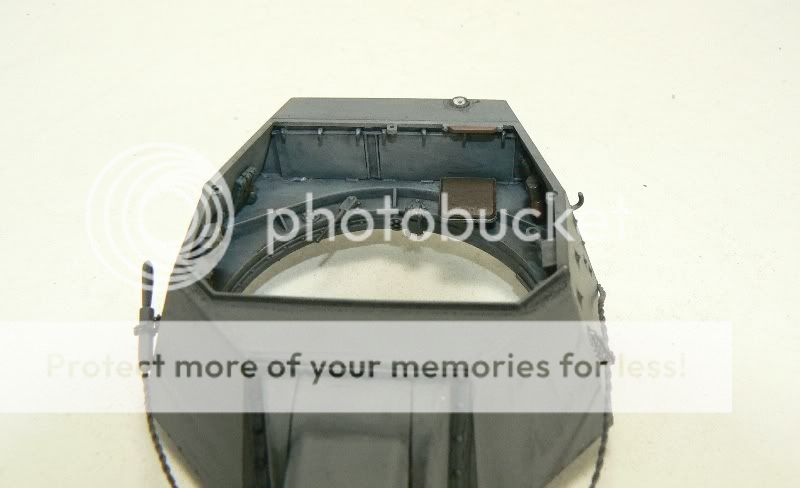
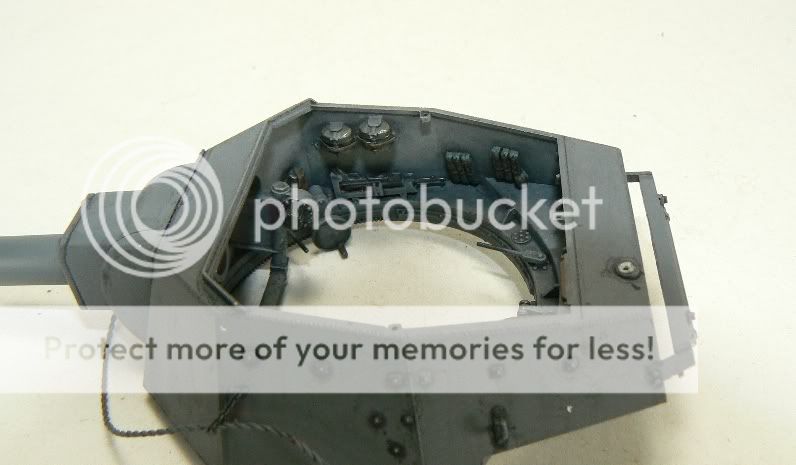
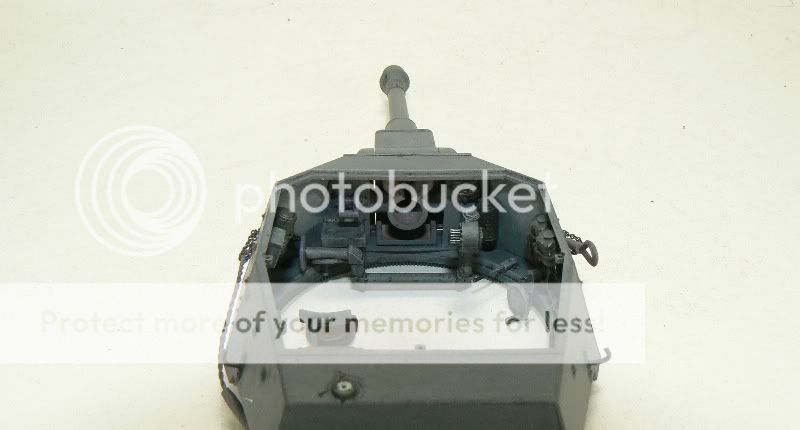
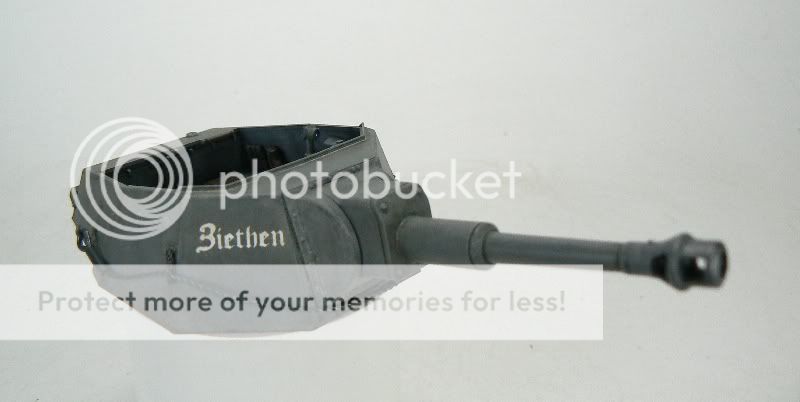
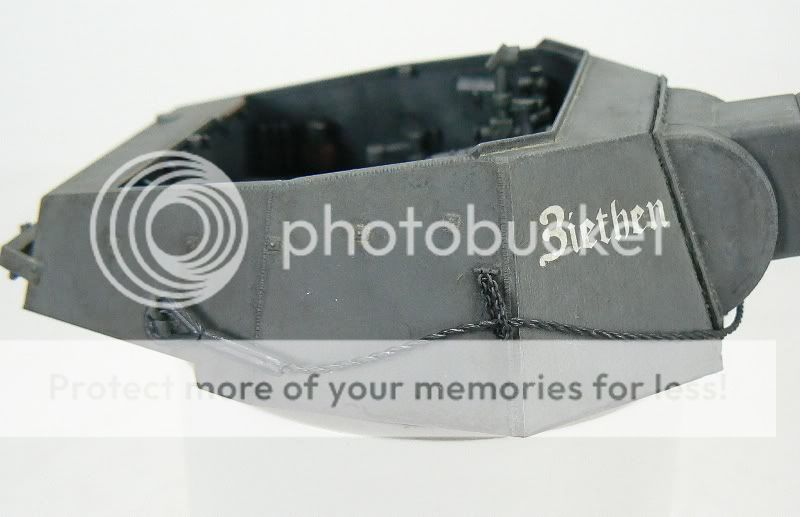
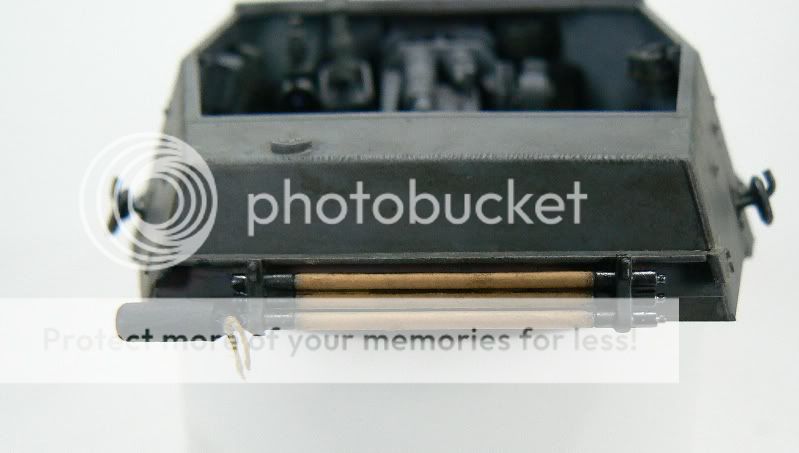
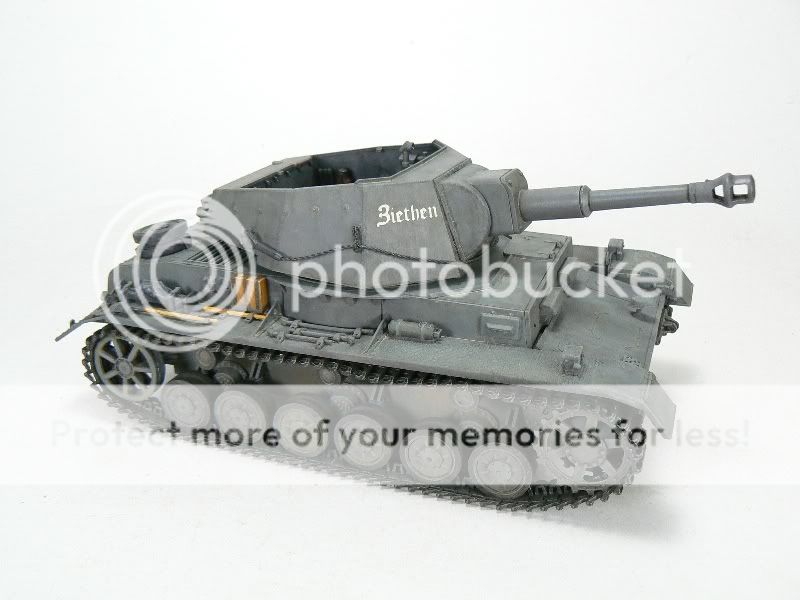
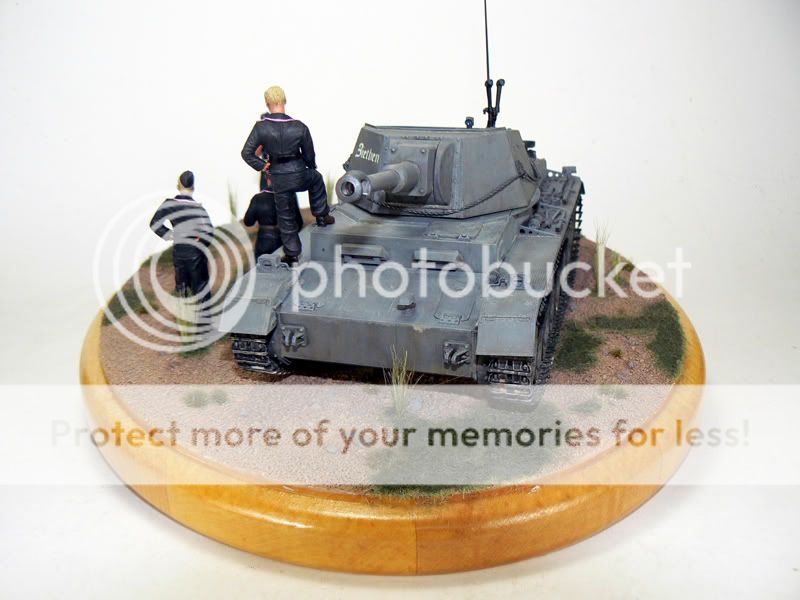
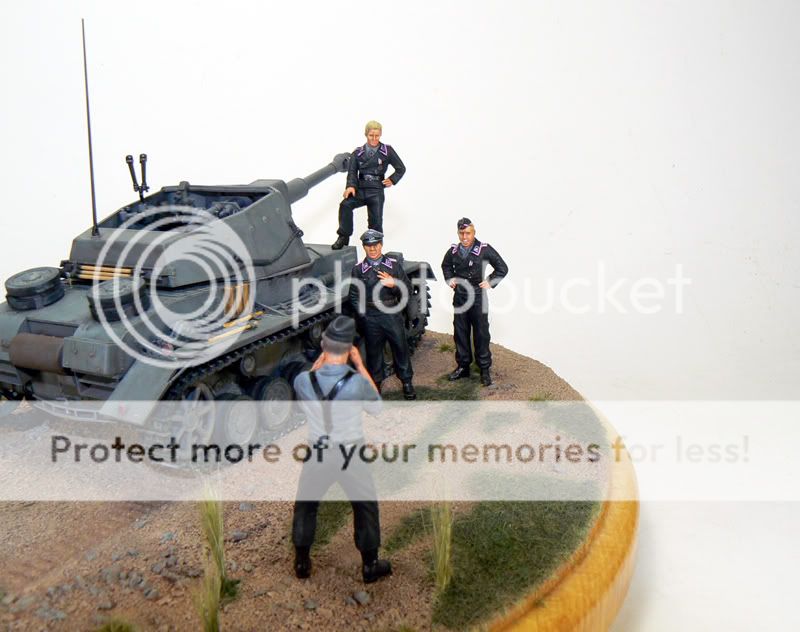
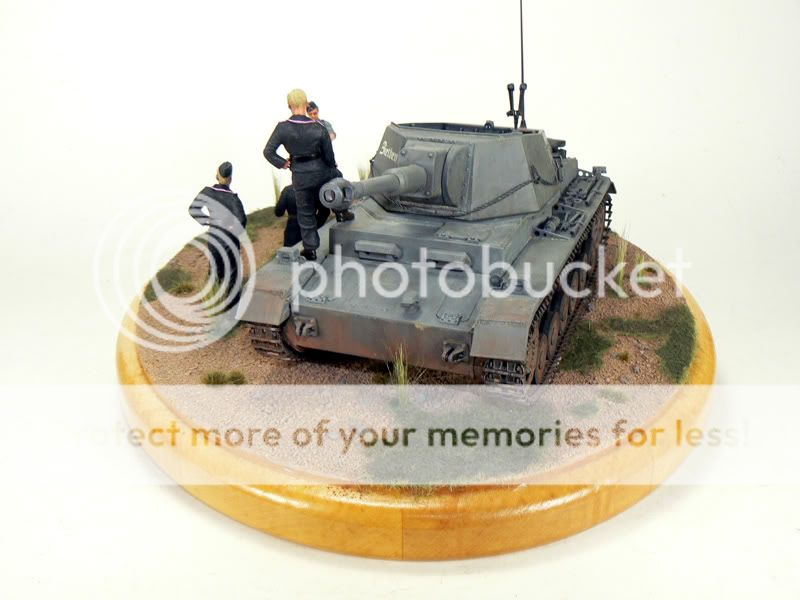
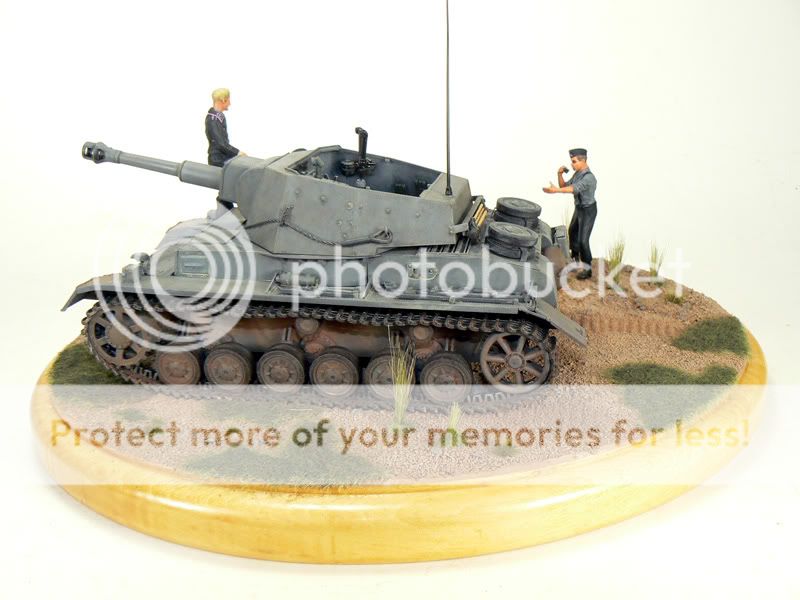
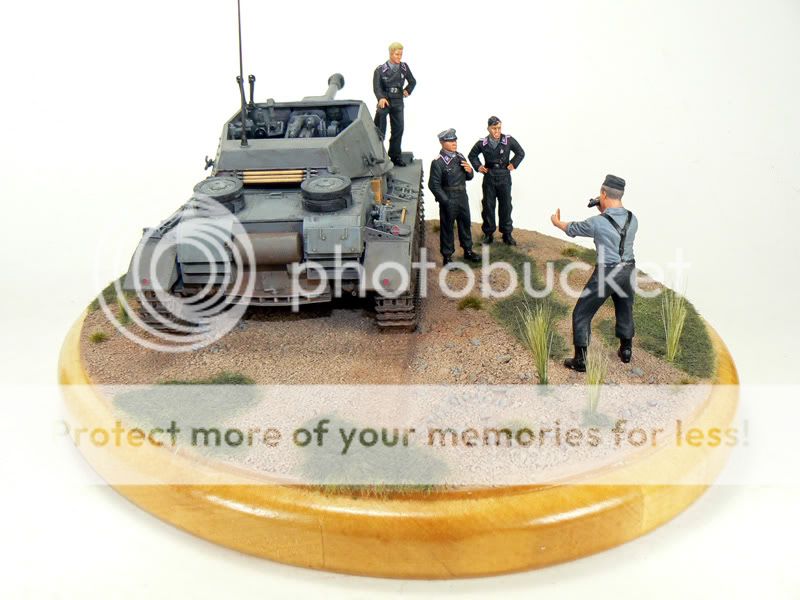
Here's my entry for the group build. It will be an out of the box project because sometimes you have to take it easy. :P
Ruben

Modelers Alliance has updated the forum software on our website. We have migrated all post, content and user accounts but we could not migrate the passwords.
This requires that you manually reset your password.
Please click here, http://modelersalliance.org/forums/login to go to logon page and use the "Forgot your Password" option.
 hmy:
hmy: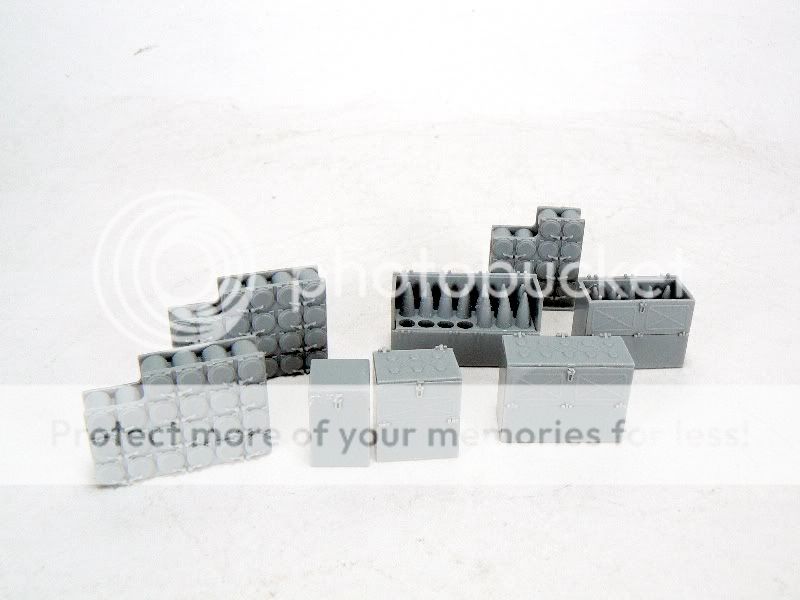
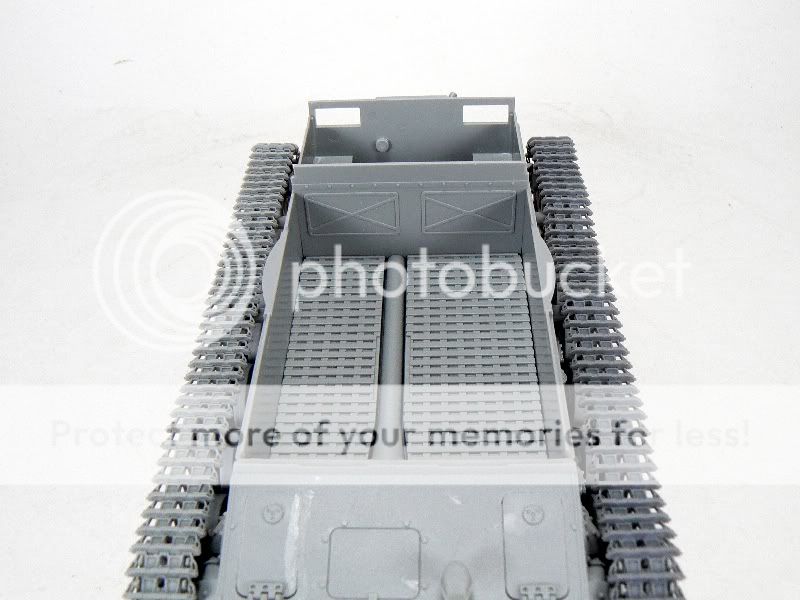

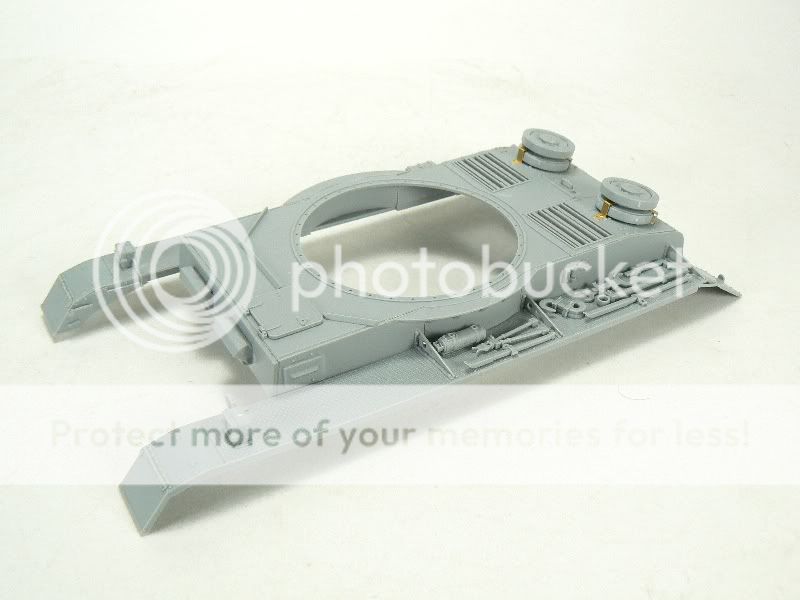

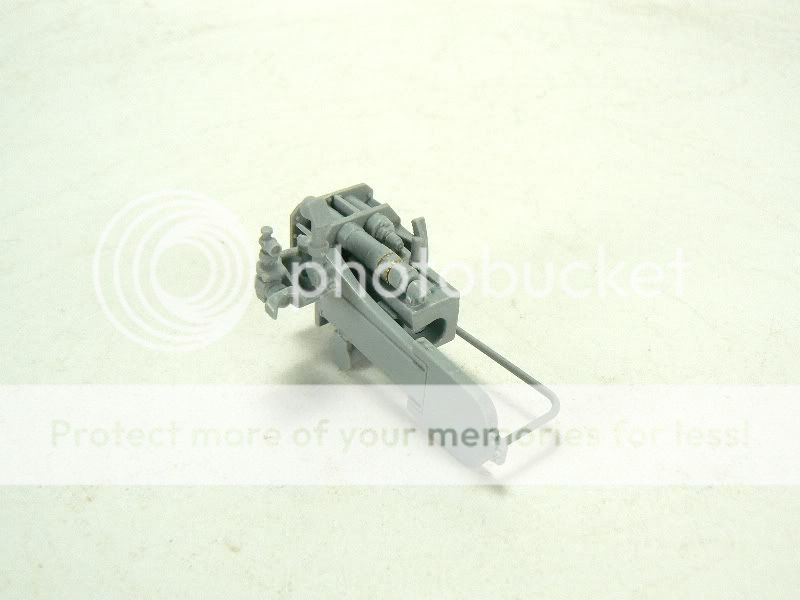
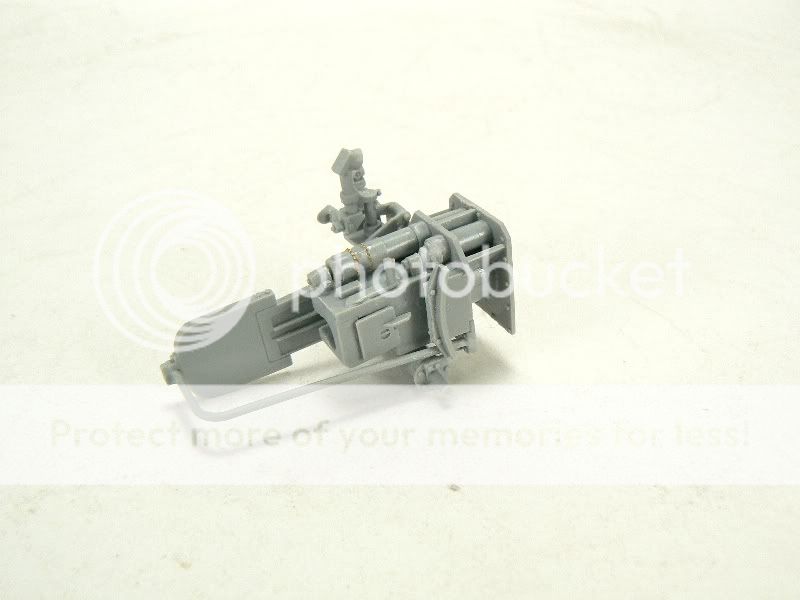
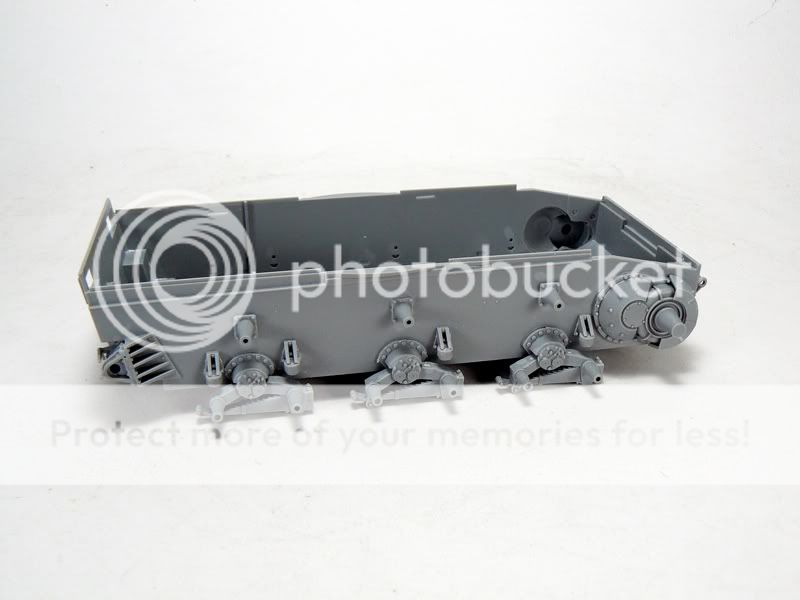
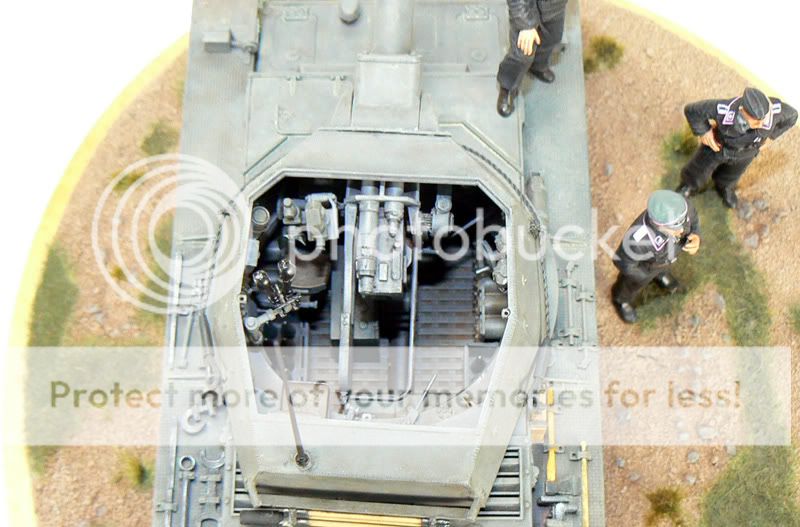
Dragunov said:Found another error; In step #3 the mount of the Notec light is part C2 insted of E19 in the instructions.
Erik

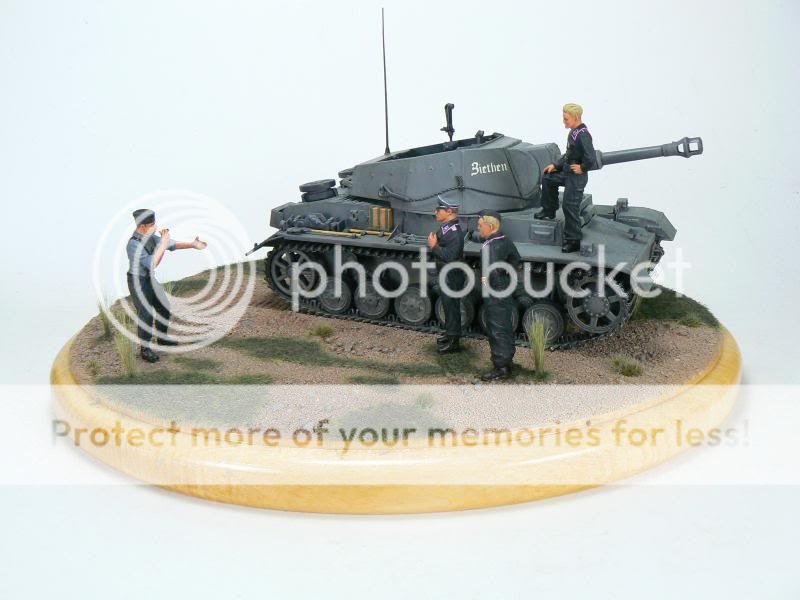
 congratulations on having finished this project!
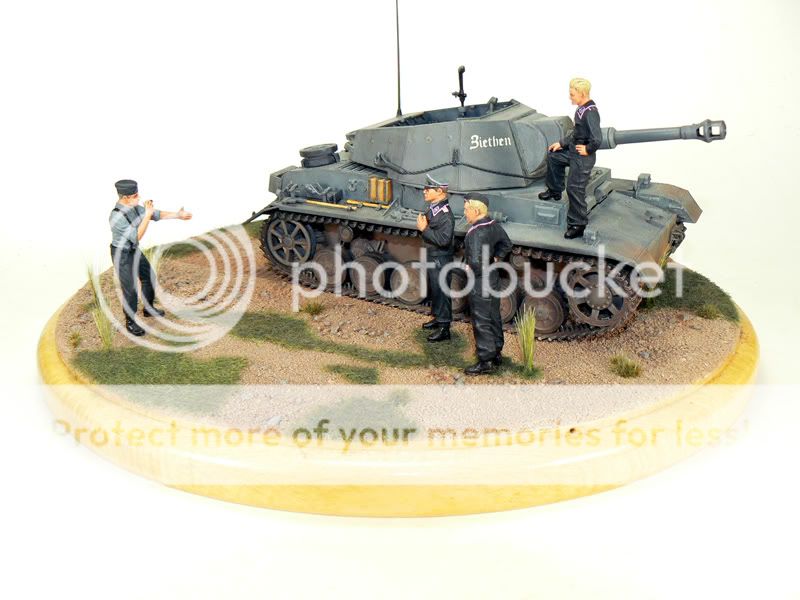
 I envy your ability to finish a project.