jknaus
Administrator
This is taken from Randy Ditton's Adventures in Soldering thread. It is a photo journal. A picture is worth a thousand words and I am positive that it will help everyone who scratch builds, wants to scratch build, or who wants to broaden their skills. Peruse through and be amazed at what a little ingenuity and some metal and plastic can become.
Hi All, Ever since Jeff and Mike posted some car stuff I have looking for a cool project. Have not built a car since the 60's ( wow, I'm getting old!)
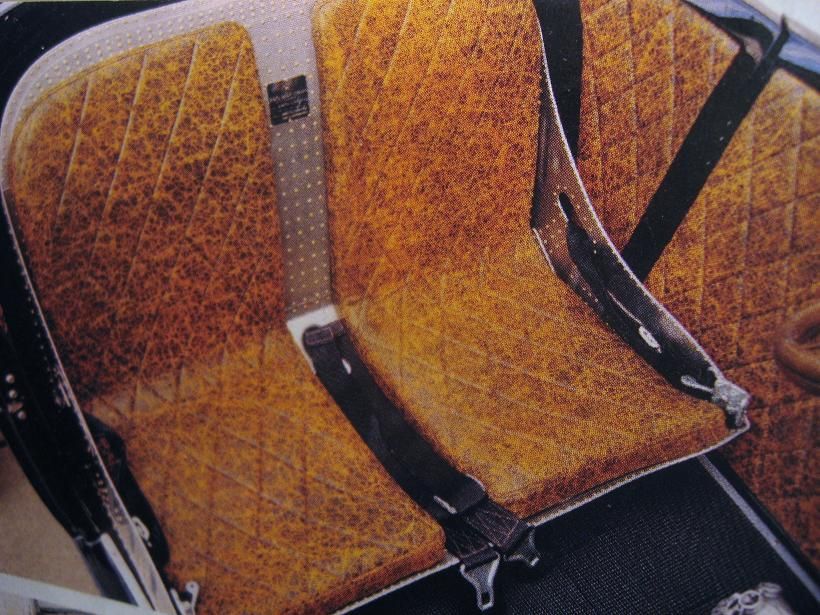
Found this on the net....

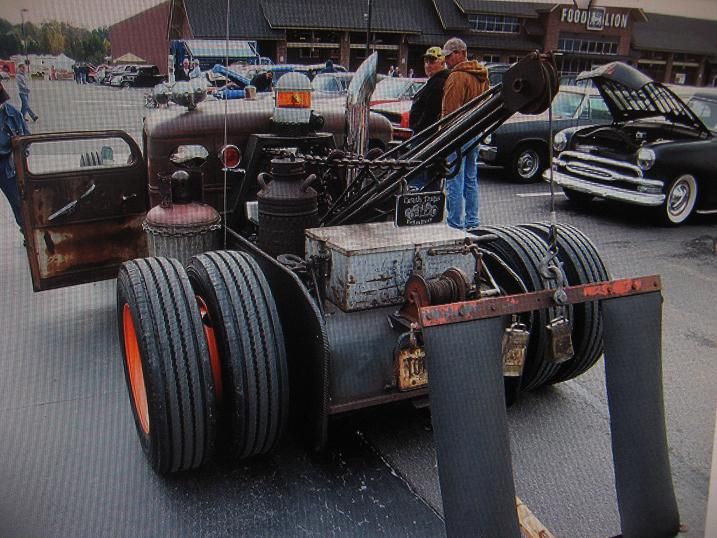
Won't try to duplicate the 1:1 but will use for inspiration!
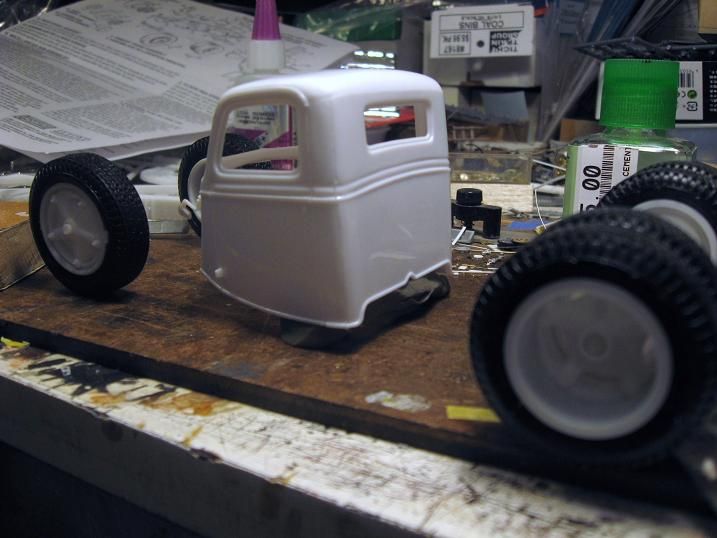
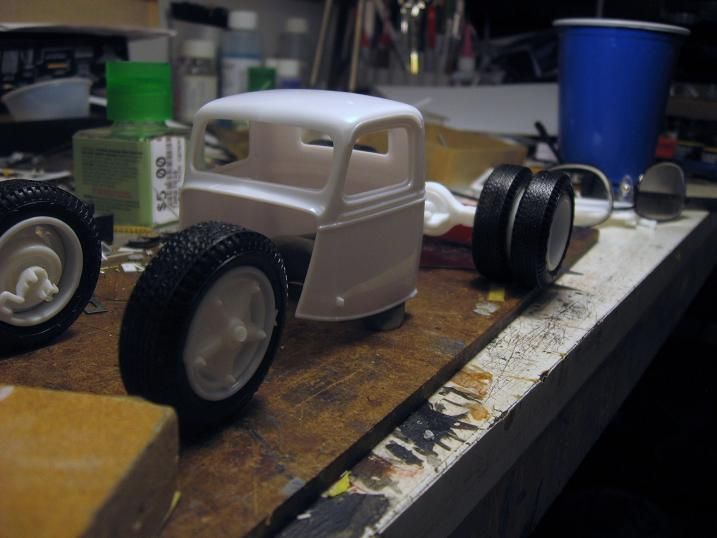
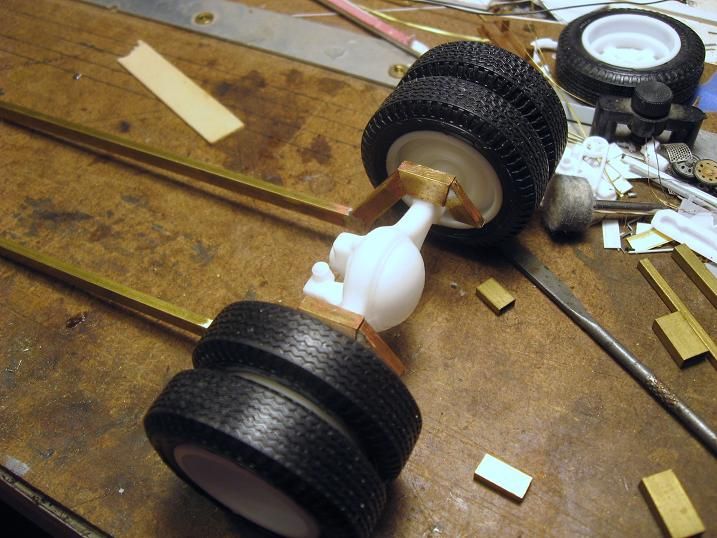
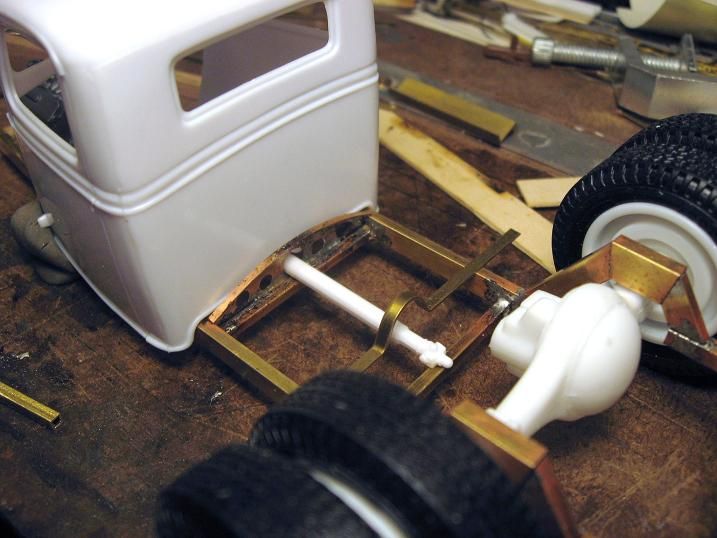
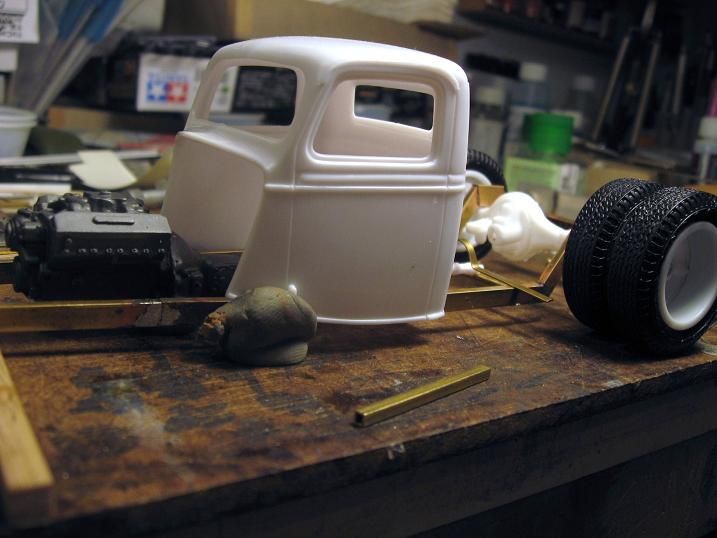
A Revell '37 Ford pickup is donating the cab and I stole some big old wheels and tires from an Lindbeerg Dodge L700 Tlit Cab kit....
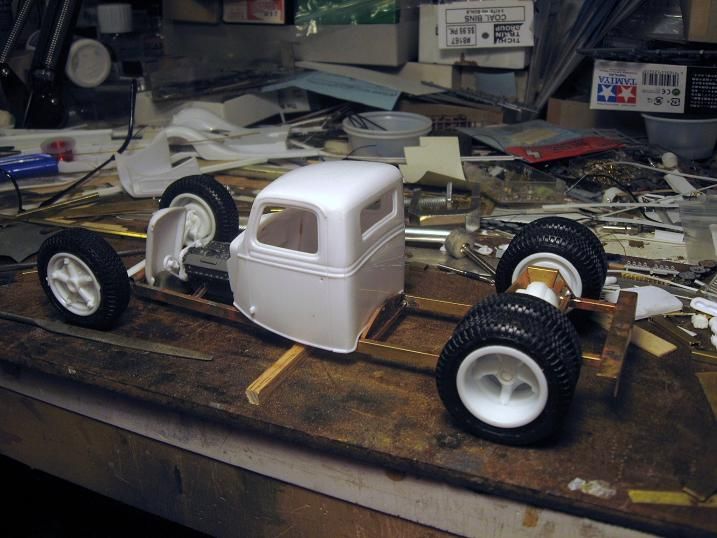
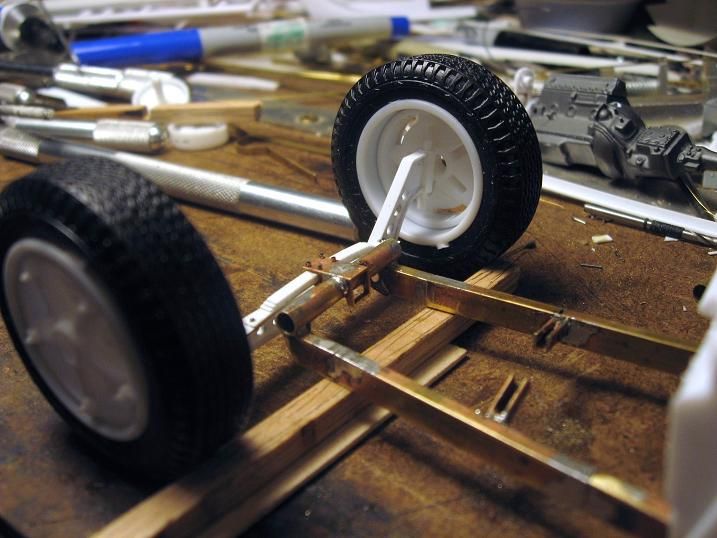
First of many mock ups.....
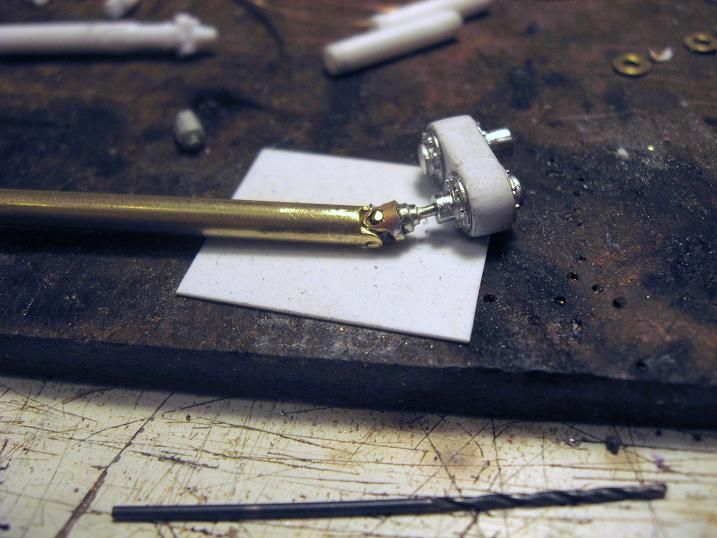
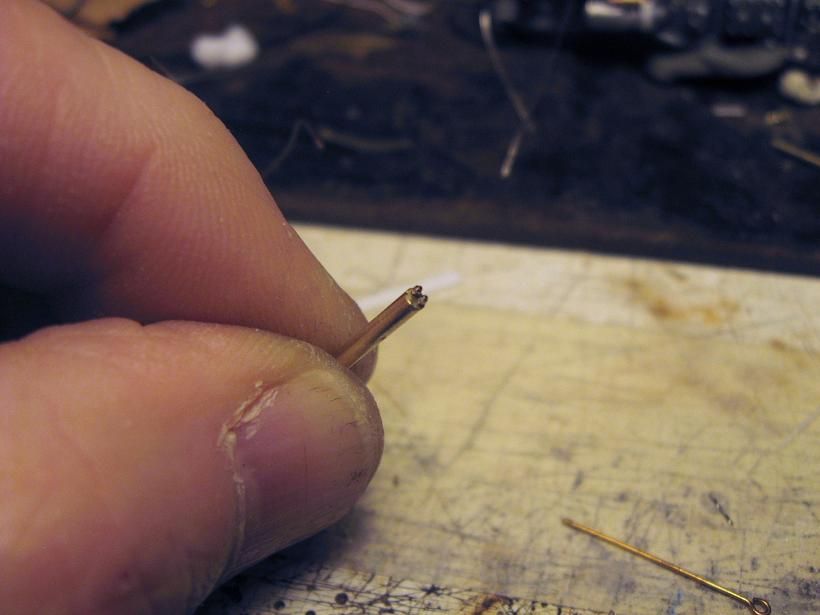
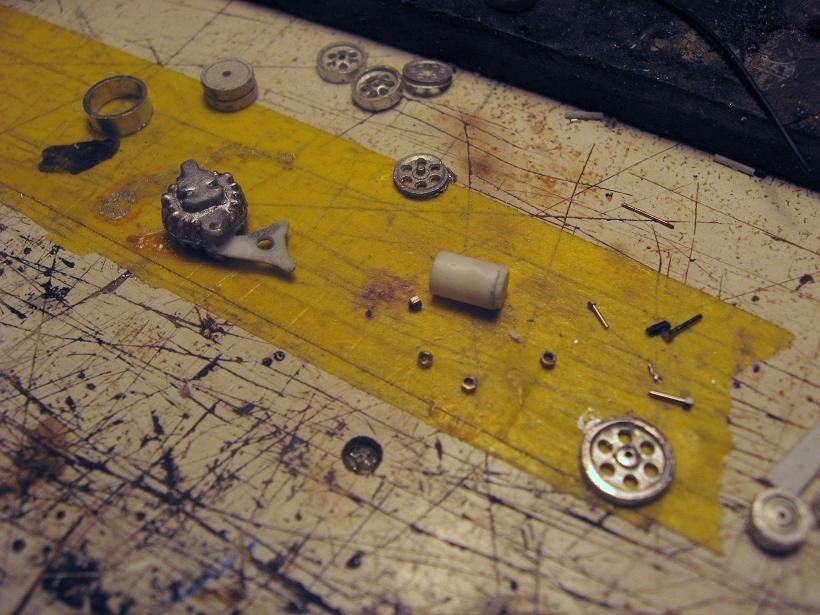
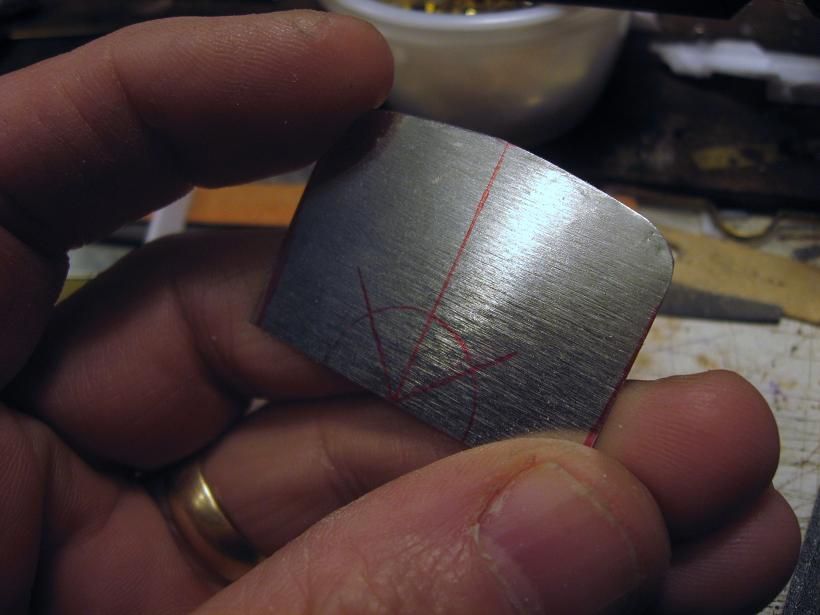
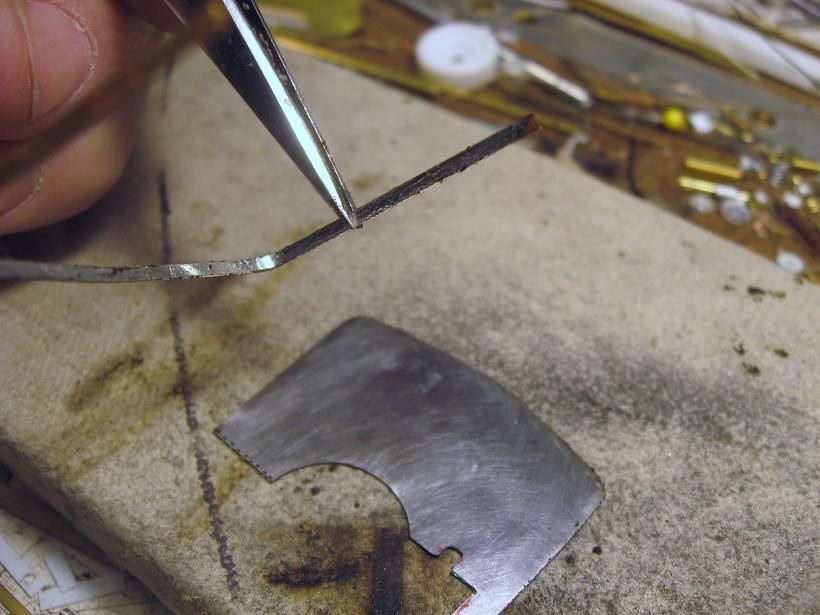
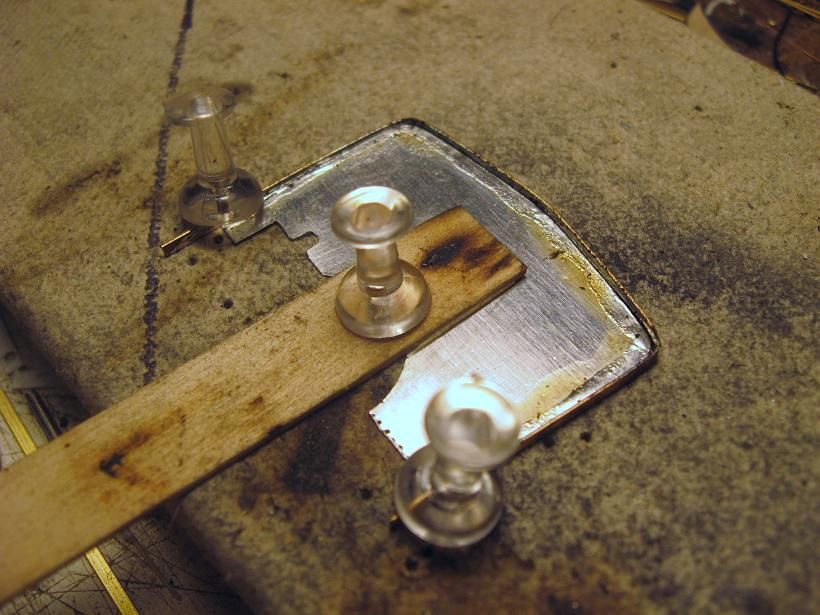
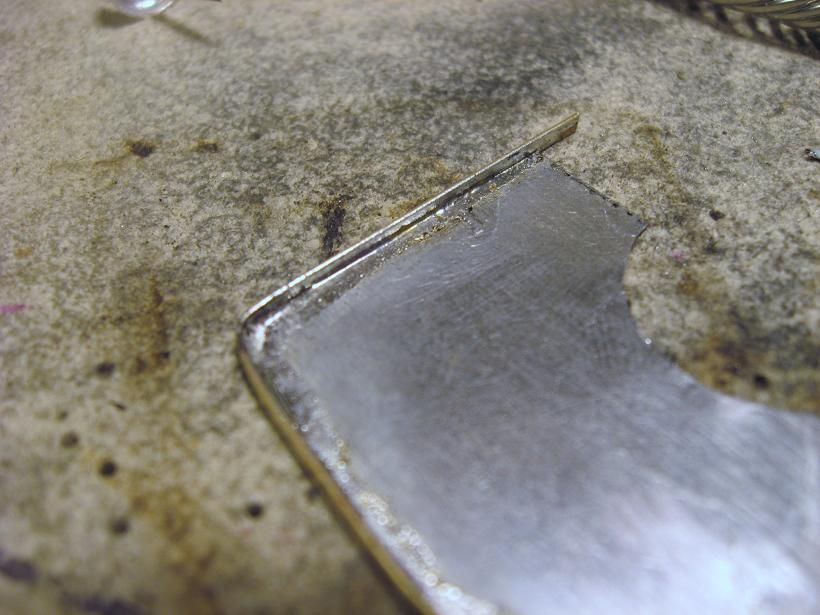
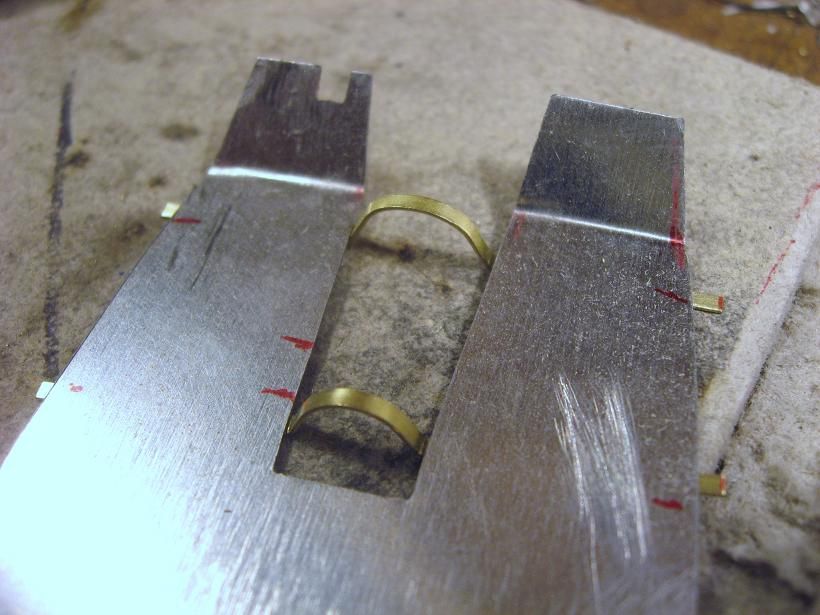
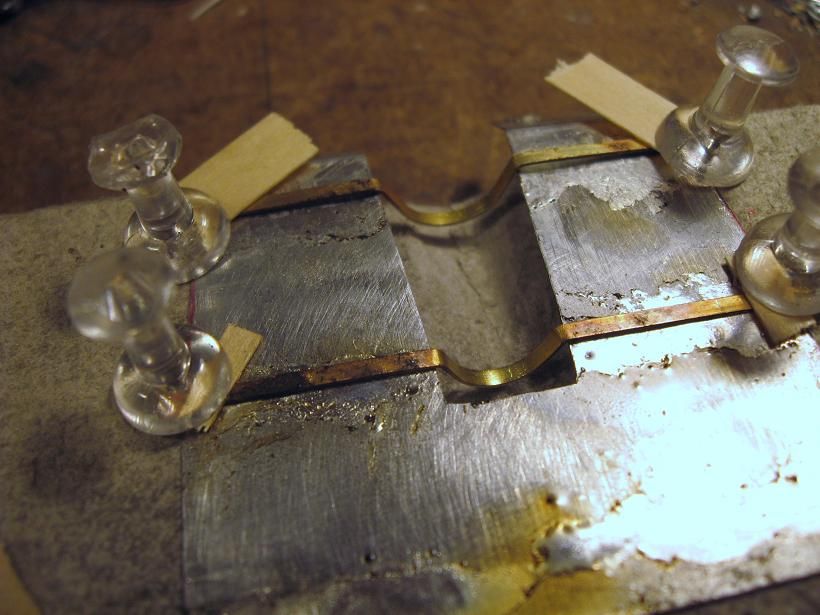
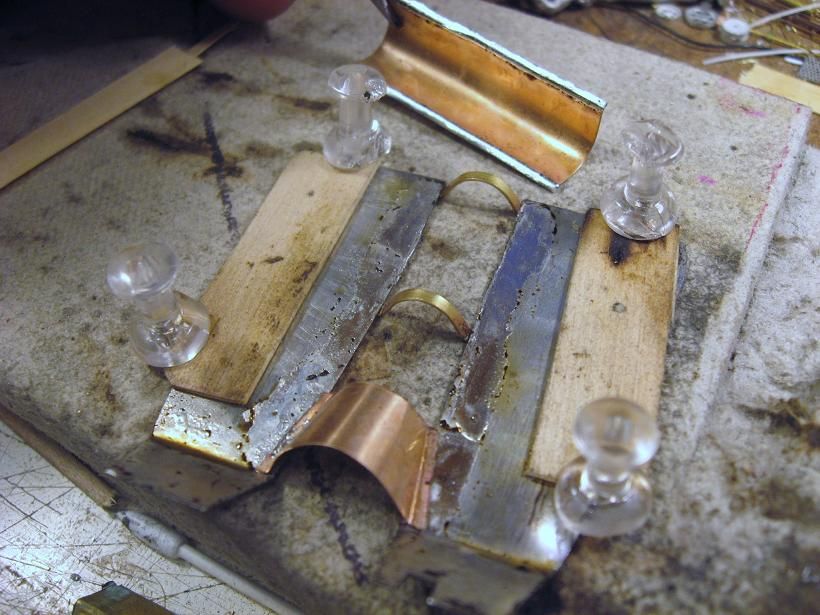
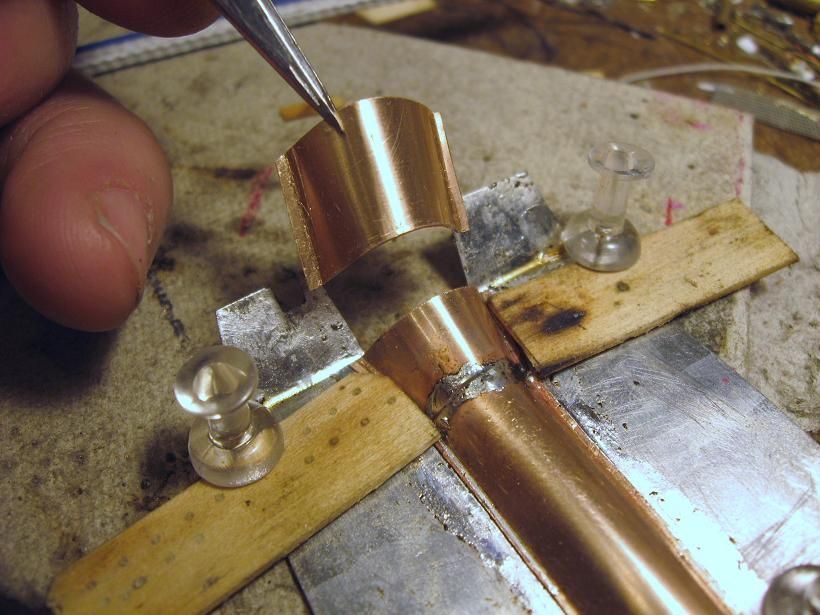
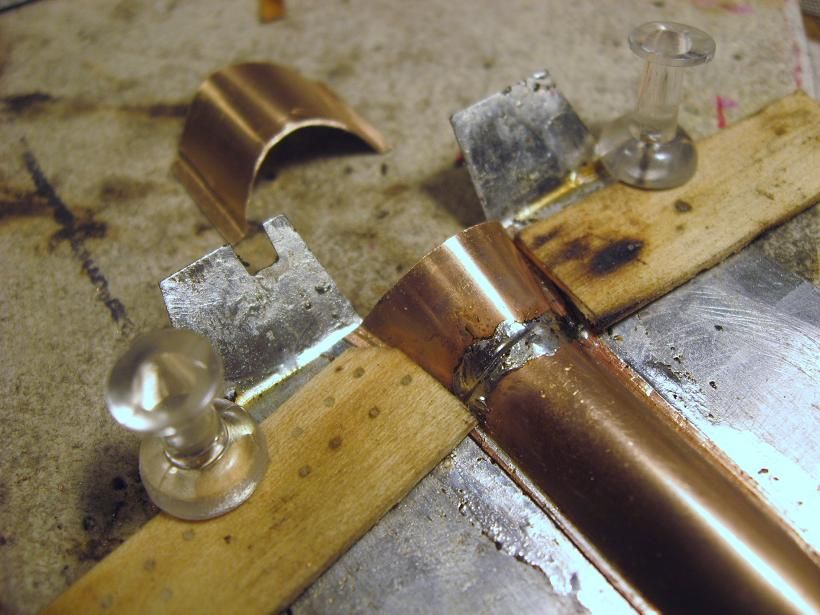
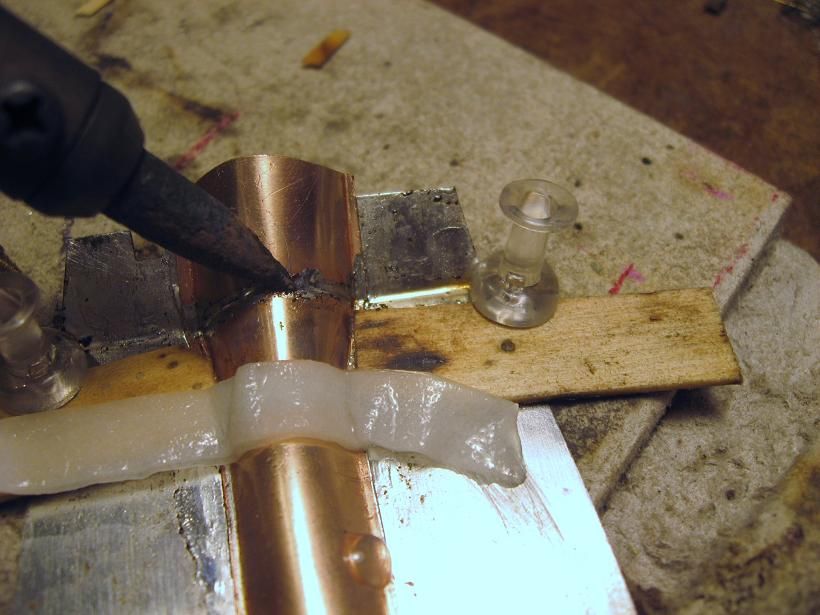
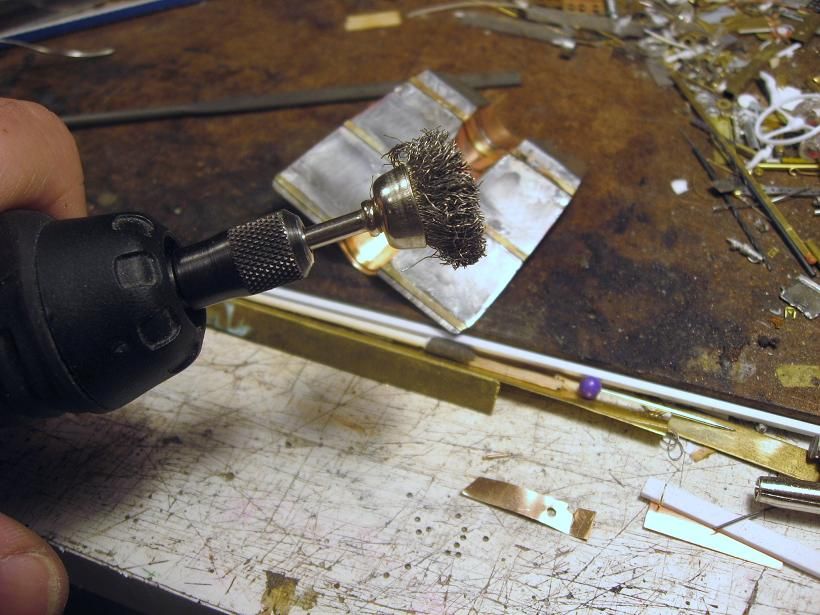
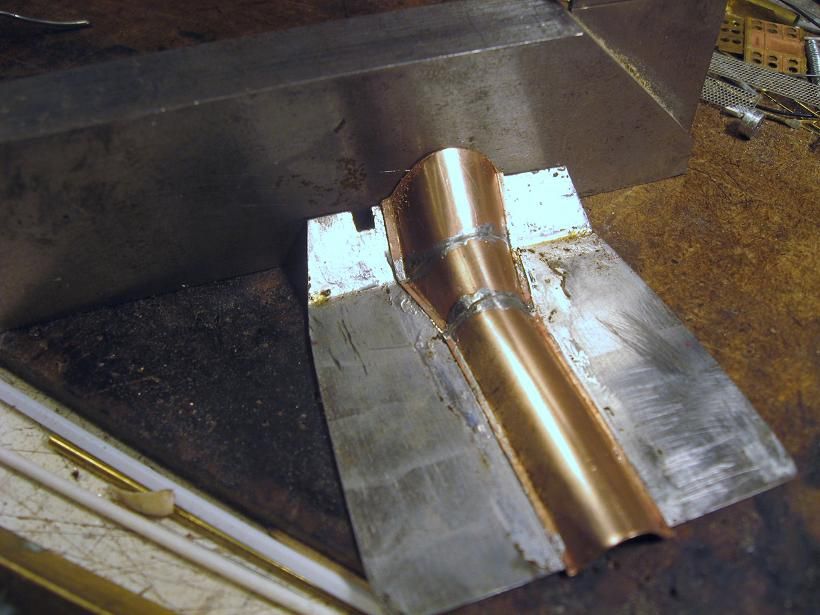
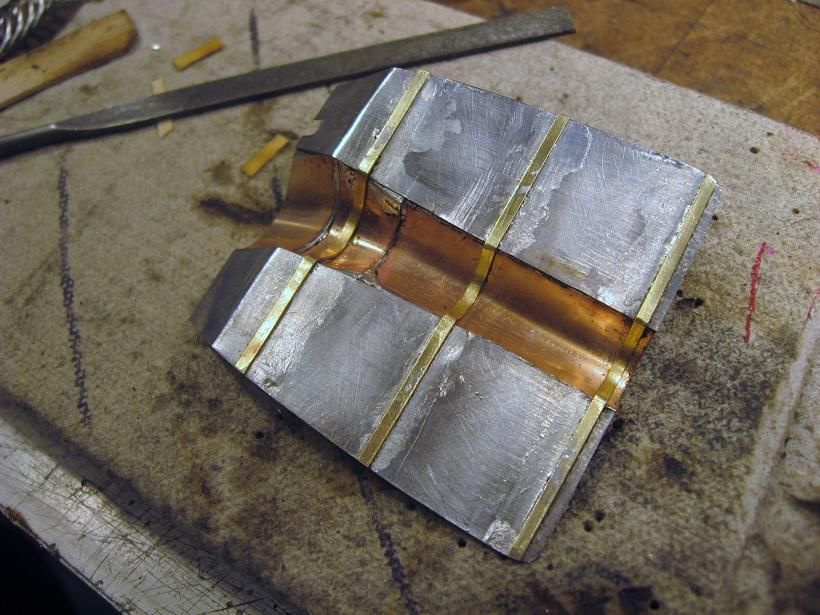
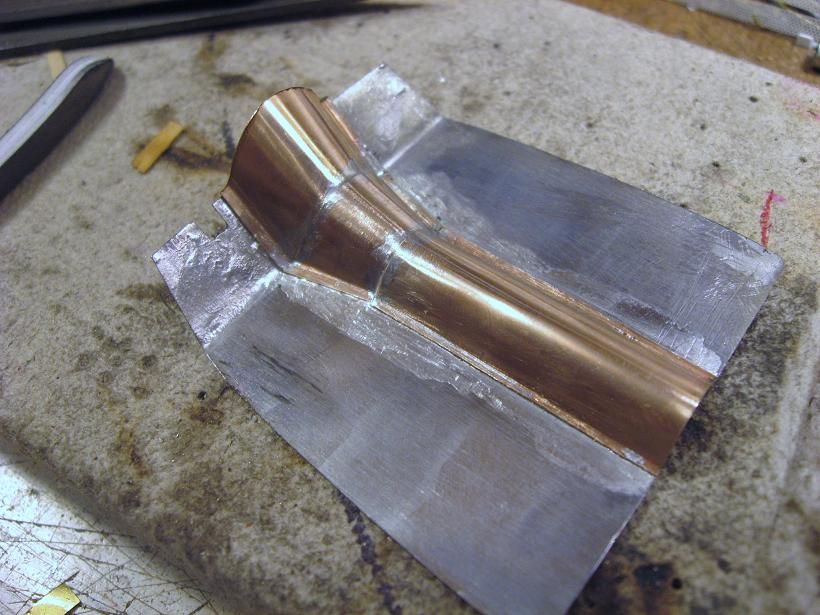
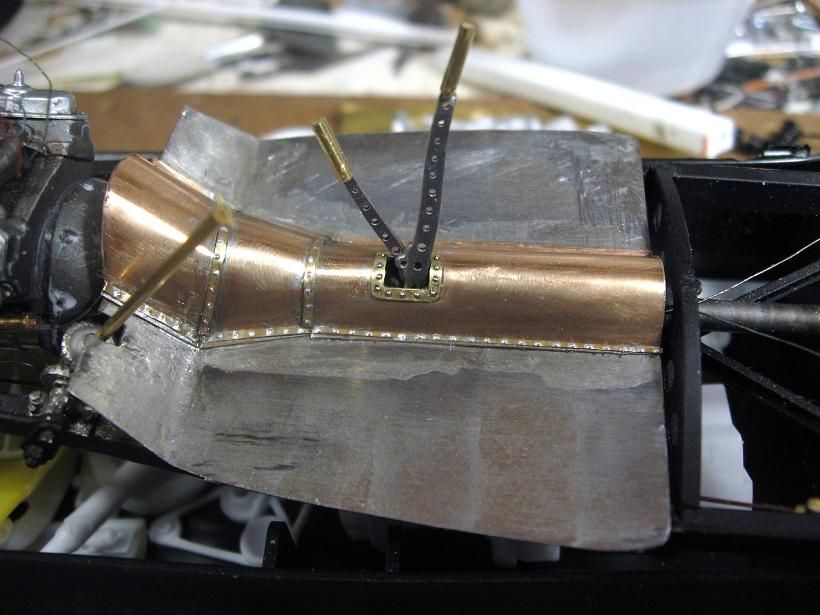
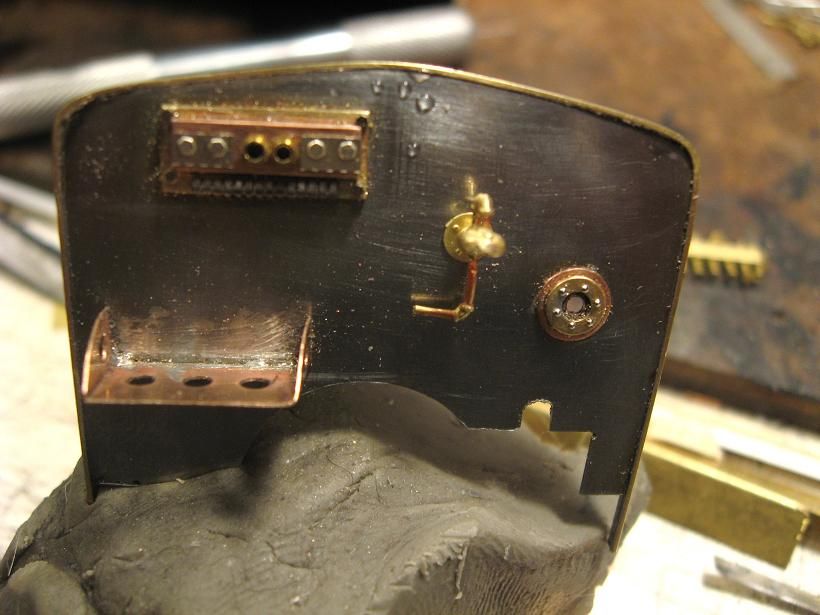
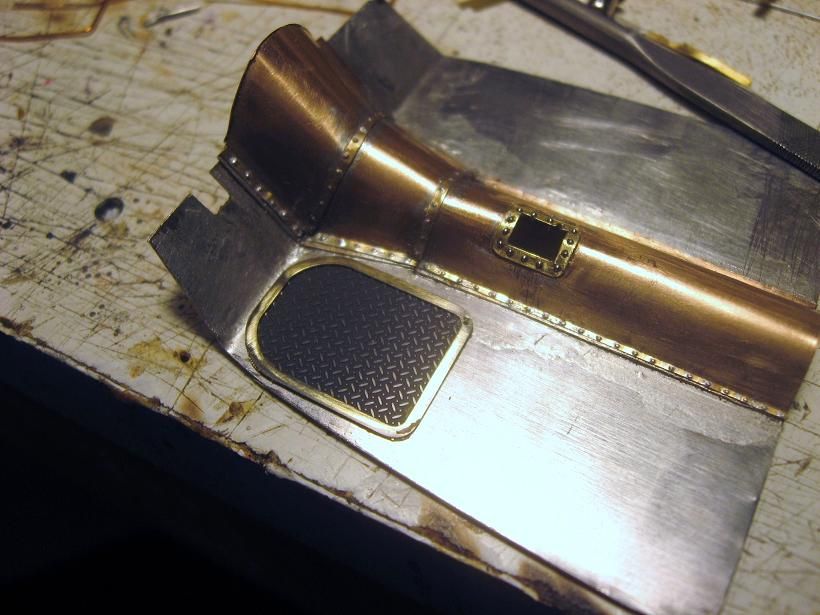
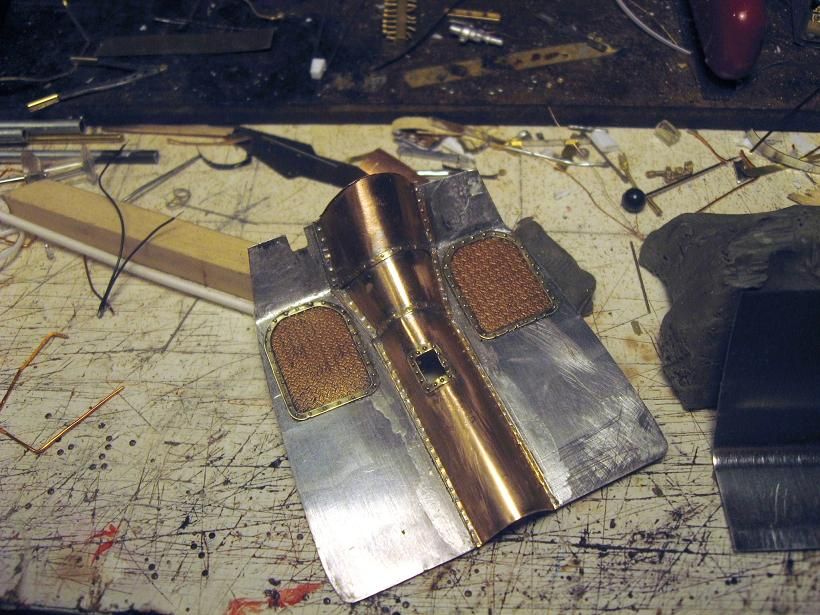
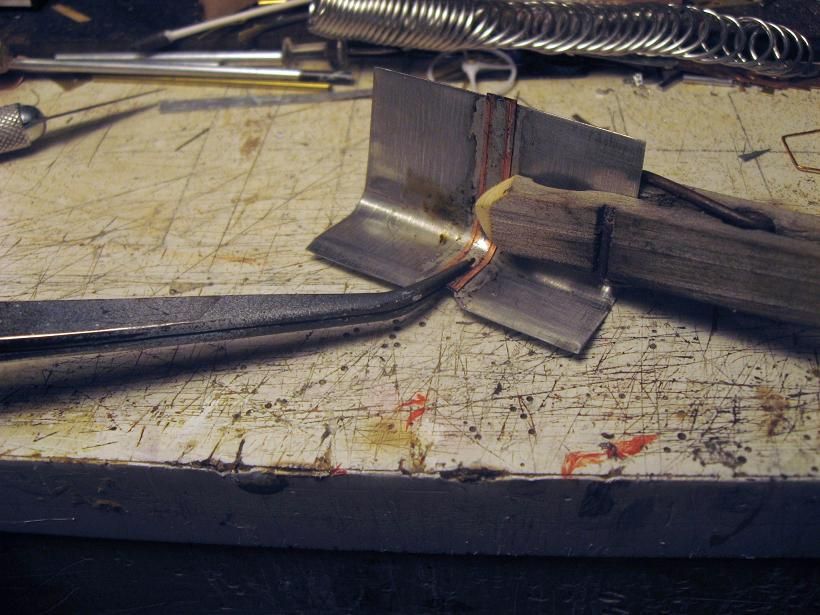
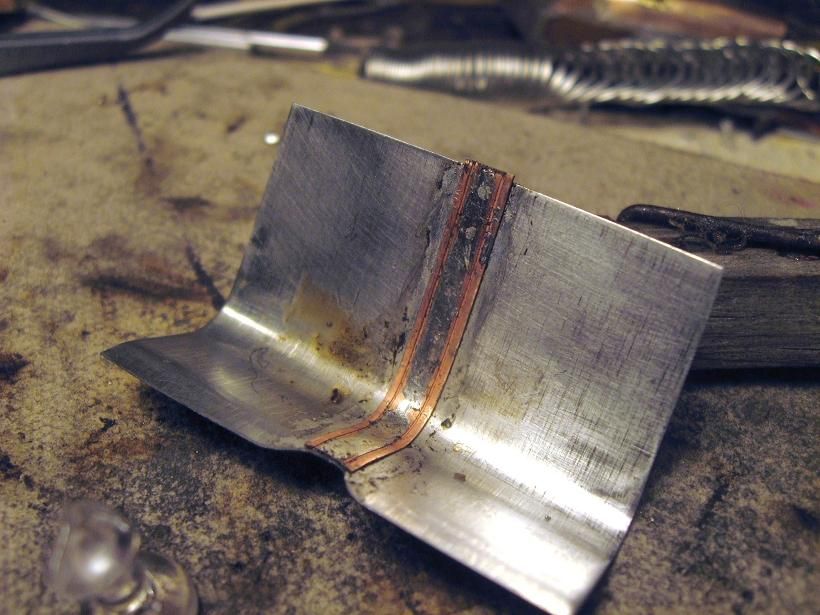
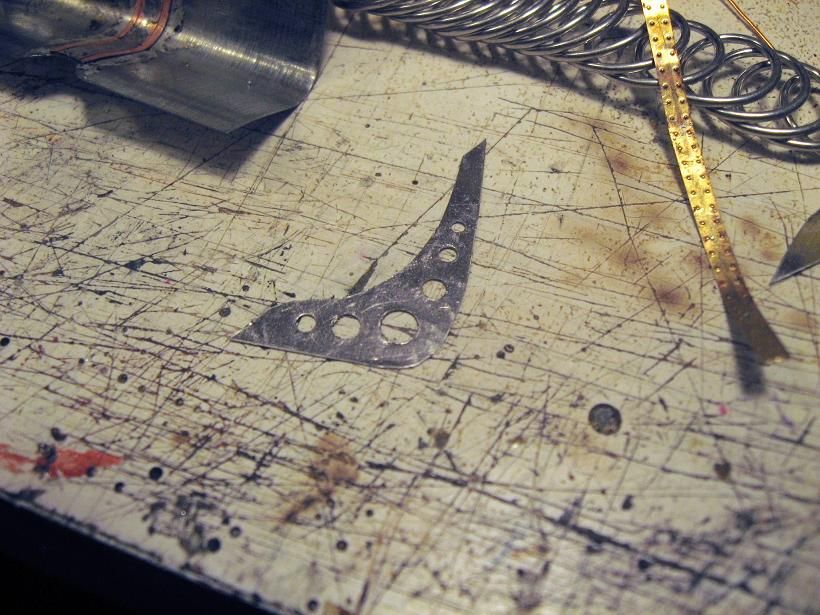
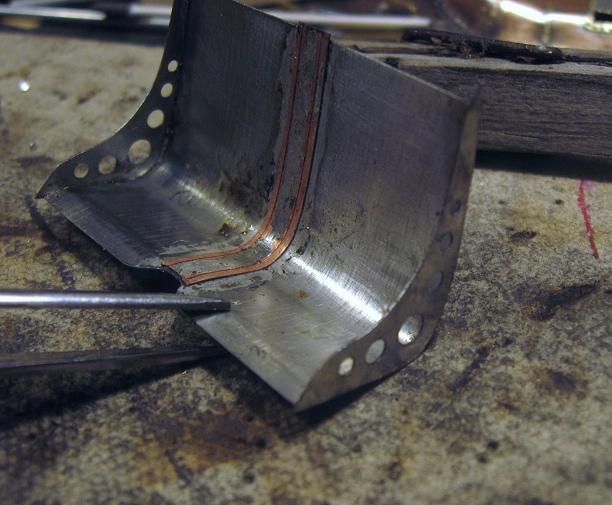
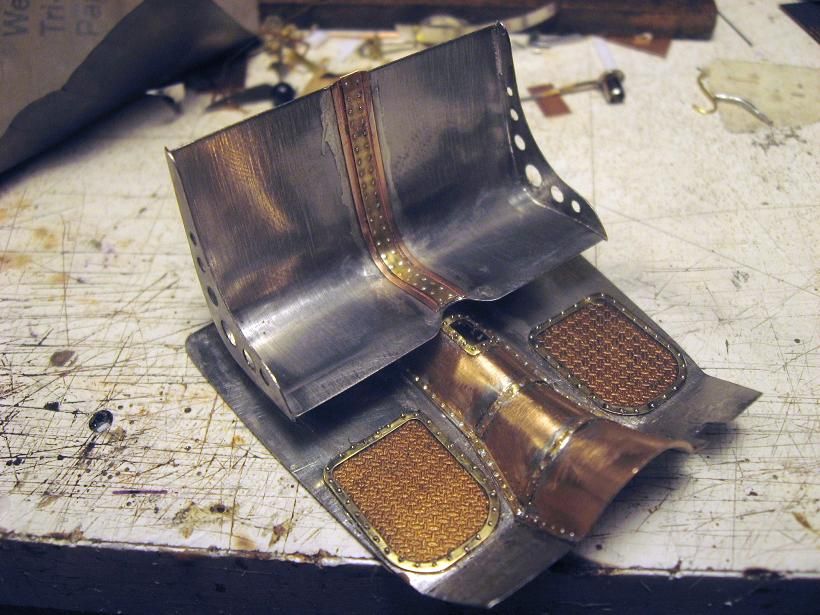
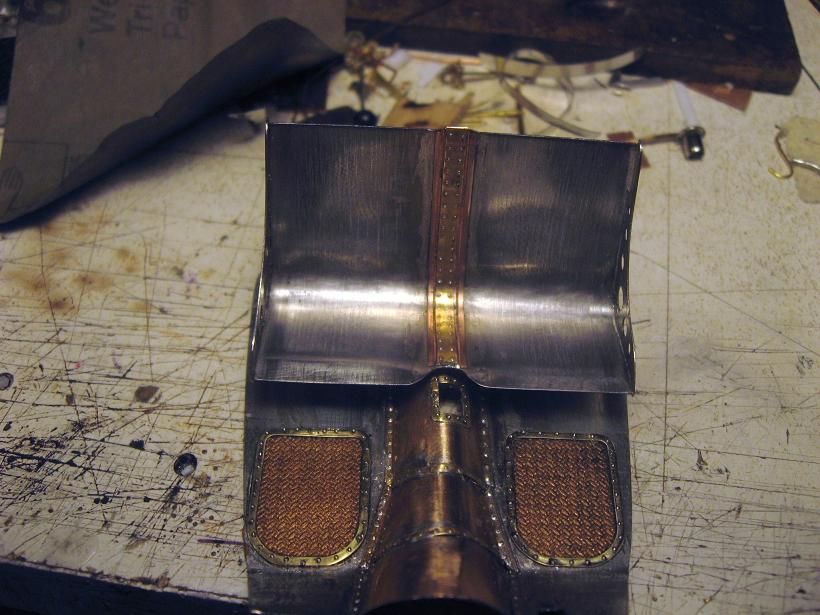
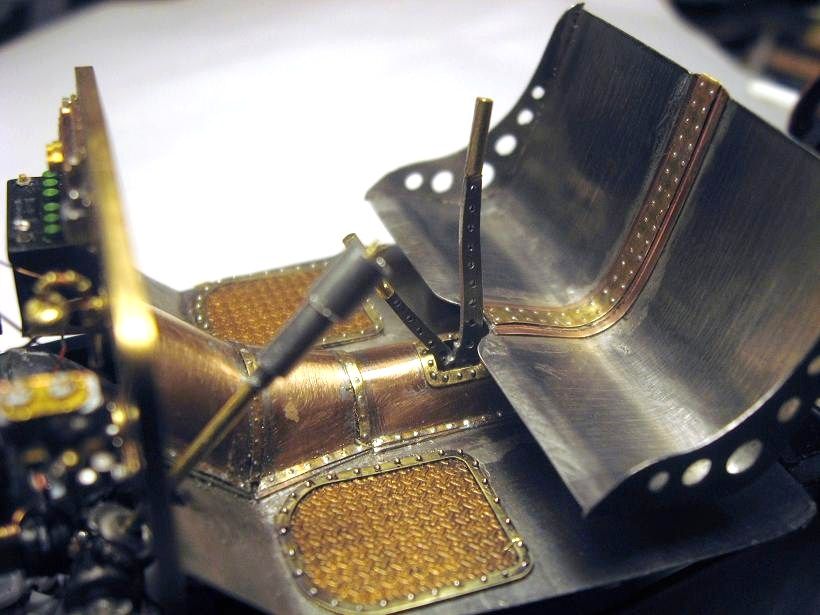
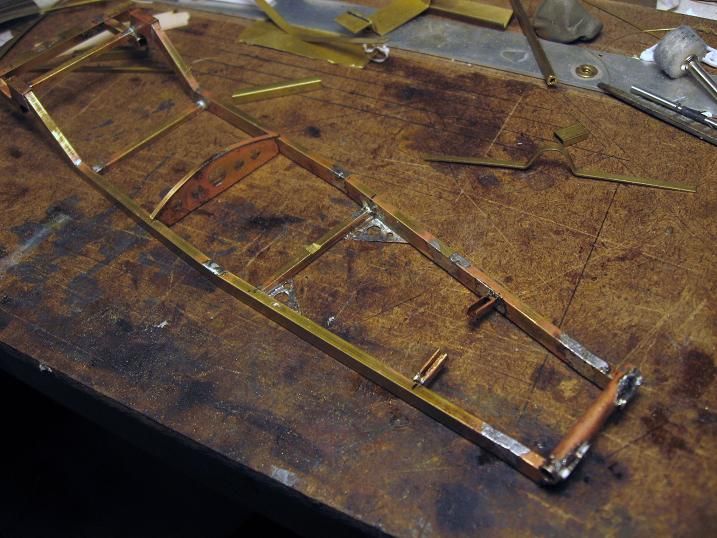
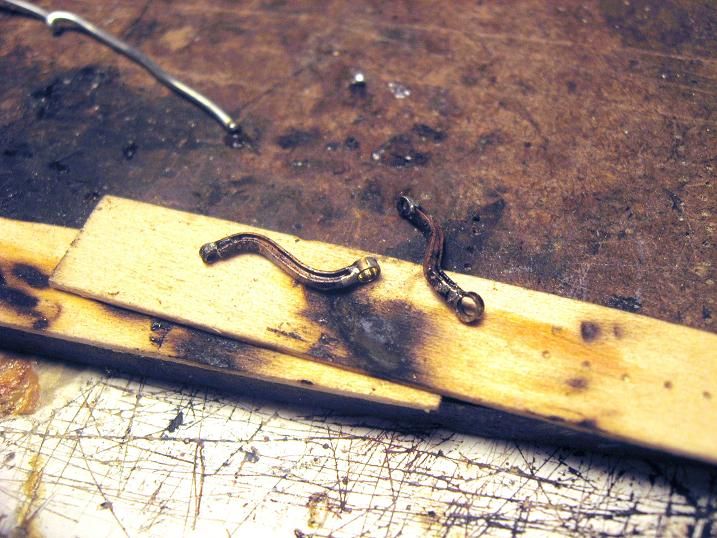
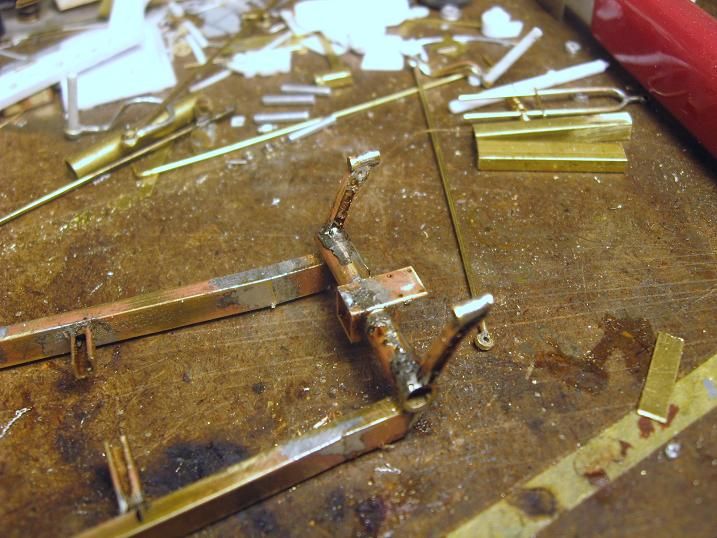
Never one to overplan a project, grabbed some brass stock and got to work...
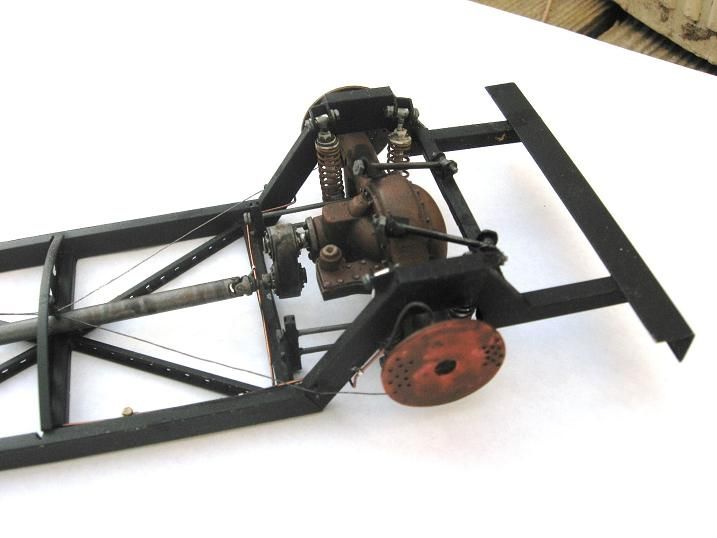
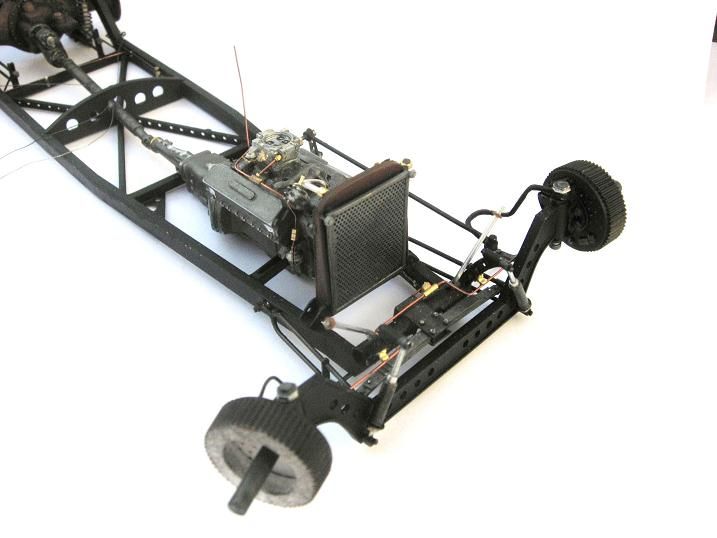
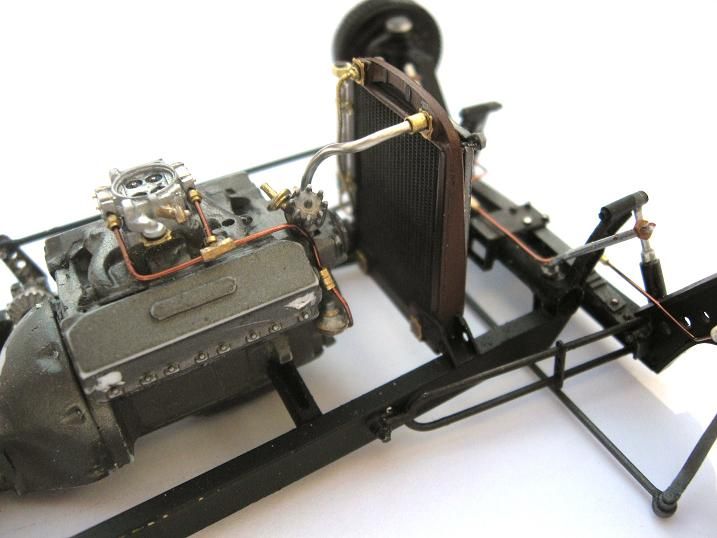
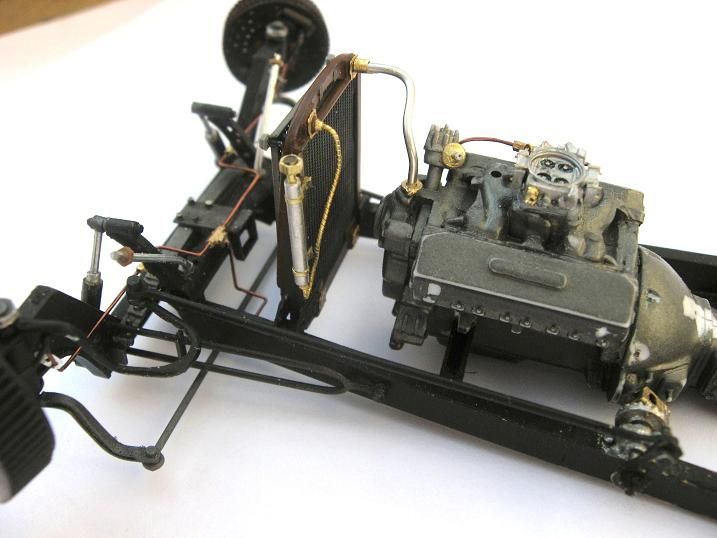
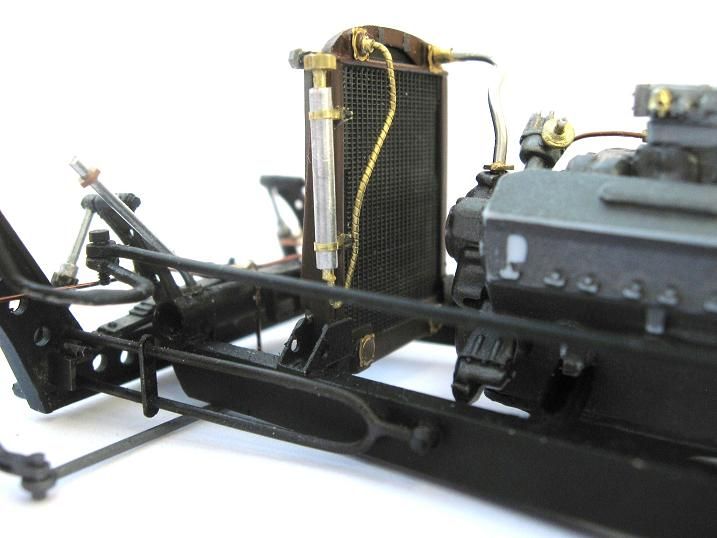
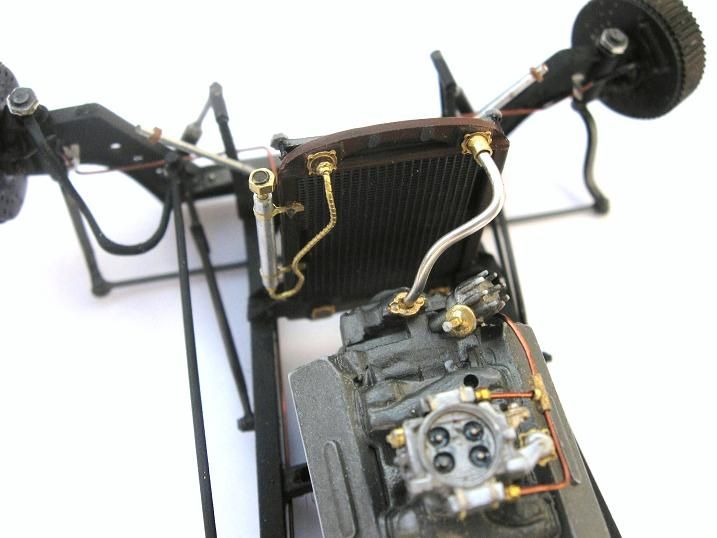
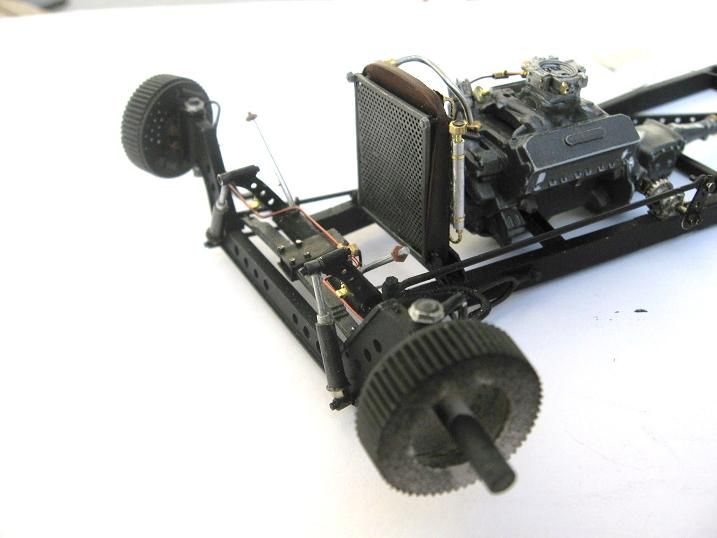
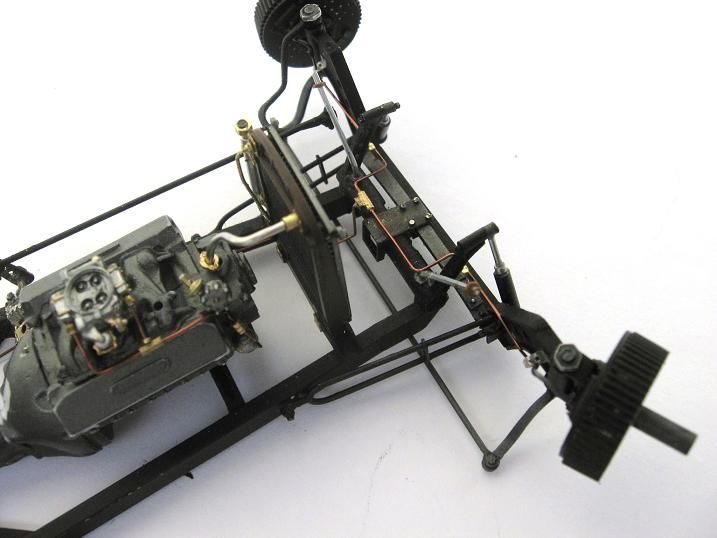
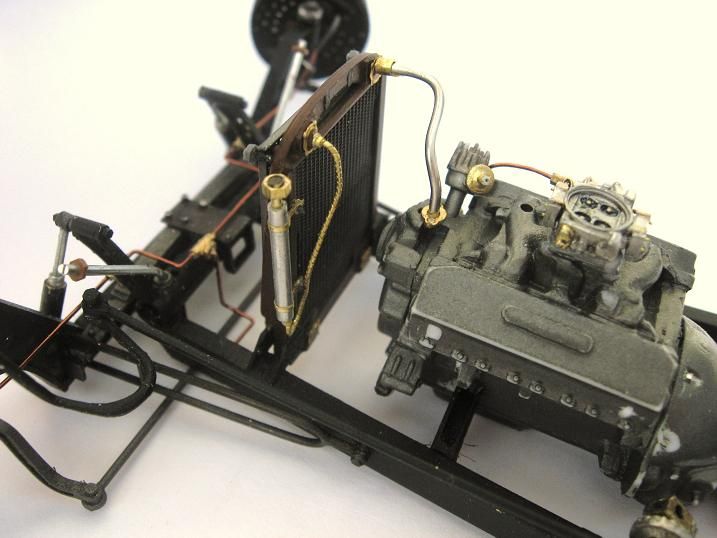
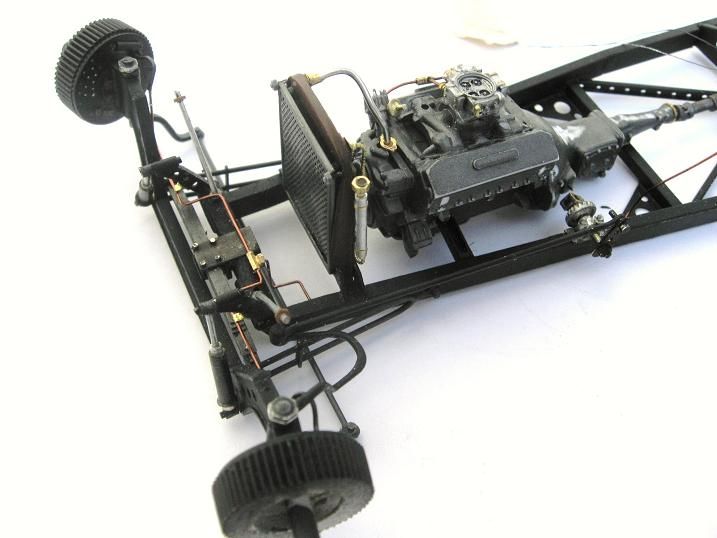
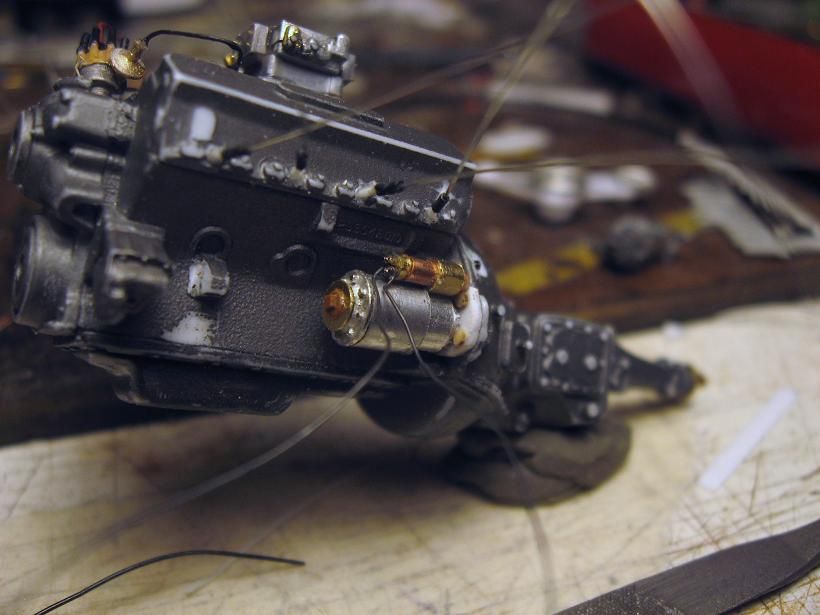
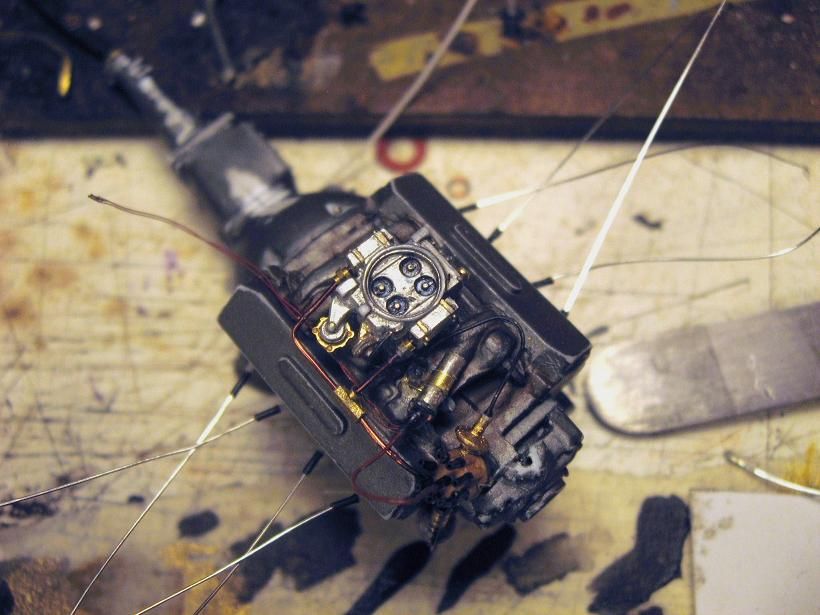
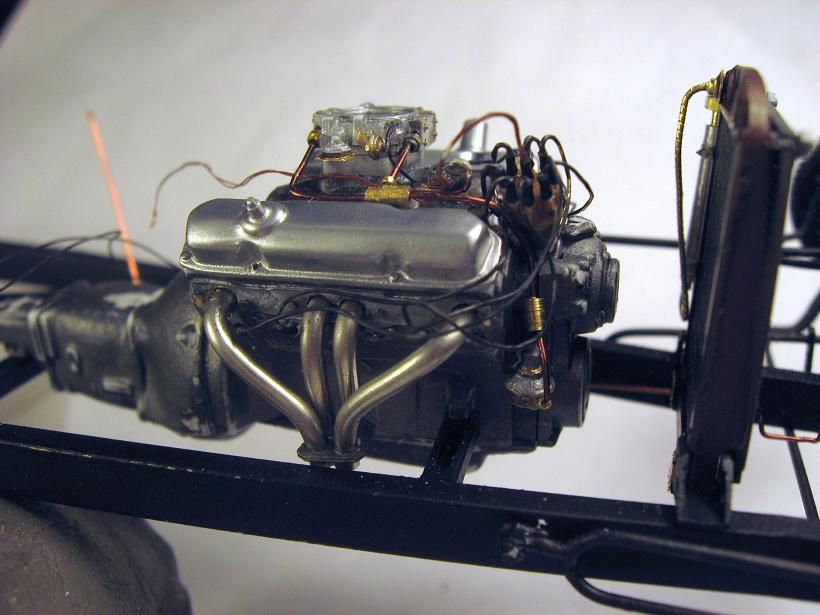
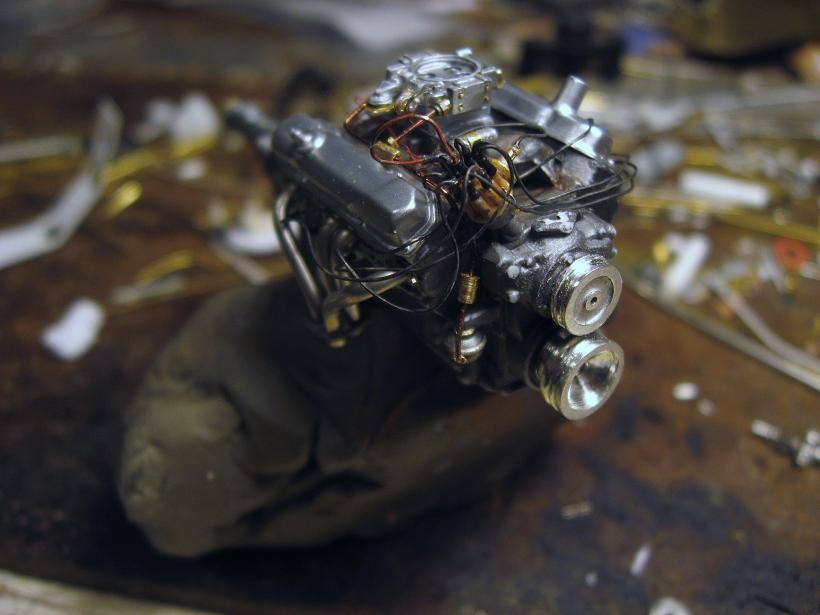
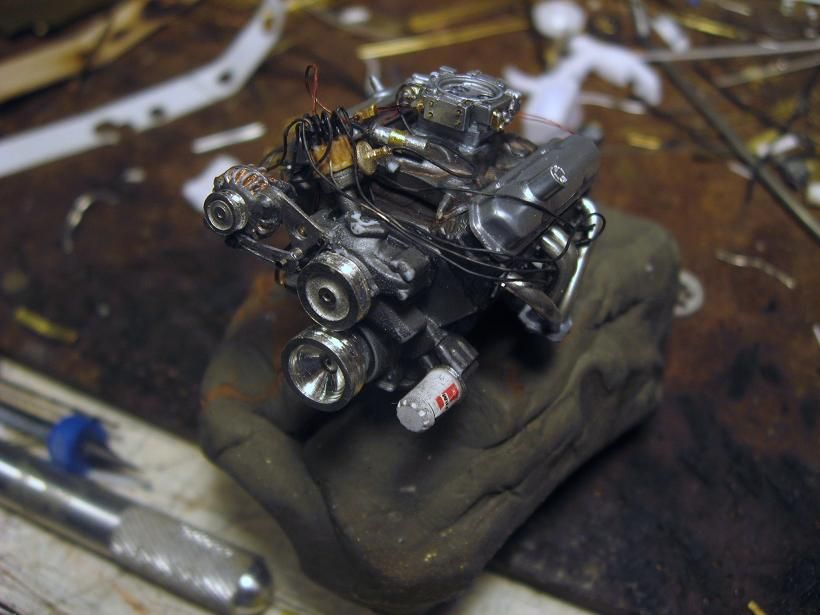
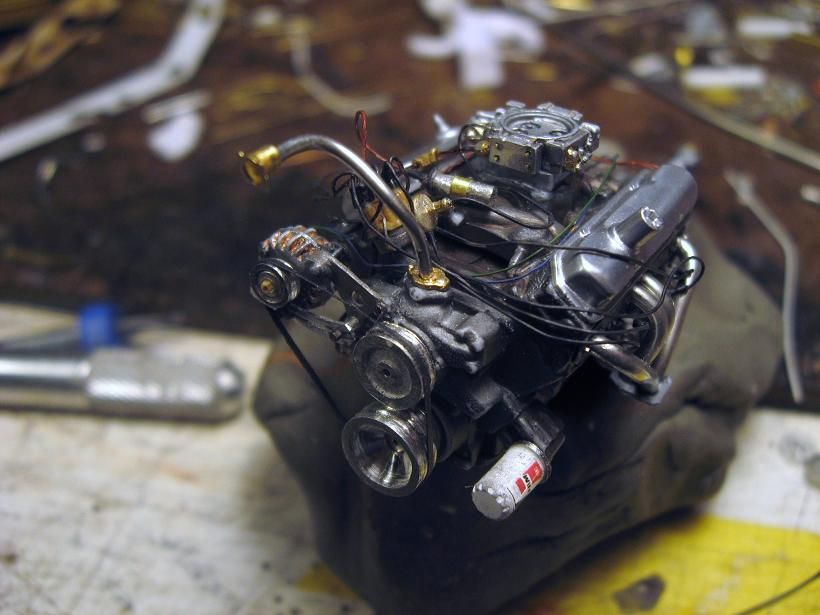
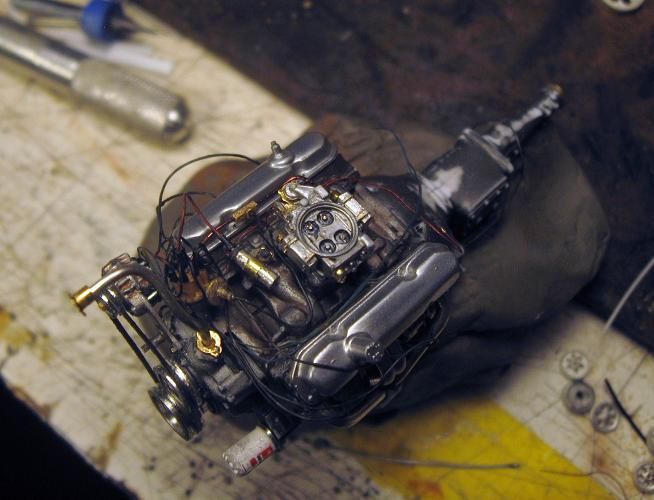
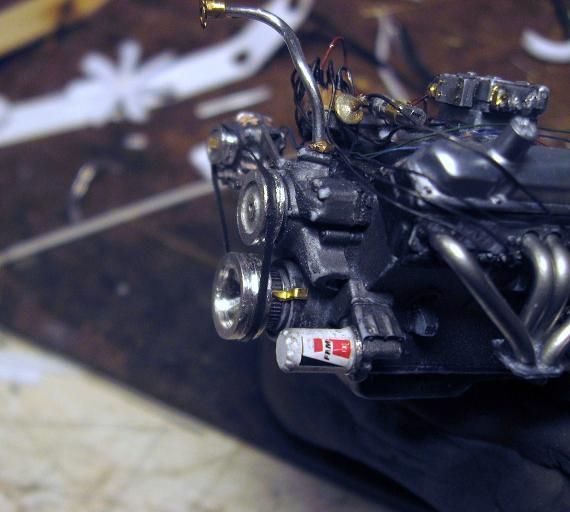
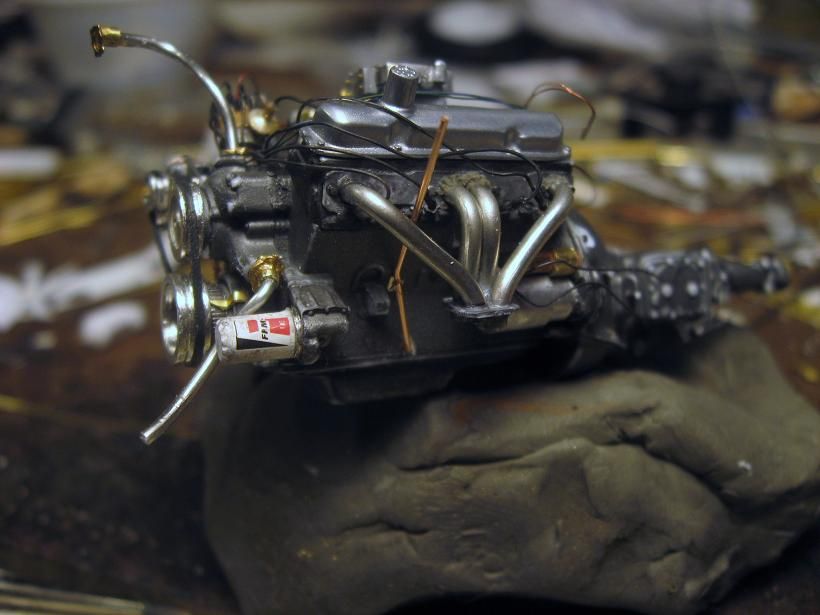
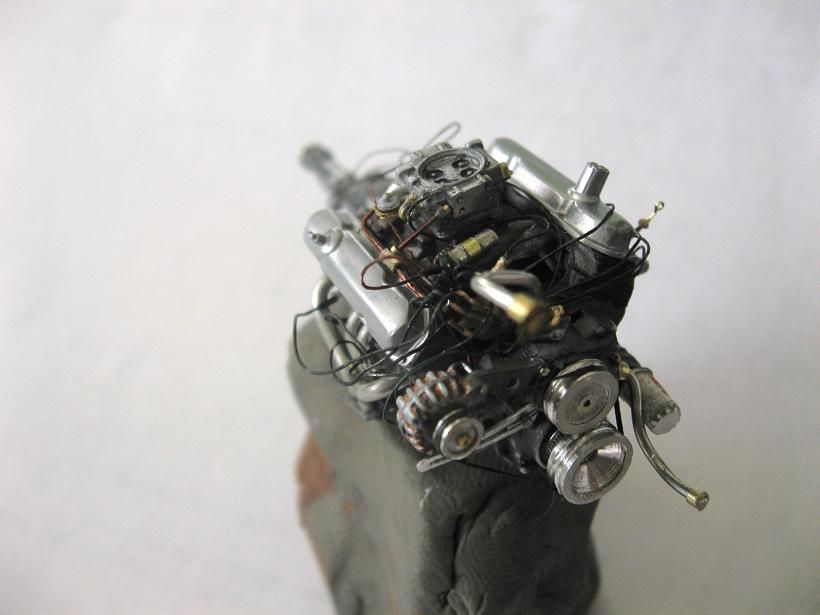
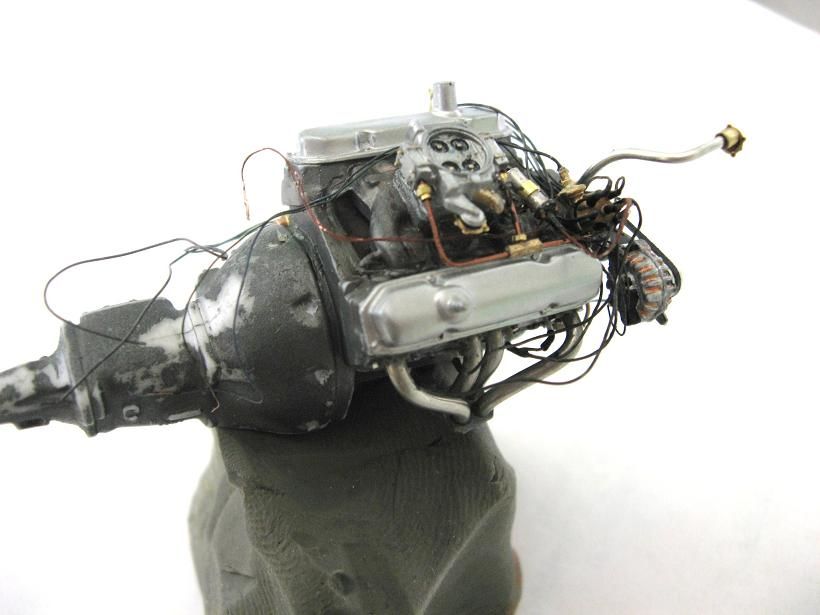
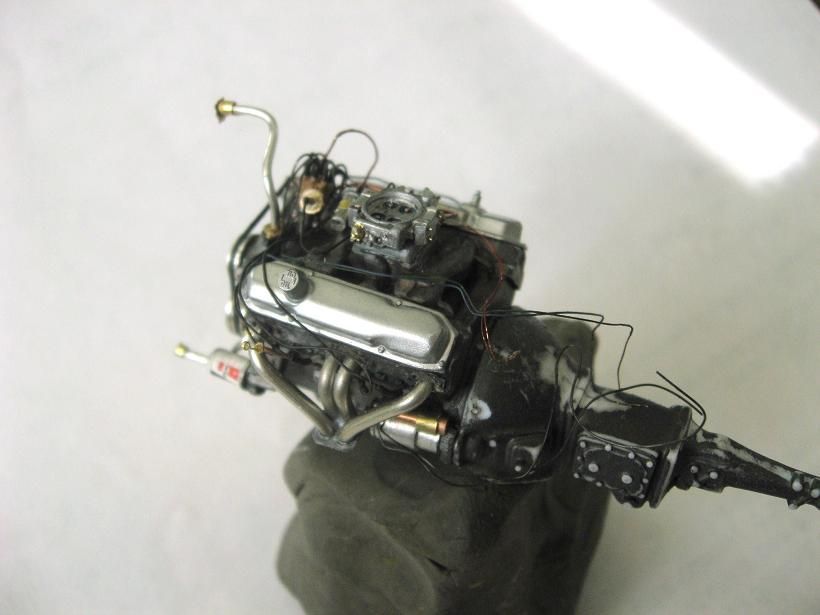
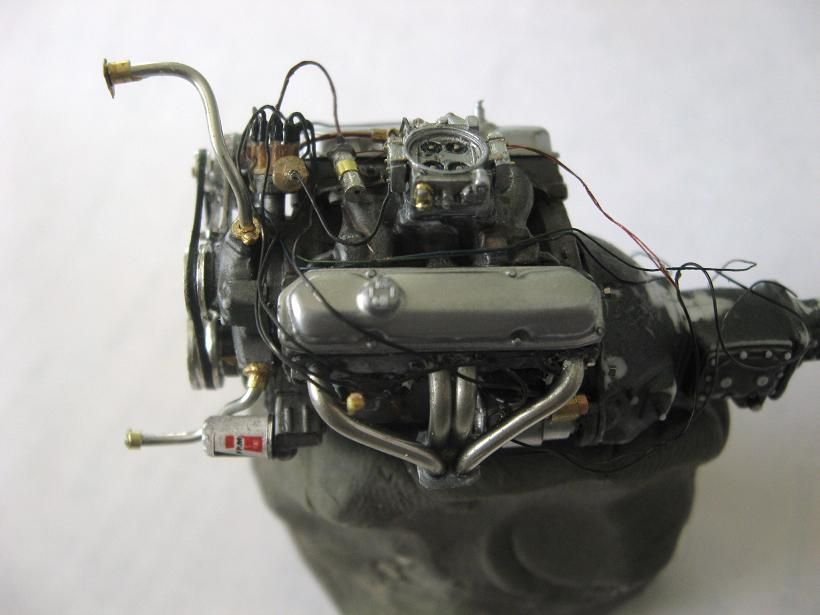
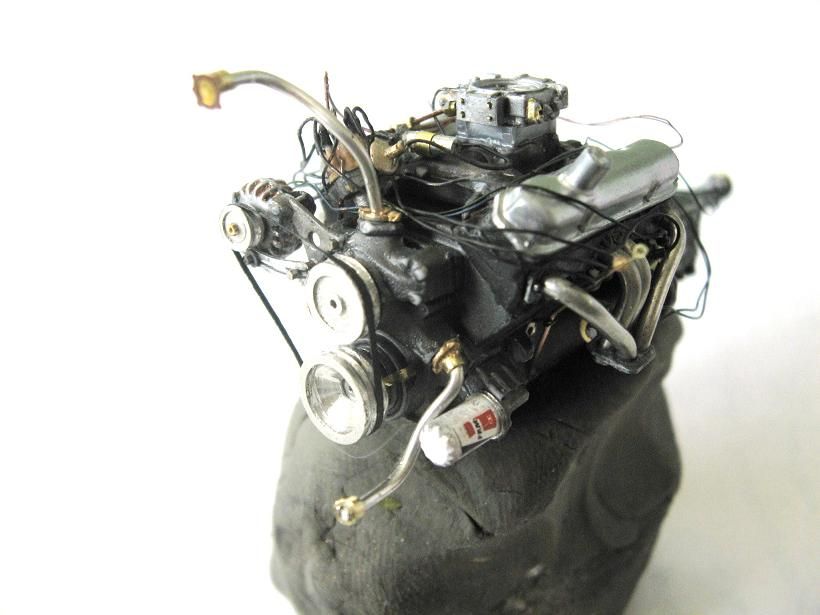
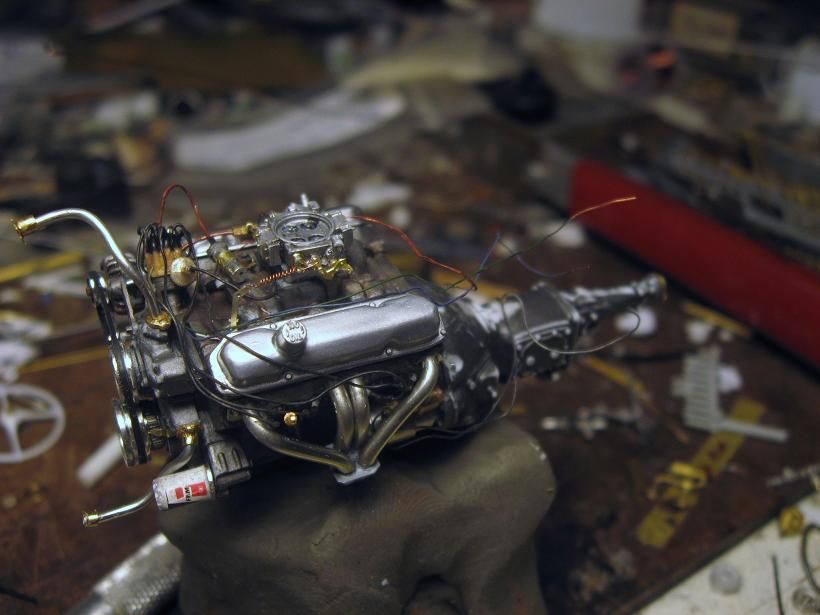
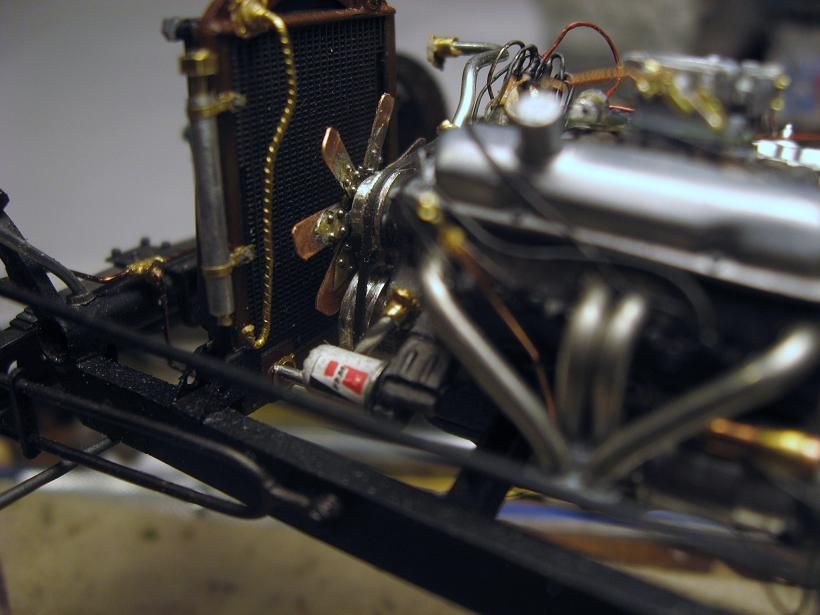
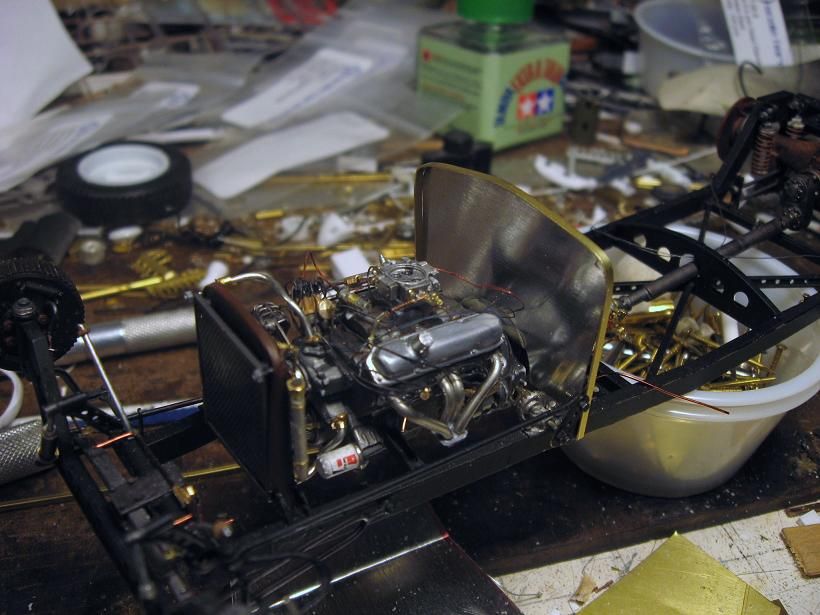
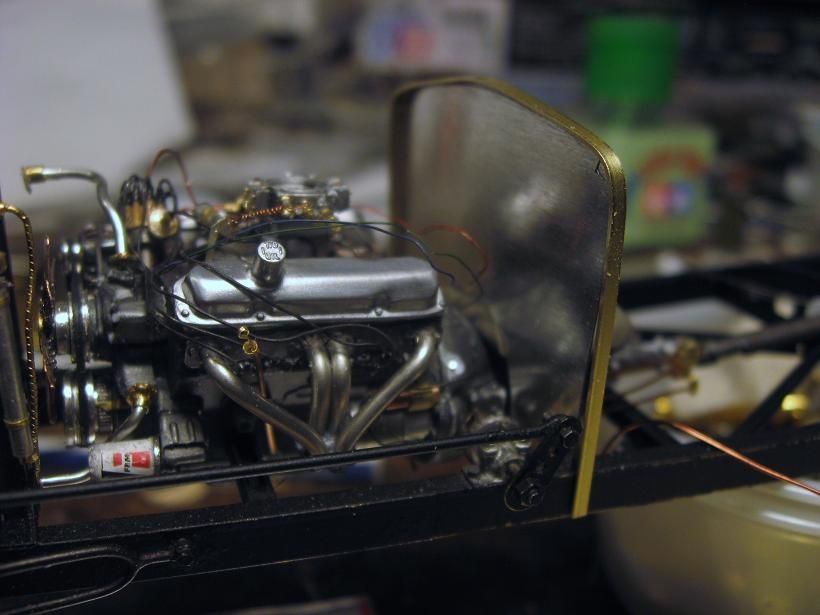
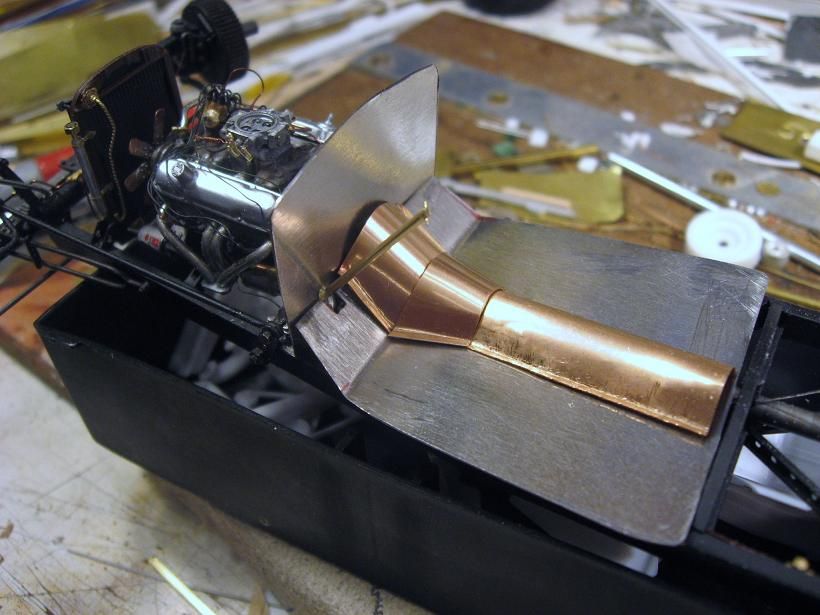
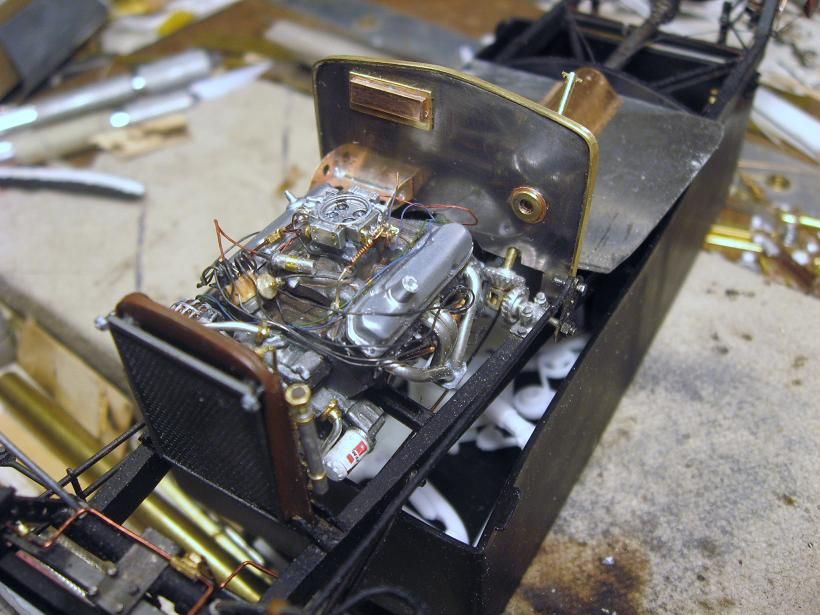
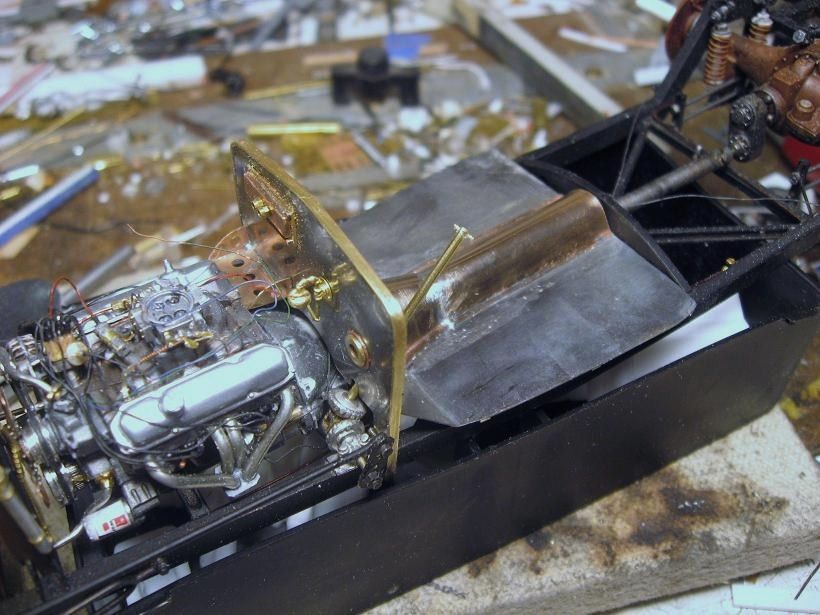
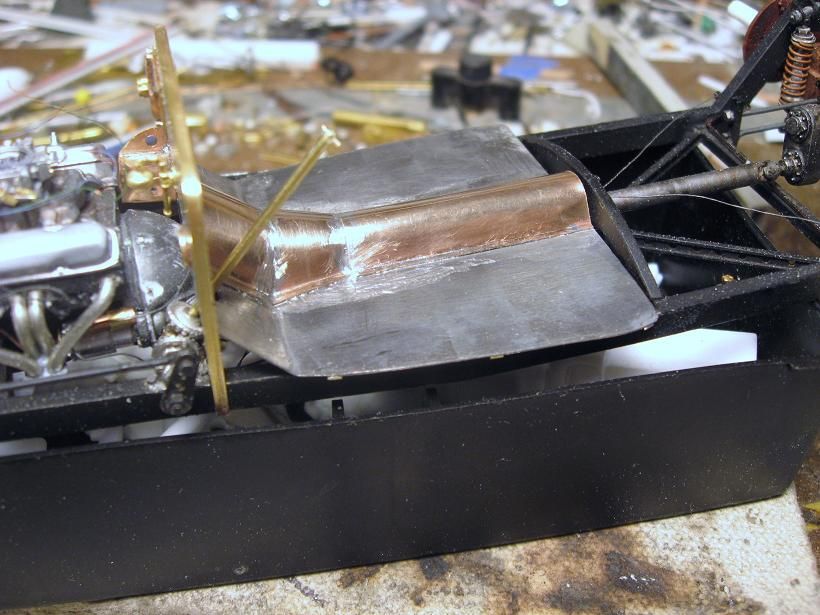
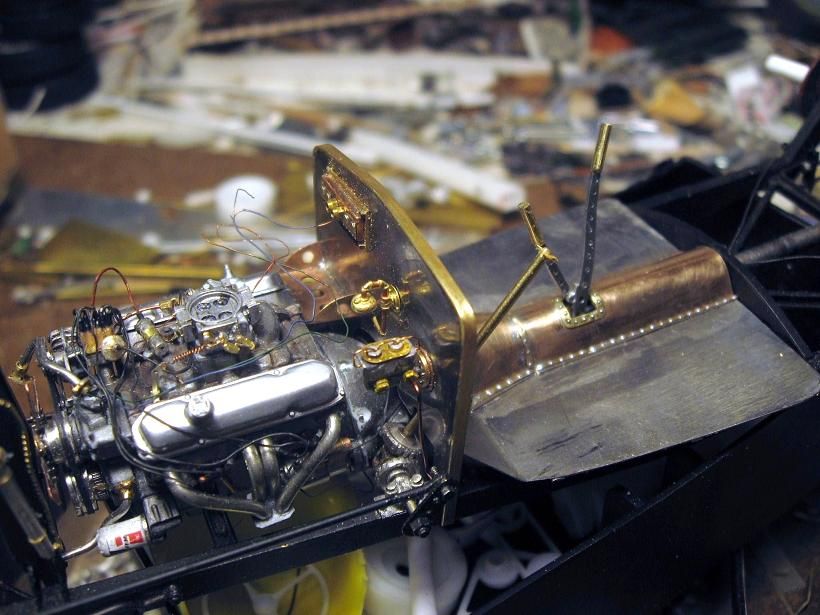
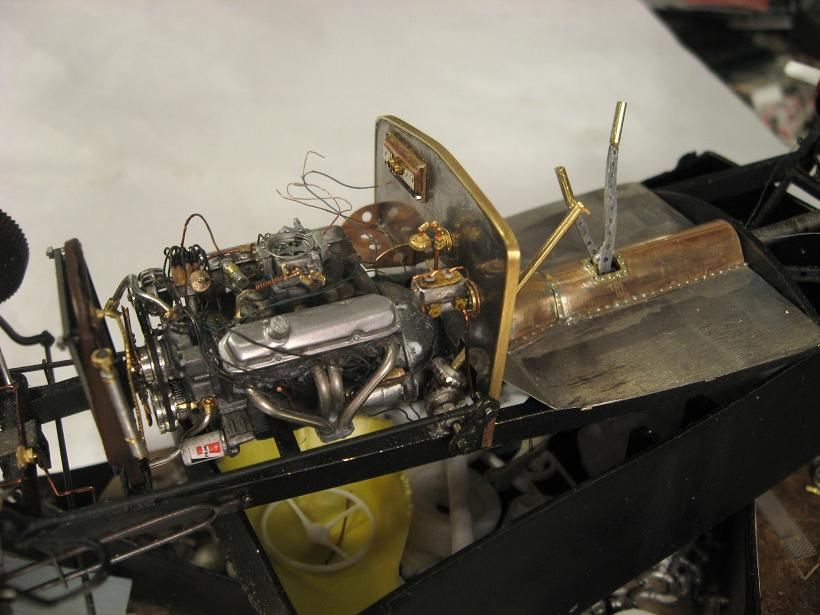
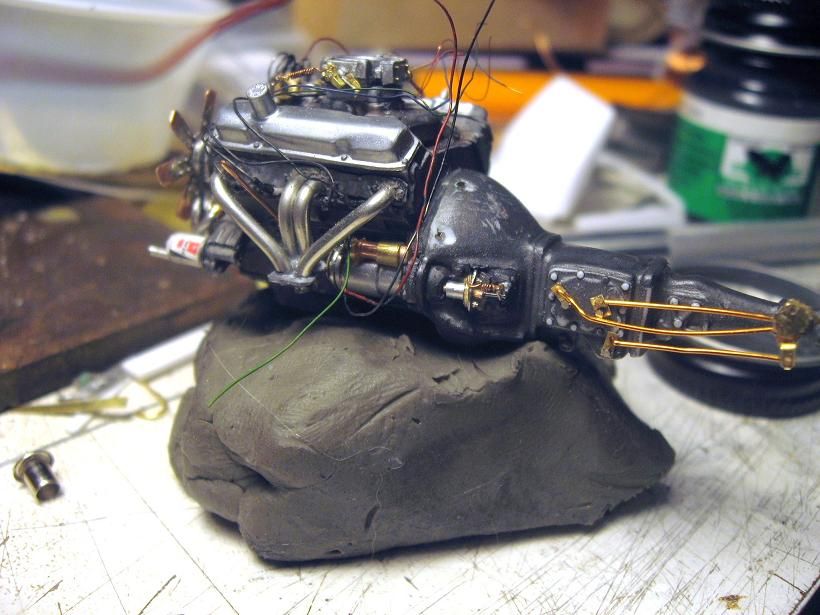
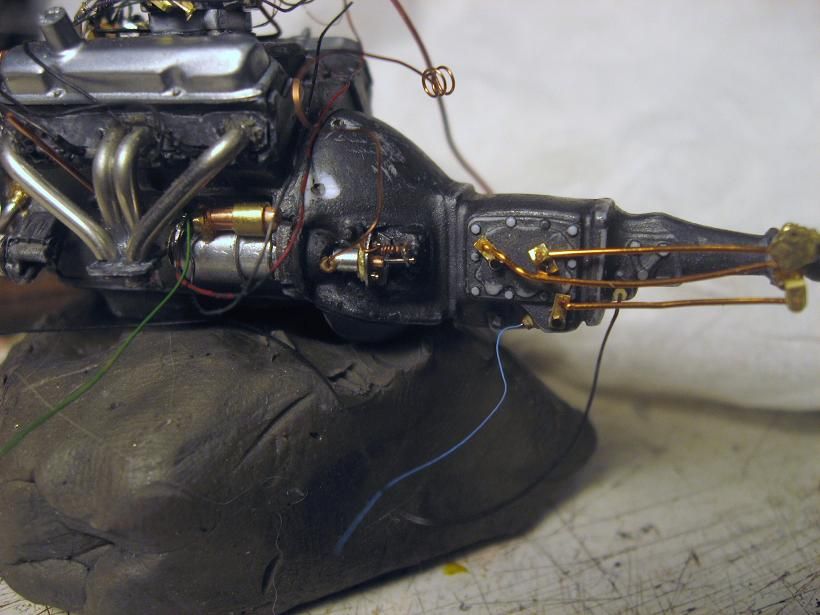
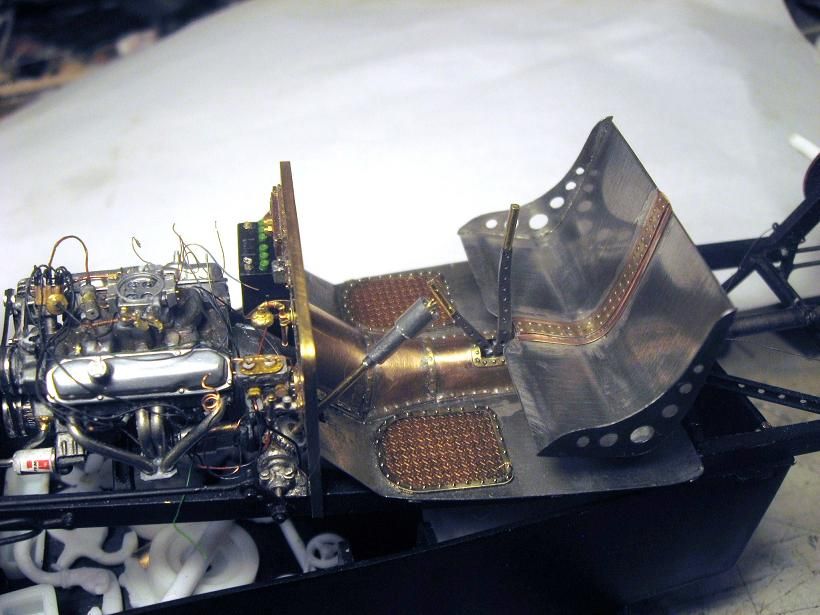
Sticking with a Mopar theme for the drive train, test fittting a 440, I know the true Rat Rodders wouls shudder but it's my truck!!
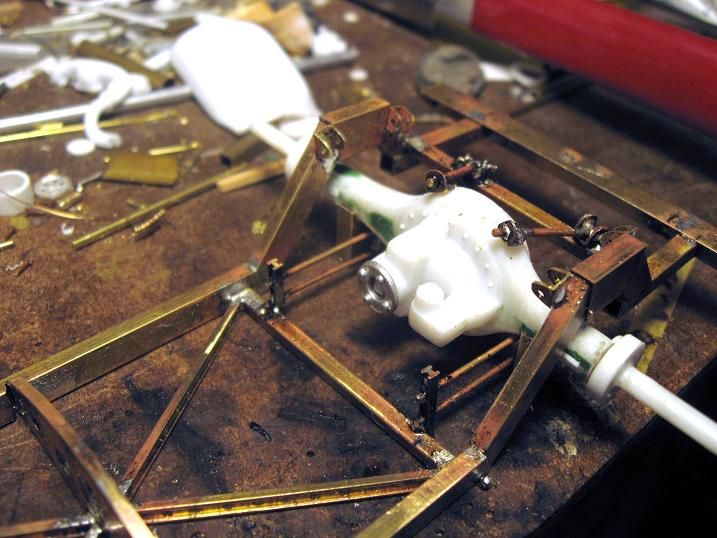
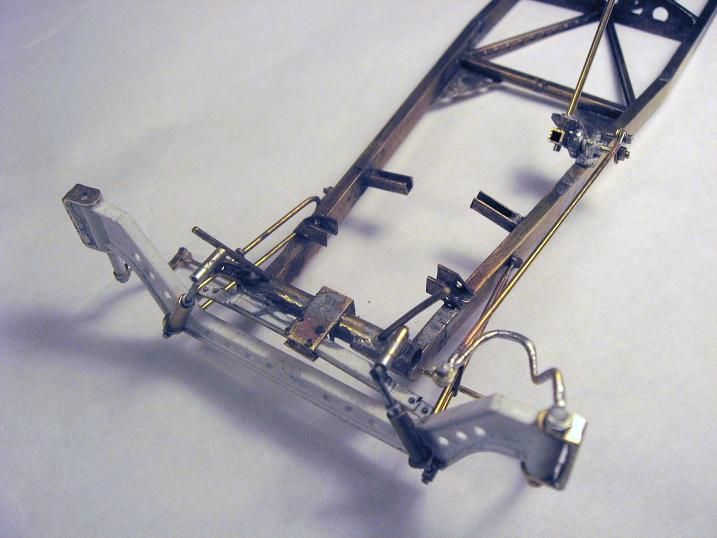
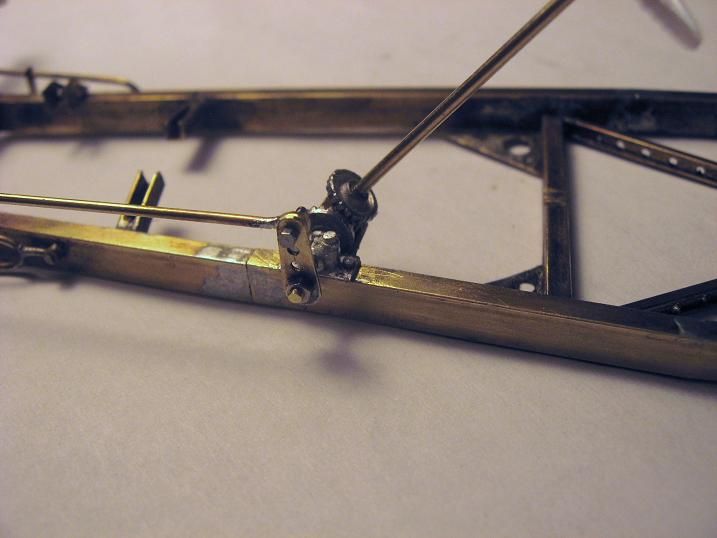
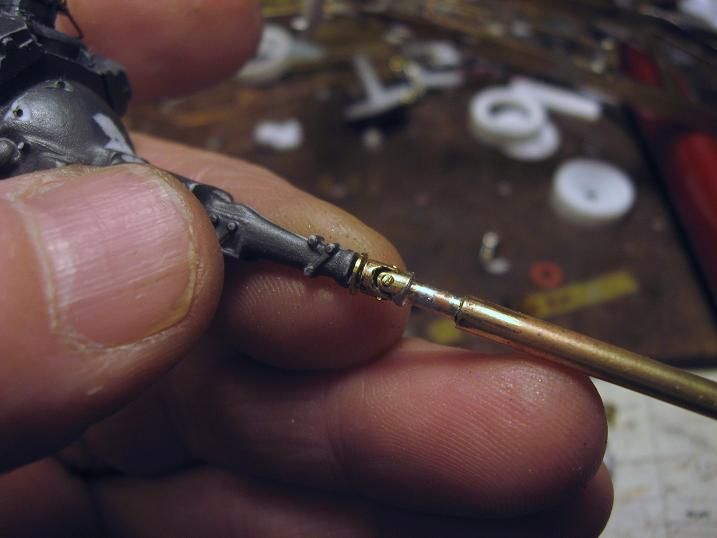
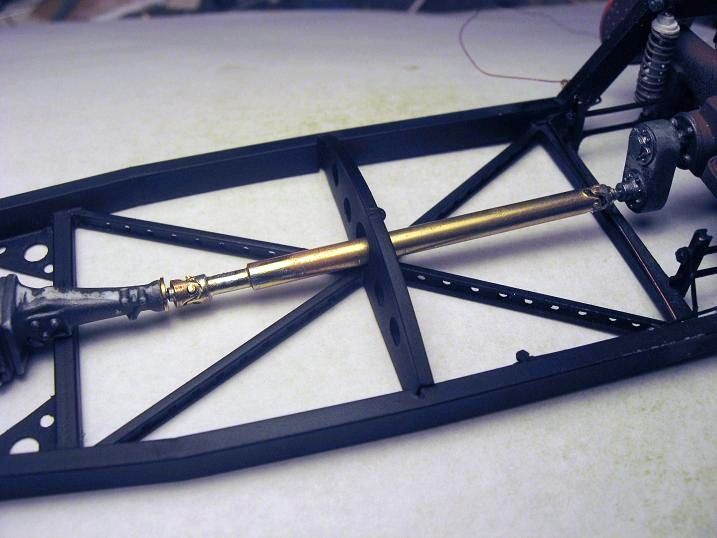
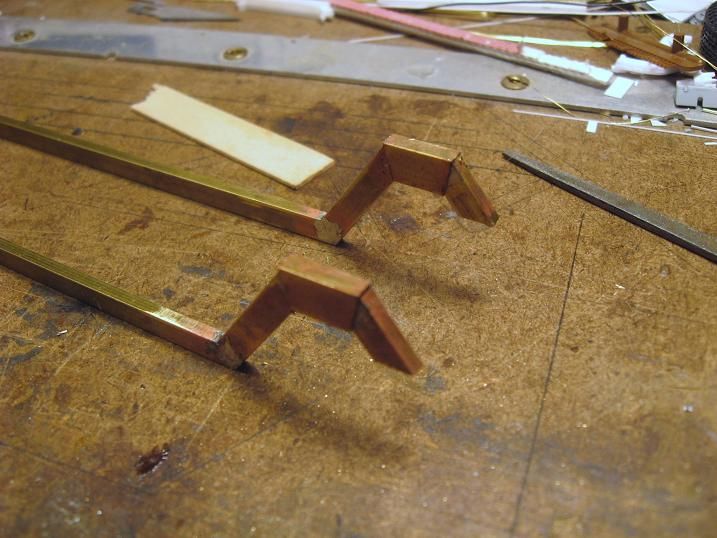
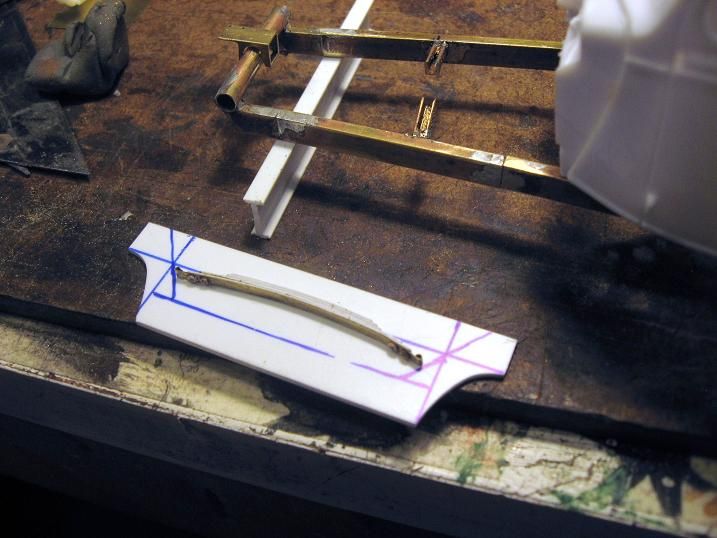
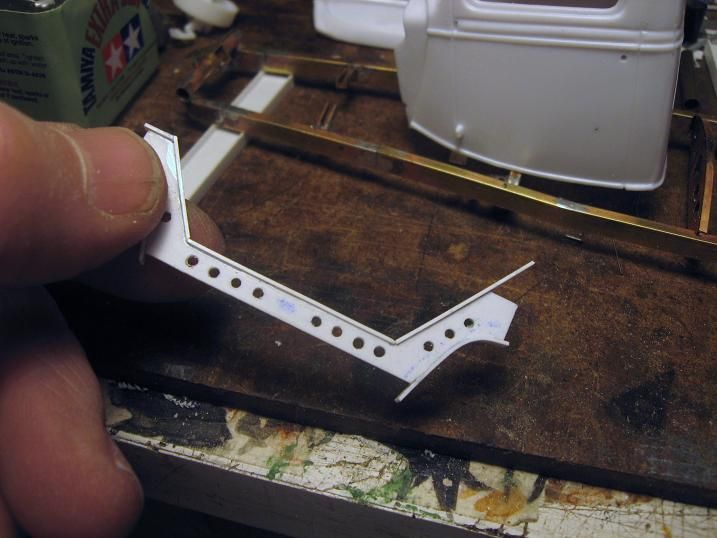
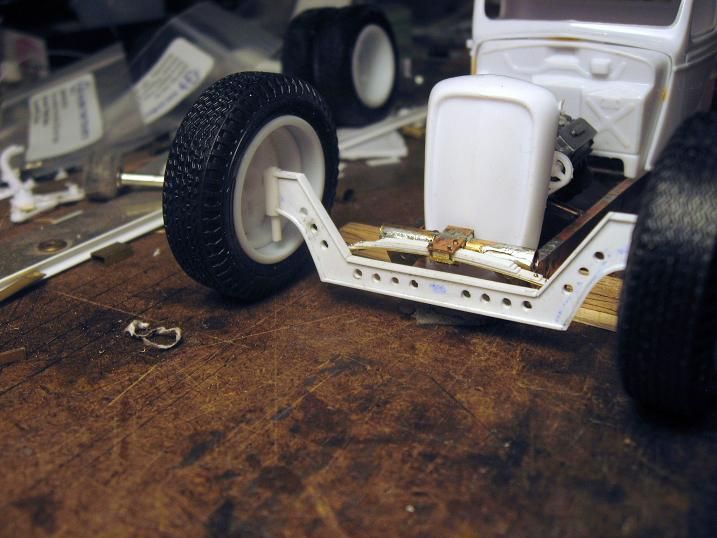
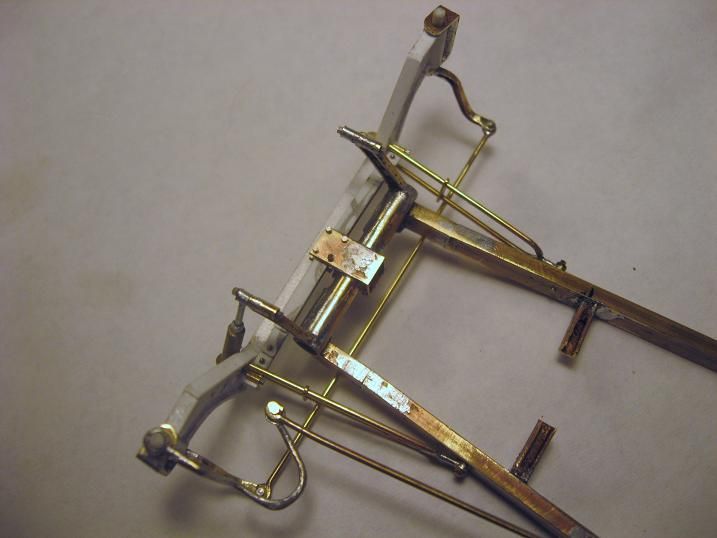
Going with a suicide front end....
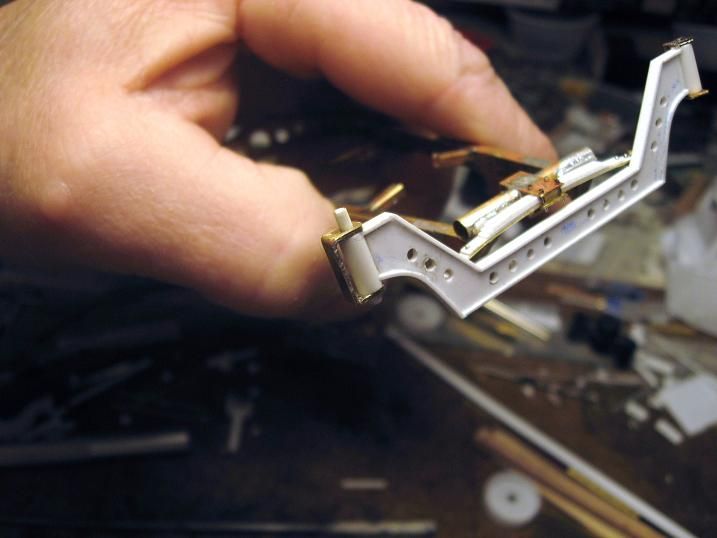
This baby's going to need a fairly hefty front axkle with a wee bit of drop...
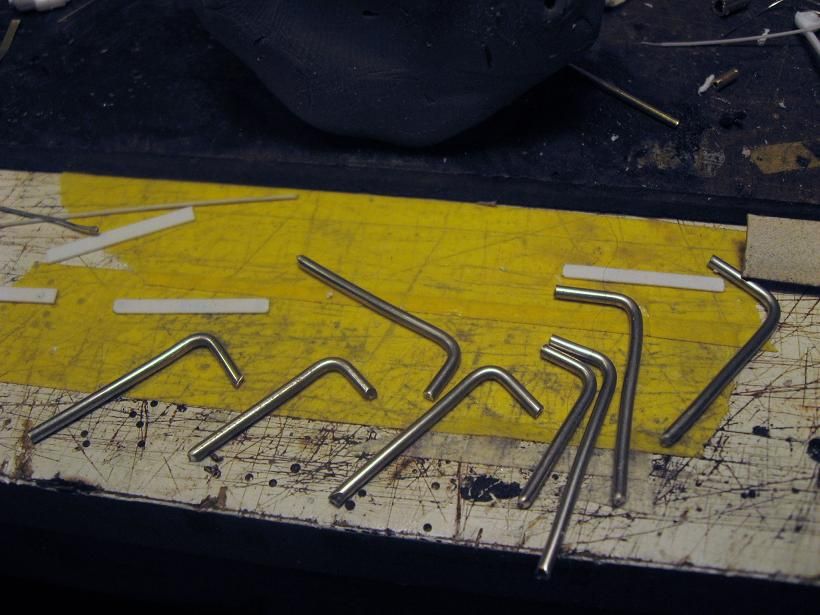
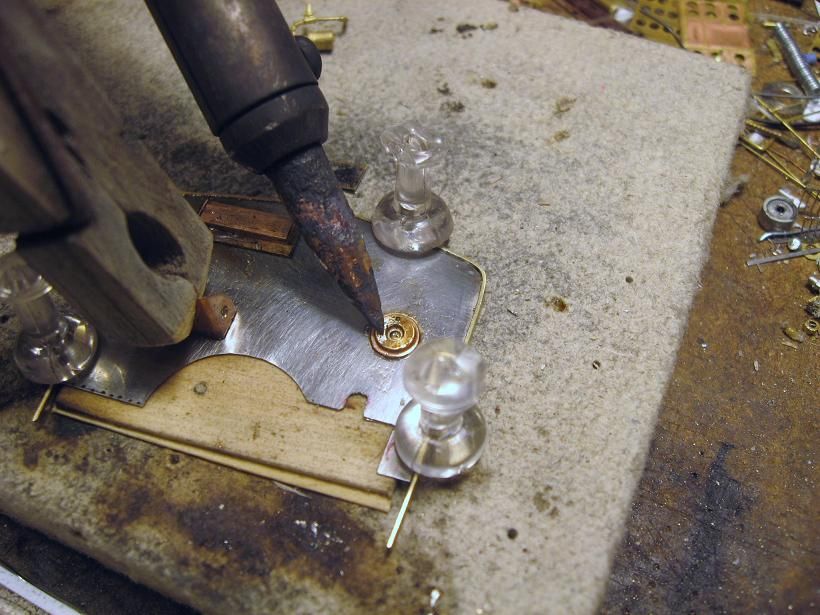
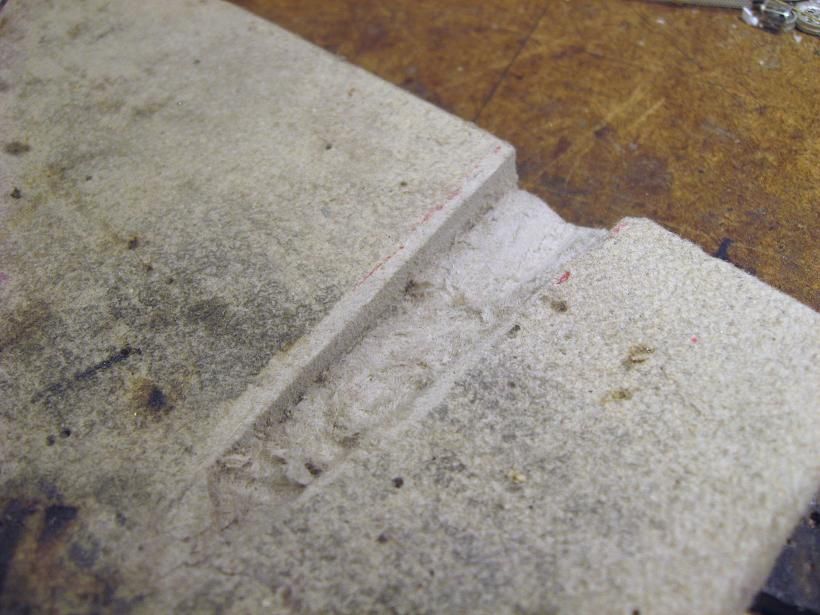
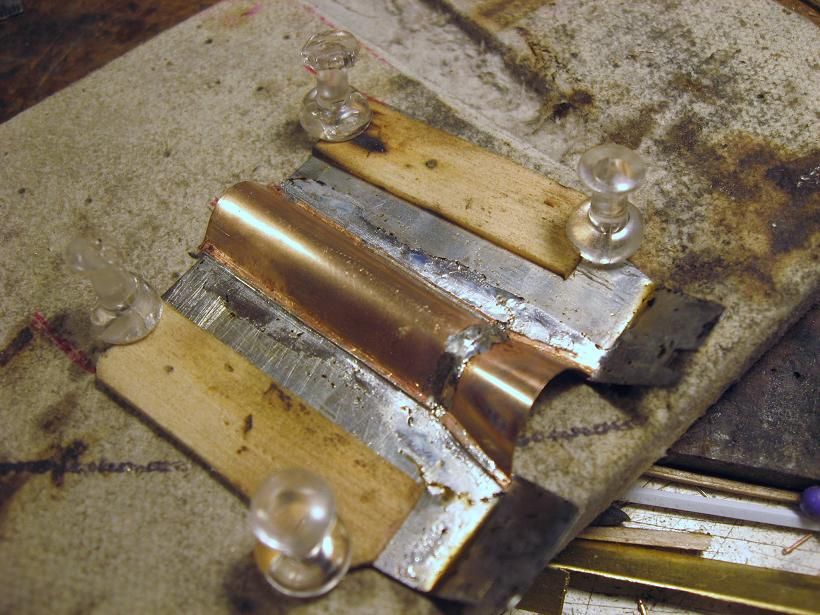
Here's a pic of my little bending table....
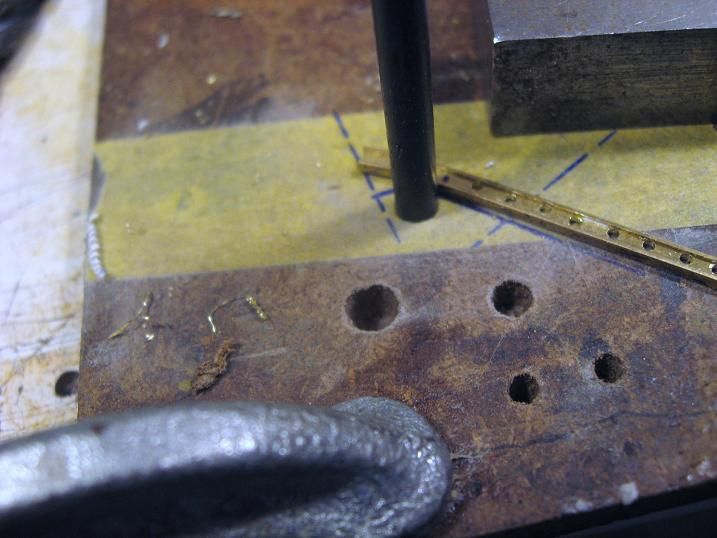
Like I said, nothing fancy. Use drill bits for the bending posts and that large square thingy upper right in the photo is my beater. It is a 6" machinist square. Slides nice and flat on the masonite.
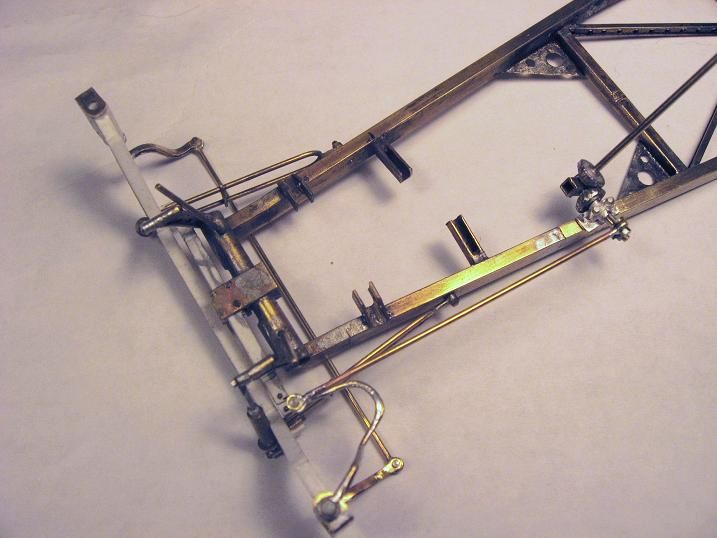
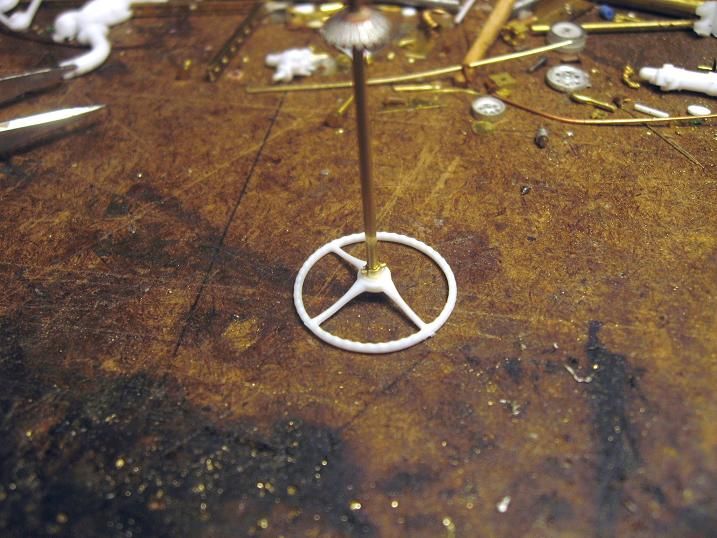
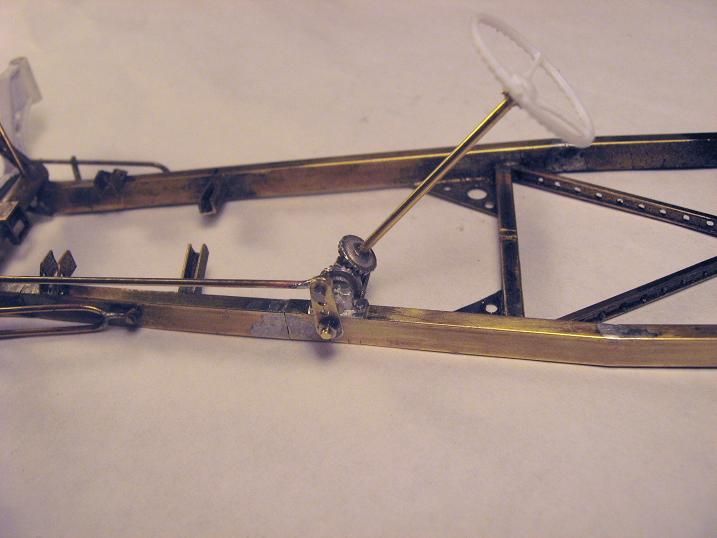
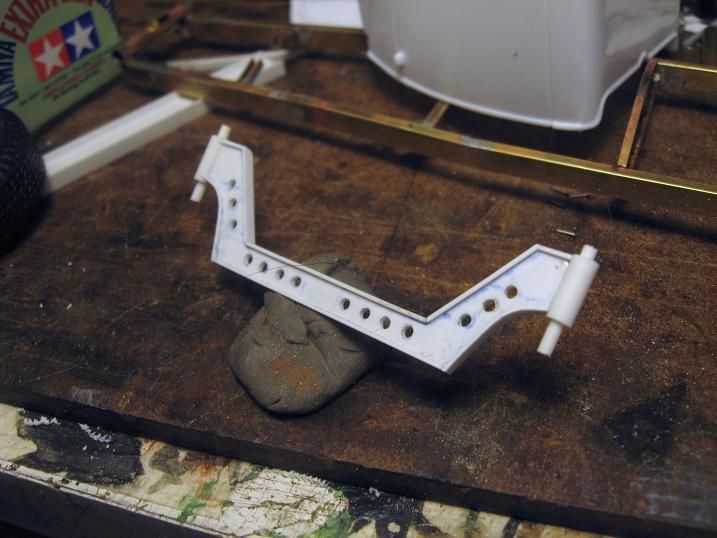
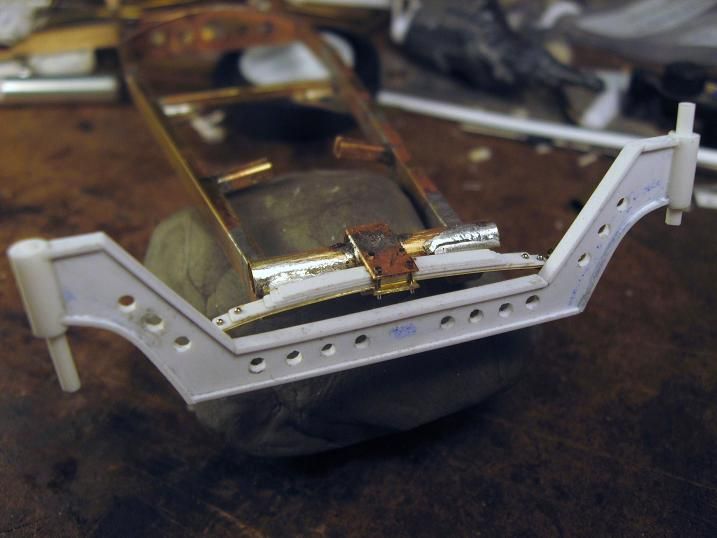
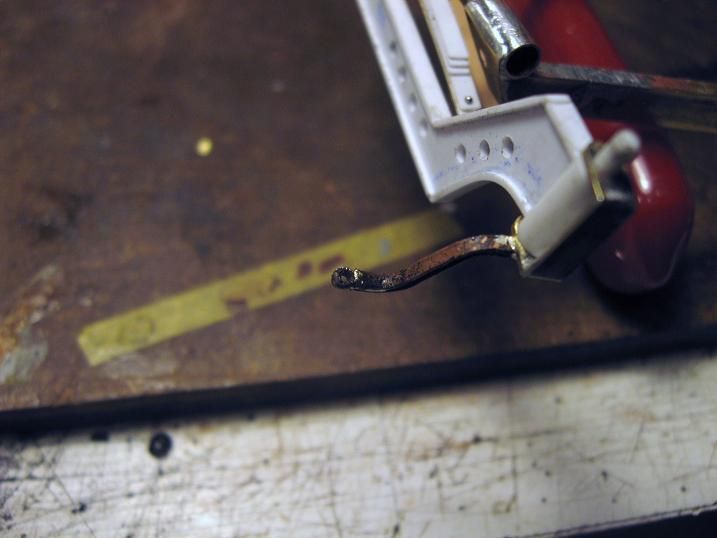
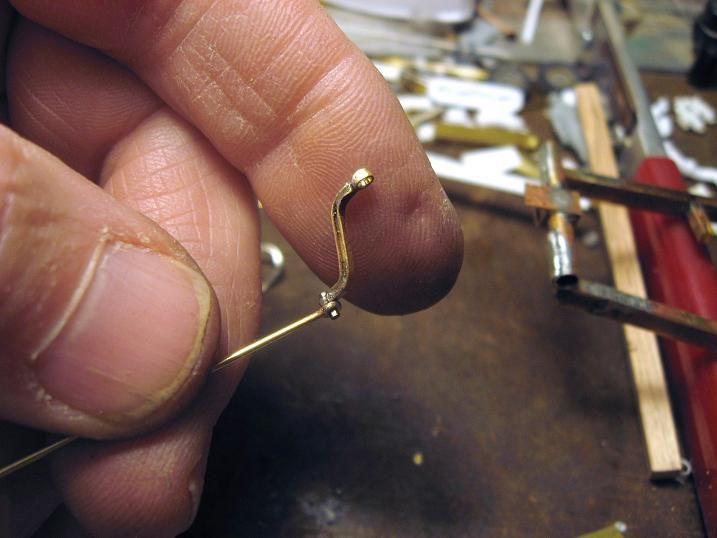
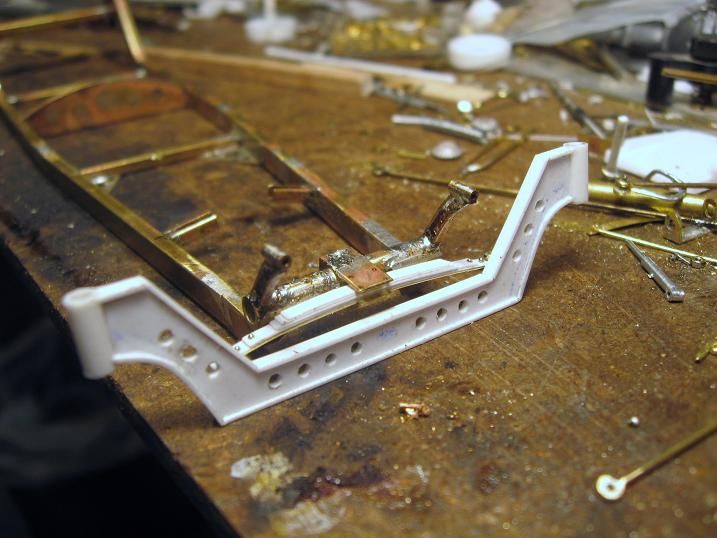
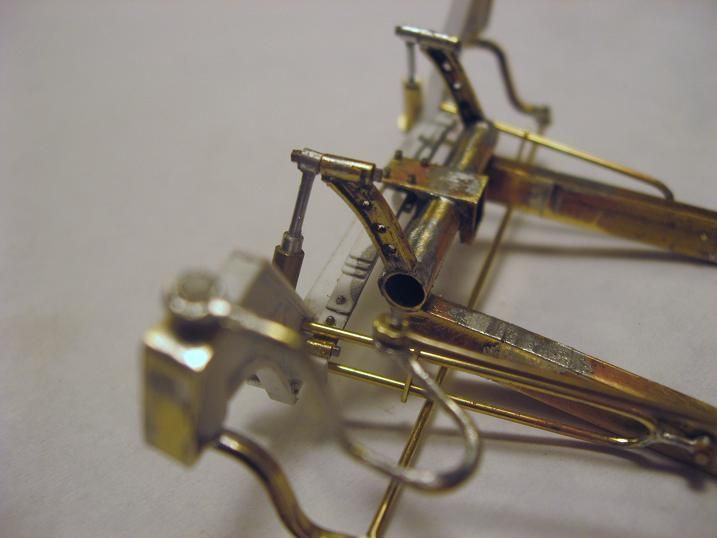
Trying to finish the frontend....
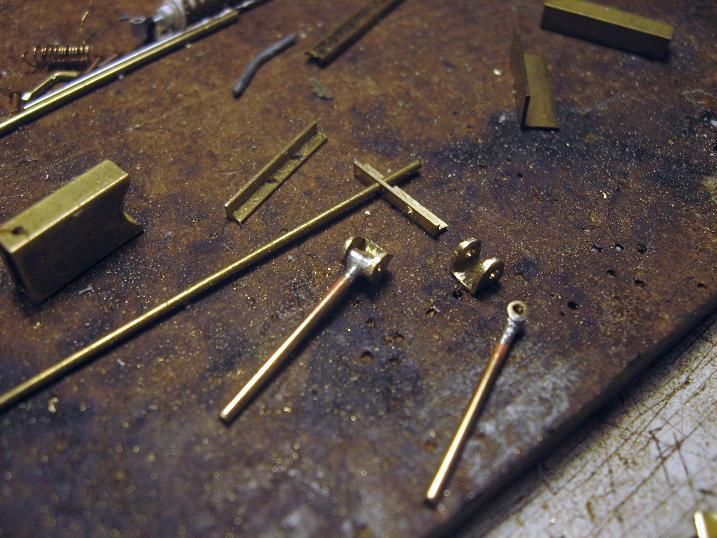
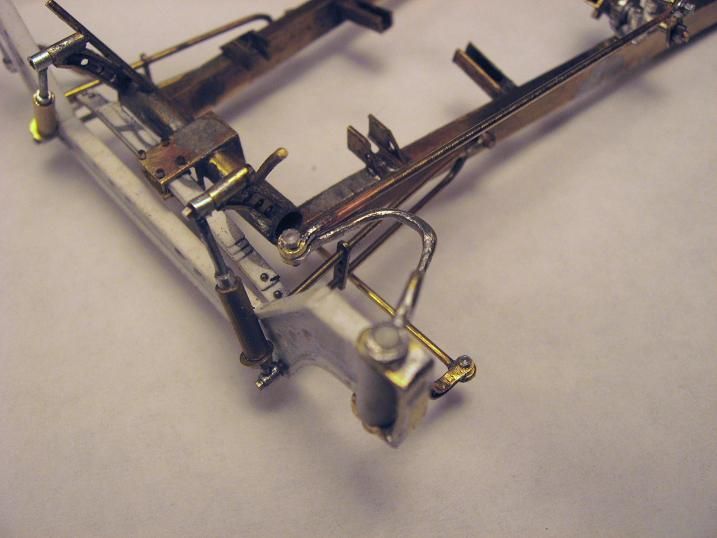
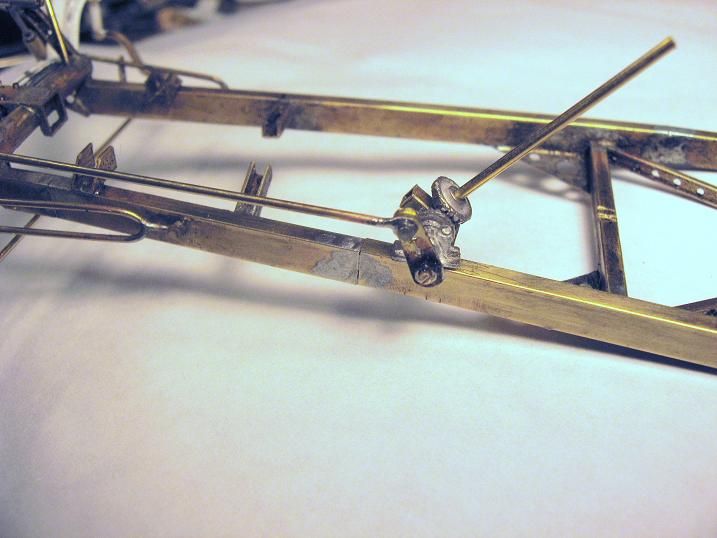
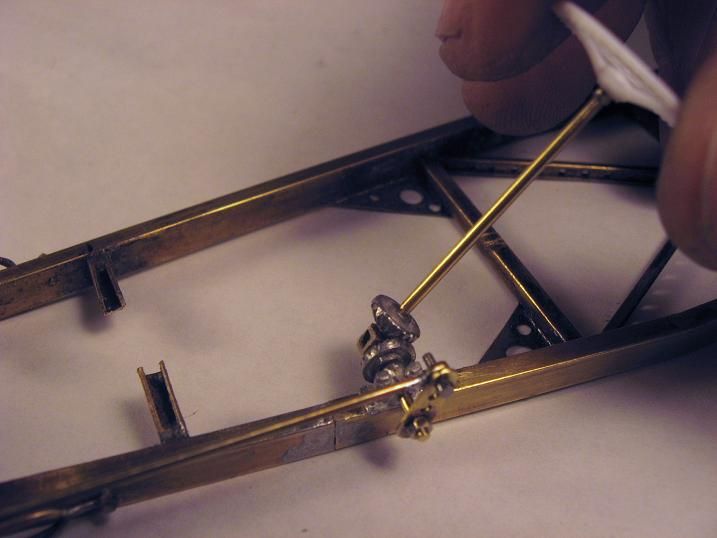
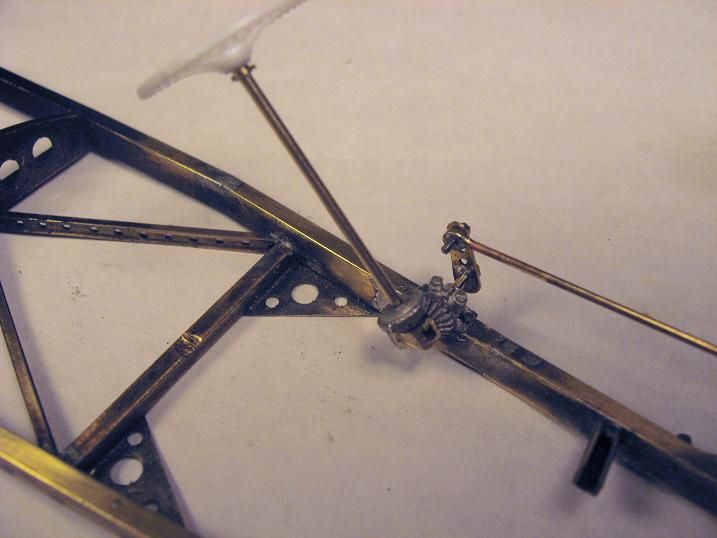
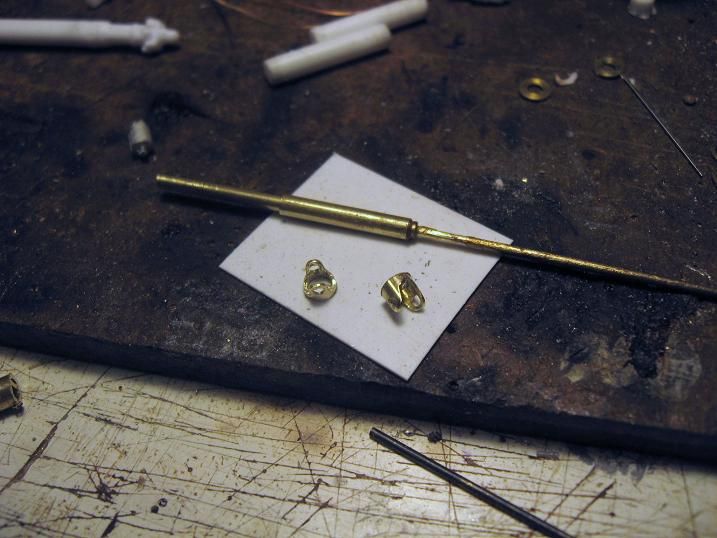
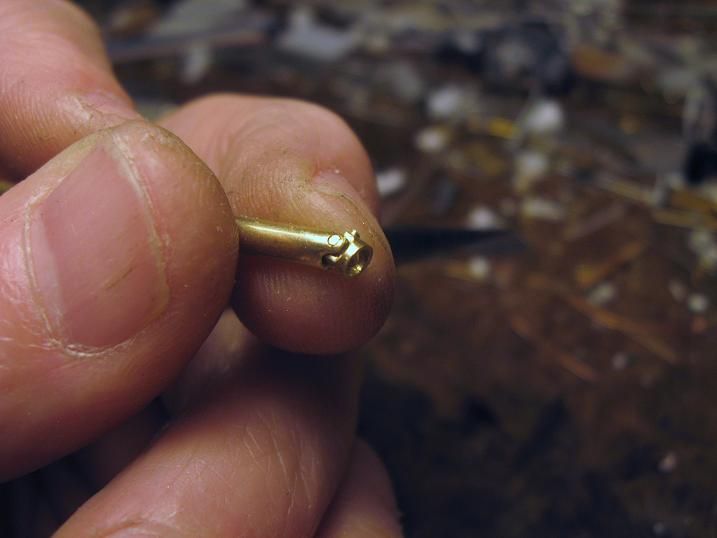
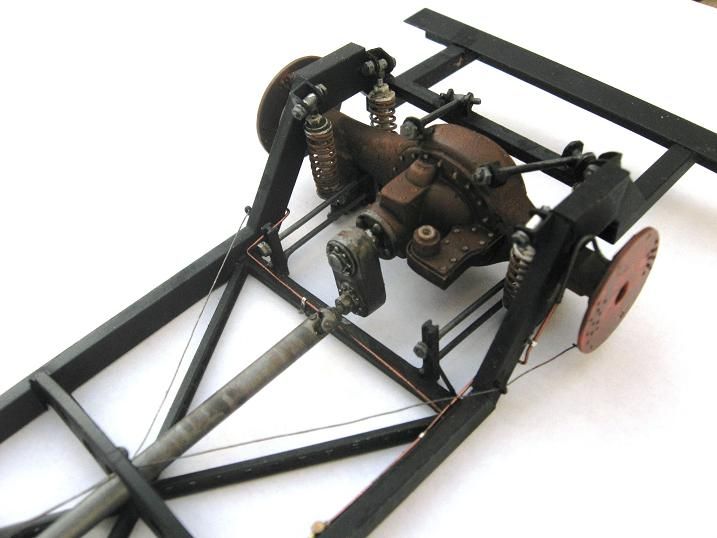
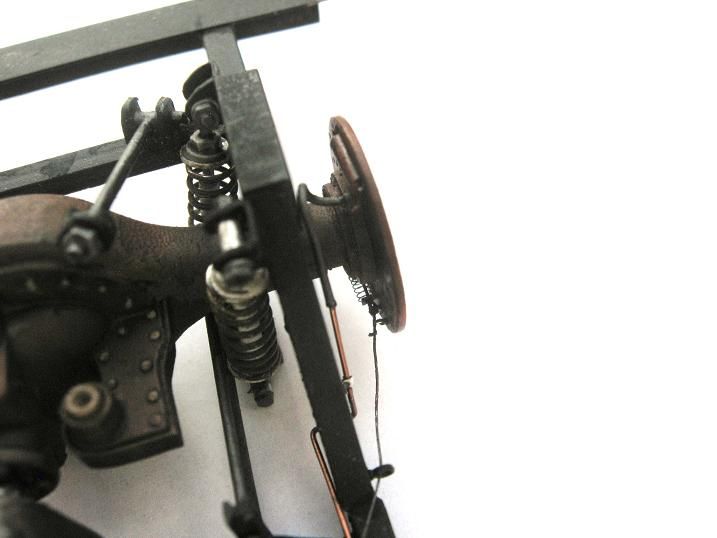
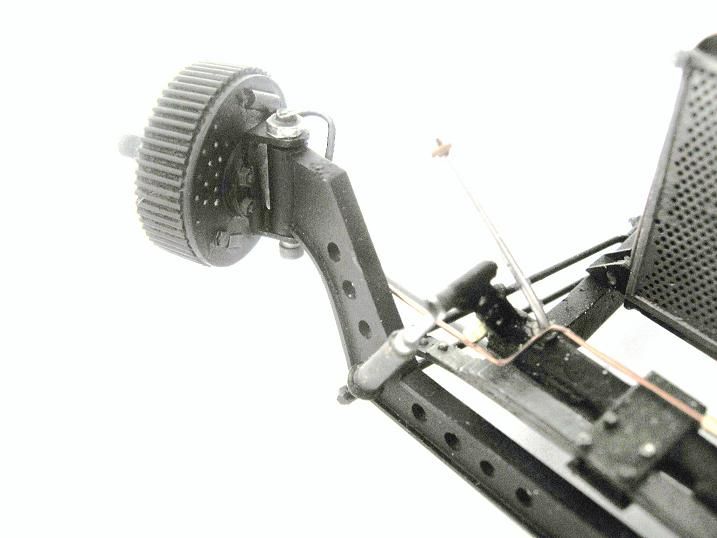
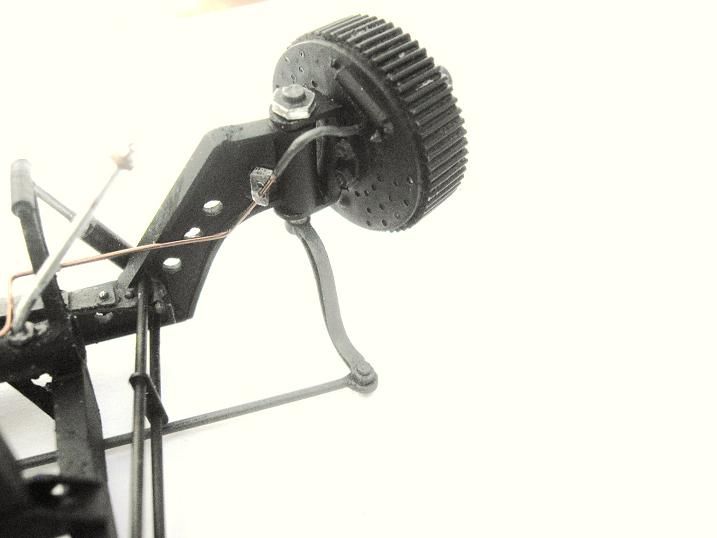
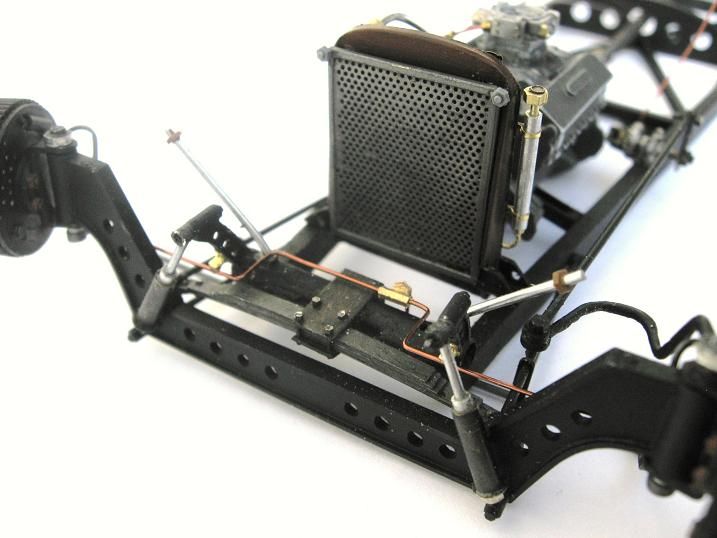
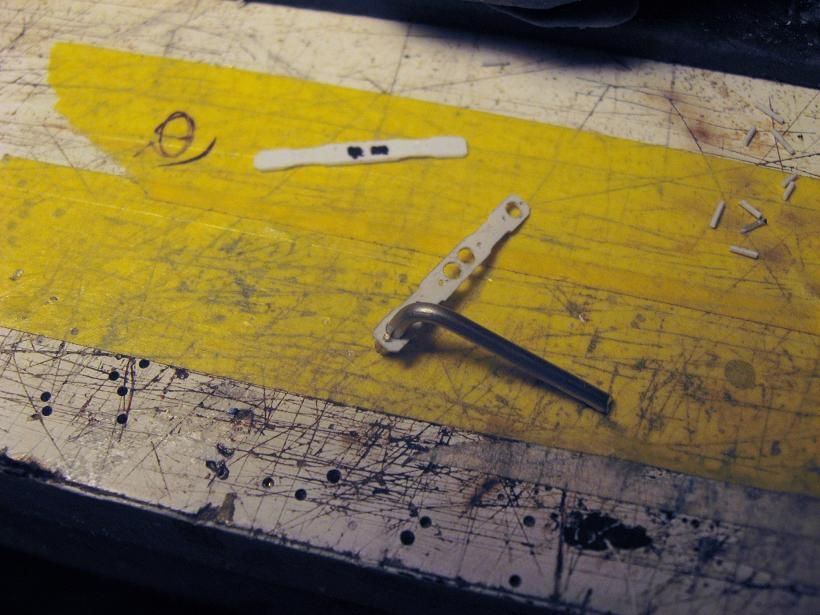
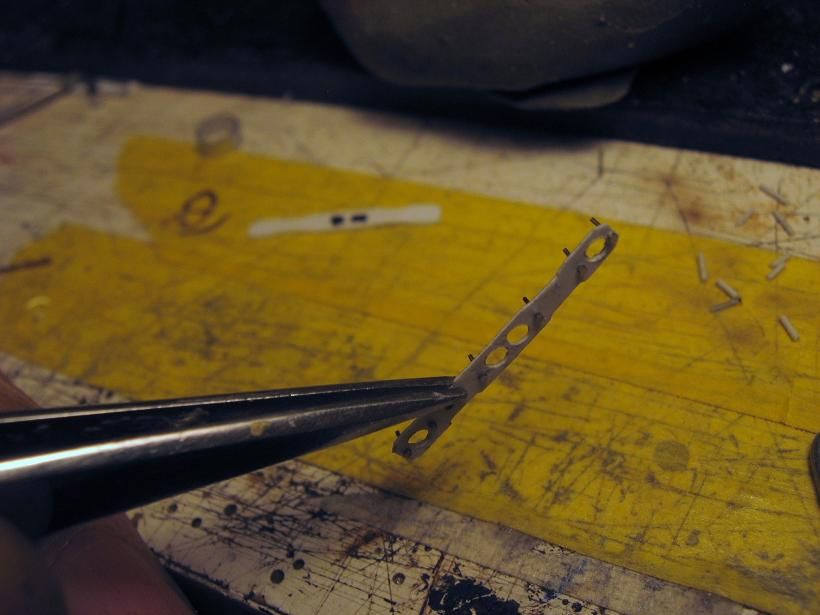
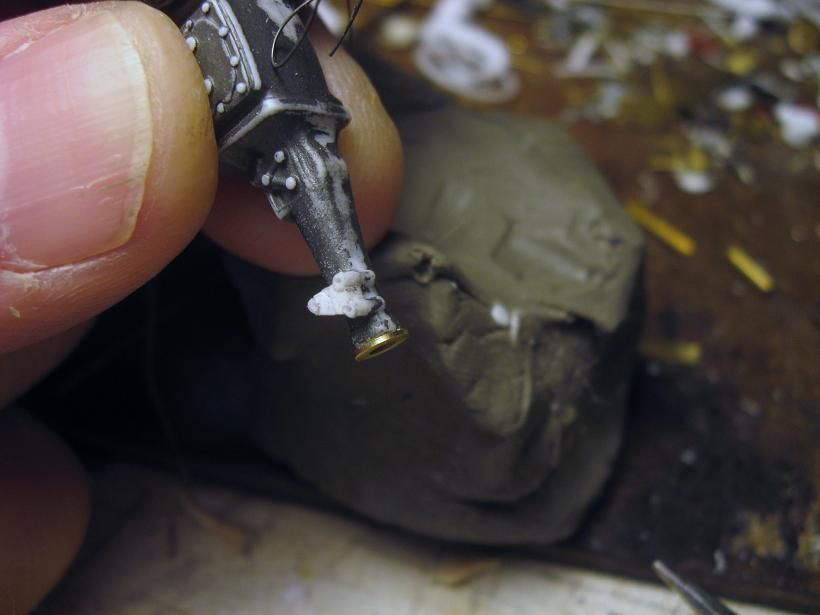
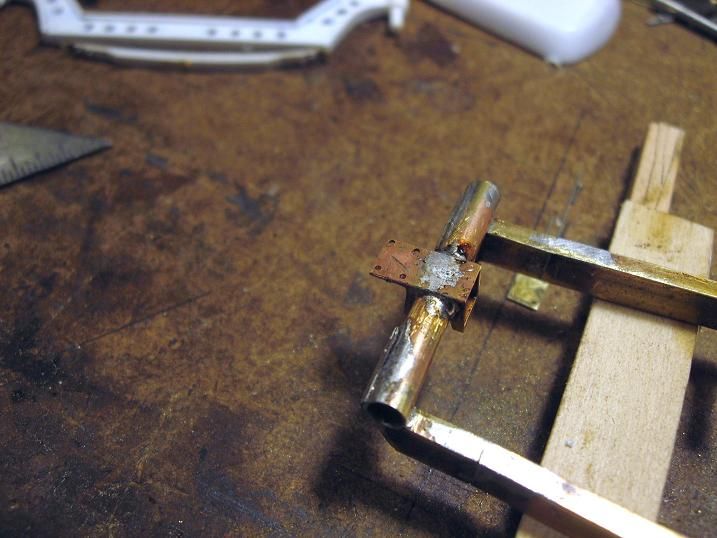
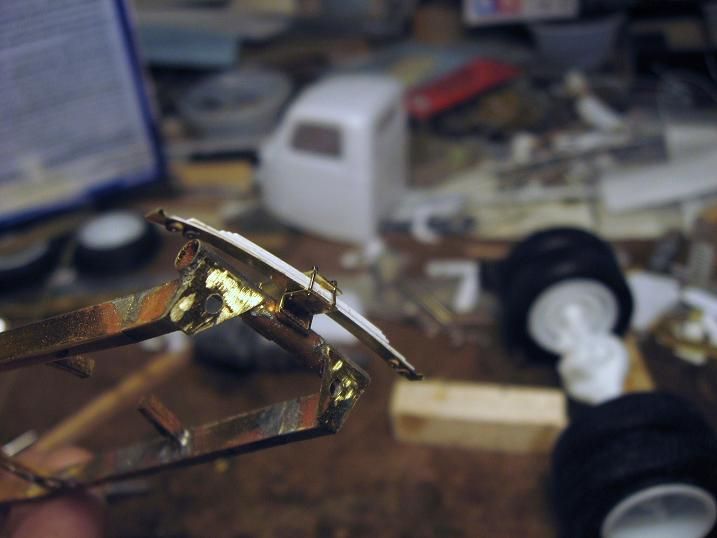
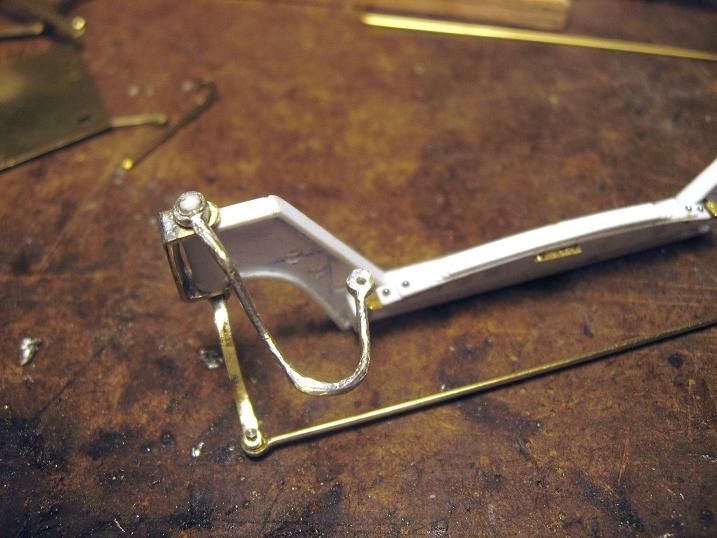
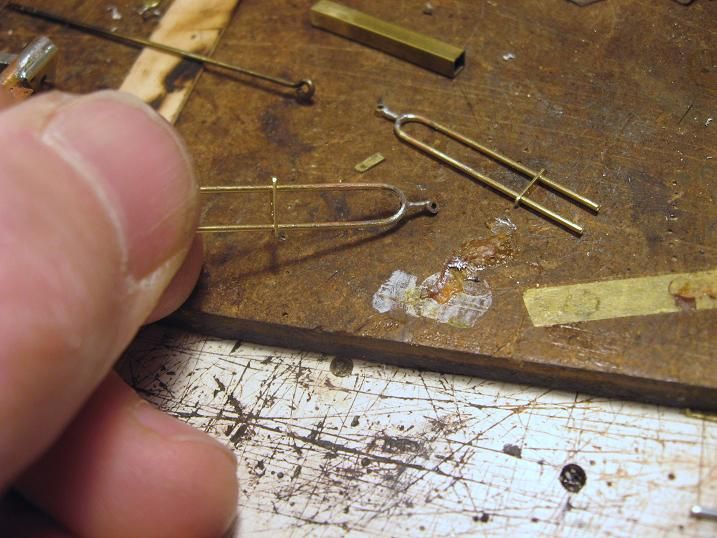
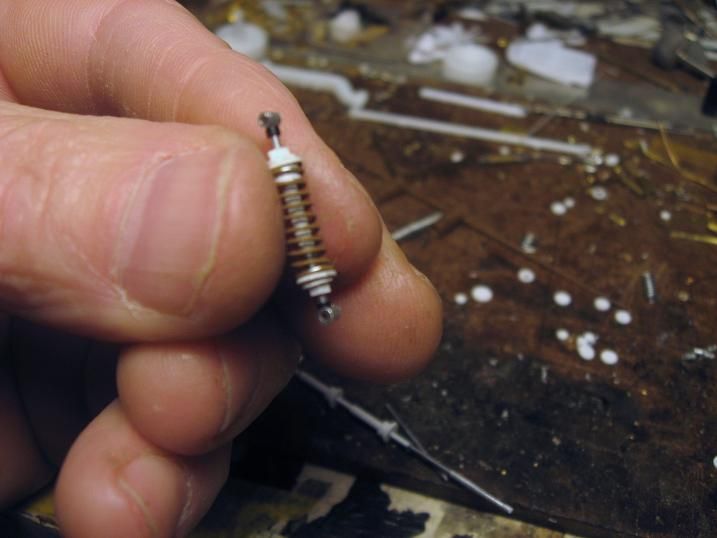
Shock mounts...
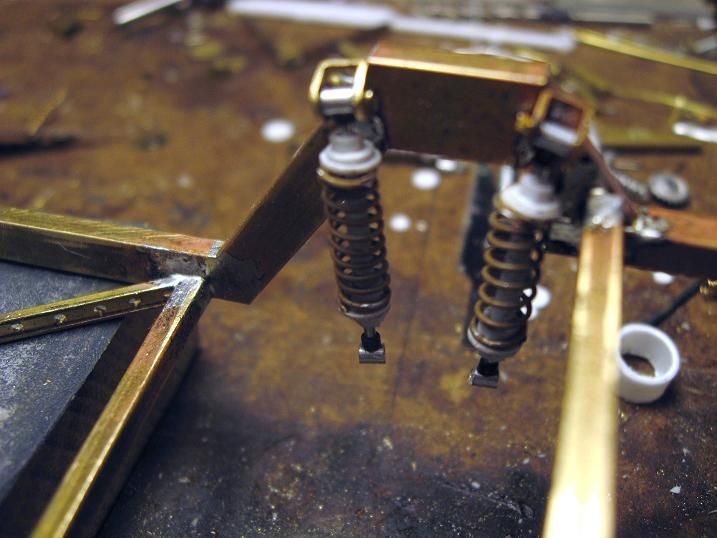
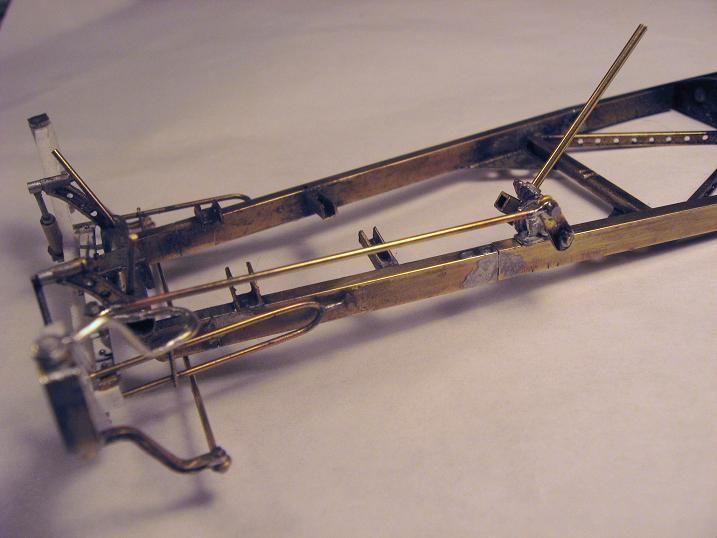
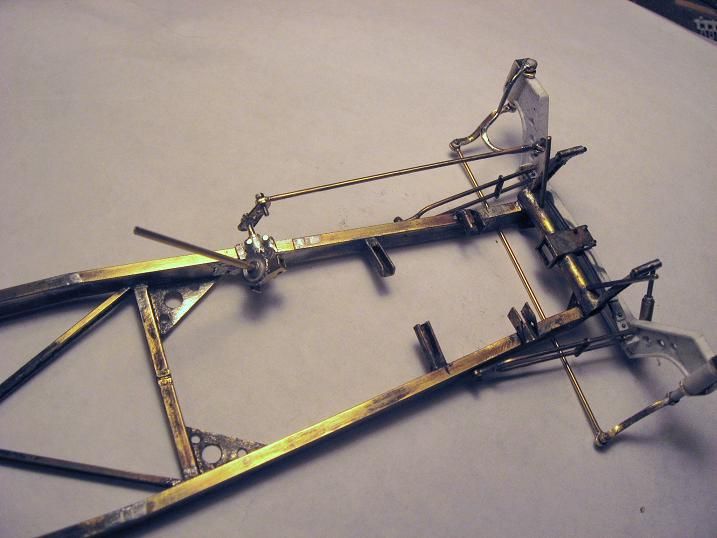
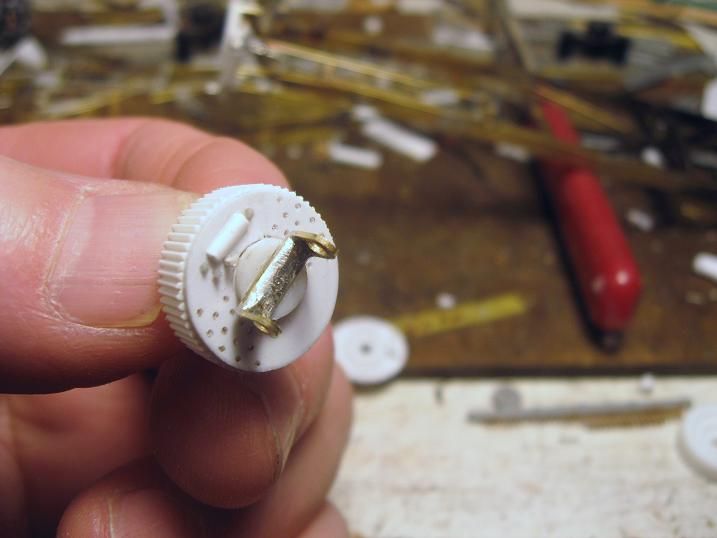
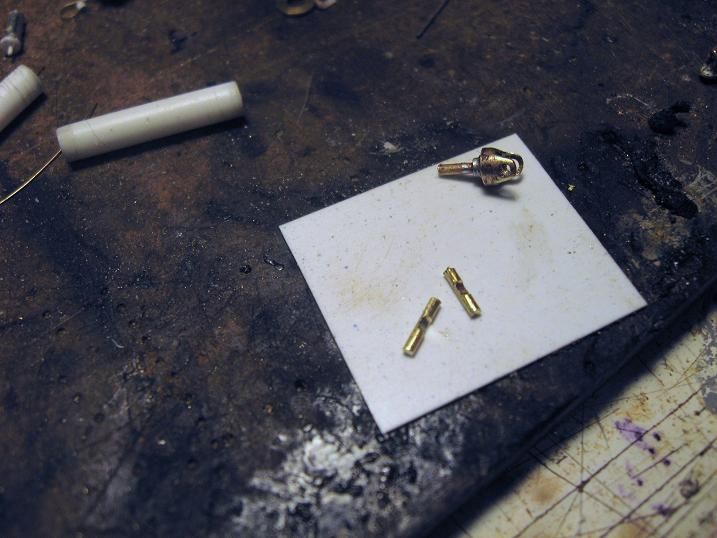
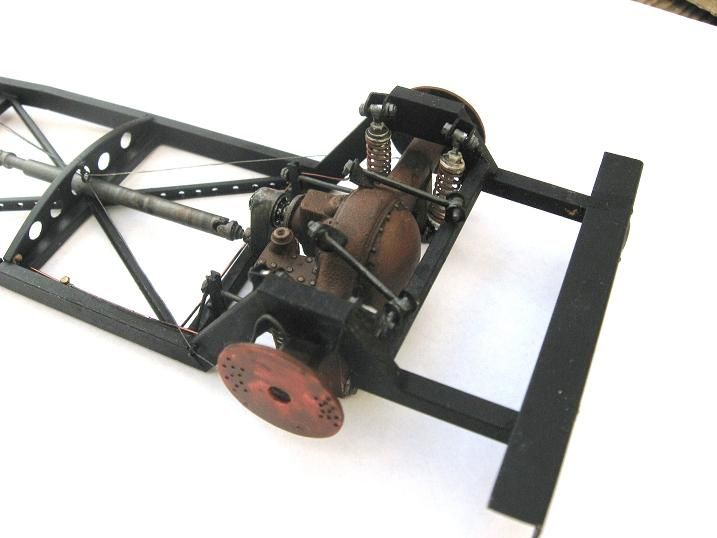
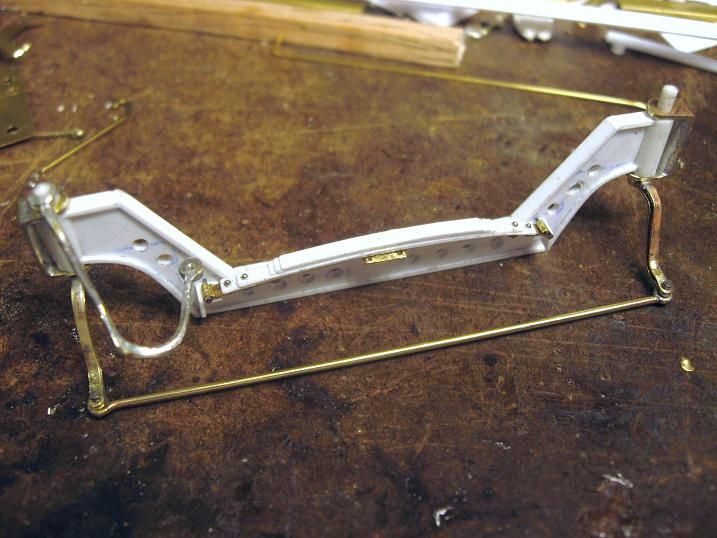
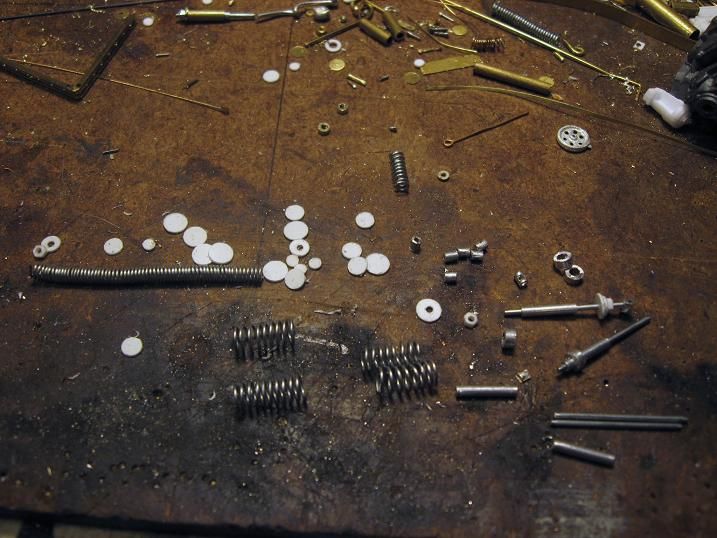
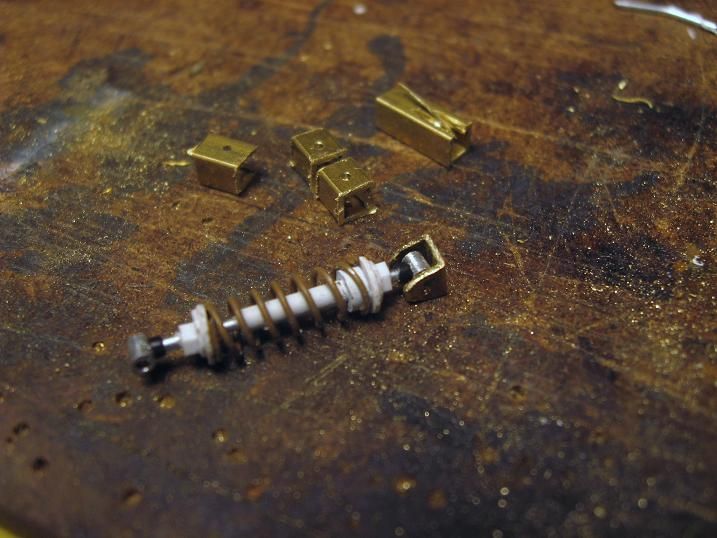
Some radius bars, and some shocks....


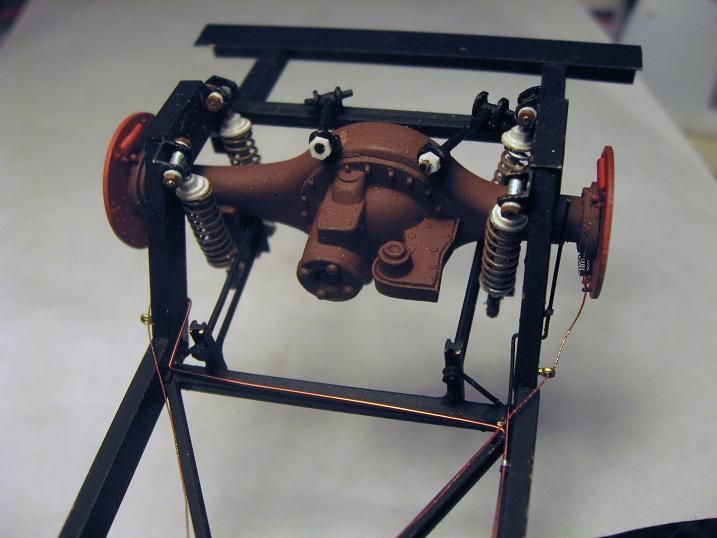
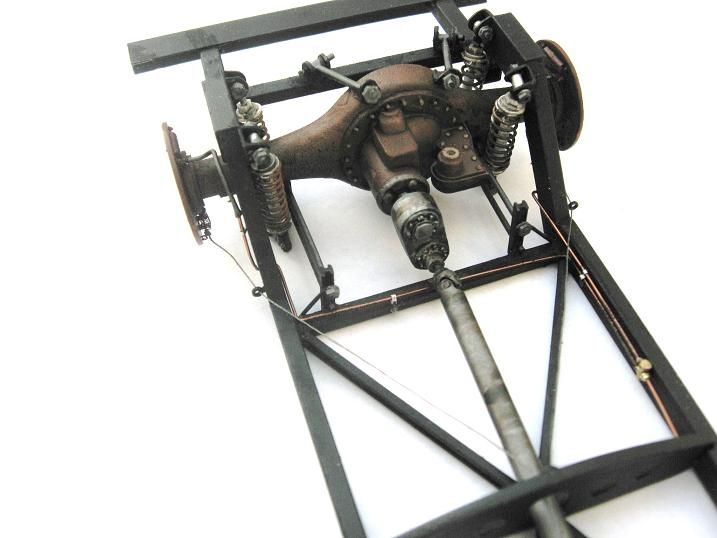
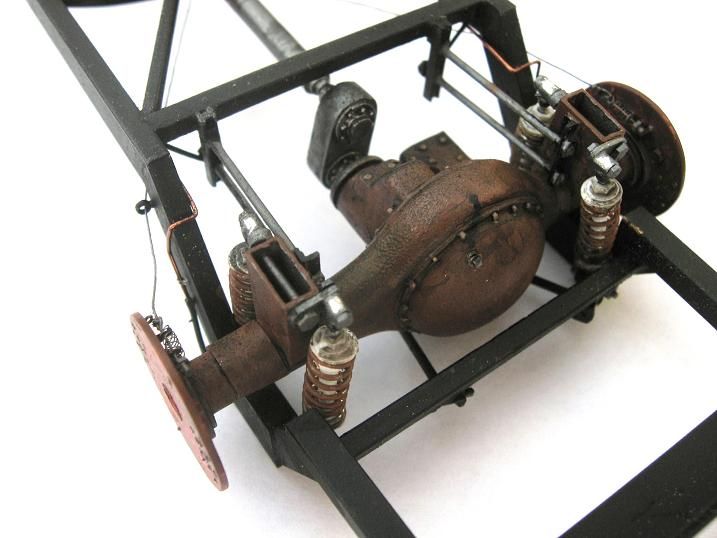
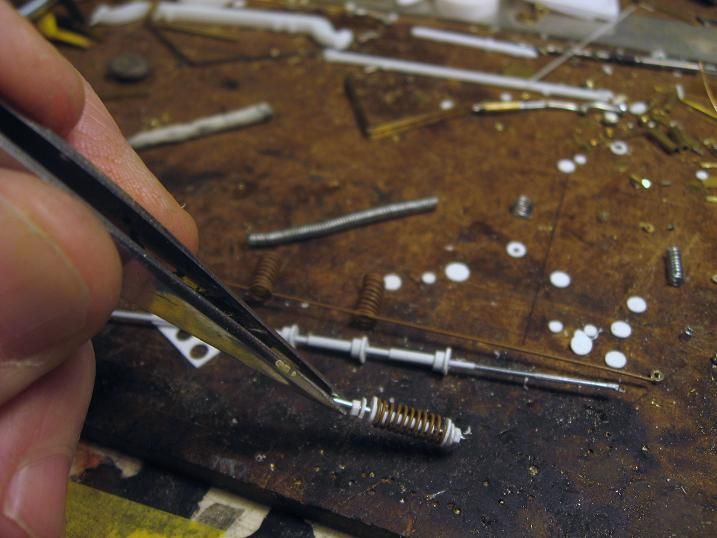
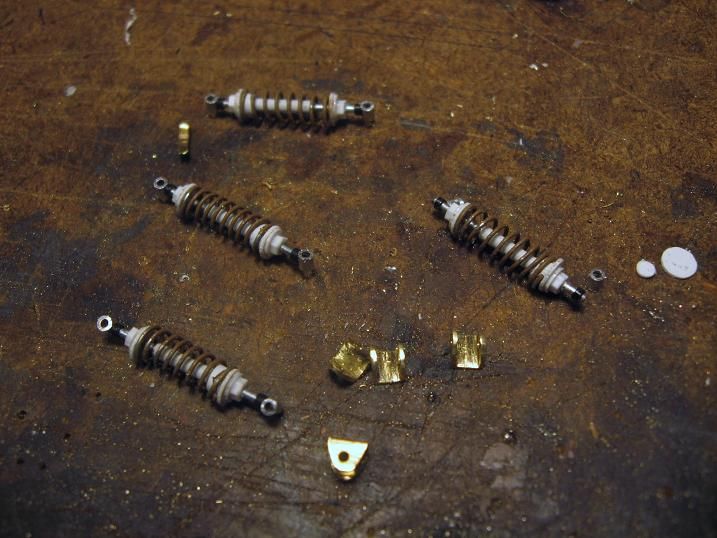
I did switch to a different shock, will use coilovers in the back end..
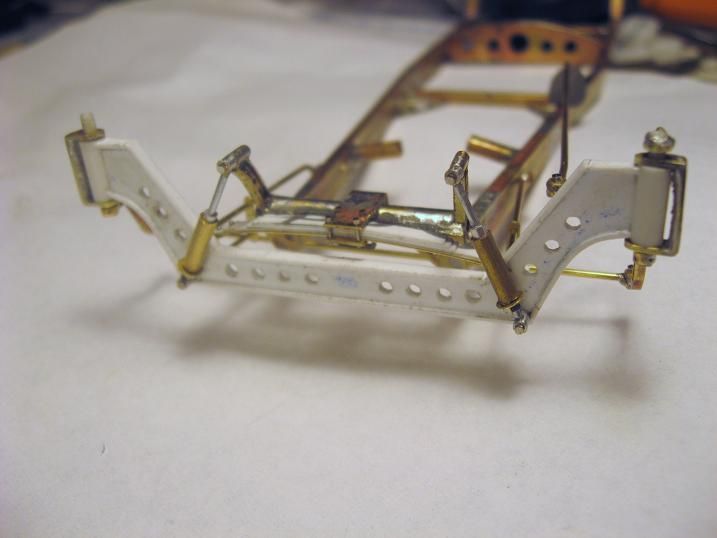
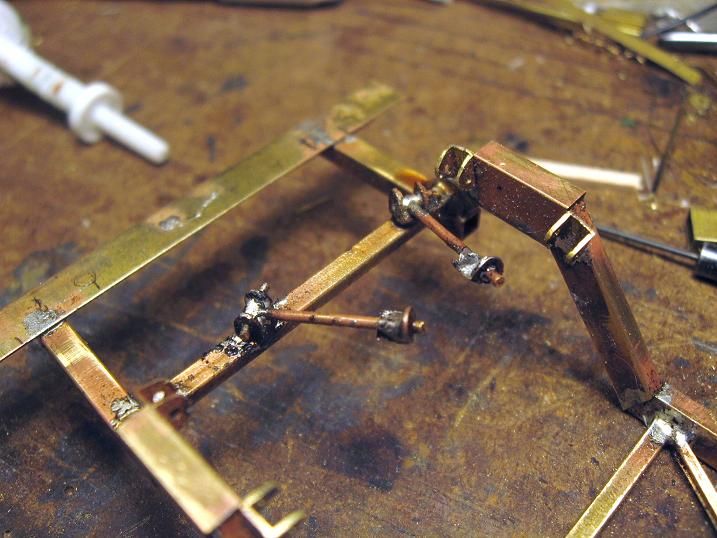
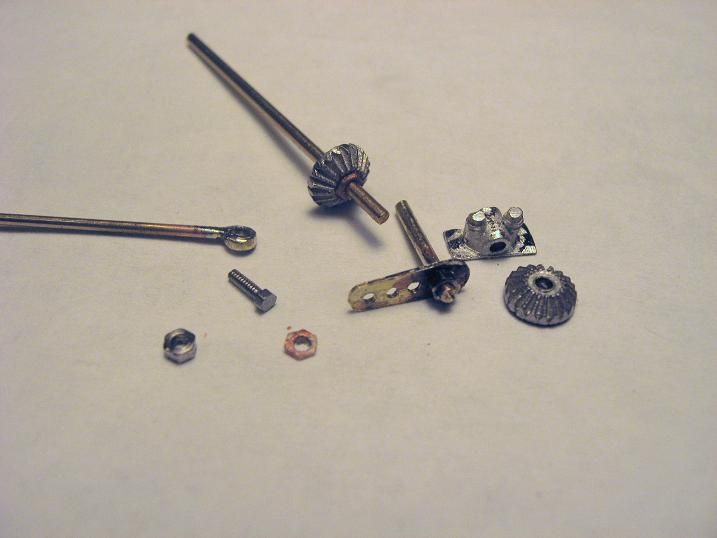
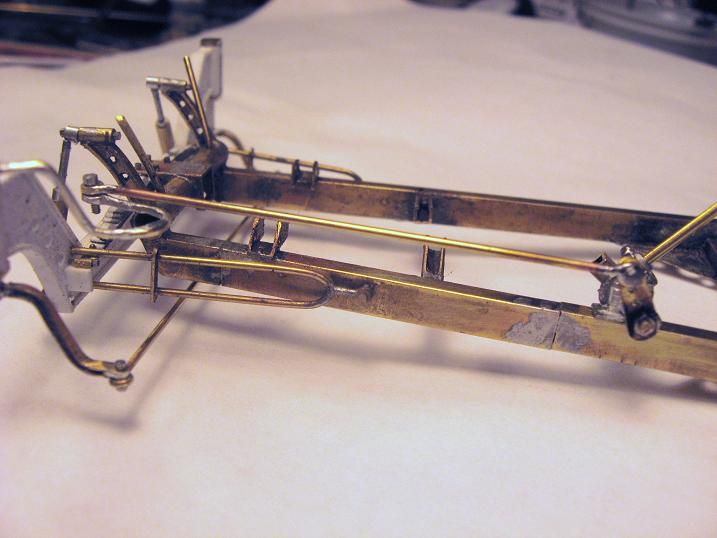
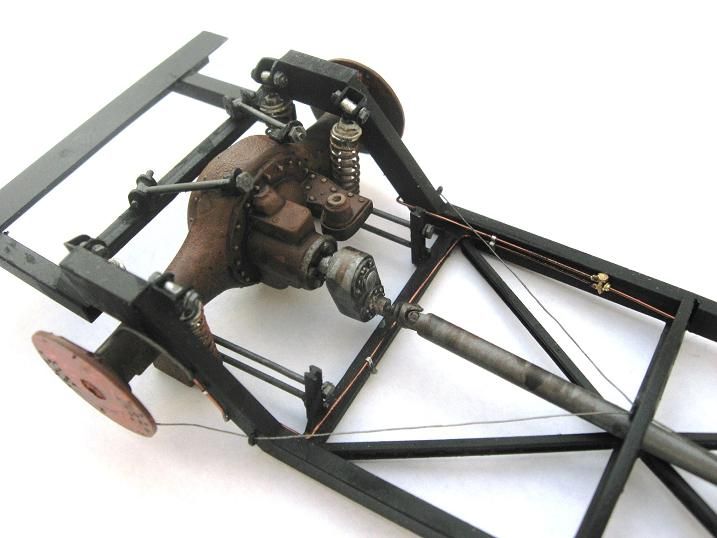
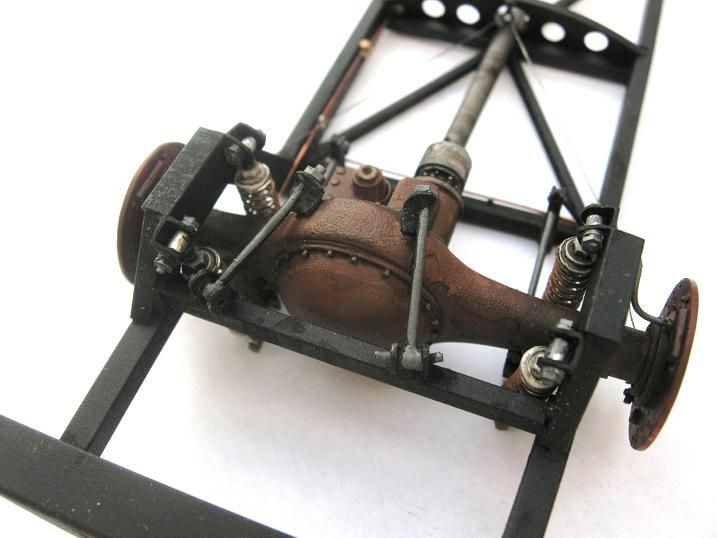
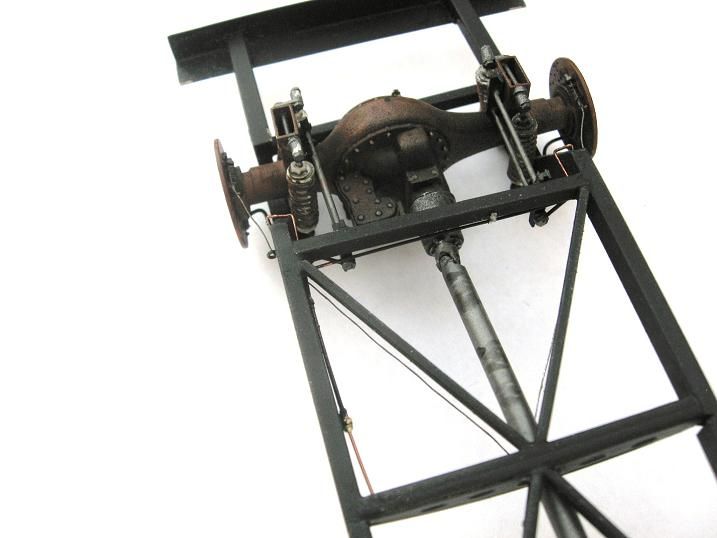
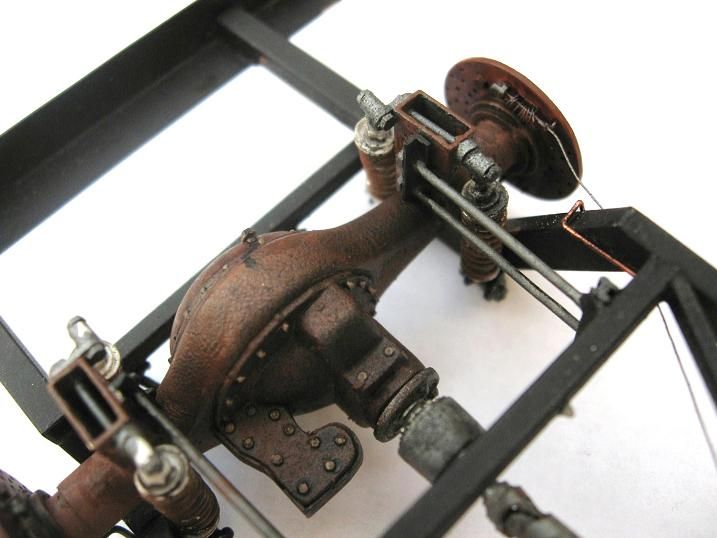
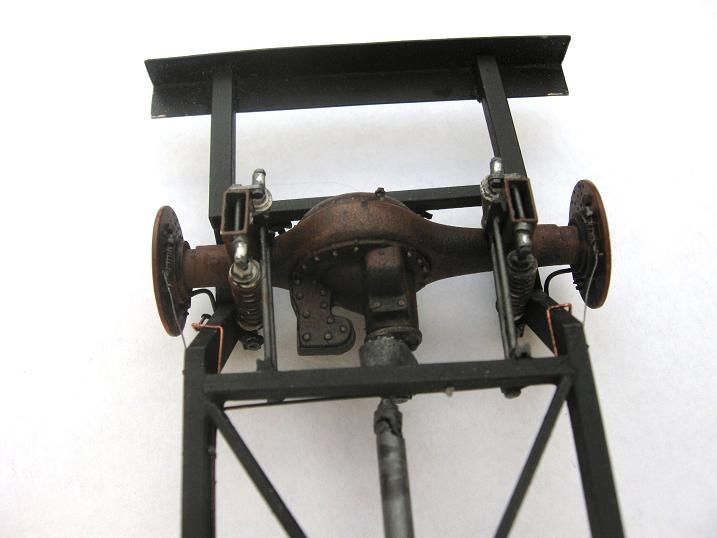
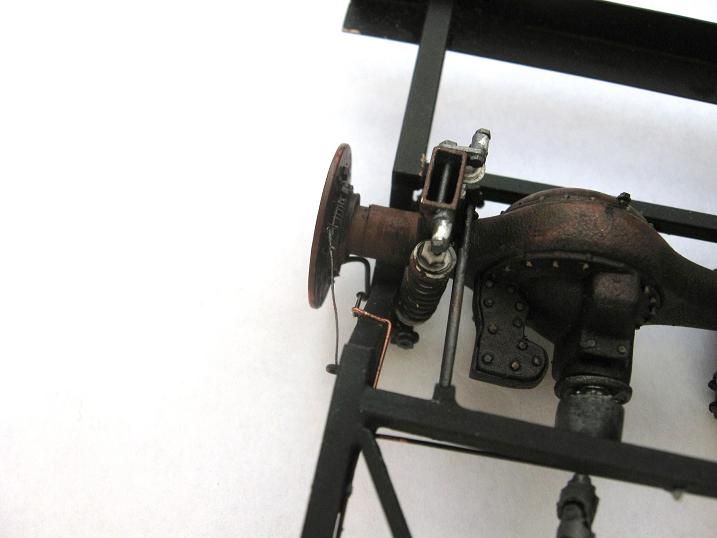
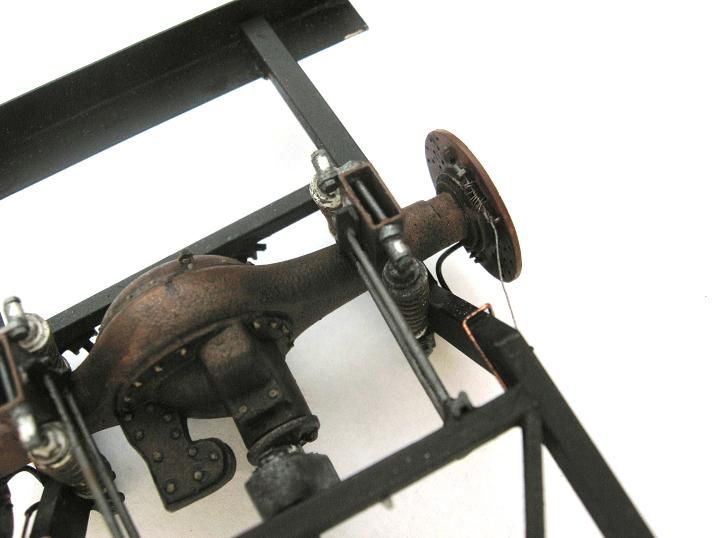
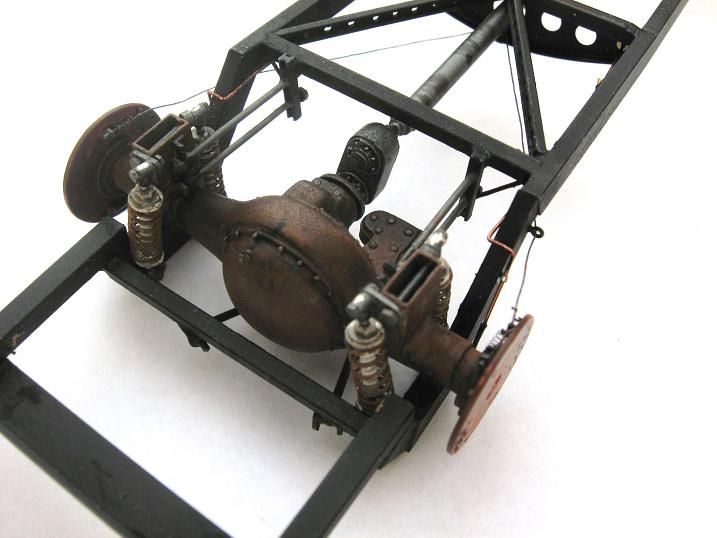
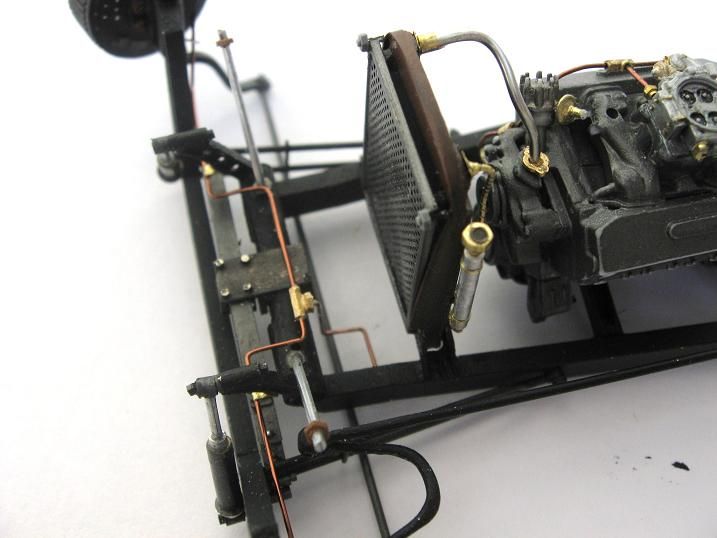
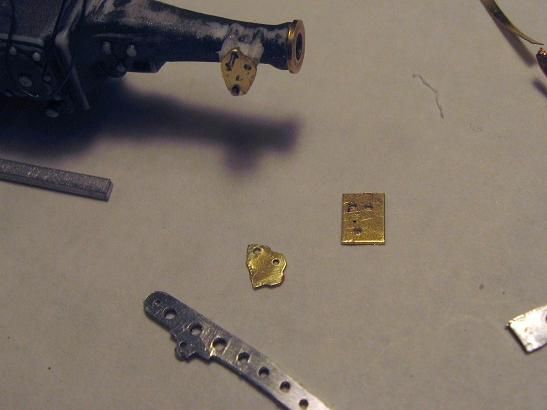
Coilovers and the mounting brackets for that rather large rear axel..
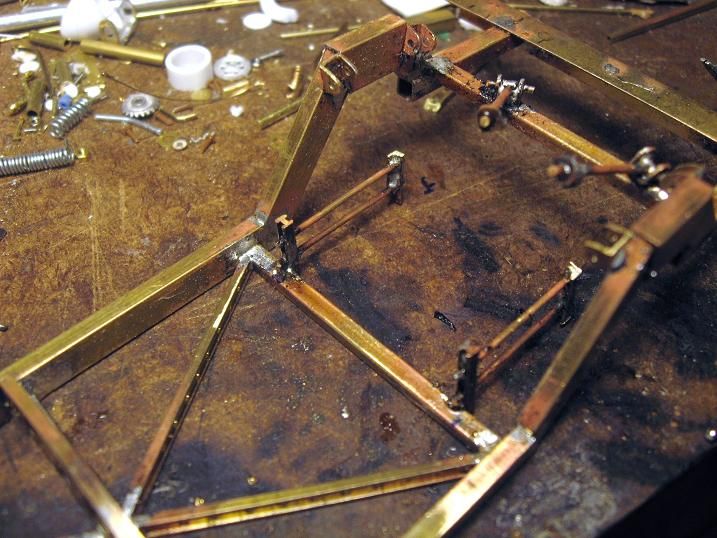
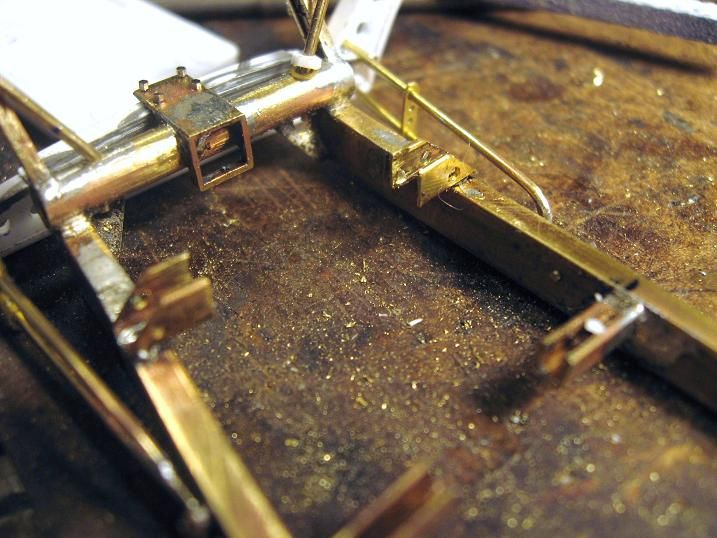
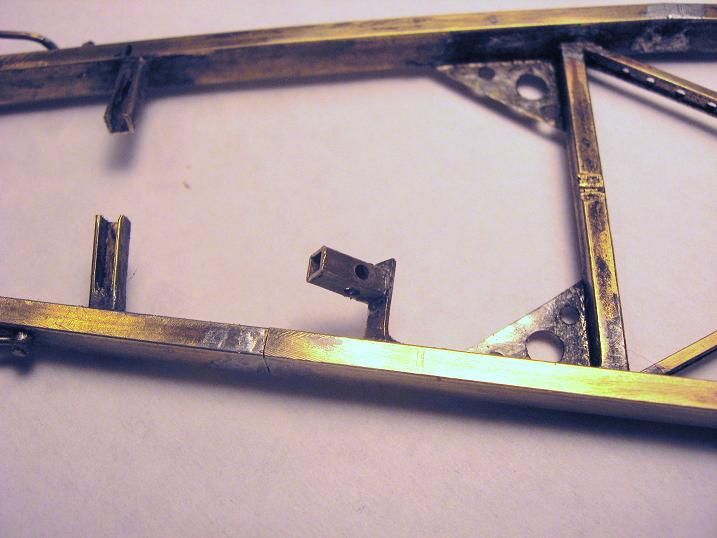
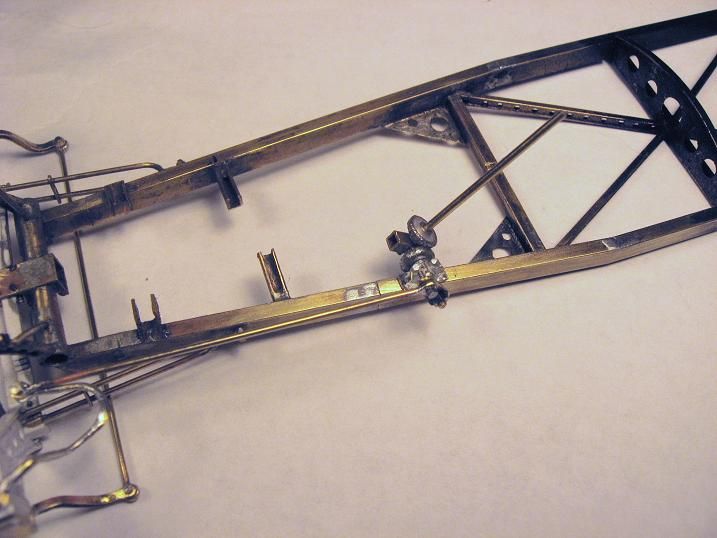
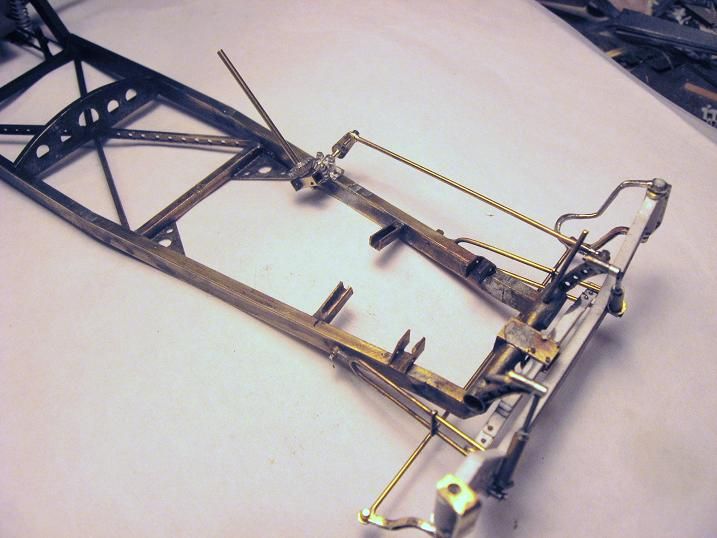
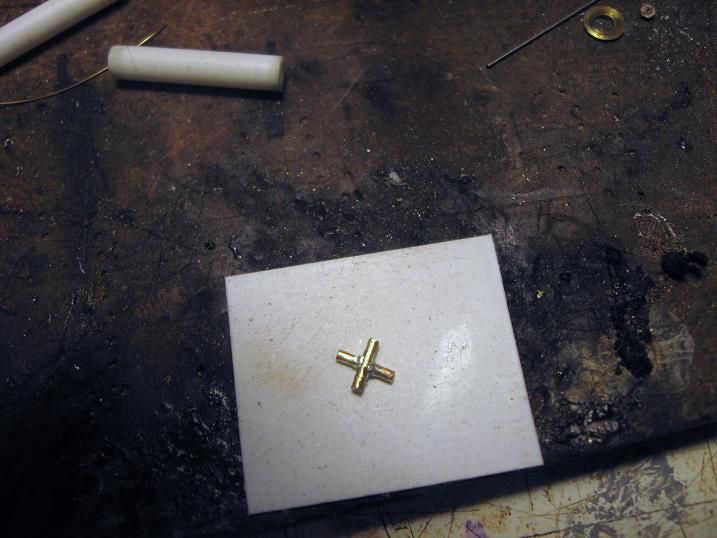
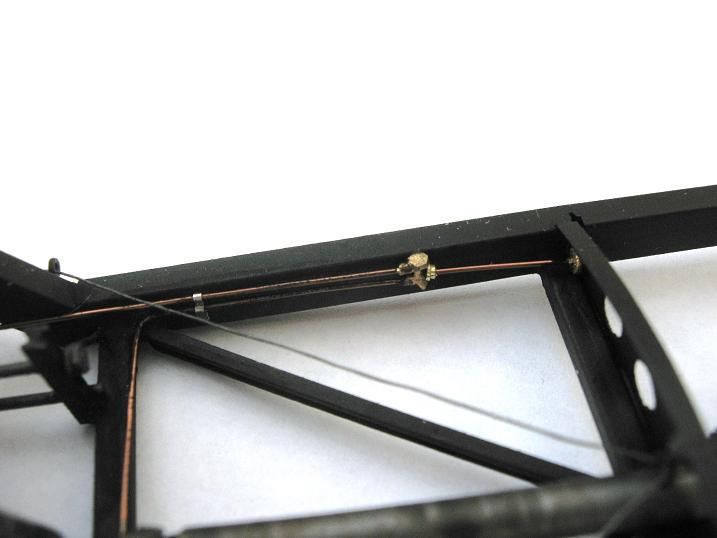
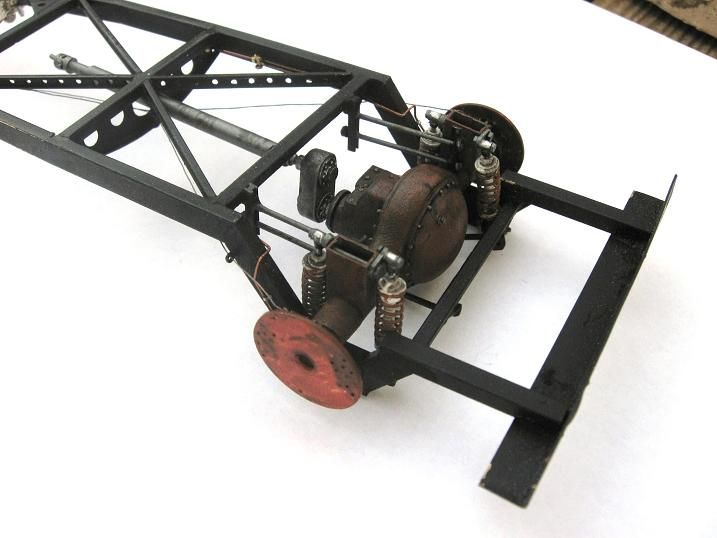
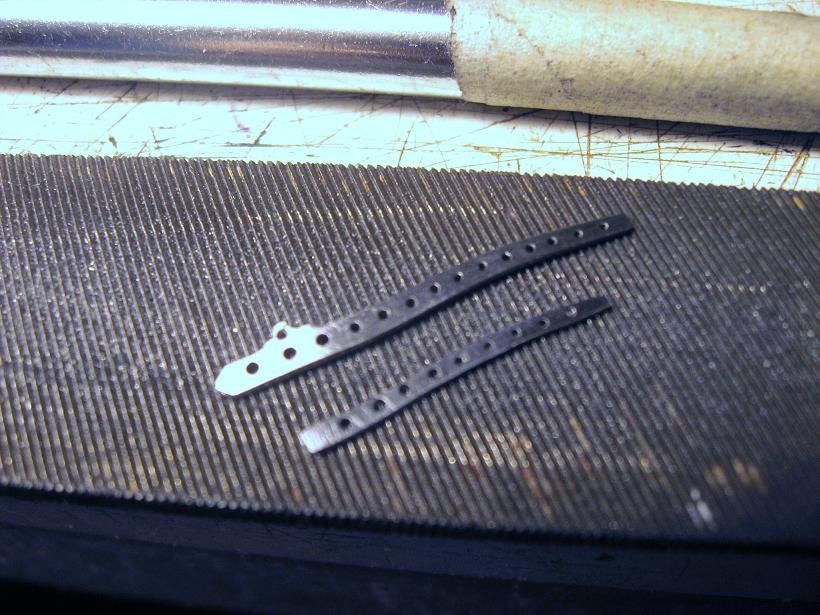
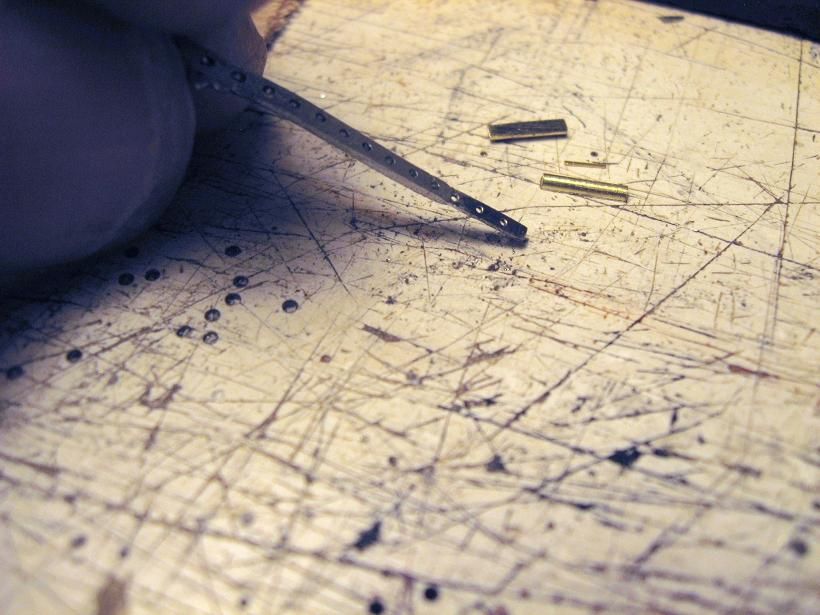
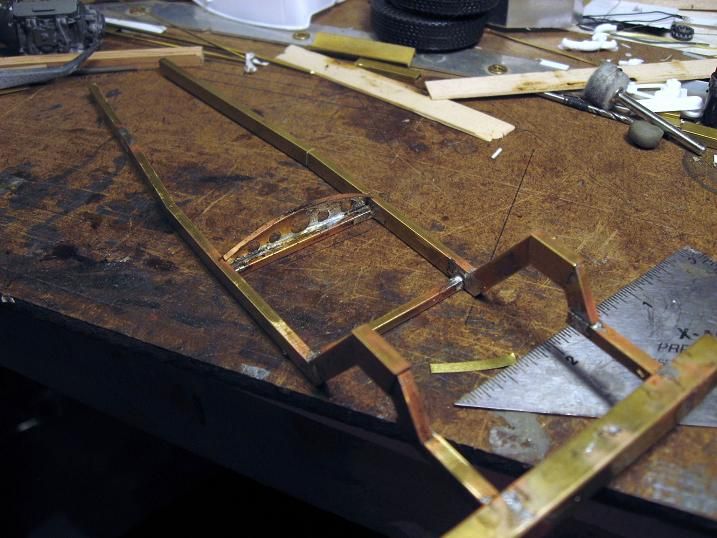
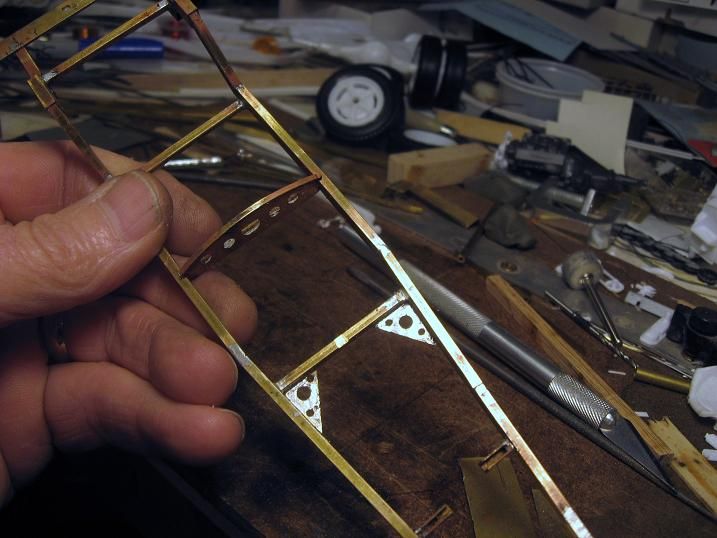
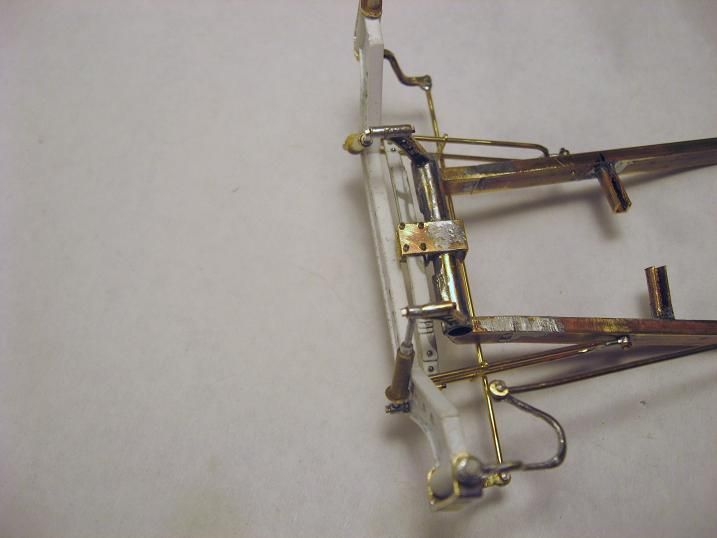
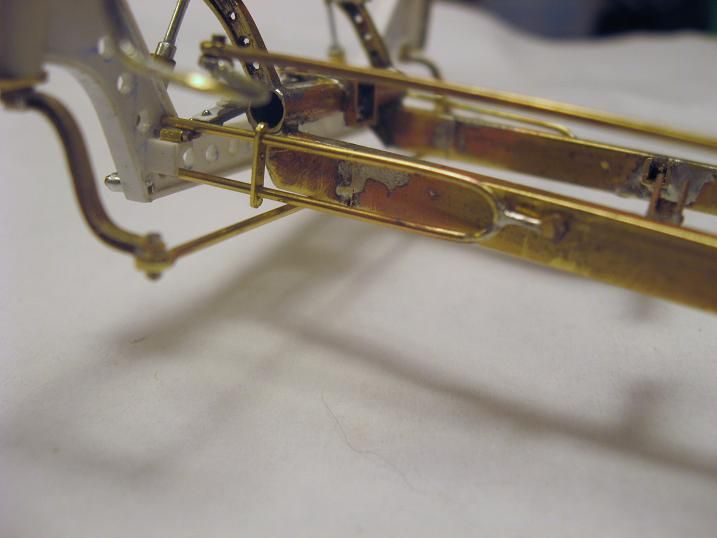
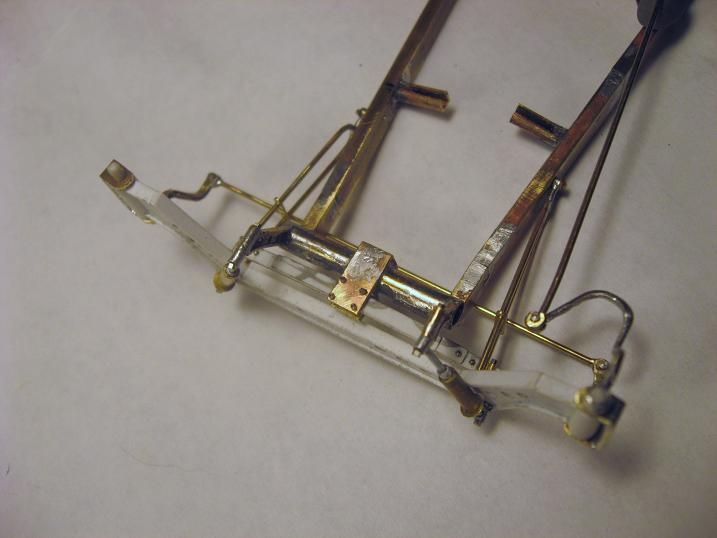
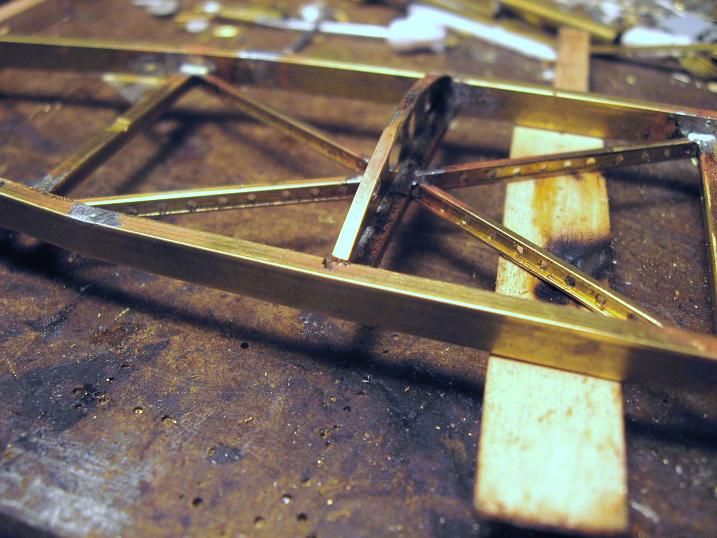
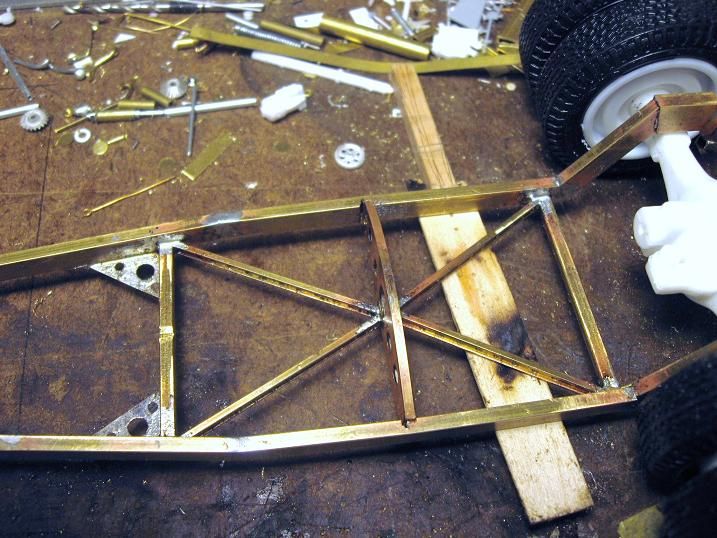
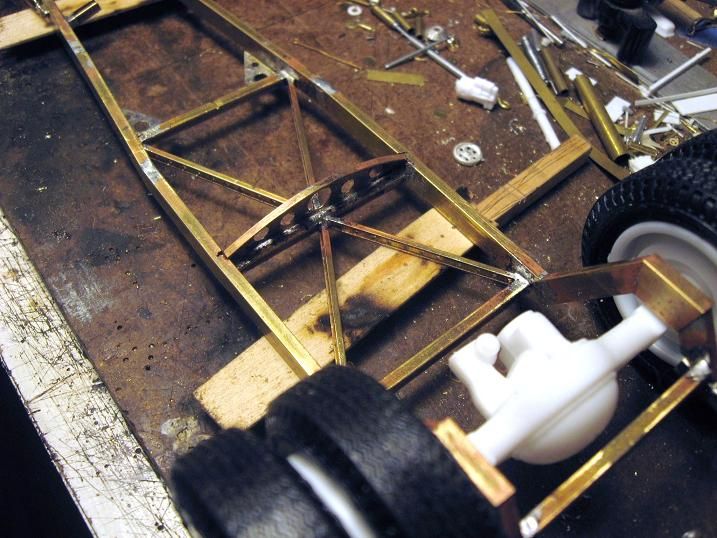
X bracing the frame....
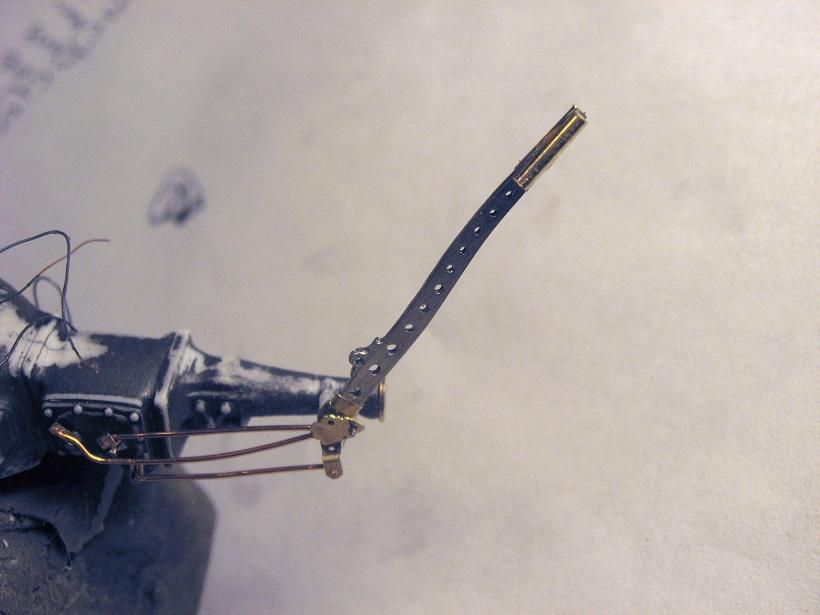
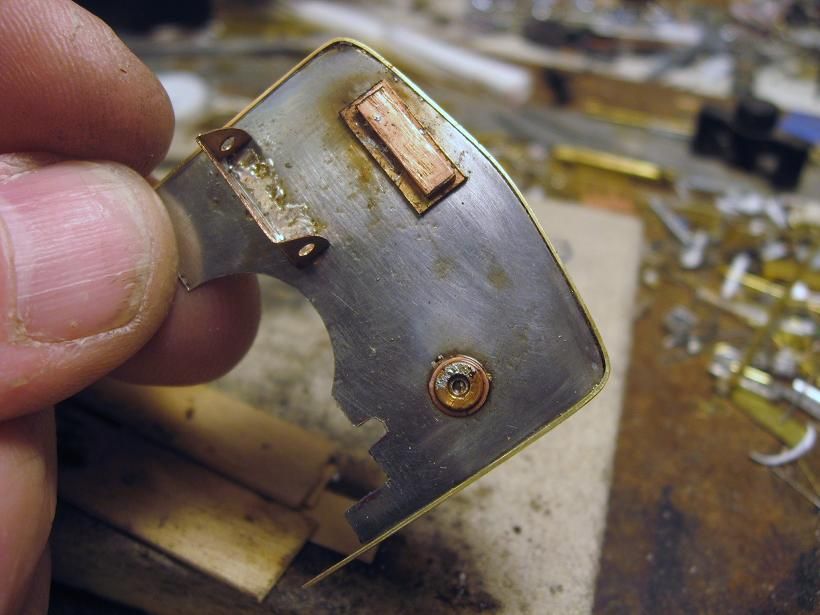
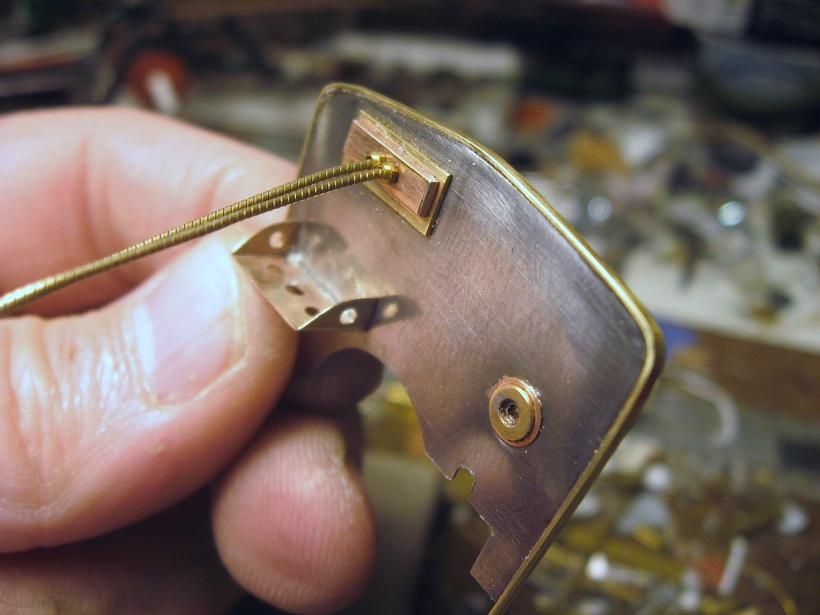
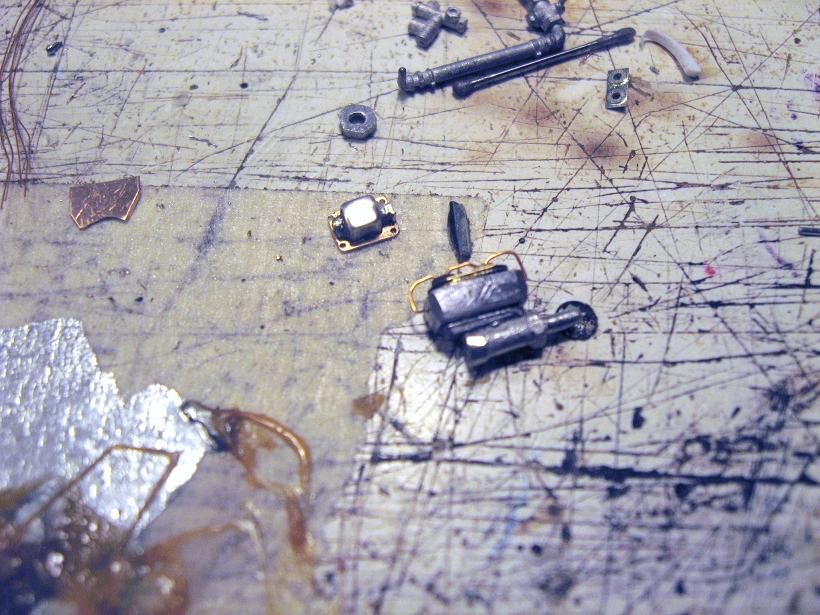
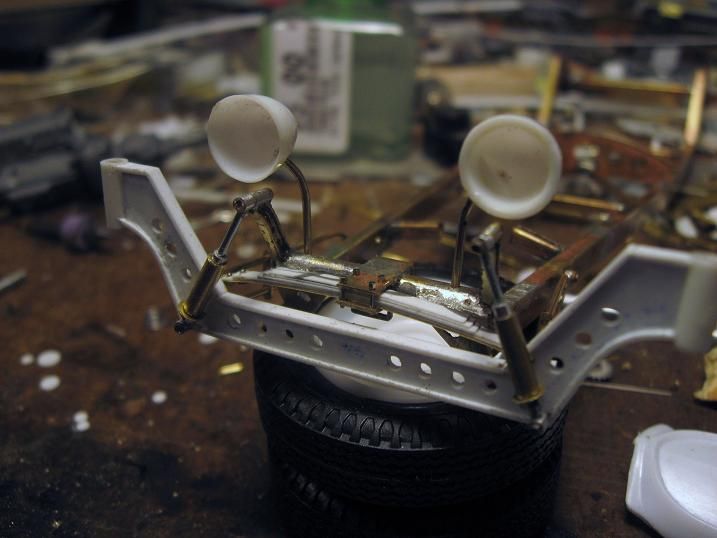
Mocking up some headlights..
Hi All, Ever since Jeff and Mike posted some car stuff I have looking for a cool project. Have not built a car since the 60's ( wow, I'm getting old!)
Found this on the net....
Won't try to duplicate the 1:1 but will use for inspiration!
A Revell '37 Ford pickup is donating the cab and I stole some big old wheels and tires from an Lindbeerg Dodge L700 Tlit Cab kit....
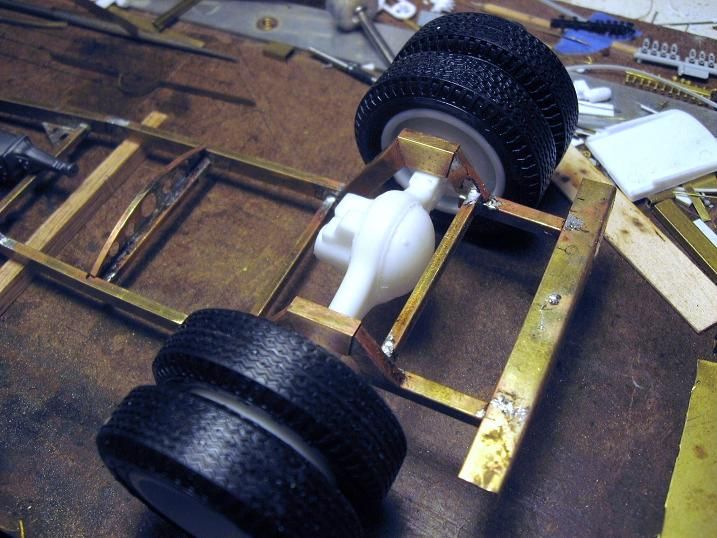
First of many mock ups.....
Never one to overplan a project, grabbed some brass stock and got to work...
Sticking with a Mopar theme for the drive train, test fittting a 440, I know the true Rat Rodders wouls shudder but it's my truck!!
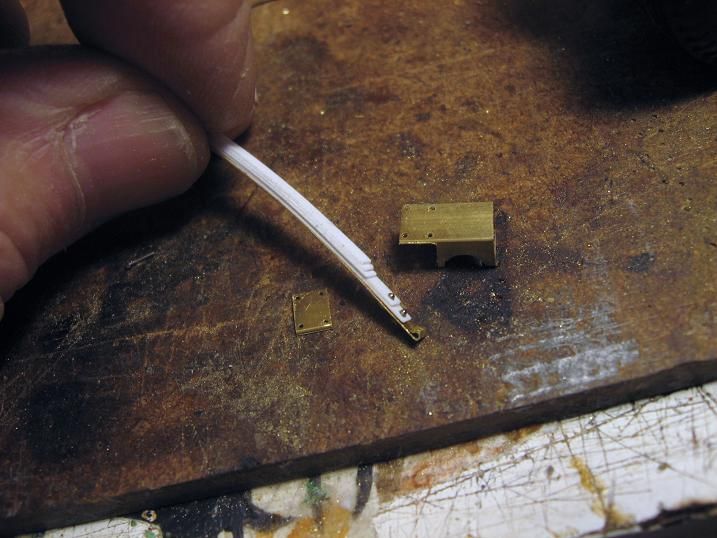
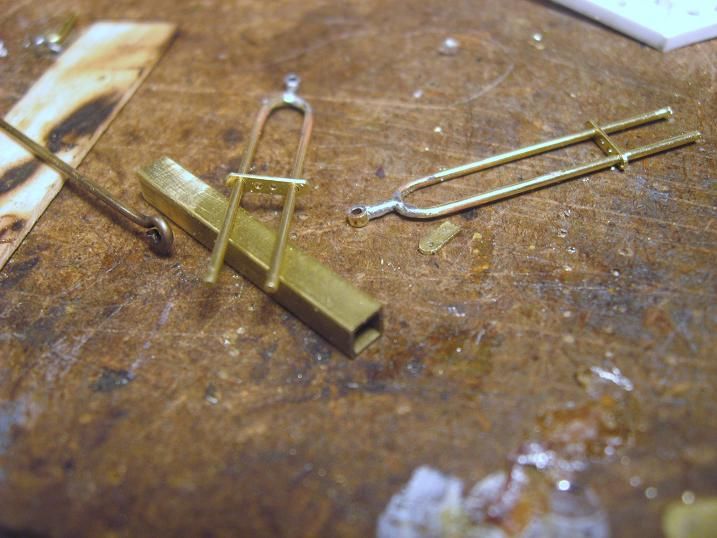
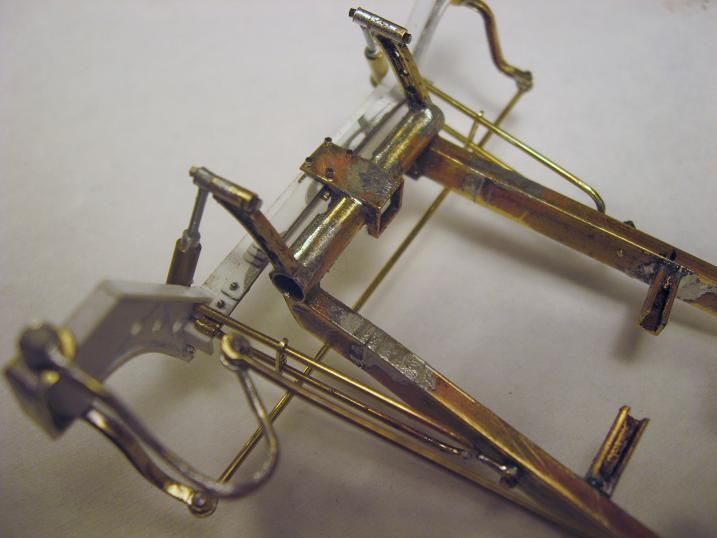
Going with a suicide front end....
This baby's going to need a fairly hefty front axkle with a wee bit of drop...
Here's a pic of my little bending table....
Like I said, nothing fancy. Use drill bits for the bending posts and that large square thingy upper right in the photo is my beater. It is a 6" machinist square. Slides nice and flat on the masonite.
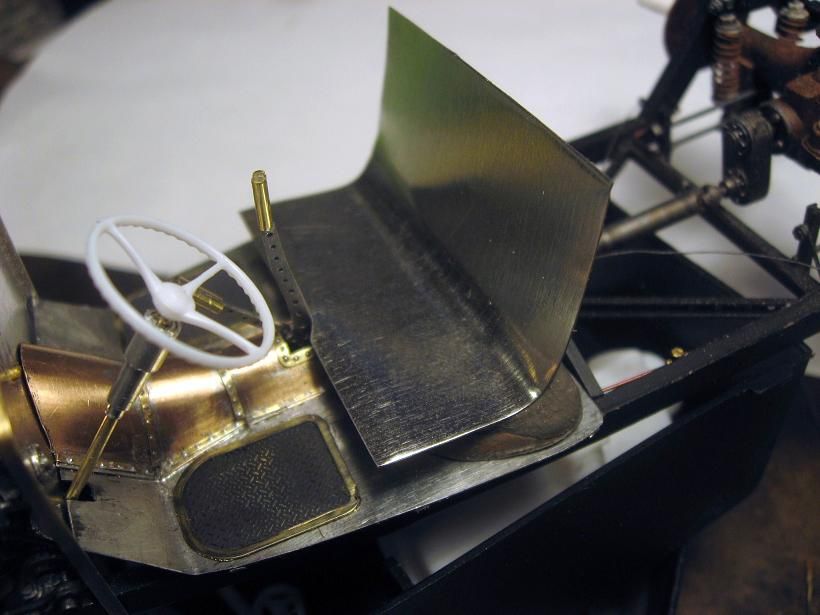
Trying to finish the frontend....
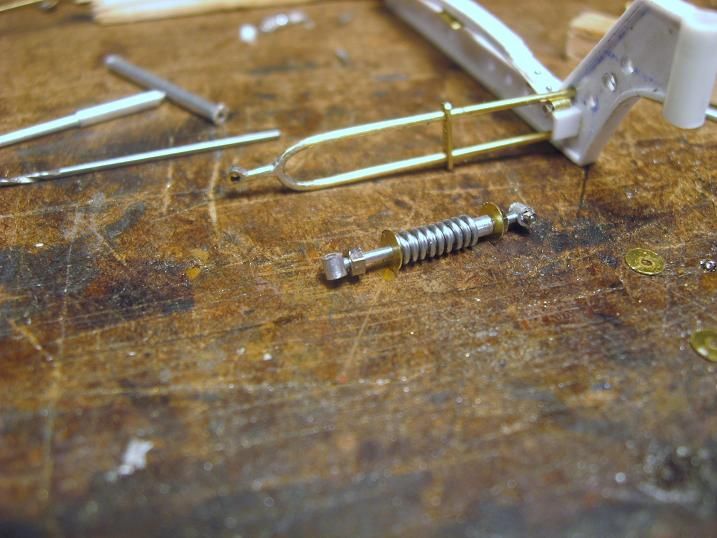
Shock mounts...
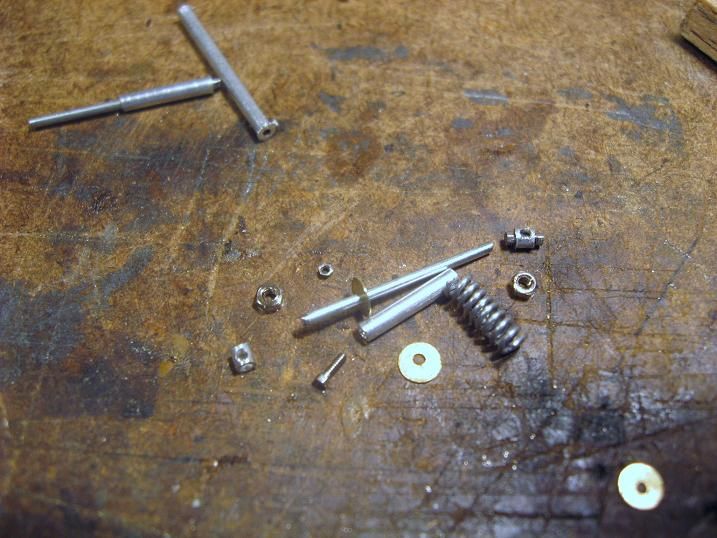
Some radius bars, and some shocks....
I did switch to a different shock, will use coilovers in the back end..
Coilovers and the mounting brackets for that rather large rear axel..
X bracing the frame....
Mocking up some headlights..