Old Dog
Well-known member
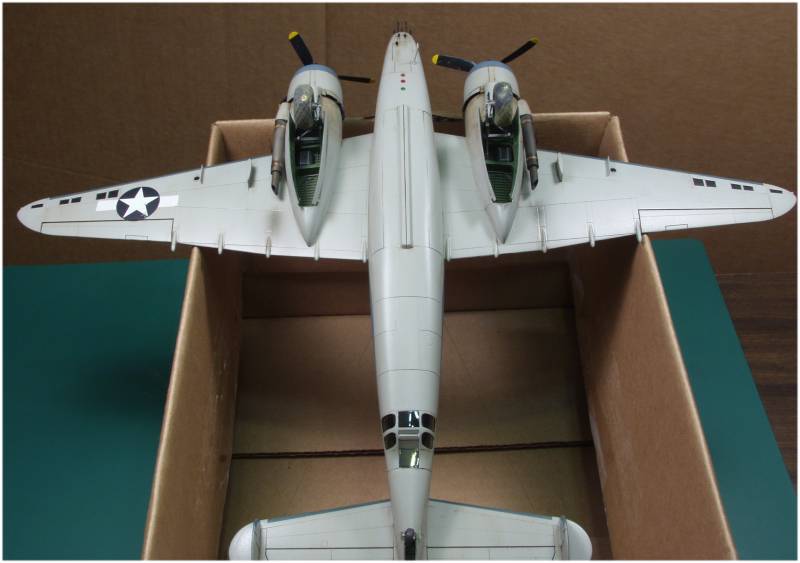
PV-1 Nightfighter-episode 5, paint
Holy time limit Batman, less than six weeks to go, looks like me and a lot of others need to get busy, last post in the campaign before this one was late May !
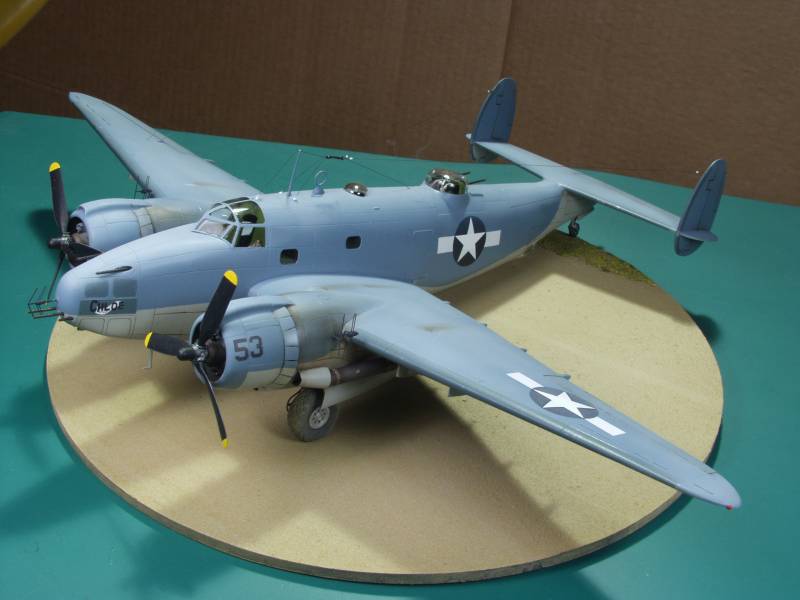
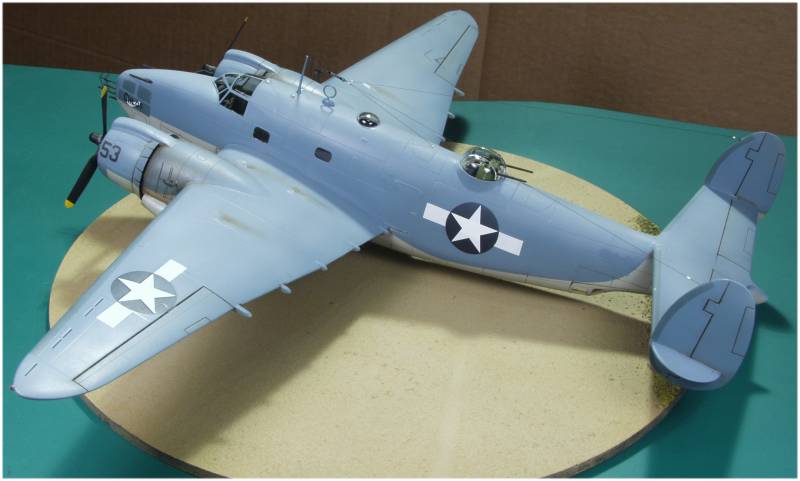
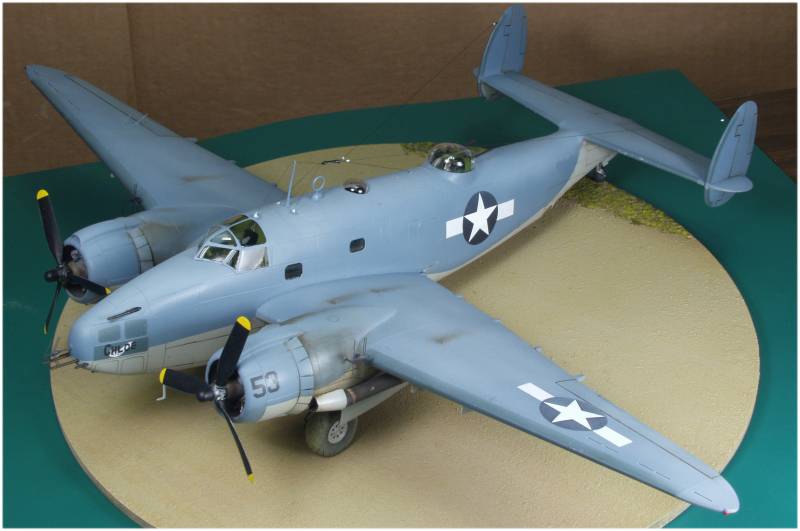
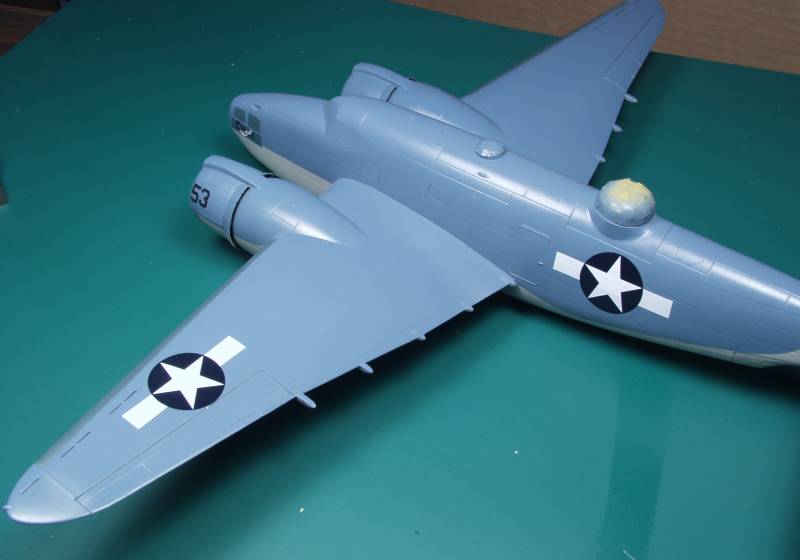
This will be a short update, I actually had most of the decals on a couple weeks after my last post but as almost always is the case there is one thing that stalls the build and in this case it was the decals. I had none of the Marine style decals but they seemed to be a cinch to make, a simple bar of white decal stock and an early war star in a ball. I had some Yellow Wings stars and since I had heard nothing but good things about them, decided to use them. All went well until they dried out and I noticed the blue top color darkened the area of the star that wasn't over the white bar. I was a bit disappointed in the Yellow Wings stars as I assumed they would be more opaque. Makes me wonder if the white would look more cream color if used on a plane with yellow wings. I didn't however feel inclined to do anything about it at this point as it isn't all that noticeable at a normal viewing distance and I hope once it gets a good amount of weathering it won't be that noticeable, to others anyway.
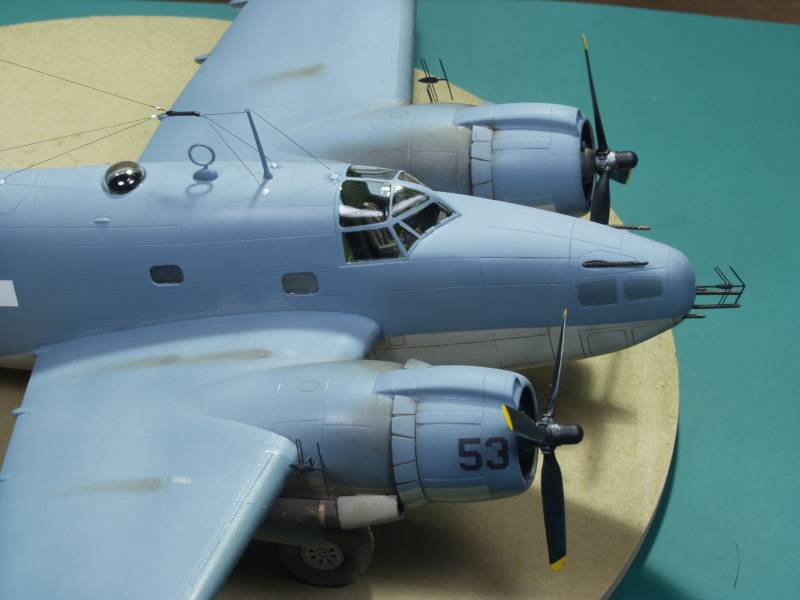
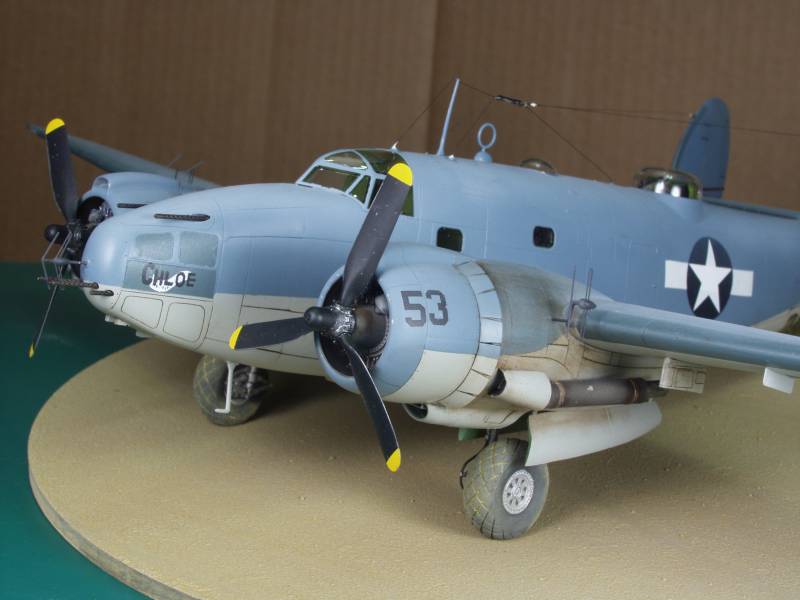
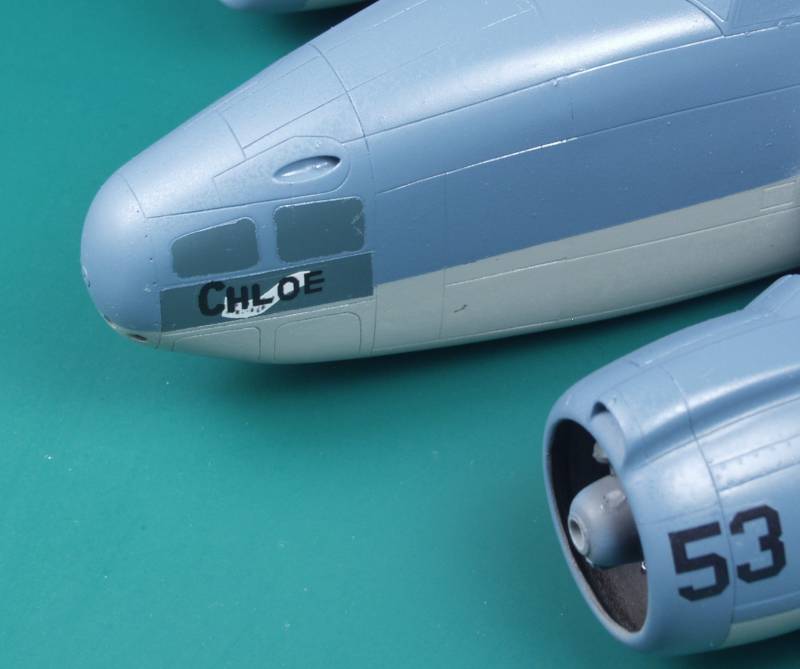
The other decal issue was making the nose art. I only had an artists recondition that was included with the profile I was using. I suppose if I had an ounce of talent I could have whipped something up. Instead I scanned the profile at high resolution. This resulted in a highly pixelated scan that I spent hours in Paint Shop Pro cleaning up and separating the white part from the name, doing a lot of this one pixel at a time. I eventually ended up with something I could use once scaled and printed them out. It doesn't quite match the artwork on the plane but the one in the profile didn't either and overall I was pleased with how it came out.
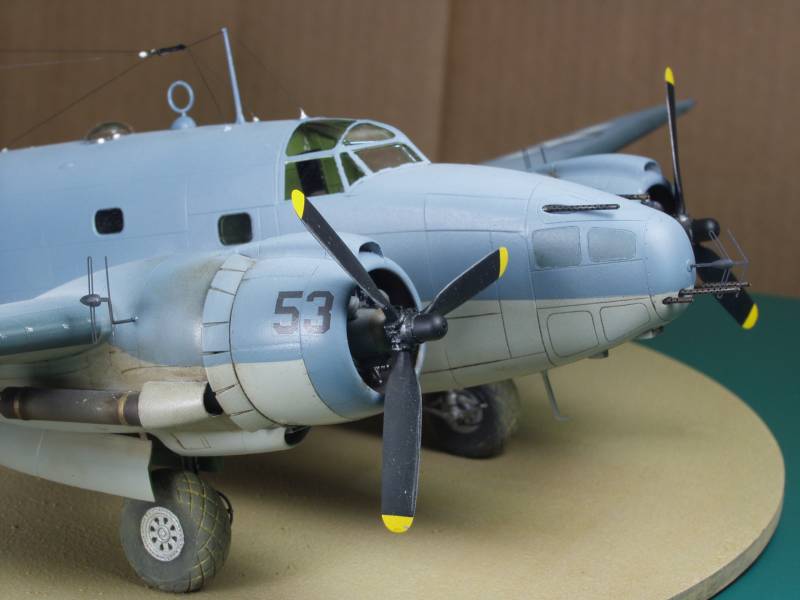
Not a lot of markings on the aircraft, photos and the profile show something on one of the tail fins, too small to read on either, most likely a serial number. I did not include it.
Nose art, works for me, not perfect but close, you can compare it with the photo near the beginning of this thread.
Hard to see in the photo but it's more noticeable in person where the color bled through the white in the star.

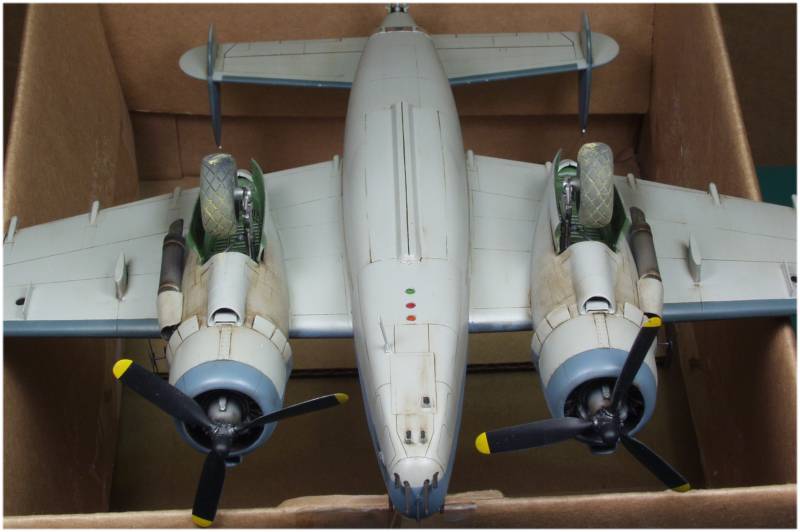
Anyway next up is getting it dirty, the aircraft I'm modeling apparently ad a serious engine problem as there are oil stains everywhere, not to mention all the effects of the location they operated in so stay tuned.
Holy time limit Batman, less than six weeks to go, looks like me and a lot of others need to get busy, last post in the campaign before this one was late May !
This will be a short update, I actually had most of the decals on a couple weeks after my last post but as almost always is the case there is one thing that stalls the build and in this case it was the decals. I had none of the Marine style decals but they seemed to be a cinch to make, a simple bar of white decal stock and an early war star in a ball. I had some Yellow Wings stars and since I had heard nothing but good things about them, decided to use them. All went well until they dried out and I noticed the blue top color darkened the area of the star that wasn't over the white bar. I was a bit disappointed in the Yellow Wings stars as I assumed they would be more opaque. Makes me wonder if the white would look more cream color if used on a plane with yellow wings. I didn't however feel inclined to do anything about it at this point as it isn't all that noticeable at a normal viewing distance and I hope once it gets a good amount of weathering it won't be that noticeable, to others anyway.
The other decal issue was making the nose art. I only had an artists recondition that was included with the profile I was using. I suppose if I had an ounce of talent I could have whipped something up. Instead I scanned the profile at high resolution. This resulted in a highly pixelated scan that I spent hours in Paint Shop Pro cleaning up and separating the white part from the name, doing a lot of this one pixel at a time. I eventually ended up with something I could use once scaled and printed them out. It doesn't quite match the artwork on the plane but the one in the profile didn't either and overall I was pleased with how it came out.
Not a lot of markings on the aircraft, photos and the profile show something on one of the tail fins, too small to read on either, most likely a serial number. I did not include it.
Nose art, works for me, not perfect but close, you can compare it with the photo near the beginning of this thread.
Hard to see in the photo but it's more noticeable in person where the color bled through the white in the star.
Anyway next up is getting it dirty, the aircraft I'm modeling apparently ad a serious engine problem as there are oil stains everywhere, not to mention all the effects of the location they operated in so stay tuned.
")