• Modelers Alliance has updated the forum software on our website. We have migrated all post, content and user accounts but we could not migrate the passwords.
    This requires that you manually reset your password.
    Please click here, http://modelersalliance.org/forums/login to go to logon page and use the "Forgot your Password" option.

Photography Question...

Hippy Ed

Active member
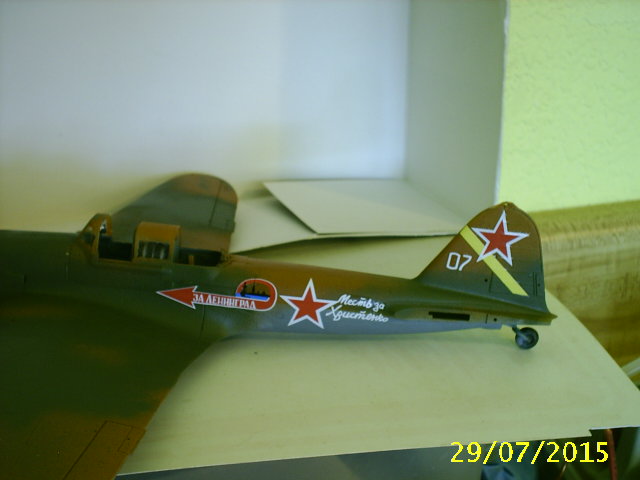
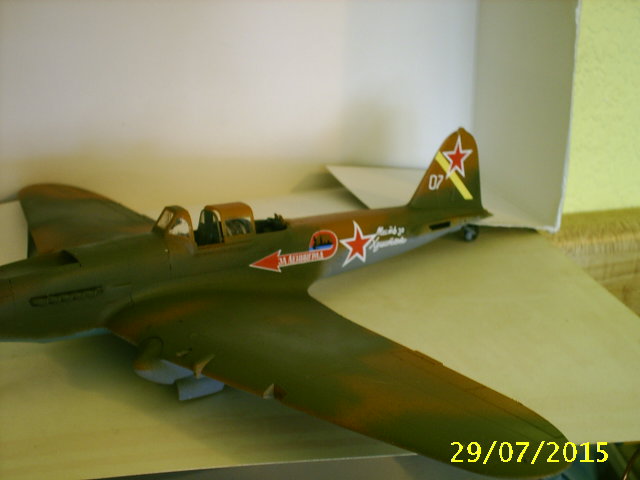
Ok, it's been brought to my attention that my photos aren't quite in focus. I do not understand, nor do I see what the problem is. I know, I gotta work on my lighting too but hey, I'm trying!
Here's my set up (took with my cell phone)

he033f41_2015-08-01.jpg


h12ae342_2015-08-01.jpg


h4e46c5e_2015-08-01.jpg


Here's the latest pics I took at he same time

hf503be1_2015-08-01.JPG


h391f588_2015-08-01.JPG


and a couple prior to this.


h89fd0b6_2015-08-01.JPG


h52b414f_2015-08-01.jpg
 
Ed...

Change the switch near the lens to the flower...on my camera, that's the macro and it helps focus in close up...
 
Ditto the macro switch. Just need to watch your focus also, you can use a simple viewer/editor like http://www.irfanview.com/ to crop and sharpen the image. Just play around with it and see what you get.
 
Ditto the macro switch. Just need to watch your focus also, you can use a simple viewer/editor like http://www.irfanview.com/ to crop and sharpen the image. Just play around with it and see what you get.

Now there ya go Bob, WHat do you mean, Watch your focus?
 
You should have a focal point in the field of view on the display screen, make sure it's focusing on the subject and not something in the background.
 
Whether you use macro or not, you need to give the camera time to focus on the subject before clicking the button.

I choose to stand back a bit further and crop the picture afterward .

I find that this gives the picture a better depth of field.

Cheers, Christian B)
 
You should have a focal point in the field of view on the display screen, make sure it's focusing on the subject and not something in the background.

Nope. Nothing like that on this camera. I do know what you're talkin' about tho.

Thanks Christian, I may try that too. :drinks :drinks
 
If the camera does NOT have Image Stabilization a trick to avoid camera movement at the instant the shutter release is pressed is to use the camera self timer feature so you don't have to touch the camera to take the image.

Cheers from Peter
 
If the camera does NOT have Image Stabilization a trick to avoid camera movement at the instant the shutter release is pressed is to use the camera self timer feature so you don't have to touch the camera to take the image.

Cheers from Peter

Ok, I think ya lost me there... This is just a cheapy & doesn't have any fancy features liked that
 
You don't have an LCD screen on the back of the camera that has an aiming thingy?


I so love technical jargon :rotf

For your info, I never use a tripod and seldom use a flash . A beauty of digital photo's is that the camera doesmost of the light sensitivity adjustment on it's own.

On the other hand I move my desk top light all over the place to get descent lighting but it's only one of those circular neon light ( cool white ) Nothing special .

Cheers, Christian B)

I use the tripod since I have a bad case of the shakes... I need to move another light over to my bench...
 
Using the macro setting (the flower) will help.

There was also a good suggestion of moving the camera back a bit and cropping afterwards. This will improve your depth of field, and the trade off with losing a few pixels is worth it.

While we are talking about pixels, make sure your camera is set to largest file size and best quality. This will help with the sharpness, as it will reduce the jpeg artefacts around the edges of objects.

Since you are using a tripod you can afford to use longer exposures, so you should make sure the camera is using the smallest aperture (probably f8). This will be able to be set in manual mode, or possibly aperture priority if you have that setting.

Avoid using flash, built in flash will do you no favours at all. One of the simplest lighting solutions is simply to use the light from a window, orientating the subject so that it falls on the front (ie nearest the camera) not on the back. Some of your photos suffer from lighting that is falling on the side away from the camera, meaning you are looking at the shadow side. Have the main source of light coming from near the same axis as the camera, and from above. Don't fall into the trap of using lots of lamps from different angles, this rarely produces anything very good and you just keep chasing multiple shadows all over the place. Two lights for the subject, and one for the background should be the absolute max. Using available light (ie a window) and a reflector (a piece of white card just out of the frame works well) is usually more than enough, giving a good contrast between the main light source and the fill light, which should be about 1 stop.

I'm pretty confident that model of camera will have a timer, nearly all cameras do, even budget ones, so use this and it will reduce camera shake.

You should explore your menu settings, you should have the ability to display some kind of 'aiming mark', it may just be turned off. It will probably be a rectangle, or brackets that appear in the middle of the screen.

Also, while looking through the menu, look for metering settings, you should select centre weighted if you have that option.

Hope this helps.
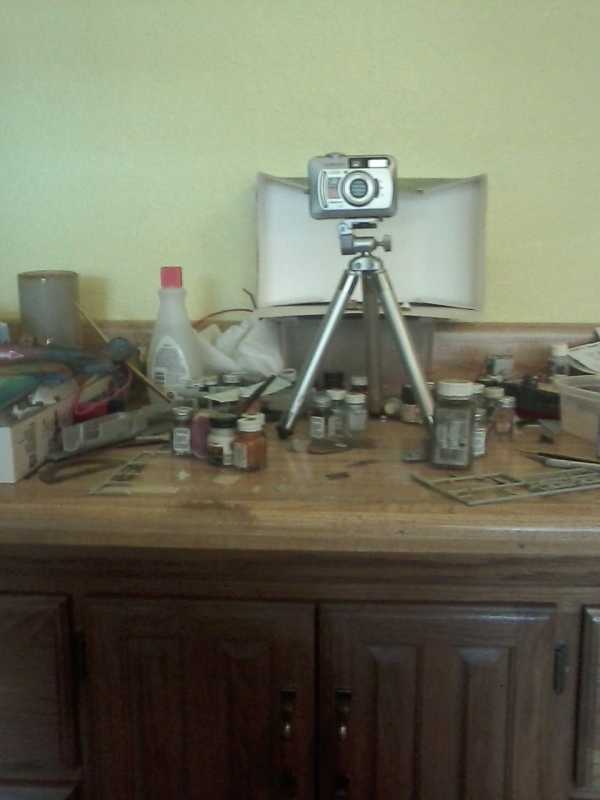
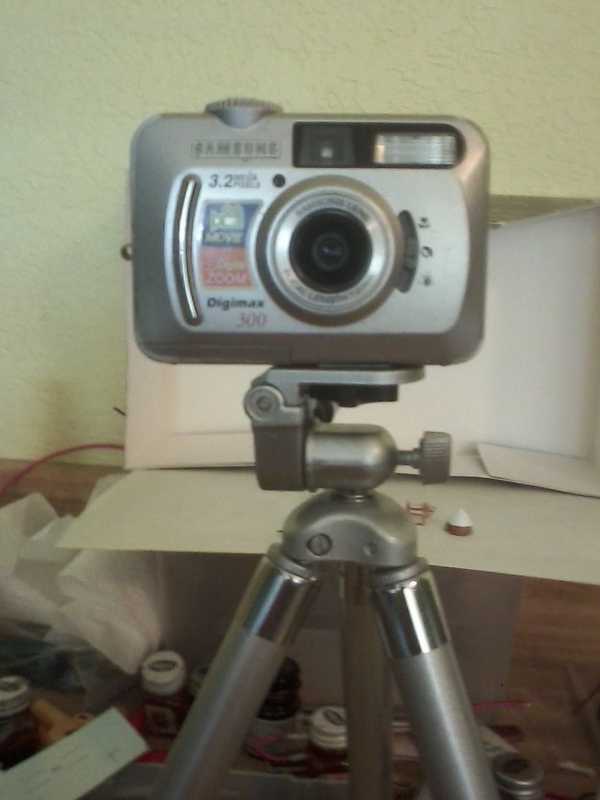
Thanks gunnie. I'll have to dig for the manual on this as I just checked the menu button and wasn't much there. Just image size, exposure, white balance, Quality. Nothing about a timer or aiming thingy.

I'll play around with the lighting some too.
 
Back
Top