
-
Modelers Alliance has updated the forum software on our website. We have migrated all post, content and user accounts but we could not migrate the passwords.
This requires that you manually reset your password.
Please click here, http://modelersalliance.org/forums/login to go to logon page and use the "Forgot your Password" option.
You are using an out of date browser. It may not display this or other websites correctly.
You should upgrade or use an alternative browser.
You should upgrade or use an alternative browser.
P-40 E "An ace on China".
- Thread starter Typhon
- Start date


Sherman 18
Master at Arms
Great choice!
What kit is it?
What kit is it?

BEAUTIFUL! Welcome.
Regards,
Regards,
A big one at that! wonderful aircraft, looking forward to this.
jknaus
Administrator
Look forward to this build. I'm doing one right now. I want to see is you get the same fit problems I did with the wing leading edge to body and wing root. I'm wondering if it is a technique issue on my part. Also I had forgotten, but there are frames on the front windscreen that are bogus. My fix is here if you are interested.
James
James


Not being a rivet counter or anything but I wonder how this fix effects the shape and dimensions of the kit. Does the width of the fuselage get out of whack or is it back in whack? What about the dihedral of the wings? I think it pushes the side walls out where it's intended because the step seam is gone at the wing root...
Nevermind...Nice fix!!
") :
:
Nevermind...Nice fix!!
:Hi,
This fix is the perfect one as long as it is not in the way of the internal components. It is the same fix I proposed to Harv on his P-38M boom issue.
A pointer that you don't need to do. If you have a razor saw (I do mean the thin type as sold by JLC) you can cut the vertical panel lines until the horizontal one underneath the exhausts cut outs. This will allow the radiator cover to close the seam on the bottom. all sanding is then limited to one panel. While sanding, deepen the fastener holes after each session.
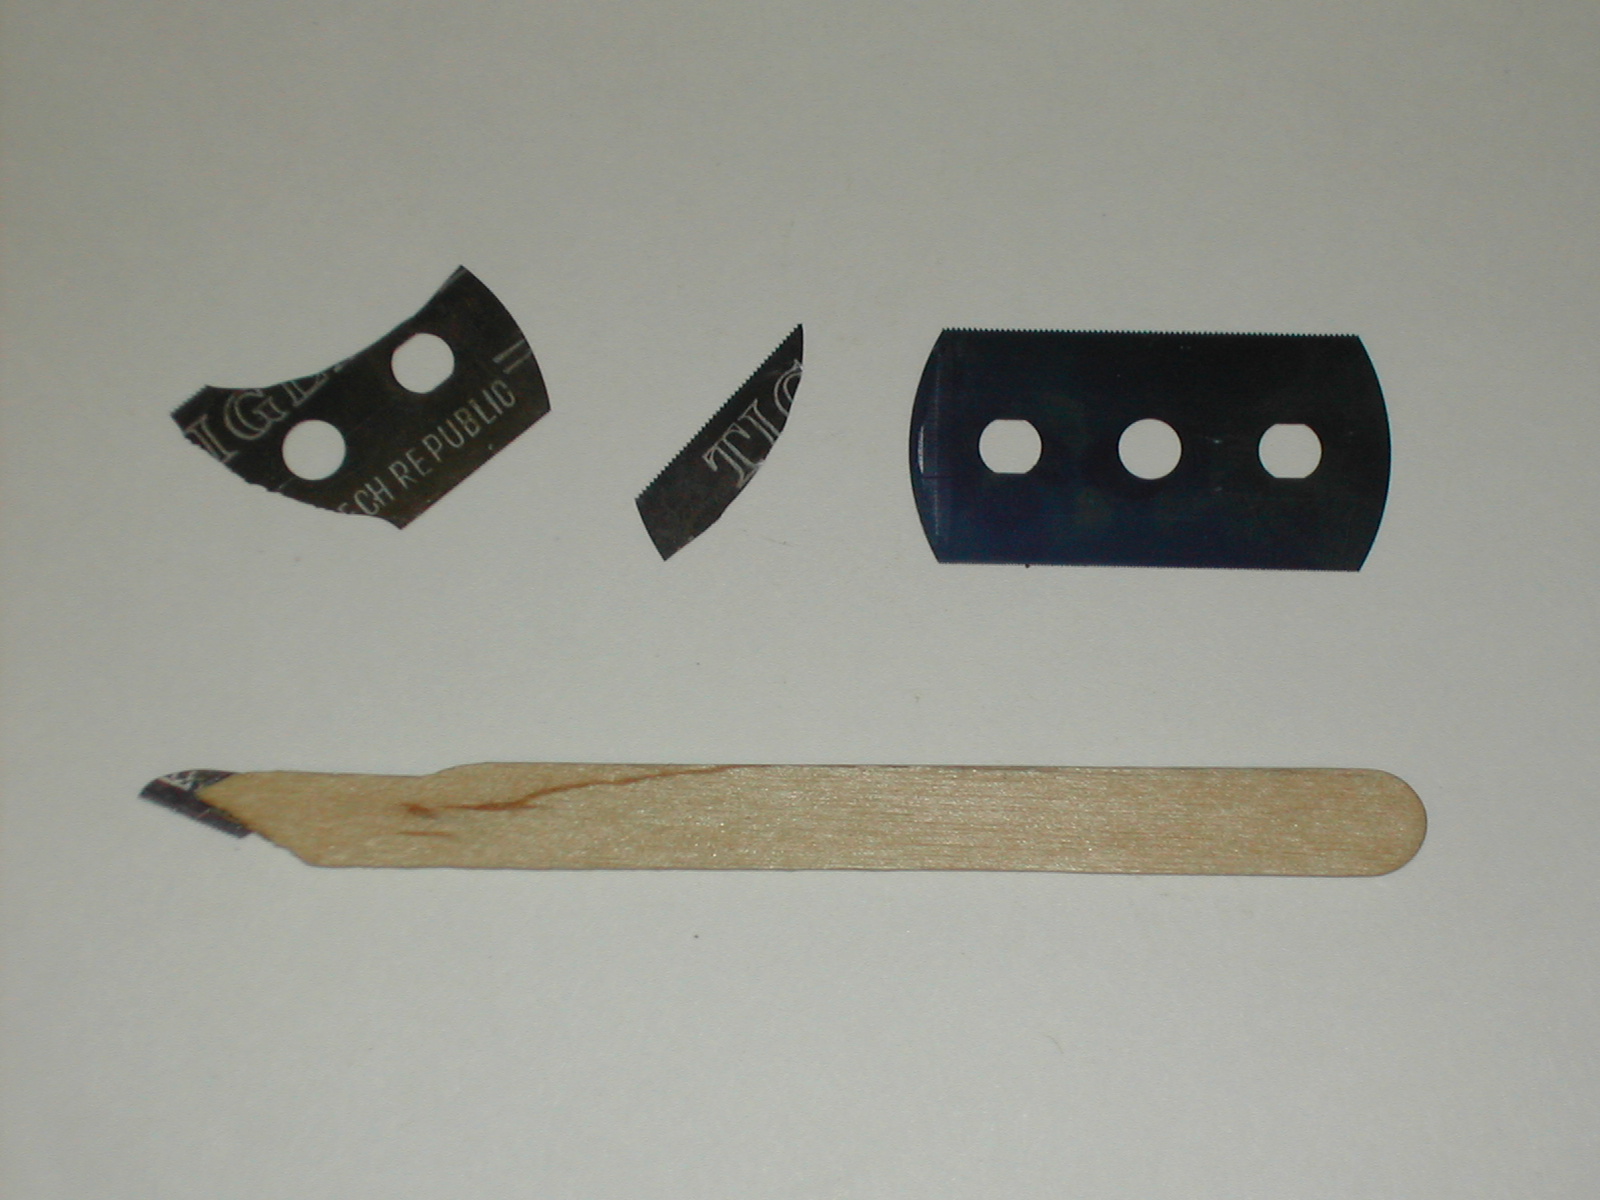
Click image to see a cool tip for these broken blades.
Way to go! Great job there. If it is in the way of the cockpit, make a note of the width and just add to the cockpit floor sides.
Regards,
This fix is the perfect one as long as it is not in the way of the internal components. It is the same fix I proposed to Harv on his P-38M boom issue.
A pointer that you don't need to do. If you have a razor saw (I do mean the thin type as sold by JLC) you can cut the vertical panel lines until the horizontal one underneath the exhausts cut outs. This will allow the radiator cover to close the seam on the bottom. all sanding is then limited to one panel. While sanding, deepen the fastener holes after each session.
Click image to see a cool tip for these broken blades.
Way to go! Great job there. If it is in the way of the cockpit, make a note of the width and just add to the cockpit floor sides.
Regards,


Aha! Looks like that wing spar/wheel well part brought the seam back to some manageable situation. Still noticeable gap but it looks easier to fill.


Man....that's sweet! Don't know why you're complaining about your photography, it's picking up those variations very well!
Tell us how you're doing this?
Tell us how you're doing this?