• Modelers Alliance has updated the forum software on our website. We have migrated all post, content and user accounts but we could not migrate the passwords.
    This requires that you manually reset your password.
    Please click here, http://modelersalliance.org/forums/login to go to logon page and use the "Forgot your Password" option.

Oil paints.

ausf

Master at Arms
It's been at least 30 years since I've painted with oils, I forgot how frustrating/addicting they can be.

Upside is they stay wet so you can reworked them constantly, but the down side is I always rework them. I can't walk past the canvas without seeing something I want to fix quick and get stuck playing with it. I could spend hours pushing this paint around.

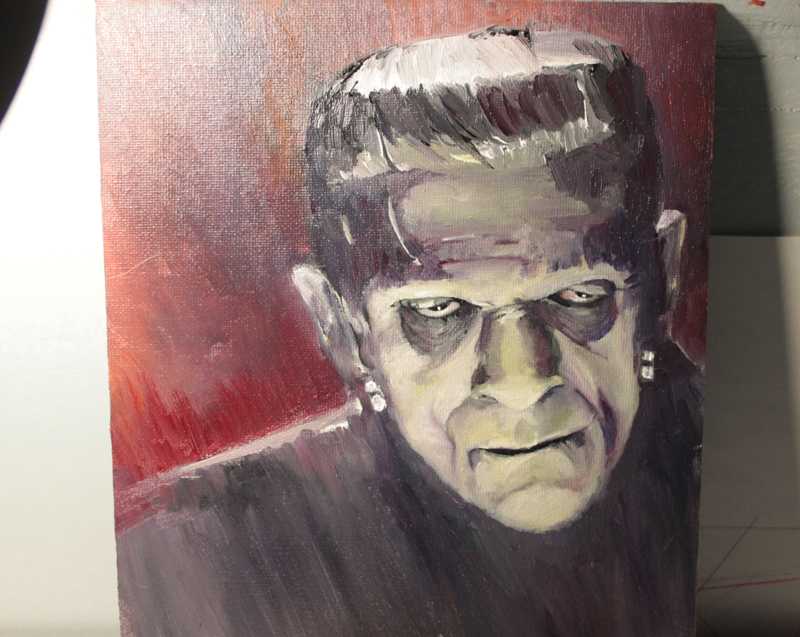
I'm still blocking this one out, but I'm not sure if I want to shoot for photo realistic or leave it as is and just fix the thousand mistakes I see every time I look at it.


h83cd1ec.jpg
 
Thanks guys, much appreciated, but I could rattle off a dozen problems without even thinking too hard. :hmmm
 
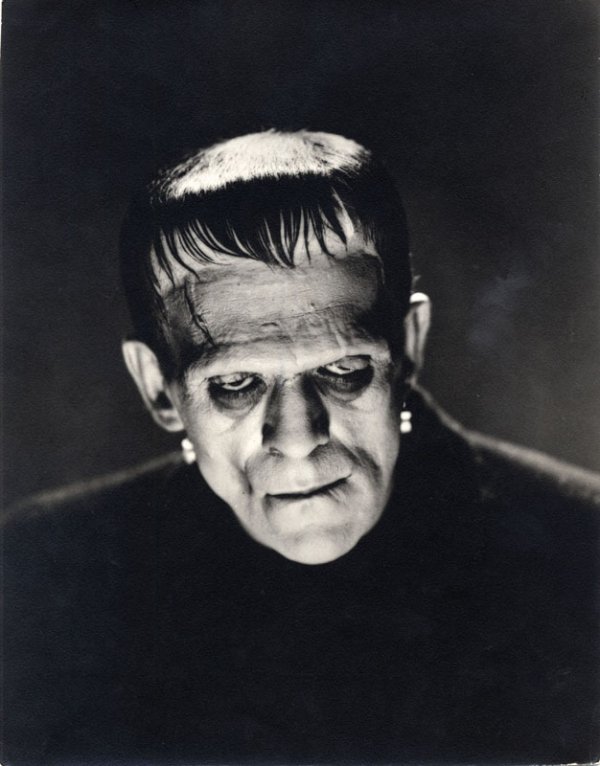
Here's the ref photo I'm using.

You'll see, need to add the cheek depth, deepen the eyes, some nose bridge work, left brow needs to widen, plenty of detail.


h8d11f8e.jpg
 
I can see where you are going Jeff, but the thing is, IT LOOKS LIKE KARLOFF! You did much better than I would have done. If you really have to do something more with it, focus on a single thing like the cheek depth at the side of the mouth and only fix that for a set. Get it where you want it and call that part done. Then pick another bit you feel you "need" to fix and do that.

Overall my friend, it looks awesome and "only" when you pointed out the comparison to the photo could I see what you thought it needed.

med3d-bravo.gif

I agree with Paul. The depth that you are looking for may be getting the darker colors darker. This is a fine piece and I would buy that for a dollar.... oops that's a different movie... :laugh:
 
Thanks guys for looking.

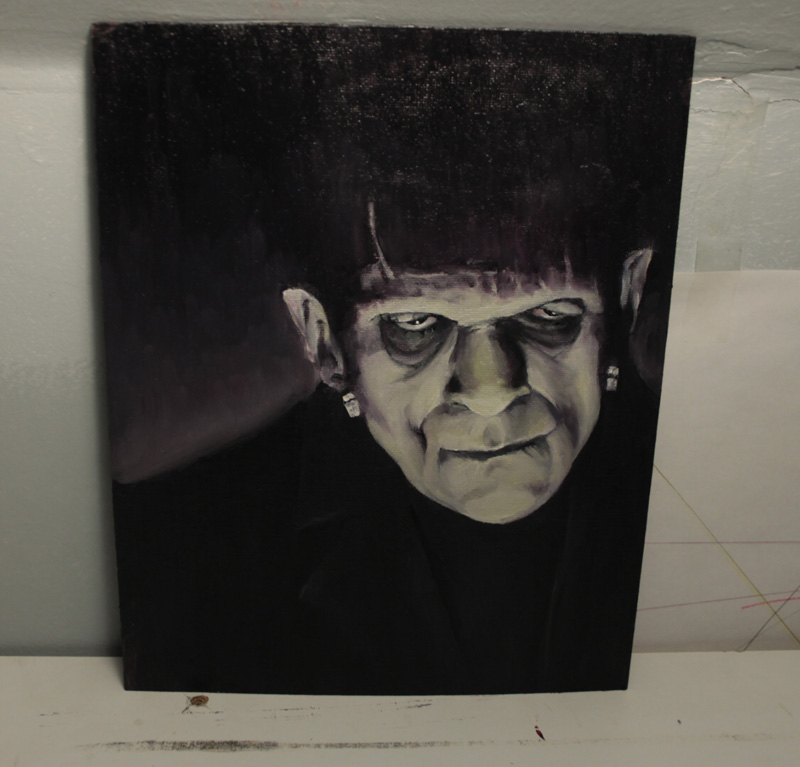
I'm getting near the end, 20% humidity and these paints are getting gummy. I can't blend them much more, so I'll let it dry and then add hair and back/fore ground.


ha6dbdb4.jpg
 
hb8ce48a.jpg

h83cd1ec.jpg


A little side by side.

Very cool! :popcorn

We can apply this to how we paint models, making the recessed areas darker and what not. See, made this modeling related. :ro: :dude
 
Thanks guys.

I'm done pushing paint around here, I have a Discovery to build.

I'll just apply what I learned next time, and stick this in the finished column.


h9b225a9.jpg


This pic is more accurate to how it appears in room lighting:


ha1e13a1.jpg
 
Back
Top