• Modelers Alliance has updated the forum software on our website. We have migrated all post, content and user accounts but we could not migrate the passwords.
    This requires that you manually reset your password.
    Please click here, http://modelersalliance.org/forums/login to go to logon page and use the "Forgot your Password" option.

Macchi C.200

phantom II

Master at Arms
Meanwhile back in the sand box :(


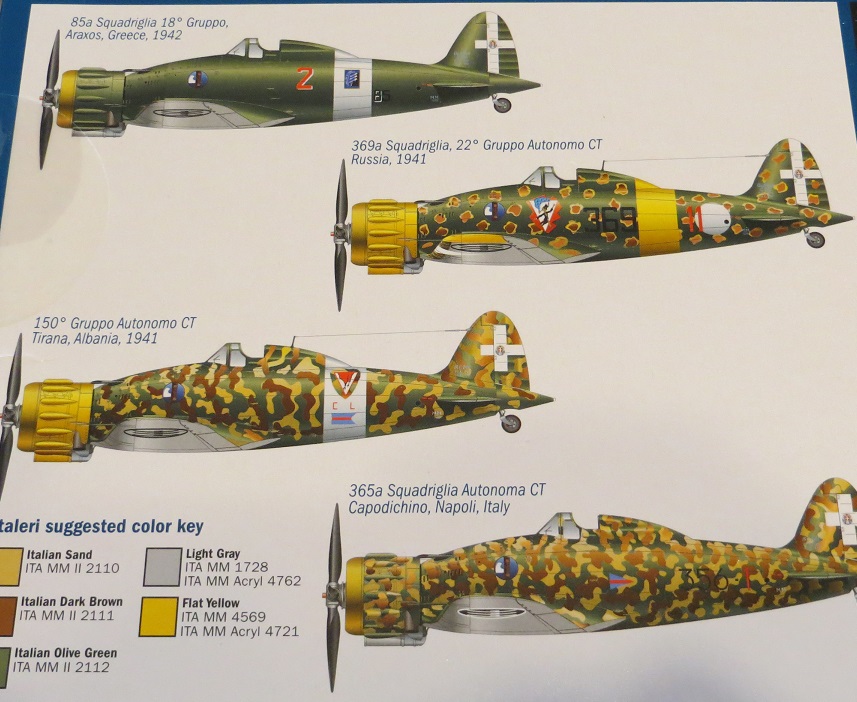
This will be my entry. Cheers, Christian B)
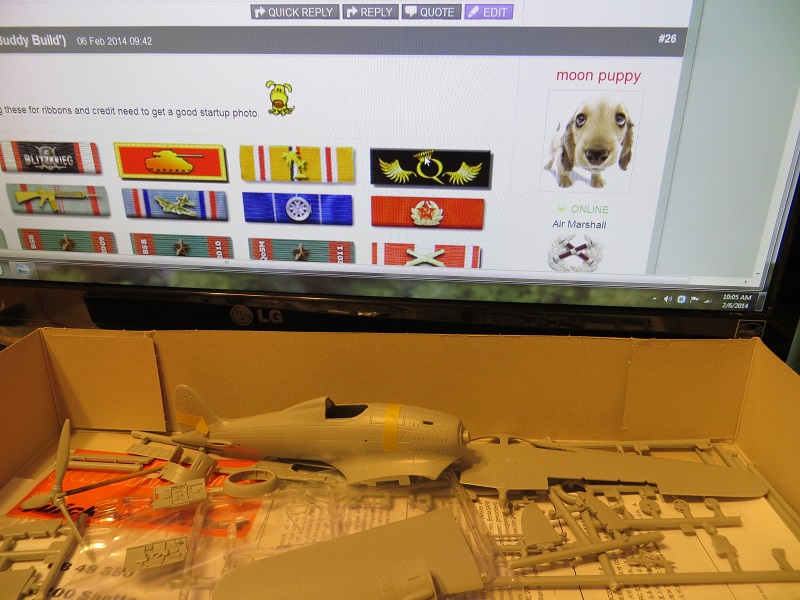
MC_200.jpg


MC_200_start_up_001a.jpg


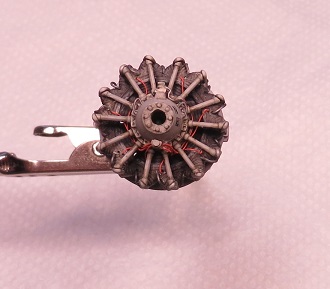
The engine is now complete.

Fiat_RC_38_engine_b.jpg


and here is a better picture of the components.
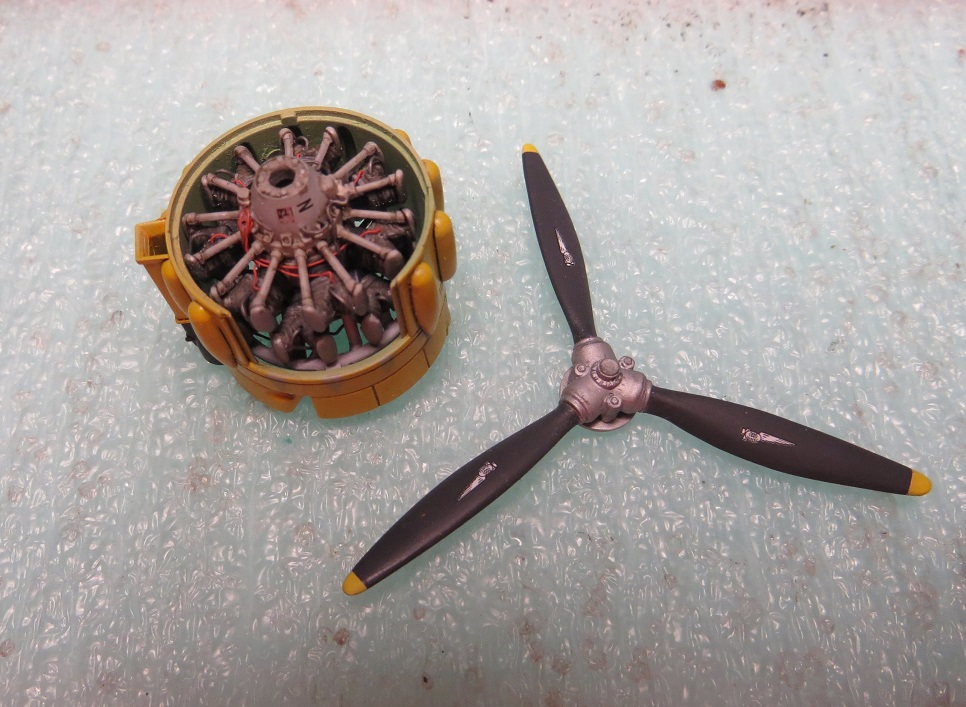
MC_200_engine_001a.jpg


I started to build the kit cockpit but it wasn't long before I decided to upgrade.
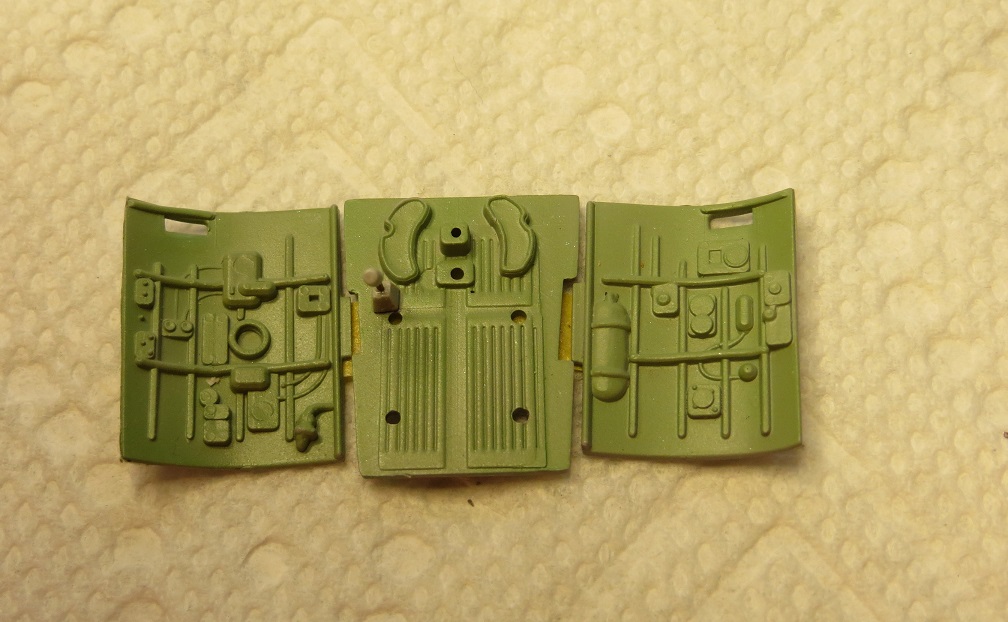
MC_200_cockpit_011a.jpg


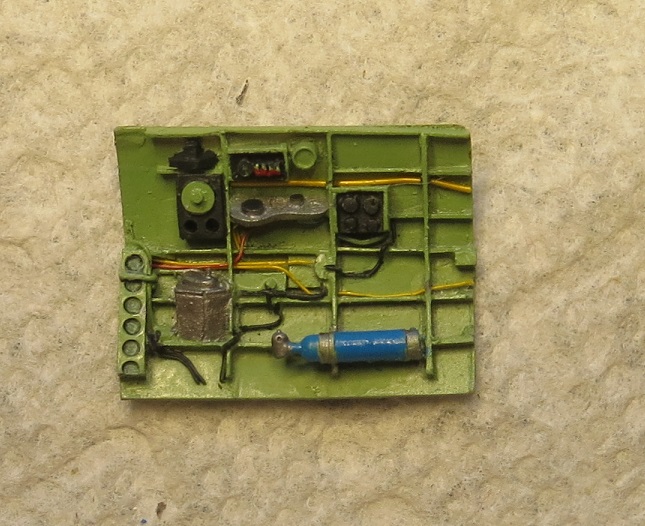
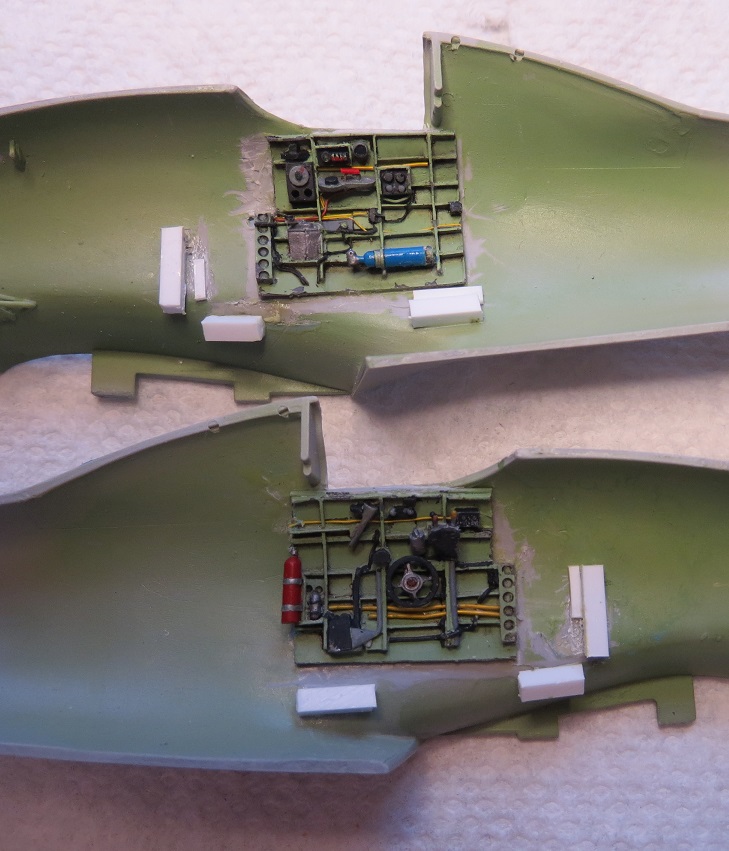
After a good bit of fiddling and adding wires , here are the sidewalls for the cockpit
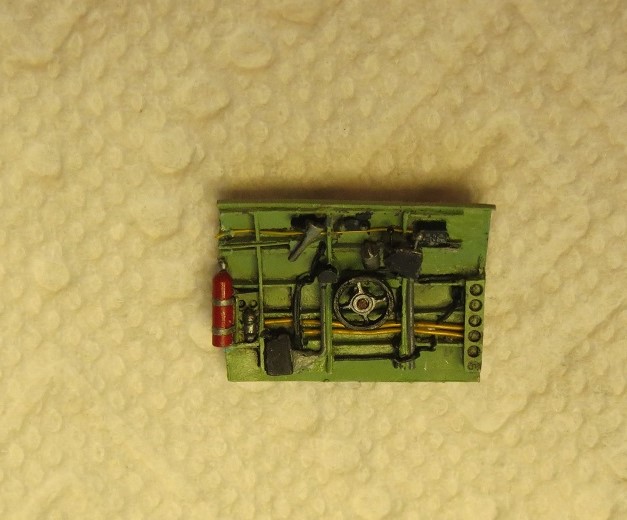
MC_200_cockpit_009a~0.jpg


MC_200_cockpit___2a.jpg


After more fiddling I managed to get the floor and seat to look the way I pictured it. The chains and the back harness were tedious to get in . The shoulder harness will be adjusted much latter .
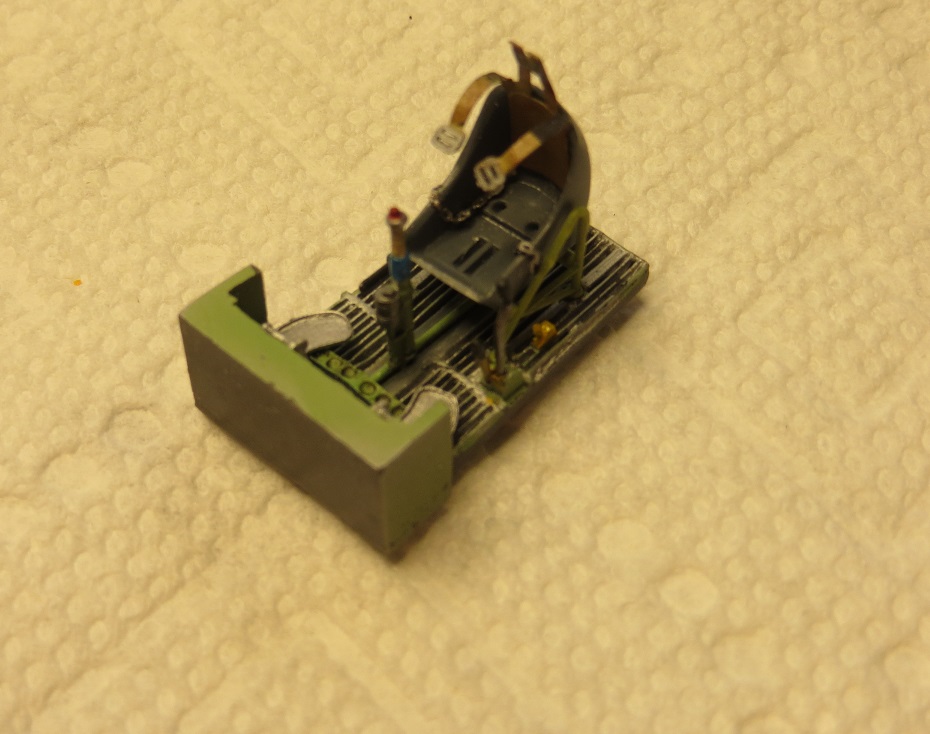
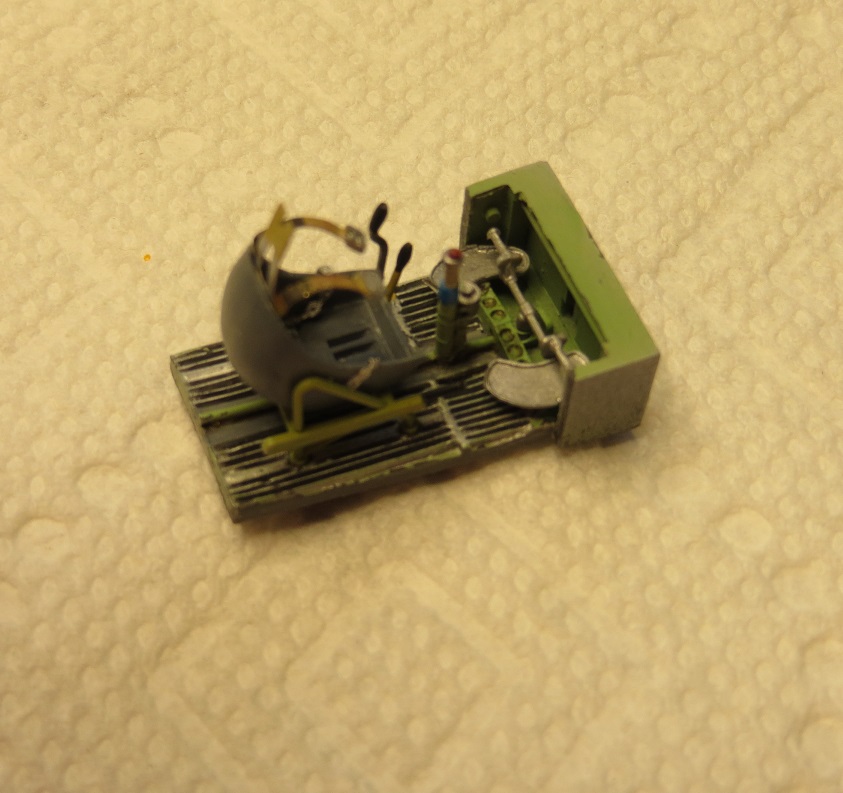
MC_200_cockpit_008a.jpg


MC_200_cockpit_007a.jpg


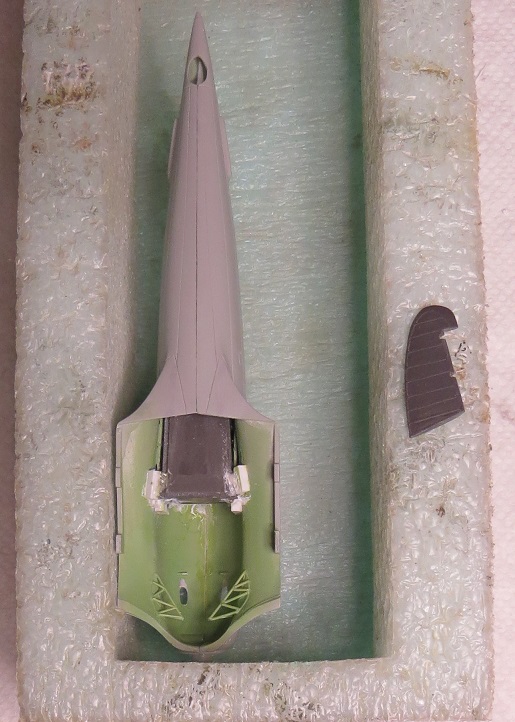
When trying to install these pieces into the fuselage I became concerned that the top edges would not align with the fuselage properly if I assembled it according to the instructions, so I trimmed the kit parts and glued the side walls to the fuselage.
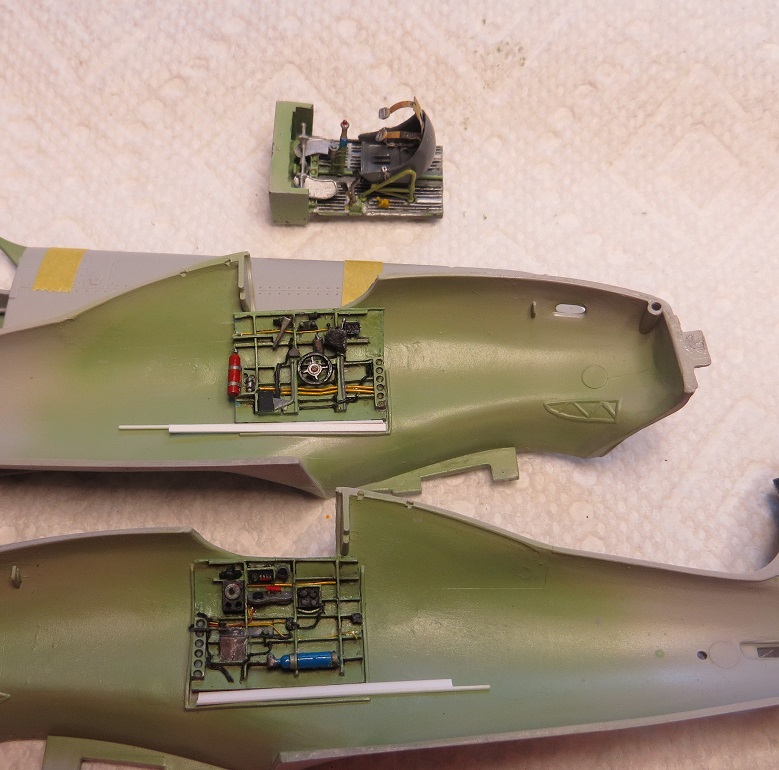
MC_200_cockpit_014a.jpg


MC_200_cockpit_012a.jpg


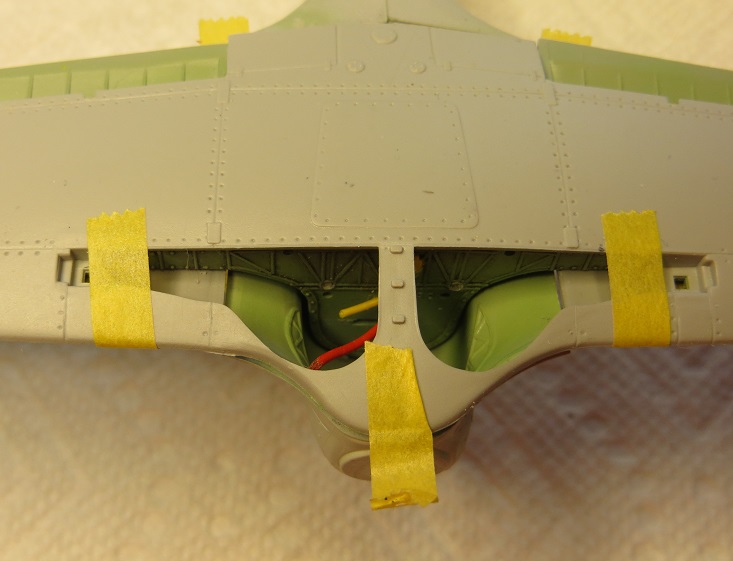
As I was checking the fit of the components I saw that the center of the wheel wells are missing a lot of parts, so I began by adding some of the structural components.
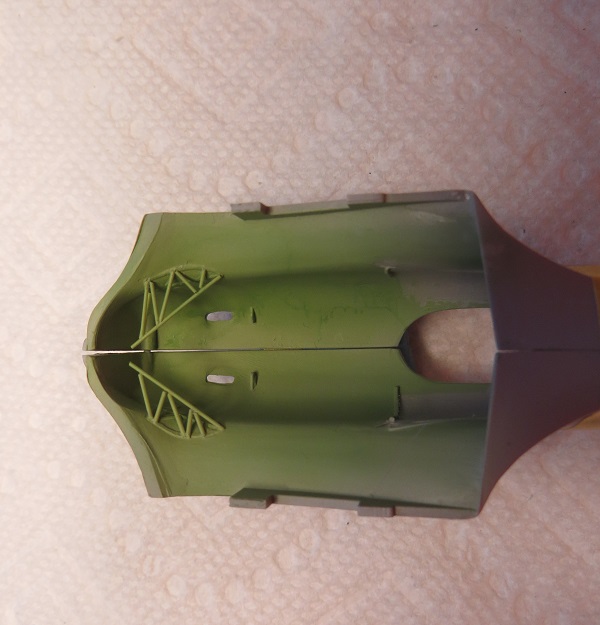
MC_200_cockpit_015a.jpg


More to come. Thanks for looking .
Cheers, Christian B)
 
Didn't you post these pictures somewhere before? I always wondered what I look like on the computer. :woohoo:

Which scheme you doing Chris, they all look like a challenge to paint. :popcorn
 
Not sure Bob but it will involve all three chamo colors.

Still too busy fighting with the plastic to think on it much. :fencing

Cheers, Christian B)
 
Thanks Bob and T for the interest and the kind words :D

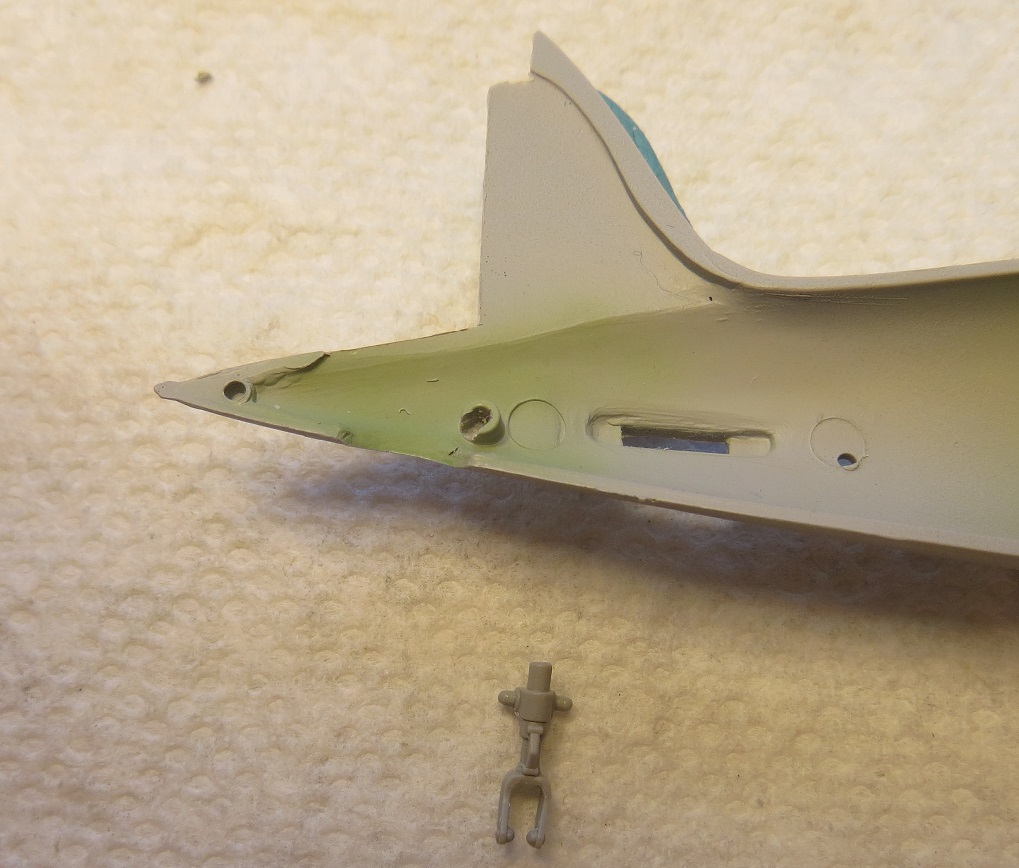
Prior to getting this stuff together I notice that the instructions called for the tail wheel to be installed now . :S You know it would never survive so I modified the attaching points so it could be installed latter on.

Macchi_c_200_tail_strut_a.jpg


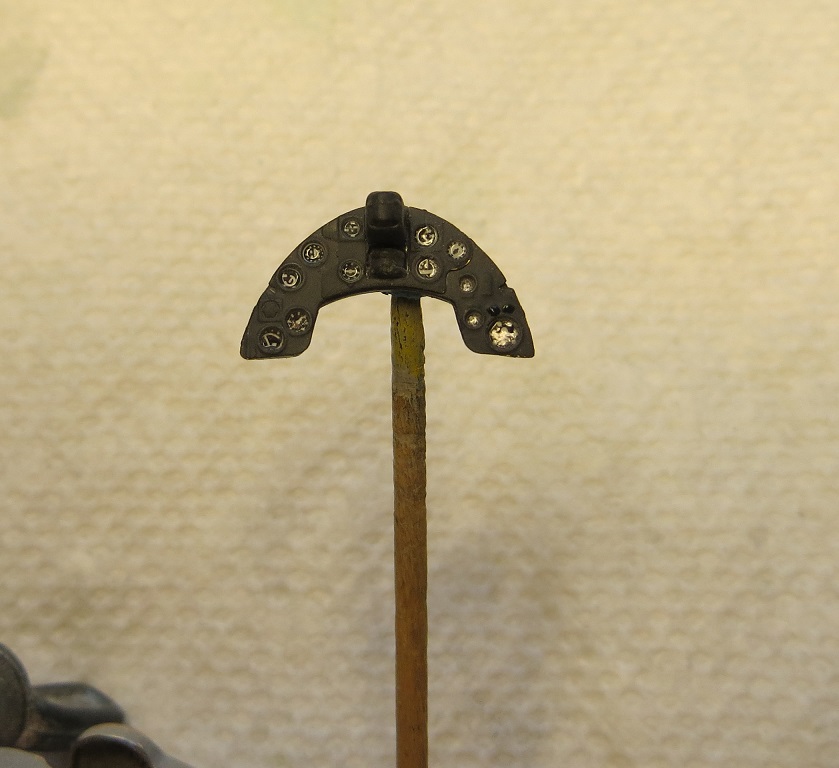
The fun continues here . I constructed the IP . I think it came out nice . The decals are good but I had to slice them up to get them to fit in the holes correctly.

Macchi_c_200_IP_a.jpg


It's kind of plain but so is the real think. Pavla supplied a couple of handles for it but they do not exist on the real thing so I chose to leave them off.

Getting the cockpit floor and seat to fit right was a real nightmare consisting of adding and removing shims and testing the fit over and over :bang head

mc_c_200_cockpit_a.jpg


Eventually I came up with a combination that worked . I replaced the broken throttle levers, threw some paint on the bear spots and glued the fuselage and it in placed before it had a chance to move again. :ro:

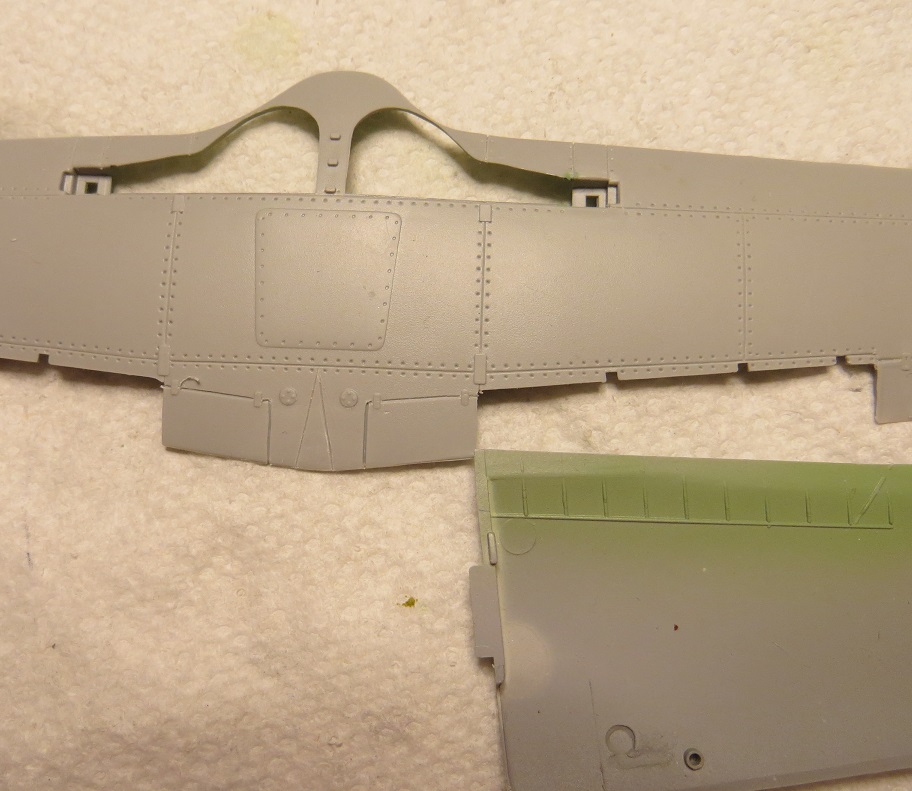
This kit is both very nice and goofy at the same time . The lower wing and fuselage have some glaring errors.

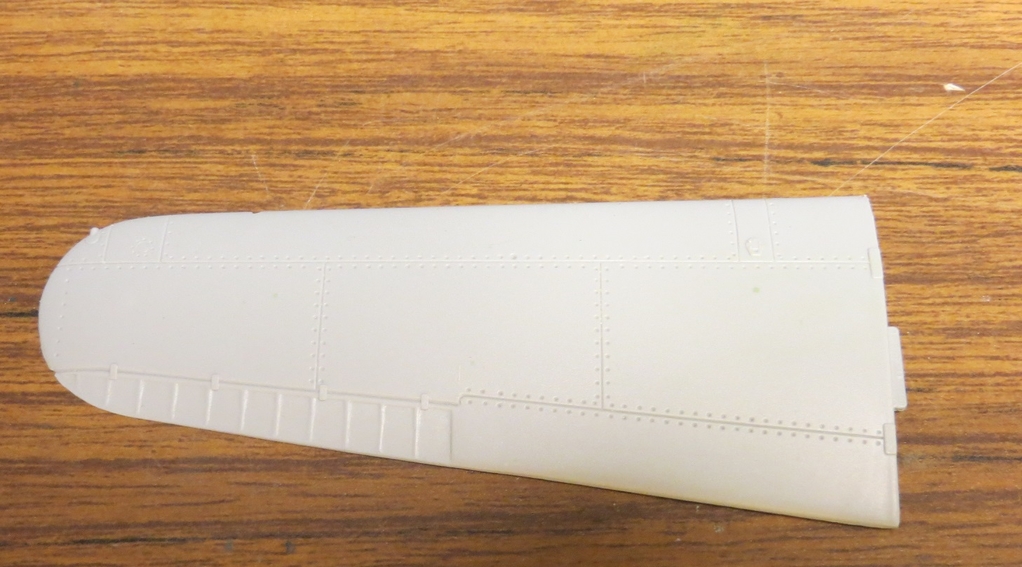
It appears that someone had a good idea when they provided some flaps that could be installed in the down position :smack However. the inside segments were ignored . No separate flap or anything in the upper wing either . The company must have downsized while this project was still in progress. :facepalm

Macchi_c_200_wing_c.jpg


Guess the flaps will be in the up position .

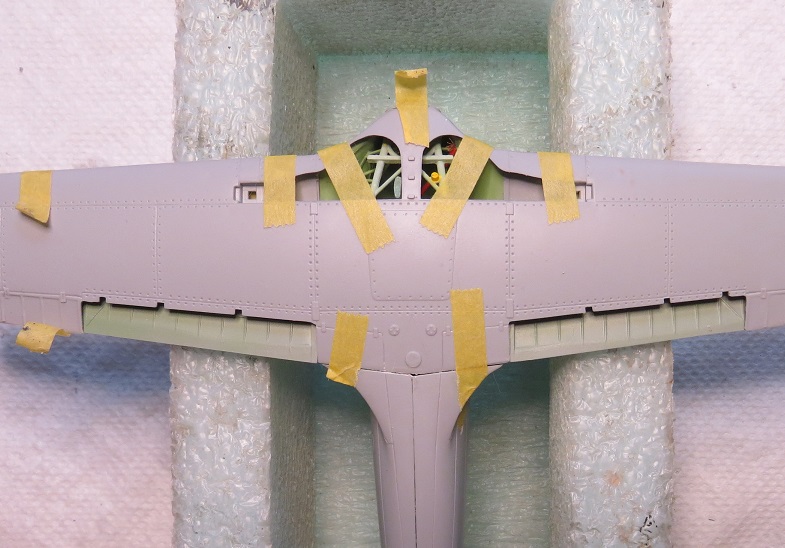
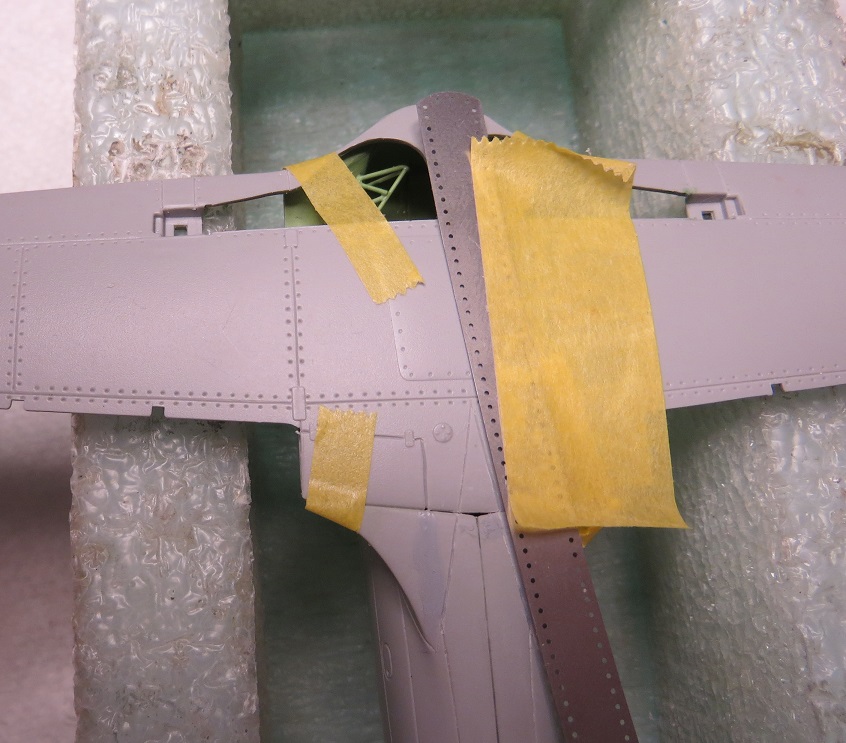
The other thing they forgot was the wing root panels on the lower side.

Macchi_c_200_wing_b.jpg


So, armed with some sprue and a template I set about correcting that also.

Macchi_c_200_wing_a.jpg


Now that this is done, I can see about other things. I'll reinstall the panel after the wing joint is complete.

Thanks for looking . Cheers, Christian B)
 
Impressive work there Christian!

That pit looks great! What did you end up using to get the floor? some left over PE?

:popcorn
 
That is really looking good, I think the 1/72 scale proving ground has paid off. (y) :drinks
 
Maybe Bob. To be honest, I would be happy with just a good solid base hit. :)

The wheel well is really a good serving of spaghetti. Still trying to get wrap my head around it. :hmmm

Then you have to realize this is the baby brother to that 1/32 scale MC.202 . I guess this is a bit of a dress rehearsal for that one. :D

Cheers, Christian :rotf
 
Hi Warren . Thanks for the kind words :)

Actually, you saw it in the picture. Just a number of sprue pieces . Just closing the fuselage halves keep it trapped in the right spot.

The lower with of the fuselage was too wide and the sides a bit warped. Did not know how to get them to comfort to the plastic fuselage

Ugly job with globs of super glue in the bottom for insurance against movement.

I'll take a picture and post it here since you asked.

mc_200_cockpit_floor_001_a.jpg


Not my prettiest work but functional

Cheers, Christian B)
 
Dear Christian.

My congratulations for the job on the cockpit...excelent!...following and learning :popcorn

Best!

Luiz
 
wing_found_001a.jpg


What the heck is that you say ? It is the upper right fing for this Macchi.

It got lost when I was building the clog but now it's found . I can go on again.

I had gotten so desperate at the show that I looked for one for sale :facepalm

Cheeds, Christian B) r
 
Oh Bob Ewe just madea Ba-a-a-ad joke. How can you stand it?

Excellent workon the Macci! These poor kits can really challenge you, but when you succeed and finish them, it's like owning a Toyota "Oh what a feeling!" :lol:
 
Thanks Bob and Paul . Spent a good deal of time looking for that wing half.

Finally found in a HS 129 box :blink This is why I don't like working on more than one kit at a time. Too many problems with errand parts :bang head
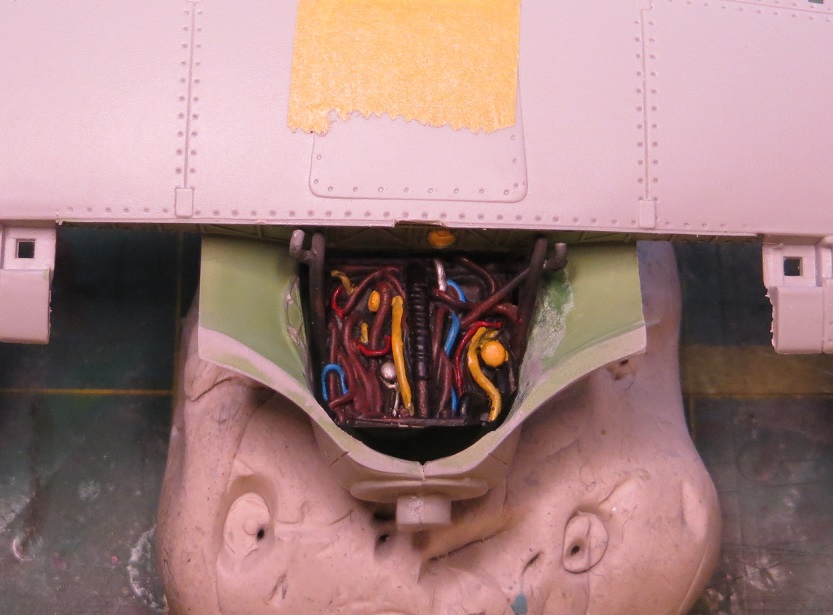
Anyhow, started playing with the wheel well plug last night . Not done but it's starting to resemble an Italian mess of spaghetti.

MC_200_plug_001a.jpg


Thanks for looking in. Christian B)
 
Back
Top