• Modelers Alliance has updated the forum software on our website. We have migrated all post, content and user accounts but we could not migrate the passwords.
    This requires that you manually reset your password.
    Please click here, http://modelersalliance.org/forums/login to go to logon page and use the "Forgot your Password" option.

LVTP -5 W I P

modelguru

Member
I signe up today and cound not wait to get going ...... since i am on vacation this week I can build like a mad man ...... food and coffee in the model cave and keep going.
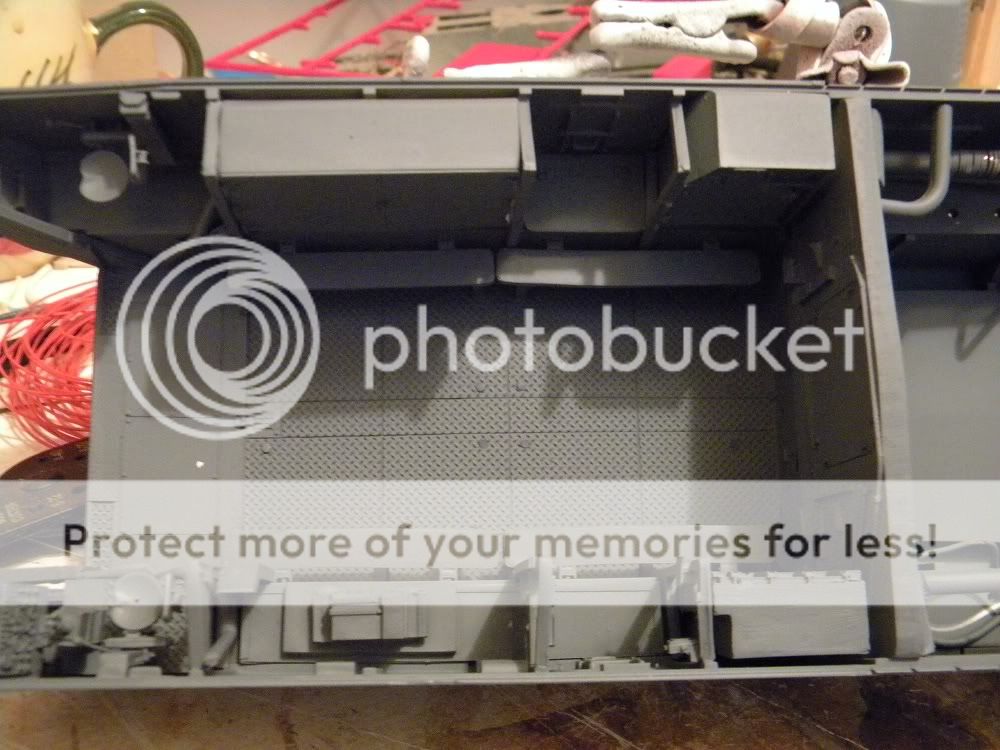
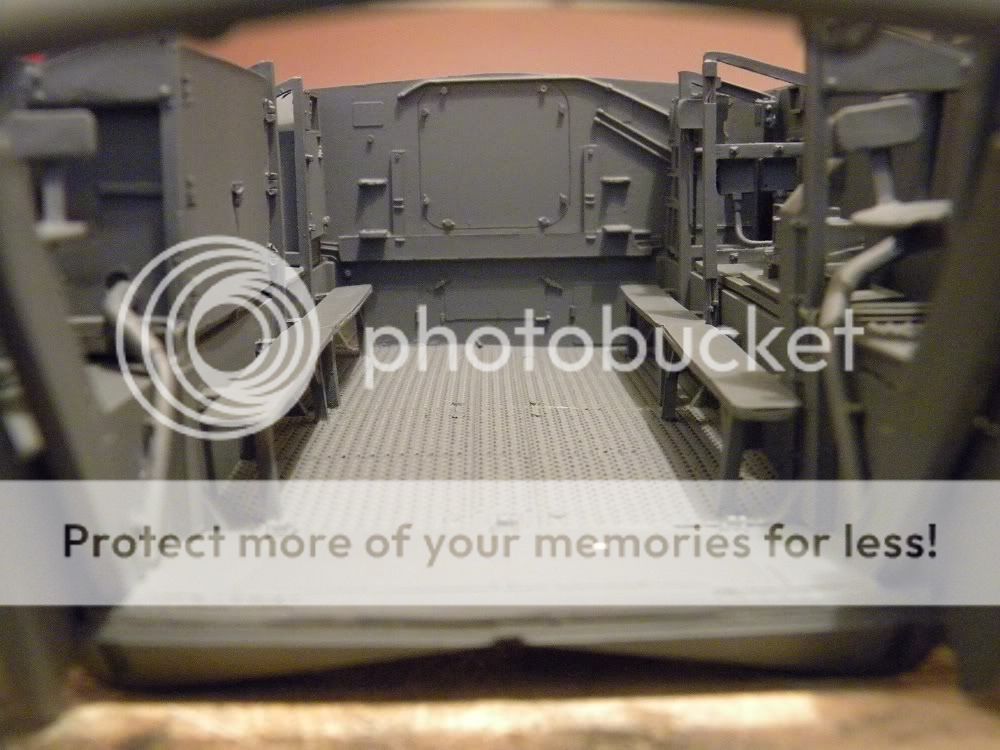
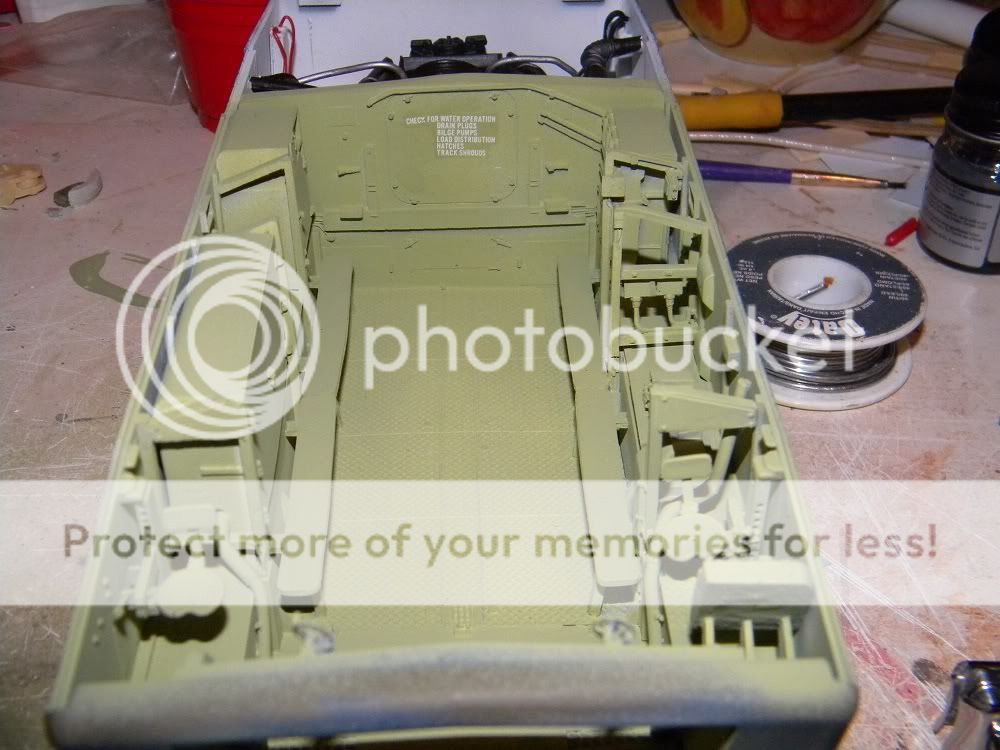
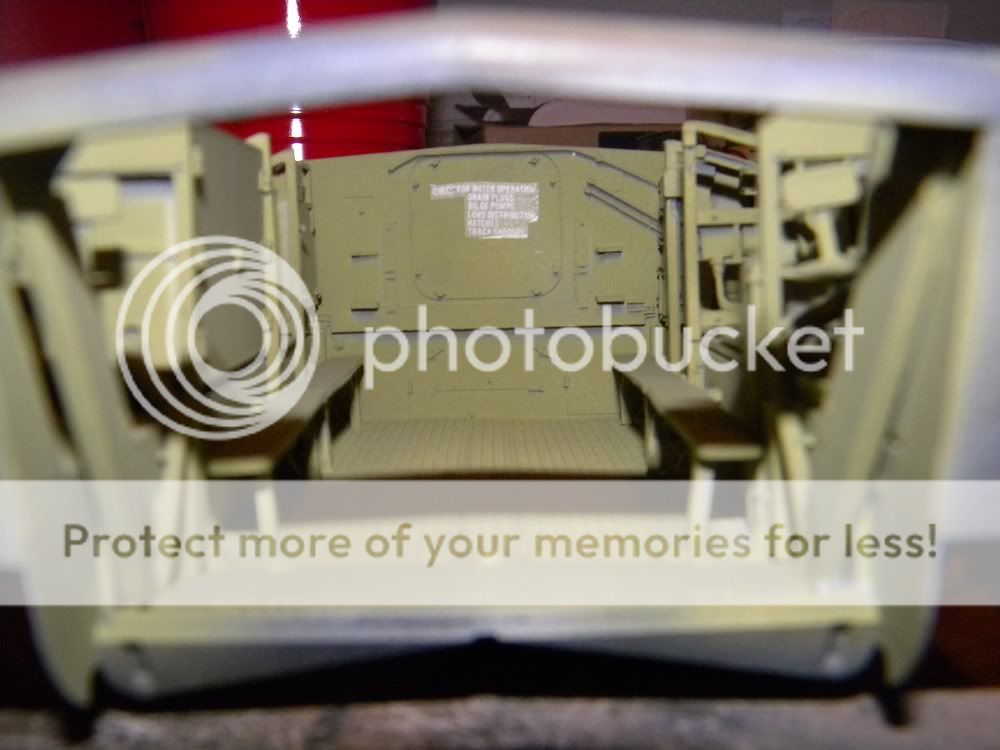
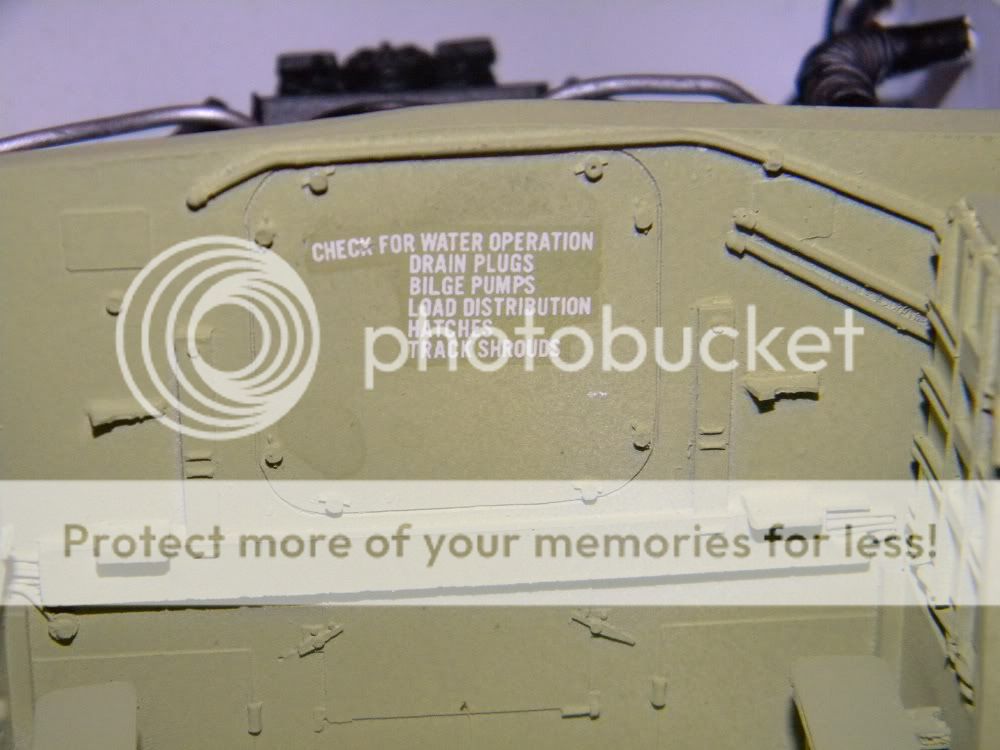
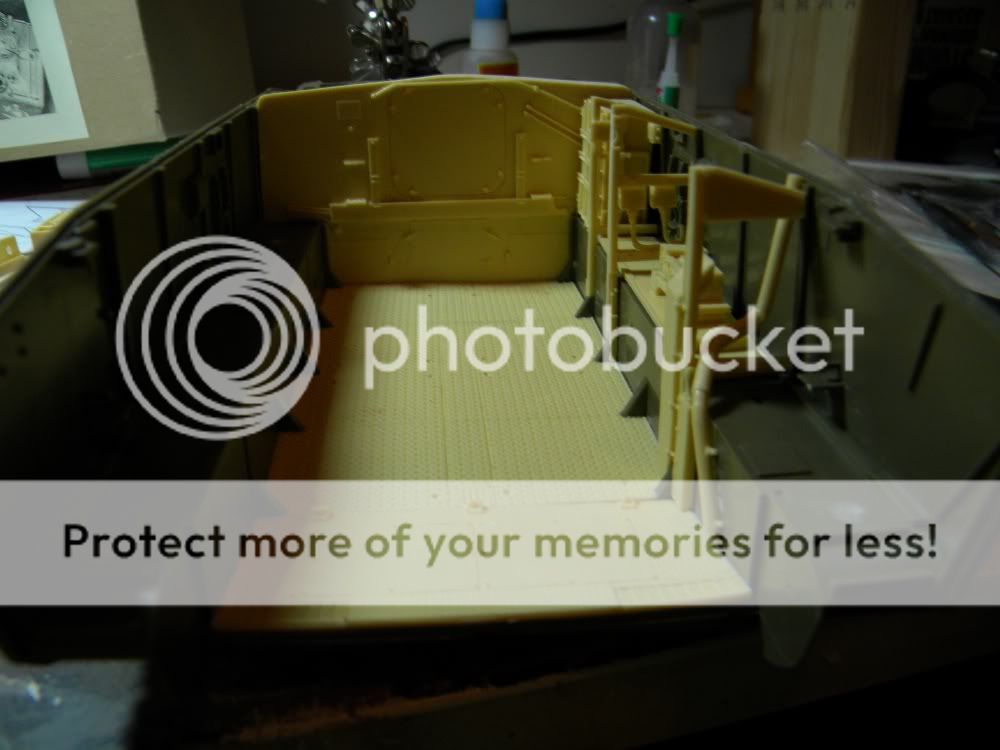
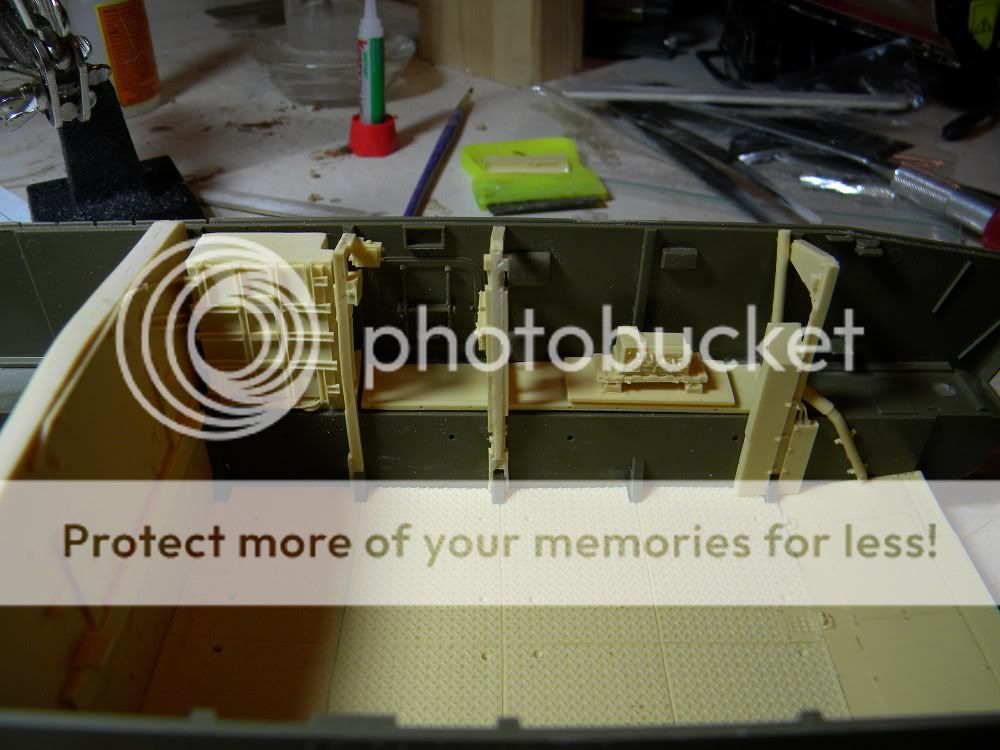
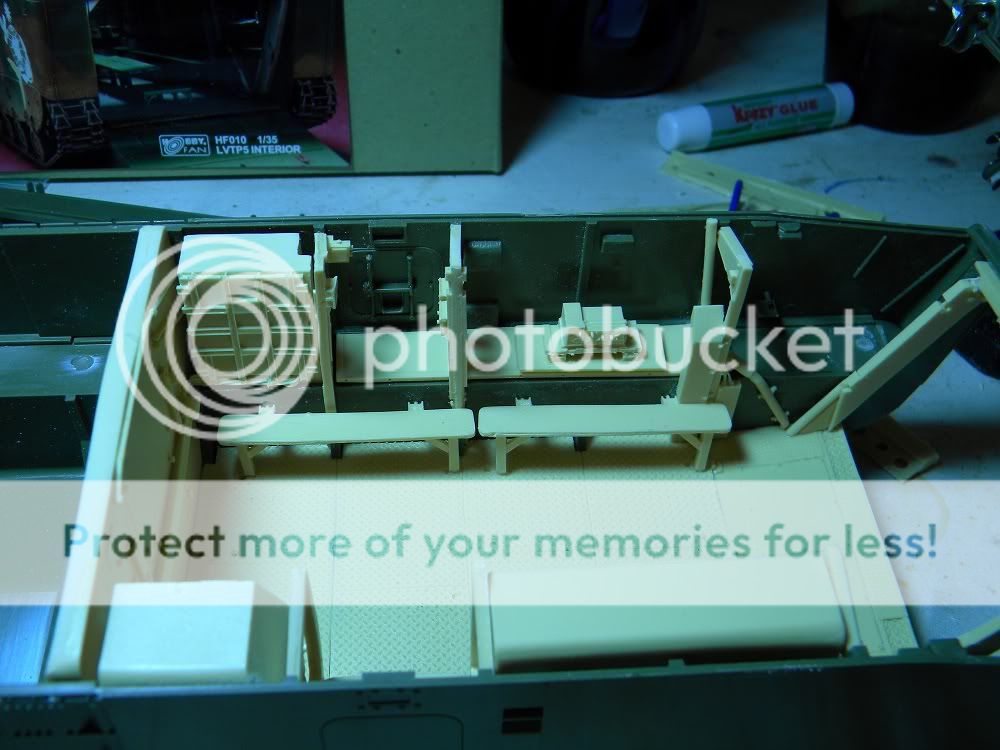
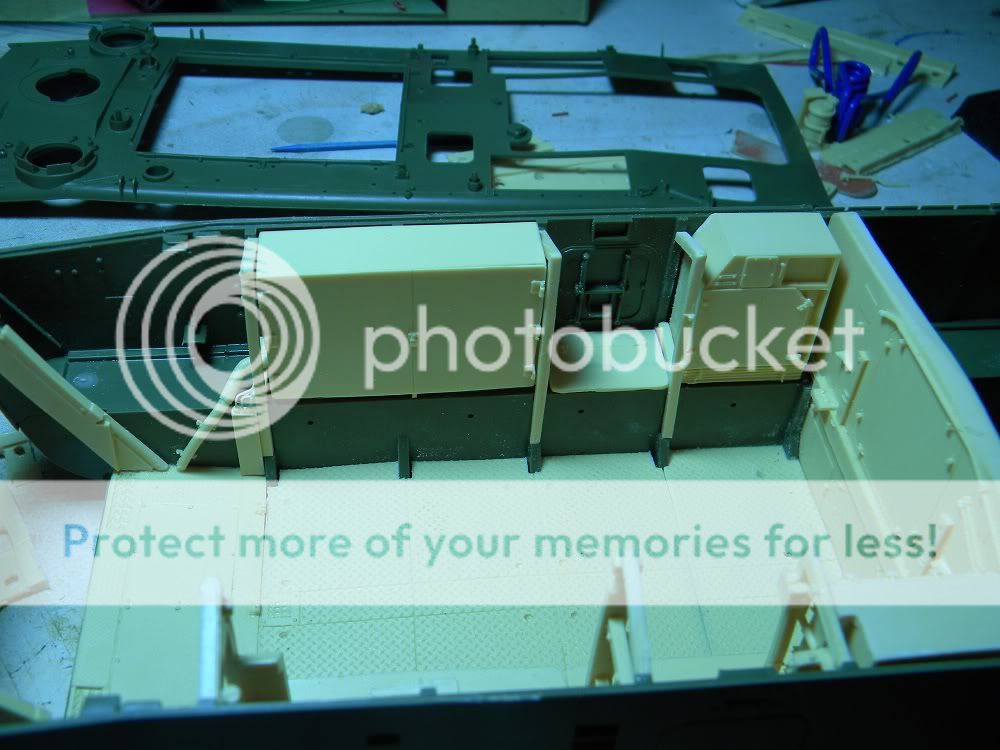
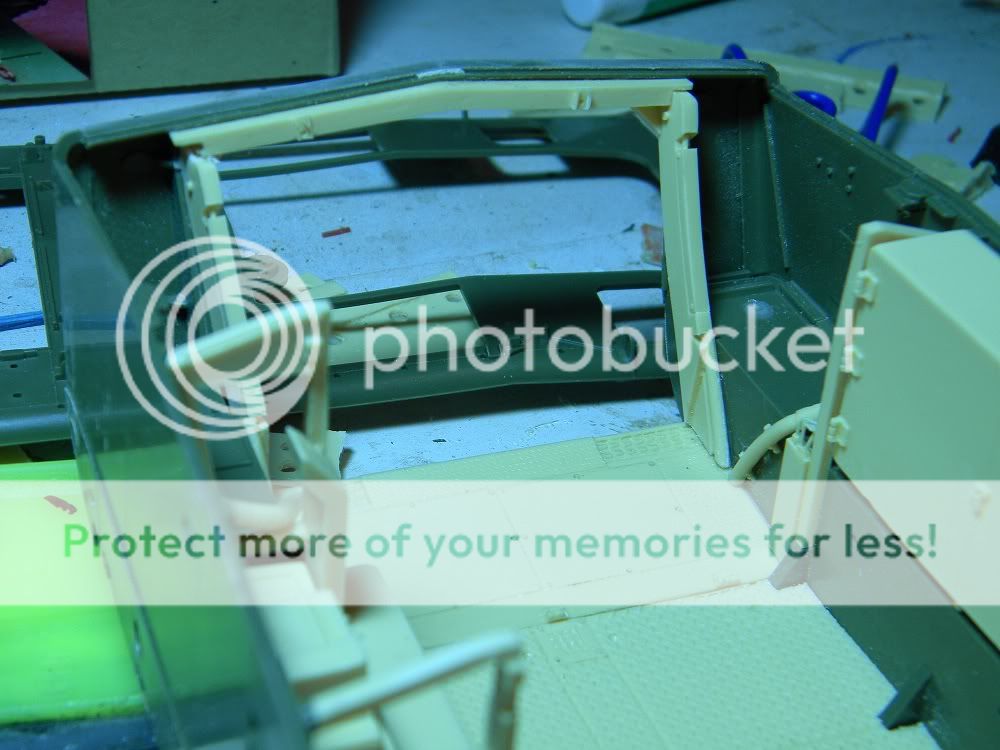
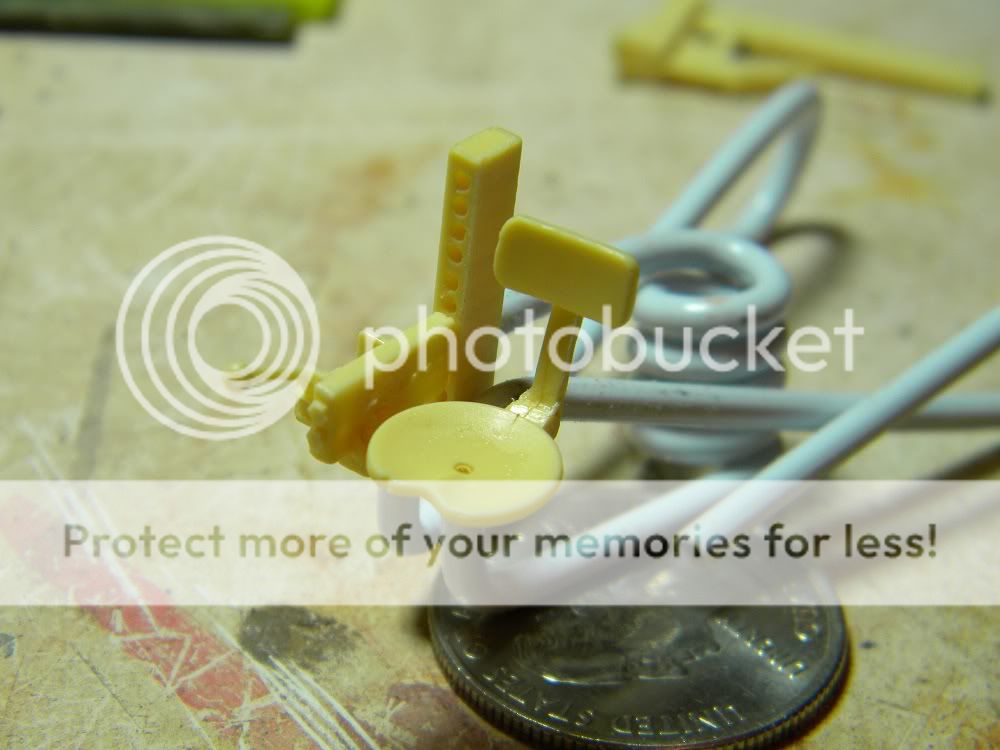
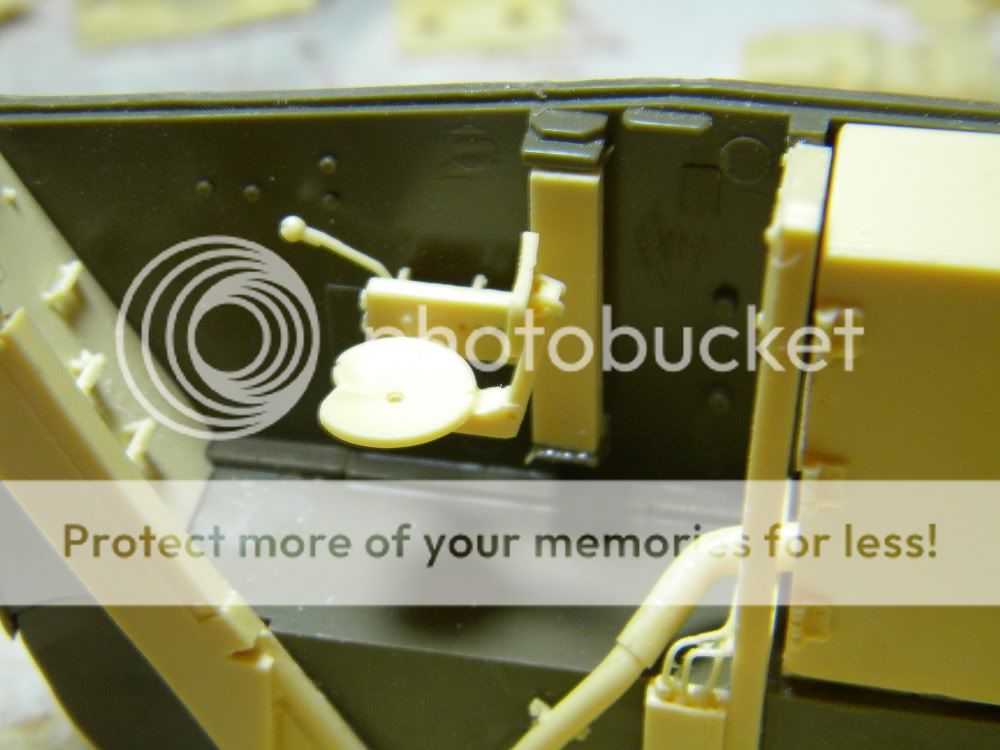
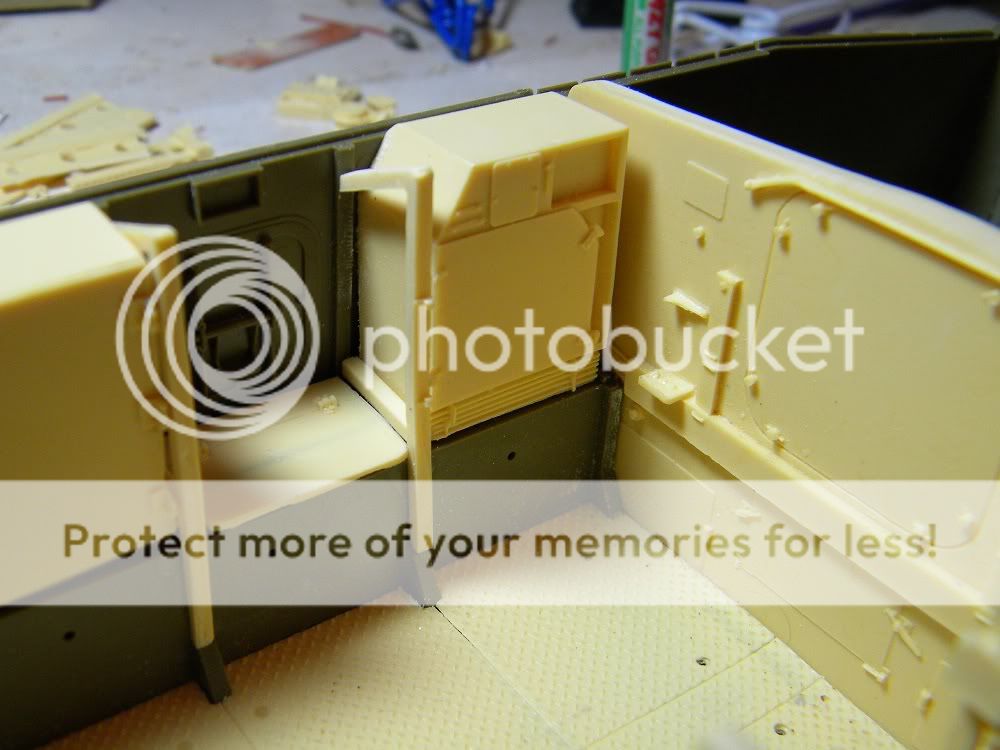
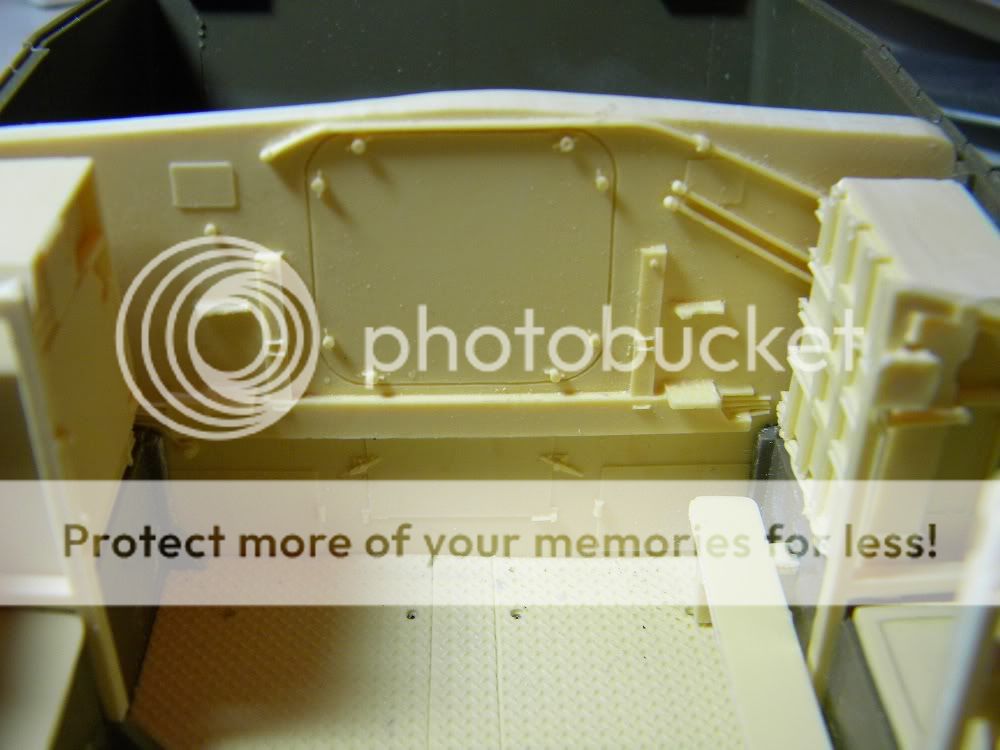
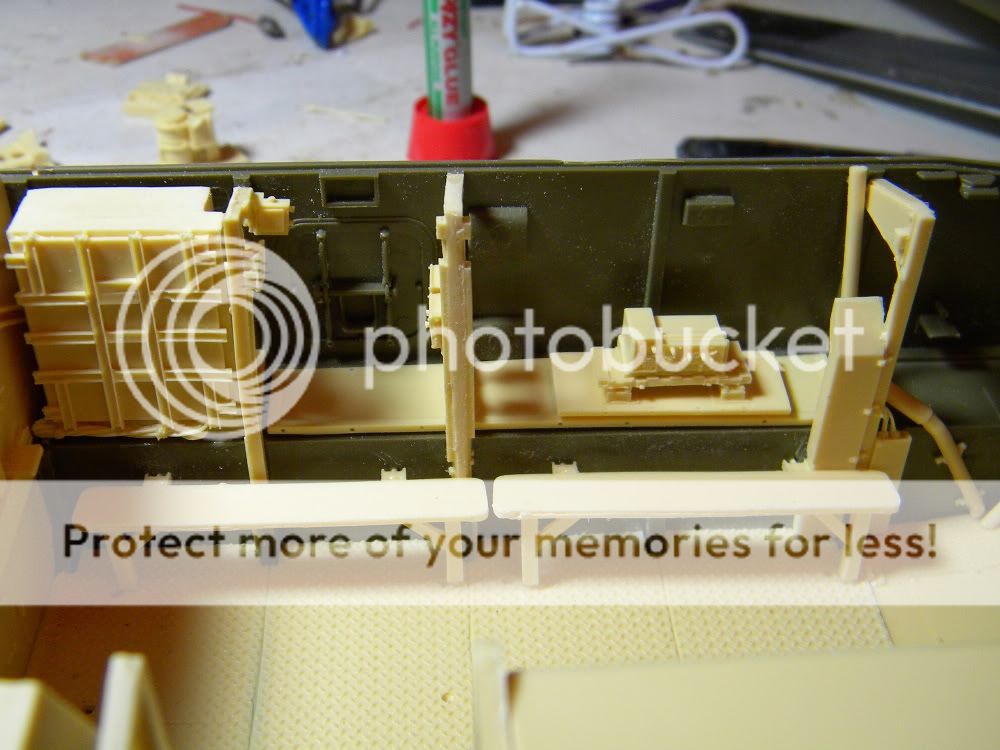
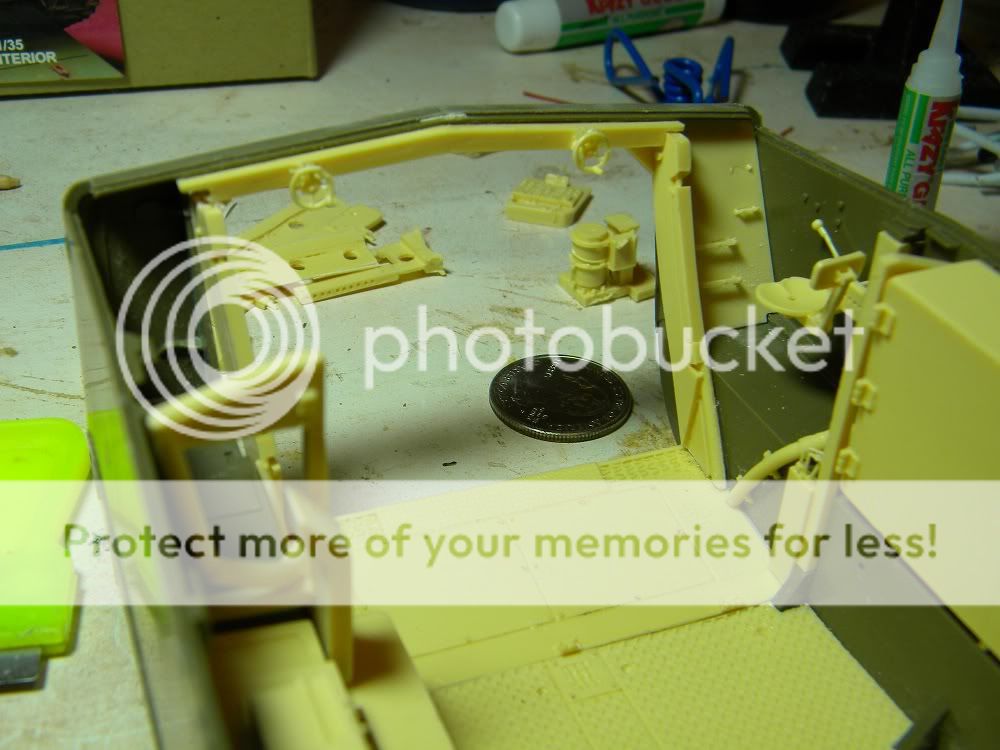
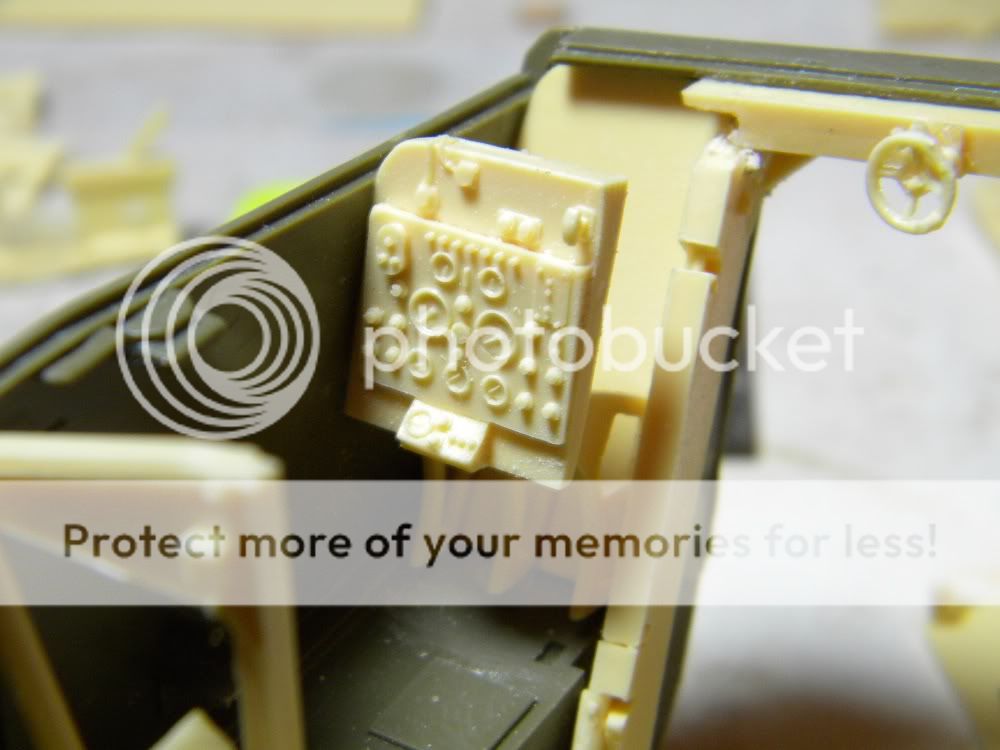
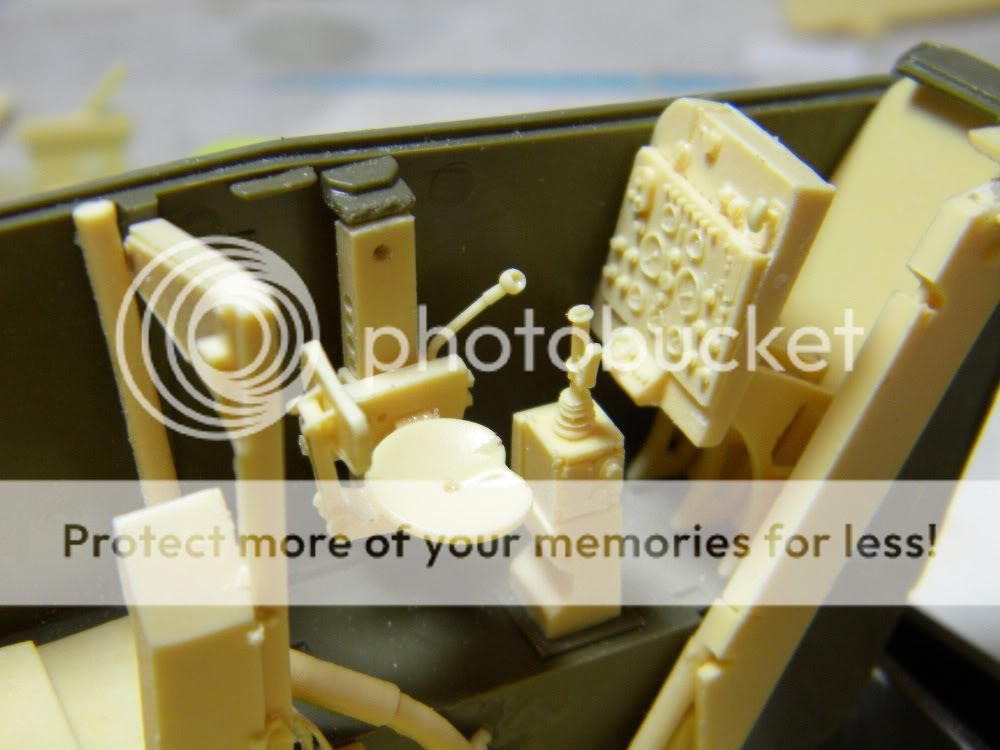
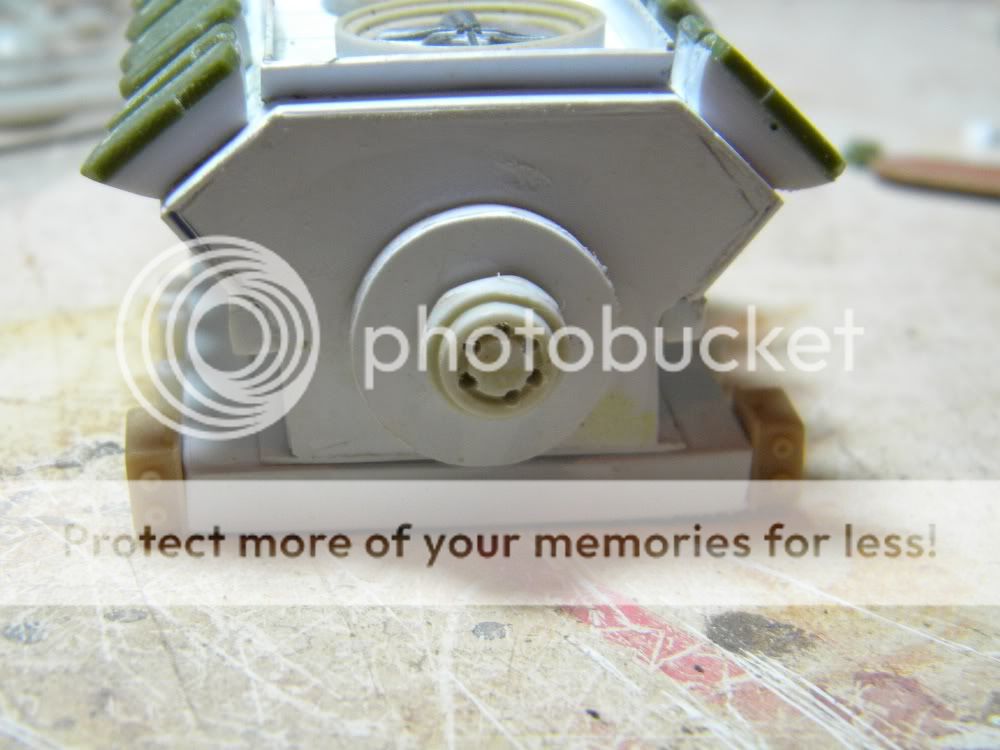
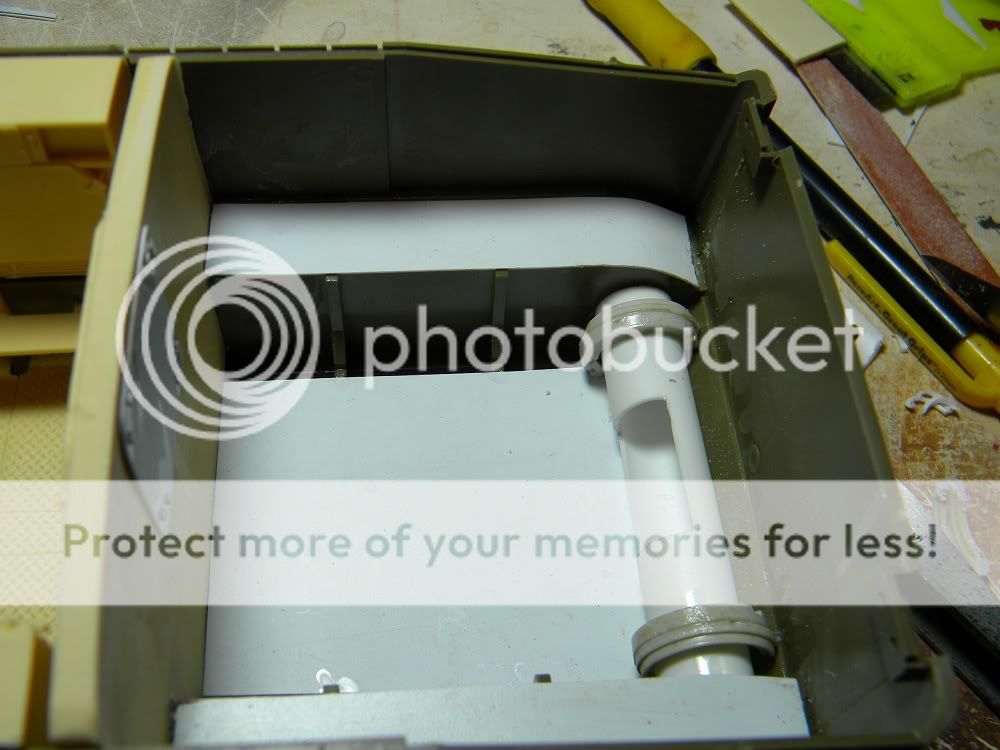
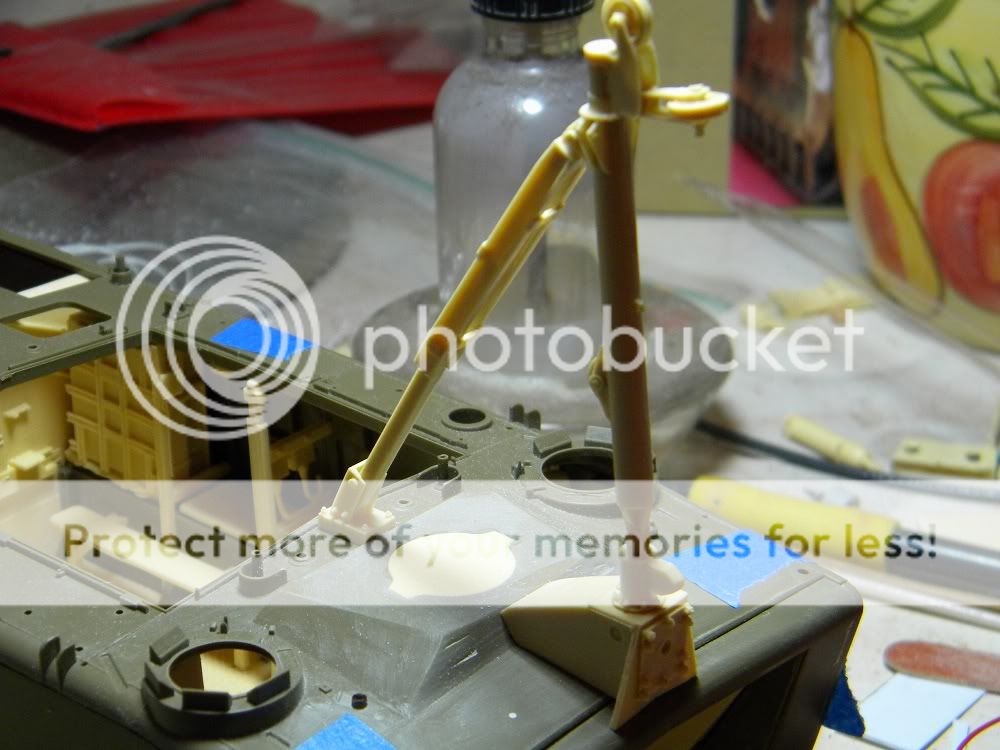
Well the lvtp tub went together and started on the resin interior conversion.

037-1.jpg


038-1.jpg


There are 7 different builds on my bench in various stages of completion .....so hopefully I can get this done in a year.
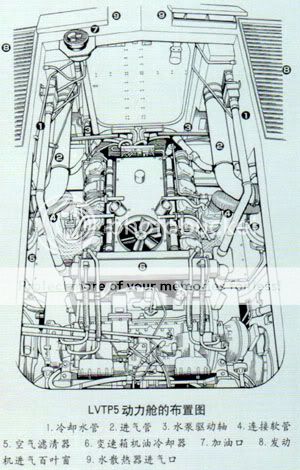
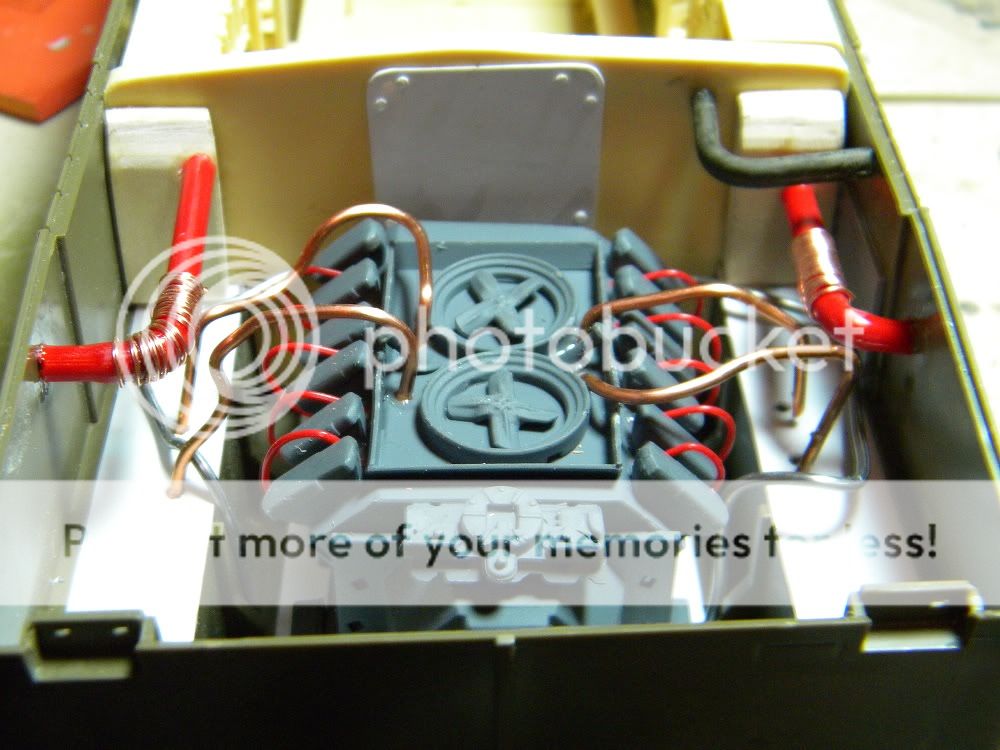
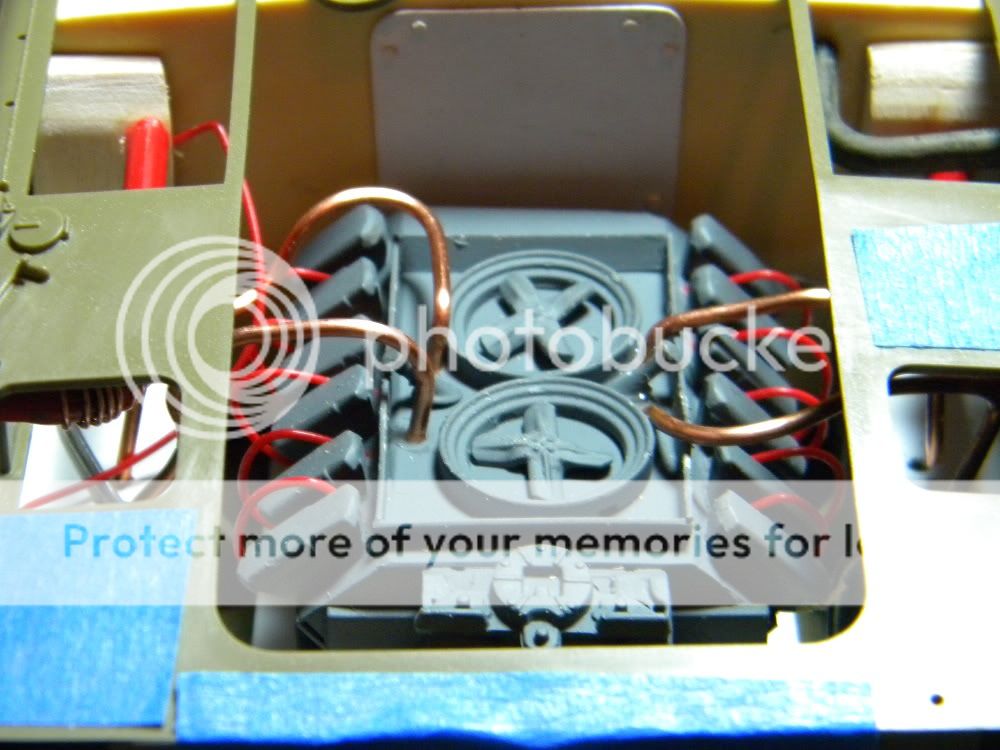
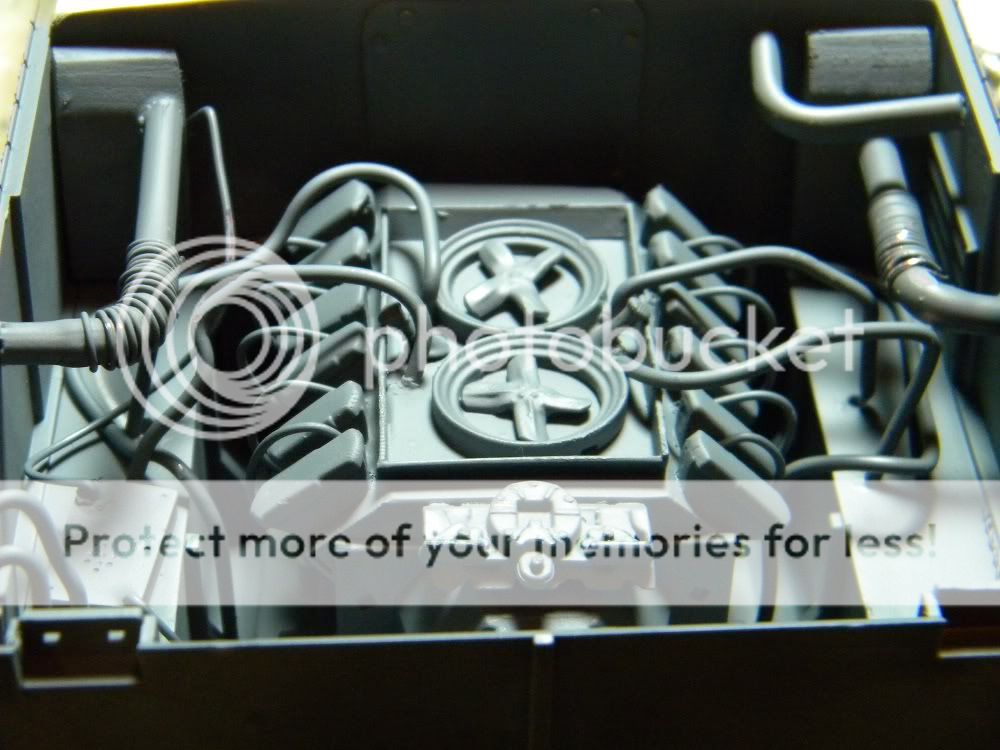
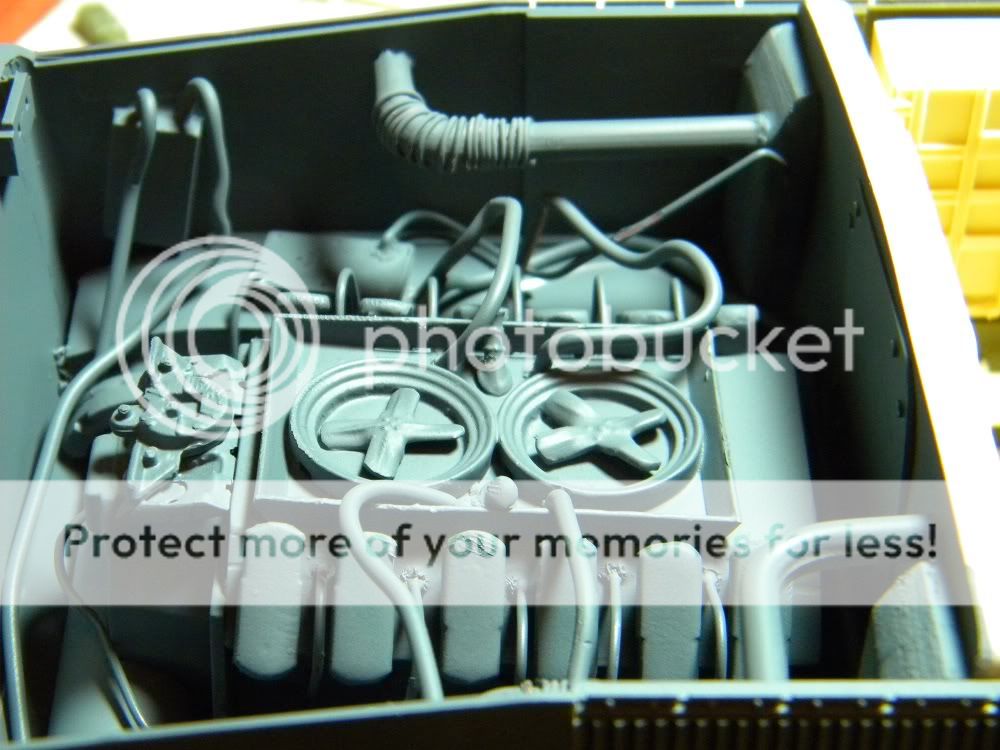
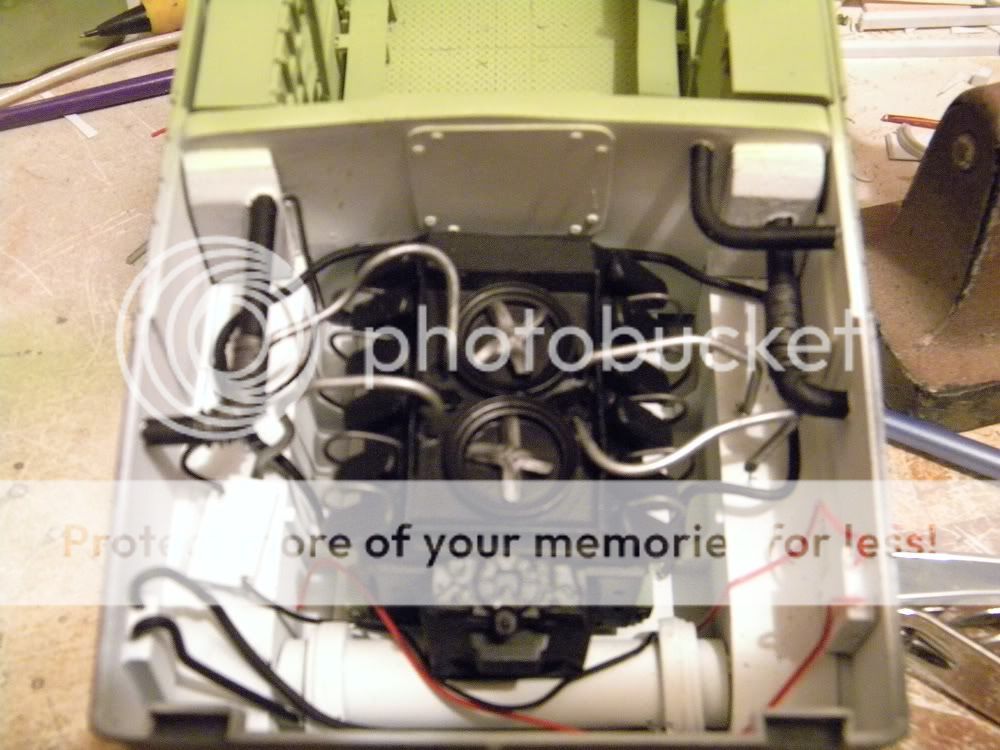
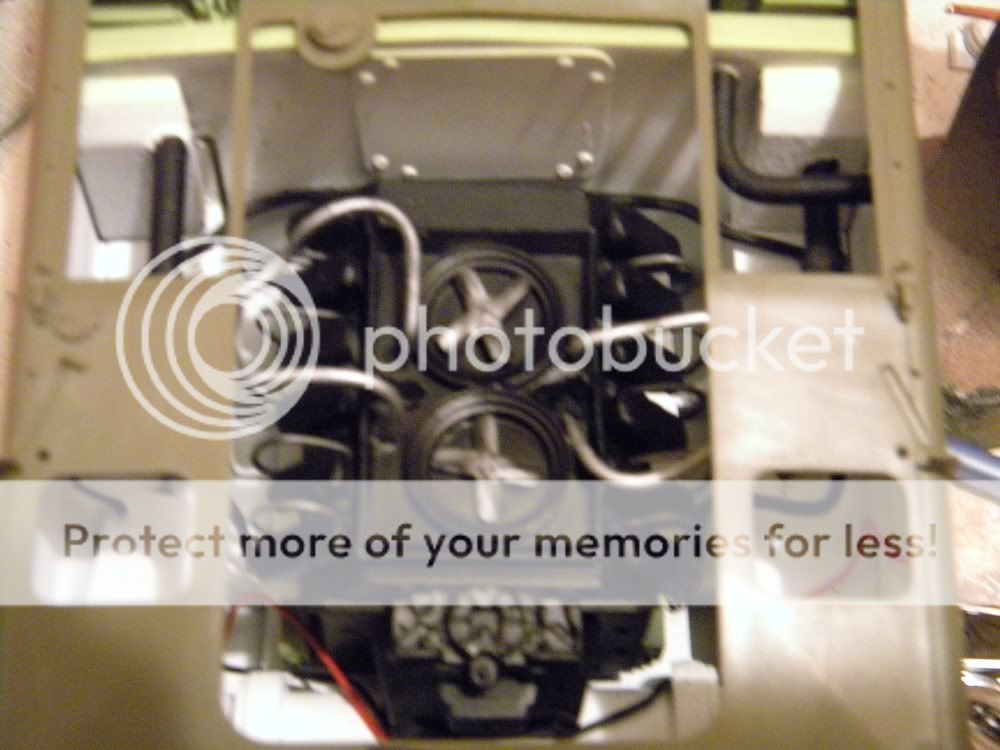
 
Thanks sherman .....its alot of resin I think the hard part is going to be making myself leave it alone for a while .....its one of those kits where each piece makes you look at it and want more.
 
I have been bust since the last posting getin the lvtp done , well it is actually a lvtr-1 65 of these conversions were made for vietnam.
And to add more I was looking at the kit and realized there is no engine or engine bay .....
so what does any modeler do who is just a glutton for punishment , alot of research is done and then you scratch build it so I have been working on that too.
I am going to try to keep the pics in the order of construction.


001-11.jpg


002-10.jpg


003-11.jpg


004-14.jpg


005-15.jpg


006-10.jpg


007-8.jpg


008-10.jpg


009-6.jpg


010-5.jpg


012-6.jpg


013-3.jpg


This is a drawing of what the engine bay will look like........

21408-4.jpg


here I am starting to flesh out the engine bay ....the hatch and floor etc.

015-5.jpg


This is the basic engine block heads and pan....more too come.

014-5.jpg


016-6.jpg
 
Thanks Terry.
I just could not leave well enough alone ......I saw the big void so it needed to be filled . I am going to be scratching the rest of the engine bay as well ......will have more pics later.
 
More engine and engine bay ....its starting to take shape.

017-5.jpg


all of this will be covered but I know its there.

019-5.jpg


Now its covered

020-4.jpg


021-5.jpg


022-5.jpg
 
There is more ...... after this I am stepping away from the bench been in a model coma the past few days.

023-5.jpg


024-6.jpg


025-5.jpg


Got the engine and engine bay in primer ...... there is still more goodies to add to the bay after the engine is painted and in place
The primer ties everything together visually .

026-4.jpg


027-3.jpg
 
MODELGURU,

Great lookin stuff !! Although I don't envy you when it comes time to paint that Motor & engine bay :evil: How are you gonna get around that stuff to get to th bottom parts of th Motor ??? I'll be watching this on th Edge of My seat ! :woohoo: :hmmm

OH Yeah .... Are You ready to go to th TANK FARM tomorrow ??? :ro: :ro: :ro: :gogo :ro: :ro:

ERIK
 
No the engine will not be a problem the engine has been designed to be a drop in ....... i havent forgotten this build ....... been workin out of town this week.
 
MG looks great!!! Are you going to have the all the engine hatches open or just some of them?

Terry B)
 
Foul!
Okay, that's it! You and Terry aren't playing fair. I'm not even gonna assemble the engine to my APC. The entire engine compartment is gonna be buttoned up and I don't care if I know it's unfinished or not. Why, I might even close every hatch there is!
You guy's rock!
Peace and Love,
Randy
 
Terry i am going to have everything open that i can.


Diorandy . Come on bro just build for fun ...... some of us have a styrene sickness.No not me Terry. Just kidin Terry.
 
Here is a nice model of LVTP 5 :woohoo: , I'll follow closely, because I also improvement kit!. I miss him more than figures Bravo6 !!. B)
 
Thanks Jenny.
I am going to get more done this weekend , I was talking to a friend who served in south east asia and had some dealings with these vehicles .......he gave me a couple of first hand tips on their use.
Dont change the chanel theres more to come.
 
Been back at the bench. I managed to make the bolt heads to cover the spots where the center row of seats would have been removed. And got the interior in a coat of primer.

001-13.jpg


002-12.jpg


After the primer came the base color it is 50 50 mix of modelmakerz zinc oxide green and white ...... The images are actually quite darker than the real color .

006-11.jpg


005-17.jpg


The bilge decal and other warnings came from the spares box. I believe it originally belonged to a Vietnam era m-577

004-15.jpg


the engine bay has been done in white because of the dark nature and absence of light.....this would help during maintance.

008-11.jpg


009-7.jpg


i still need to add the bilge pump and its associated plumbing.
 
Back
Top