• Modelers Alliance has updated the forum software on our website. We have migrated all post, content and user accounts but we could not migrate the passwords.
    This requires that you manually reset your password.
    Please click here, http://modelersalliance.org/forums/login to go to logon page and use the "Forgot your Password" option.

Let's get started!!!

Dear friends,

in my first topic I would like you to tell you about my basic sculpting techniques, by doing step by step a rather basic figure.

A simple start:

vwfj01.jpg
 
Oh, boy! I need to sculpt up some 1/48 figures- I'm glad to have a good guide like you, Luc!
 
I am taking notes,Luc.

What kind of putty did you use on this one?
The boots are from an existing kit?

Greetings,Ron.
 
OK guys, a few things first.

This is a 1/35 scale figure.
Establishing a correct and attractive pose is very difficult. I think it is one of the most difficult things in sculpting.
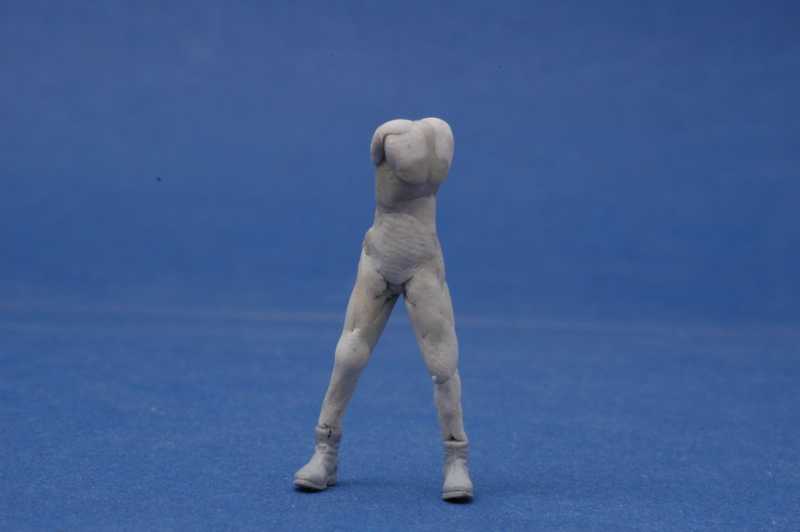
As a basis I use 0.8 mm brass wire. The thorax and pelvis are home castings of items available through Andrea miniatures from Spain. They sell a kit containing a PE armature and some white metal parts. I duplicated the bodyparts. I use a lot of plastic parts, such as shoes, boots, etc. More on that later. The figure has a certain twist in the torso and the knees are slightly bend. Getting this right is a matter of practice and patience. I make sharp bends at the knees, using pliers.
For fixing a little super glue will suffice.

More later

Luc
 
Next I start fleshing out the body.

For the sculpting I use epoxy putty. That means a two part putty. Two equal amounts are mixed together and the stuff sets at room temperature fully in about twelve hours. It stays workable for about two hours. Sometimes I speed up the curing a little by adding some heat (a light bulb). There are a lot of well known brands epoxy putty. They all are good!. It is a matter of personal preferance.
In this case I used Magic Sculp. Good stuff!!. Here in the Netherlands it is a bit hard to obtain, so I switched to Aves epoxy. Ik think this is about the same stuff, but it comes in wild colors and big, big jars if you want!!. Make your own choice: Milliput, Magic Sculp, Aves, Duro, A+B from Sylmasta, Andrea.....whatever.

For the fleshing out we need some knowledge concerning human anatomy. There is no need to te be a master since our figures will wear clothes!!!. Some artbooks on sketching will be helpful.

h588353c.jpg
 
Generally how long do you wait between steps? For curing would a crock pot work? I use a small one for my oil paints so I can work on a figure sooner. This is pretty interesting so far, thanks (y) (y) (y)
James
 
Great stuff Luc! I've been a fan of your work for a while, but haven't seen much of it lately.

Thanks for putting this up!

I think I prefer the Aves putty over Magic Sculpt, seems to be a bit more opaque.

Have you ever tried the plumbing/marine repair two-part putties from the hardware
store for fleshing out figures? You have to be quick, it dries rock hard in 30-45 minutes,
but then you can move on to adding other layers with scuplting putty.

Tom
 
You make that look easy. Where can one obtain a container of talent to make this work? :laugh: :ro:
 
If we are satisfied with the basic shape of the muscles, leave everything to set completely. That gives a good basis for further steps.
Like I said before, a little heat will speed up the curing. I use a simple light bulb in a simple socket in a lamp armature.

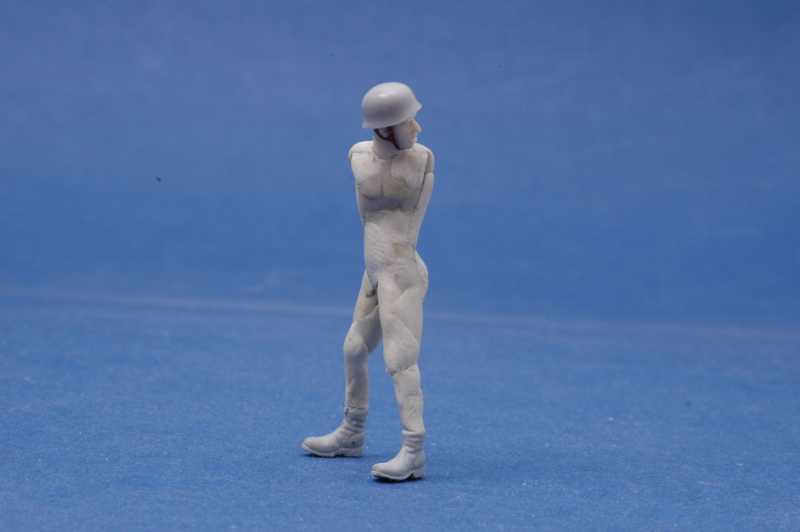
I added the head. This one is from the Hornet range, in my opinion the best. The helmet is from Dragon. The helmet straps are thin leadfoil strips. The angle and the twist of the head are very important!

h6d5b930.jpg


h30c46d0.jpg
 
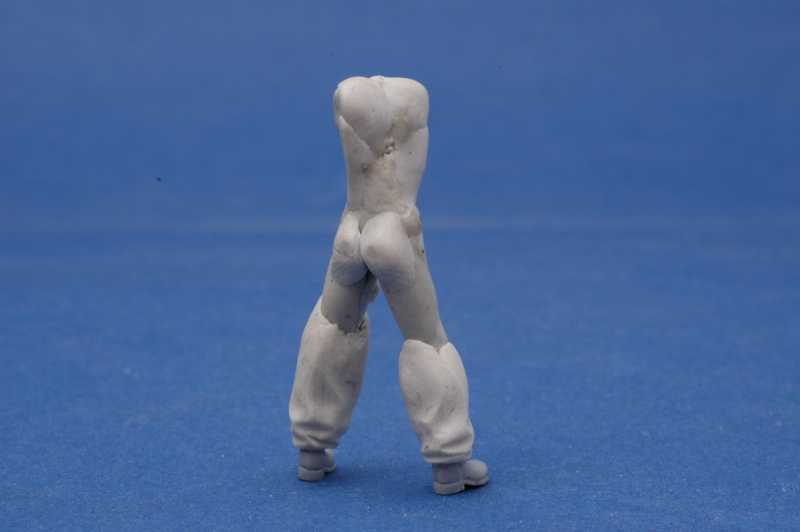
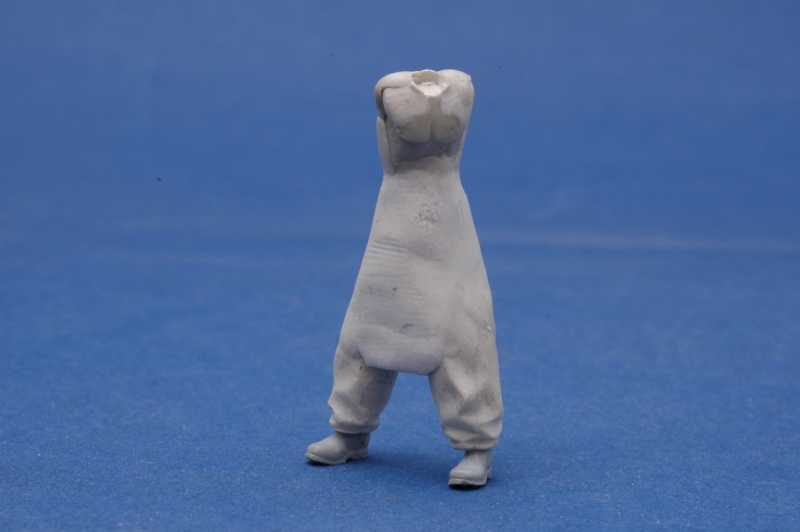
I removed the head temporarly for more ease during sculpting. This figure will get a greatcoat so there is no need to sculpt the trousers up to the waste. I like shortcuts. I formed the lower legs roughly with my fingers, smoothed them with a little water, left the putty to stiffen a bit and finally pressed in the folds and creases with some simple home made sculpting tools.

h16aaa2d.jpg


hbcd0283.jpg
 
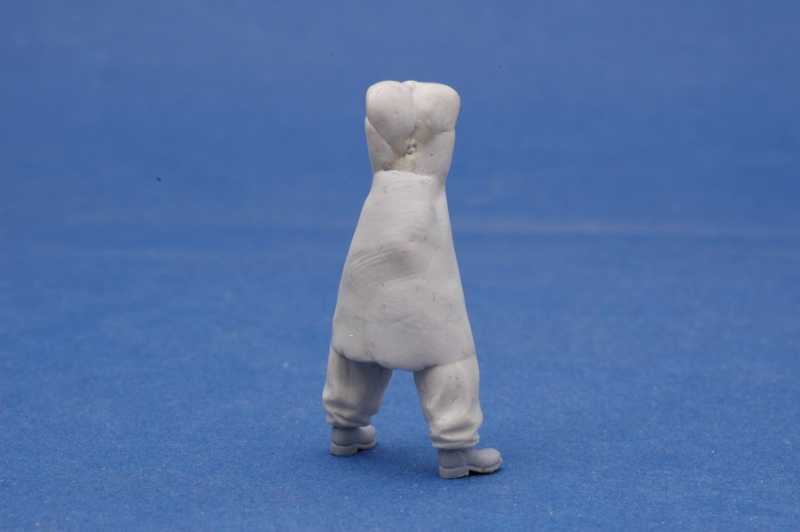
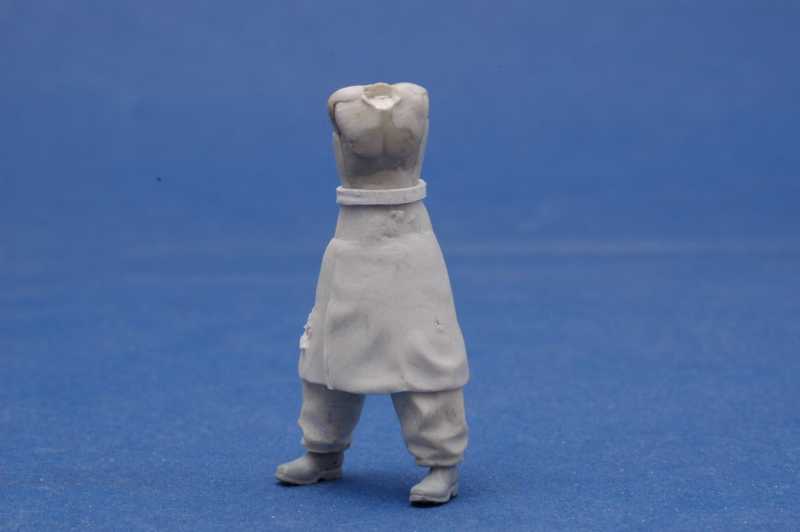
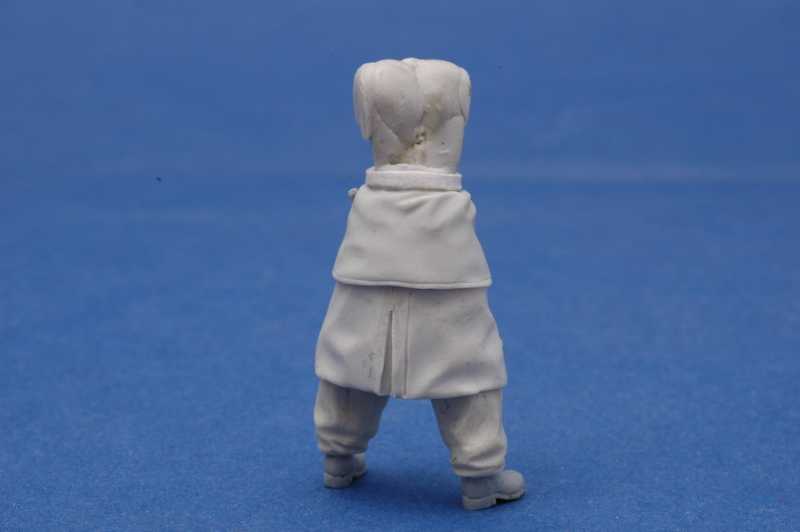
Now it is time to give some shape to the greatcoat. As you may notice I built this one from the ground up. Other figures, or poses require a different approach.


h7b756b1.jpg


h3f5536e.jpg
 
With the lower pert of the greatcoat finished, I add the belt. This is simply some putty, cut to shape with a hobby knife. The belt is an important item in the sculpting of the upper torso.


h224a0aa.jpg


h41a7f7c.jpg
 
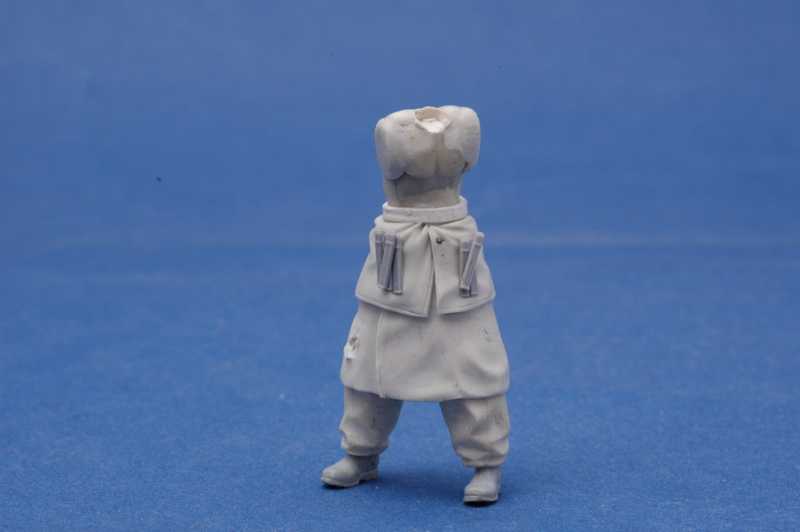
Below the belt I start sculpting the lower part of the jacket. is wearing the Luftwaffe field division jacket. On the front there are some large pockets. I will fill these with ammoclips. These plastic items are gently pressed into the still soft putty.


hd01189c.jpg


h1852c2a.jpg


h31c1ca5.jpg
 
Back
Top