We will begin the dry brushing phase here. As with washes, dry brushing has gotten a bad rap over the last dozen years. I believe the reason is because so many people were doing it wrong. I do not profess to be the best at this, far from it. To be really good at dry brushing, you must be very patient. I am not that!
I do know the basics and dry brushing can replace several of the newfangled processes out there today if done properly.
All those obviously dry brushed models we have all seen at shows and even in magazine galleries are almost always due to three things.
1) Too much paint on the brush
2) Improper technique
3) The brush is too stiff or too wet.
When dry brushing an olive drab base coat, I use two Humbrol colors.
Matt 72 Khaki Drill
Matt 66 Olive Drab
Again, using a small screw drive or something similar, go through the clear liquid at the top and pull a small amount of pigment and place on the pallet from each color.

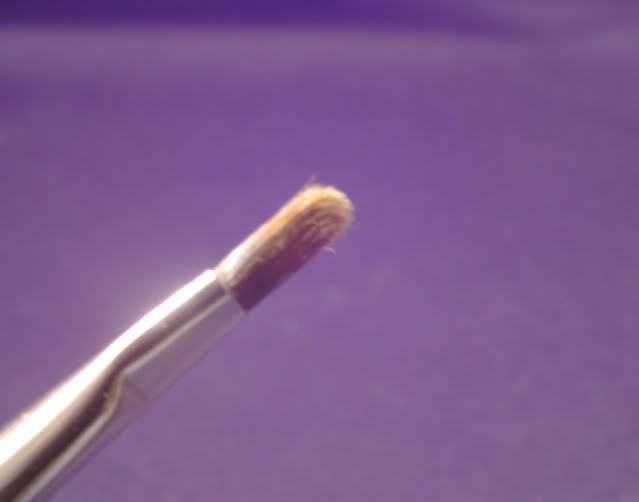
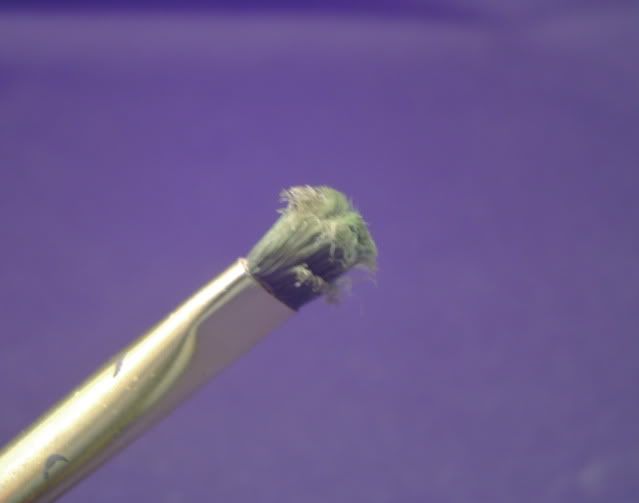
Then, mix about 50-50 on another area of the pallet. Then, I take a number 8 filbert that is completely dry. Dip it in the mixture, then, using the old t-shirt, grasp the brush between the t-shirt using your forefinger and thumb, squeeze and pull. Repeat until there is barely any color on the t-shirt. The way to know if you have the correct amount of paint on the brush is to jab it straight down on a clean area of the pallet and twist. It should leave something that looks like the swirls on the following two pics.
 ]
]

Now, using the jab and twist, (Kind of like stippling but with a twist at each thrust), lightly enhance the raised portions of the model. You don't want to see immediate results or you are using too much paint. No problem if you do, just leave it till you are finished with the dry brushing procedure. I purposely over done the step on the right side of the chassis. see below.


Over done.

If you get too heavy handed, after you are finished with the vehicle, mix a light mixture of the raw umber/turpentine wash and simply go over the part with too much dry brush.

Then blot it off as in the wash tutorial.

The following are three pics during the dry brushing of the entire vehicle.


Now for the second stage of the dry brushing. On a clean pallet, obtain the pigments from the bottom of the matt 72, Khaki Drill tin and place of the pallet. Never use thinner of any kind during dry brushing. That includes the rectified turpentine. You want the brush to be dry. A wet brush causes streaking and blobs, even when using the punch and twist method. Keep that brush dry.

Then smooth it out with another brush.

Then wipe it clean with a t-shirt. Then try the swirls.

Then begin the punch and twist jabs again on the highest points with detail. Not too much, but, if you overdo it, you can always go back and re-wash it as I did previously. Dry brushing should be very, very subtle and never jump out at you. If it does, you won't like the end result.


Now, dry brushing with Humbrol enamels dry very fast. The last step in this session is to make another raw umber wash, only this time, much thinner. If you are using the artist's rectified turpentine, this will be a breeze. Using a fine brush, I am using a Winsor Newton Series 7, 000 point, dip it in the mixture and outline all the panels and details. The brush I am speaking of is not the one in the picture immediately below, but the one following that. If the wash is thin enough, it will take capillary action around these details. If you go off a bit, don't be concerned. This is very forgiving. When dry, it will leave a very subtle dark area around the details that will be very soft when dry. It will make those details and panel lines pop out without being obvious. Some people call this a pinwash. Some do it in black which, IMHO, is too obvious.

Here is the pinwash after drying.

OK, so much for that one.
Bob

I do know the basics and dry brushing can replace several of the newfangled processes out there today if done properly.
All those obviously dry brushed models we have all seen at shows and even in magazine galleries are almost always due to three things.
1) Too much paint on the brush
2) Improper technique
3) The brush is too stiff or too wet.
When dry brushing an olive drab base coat, I use two Humbrol colors.
Matt 72 Khaki Drill
Matt 66 Olive Drab
Again, using a small screw drive or something similar, go through the clear liquid at the top and pull a small amount of pigment and place on the pallet from each color.
Then, mix about 50-50 on another area of the pallet. Then, I take a number 8 filbert that is completely dry. Dip it in the mixture, then, using the old t-shirt, grasp the brush between the t-shirt using your forefinger and thumb, squeeze and pull. Repeat until there is barely any color on the t-shirt. The way to know if you have the correct amount of paint on the brush is to jab it straight down on a clean area of the pallet and twist. It should leave something that looks like the swirls on the following two pics.
Now, using the jab and twist, (Kind of like stippling but with a twist at each thrust), lightly enhance the raised portions of the model. You don't want to see immediate results or you are using too much paint. No problem if you do, just leave it till you are finished with the dry brushing procedure. I purposely over done the step on the right side of the chassis. see below.
Over done.
If you get too heavy handed, after you are finished with the vehicle, mix a light mixture of the raw umber/turpentine wash and simply go over the part with too much dry brush.
Then blot it off as in the wash tutorial.
The following are three pics during the dry brushing of the entire vehicle.
Now for the second stage of the dry brushing. On a clean pallet, obtain the pigments from the bottom of the matt 72, Khaki Drill tin and place of the pallet. Never use thinner of any kind during dry brushing. That includes the rectified turpentine. You want the brush to be dry. A wet brush causes streaking and blobs, even when using the punch and twist method. Keep that brush dry.
Then smooth it out with another brush.
Then wipe it clean with a t-shirt. Then try the swirls.
Then begin the punch and twist jabs again on the highest points with detail. Not too much, but, if you overdo it, you can always go back and re-wash it as I did previously. Dry brushing should be very, very subtle and never jump out at you. If it does, you won't like the end result.
Now, dry brushing with Humbrol enamels dry very fast. The last step in this session is to make another raw umber wash, only this time, much thinner. If you are using the artist's rectified turpentine, this will be a breeze. Using a fine brush, I am using a Winsor Newton Series 7, 000 point, dip it in the mixture and outline all the panels and details. The brush I am speaking of is not the one in the picture immediately below, but the one following that. If the wash is thin enough, it will take capillary action around these details. If you go off a bit, don't be concerned. This is very forgiving. When dry, it will leave a very subtle dark area around the details that will be very soft when dry. It will make those details and panel lines pop out without being obvious. Some people call this a pinwash. Some do it in black which, IMHO, is too obvious.
Here is the pinwash after drying.
OK, so much for that one.
Bob