
-
Modelers Alliance has updated the forum software on our website. We have migrated all post, content and user accounts but we could not migrate the passwords.
This requires that you manually reset your password.
Please click here, http://modelersalliance.org/forums/login to go to logon page and use the "Forgot your Password" option.
You are using an out of date browser. It may not display this or other websites correctly.
You should upgrade or use an alternative browser.
You should upgrade or use an alternative browser.
Latest Acquisitions Revisited!
- Thread starter tomwes
- Start date

Heavens Eagle
Well-known member
Cool acquisition James. The only aircraft that I am looking at these days is "possibly" the 1/32nd Grumman Duck, and the 1/35th Ka50 helicopter.View attachment 192637This arrived today. Will try and do a Pic revue if the heat let's up some

paddy
Well-known member
Today i bought some turn buckles. I did this without thinking really but i have a problem. How do you attach the rigging wire to the turn buckle given that in 99% of cases the ringing attaches to the plain end with the eyelet attached to the wing or strut ? If i am going to us the brass tube method i might as well do the Bobs buckles method.
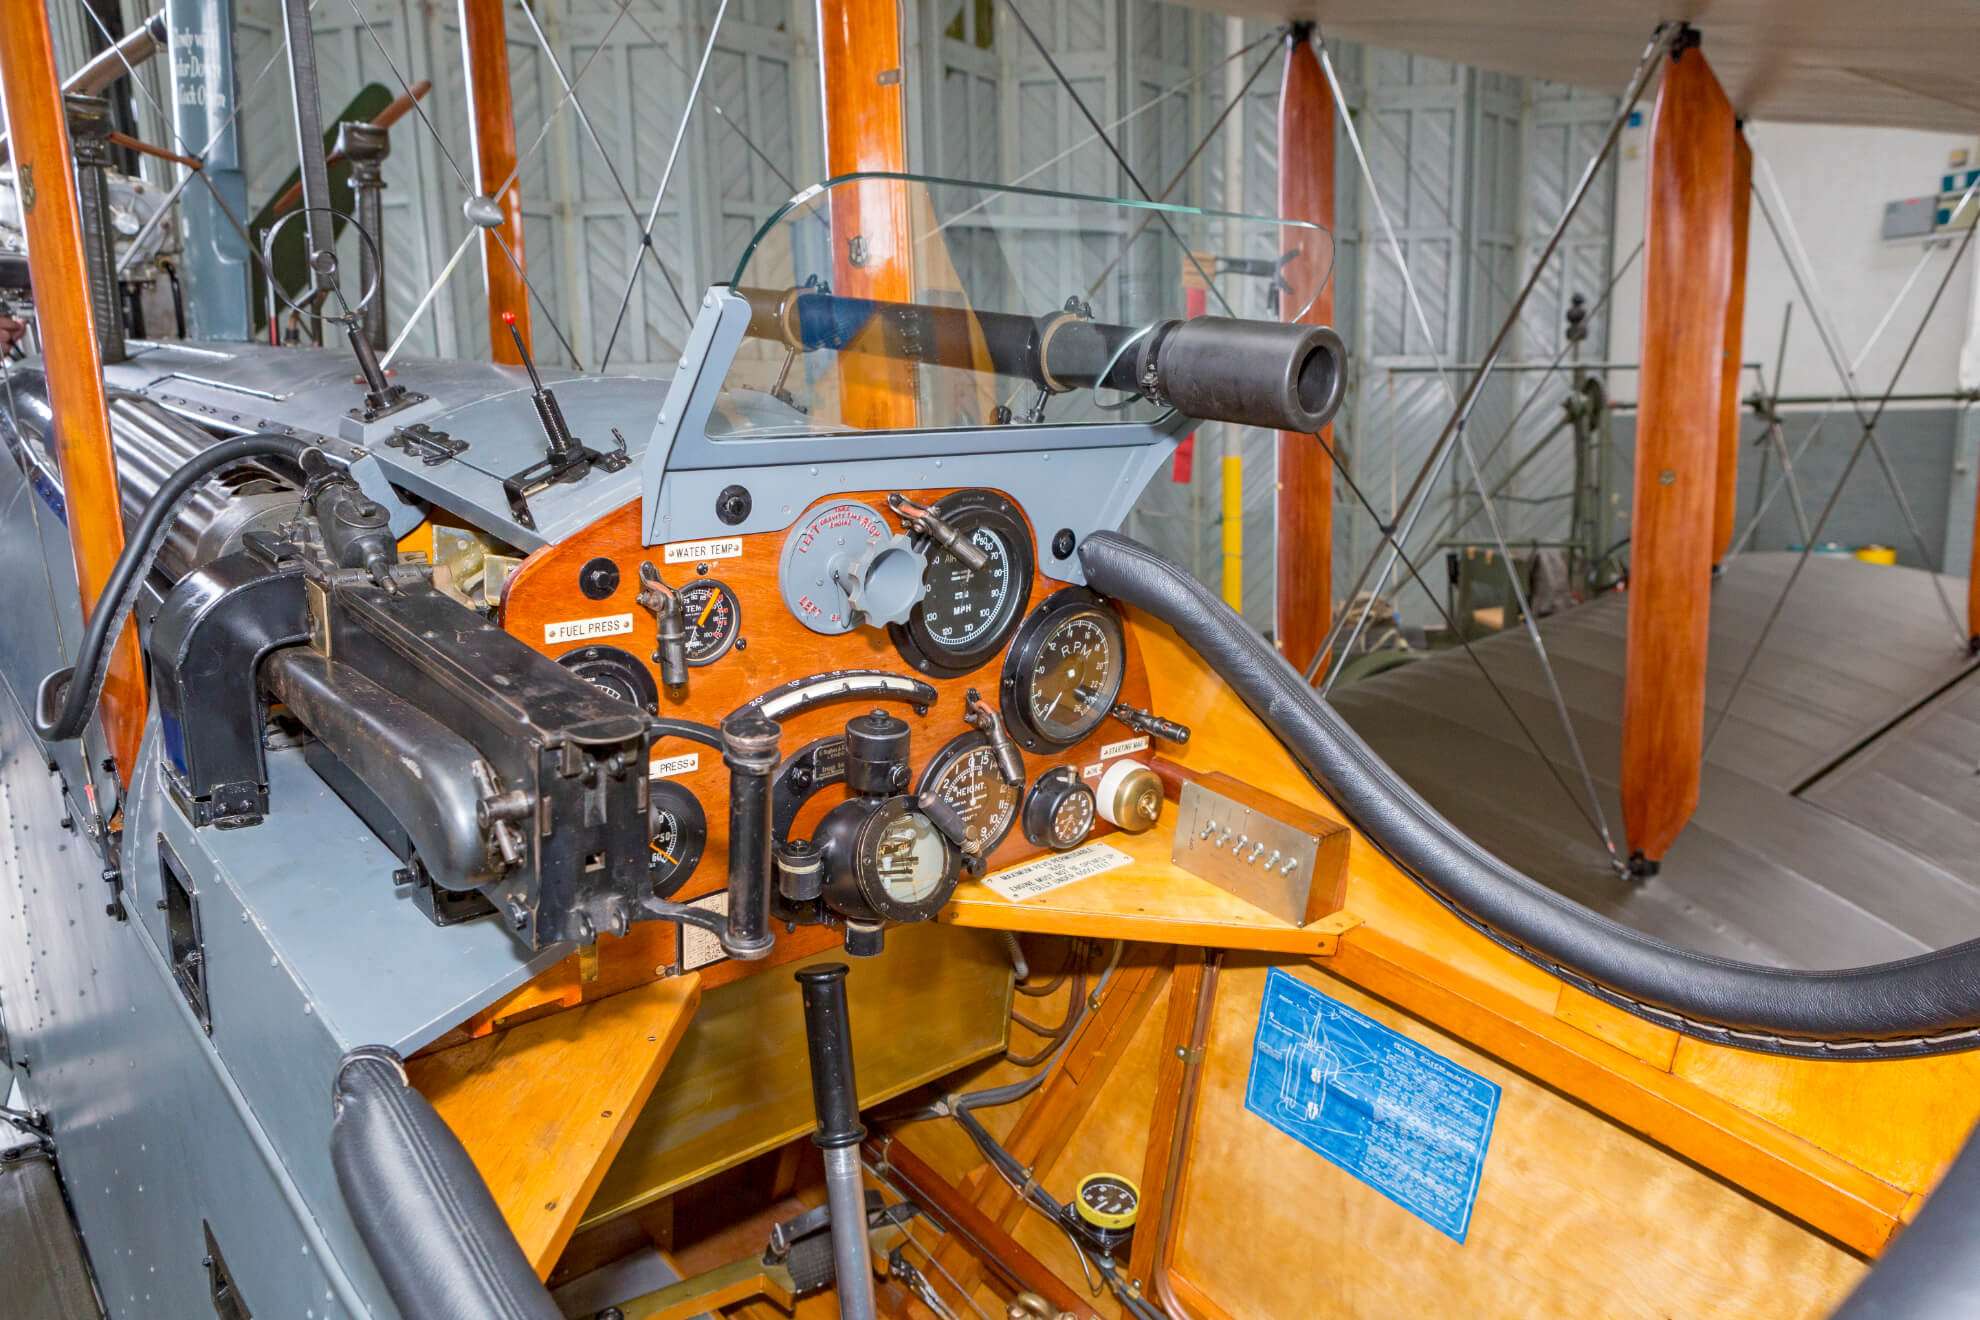
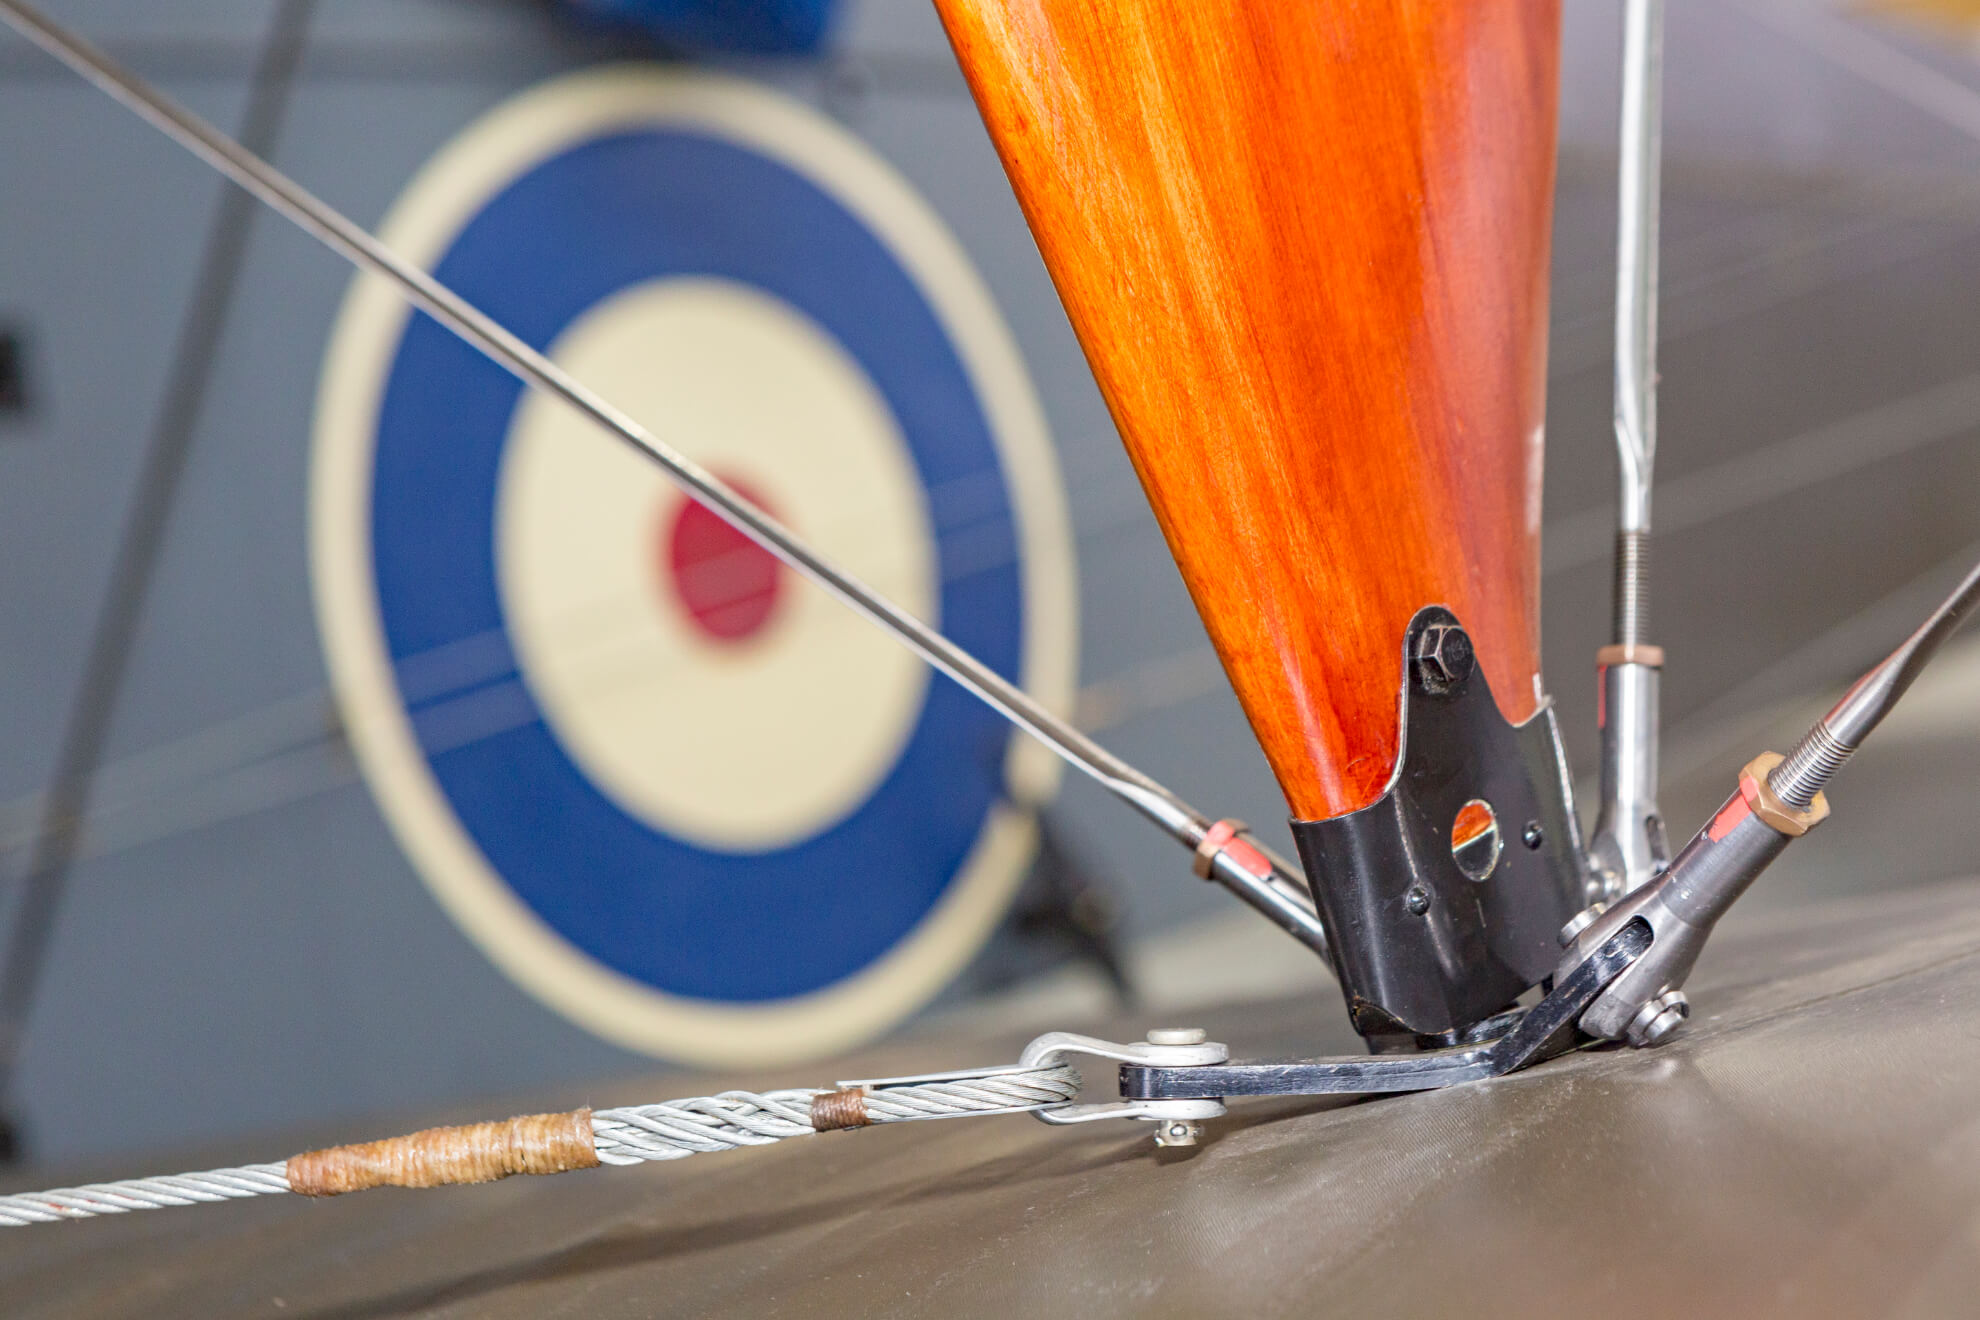
I am also a bit surprised just how bright and shiny and "metal" the rigging is in real life, anyone care to guess the dia ? I relealise these are not round
I am also a bit surprised just how bright and shiny and "metal" the rigging is in real life, anyone care to guess the dia ? I relealise these are not round
Heavens Eagle
Well-known member
On (it appears) British aircraft some of the flying wires are cable. The really shiny ones are actually airfoil shaped rods that are being used and not cable.
If you look at the photo just above in Paddy's post, the bottom most "cable" is a real cable. The other 3 items are the airfoil shaped rods. Those don't actually do turnbuckles, but the ends thread on with a jam nut.
I think that the British were the only ones that actually did this while the German's, French, and Italian aircraft were all cables.
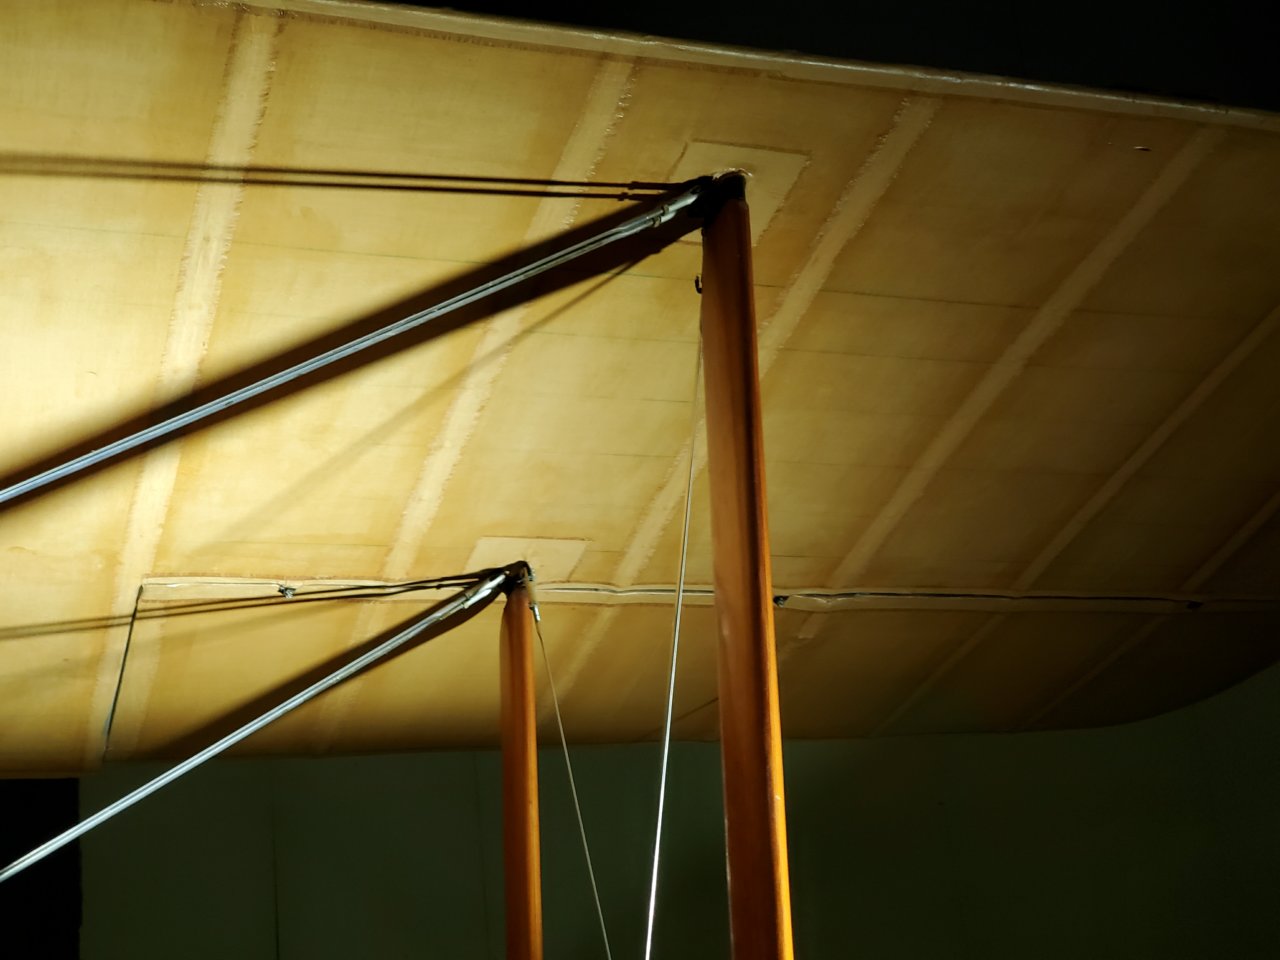
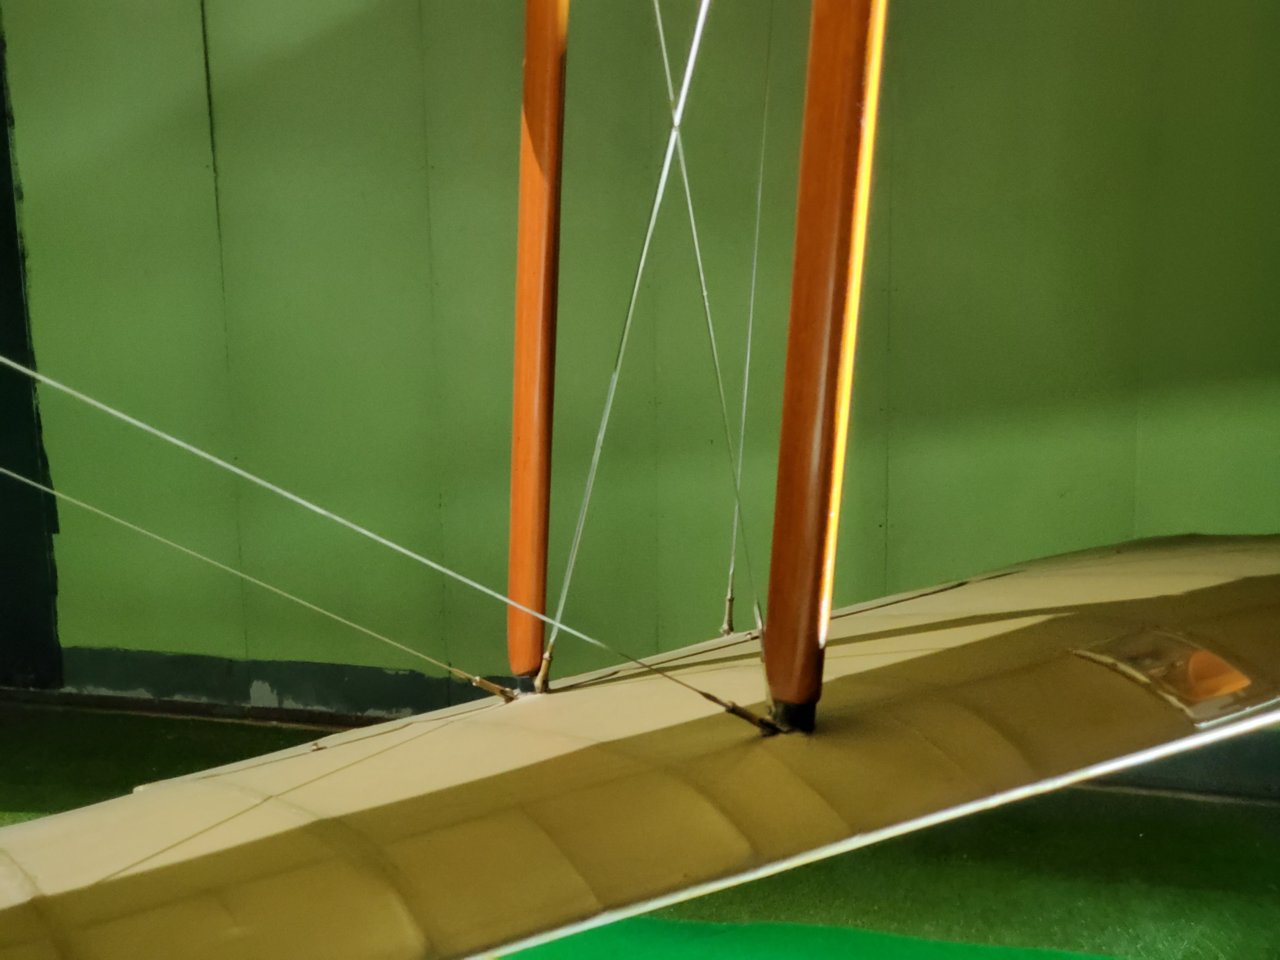
Also turnbuckles were only used on one end of a cable. In the photos I have looked at the turnbuckles are always placed at the most accessible end. For example, where a cable attaches to a bottom wing, or the easiest to reach. The rods were usually a pre set length with the ends threaded and both ends were adjustable and looked as in the photo above.
Here are a couple of photos of the Sopwith Camel at the Air Force Museum showing the ends of the rod mountings.
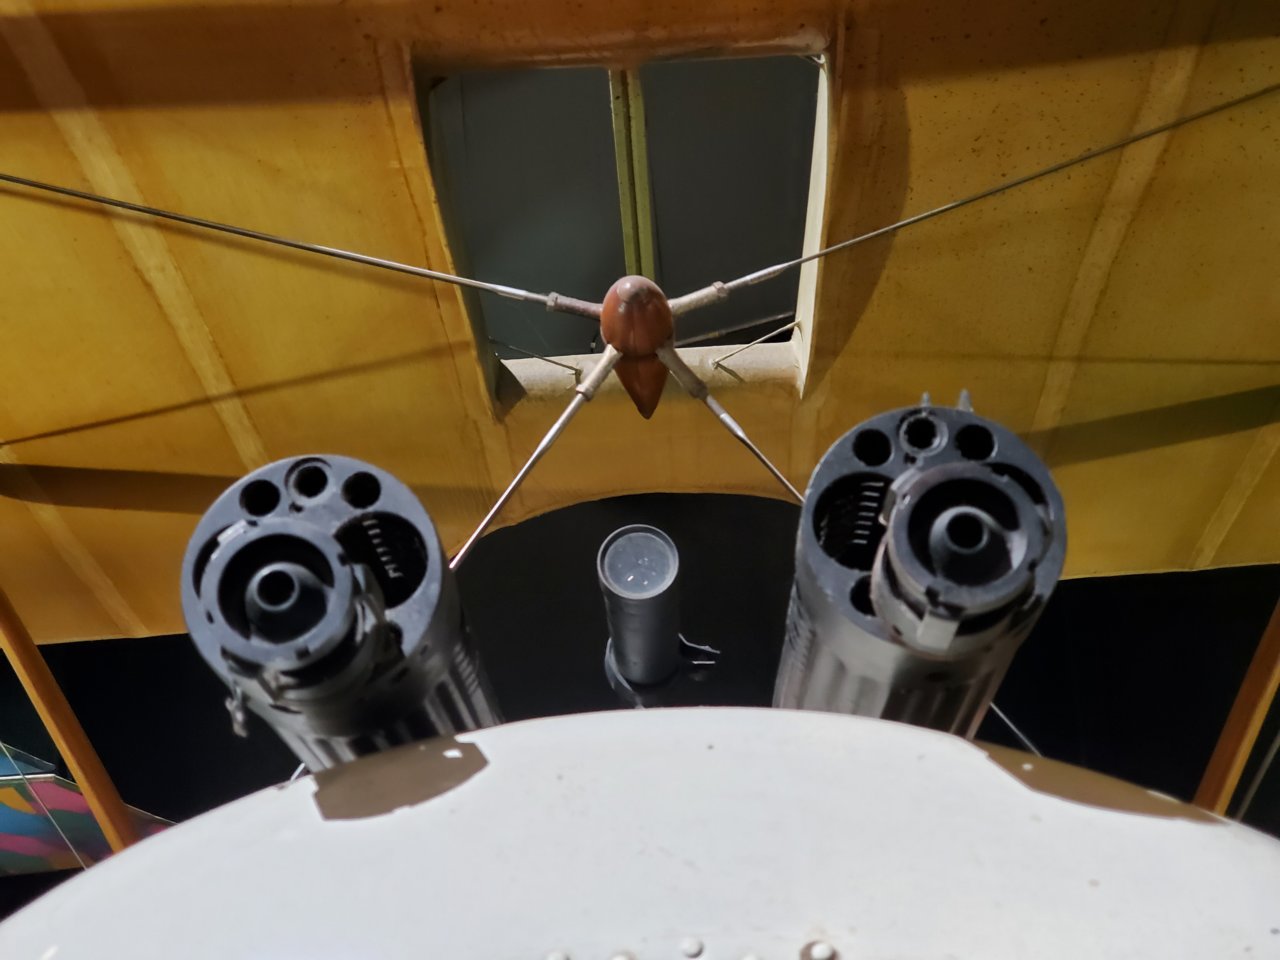
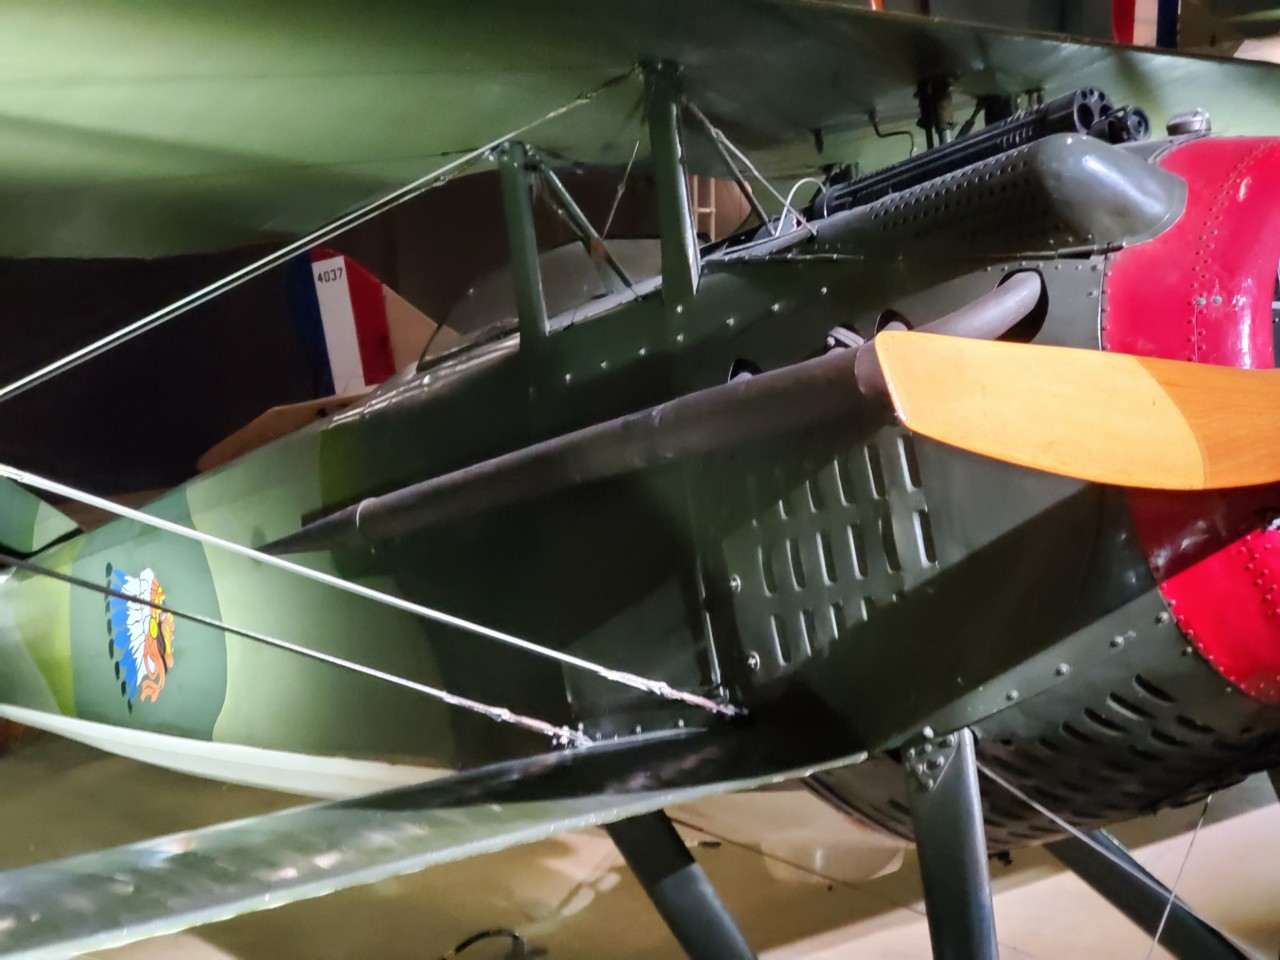
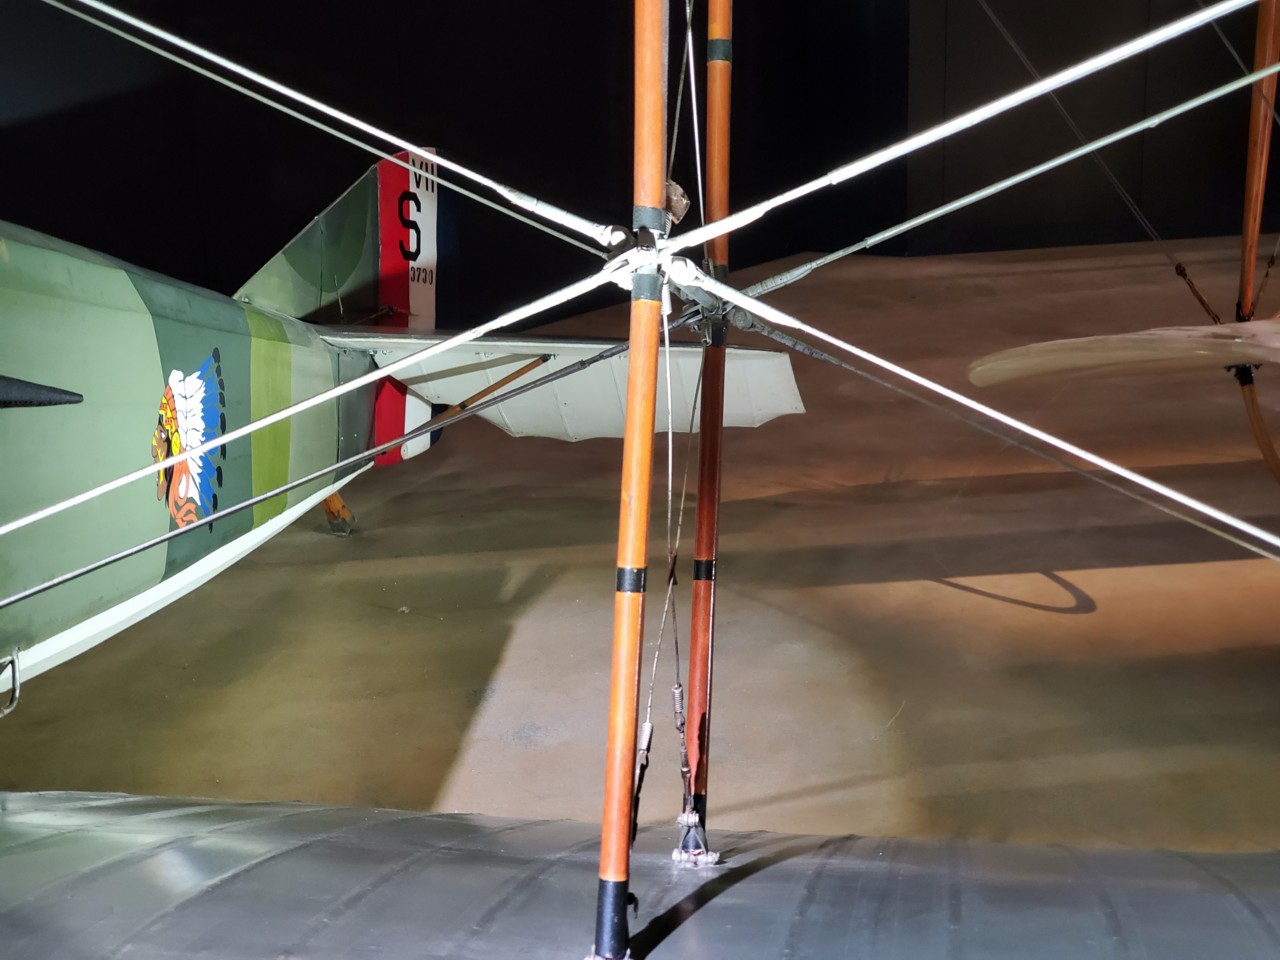
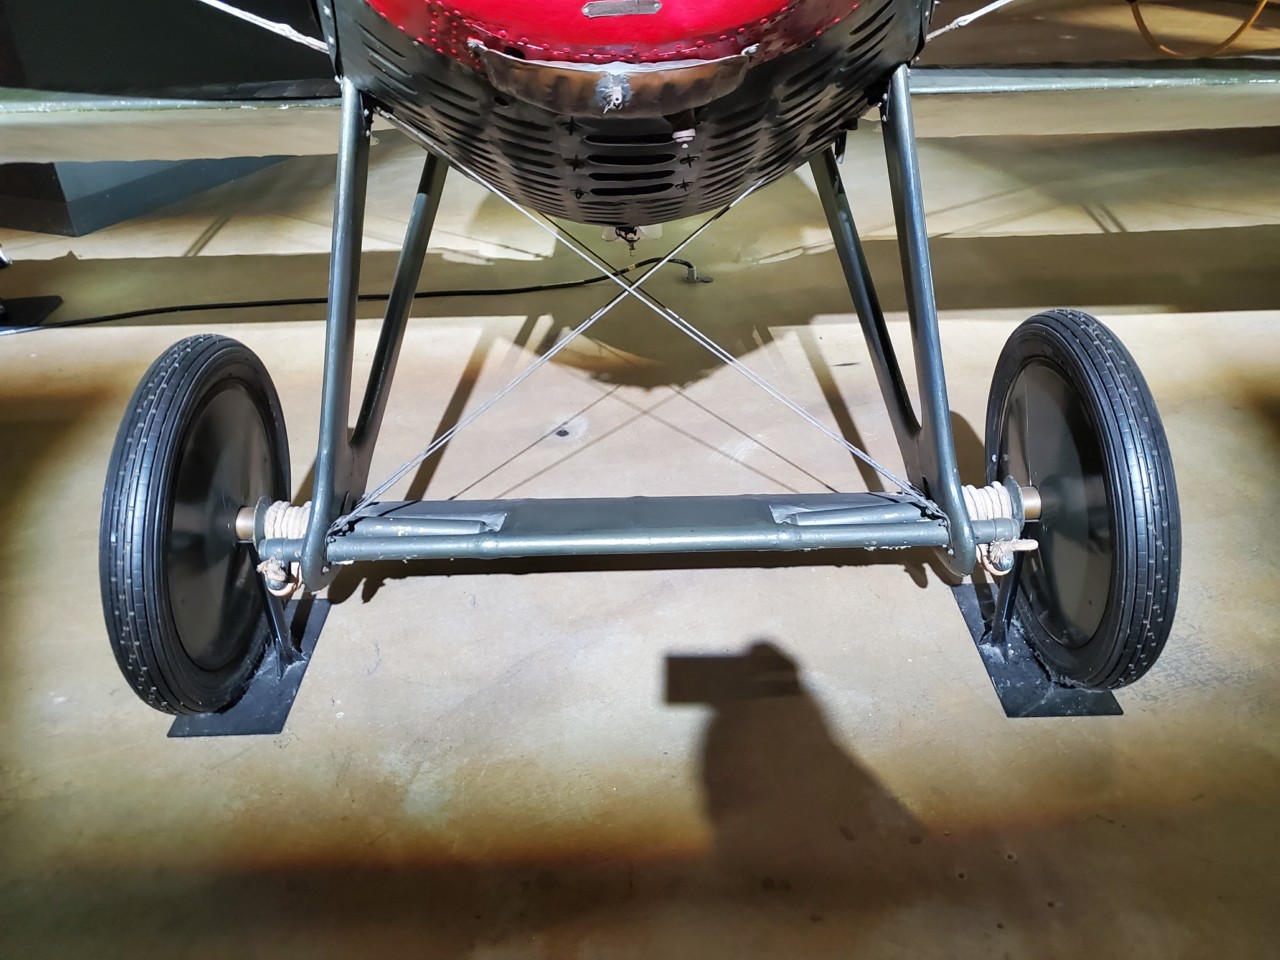
Here are some from a Spad
A Caproni bomber
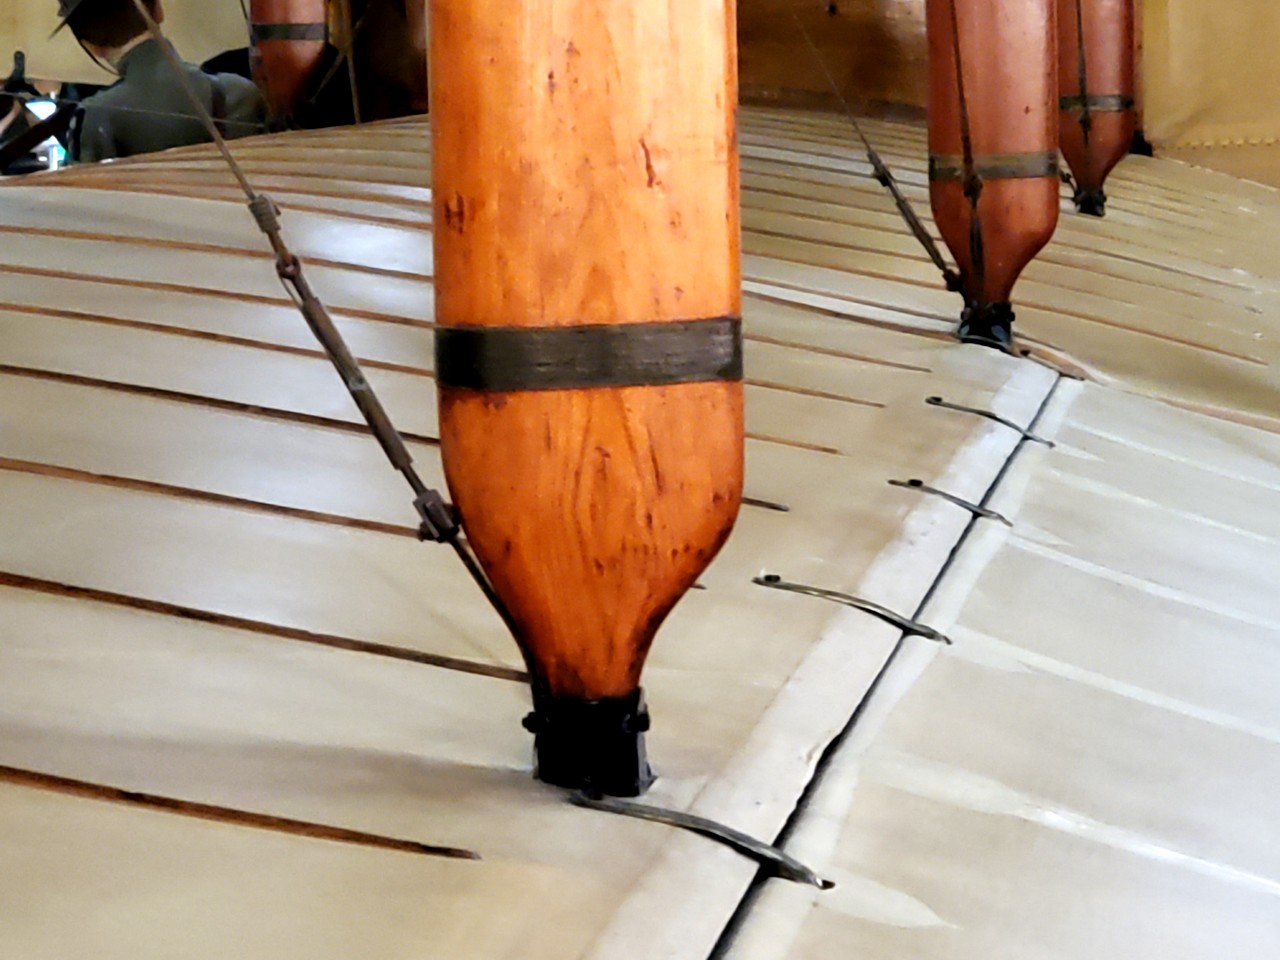
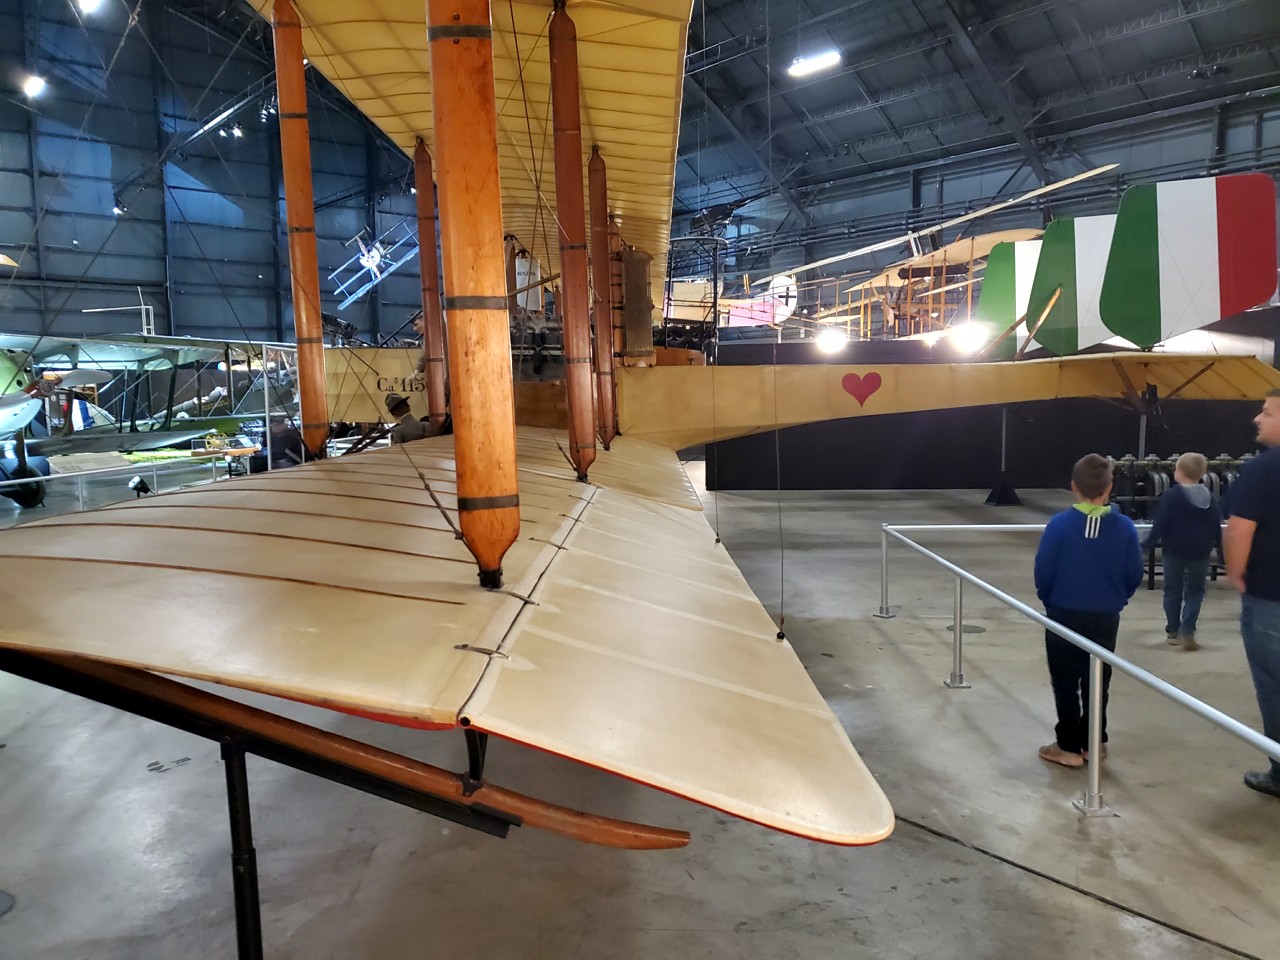
And a German Halberstadt
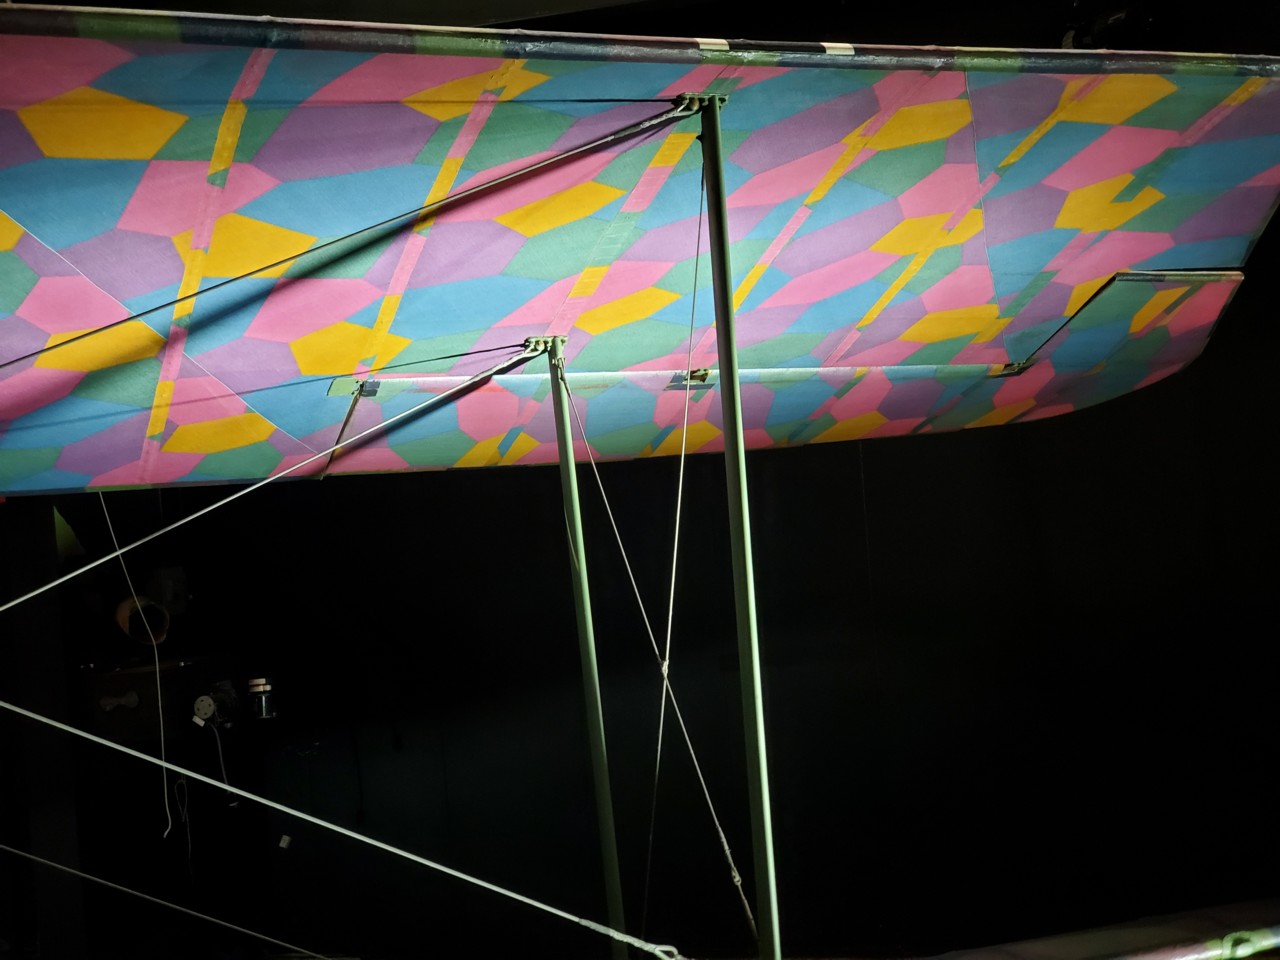
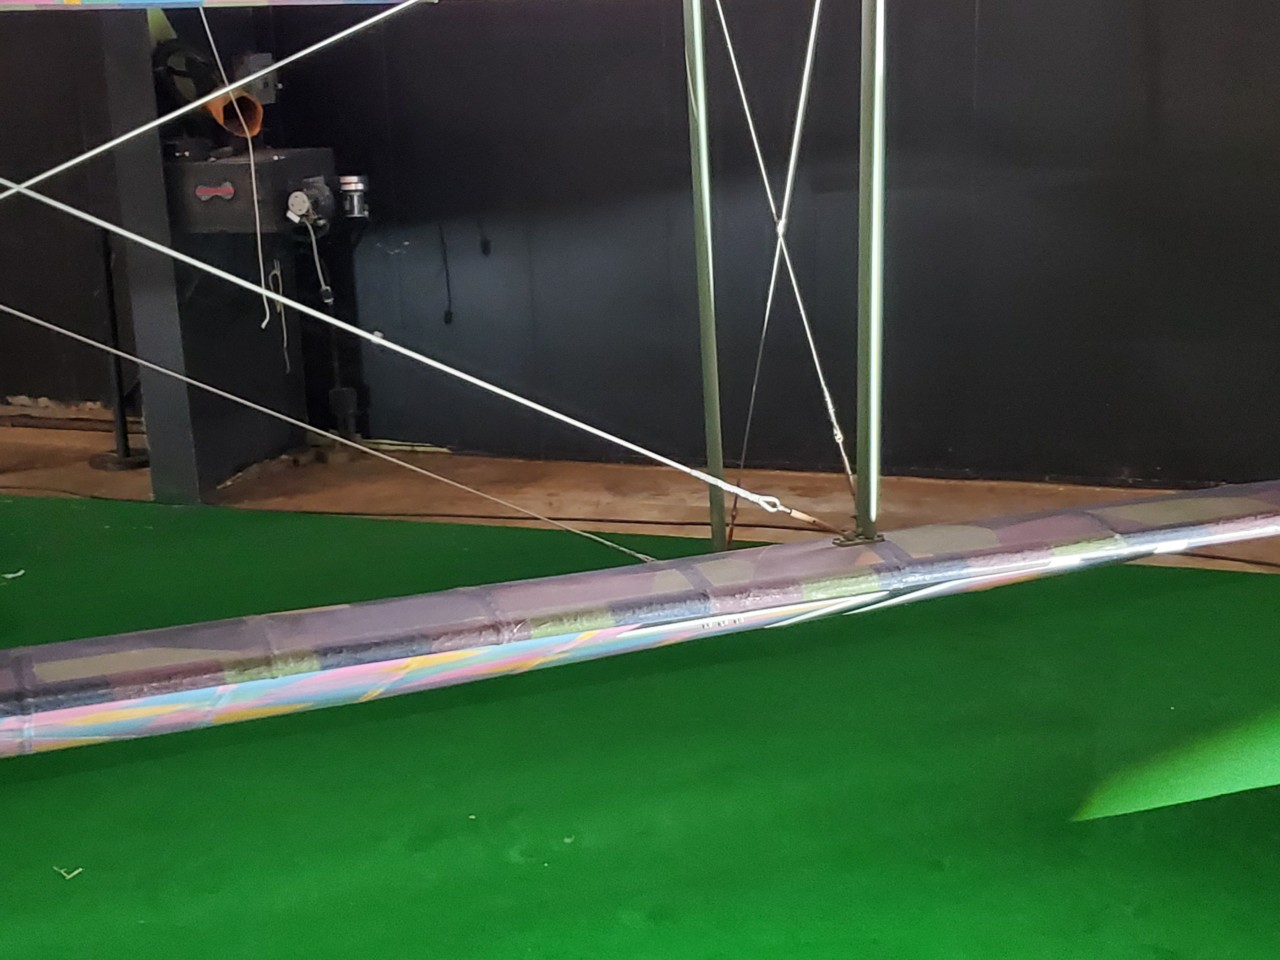
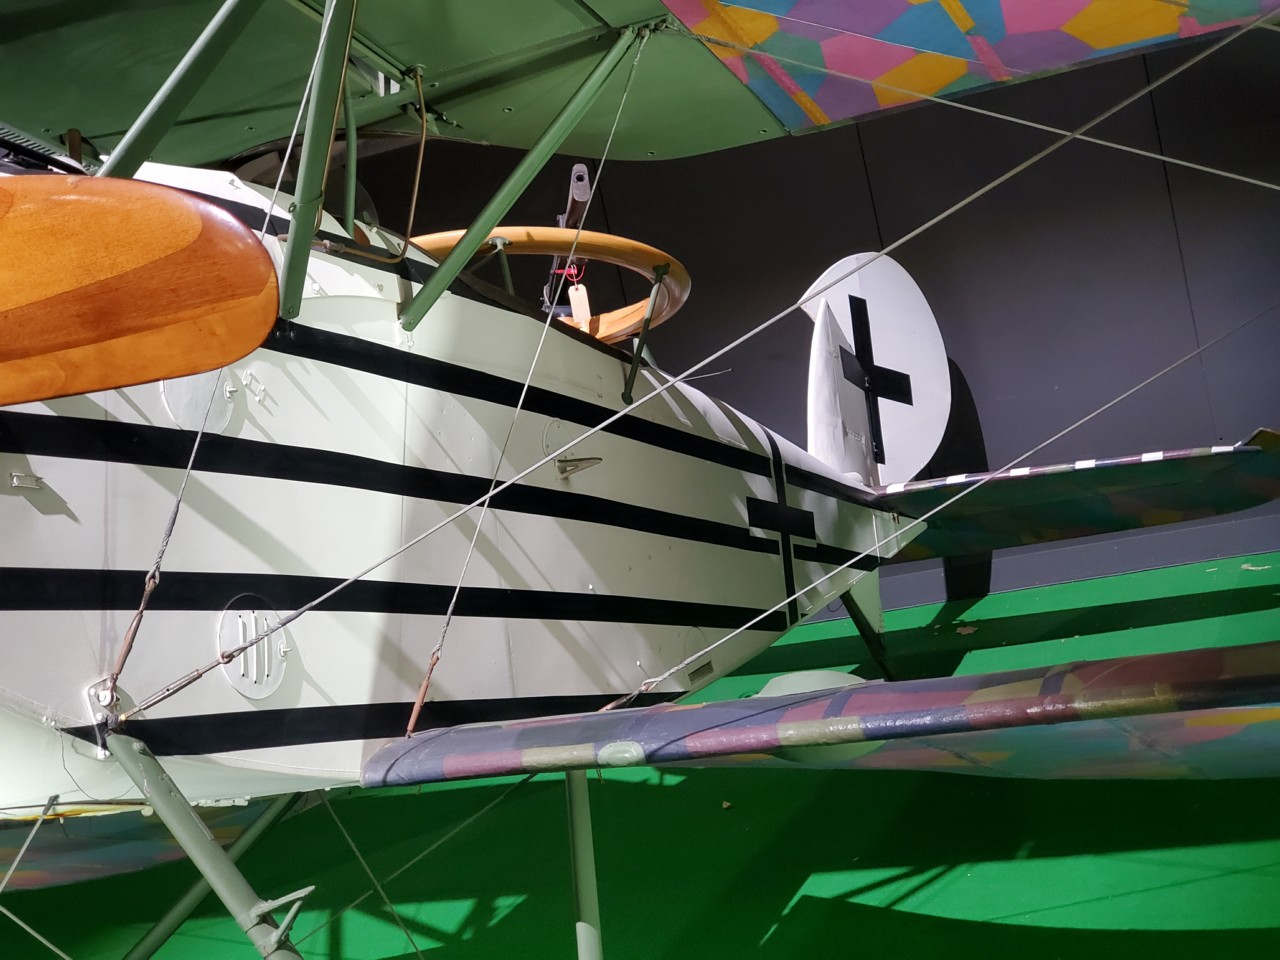
Also it seems that American planes (Curtiss Jenny) had the airfoil rod set up as well.
If you look at the photo just above in Paddy's post, the bottom most "cable" is a real cable. The other 3 items are the airfoil shaped rods. Those don't actually do turnbuckles, but the ends thread on with a jam nut.
I think that the British were the only ones that actually did this while the German's, French, and Italian aircraft were all cables.
Also turnbuckles were only used on one end of a cable. In the photos I have looked at the turnbuckles are always placed at the most accessible end. For example, where a cable attaches to a bottom wing, or the easiest to reach. The rods were usually a pre set length with the ends threaded and both ends were adjustable and looked as in the photo above.
Here are a couple of photos of the Sopwith Camel at the Air Force Museum showing the ends of the rod mountings.
Here are some from a Spad
A Caproni bomber
And a German Halberstadt
Also it seems that American planes (Curtiss Jenny) had the airfoil rod set up as well.
Last edited:

Paddy those aerodynamic bracing wires were very ridged, they were tighten by that nut back at the attachment point. What I've seen of the SE5 they didn't have the turnbuckles. I supposed Harry didn't have them either. Not the turn buckles like what Bobs are.
I haven't sorted out how I'm going to attach the wires on the SE5, just sorting PC10 right now.
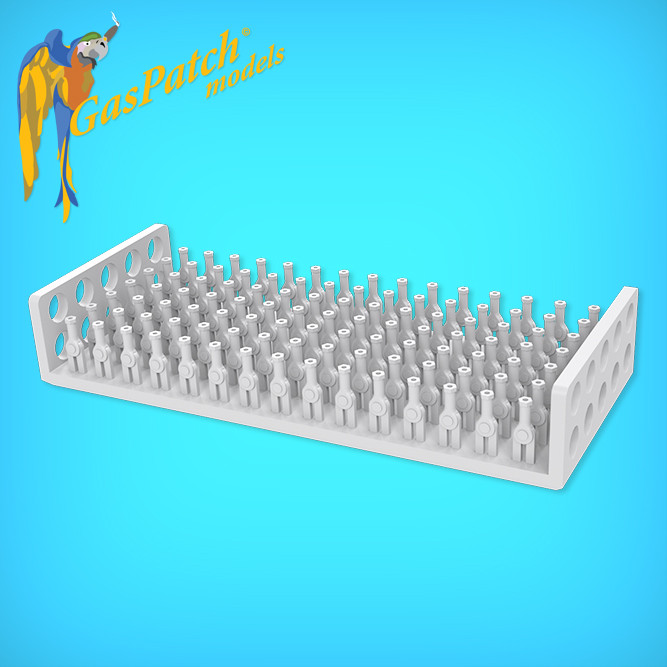
I like the Gaspatch buckles better, while Bob's can be a bit more functional the Gaspatch stuff looks better.
I haven't sorted out how I'm going to attach the wires on the SE5, just sorting PC10 right now.
I like the Gaspatch buckles better, while Bob's can be a bit more functional the Gaspatch stuff looks better.
paddy
Well-known member
Yea but like i said how do you attach the wire to the buckle
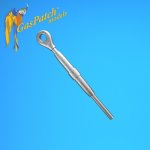
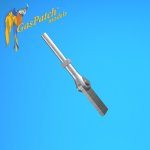
I need to stop and work this out. I bought some resin 3D turnbuckles and they are not up top the job. they are way to brittle, the shaft on them is under half a mm so if you were to fit them at just a couple of degrees out, and remember every single one is angled towards another, then when you tighten the wire its going to pull on and snap the Turnbuckle. There is no flex in a 0.5mm 3D printed rod . Because of this i then bought some Gaspatch metal ones but before they even arrive i cant see how they will really work. Its very easy to be £100 down before you even start with turnbuckles and wires. Thats more than the entire model 
My guess is they are thinking you put the plain end in the wing and attach the wire to the eyelet but thats really the wrong way round.
I remember when i fitted the top wing to my Bristol fighter i had knock p a jig to hold it in place. even when the glue was dry you couldn't pick the model up by the top wing. Once rigged, even with fishing line (tensioned) the whole thing became rigid and stable and picking it up by the top wing was the best way to handle the model.
They had a TV program here on the new build of a Sopwith 1.1/2 strutter. Its obvious when you think about it but there is no integral strength in the wings until they are rigged and the rigging is pretty criticle since it can pull the wing into any shape you want and tightening each wire effectively alters the previous. You could have a perfect biplane wing set up but with half the rigging at double the tension of the other so under stress of flying the wing deforms catastrophically snapping the wires. Imperial war museum Records here show 8000 pilots died in training and aircraft failures and 6000 died in combat, making it too the front line at all was an achievement .
I need to stop and work this out
. I bought some resin 3D turnbuckles and they are not up top the job. they are way to brittle, the shaft on them is under half a mm so if you were to fit them at just a couple of degrees out, and remember every single one is angled towards another, then when you tighten the wire its going to pull on and snap the Turnbuckle. There is no flex in a 0.5mm 3D printed rod . Because of this i then bought some Gaspatch metal ones but before they even arrive i cant see how they will really work. Its very easy to be £100 down before you even start with turnbuckles and wires. Thats more than the entire model My guess is they are thinking you put the plain end in the wing and attach the wire to the eyelet but thats really the wrong way round.
I remember when i fitted the top wing to my Bristol fighter i had knock p a jig to hold it in place. even when the glue was dry you couldn't pick the model up by the top wing. Once rigged, even with fishing line (tensioned) the whole thing became rigid and stable and picking it up by the top wing was the best way to handle the model.
They had a TV program here on the new build of a Sopwith 1.1/2 strutter. Its obvious when you think about it but there is no integral strength in the wings until they are rigged and the rigging is pretty criticle since it can pull the wing into any shape you want and tightening each wire effectively alters the previous. You could have a perfect biplane wing set up but with half the rigging at double the tension of the other so under stress of flying the wing deforms catastrophically snapping the wires. Imperial war museum Records here show 8000 pilots died in training and aircraft failures and 6000 died in combat, making it too the front line at all was an achievement .
Yeah I've seen those, no clue. I wonder if the one on the right is supposed to be the anchor point for the rigid wires I'm dealing with on the SE5. But that raises the question how does it attached to the model with that slot.

 www.gaspatchmodels.com
@Sharkmouth do you know the folks at Gaspatch? Maybe they can explain how these are used. I've never seen someone use them.
Metal Turnbuckles RAF 1/32
www.gaspatchmodels.com
@Sharkmouth do you know the folks at Gaspatch? Maybe they can explain how these are used. I've never seen someone use them.
Last edited:

Nope, it is all Greek to me (they're from Greece).@Sharkmouth do you know the folks at Gaspatch? Maybe they can explain how these are used. I've never seen someone use them.

Gaspatch Models | Athens
Gaspatch Models, Athens. 9,626 likes · 3 talking about this. Founded in 2011, GasPatch Models provides quality kits with a high and consistent level of detail.
 www.facebook.com

jknaus
Administrator
Read this thread Bob.Yeah I've seen those, no clue. I wonder if the one on the right is supposed to be the anchor point for the rigid wires I'm dealing with on the SE5. But that raises the question how does it attached to the model with that slot.
Metal Turnbuckles RAF 1/32
@Sharkmouth do you know the folks at Gaspatch? Maybe they can explain how these are used. I've never seen someone use them.

Turnbuckles
I'm currently researching for some future builds of WNW and Eduard I'm wanting to fit detailed turnbuckles. I have settled on GasPatch http://www.gaspatchmodels.com/products/metal-turnbuckles-32.html I now find myself a little lost and in need of some help please. What type (A B C etc) of turnbuc...
 www.britmodeller.com
OK but how do they attach to the model?
OMG, anyone remember that one user? Bragged about giving false info to people. Long story, no need to rehash.
OMG, anyone remember that one user? Bragged about giving false info to people. Long story, no need to rehash.
paddy
Well-known member
The problem there is they are confusing turnbuckles with clevis pins and forks or as we called them in the motorcycle world, clevis pins and rod ends, a confusion also in the Gaspatch description as well.
Turn buckle
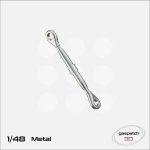
Rod end
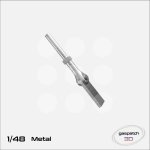
What we need as it has a hole for 0.2mm wire
Not buying any more already wasted a $100 :-(
Turn buckle
Rod end
What we need as it has a hole for 0.2mm wire
Not buying any more
already wasted a $100 :-(
Got it, I still wonder how they are supposed to attach to the model.
jknaus
Administrator
.: oldschool aero | vintage aero :.
Vintage Aero (Oldschool Aero) is the premium producer of flying wires for classic aircraft.

Brokeneagle
Master at Arms
1/35 Figure Haul and some other stuff.
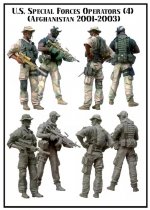
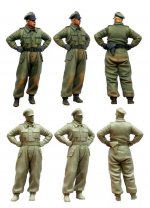
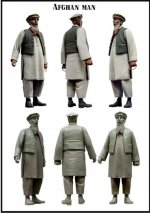
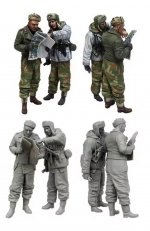

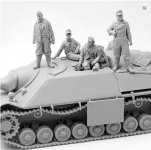
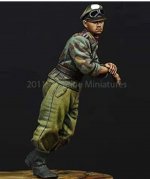
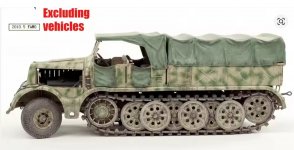
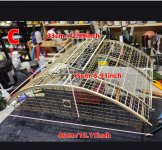

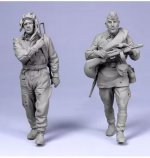
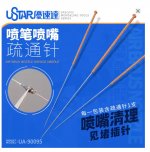
Last edited:
@Brokeneagle, that looks like an Ali Express order!
Brokeneagle
Master at Arms
Always, only way I can aford figures these days.
Heavens Eagle
Well-known member
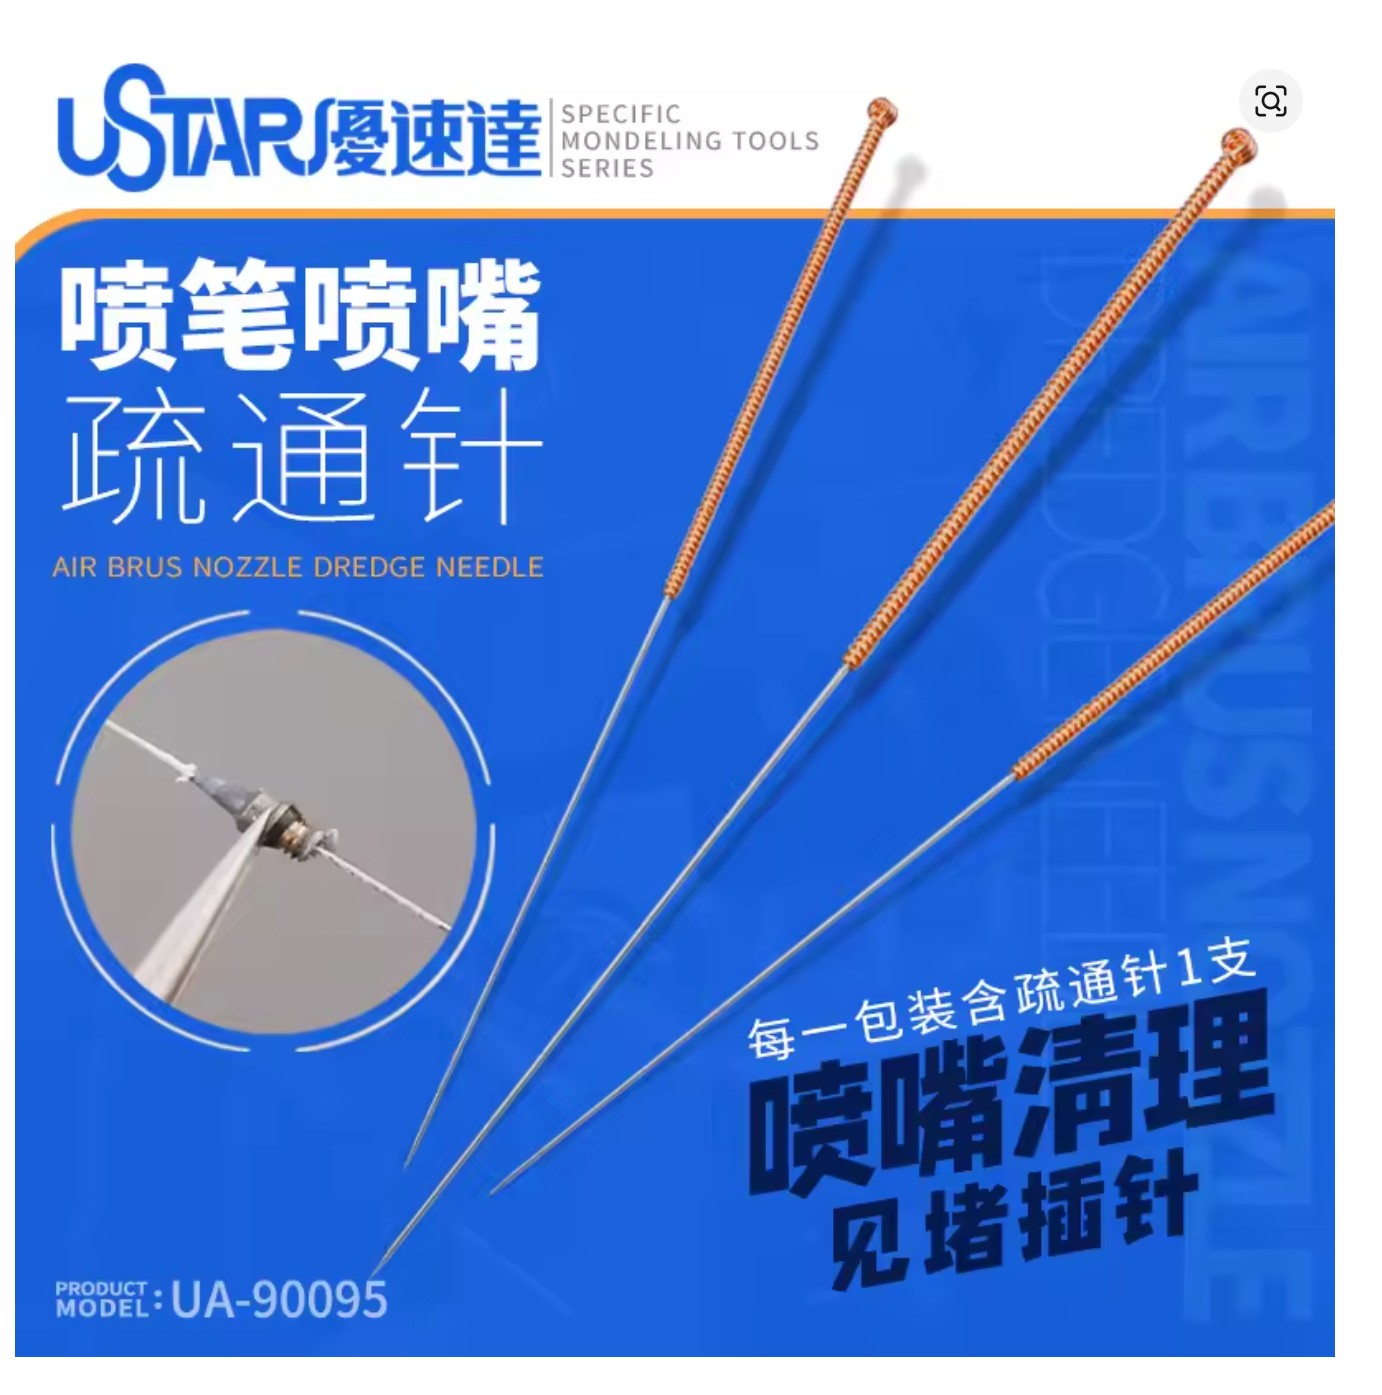
FYI These are acupuncture needles. I know because my boss's wife had acupuncture several years back and thought they might be useable for watch stuff so gave me a bunch. I have two different sizes. There are the fine ones which it looks like you have here and some heavier ones that I rarely have a call for.
I think it's this book he talks about the wonders of flying back then, making practice landings on clouds. Wonderful passages.
Similar threads

- Replies
- 2
- Views
- 2K


- Replies
- 62
- Views
- 18K


