• Modelers Alliance has updated the forum software on our website. We have migrated all post, content and user accounts but we could not migrate the passwords.
    This requires that you manually reset your password.
    Please click here, http://modelersalliance.org/forums/login to go to logon page and use the "Forgot your Password" option.

IL-2 Sturmovick "Avenger" + Eduards Photo etch

phantom II

Master at Arms
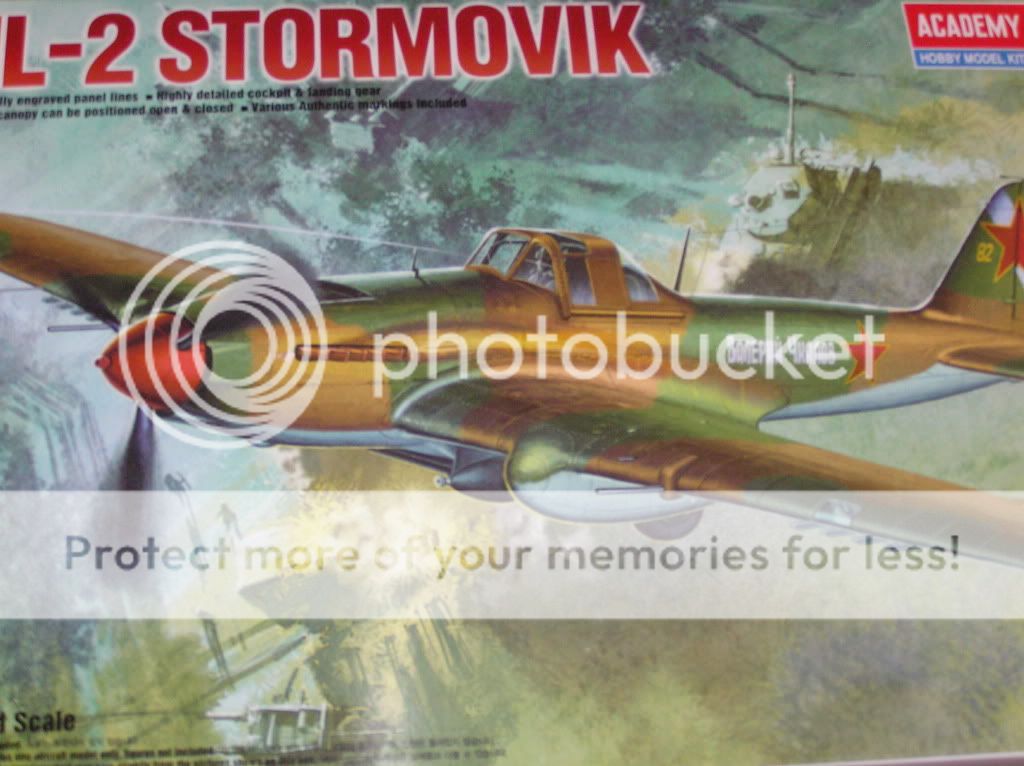
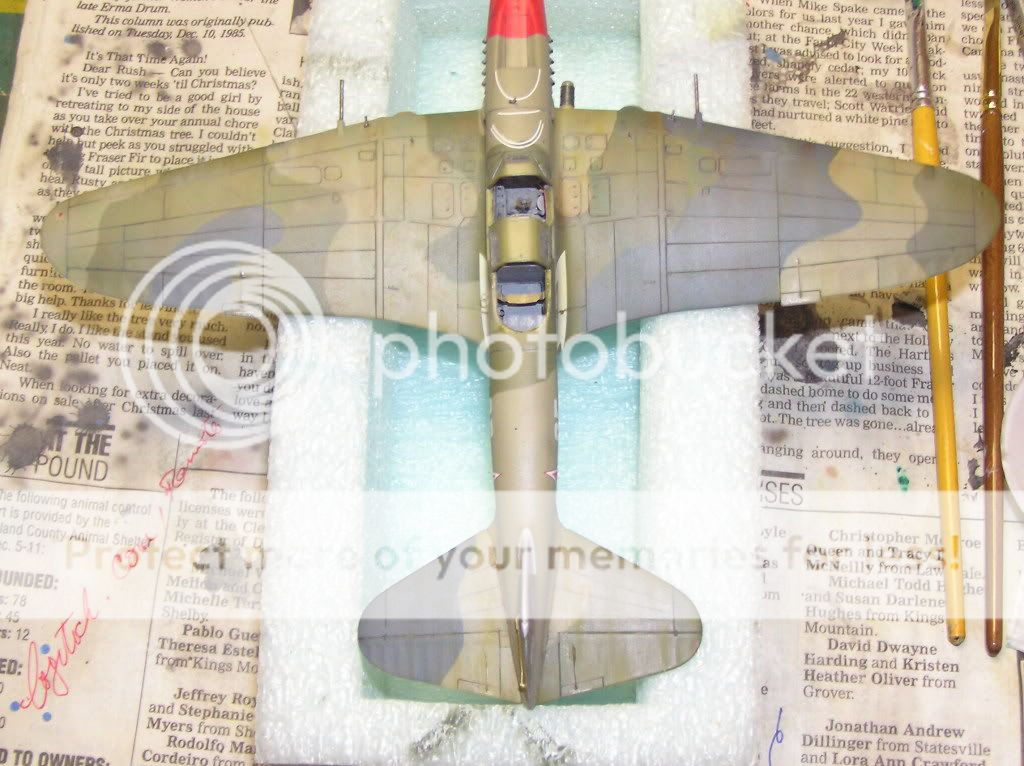
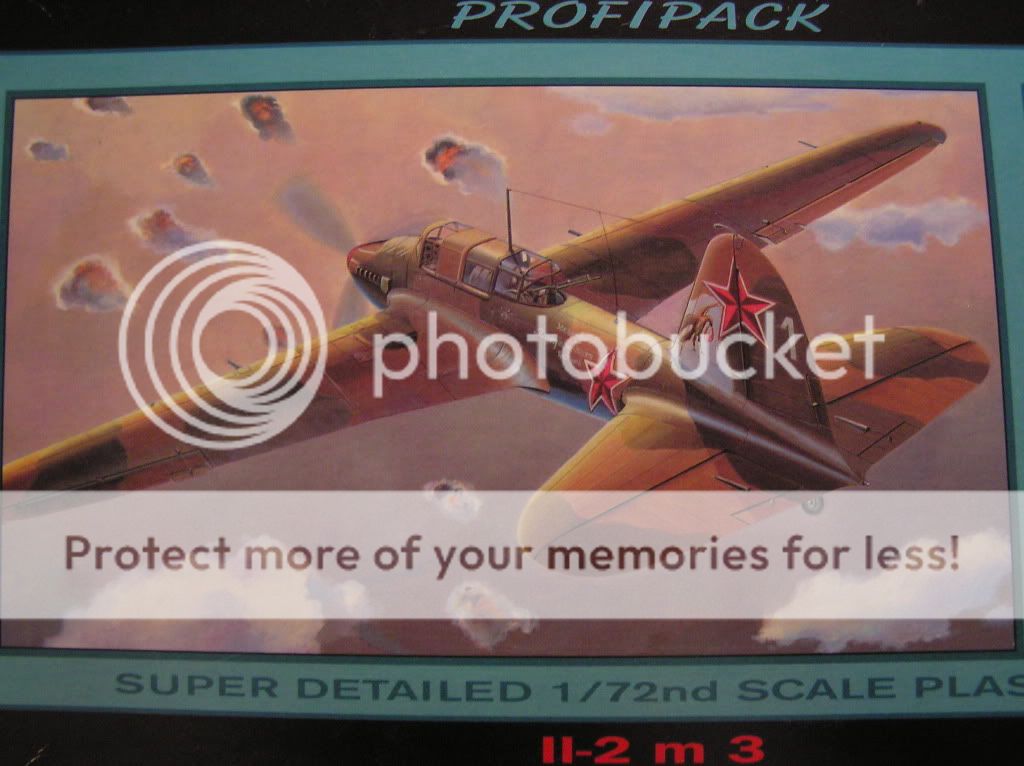
Hello everyone. Its is now time to finish this Eduards IL-2 Sturmovick named the Avenger.
This build started long ago before the Fiat BR-20 and the Yak-1 but I ran out of patience for it. :blink

004.jpg


002.jpg


003.jpg


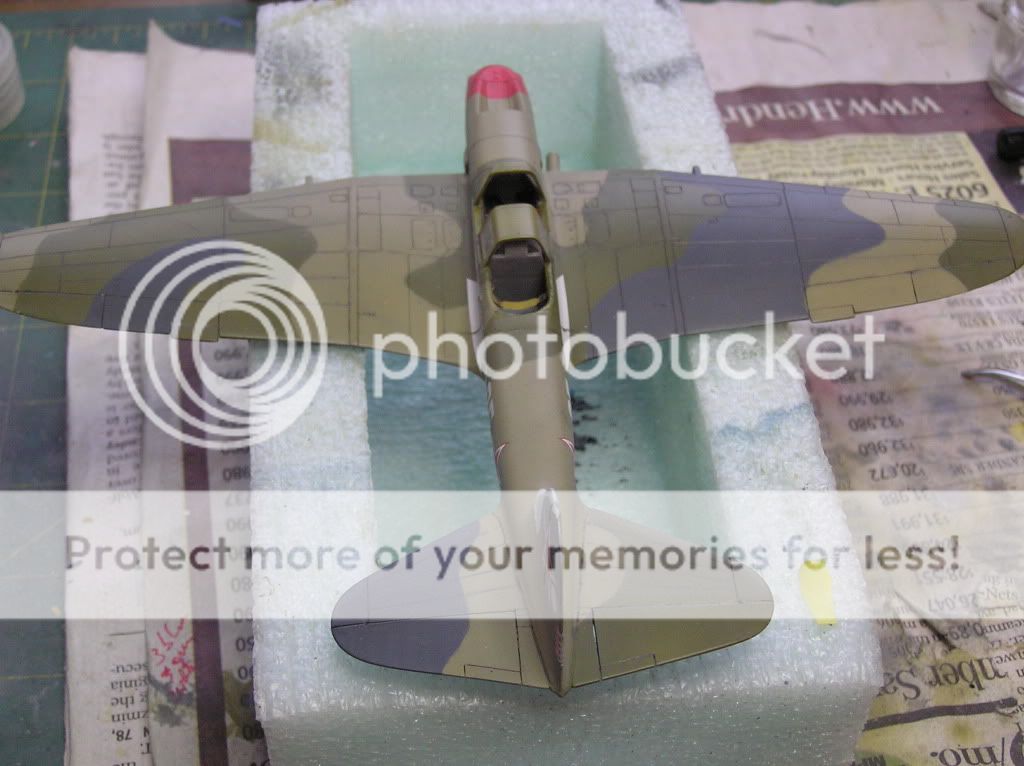
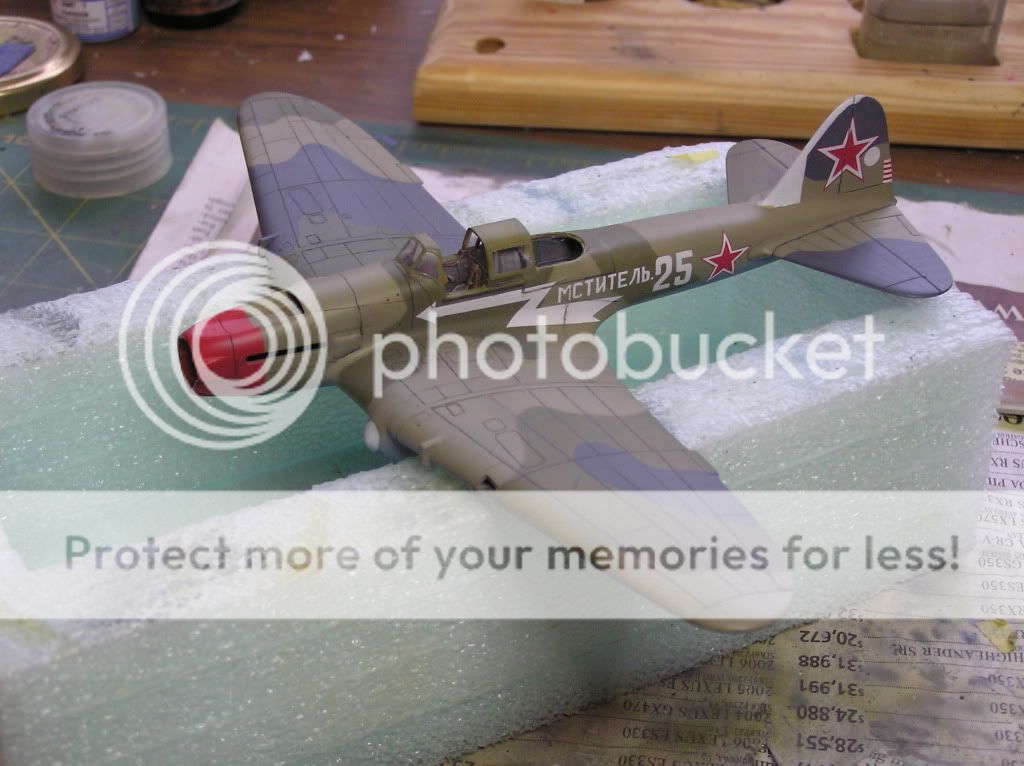
Tomorrow I'll take out of storage and continue

Thanks for looking.

Christian B)
 
Christian , ...... that's a very good looking build for 1/72 , ........ real nice !!!

Your paint job is stellar !!!
 
Thank you for the kind words. :) Hopefully it will get even better after I finish assembling it and shovel some dirt on it.
A lot of work has gone into the for the paint research . They are not brow and green as so many would have you to believe.

Cheers, Christian B)
 
That looks sweet! I really need to get back to mine, but gathering firewood before the snow hits has been a priority...
 
Hi MP. I'm glad you asked that question. :) Let me to Illustrate .
This is the color scheme all the manufacturers claim that the Two seat IL-2 is supposed to be.

004.jpg


Green and brown with a blue bottom. Russian sources do not even have a listing for the brown color.

Please note that this IL-2 in my example is a single seat aircraft. From doing the research it appears that all the single seat aircraft were in fact green and black with a blue bottom. Sometimes the top colors were white washed during the winter.

007-1.jpg


Sorry the picture is not better. Please refer to the yak-I build.
 
Hey Chris! Sorry I missed this, been another crazy week! I'm loving the color combo, looking forward to seeing the progress! (y)
 
That's crisp, Christian! Very nice camo and delicate panel line. Glad to hear it's getting dirty- cheers!

chuk
 
Hello everyone. I finally got my cave back this afternoon so we can make some progress now.

I took the propeller out of storage as it needed more detail.

001.jpg


Abit of white paint and some paint removal and now it looks like it has been mashing some of those pesky bugs on the Western front !

002.jpg


That's all for tonight . Got to go find some of that dirt I mentioned.
Thanks for looking , Christian B)
 
Hi Christian,

Awesome build, my friend: great paint job - as chukw well noticed, I also loved the subtle panel lines (and the weathering on the propeller)! Interesting stuff you can come up with when you go deep into researching your model's history - and IMO that's one of the most fun parts in modeling. ;)

I'll be following closely any new developments - good luck!
101.gif


Cheers and thanks for sharing! B)
Fernao
 
My friends, I got a sneak preview of the filters Chris laid on one wing this morning and all I can say is WOW! Where the heck are the pix????????? :D
 
Hello everyone. I should make a statement to clarify the propeller pictures. The paint was not rubbed off but instead highlighted with a Prismacolor pencil to simulate paint erosion on the leading edges.

I have made some progress with the paint job but could not post anything from Photo bucket. Hopefully tomorrow I can get some technical assistance.

Cheers, Christian B)
 
Hello, here I am with another boring picture of a propeller but it has received a coat of gloss to make the decals disappear and a coat of flat to bring it be to realism.

004-1.jpg
:cheer:

Hurrah ! finally a picture posted. Thanks for the help Mike.

And now for my dirt digging expedition. I have read up on filters in Fine Scale and read several things about dot filter including Chuckw who makes everything look so easy.

004-2.jpg


Frankly I can't tell you what method I used. I might have invented a new one since I was using them as filters individually. Here we are at the half way point of not being sure how to do this procedure . Actually I gave you a before and after so you can compare the changes.

004-2.jpg


and finally where I threw up the flag and decided to let it dry out for a few days.

002.jpg


006-1.jpg


I will come back next week and throw some dirt on the fuselage after the oils are good and dry.
Thanks for looking . Hope you enjoy . Christian B)
 
I think it look great! I was a bit surprised that it worked that well over a matte finish, but many others have had luck with that as well. I think I'll try it! This little bug is shaping up to be a real winner, Christian- cheers!

chuk
 
see, that's the thing I've been questioning. I don't recall where I read it at first but I thought (and I could have read wrong) that dot filter is best over a flat surface. The glossy surface did not allow the oils to grab hold and washed off too quickly. BUT, the point in the filter is the subtle shift in colors. At the same time, I can see where using flat surface it is not that subtle.

So, what is it suppose to be or is it one of those things that works best for you, you stick with it?
 
Back
Top