
So after finishing the T-6 I was sorta not building much until I happened to find this little guy in the local comic book store. I was waiting to pick up lunch for my wife from the sub shop next door and went in to check the place out.
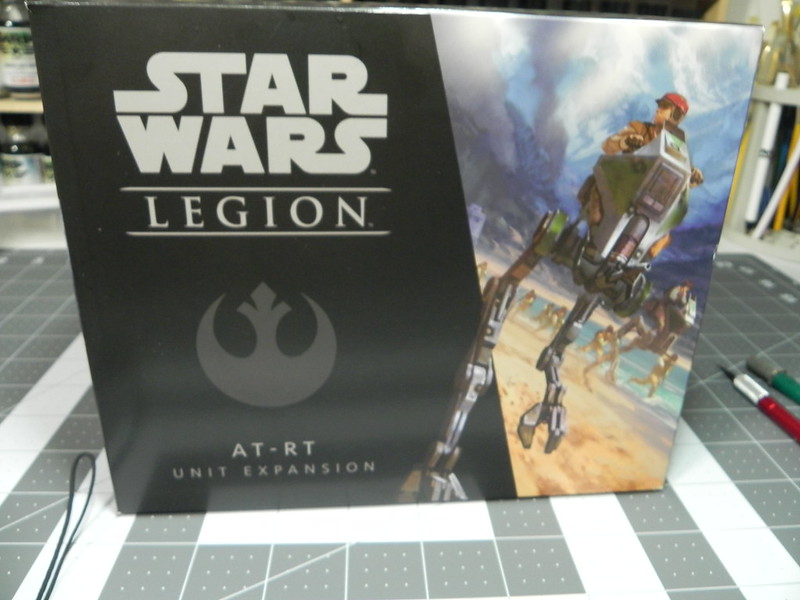
There are not alot of parts in the kit, but the detail is pretty good, I was quite pleased by that as this is apparently a game piece for a Star Wars game. I didn't see a scale listed on the box or instructions, but it looks like somewhere around 1/32 maybe??? It comes with a choice of three weapons, a laser cannon, flame thrower, and Gatling gun type thing hmy:
hmy:

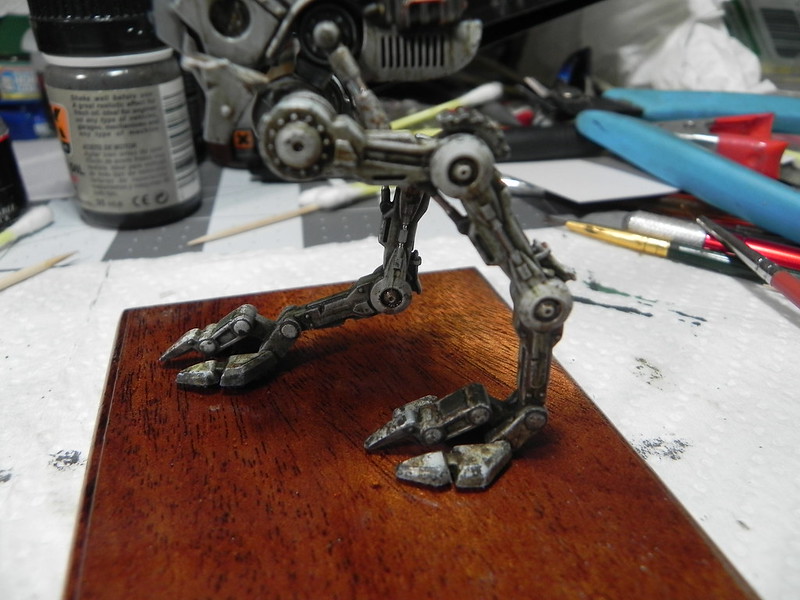
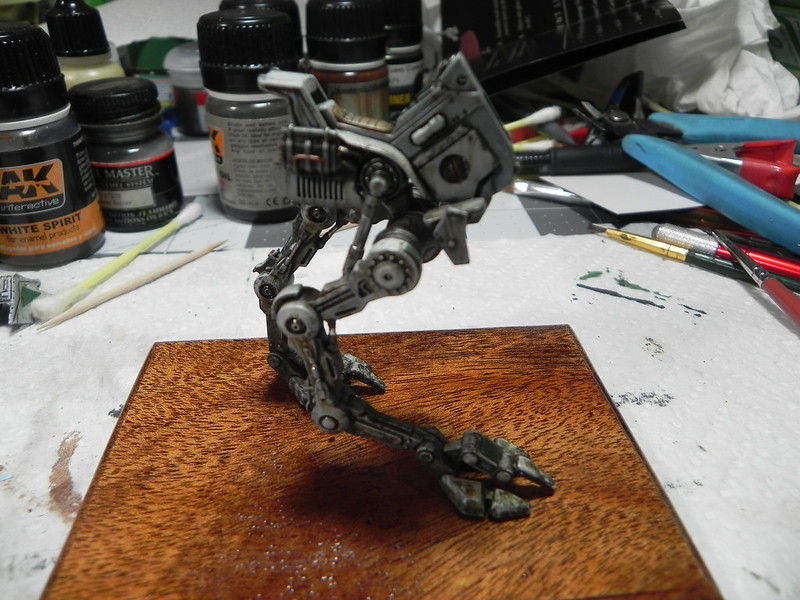
It did not take long for to get this ready for paint, though in hind sight I could have probably spent more time cleaning up the parts I primed the parts with black Mr. Surfacer and then sprayed everything with Mr. Paint camouflage grey and hit the highlights with MRP white. The kit has no decals so I masked off the markings and sprayed those with some old Gunze Aqueous colors green.


After a good coat of gloss, Model Master gloss coat, everything got a dark wash to bring out the detailing and begin the weathering process.


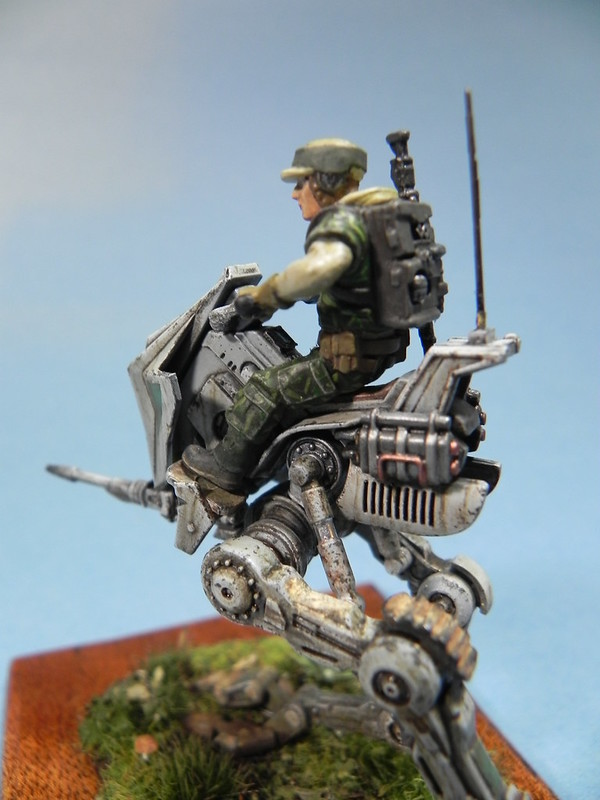
Next I played around with the weathering, chips using Tamyia German Grey, detail painting using mostly Vallejo acrylics, including a couple metallic colors to see how they worked, and then streaks using mostly Winter Streaking Grime. This was followed by oil stains and drips, grease and grime, and what not to make it look like it sees rather heavy daily use.
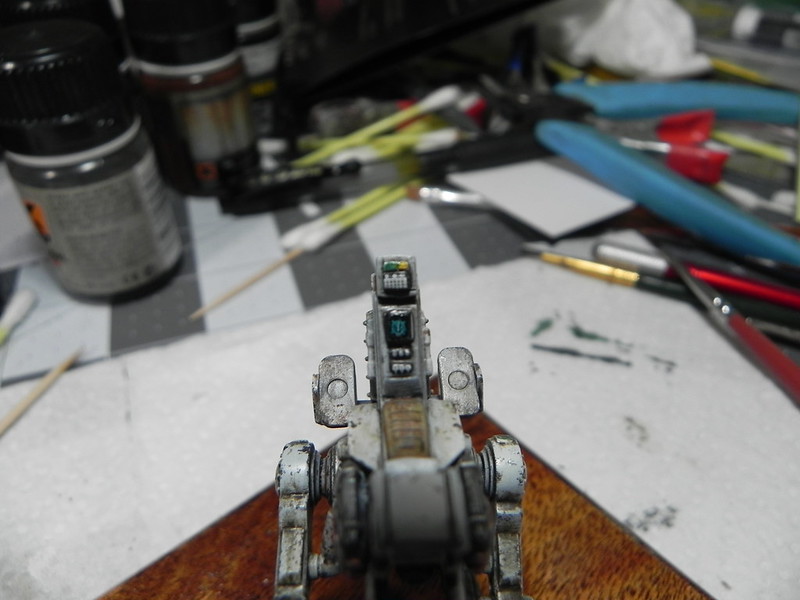
The instrument console was dressed up with a photoetch bezel and then a spare instrument decal added. This was coted with some clear blue so that the decal is still visible, looking like something is actually on the screen. Some switch decals were also added to complete the details on the consol.
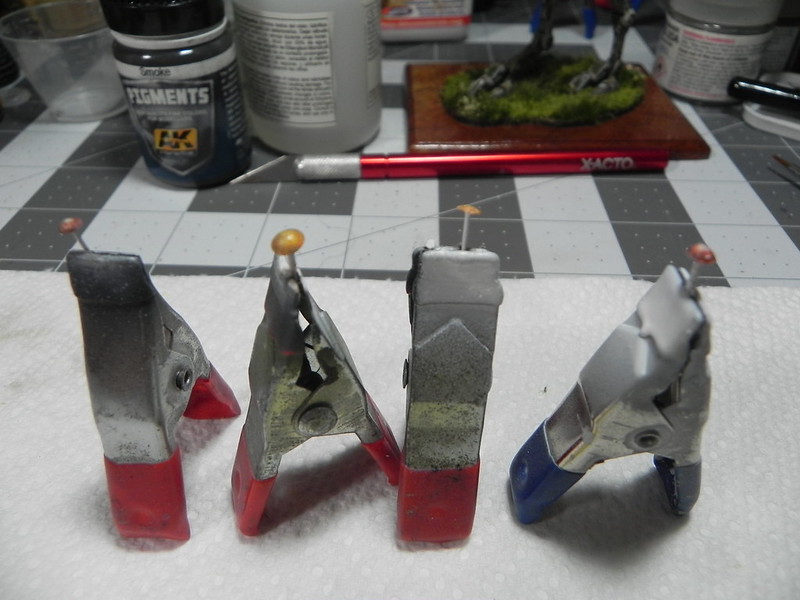
I also started working on other aspects of the kit, like the figure and the base for it to stand on. For the base I cut a piece of Mahogany, routed the edges and put on a couple of coats of polyurethane. I also wanted to add a cool little detail to the base...mushrooms! :geek I made a mold for the caps from two part mold putty and used the ends of a couple paint brushes to make indentations of different sizes as well as the end of a drill bit.
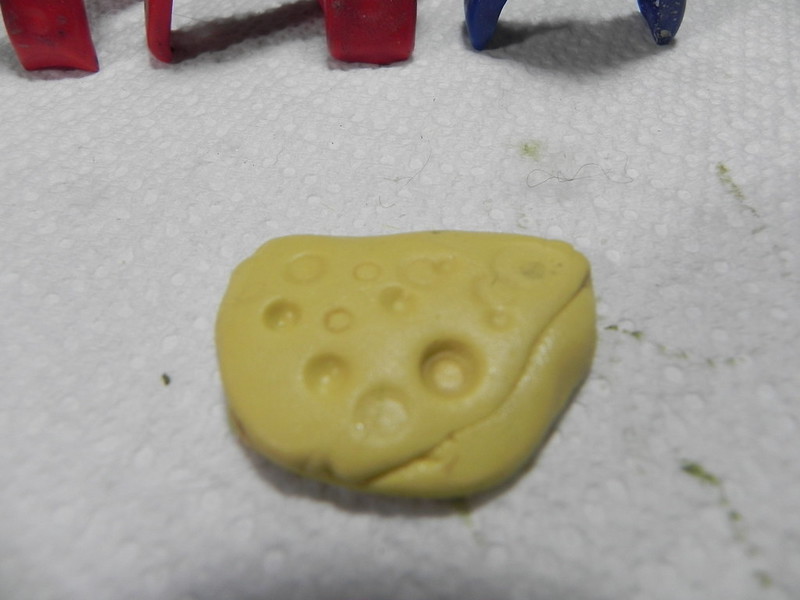
Then it was just a matter of putting a drop of resin in each indentation, and then baking them; the mold cavities do not hold enough volume of resin to fully cure, so the whole works was put in a 200 degree oven for about 8 to 10 minutes to allow the heat to fully cure the resin. And BOOM! Shrooms Evergreen rod was used for the stems.
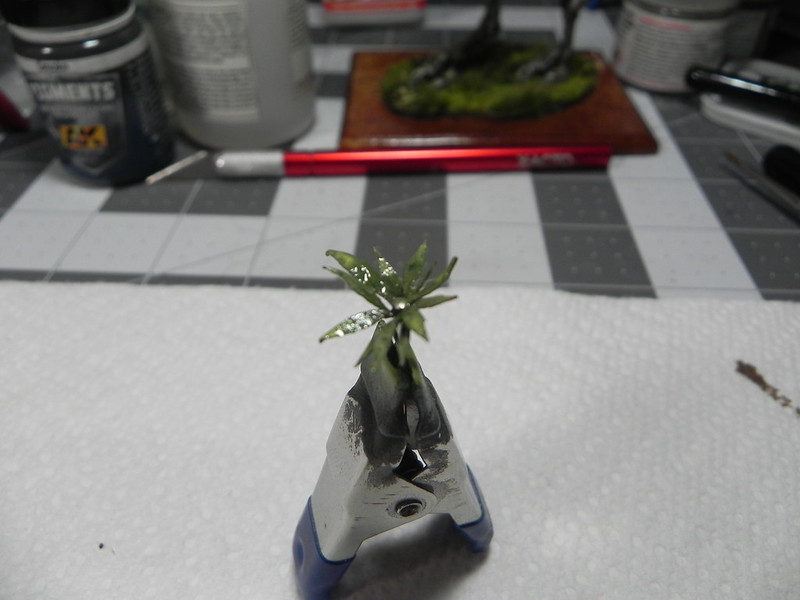
I also wanted to add a plant to the base, I have some laser cut plants of various types that I have never used, so I wanted to try them out. They are very nice, but are made from dark green paper. I wanted to try to spruce it up a bit so I pushed a pin though the center of the leaf parts, both as an aid to attaching the plant to the base, and also the head of the pin would form a bulb of stem or something in the center of the plant. I used oil paints to change the color of the leaves. I bent the ends of several leaves and then touched those with brown oil paint to replicate the damaged portions of the leaves.
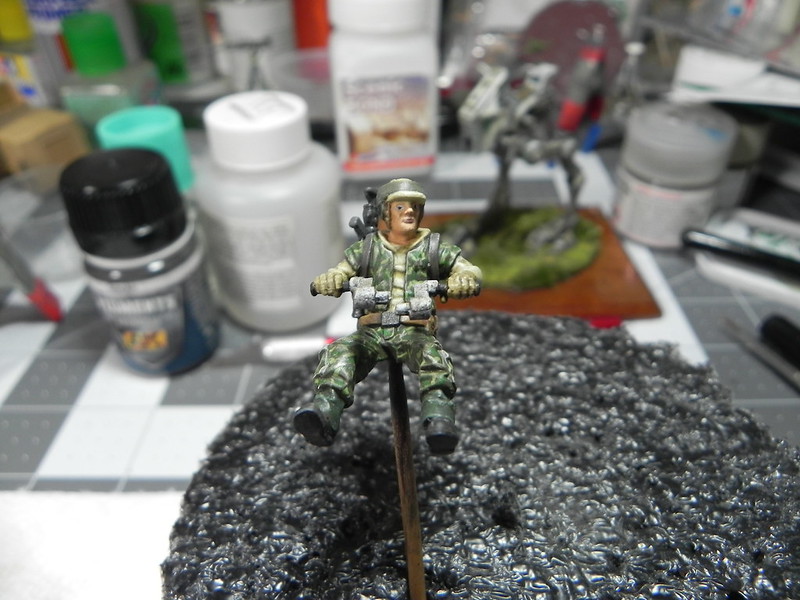
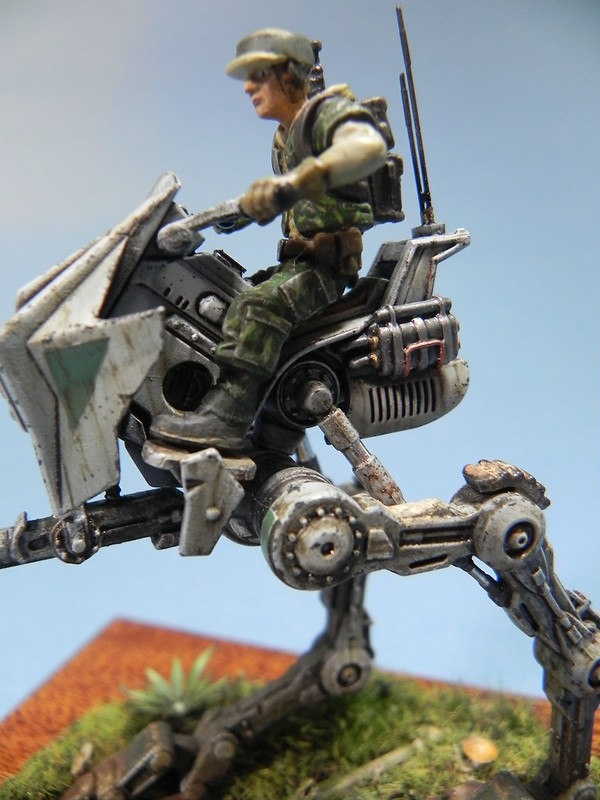
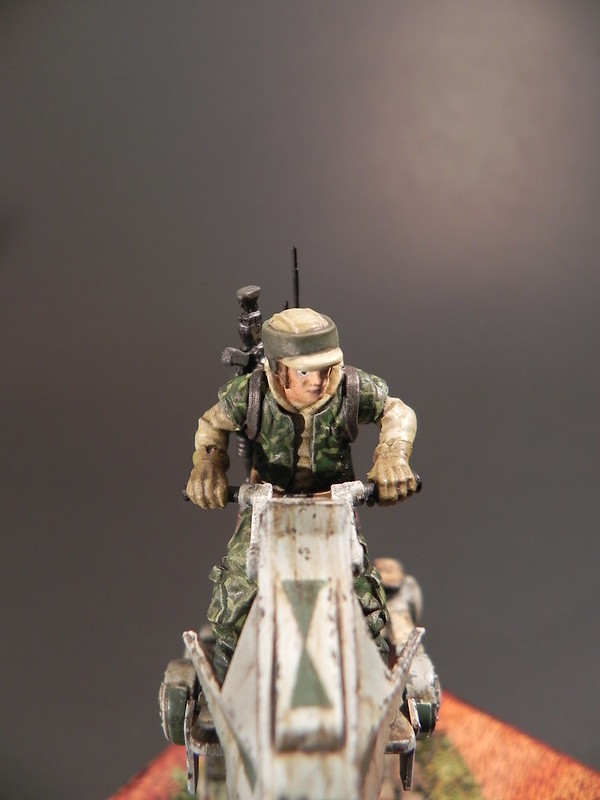
I painted the figure (hence forth known as Homer) using all acrylics. This is the first figure I have painted in about 6 years, and also the first one I have done in all acrylics. I bought a set of either AK or Ammo acrylic flesh paints, and their book to go along with it and kind of figured things out as I went along. I added a simple made up woodland type cammo to Homers jacket and pants. For the rest of his gear I watched a couple YouTube videos (next best thing to Google ) to figure out what the rest of his uniform would look like. He turned out okay I guess, for not doing alot of figures he looks half way reasonable to me. He did seem much happier once I took the stick out of his rump
After that I put everything all together

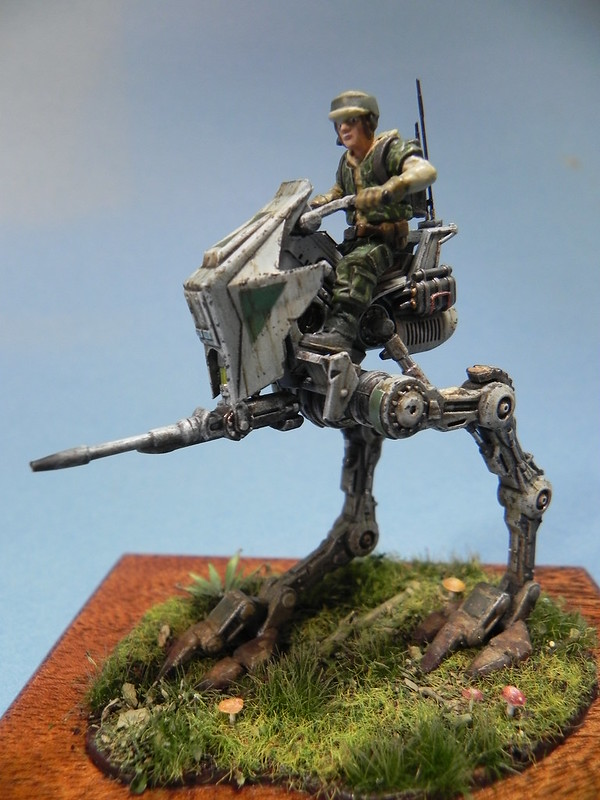
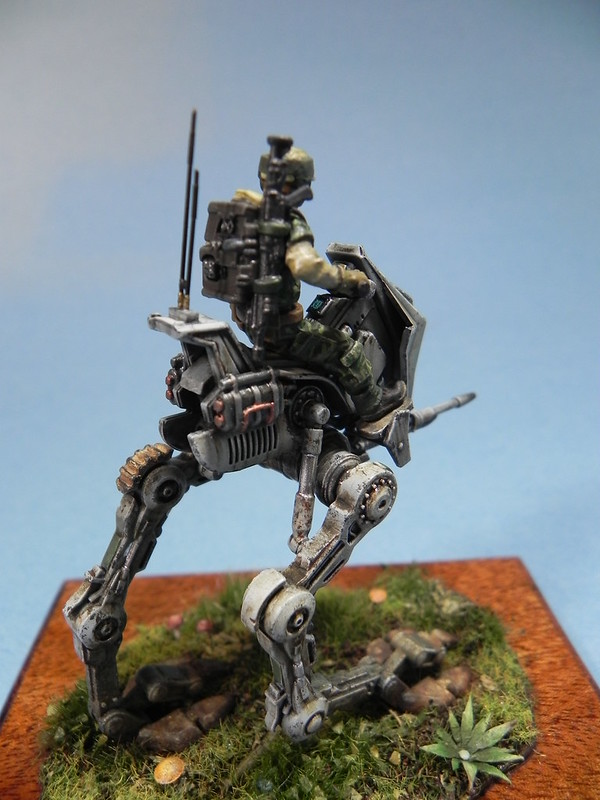
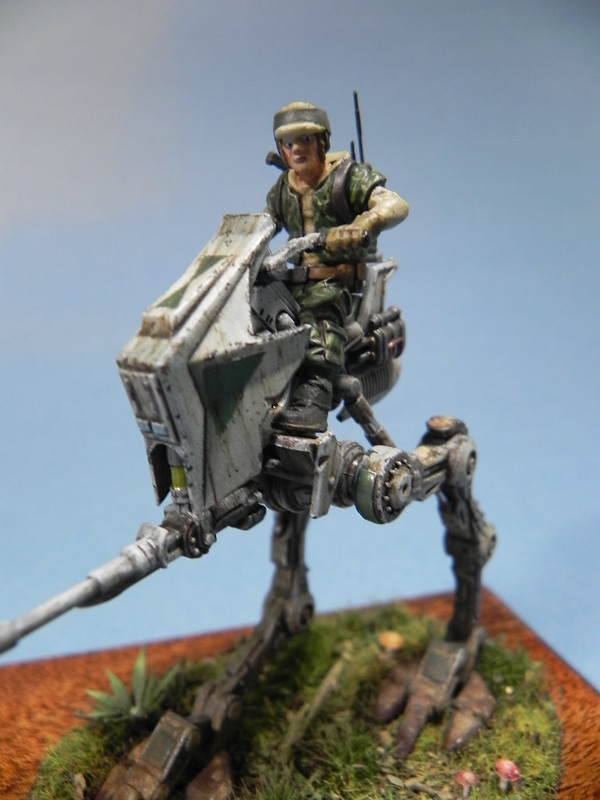
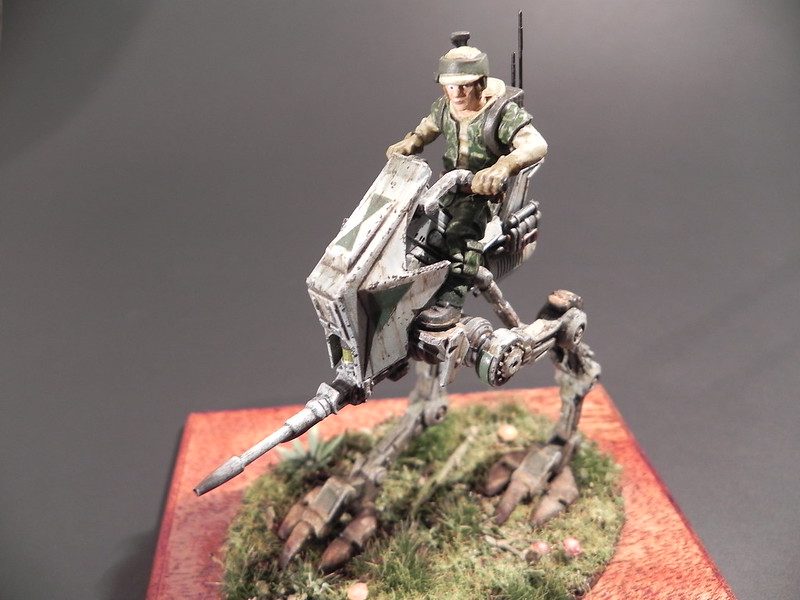
And that's it, finished up this afternoon! The only addition I made to the kit was to replace the twin antennas on the rear of the walker as the kit ones were way, way to big. I am pretty happy with how it turned out and was able to try out a couple of things I had not used before too get a feel for them for future projects (paper plants, acrylic figure painting, messing around with different layering's of weathering etc.) Anyway, this one is going into the case and on to the next kit
There are not alot of parts in the kit, but the detail is pretty good, I was quite pleased by that as this is apparently a game piece for a Star Wars game. I didn't see a scale listed on the box or instructions, but it looks like somewhere around 1/32 maybe??? It comes with a choice of three weapons, a laser cannon, flame thrower, and Gatling gun type thing
hmy:
It did not take long for to get this ready for paint, though in hind sight I could have probably spent more time cleaning up the parts
I primed the parts with black Mr. Surfacer and then sprayed everything with Mr. Paint camouflage grey and hit the highlights with MRP white. The kit has no decals so I masked off the markings and sprayed those with some old Gunze Aqueous colors green.
After a good coat of gloss, Model Master gloss coat, everything got a dark wash to bring out the detailing and begin the weathering process.
Next I played around with the weathering, chips using Tamyia German Grey, detail painting using mostly Vallejo acrylics, including a couple metallic colors to see how they worked, and then streaks using mostly Winter Streaking Grime. This was followed by oil stains and drips, grease and grime, and what not to make it look like it sees rather heavy daily use.
The instrument console was dressed up with a photoetch bezel and then a spare instrument decal added. This was coted with some clear blue so that the decal is still visible, looking like something is actually on the screen. Some switch decals were also added to complete the details on the consol.
I also started working on other aspects of the kit, like the figure and the base for it to stand on. For the base I cut a piece of Mahogany, routed the edges and put on a couple of coats of polyurethane. I also wanted to add a cool little detail to the base...mushrooms! :geek I made a mold for the caps from two part mold putty and used the ends of a couple paint brushes to make indentations of different sizes as well as the end of a drill bit.
Then it was just a matter of putting a drop of resin in each indentation, and then baking them; the mold cavities do not hold enough volume of resin to fully cure, so the whole works was put in a 200 degree oven for about 8 to 10 minutes to allow the heat to fully cure the resin. And BOOM! Shrooms
Evergreen rod was used for the stems.
I also wanted to add a plant to the base, I have some laser cut plants of various types that I have never used, so I wanted to try them out. They are very nice, but are made from dark green paper. I wanted to try to spruce it up a bit so I pushed a pin though the center of the leaf parts, both as an aid to attaching the plant to the base, and also the head of the pin would form a bulb of stem or something in the center of the plant. I used oil paints to change the color of the leaves. I bent the ends of several leaves and then touched those with brown oil paint to replicate the damaged portions of the leaves.
I painted the figure (hence forth known as Homer) using all acrylics. This is the first figure I have painted in about 6 years, and also the first one I have done in all acrylics. I bought a set of either AK or Ammo acrylic flesh paints, and their book to go along with it and kind of figured things out as I went along. I added a simple made up woodland type cammo to Homers jacket and pants. For the rest of his gear I watched a couple YouTube videos (next best thing to Google
) to figure out what the rest of his uniform would look like. He turned out okay I guess, for not doing alot of figures he looks half way reasonable to me. He did seem much happier once I took the stick out of his rump
After that I put everything all together
And that's it, finished up this afternoon! The only addition I made to the kit was to replace the twin antennas on the rear of the walker as the kit ones were way, way to big. I am pretty happy with how it turned out and was able to try out a couple of things I had not used before too get a feel for them for future projects (paper plants, acrylic figure painting, messing around with different layering's of weathering etc.) Anyway, this one is going into the case and on to the next kit


