• Modelers Alliance has updated the forum software on our website. We have migrated all post, content and user accounts but we could not migrate the passwords.
    This requires that you manually reset your password.
    Please click here, http://modelersalliance.org/forums/login to go to logon page and use the "Forgot your Password" option.

F-16A ADF & MLU - Diana Twins (1/72 Hasegawa)

helios

Well-known member
The other build I've got going on. I've never been a big F-16 nut...not that I dislike them, I just generally find other aircraft more interesting. I got this kit from the LHS a couple years ago when I went in to burn a rebate card I had. Saw it sitting on the shelf, and it surprisingly caught me eye. Fast forward to today, and this boxing doesn't seem to be out in the wild a whole lot...so I'm glad I grabbed it when I did. I actually like these Diana tails more so than the ever popular yellow tail, aka Dirty Diana. I'm also not usually big on mural/air aircraft...so that another thing that makes this a surprising kit for me, as my preference is typically "boring" line jets.

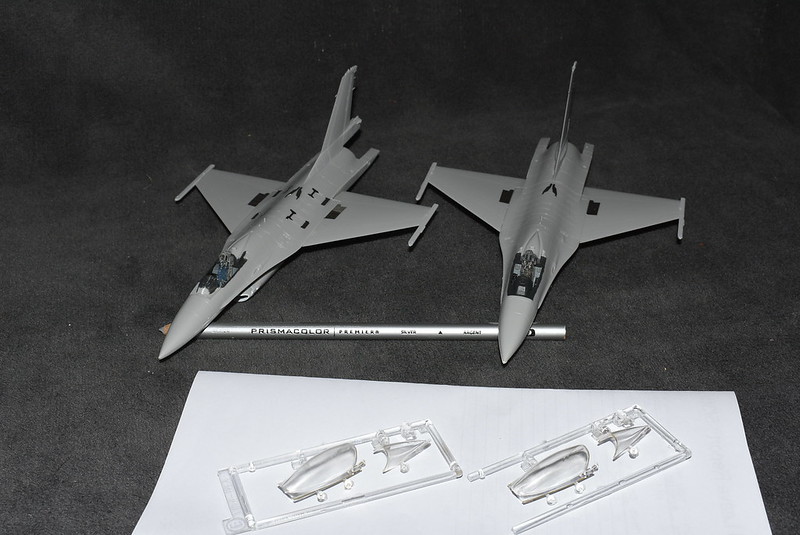
Anywho, the kit and a couple AM bits.
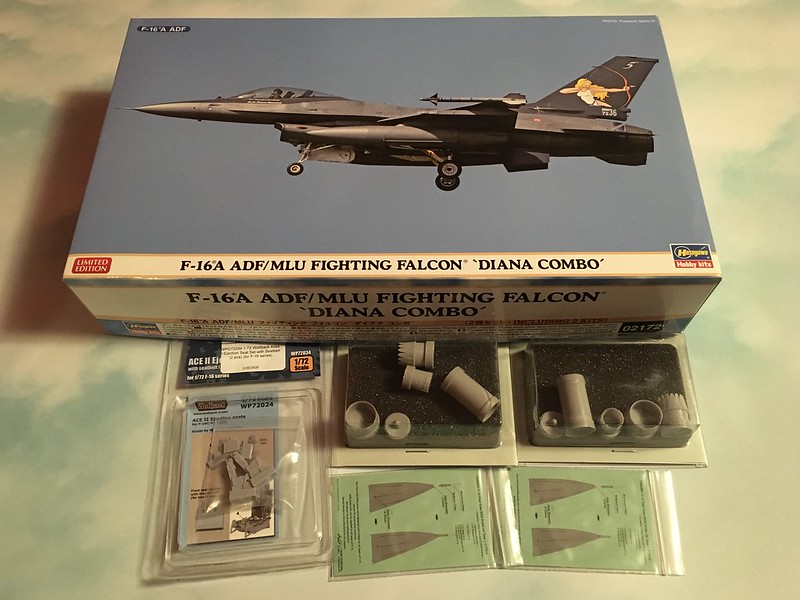

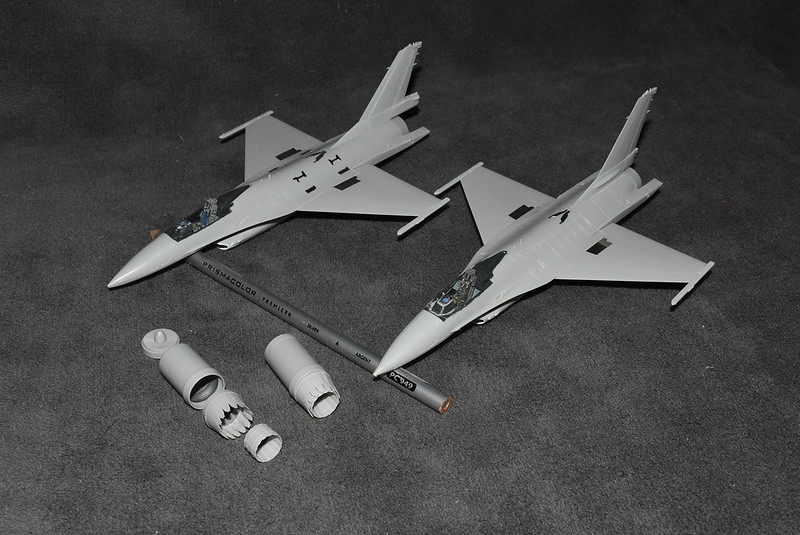
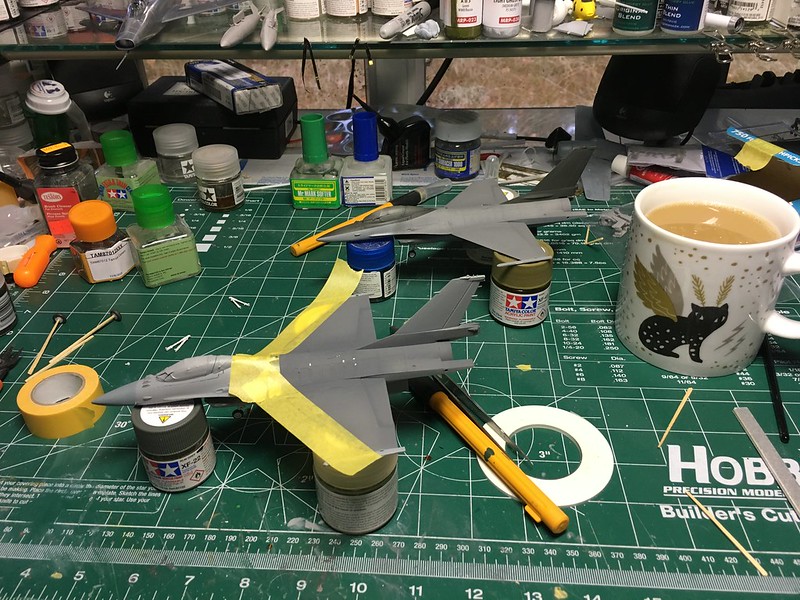
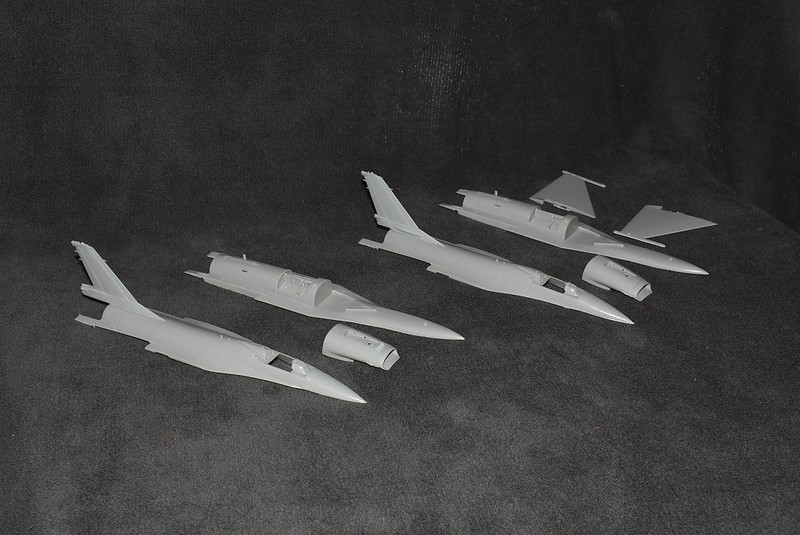
Sub-assembly work. It's nice working the 2 kits side by side as you can appreciate all the little nuances between the ADF & MLU...though it makes keeping track of parts really important. I'm actually using the box top for the ADF parts, and the bottom for the MLU.

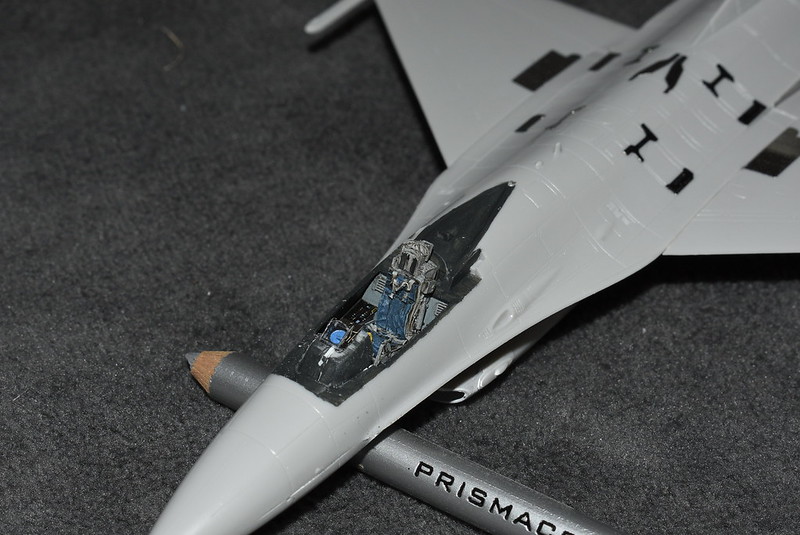
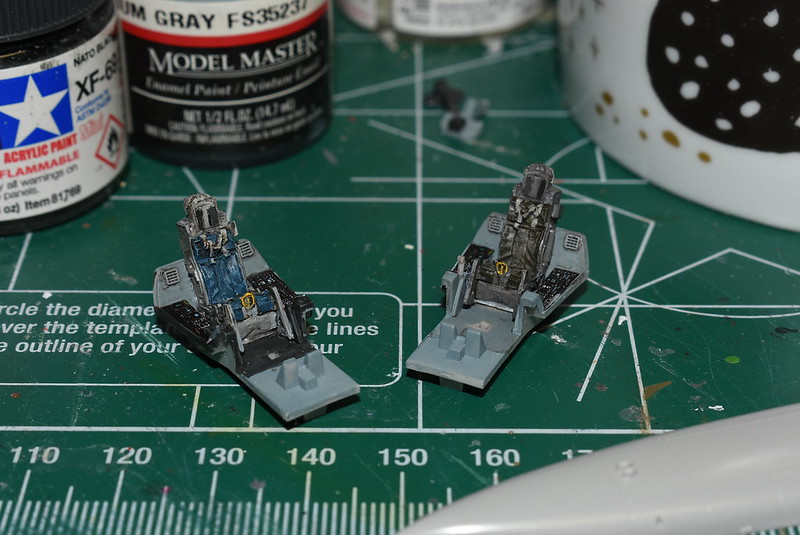
Pits. RNLAF MLU on left, Italian ADF on right.
 
Assembly and light canopy tinting.


Resin can bits cut. Cockpit shroud had to be modified for the Eduard HUDs to clear the canopies.


Extra work was worth it though since it's so prominently mounted in the cockpit. I have made a couple changes to the HUD since this pic, the bright blue "base" has been covered in a dark metallic blue and the HUD glass has received a very light green tint.


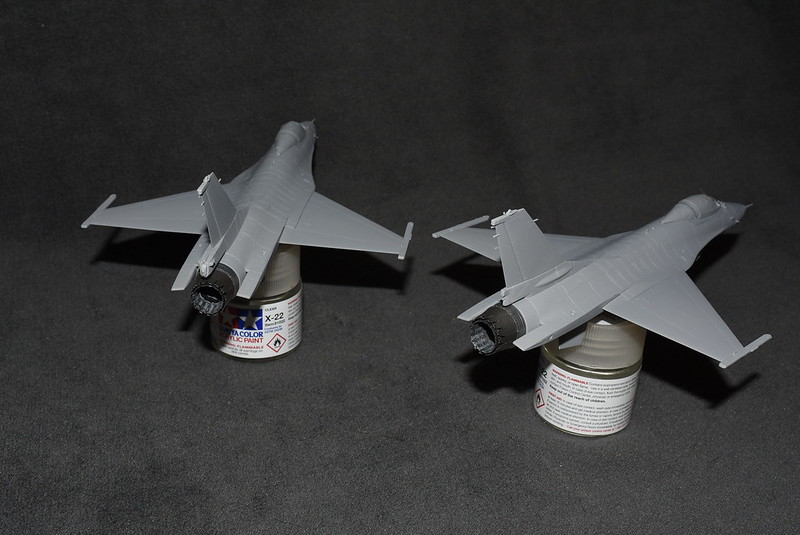
And that is more or less where these sit at the moment. I did get the canopies masked off, misc antenna installed and all the gear wells sprayed in preparation for primer. These will probably run the painting stage alongside the F-100.
 
Nice start Chris!
I’ve wanted to build this scheme for a long time in 1/48th, but there’s been no F-16 ADF version available. Recently though I found a tail base so I may do a conversion from the Tamiya kit. Eventually….
 
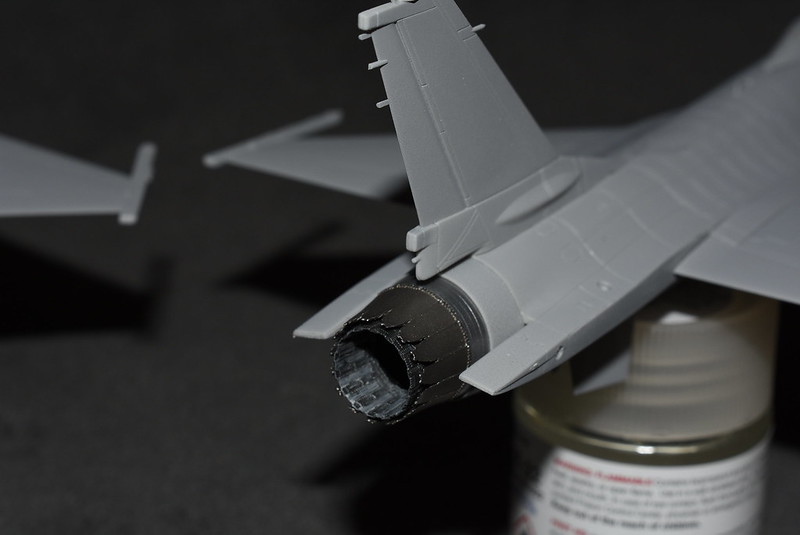
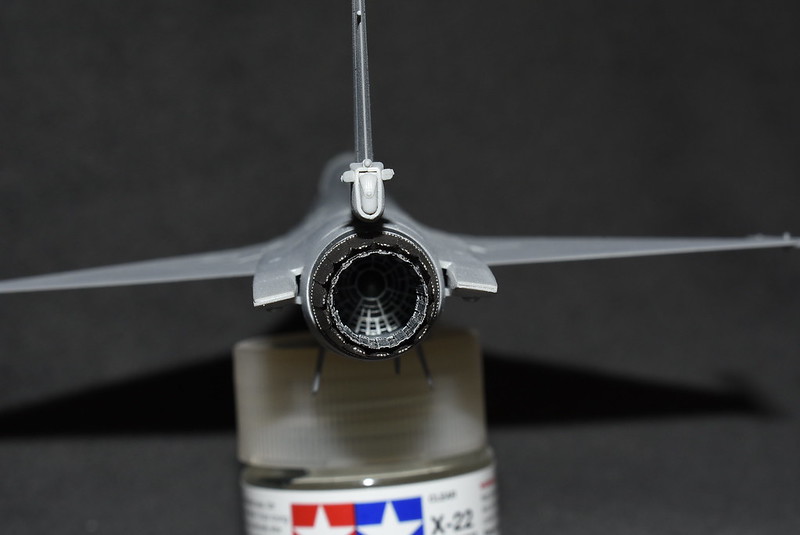
Exhausts have been final painted, assembled and test fit. I'm really happy with how they have turned out. I'm glad I opted for the resin exhausts. I did have to do a little bit of sanding along the top of the barrels towards the back as they were barely interfering w/ the vertical stab protrusion, but it literally only took a minute to provide the necessary clearance. Painted w/ Model Master Metallizers and finished off w/ oil dry brush.

Overall shot of the pair.


Detail 1


Detail 2
 
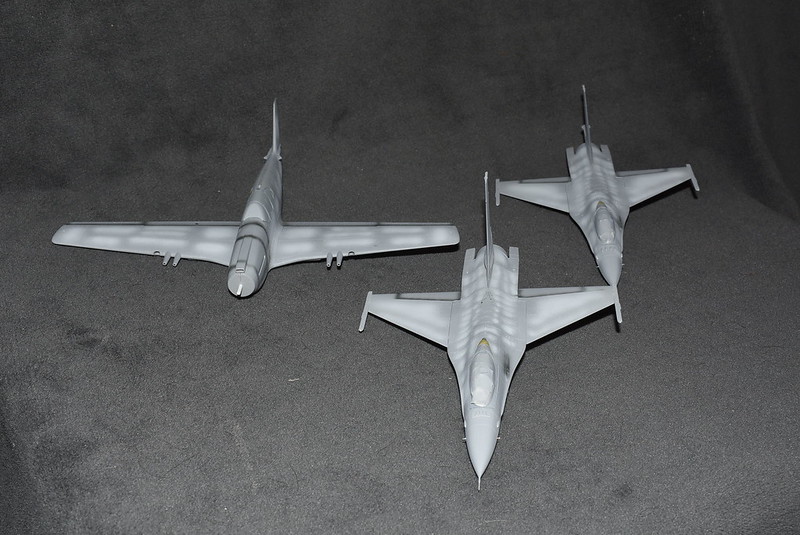
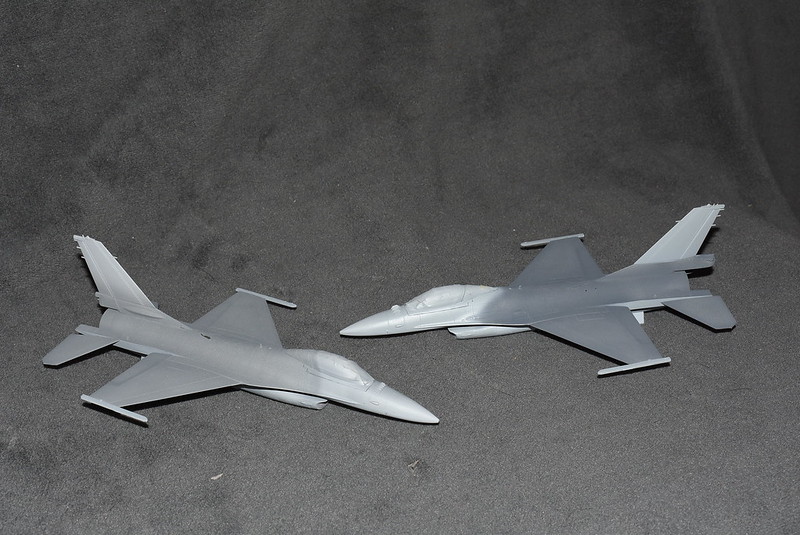
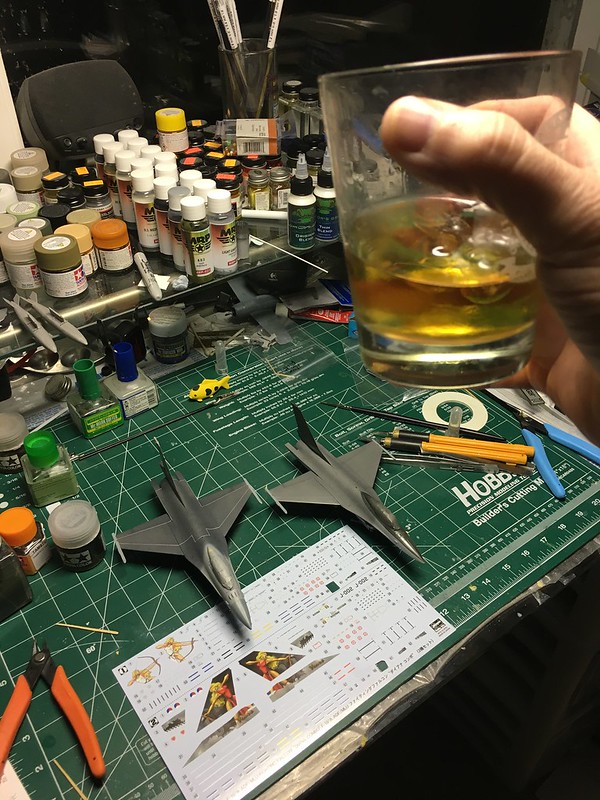
Main colors down. Not sure how I feel about the ADF...tried mixing a few drops of metallizer in w/ the gunship & haze grays to give them a little of the "Have Glass" effect. Didn't quite pan out like I hoped. I need to see them outside though before I decide if I want to mess with it more, or say screw it, paint the black tail and area around the canopy and call it a day. Both birds still need the radomes painted.

 
Styx on the turntable, fresh cup of java, and a little bench time. Great way to kick off a Sunday morning. If all goes to plan, they'll be in clear tonight ready to begin decalling tomorrow.

 
Bob's passing of the news about Lewis resulted in a change of plans for last night. RIP Lewis.


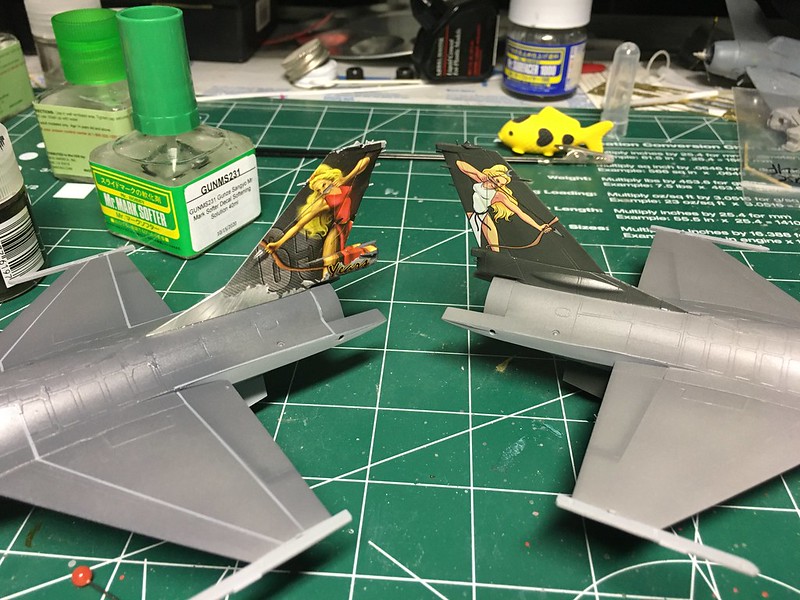
The trickiest of the decals are down. These had me worried from the time I opened the box...figured I'd get them out of the way first so I could see if the model was going to sink or swim. They are taking a fair bit of softener to get them to conform, but they are adhering well. It should be pretty smooth sailing from here.
 
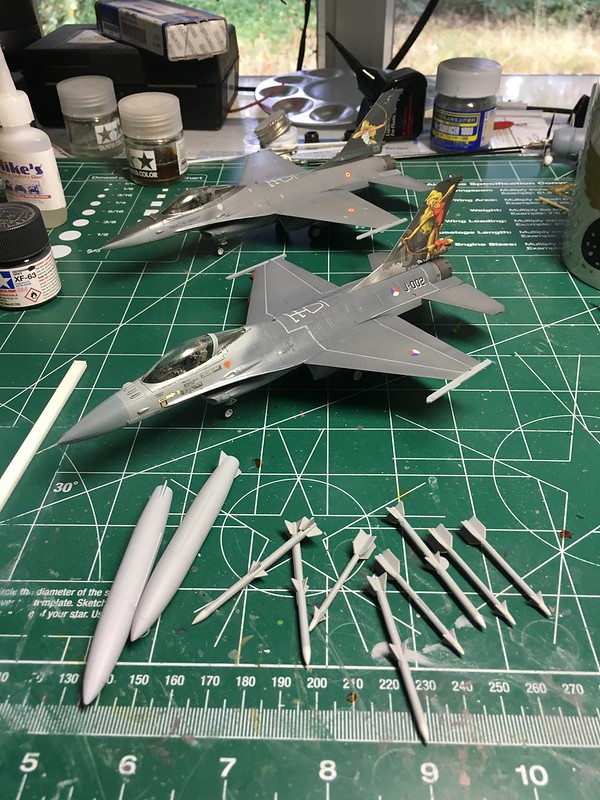
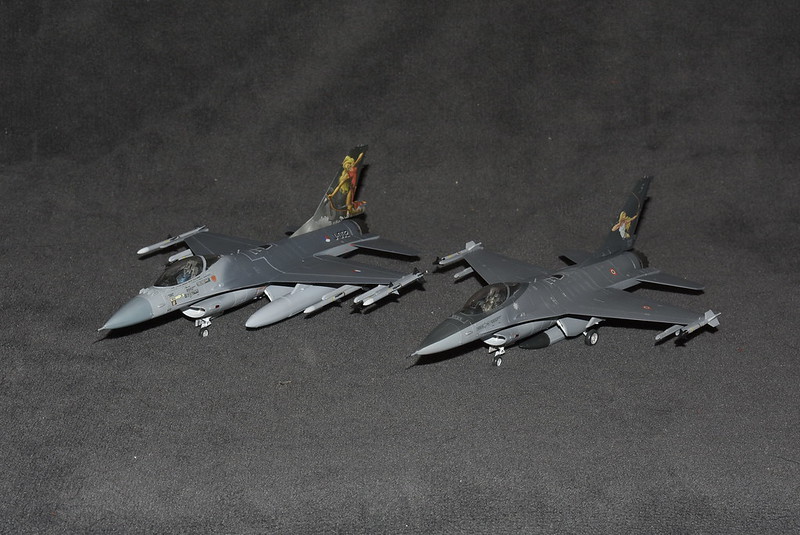
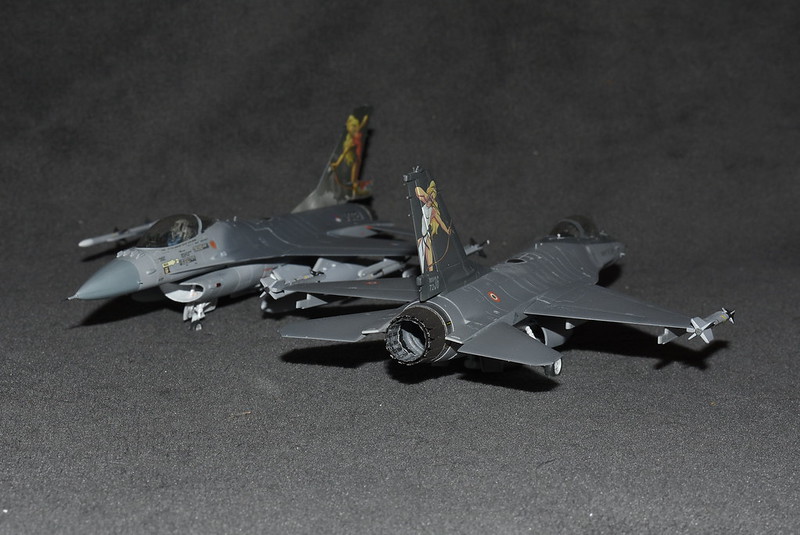
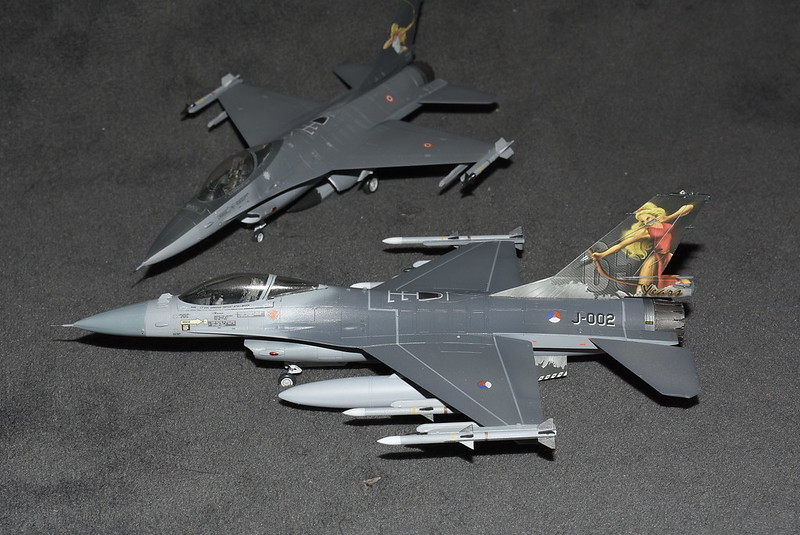
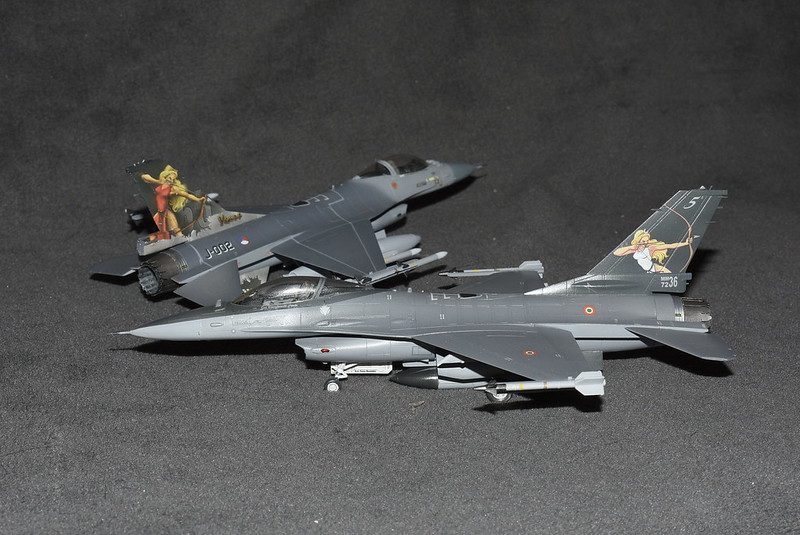
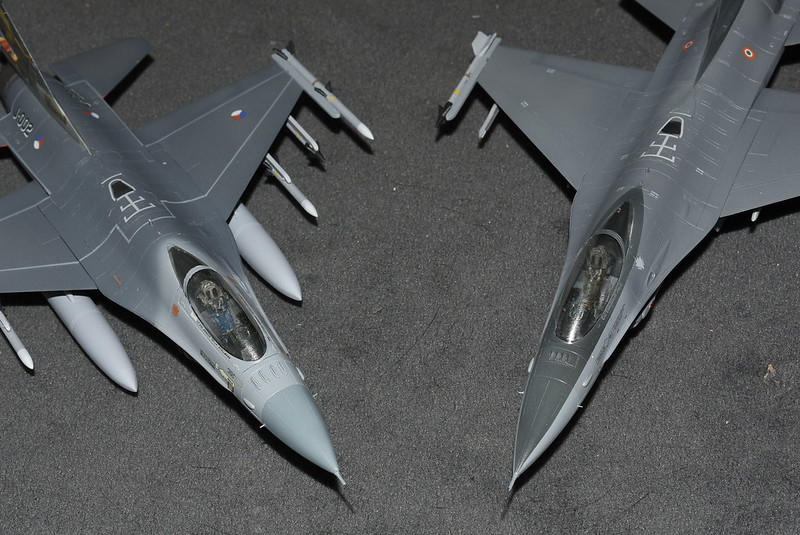
I'm calling these done. I ended up using a bit of creative license in regards to the loadout on the Dutch MLU & the paint for the belly drop on the Italian ADF. Some bits turned out well, but unfortunately I made an botched job of the intakes. I had the brilliant idea to use some Silly Putty as a mask to plug off the intakes for painting the greys....well it really didn't want to come back out so I ended up tearing up all the white paint inside. Patched it up a bit w/ a brush...but they are still ugly. At least it's not something that you will see usually whilst sitting on a shelf. Oh well. With both of them built that means I have an opening in the stash.
:D


Cheers to those that followed this build. :Drinks:

Anyway, the pics...since that's what we are all here for.

[


Purtiest Lawn Darts I seen for some time! Nice job on the decals! :good:
I see a pesky fish prowls your bench too!:lol:
 
Back
Top