Skinny_Mike
Well-known member
Hi guys! Hope everyone is staying safe and doing well. Its been a long time since I post much progress on any builds. 2019 as it turned out, was a pretty terrible year for me and my model building mojo. Part of that was due to being forced into spending roughly 6 months on the road last year for work, which really took its toll.
I decided to a couple of things down off the shelf and try to get back in the groove. This first was supposed to be a quick and dirty build, just to get the mojo flowing again. Plus I was a little bit inspired by the couple of 1946 ETO builds that were going on here, so I grabbed the Dragon E-100 kit that I’ve had for a while. This is one of the early Dragon kits and represents the E-100 with the Maus turret.. Its not a great kit, but it also has a relatively small parts count compared to today’s monster kits from the same manufacturer.
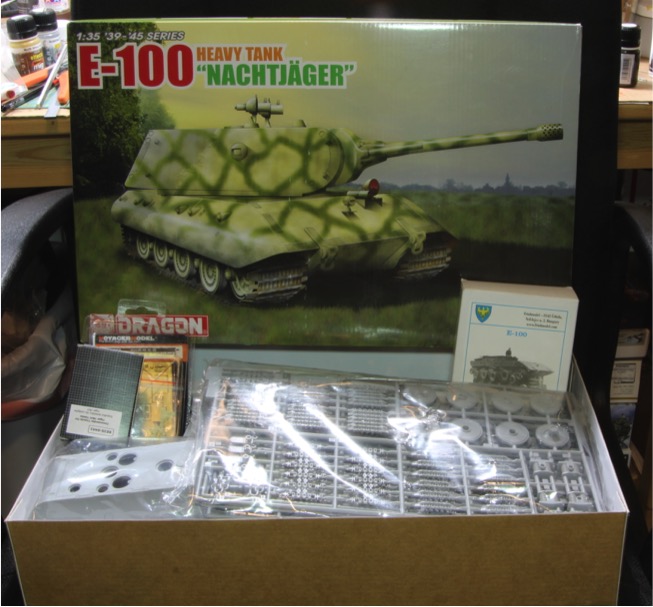
I picked up a few aftermarket items to enhance things a little bit and started cutting and gluing the plastic. I didn’t bother photographing as I went. Like I said, I was trying to get back in the grove and didn’t really want to end up stalling out with another unfinished thread.
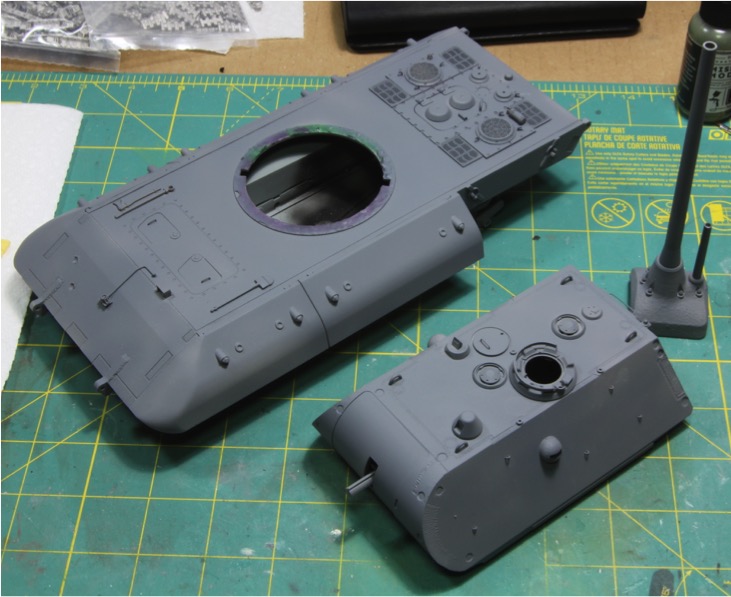
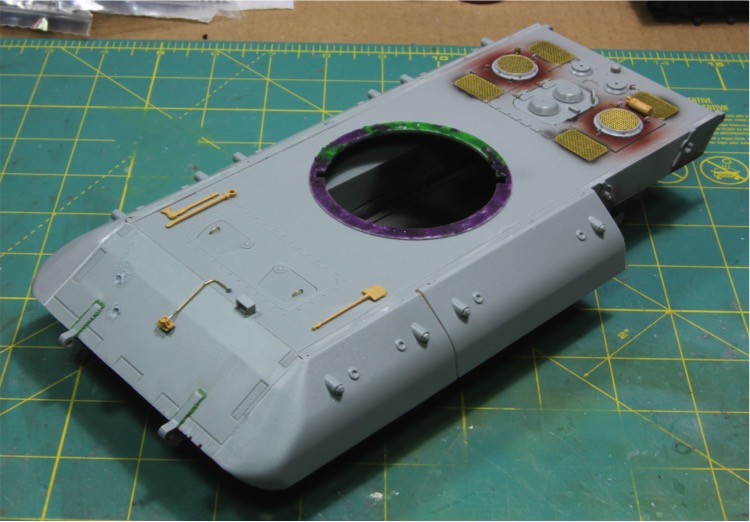
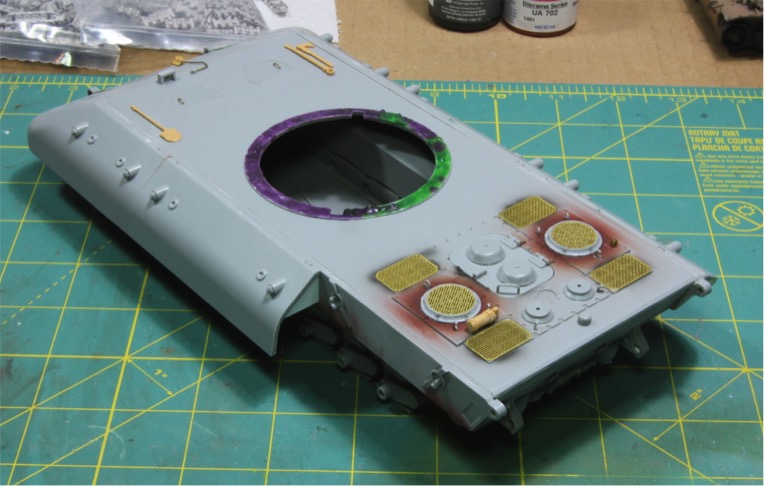
Kit went together relatively well, but it is really basic and showing its age. I decided to do some upgrading with different materials and parts which all show up against the gray kit. Yellow parts came from the Tamiya panzer IV tools set, white is plastic card etc. Lower hull has most of the tool upgrades. Handles were added to the crew hatches, as they were not included in the kit. I also built the kit missing a side skirt, as most modelers do for the E-100 and ended up building the structure under the adjacent skirt. Photo etch is from the kit. I also attempted to simulate some shell impacts on the front of the hull following a procedure I found on line, I think they turned out pretty well.
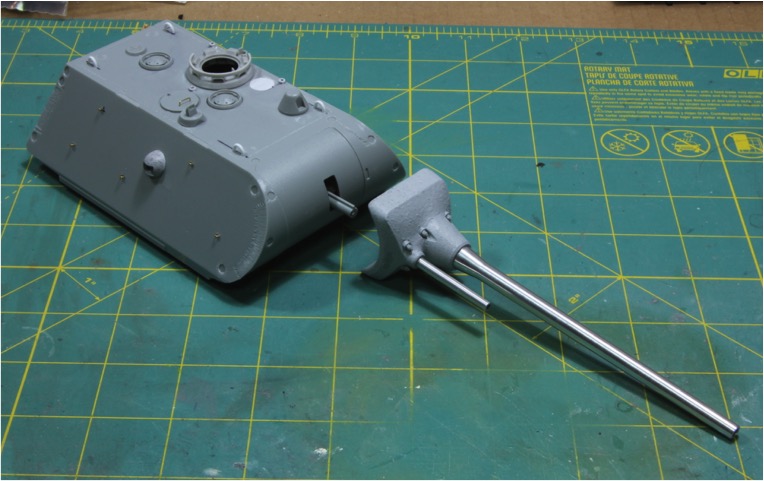
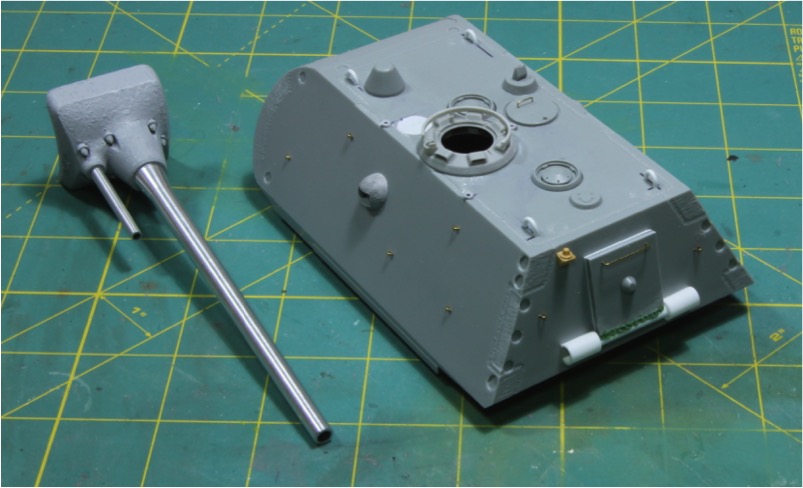
Next up the turret. Turned metal barrels from RB. The Tiger 2 cupola was from PanzerArt. I figured if this had gone into production there would have been a cupola. I added cast texture to the mantlet and the MG balls on the sides. Lift rings were added to the roof and foliage loops added to the sides. I also rebuilt the rear hatch to be similar to that on a Tiger 2. I meant to add a rough edge to simulate the rough flame cut edge, but I forgot before I glued it all in place.
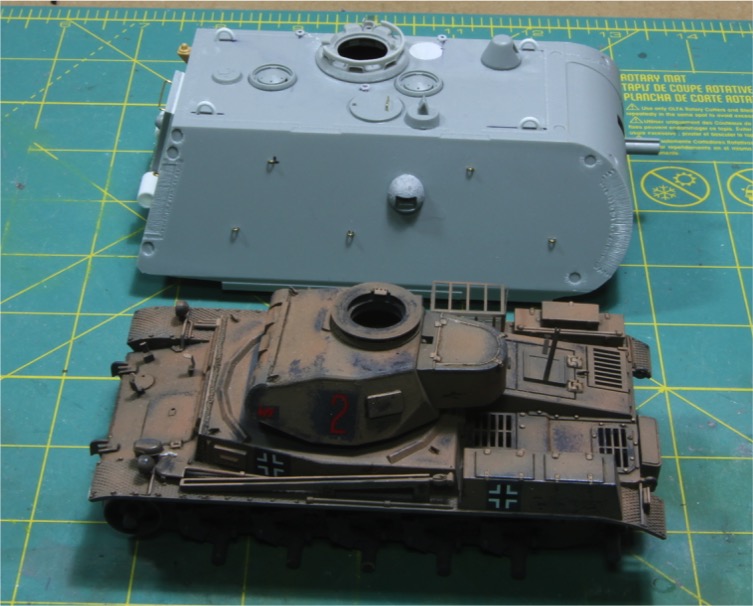
Here is a comparison shot of the E-100 Turret next to my Panzer II to show just how massive the turret is.
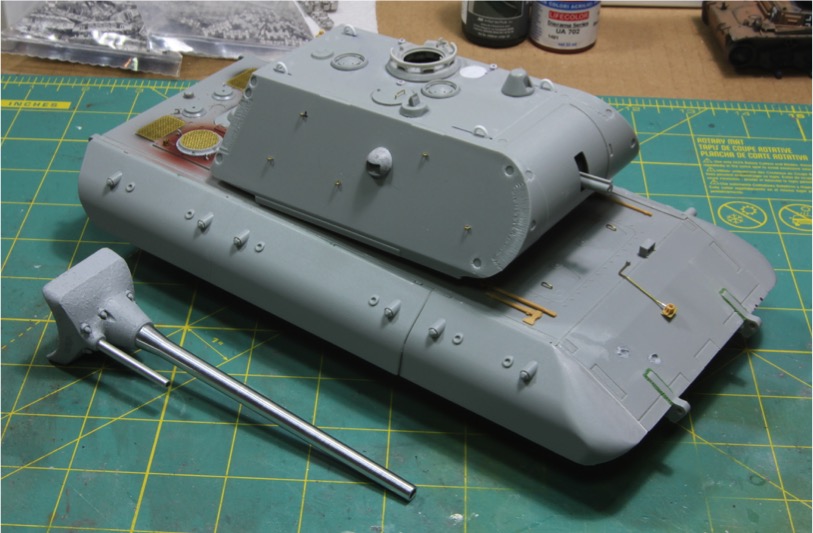
And a shot of the assembled model. The road wheels have all been assembled and painted and I’ll add them at the appropriate time.
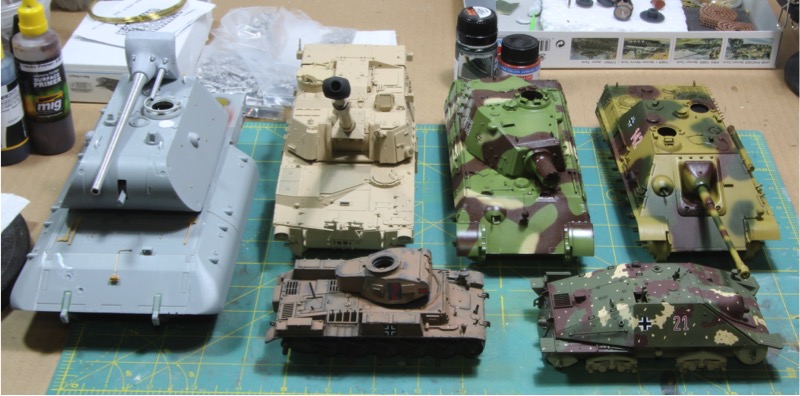
Here is a quick family photo of the armor kits that I really can’t figure out why I haven’t finished yet. But I think as I keep moving, I’m going to start a kind of assembly line, since the weathering and finishing should be relatively similar. Maybe that will help me have a successful modeling year in 2020!
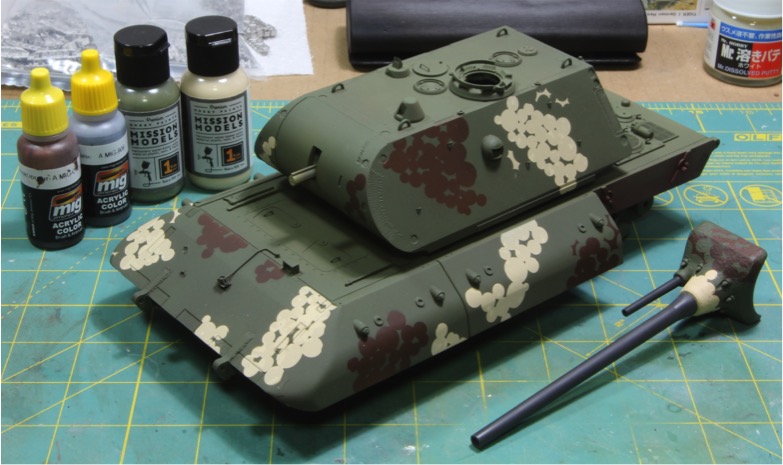
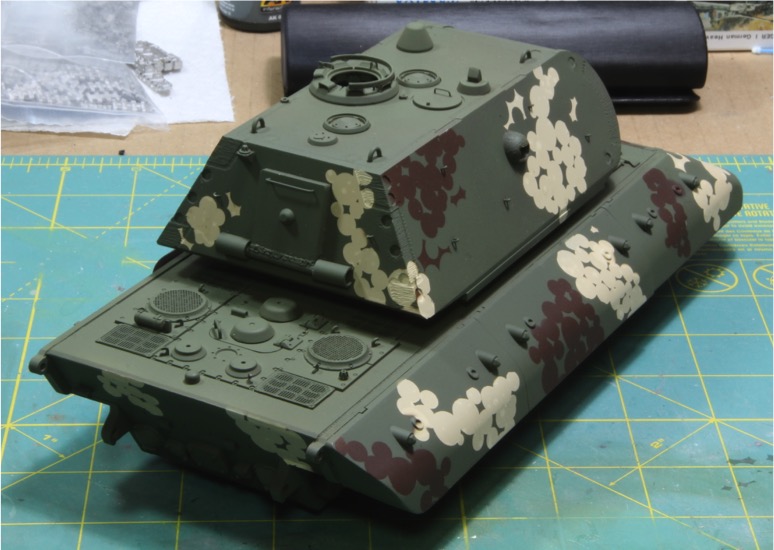
I did finish the painting earlier today, so might try to get that post up a little later.
Thanks for looking in
Mike
I decided to a couple of things down off the shelf and try to get back in the groove. This first was supposed to be a quick and dirty build, just to get the mojo flowing again. Plus I was a little bit inspired by the couple of 1946 ETO builds that were going on here, so I grabbed the Dragon E-100 kit that I’ve had for a while. This is one of the early Dragon kits and represents the E-100 with the Maus turret.. Its not a great kit, but it also has a relatively small parts count compared to today’s monster kits from the same manufacturer.

I picked up a few aftermarket items to enhance things a little bit and started cutting and gluing the plastic. I didn’t bother photographing as I went. Like I said, I was trying to get back in the grove and didn’t really want to end up stalling out with another unfinished thread.
Kit went together relatively well, but it is really basic and showing its age. I decided to do some upgrading with different materials and parts which all show up against the gray kit. Yellow parts came from the Tamiya panzer IV tools set, white is plastic card etc. Lower hull has most of the tool upgrades. Handles were added to the crew hatches, as they were not included in the kit. I also built the kit missing a side skirt, as most modelers do for the E-100 and ended up building the structure under the adjacent skirt. Photo etch is from the kit. I also attempted to simulate some shell impacts on the front of the hull following a procedure I found on line, I think they turned out pretty well.


Next up the turret. Turned metal barrels from RB. The Tiger 2 cupola was from PanzerArt. I figured if this had gone into production there would have been a cupola. I added cast texture to the mantlet and the MG balls on the sides. Lift rings were added to the roof and foliage loops added to the sides. I also rebuilt the rear hatch to be similar to that on a Tiger 2. I meant to add a rough edge to simulate the rough flame cut edge, but I forgot before I glued it all in place.


Here is a comparison shot of the E-100 Turret next to my Panzer II to show just how massive the turret is.

And a shot of the assembled model. The road wheels have all been assembled and painted and I’ll add them at the appropriate time.

Here is a quick family photo of the armor kits that I really can’t figure out why I haven’t finished yet. But I think as I keep moving, I’m going to start a kind of assembly line, since the weathering and finishing should be relatively similar. Maybe that will help me have a successful modeling year in 2020!

I did finish the painting earlier today, so might try to get that post up a little later.
Thanks for looking in
Mike


