
-
Modelers Alliance has updated the forum software on our website. We have migrated all post, content and user accounts but we could not migrate the passwords.
This requires that you manually reset your password.
Please click here, http://modelersalliance.org/forums/login to go to logon page and use the "Forgot your Password" option.
You are using an out of date browser. It may not display this or other websites correctly.
You should upgrade or use an alternative browser.
You should upgrade or use an alternative browser.
Dragon D-9 and A-8
- Thread starter nsmekanik
- Start date
nsmekanik
Member
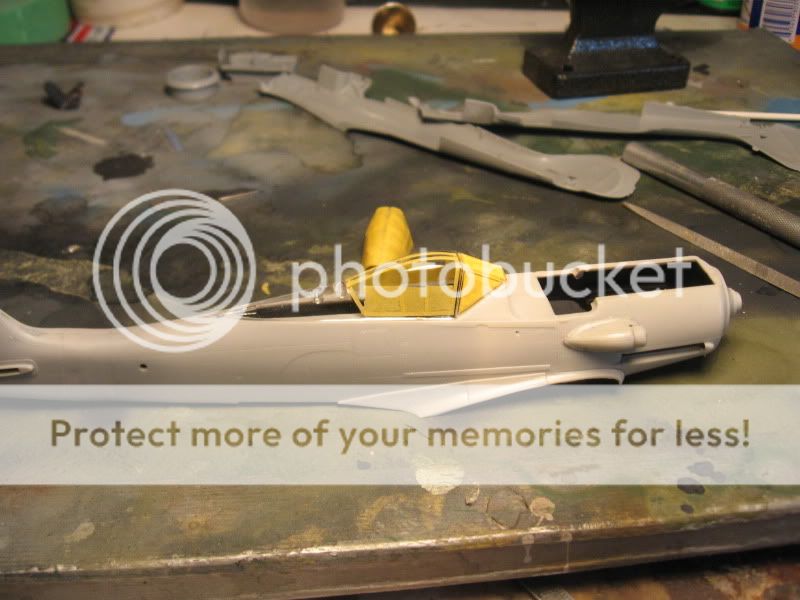
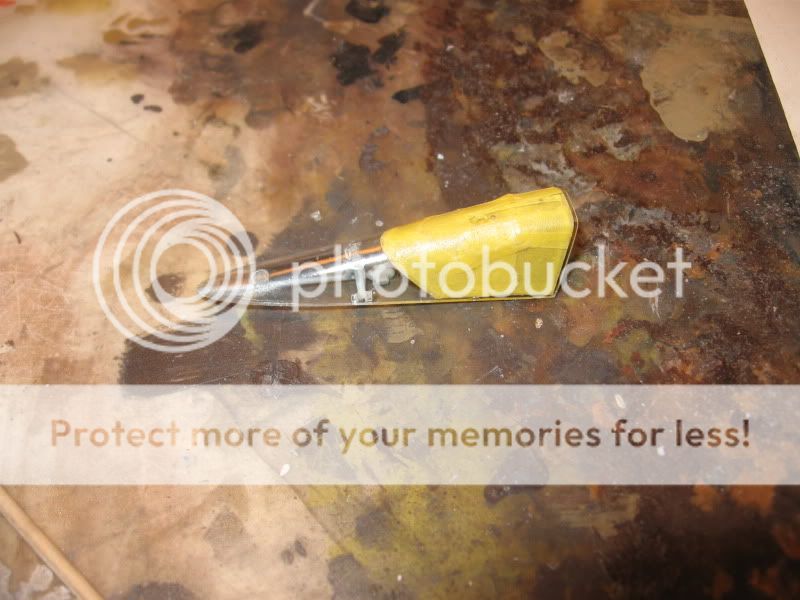
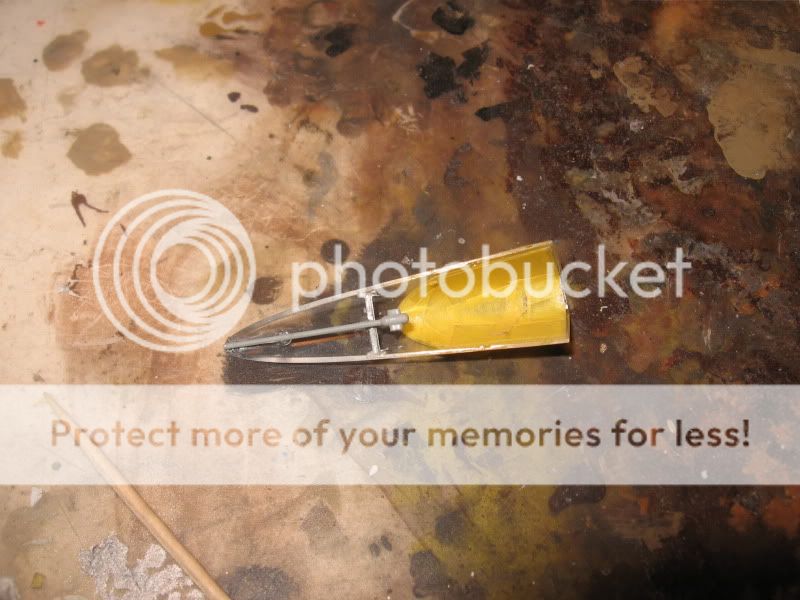
Masking canopies is such a joy, well, actualy I don't mind it much, :gogo here's how I do it. first i take a length of tape and cut it into thin strips,

Which I then use to follow the frames with, I don't cut them at the joints until after I've got everything framed and filled, don't take all that long, in fact I prefer it to the grind of fill sand repeat.


After I've got the frames all maped out I just fill in the centers and done.
Which I then use to follow the frames with, I don't cut them at the joints until after I've got everything framed and filled, don't take all that long, in fact I prefer it to the grind of fill sand repeat.
After I've got the frames all maped out I just fill in the centers and done.
nsmekanik
Member
:geek
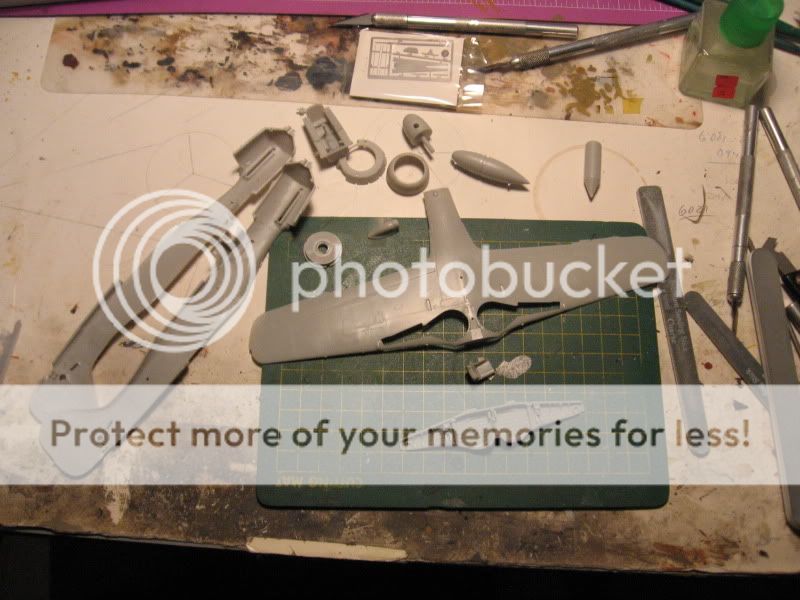
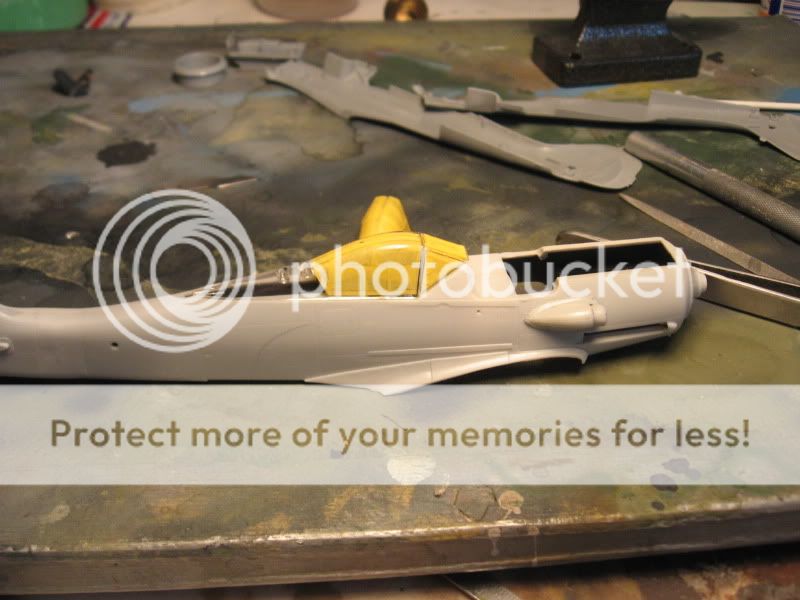
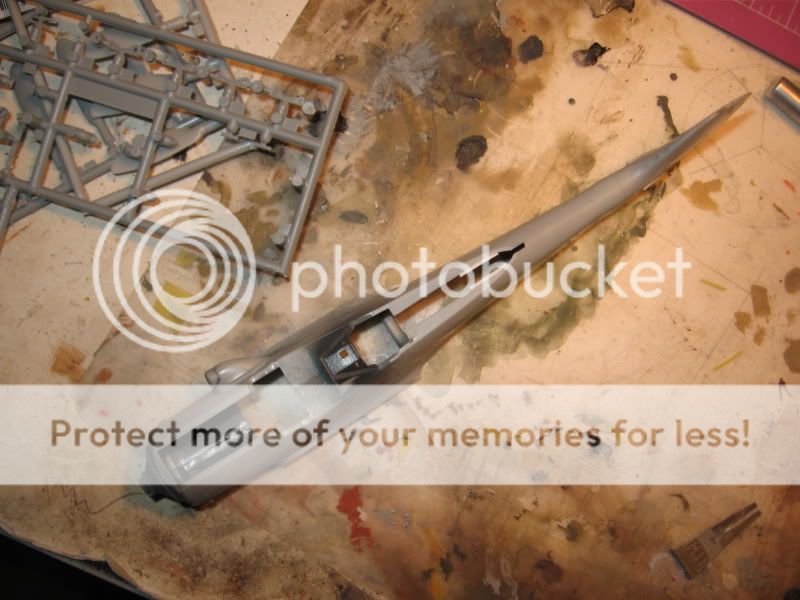
As I was mucking about I decided to dig out one of the A-8's that comes in the Mistel kit by Dragon so here's were things are now
I should add I suppose, that both of these kits molds have seen a better day, but despite the issues I've so far got them to agree to somewhat go together.
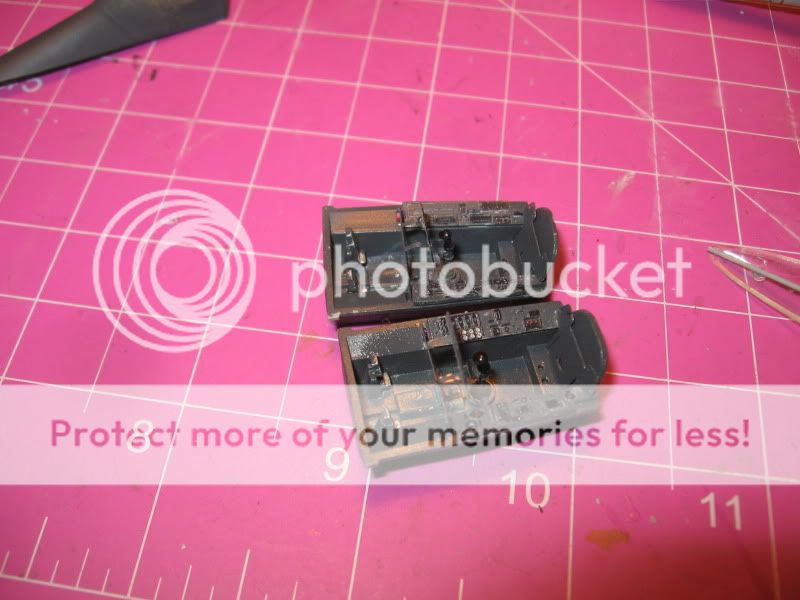
While they both come with etch sets, neither set is the same, the D-9 does not come with the Harness but has a better instrument panel but the A-8 has the harness, but the panel is not as nice, also both side cockpit panels are different between the 2 kits.
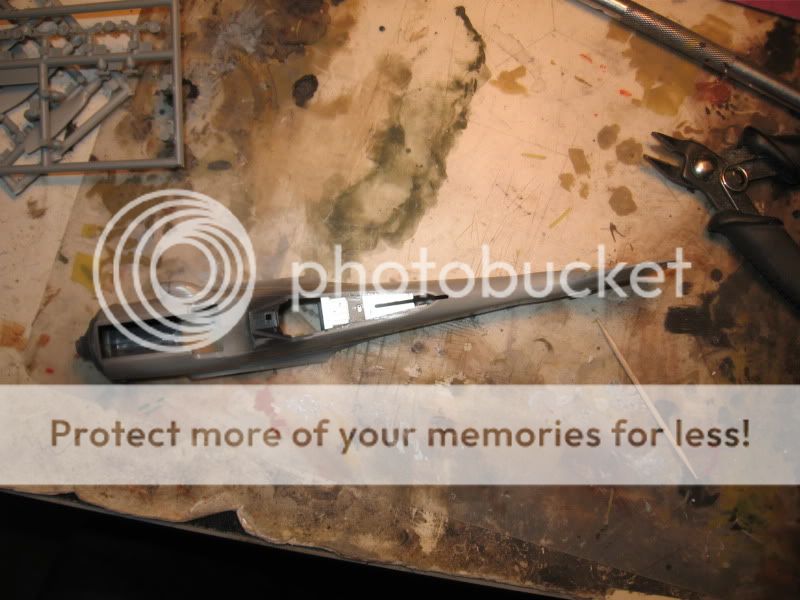
At the end of the day I decided to use one of my Ultracast 190 seats with the molded on belts, it is a piece of art, but it doesn't fit quit right as it butts up agianst the control stick, so if you use one of these in a dragon kit check this before commiting to glue. it still fits but......
I also spent some time adding Mike grants instrument decals to the Panels
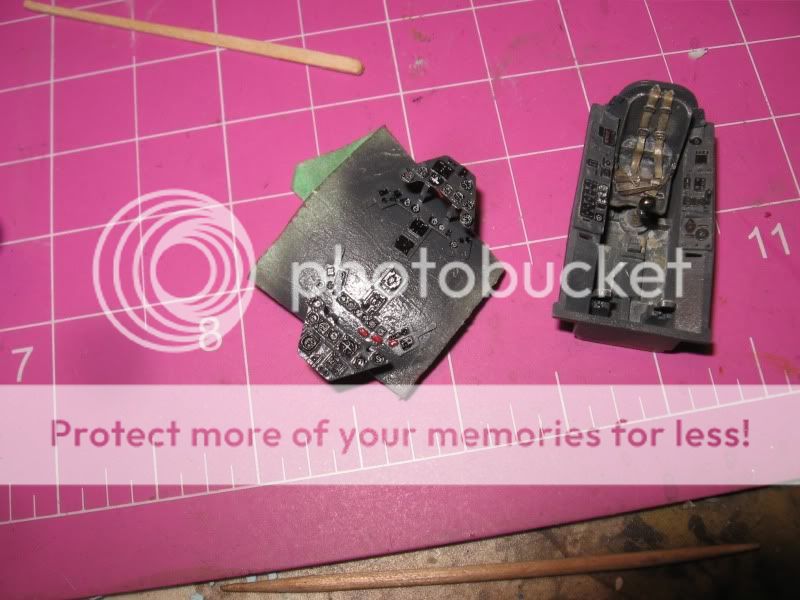
I've found that often the 1/72 decals fit the 1/48 bezels better so if you are into 1/48 and want to order some of these I would advise getting a 1/72 set as well as the 1/48 ones
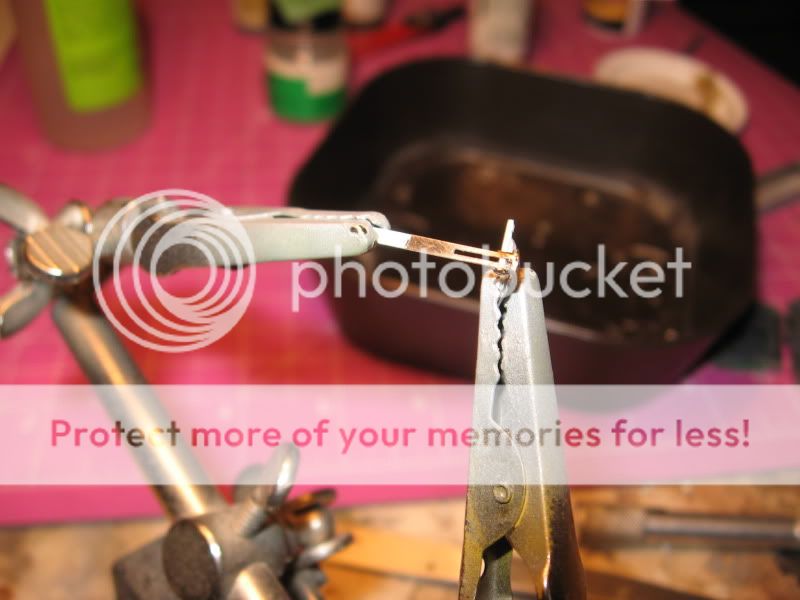
 motoring along the battle of the moment is with the flat canopy that comes with the A-8, the armored head rest is in etch, so is the support bracket, and the piece it attaches to, and these are three seperate pieces, do you see the joy here? :fencing
:java
As I was mucking about I decided to dig out one of the A-8's that comes in the Mistel kit by Dragon so here's were things are now
I should add I suppose, that both of these kits molds have seen a better day, but despite the issues I've so far got them to agree to somewhat go together.
While they both come with etch sets, neither set is the same, the D-9 does not come with the Harness but has a better instrument panel but the A-8 has the harness, but the panel is not as nice, also both side cockpit panels are different between the 2 kits.
At the end of the day I decided to use one of my Ultracast 190 seats with the molded on belts, it is a piece of art, but it doesn't fit quit right as it butts up agianst the control stick, so if you use one of these in a dragon kit check this before commiting to glue. it still fits but......
I also spent some time adding Mike grants instrument decals to the Panels
I've found that often the 1/72 decals fit the 1/48 bezels better so if you are into 1/48 and want to order some of these I would advise getting a 1/72 set as well as the 1/48 ones
motoring along the battle of the moment is with the flat canopy that comes with the A-8, the armored head rest is in etch, so is the support bracket, and the piece it attaches to, and these are three seperate pieces, do you see the joy here? :fencing
:java
Plastik Smurff
Active member
Lookin good mate,it's one of my faves as well ") .
.
Actualy I have 5 kit's of this plane,every kit is the same molding but from 5 different brand's. :huh:
 this thread.
.Kurt.
.Actualy I have 5 kit's of this plane,every kit is the same molding but from 5 different brand's. :huh:
this thread..Kurt.
nsmekanik
Member
yes, but I got the angle wrong so I'm going to redo it


Kreighshoer
Active member
great stuff! following will be a joy!
nsmekanik
Member
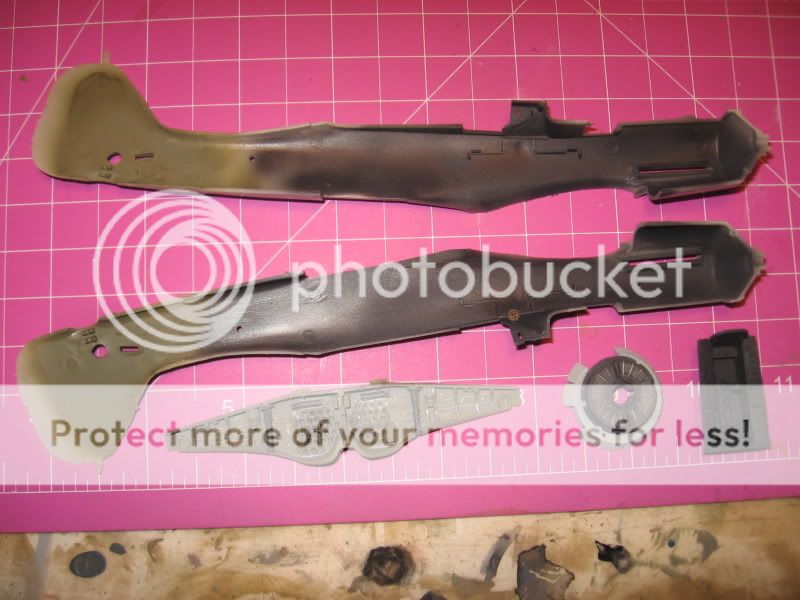
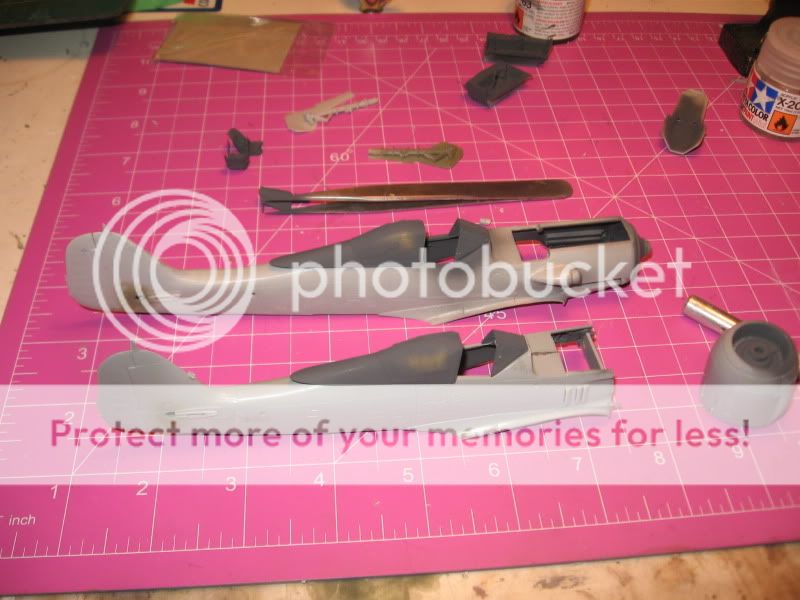
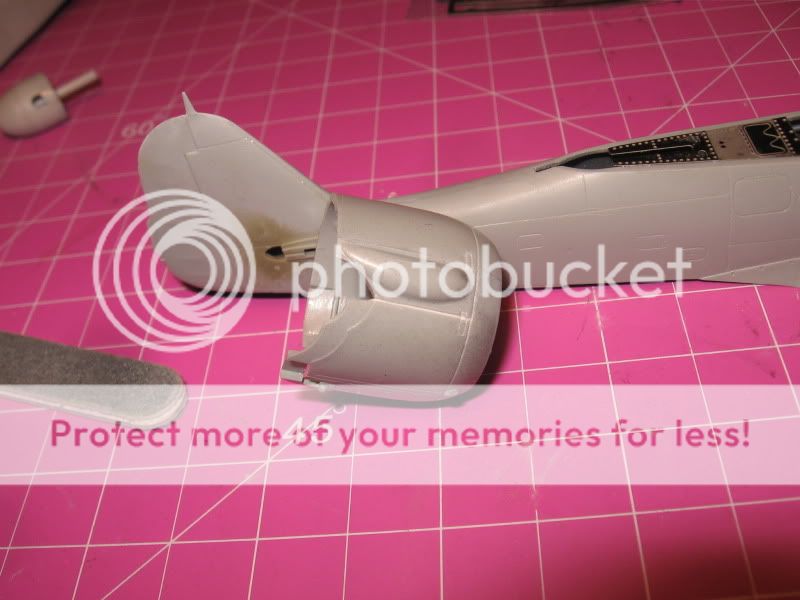
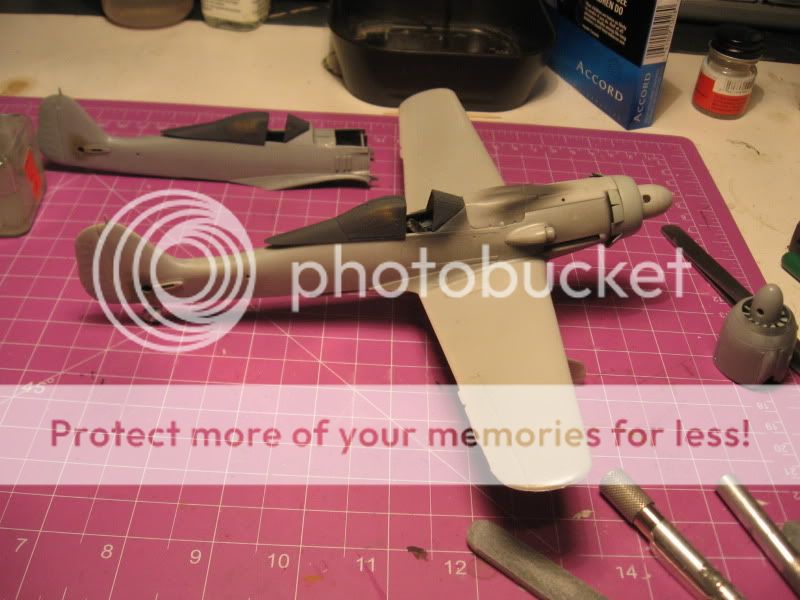
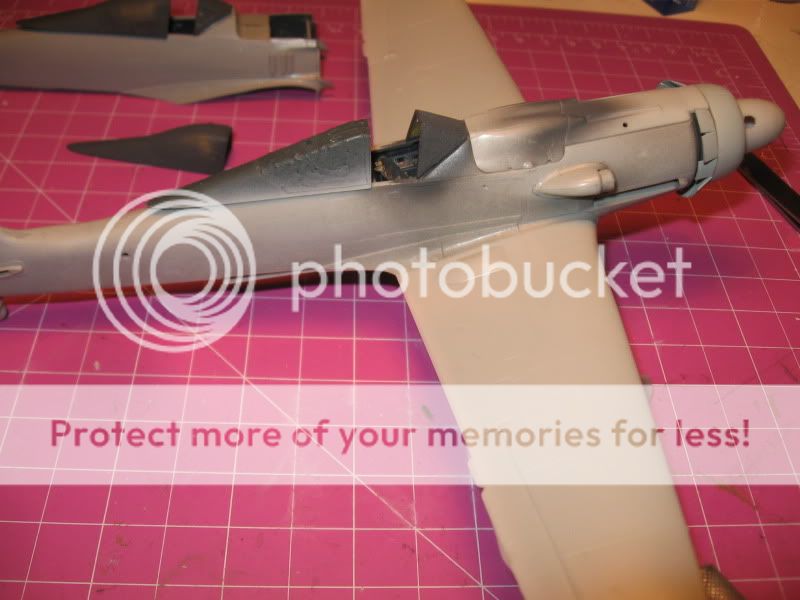
Ok, since I've been a bit neglectful of the A-8, I thought I'd concentrate on it for a moment. The moldings are getting old, and this particular boxing is a part of the A-4/G-6 Mistel re-release. Unlike the older Dragon kits, and original Mistel kit, the plastic is more Revelish. The D-9 is an older release so the plastic is origanal Dragon, which is a bit more brittle. Both Kits suffer from a good amount of warpage, so glueing the fuselage is a step by step process. The A-8 fuselage joint where the tail attaches must be a separate mold as there is pronounced seem rather then an engraved panel line at this joint which will require some sanding down and rescrbing which will wipe out some minor rivet detail.
Here is the finished product, I didn't take any before pics.
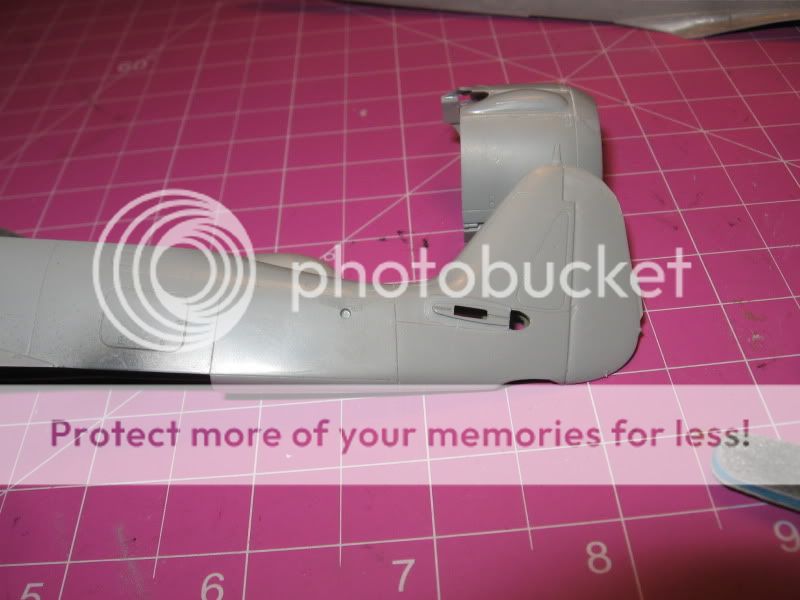
Also the fuselage is showing signs of pitting, and in this case a small hole, where the filler is, so a bit of smoothing out is required.
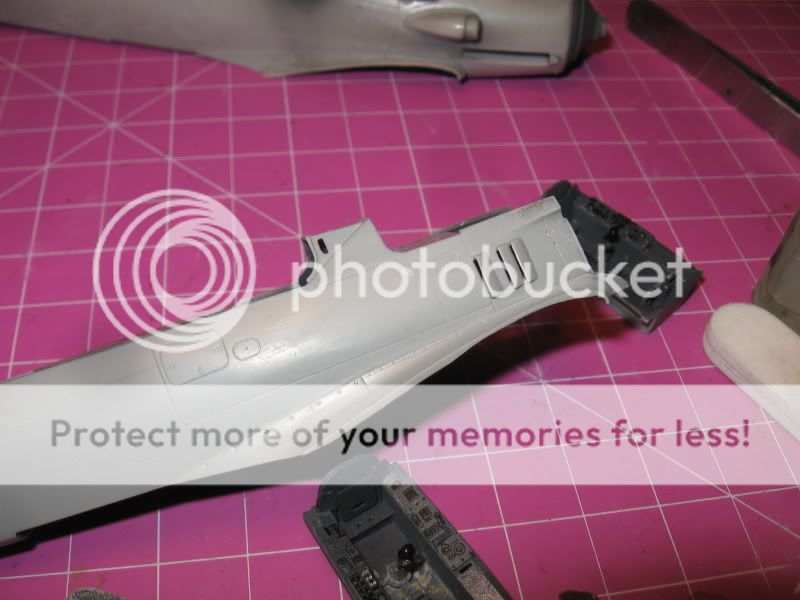
The cowling is notoriously difficult and poor fitting, what I did was add some thin strips along the bottom and forward joints on the bottom piece and then sanded them down to get a tight fit. The latches don't line up between the bottom and side peices so I did a bit of scribing to sort of fudge the appearance. once the bottom bits had set up I glued the upper portion on and cleaned up the front opening so the front ring would sit centered.
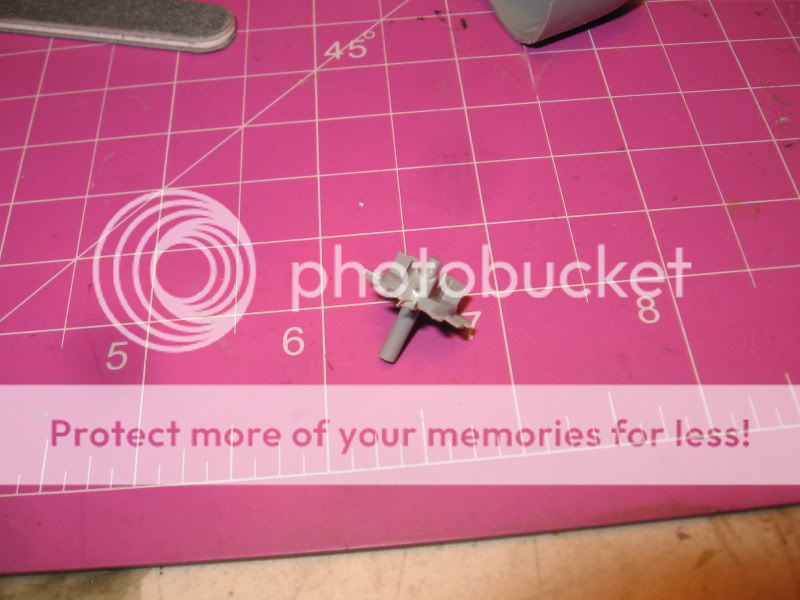
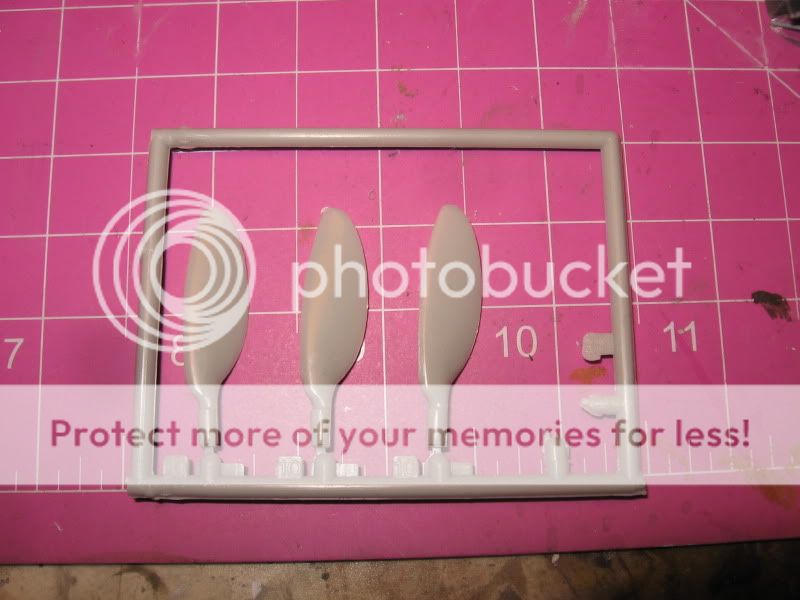
The kit comes with two sets of cooling fans and both the narrow and wide chord propellers so that one can do either an A-8 or A-9, but only one spinner and the flat canopy, so unless one has a spare blown hood, you are kind of stuck with the A-8. However, if you have a spare Blown canopy from a Tamiya kit, it will fit very nicely on the dragon 190's, more on that later. In my copy there were a few sink marks to deal with on the cooling fan, and a fair amount of flash.
:java
Here is the finished product, I didn't take any before pics.
Also the fuselage is showing signs of pitting, and in this case a small hole, where the filler is, so a bit of smoothing out is required.
The cowling is notoriously difficult and poor fitting, what I did was add some thin strips along the bottom and forward joints on the bottom piece and then sanded them down to get a tight fit. The latches don't line up between the bottom and side peices so I did a bit of scribing to sort of fudge the appearance. once the bottom bits had set up I glued the upper portion on and cleaned up the front opening so the front ring would sit centered.
The kit comes with two sets of cooling fans and both the narrow and wide chord propellers so that one can do either an A-8 or A-9, but only one spinner and the flat canopy, so unless one has a spare blown hood, you are kind of stuck with the A-8. However, if you have a spare Blown canopy from a Tamiya kit, it will fit very nicely on the dragon 190's, more on that later. In my copy there were a few sink marks to deal with on the cooling fan, and a fair amount of flash.
:java
nsmekanik
Member
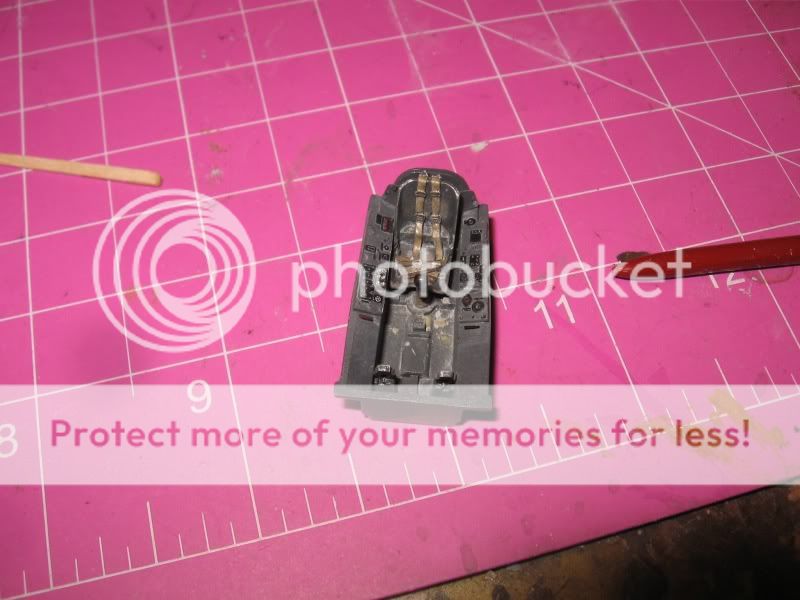
motoring right along, well, ok, :java , puttin' along......had a bit of an issue with the etch not having any surface to glue to at the back end and as a result pulling up, so I glued a couple of strips to the side and then reglued the etch back on,
much better now
for some stupid reason this canopy just would not future properly, no matter what there always ended up being something that got screwed up, but after about 2 dozen dips in the future pool it finally relented and so we are able to move forward from there
one other thing I noticed is that despite being essentially the same kit by the same manufacturer the etch is different, and the length of the bit between the upper and lower instrument panel is longer on the A-8 then it is on the D-9, so the upper panel is sitting further back into the cockpit, so I shortened them to be the same length.
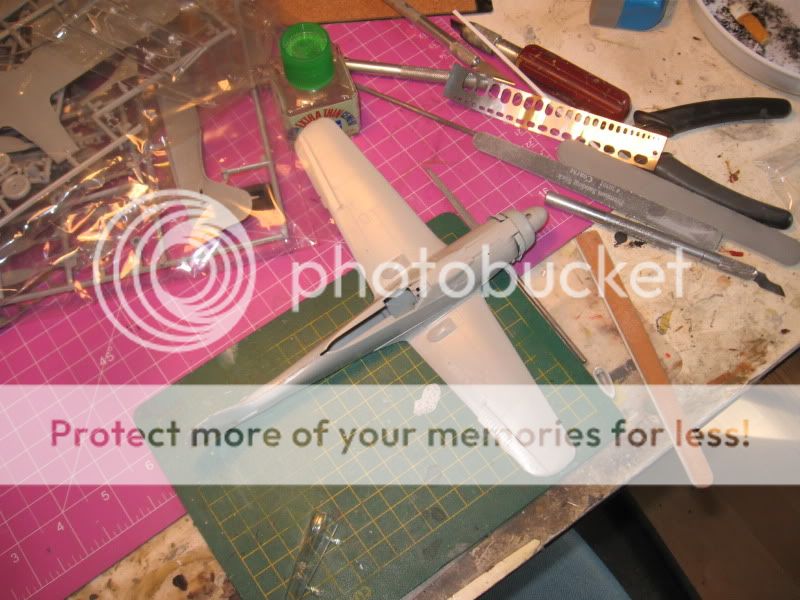
a little cleaning up of the props to do
and everything just set together without glue
Looks like you got the spread on the wing root taken care of nicely!