• Modelers Alliance has updated the forum software on our website. We have migrated all post, content and user accounts but we could not migrate the passwords.
    This requires that you manually reset your password.
    Please click here, http://modelersalliance.org/forums/login to go to logon page and use the "Forgot your Password" option.

Down and dirty diorama

BradJ

Member
Hey there
Well this is my second crack at this posting, as half an hour in last night I miss aimed the cursor at a tab above and hit a saved medical wesite on oxygen saturation... (?) and when I clicked back all the text had gawn :eek:hmy: :pinch:

So here goes a somewhat 'abridged' version.

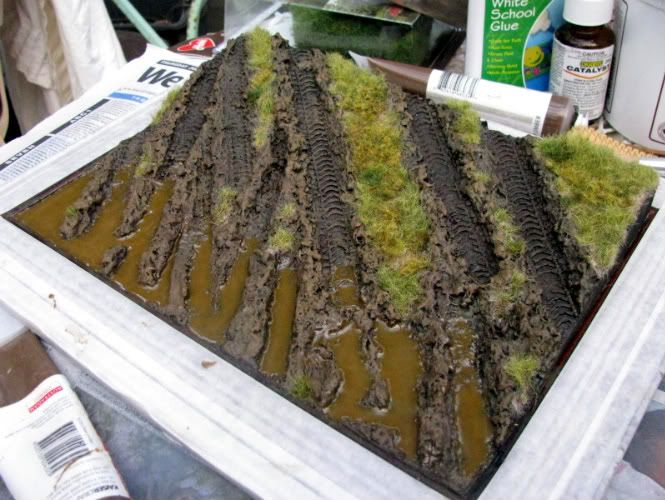
I am building a relatively simple diorama scene to get back into the swing of it, as sculpting has been the main occupying hobby at present.
I want to finish one of my M4s to place on the base.
It was to be of specific moment/movement in a specific attack on a village in eastern France in late 1944 by the 4AD.

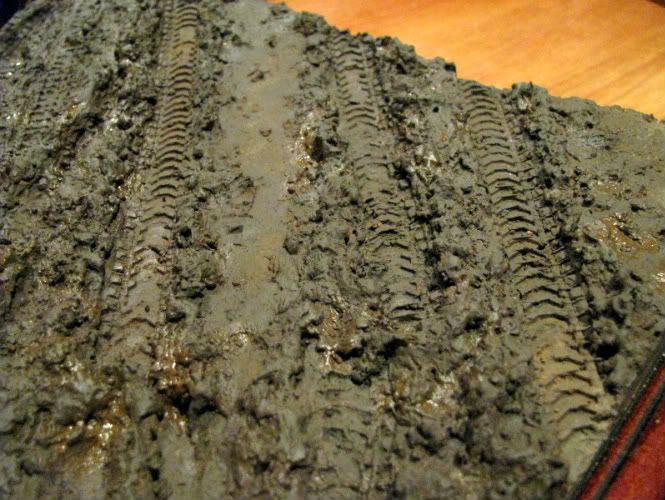
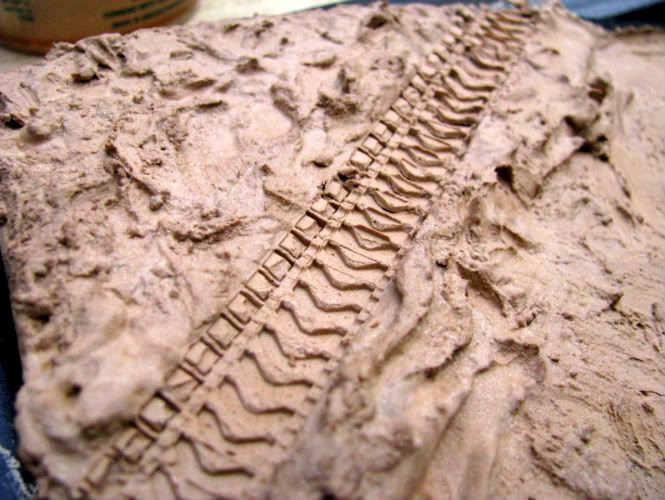
Regardless, the tank and representative armored division can be altered even once the base is complete, save for the tracks it will have. (Must have T48s with EECs. Non Shermaniacs, keep with us!)

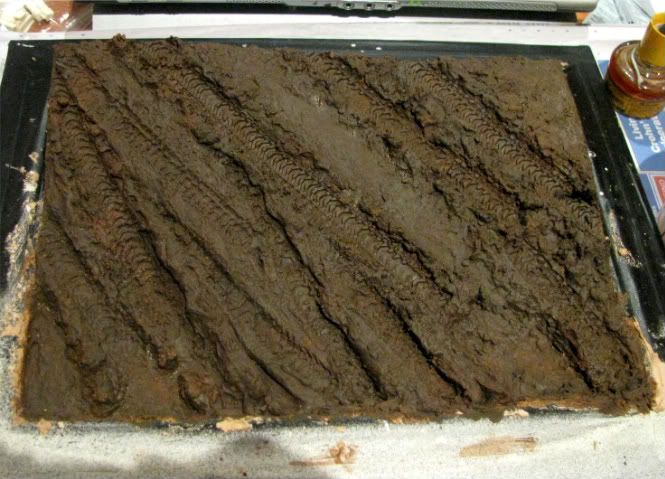
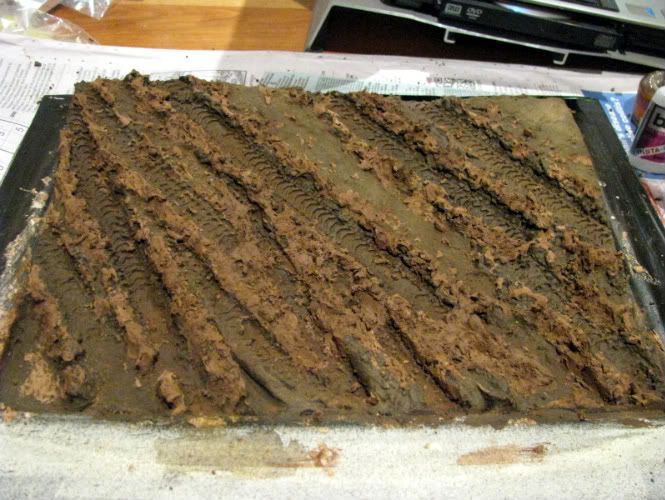
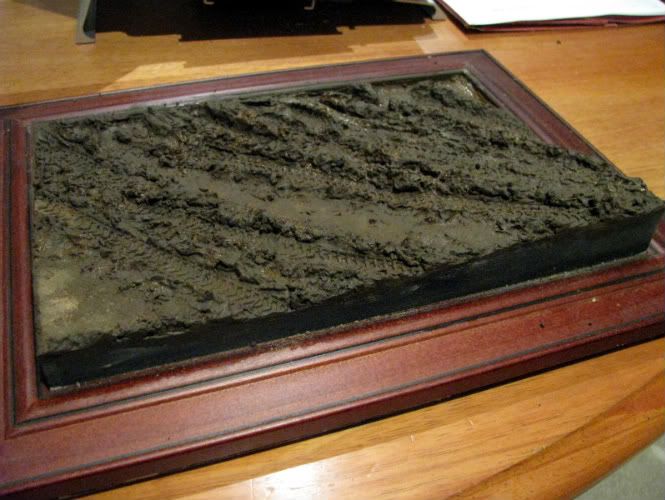
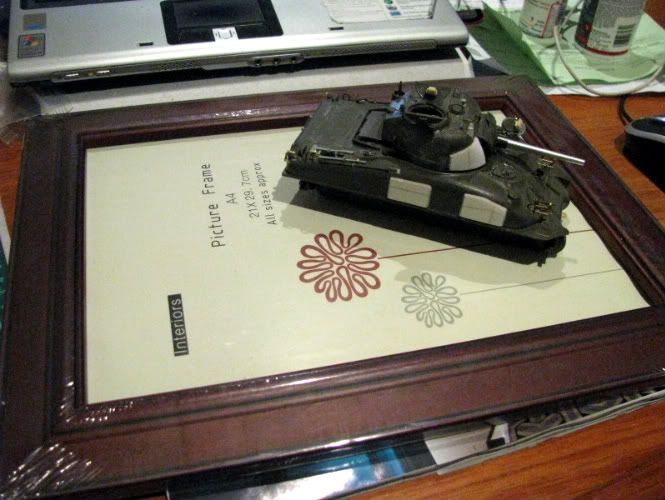
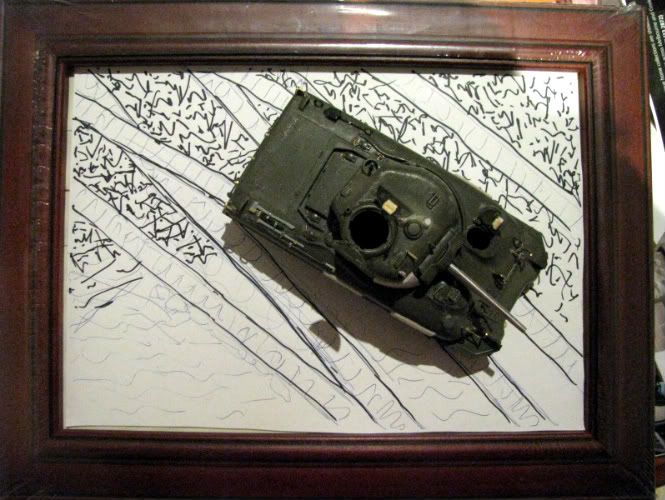
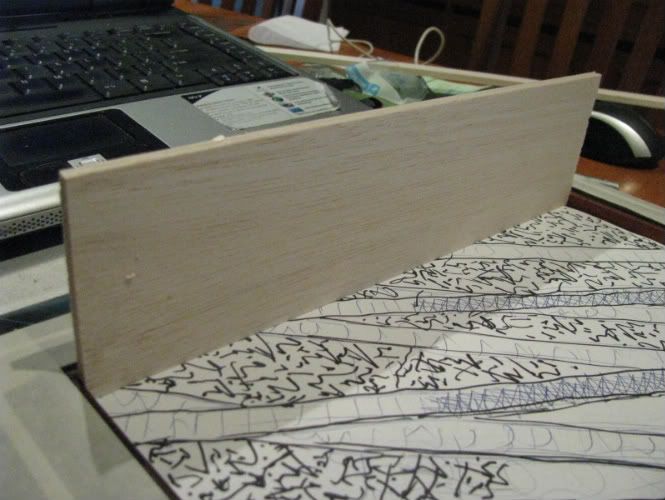
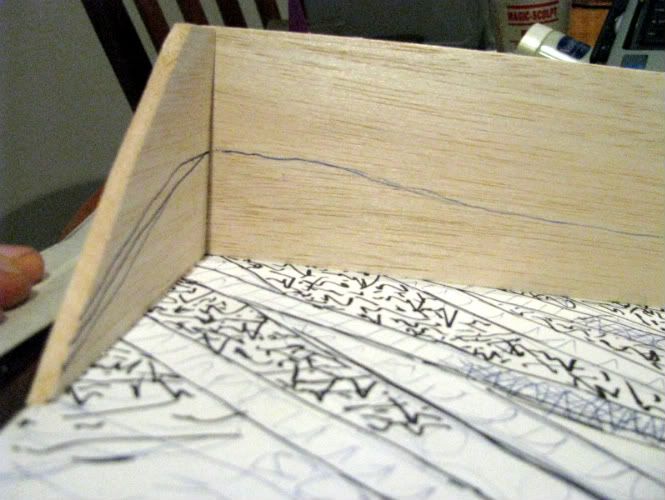
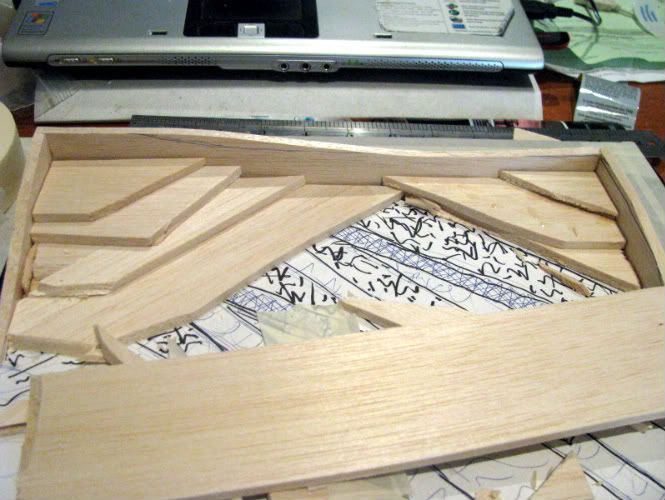
Starting with a $5 frame from a $2 shop (not a good start) I rough out with a near finished tank and then using an A4 sheet in position I plan out the ground work markings.

IMG_1057.jpg


IMG_1058.jpg
 
Forging on...

Based on the layout I wanted, it was worked out where the height above the base would be effected. With this in mind I built up the supporting wall (using 6mm balsa; easy to work with, light, but easily damaged) and with no whiteglue in the casa, I made do with drops of ca which worked well.

IMG_1060.jpg


Accurate measuring and sharp clean cuts will get you a good result.

IMG_1061.jpg


I made the edges oversized in order for them to be trimmed as I needed them.

IMG_1063.jpg


Marking the inside is the way to fly here, any mistakes won't be seen. A #11 blade can slice the balsa easily, especially with the grain.
 
Hey Brad,

So this is where you're hiding with all your works in progress huh. I haven't seen one of your shermies in MONTHS. Now I've uncovered your lair I will be poring over them...
 
I used the offcuts from the balsa strip to build up the height within the scene.

IMG_1067.jpg


An overview of all the components.

IMG_1069.jpg


I use a powder form wood filler with acrylic paint and agua.
Mixed well, it is slopped into all the nooks and crannies. This is the first stage only. It is all below the height of the finished ground, so the 'dancefloor' is the fun part ;)
 
JonHayward wrote:
Hey Brad,

So this is where you're hiding with all your works in progress huh. I haven't seen one of your shermies in MONTHS. Now I've uncovered your lair I will be poring over them...

hehe thanks BJ
In truth this is first of anything non-figure related I have one for MONTHS ;) You remember those good times we had with mud and nonsense? Well they're back!! :silly:
 
Here is the base with the first layer added.

IMG_1071.jpg


The colour really matters not, so long as there is no bright white showing such as if you used P of P instead of a more neutral wood filler. The top layer gets more browning during the mixing...

Now, there is a high side to scene which requires very little of the second 'top-up'. Whilst wet, I pressed a DS track firmly into the filler. The churned mud squeezed to the sides can be added later. Once dry, the track is peeled off the base leaving a sharp impression.

IMG_1072.jpg
 
BradJ wrote:
You remember those good times we had with mud


:blush: Brad please, don't tell everyone about this ! You swore you'd call me... you never did :( I thought you were a gentleman


seriously though that filler and DS track works a charm ! I use putty but I prefer that approach, it gives a better impression
 
:)
In the words of Karen and Richard, "We've only just begun"...

Some shots of the second layer; the dancefloor. A lot darker brown. The above method was replicated to match the original drawing as close as possible.

IMG_1073.jpg


Once this had dried for a while, a new mix was added to form the thrown and churned mud.
You can see in the next photo the fresher mud areas which is lighter in colour.

IMG_1077.jpg


This was applied when the mixture had hardend a little, in order to hold its shape more when added.
 
I hit the surface with some further acrylic raw umber, attempting to get in n under to coat the whole surface. Two or three coats later, it is practically covered. I use a basic cheapo brush, as it really does get squashed when pressing in to the mud surface.
It is pretty hard to see the slope on the base surface, so I took a couple of further shots trying to accentuate this.

IMG_1078.jpg


Oh nearly forgot, I primed the supporting walls with a flat black, and depending on the colours of the base in the final presentation, I may use some veneer to add to it. Maybe.

IMG_1079.jpg


The surface when dried can be attacked with some washes and some selective highlighting. A clear gloss will be added close to the end to all the wet sections (most) and grasses laid down both undisturbed and in the mud.
Lastly will be a tinted resin for some deep puddle action. This in my opinion will make the scene *pop* (well bloody hopefully!) I am aiming to get the colour of a stong tea. (white, with 1.5)

Brad :side:
 
BradJ wrote:
:)
In the words of Karen and Richard, "We've only just begun"...

"Why does Brad, always play in mud..."


So yeah bud, good to see you back at your craft. I've seen what you can do with this type of sloppy texture before and it's the cat's knees.

:huh:

It also resembles a few job sites I've been on. Keep it up.

:ro:
 
Hey thanks for all the positive feedback Ian/Tim/Ant/Bob/Kenneth/Shawn...
Have mushed on a bit and added grasses selectively placed. I am about to pour some tinted resin puddles. Once down, I figure I can backtrack the puddle colour to apply to some of the surrounding mud. Wish me luck :eek:hmy:
Brad :side:
 
The track marks in the mud are some of the best I've seen. The putty you used is going to be on my list of tools. When I use spackle/wall putty it's very wet and that makes for very soft detail. The putty you used looks to have a low moisture level and that is good for detail.

Colors, and added layers on the mud really make this nice.
 
Thanks Scott
Good to hear from you!
Yep, the wood filler putty works a treat, and can have the consistency of P of P with extra water, or be like a McFlurry with less... The good thing is the option of when to 'work' the filler. Here I have waited until it had firmed a little more, and with planning have managed to lay the track to required depth in the surface. With the vinyl tracks you can leave them in place until the groundwork has set around it and peel them back for that crispy finish.

Some more works...
I have added some Heki variety to create the heavily grassed areas, focusing on getting a subtle mix happening. The resin was poured in two sittings, the first being darker brown, the second having more richer brown added. I am happy with the resultant colour, and will now work backwards to add further mud/slop spray next to the puddles to tie the solid ad liquid ground together more. As it appears in these pics the demarkation between dry and wet is too great, and a further addition of clear gloss to the 'channels' of mud in the furrows will give the base a wet, with some drier areaslook as opposed to vice versa.

IMG_1084.jpg


IMG_1087.jpg


The grasses will also be recoloured to blend better and have a sodden look.

Thanks for poppin' by
Brad :side:
 
Looking good Brad. I like your forward planning too, knowing just what to do as the next step always helps. Look forward to seeing more soon. :cheer:
 
Back
Top