• Modelers Alliance has updated the forum software on our website. We have migrated all post, content and user accounts but we could not migrate the passwords.
    This requires that you manually reset your password.
    Please click here, http://modelersalliance.org/forums/login to go to logon page and use the "Forgot your Password" option.

Czech Model 1/48 Yak-15

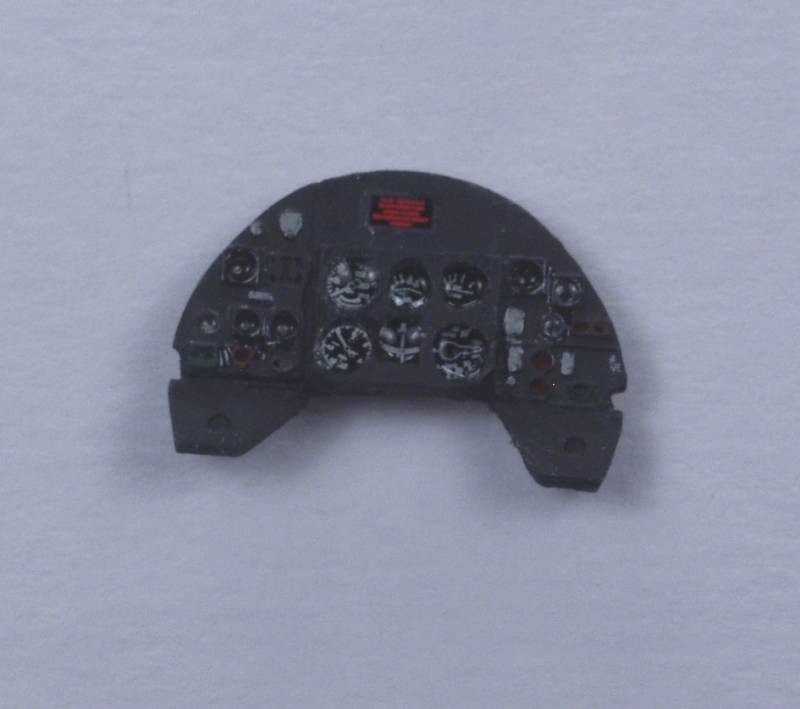
OK, here's the IP I forgot to photograph yesterday, not one of my better efforts, with the exception of the primary flight instruments the dials were too small for any of the instrument decals I had. I did use a silver pencil in some of them to add some indication but the future I put in them later hid most of it. I added a placard on the panel warning the pilot that operating the engine at high power settings before retracting the gear would burn the rubber off the tail wheel :eek:hmy: I don't think the IP will be all that visible once installed so it will do for my purposes !

yak15-b08.jpg


18 days and...whoops, sorry Terry :D

:blink :pinch:
 
OK got a good amount of bench time over the weekend an got the fuselage closed up. As is typical with this type of kit fit of the interior was fiddly, trying to get everything to align as shown in the drawings wasn't easy however fit was pretty good and I only needed to trim a little of a couple pieces to get the fuselage closed. Seam work was worse on the bottom which is always a good thing. I got the wings and tail planes glued on. Fit wasn't perfect but could have been worse. I may regret not doing some sort of spar on them but I got a pretty tight fit and I hoping with their relatively small size they will stay attached through the rest of the process, I wanted them to set up good before attempting any more work, so will wait till tomorrow to continue. I foresee some scribing work as many of the panel lines are so light I think they may disappear under a coat of paint.

yak15-b09.jpg


Just past the mid way point, baring any horrific issues I may get this one done under the wire !
 
Well, I had hoped to have paint on last weekend but I ended up fighting a couple of seams from hell that no amount of PSR would vanquish. I probably should have used super glue but seam filling with super glue is not one of my favorite things.

A good heavy coat of Mr. Surfacer 1000 would have probably solved the problem as well but most likely would have obliterated the rather fine panel detail and I had my hands full touching up what the PSR was taking away.

I finally gave up this morning and painted the bottom. I used WEM paint so I have it drying under a couple of lamps to speed it along. I'm hoping the eggshell finish that WEM paints usually provide will allow me to skip the before decal clear coat. If not, waiting for everything to cure will most likely run me past the dead line. It's going to be close as it is. Plan is to mask and do the top color tomorrow evening and by Saturday evening it should be ready for decals. That will leave Sunday and Monday for everything else, it's gonna be close :idonno

yak15-b10.jpg


4 days and counting < Terry, don't look ! :D
 
Progress as of noon today, top color on, national markings on. No time for Future undercoat so decals were trimmed of all excess film :bang head 
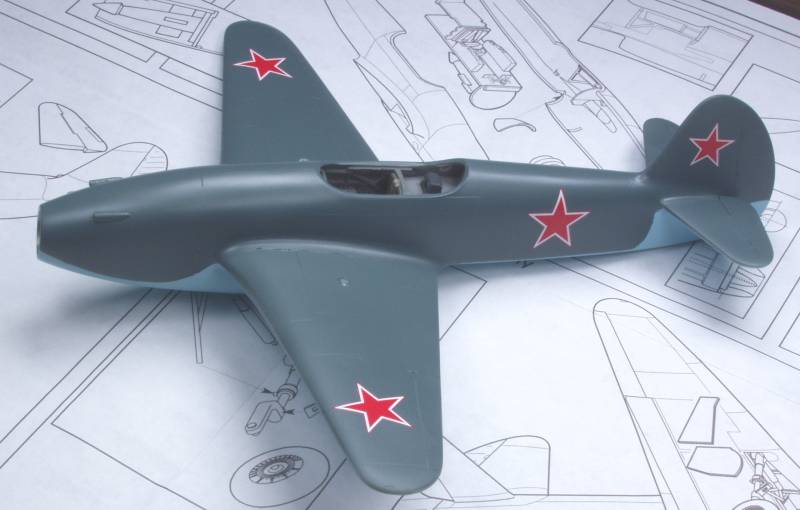
Decals are crappy, two of the stars broke up on application, fortunately one was on the bottom and of course I had no replacements in the correct style :( The decals seemed unaffected by Microset but nearly dissolve with Microsol So I'm going to let them dry down a bit before deciding if any other action is required. I'm almost afraid to try the unit markings :unsure: Still have all the fiddly bits to do and what ever weathering I might want to attempt.

yak15-b11.jpg
 
Sure can't tell you're having that much trouble with them, just remember my technique, only photo the good side (y)
 
Back
Top