• Modelers Alliance has updated the forum software on our website. We have migrated all post, content and user accounts but we could not migrate the passwords.
    This requires that you manually reset your password.
    Please click here, http://modelersalliance.org/forums/login to go to logon page and use the "Forgot your Password" option.

Cyberhobby Bf-110D 1/48

mharviala

New member
OK ... first post, just to keep me honest.

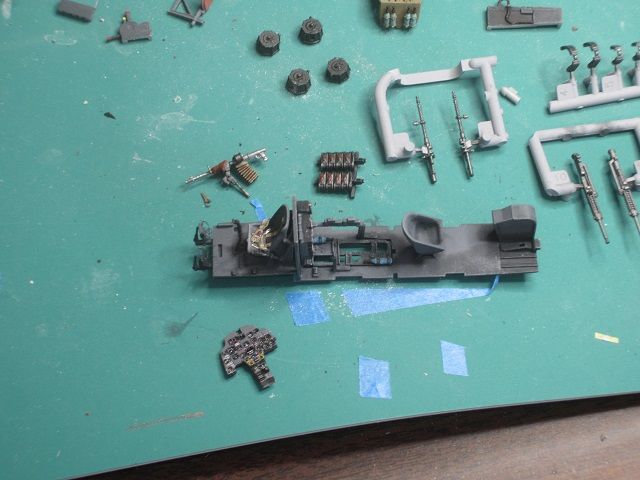
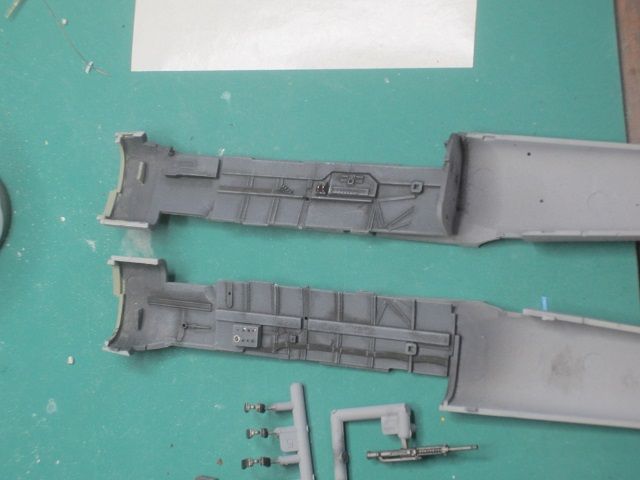
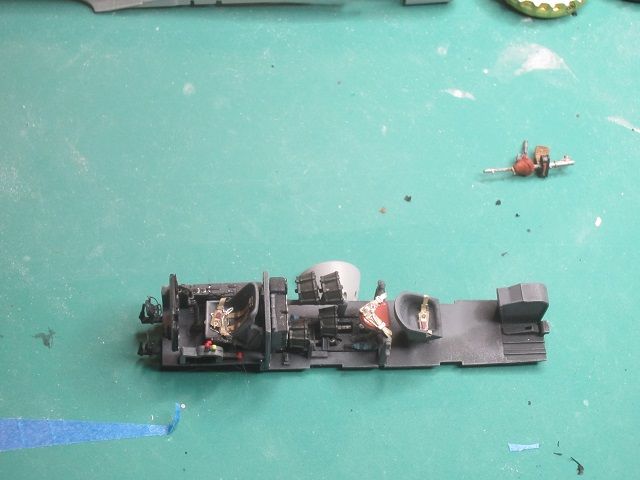
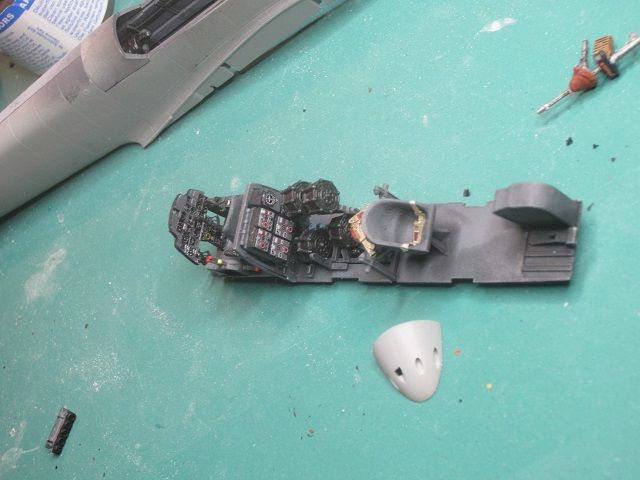
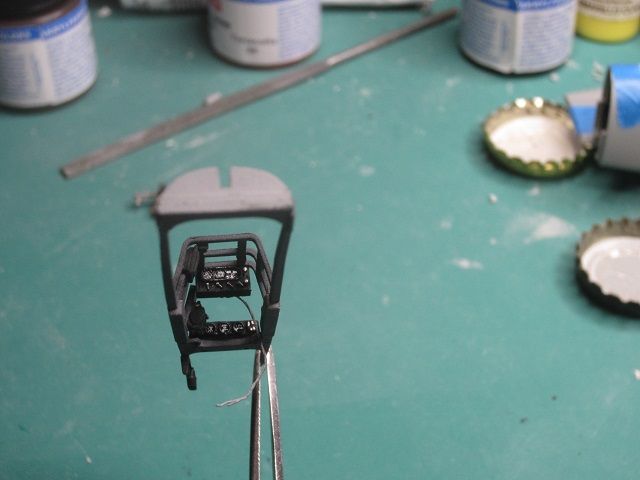
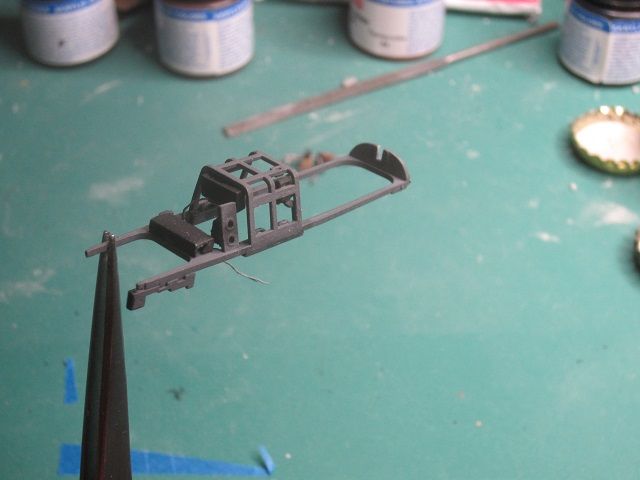
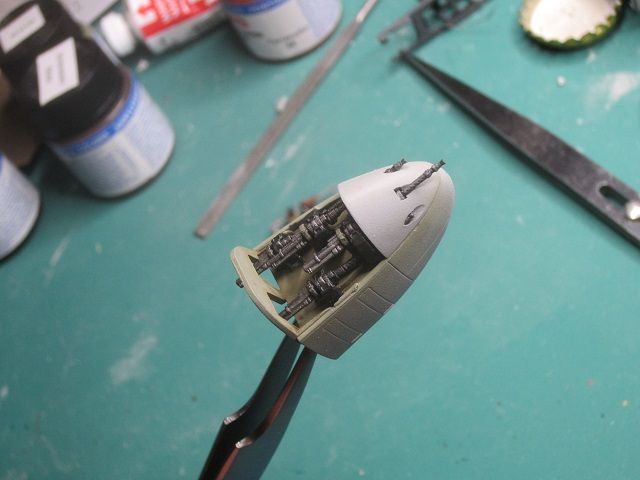
Add-ins to the kit are Eduard Zoom for the interior (because I can't paint instrument panels worth beans), and on Quickboost firewall (the other will go into another Bf 110) to allow panels to be left off. Hoping this will pop out some colors to break out the monochrome finish.

Hopefully will start to desecrate plastic tonight (as another build has stalled).
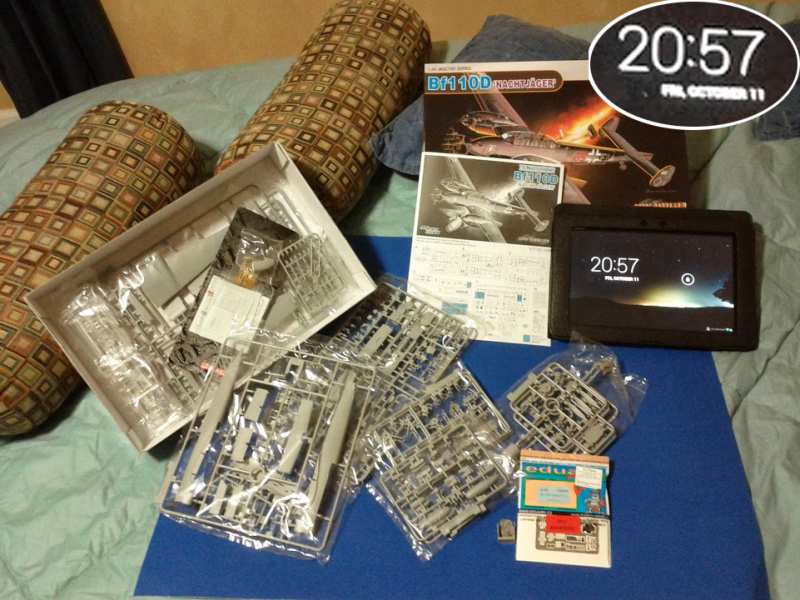


- Mika
 
Update from first night of building
The fuselage is nice, decent enough detail on sidewalls:


Other bits assembled, about to be primed (I prime all of my plastic before painting):


Then there's this - the downside to kits broken down to accommodate multiple variants is something that seems to be exhibited by this part. It's (I'm assuming) a control or display panel for the radar set (it's on the same sprues as the antenna), in a very visible location, yet the back of the box is hollow. Time to break out the Modeling Skills (tm), fill it in and pull some wiring down too.


Also noted that I missed the rudder pedals. They'll need to be added before priming.

A letdown with the Eduard etch set is that it lacks seatbelts for the jumpseat in the middle. I'll use the Dragon provided etch for these.
 
OK, I've been sadly lacking in modeling mojo lately so the build is progressing quite slowly. After two sessions, here's what I've managed to accomplish:

Cockpit starting to come together (I do like Eduard zoom sets!)

cockpit.jpg


Sidewalls painted up:

fuselagepaint.jpg


Next step is to add the rest of the seatbelts, and then glue up the miscellaneous bits.
 
:popcorn :popcorn I've wondered about omissions like obvious seat belts in perfectly nice ( and pricey ) kits before. :facepalm

Cheers, Christian B)
 
Not like me, but I missed the start of this. Good progress, looking forward to more.

Ian
 
I have this one in the stash so I will be watching your progress with interest, looks like you are off to a good start !
 
Little more progress. The interior is about done, need to hit it with dullcoat to take the shine off of the etch, and perhaps dribble a little more washes about to break up the monotone gray.

After that, it'll be time to seal up the fuselage and start sticking parts together on the outside.

cp_2.jpg


Another angle

cp_3.jpg


There were some additional nightfighter control panels for the middle guy to play with on these long night flights (guess it was like an early iPad) which didn't have any detail, so I applied some spare instrument panel decals to make it look busy:
cage_2.jpg


cage.jpg


And finally, the nose gun bay:
nose_gun.jpg
 
Back
Top